
How to Remove a Rivet
This guide explains how to remove a rivet from a metal workpiece using three different methods: drilling, grinding, and hammer-and-chisel removal. Each method is demonstrated on a metal L-bracket secured in a bench vise, and the steps below describe the tools, technique, and inspection points for each approach.
Video: Three ways to remove the rivets by Cruzdelasadas technical (2016). All credit for the demonstration goes to the creator; watch the original on YouTube. The written guide below was generated from this video by Docsie. Creator? Request a change or removal.
This guide explains how to remove a rivet from a metal workpiece using three different methods: drilling, grinding, and hammer-and-chisel removal. Each method is demonstrated on a metal L-bracket secured in a bench vise, and the steps below describe the tools, technique, and inspection points for each approach.
Purpose
This procedure provides step-by-step instructions for removing rivets from metal workpieces using common workshop tools, so that the fastened pieces can be separated and the workpiece prepared for further processing or assembly.
Scope
This SOP covers three rivet removal techniques performed on a metal L-bracket with six rivets:
- Removal with a cordless drill
- Removal with an angle grinder
- Removal with a hammer and chisel (or flathead screwdriver)
Required equipment and PPE
- Metal workpiece with rivets (in this case, a metal L-bracket with six rivets)
- Bench vise to clamp the workpiece securely
- Cordless drill with a drill bit (demonstrated with a DeWalt 18V XR Li-ION drill and 5Ah battery)
- Angle grinder with a grinding disc
- Hammer
- Flathead screwdriver or metal chisel
- Appropriate safety gear (worn throughout all three methods)
Procedure
Secure the workpiece
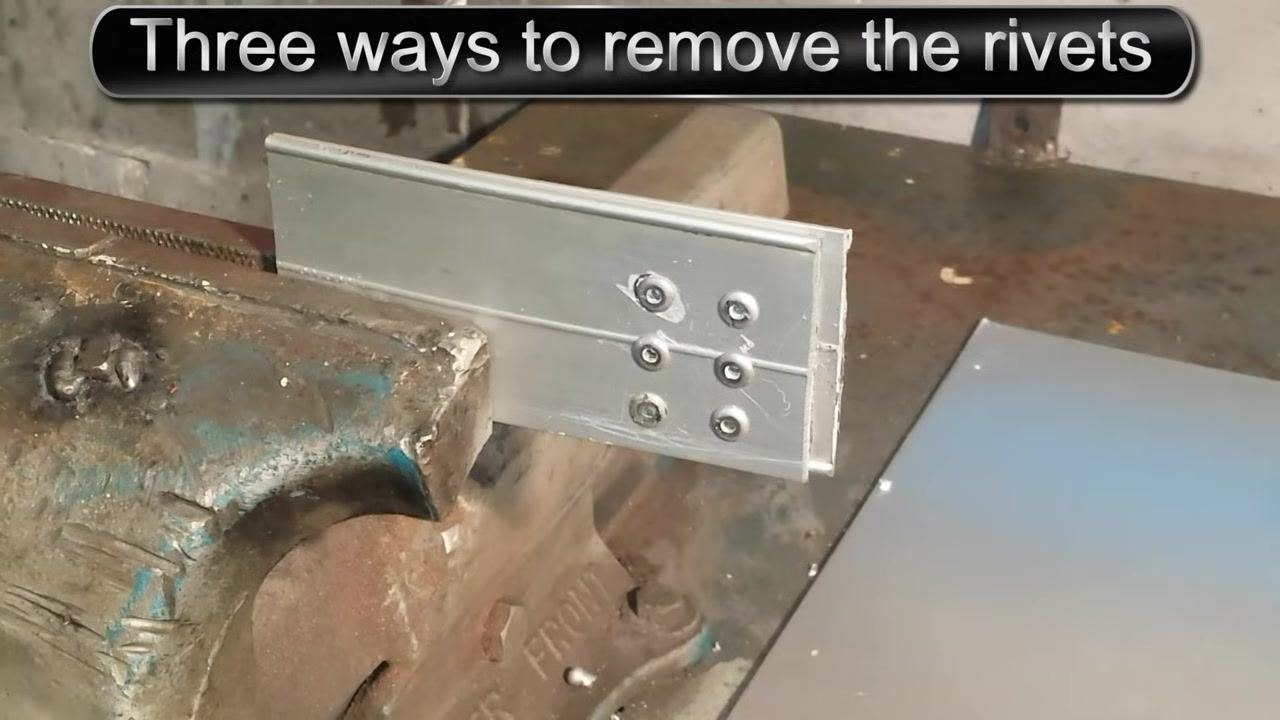
Clamp the metal L-bracket securely in the bench vise before beginning any rivet removal method. Confirm that all six rivets are visible and accessible.
Review the drill and grinder tools
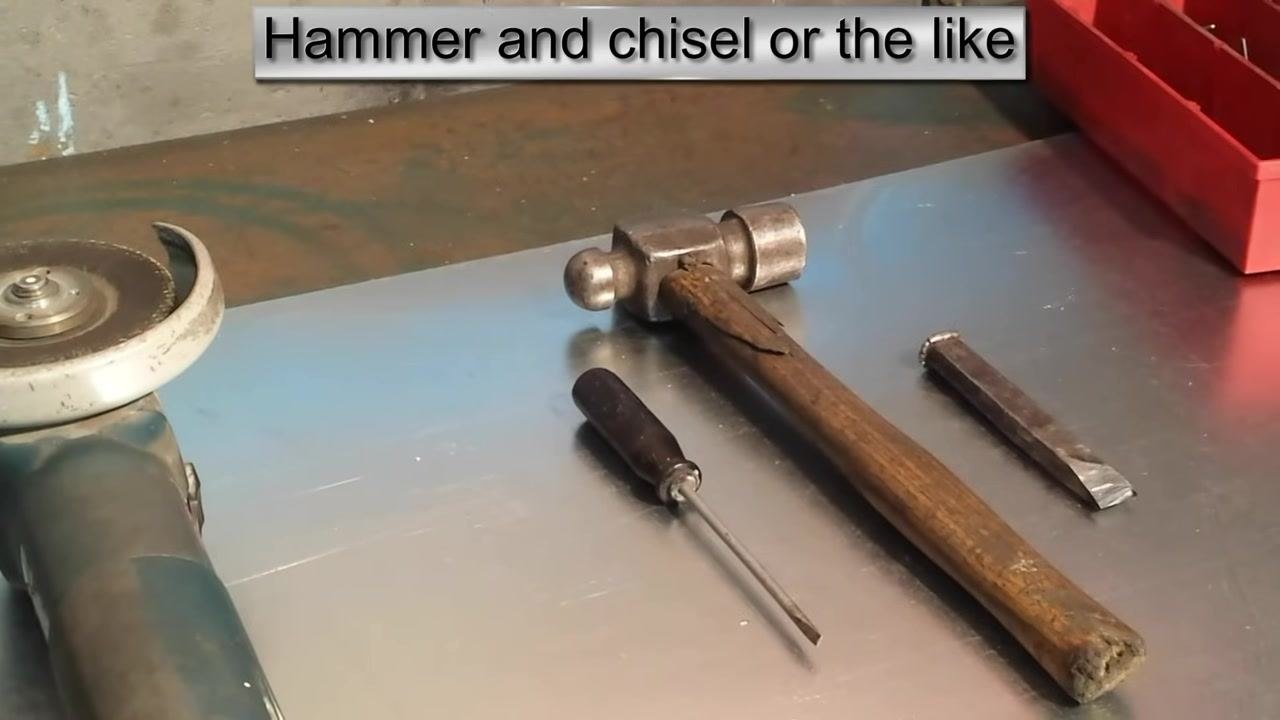
Lay out the cordless drill with its drill bit attached, along with the angle grinder, on the workbench. These tools correspond to the Drill and Grinding methods.
Review the hammer and chisel tools
Lay out a hammer, a flathead screwdriver, and a metal chisel on the workbench. These tools are used for the Hammer and chisel or the like method.
Method 1: Remove a rivet with a drill
Drill the rivet head
Position the drill bit on the center of the rivet head and begin drilling to separate the head from the workpiece. Keep the workpiece clamped securely in the vise throughout drilling.
Verify rivet removal by drilling
After drilling, inspect the rivet holes to confirm that the heads have been removed.
Method 2: Remove a rivet with a grinder
Align the grinder with the rivet head
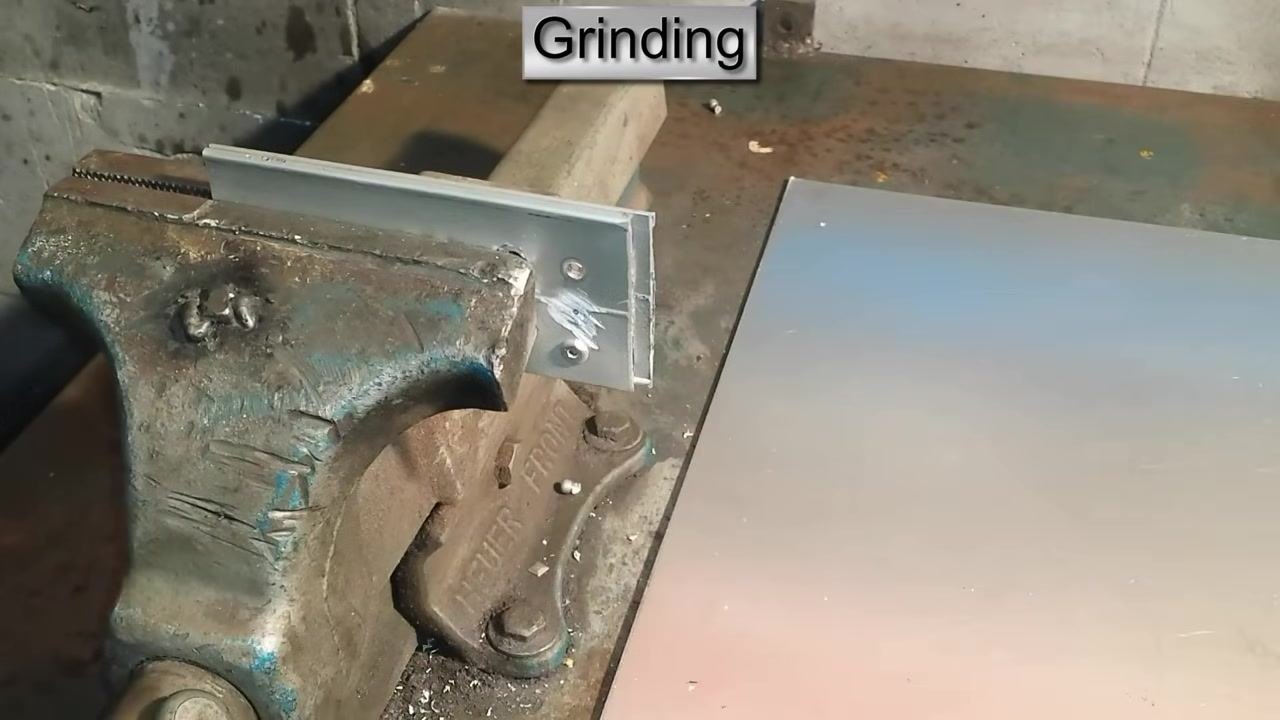
Point to the rivet head to be ground off, then align the grinding disc of the angle grinder with it before starting the grinder.
Grind the rivet head flush
Grind the rivet head until it is flush with the metal surface, then inspect the workpiece to confirm the head is fully removed and the surface is smooth.
Method 3: Remove a rivet with a hammer and chisel
Complete an initial pass with the hammer and chisel
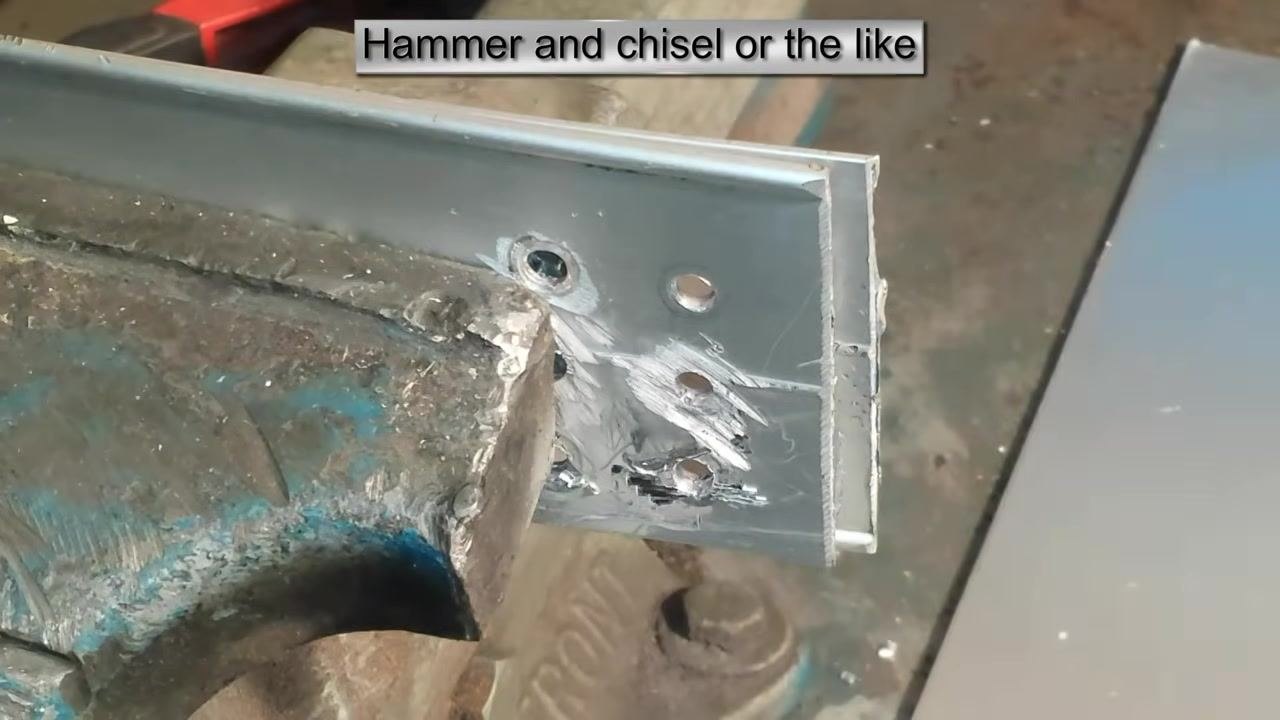
Place the chisel or flathead screwdriver at the edge of a rivet head, strike it with the hammer to shear off the head, and repeat for each rivet. Inspect the workpiece to confirm the rivet heads have been removed.
Position the chisel at the rivet edge
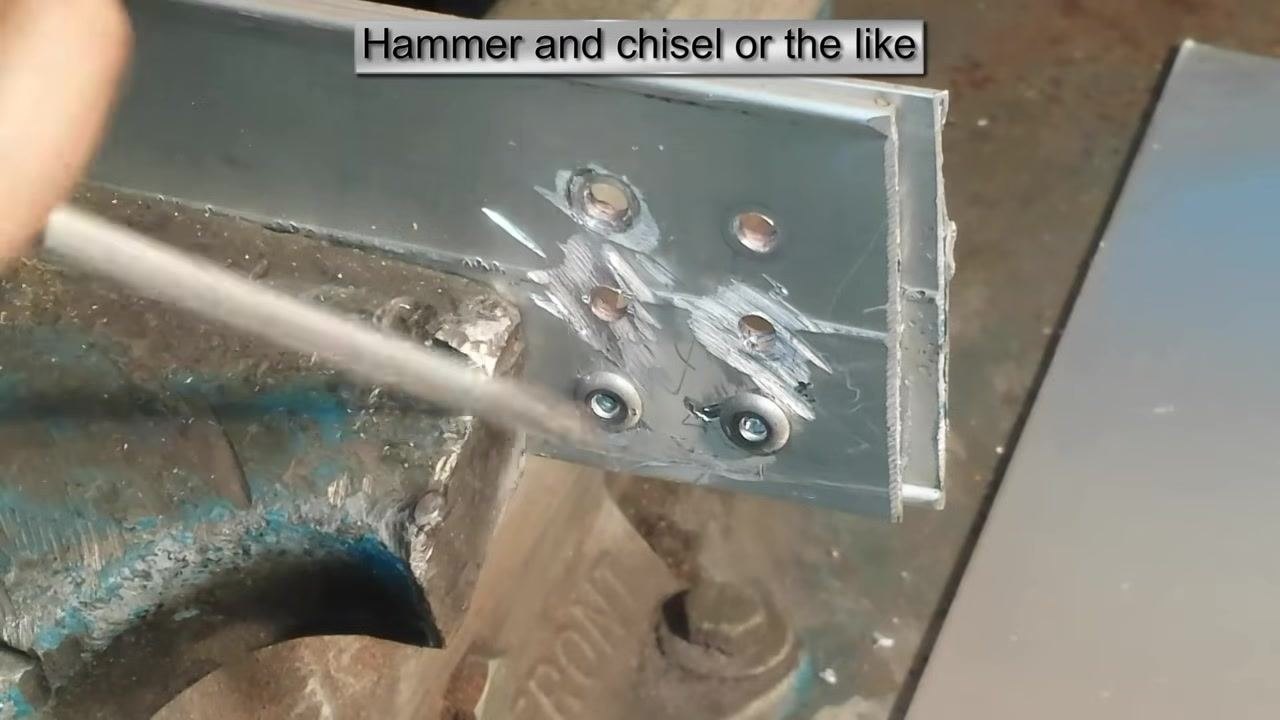
Hold the chisel or flathead screwdriver at the edge of the rivet head you wish to remove. Keep the workpiece clamped securely in the bench vise.
Shear off the rivet head
Strike the chisel or screwdriver with the hammer to shear off the rivet head. Keep your hands clear of the striking area during this action.
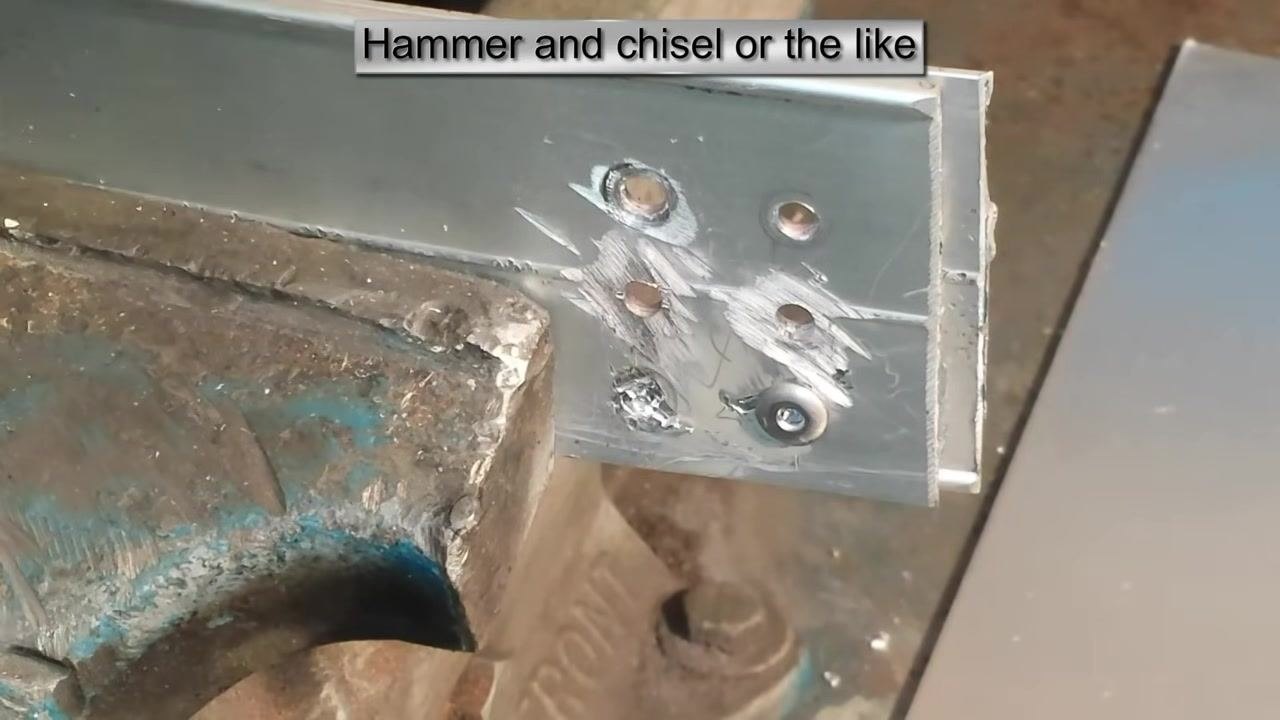
Clear remaining debris from the hole
Use the chisel or screwdriver to clear away any remaining metal fragments from the rivet hole by positioning the tool tip inside the hole to dislodge leftover material.
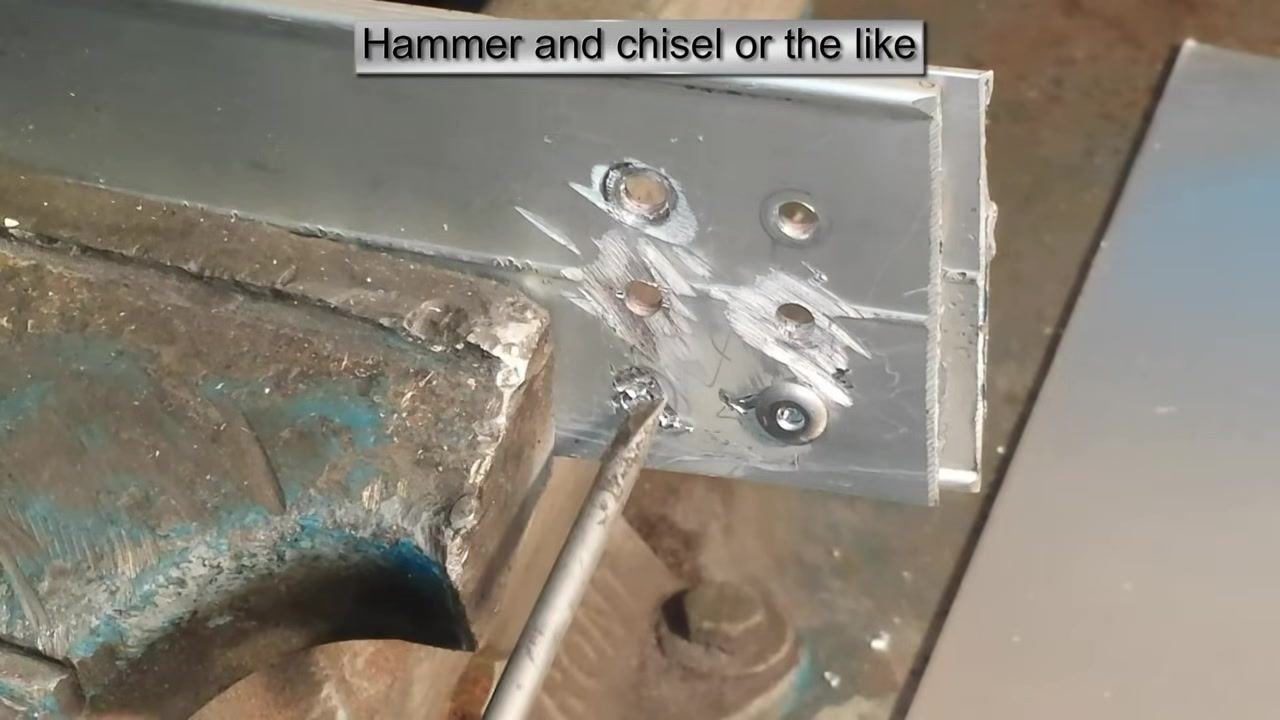
Continue with additional rivets
Repeat the position-strike-clear sequence for each remaining rivet: position the chisel, strike it with the hammer, and clear the debris.
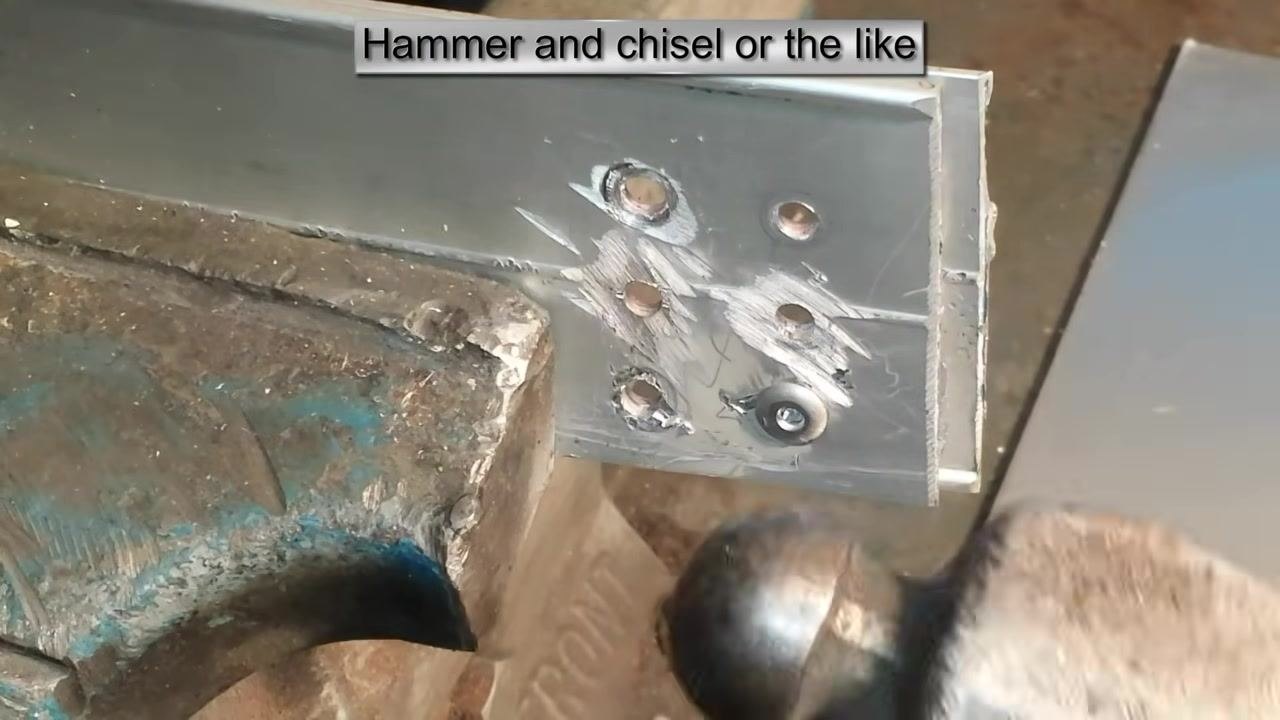
Inspect the workpiece
Once all rivet heads have been removed, inspect the workpiece to ensure the holes are clear and free of debris. Use your fingers to remove any stubborn fragments and check the smoothness of the holes.
Confirm all rivets removed
Verify the finished workpiece: all rivet heads should be removed, leaving clean holes and some tool marks. The L-bracket should remain clamped in the vise, with the workspace clear of loose tools.
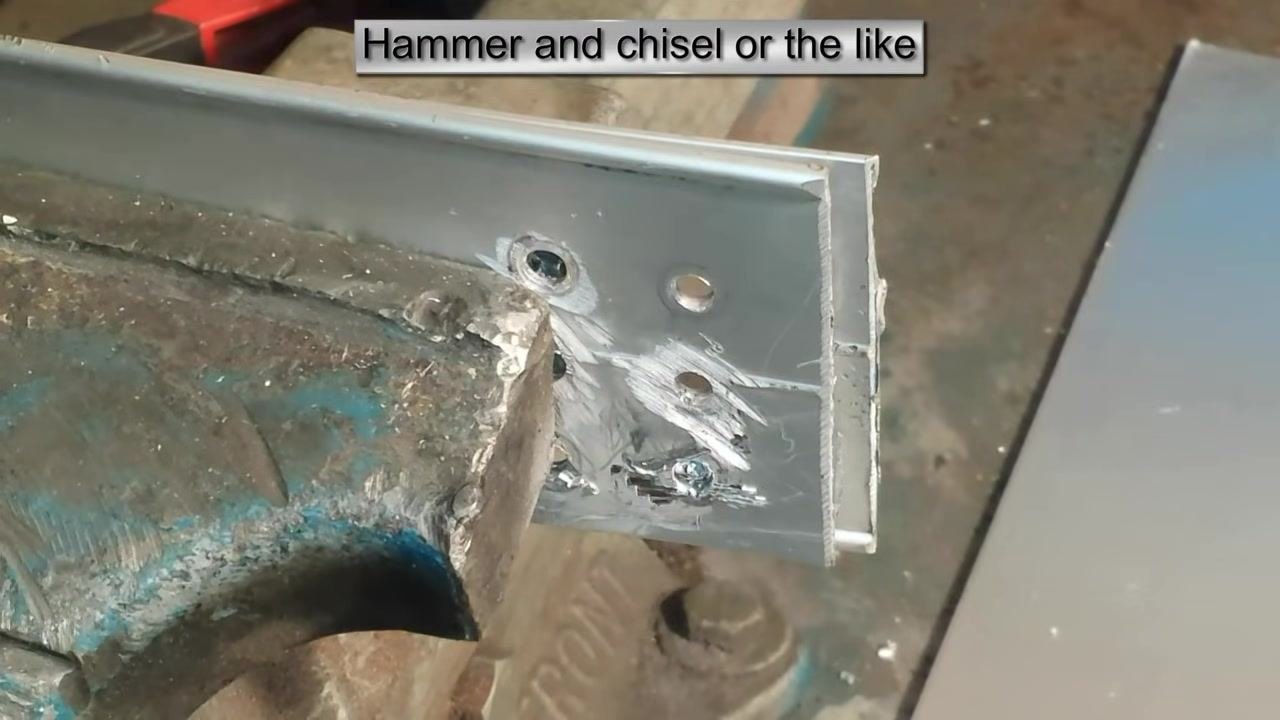
Finish the process
Confirm that all rivets have been successfully removed using the hammer and chisel method. The workpiece is now ready for further processing or assembly.
Verification and summary
You have now reviewed three effective methods for how to remove a rivet: drilling, grinding, and using a hammer and chisel. For each method, confirm the following before moving on:
- The workpiece remains securely clamped in the vise throughout the process.
- All rivet heads are fully removed and the holes are free of debris.
- Appropriate safety gear is worn at all times, and hands are kept clear of the striking area when using the hammer and chisel.
Once all rivets have been removed and the workpiece has been inspected, it is ready for further processing or assembly.
Generation details: cost, quality tiers
Docsie billed 1,500 credits ($1.05) to analyze this 3-minute video at standard quality. The rewrite, template fill and Word/PDF exports were included. The same video at each quality tier:
| Quality | Frames sampled | Credits | Approx. cost |
|---|---|---|---|
| Draft | every 16-30 s | 750 | $0.52 |
| Standard (this guide) | every 8-15 s | 1,500 | $1.05 |
| Detailed | every 4-7 s | 3,000 | $2.10 |
| Ultra | every 1-3 s | 6,000 | $4.20 |
Credits priced at $0.70 per 1,000; plans include a monthly allowance. Enterprise customers on on-premise or bring-your-own-model deployments run this on their own inference and pay no per-video credits.
Generated by Docsie Video-to-Docs on 2026-09-20 from a 2-minute video. Screenshots are frames from the source video and belong to their creator, Cruzdelasadas technical, whose original is embedded above. If you own this video and want the guide removed or credited differently, contact us and we will act within one business day.