
How to Change Your Availability in UKG
If your schedule changes due to school, a second job, or a seasonal position, you can change your availability in UKG Pro directly from the app. This guide walks you through submitting an availability change request, filling in your weekly timeframes, and sending it to your manager for approval.
Video: How to Put in Availability - UKG Pro App by ThePaigeGirls. All credit for the demonstration goes to the creator; watch the original on YouTube. The written guide below was generated from this video by Docsie. Creator? Request a change or removal.
If your schedule changes due to school, a second job, or a seasonal position, you can change your availability in UKG Pro directly from the app. This guide walks you through submitting an availability change request, filling in your weekly timeframes, and sending it to your manager for approval.
Prerequisites
- The UKG Pro app installed on your device.
- Access to the app's home screen and My Shortcuts section.
- If My Schedule doesn't appear in your shortcuts yet, follow Step 2 below to add it.
Open your schedule
Launch the UKG Pro app. On the home screen, look at the My Shortcuts section and confirm that My Schedule is listed alongside options like My Timecard, Pay, Org Chart, and Benefits.
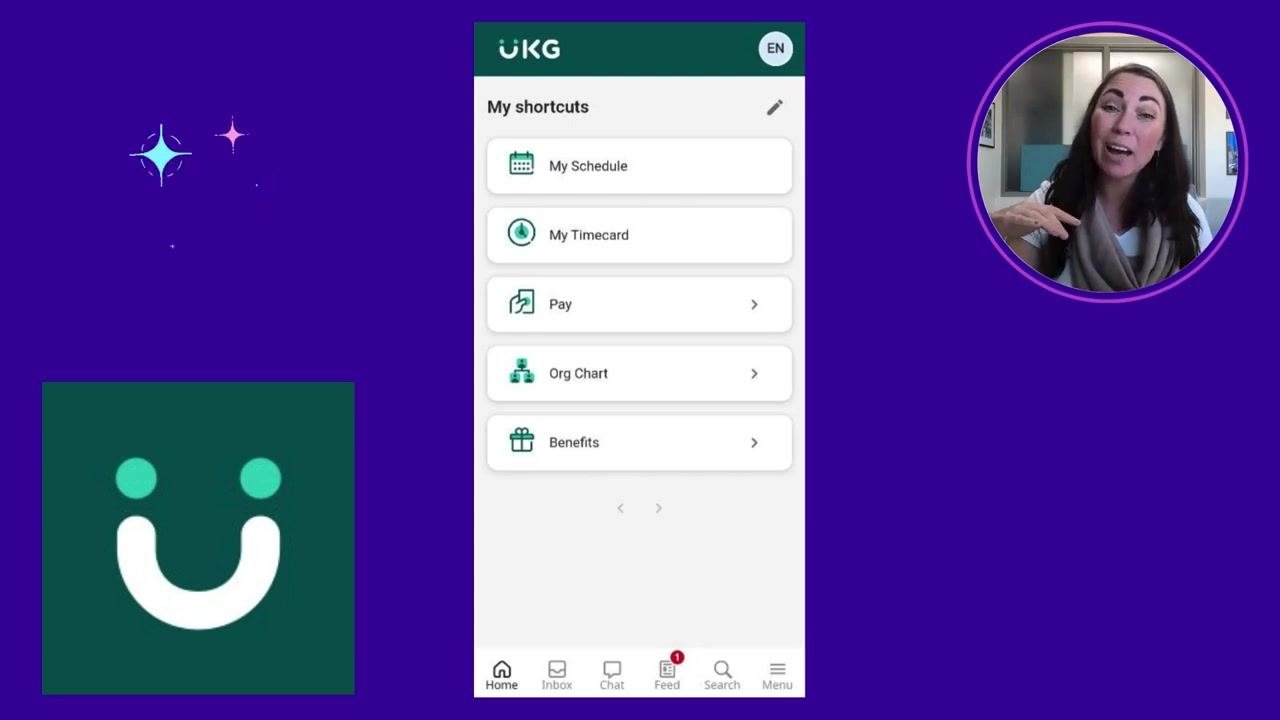
Add the My Schedule shortcut (if needed)
If My Schedule isn't listed, tap the pencil icon in the upper right corner of the My Shortcuts section and add My Schedule from the available options. If it still doesn't appear after customizing your shortcuts, your account may need up to 24 hours to be fully set up in the system.
Open your schedule calendar
Tap My Schedule from your shortcuts to open your schedule calendar.
Start an availability change request
In the My Schedule view, tap the Request button in the top left-hand corner. A drop-down menu appears with several options. Select Change availability.
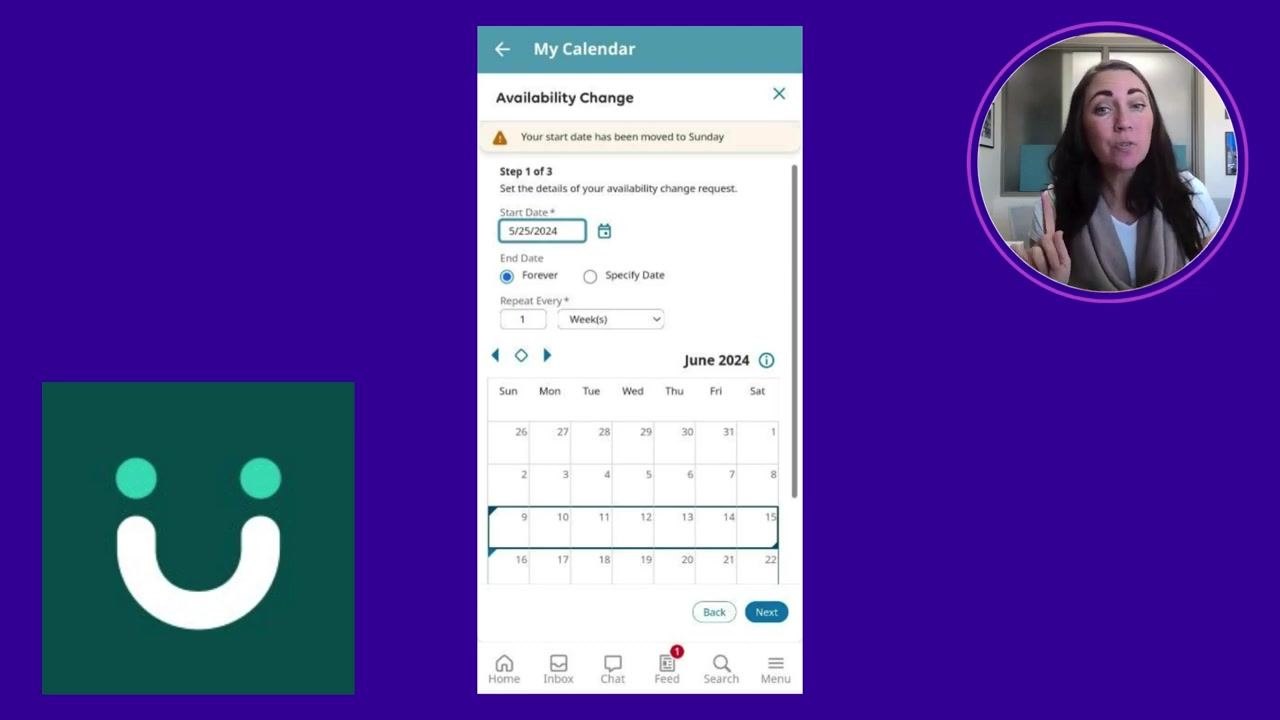
Enter the basic details of your request
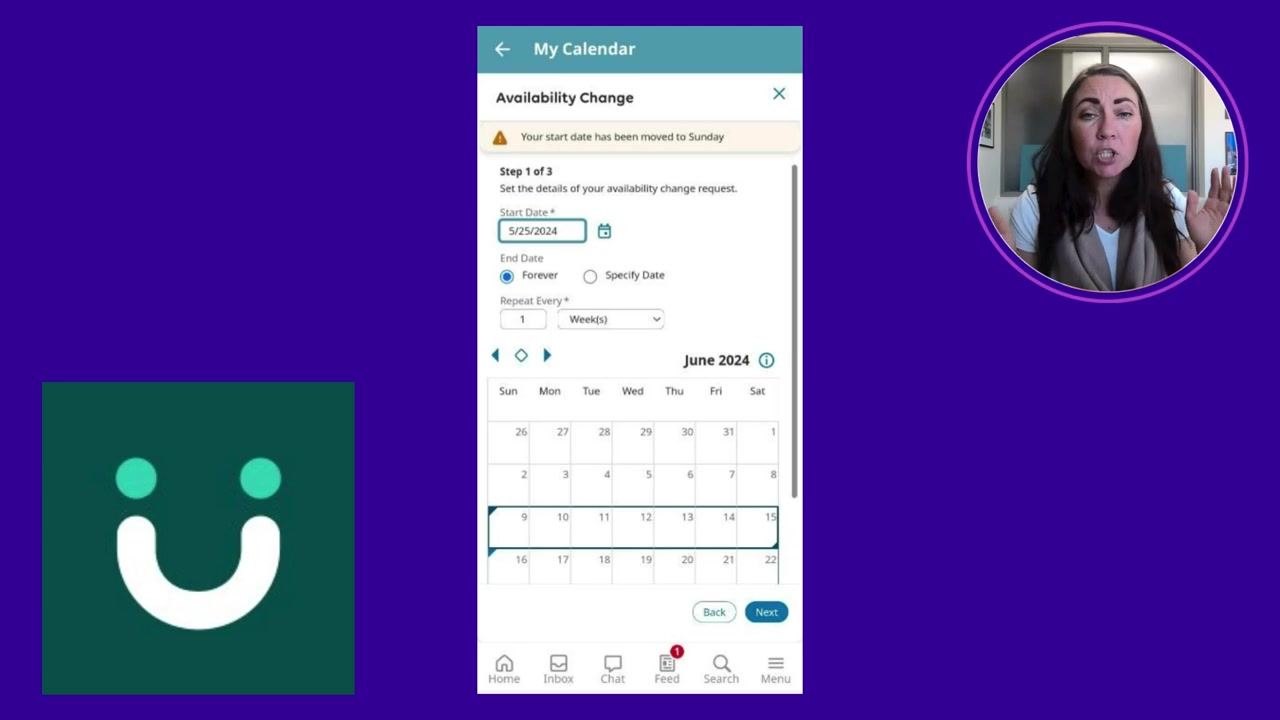
You're taken to the Availability Change screen (Step 1 of 3). Fill in the following fields:
- Start Date – the date your new availability should begin, for example 5/25/2024.
- End Date – choose Forever for an ongoing change, or Specify Date if the availability will end on a certain date.
- Repeat Every – how often this availability repeats, for example every 1 week.
If your availability is changing because of seasonal work, school schedules, or another temporary reason, make sure your start and end dates accurately reflect that change.
Set a specific end date for seasonal or temporary availability
If your availability only applies to a specific season, such as while a seasonal workplace is open, select Specify Date for the End Date and enter the last day the availability applies. This keeps it from carrying over into the following year.
Choose your repeat pattern and continue
In the Repeat Every field, set how often your availability repeats:
- Select 1 week for a consistent weekly schedule.
- Select 2 weeks if your schedule alternates every other week, for example due to custody arrangements or school activities.
Adjust the interval to match your personal schedule, then tap Next in the bottom right corner.
Select the days to edit
On the Edit your availability screen (Step 2 of 3), you'll see a list of days from Sunday to Saturday with a timeline for each. Check the box next to any day that shares the same availability — for example, check Sunday — then tap Edit Availability to begin entering times.
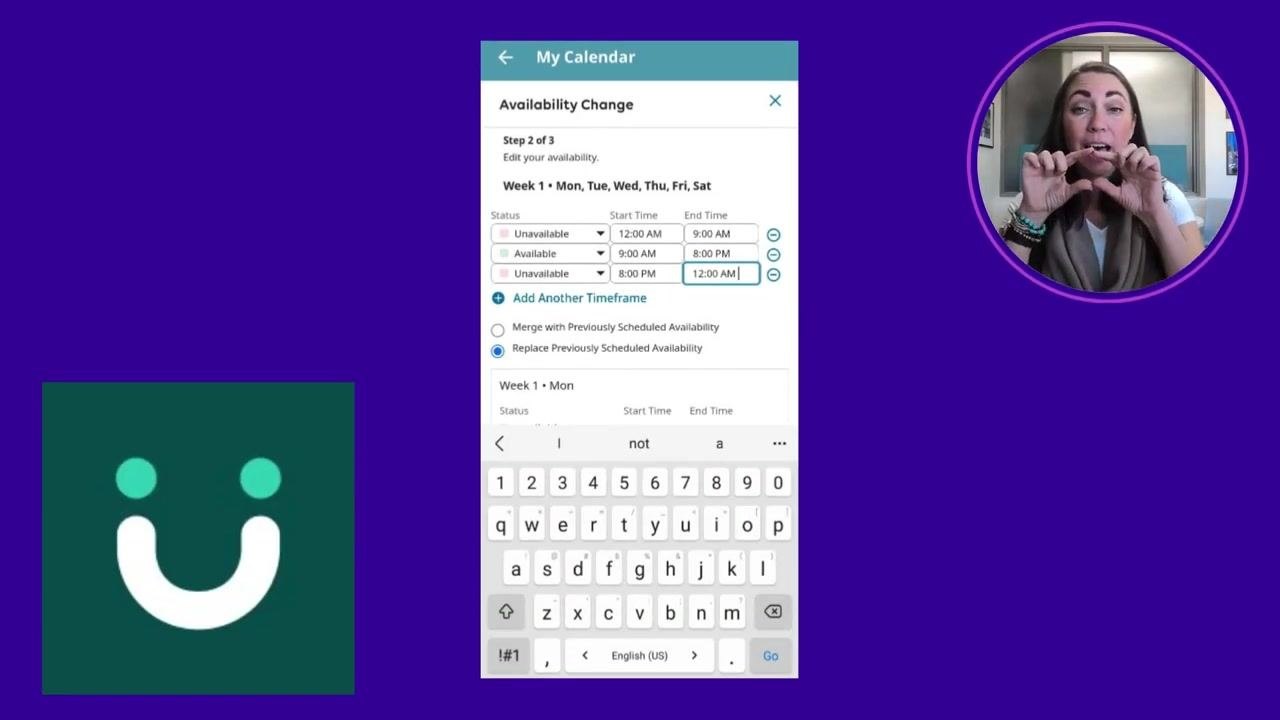
Enter timeframes for each selected day
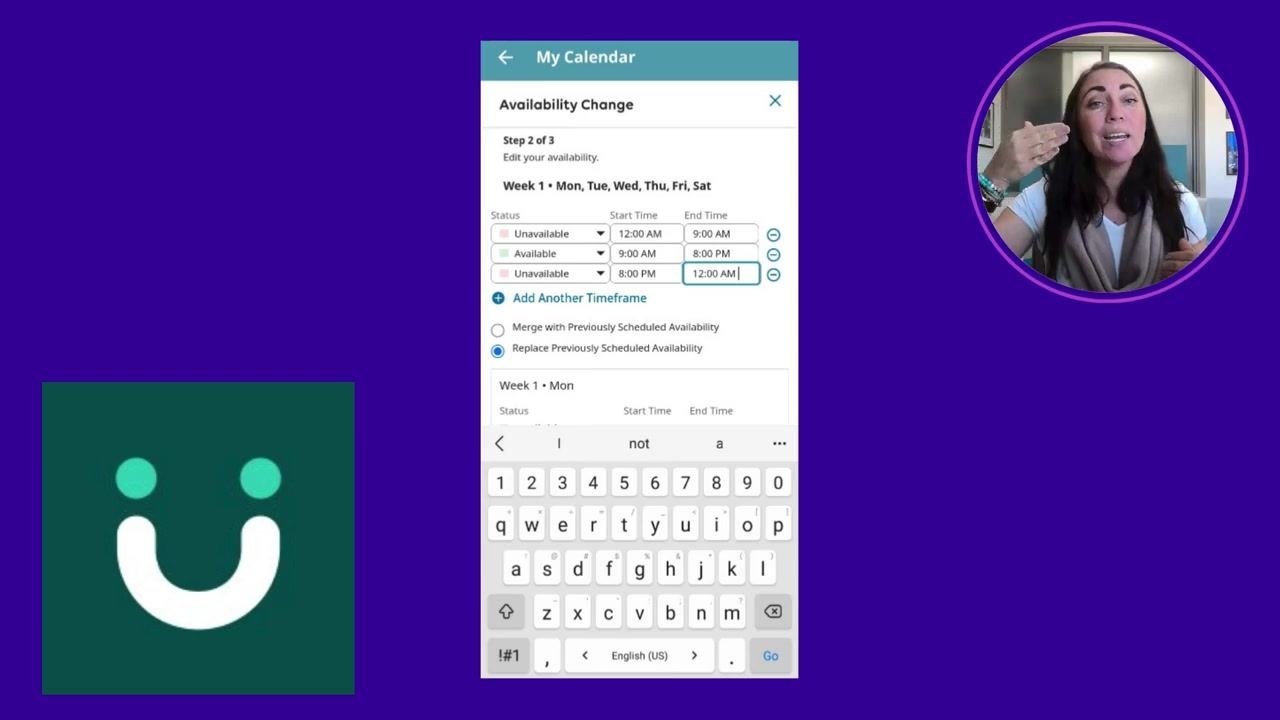
For each day you select, fill the entire 24-hour period using three timeframes so there are no gaps:
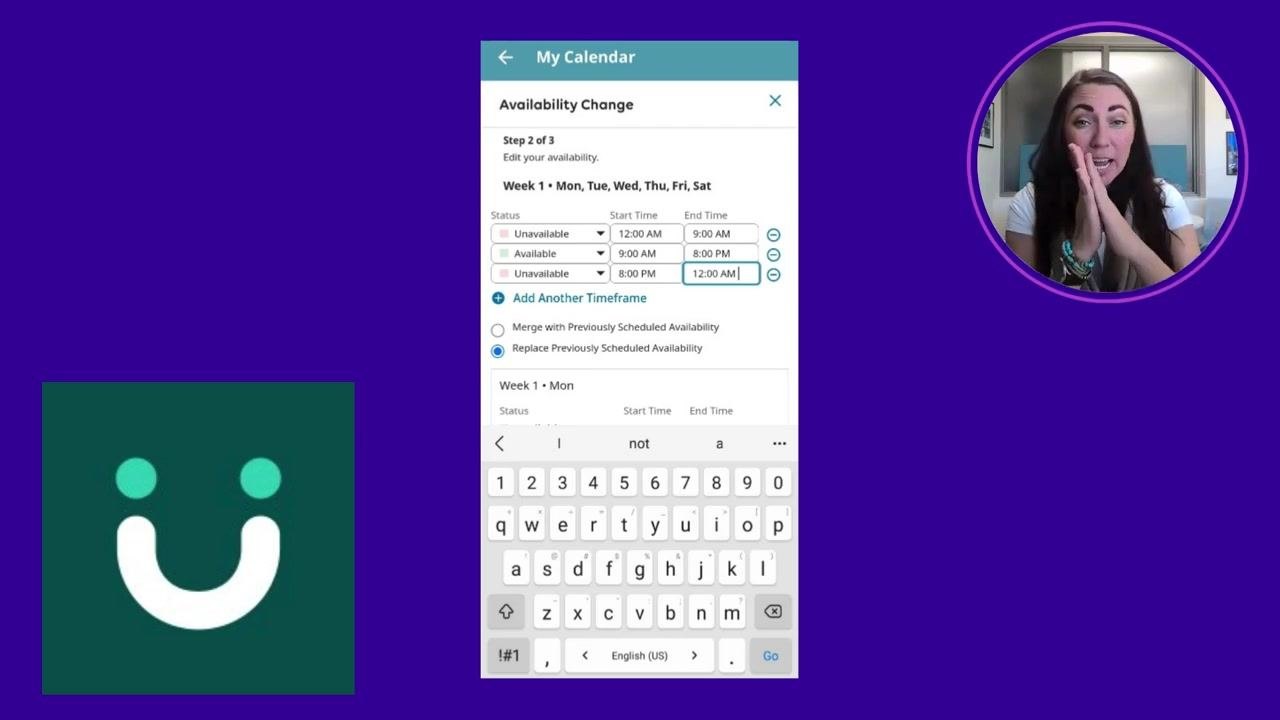
- Unavailable: 12:00 AM – 9:00 AM
- Available: 9:00 AM – 8:00 PM
- Unavailable: 8:00 PM – 12:00 AM
This pattern shows your day clearly as unavailable (red), available (green), unavailable (red).
Repeat for additional days
If other days, such as Wednesday through Friday, have different availability, repeat the process and enter the appropriate timeframes for each one. Make sure every day is fully covered with either Available or Unavailable status, with no gaps.
Confirm timeframes across the week
Check that each selected day is fully covered. For example, set Monday through Saturday to Available from 9:00 AM to 8:00 PM, with Unavailable periods before and after. For days you're completely unavailable, such as Sunday, mark the entire day as unavailable.
Choose to merge or replace previous availability
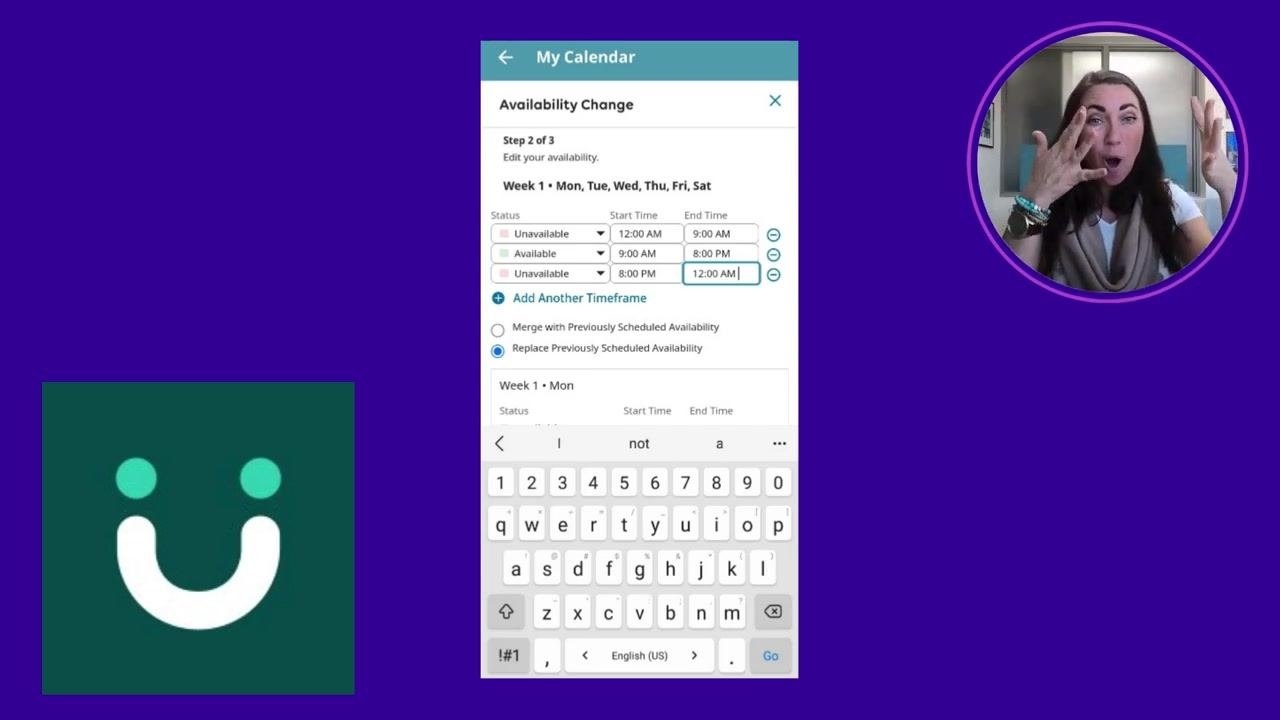
Decide whether to merge your new availability with any previously scheduled availability, or replace the old settings entirely. Select the radio button that matches your needs — this matters if you've set availability before or are updating an existing schedule.
Review the visual grid of your availability
After saving your timeframes, the app displays a weekly grid: red bars mean unavailable, green bars mean available. For example, a fully unavailable Sunday shows as an all-red row, while Monday through Saturday shows green bars for your available hours with red on the edges.
Verify your weekly availability
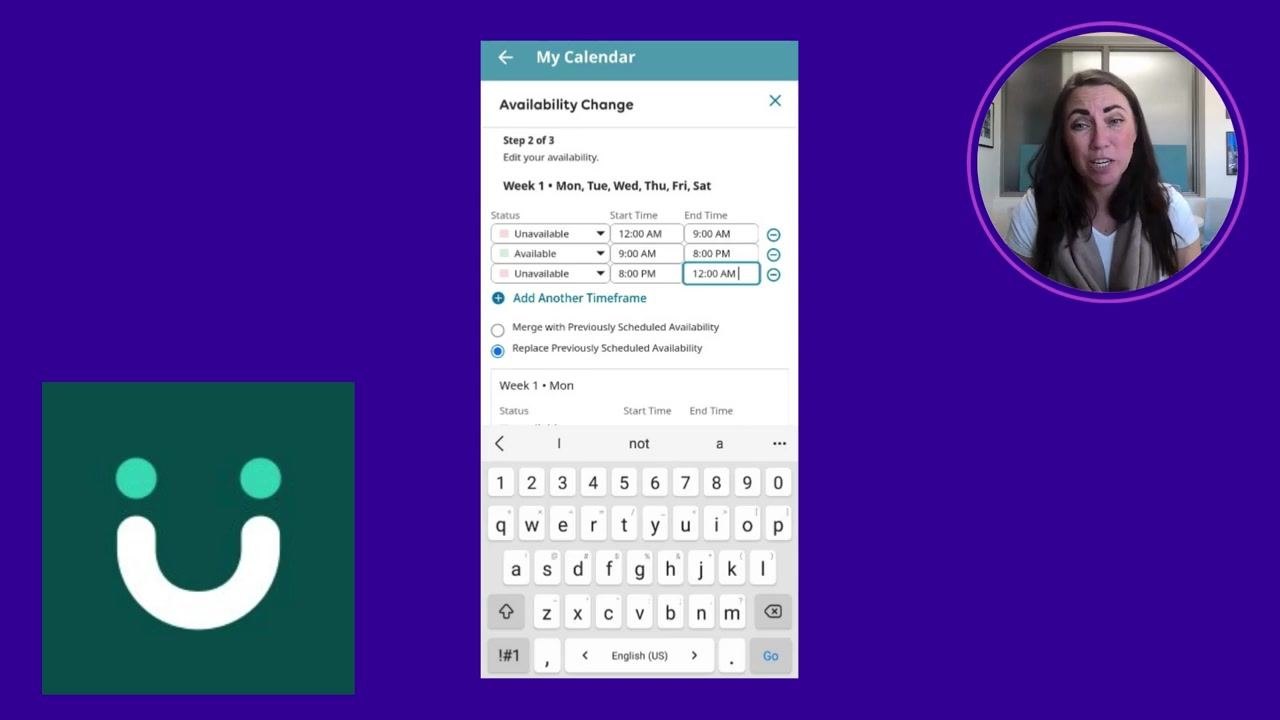
Double-check that every day and time is marked correctly according to your preferences, with no gaps or mistakes.
Proceed to review
Tap the Review button in the bottom right of the screen. This opens a calendar view summarizing your availability for the selected period.
Review the calendar summary
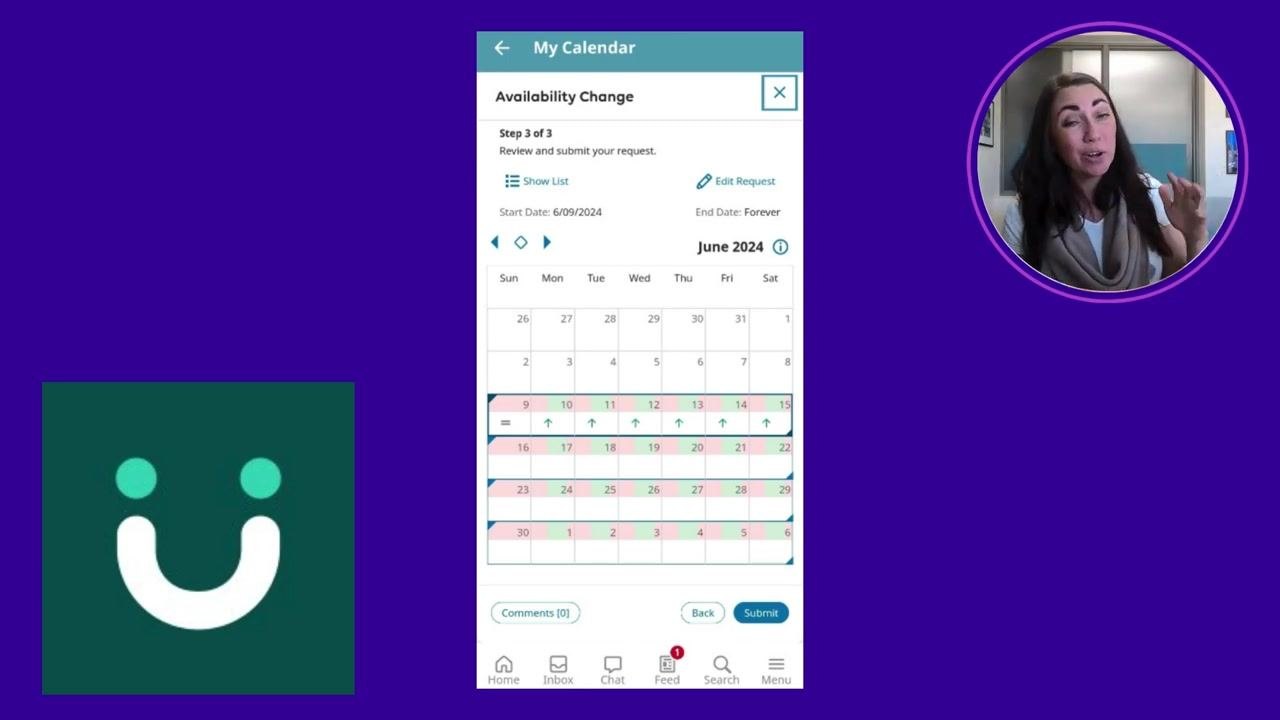
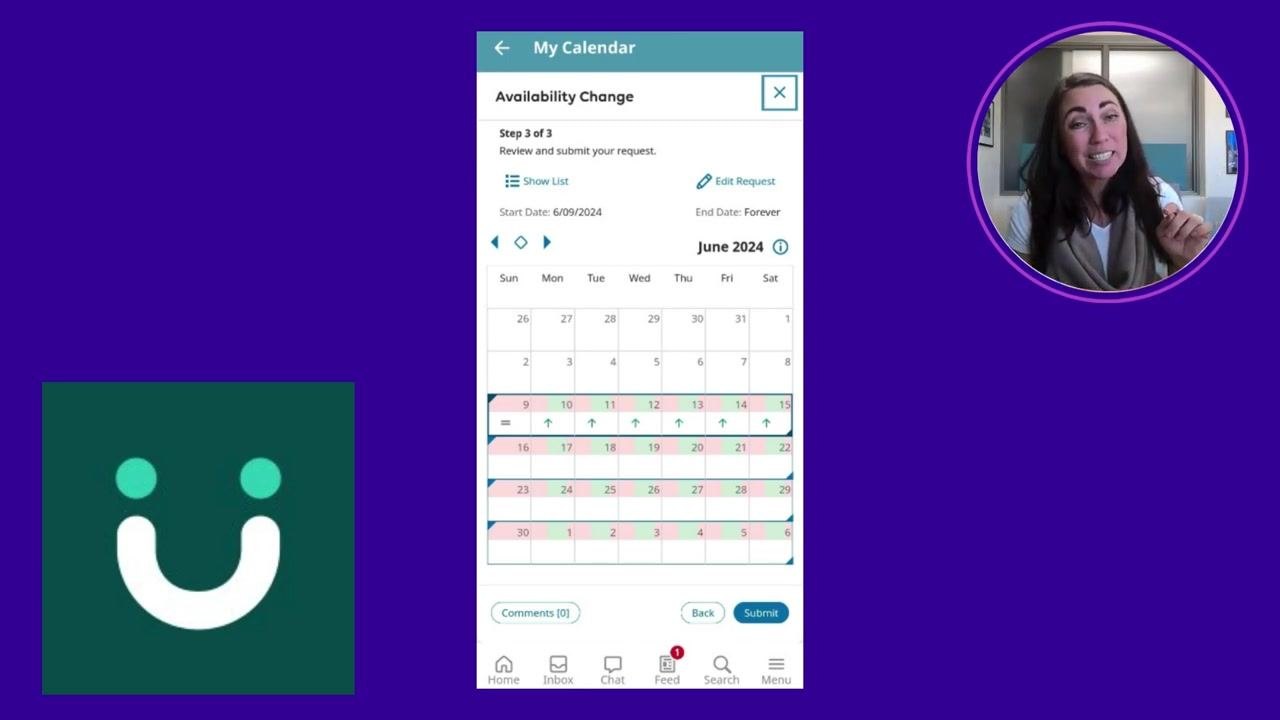
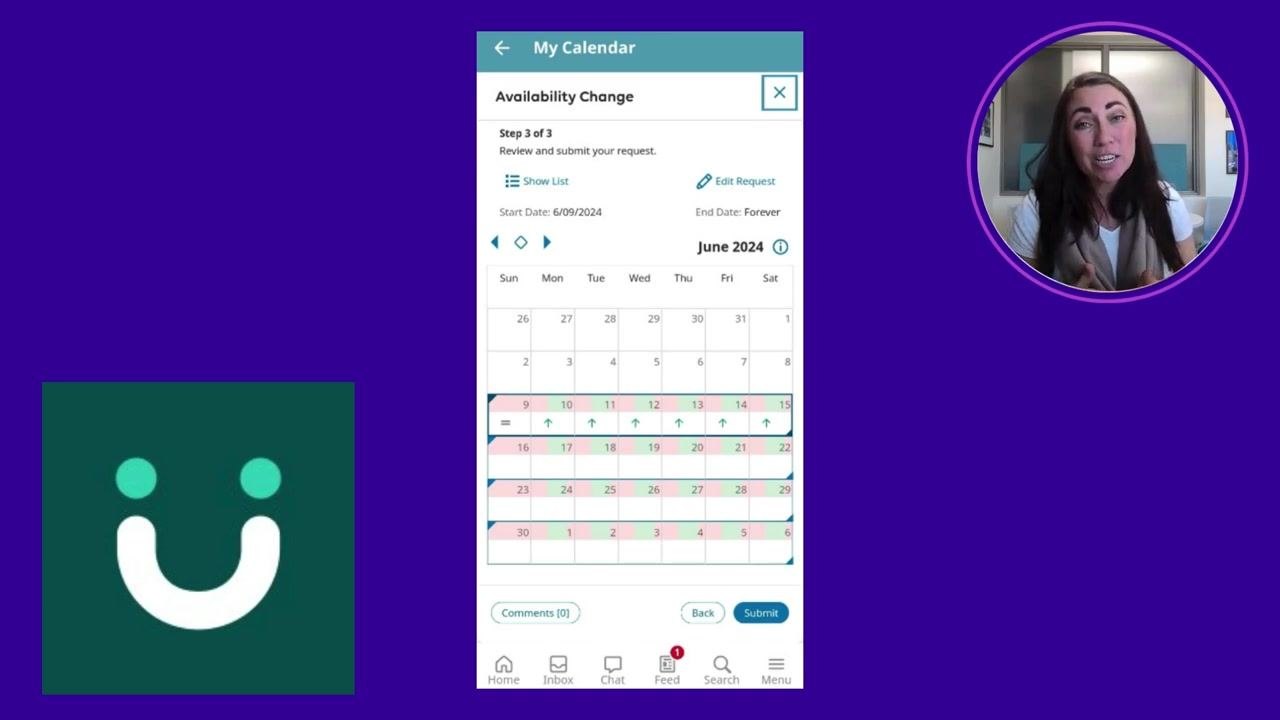
On the Step 3 of 3: Review and submit your request screen, check the monthly calendar. Each day is color-coded — green for available, red for unavailable. Confirm that every day is colored as expected before continuing.
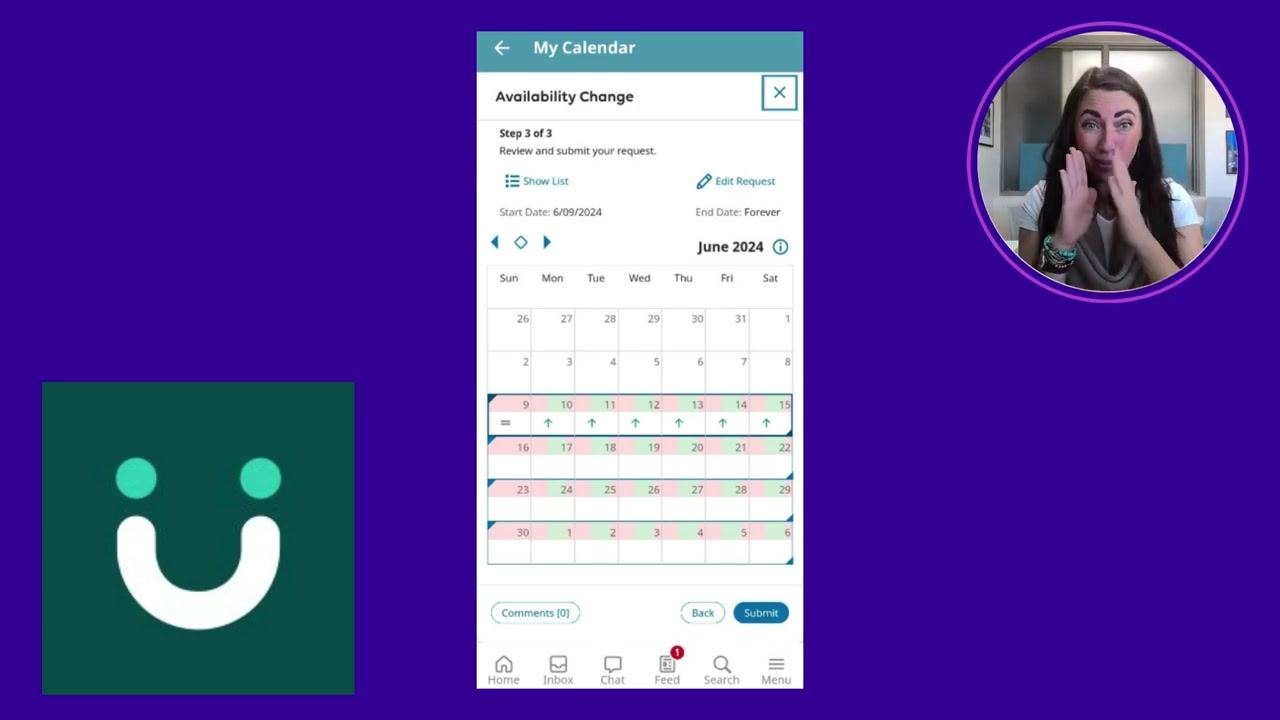
Submit your availability for manager approval
Once your schedule looks correct, tap Submit in the bottom right. Your request is sent to your manager for review.
What happens after you submit
Your manager reviews your submitted schedule to confirm all timeframes are correct and that there are no conflicts. Once everything checks out, your manager approves your availability.
After approval, your submitted availability becomes your official schedule in the system. Every time your manager creates or updates the work schedule, it automatically uses your approved availability — so you're never scheduled outside the times you've set.
Getting help
If you have questions or run into issues while entering your availability, reach out to your manager. Accurate availability benefits both you and your management team, so managers are available and ready to help.
Summary
You've now learned how to change your availability in UKG Pro — from opening your schedule and starting a change request, to entering daily timeframes, merging or replacing prior settings, and submitting your request for manager approval. Keeping your availability current ensures you're only scheduled for shifts that fit your needs.
Generation details: cost, quality tiers
Docsie billed 3,000 credits ($2.10) to analyze this 6-minute video at standard quality. The rewrite, template fill and Word/PDF exports were included. The same video at each quality tier:
| Quality | Frames sampled | Credits | Approx. cost |
|---|---|---|---|
| Draft | every 16-30 s | 1,500 | $1.05 |
| Standard (this guide) | every 8-15 s | 3,000 | $2.10 |
| Detailed | every 4-7 s | 6,000 | $4.20 |
| Ultra | every 1-3 s | 12,000 | $8.40 |
Credits priced at $0.70 per 1,000; plans include a monthly allowance. Enterprise customers on on-premise or bring-your-own-model deployments run this on their own inference and pay no per-video credits.
Generated by Docsie Video-to-Docs on 2026-10-06 from a 5-minute video. Screenshots are frames from the source video and belong to their creator, ThePaigeGirls, whose original is embedded above. If you own this video and want the guide removed or credited differently, contact us and we will act within one business day.