
How to Create a Calendar in SharePoint
This guide shows you how to create a calendar in SharePoint, add it to your site navigation, populate it with events, connect it to Outlook, and restrict who can edit it. Follow the steps below in order to set up a fully functional team calendar.
Video: Create a Team Calendar in SharePoint (Step-by-Step Tutorial) by Michael Alex (2022). All credit for the demonstration goes to the creator; watch the original on YouTube. The written guide below was generated from this video by Docsie. Creator? Request a change or removal.
This guide shows you how to create a calendar in SharePoint, add it to your site navigation, populate it with events, connect it to Outlook, and restrict who can edit it. Follow the steps below in order to set up a fully functional team calendar.
Prerequisites
- Access to a SharePoint site with permissions to add apps and edit navigation.
- A web browser with access to your SharePoint site.
- Outlook installed if you plan to connect the calendar for desktop viewing.
Navigate to your SharePoint site
Open your browser and go to your SharePoint site's main page. The site title and layout may differ from one site to another, but the process for creating a calendar remains the same.
Start creating a new app
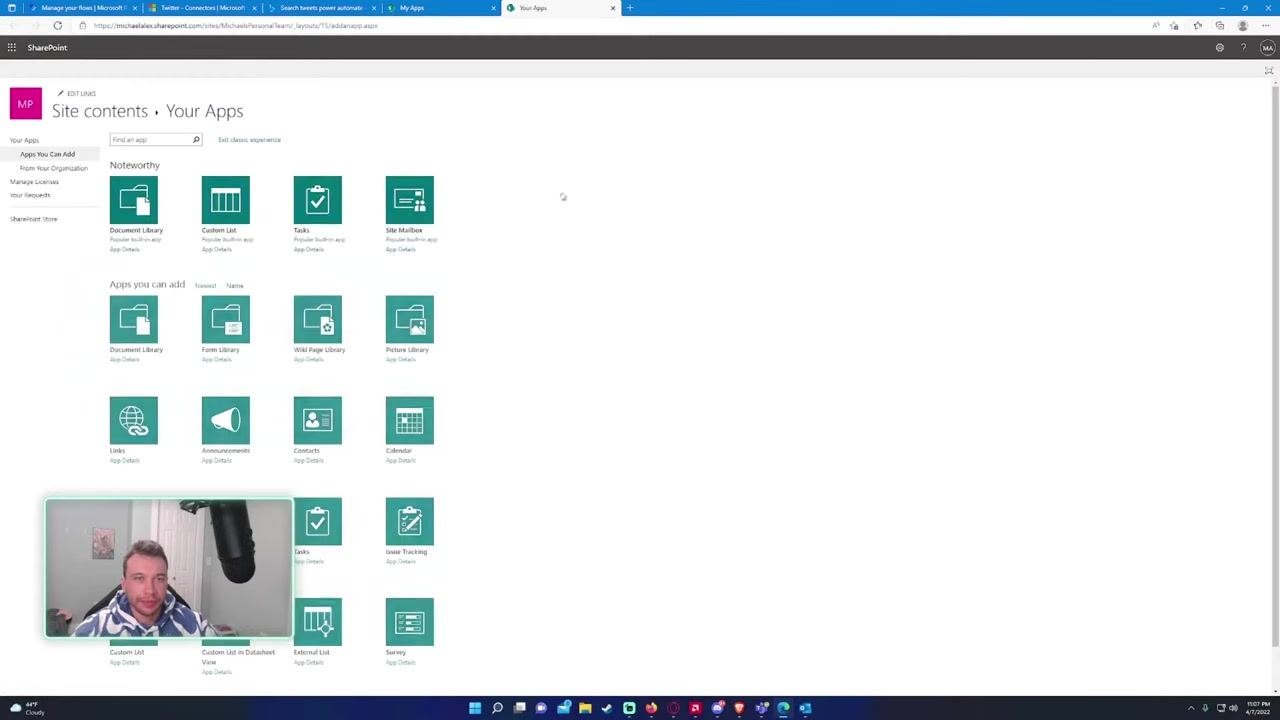
Click the New button at the top of the page, then select App from the dropdown menu.
If you see an option for Classic Experience, click it to access the traditional app selection interface.
Locate and select the Calendar app
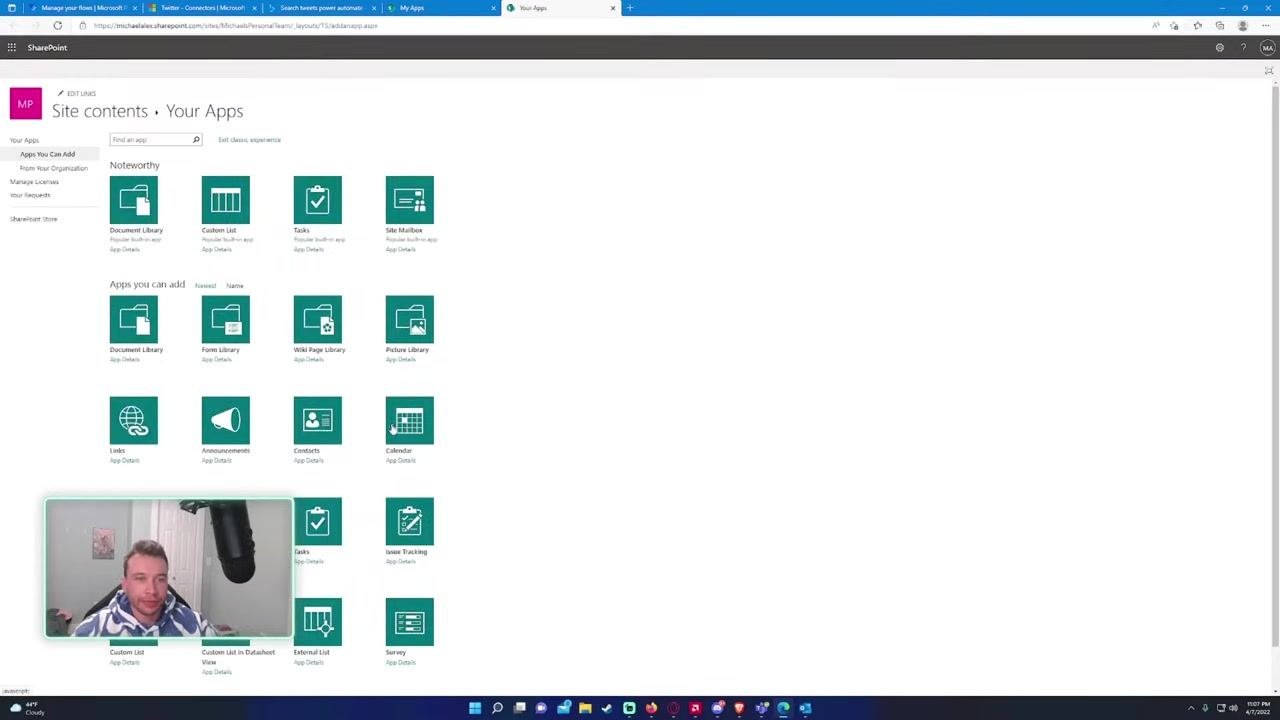
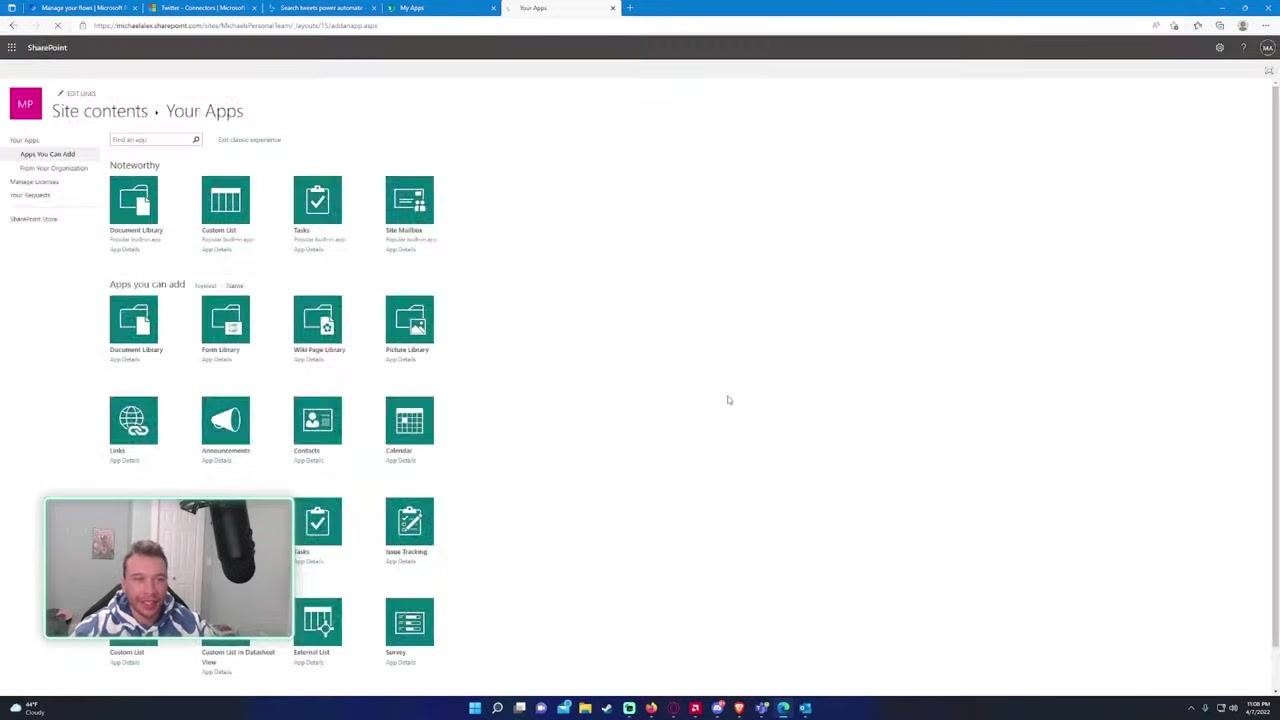
On the "Site contents > Your Apps" page, scroll down to find the Calendar app listed under "Apps you can add," then click the Calendar tile.
Name your calendar
When prompted, enter a name for your calendar—for example, Team Calendar—then click Create to add the calendar to your site.
Access the newly created calendar
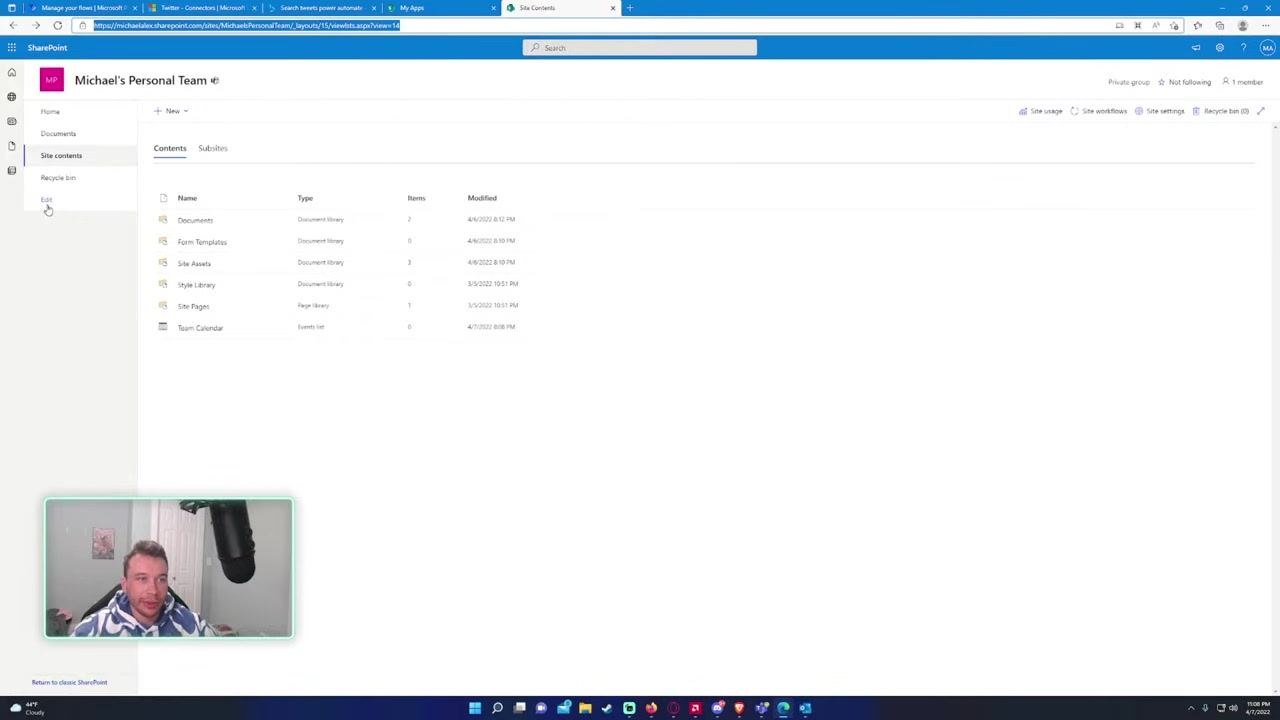
After creation, you are redirected to the Site contents page. Locate your new calendar (for example, "Team Calendar") in the list and click it to open it.
View the calendar
The calendar opens in a monthly view showing days and dates. Confirm that your calendar is set up and visible before continuing.
Add the calendar to site navigation
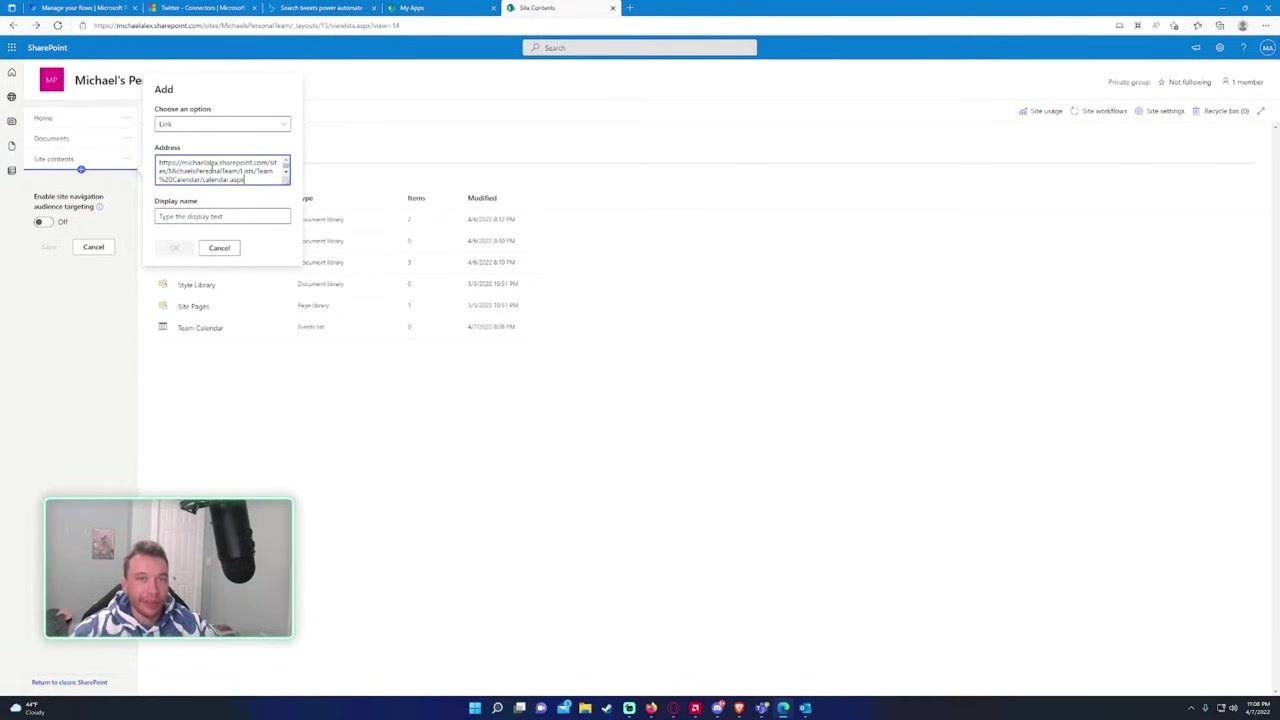
To make the calendar easy for your team to find, add it to the site navigation:
- Copy the calendar's URL from the browser address bar (Ctrl+C, or right-click and select Copy).
- On the left navigation bar, click Edit at the bottom.
- Hover over the lowest navigation item and click the plus (+) icon to add a new link.
Configure the navigation link
In the "Add" dialog, complete the following fields:
- Set Choose an option to Link.
- Paste the copied calendar URL into the Address field.
- Clear any pre-filled text in the Display name field and enter Team Calendar.
- Click OK to save.
Your calendar is now created and accessible from the site navigation menu.
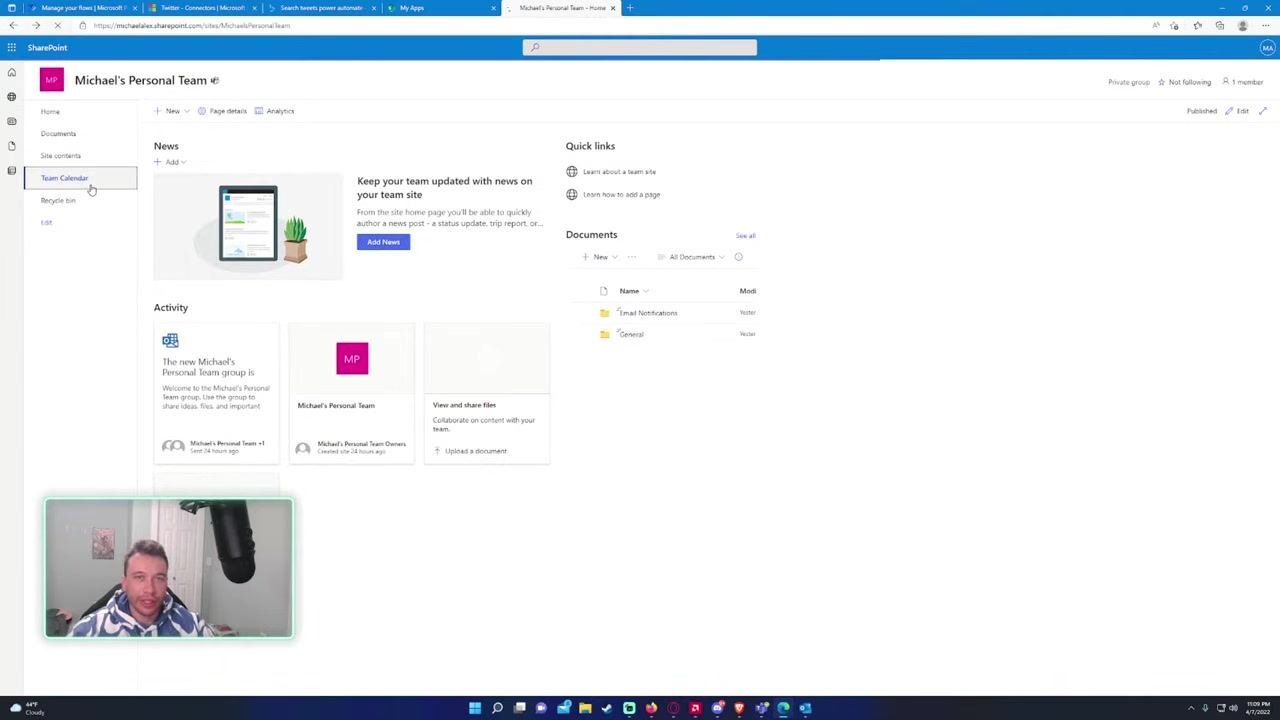
Open the calendar from site navigation
Click the Team Calendar link in your SharePoint site's left navigation menu. The calendar opens in a monthly view.
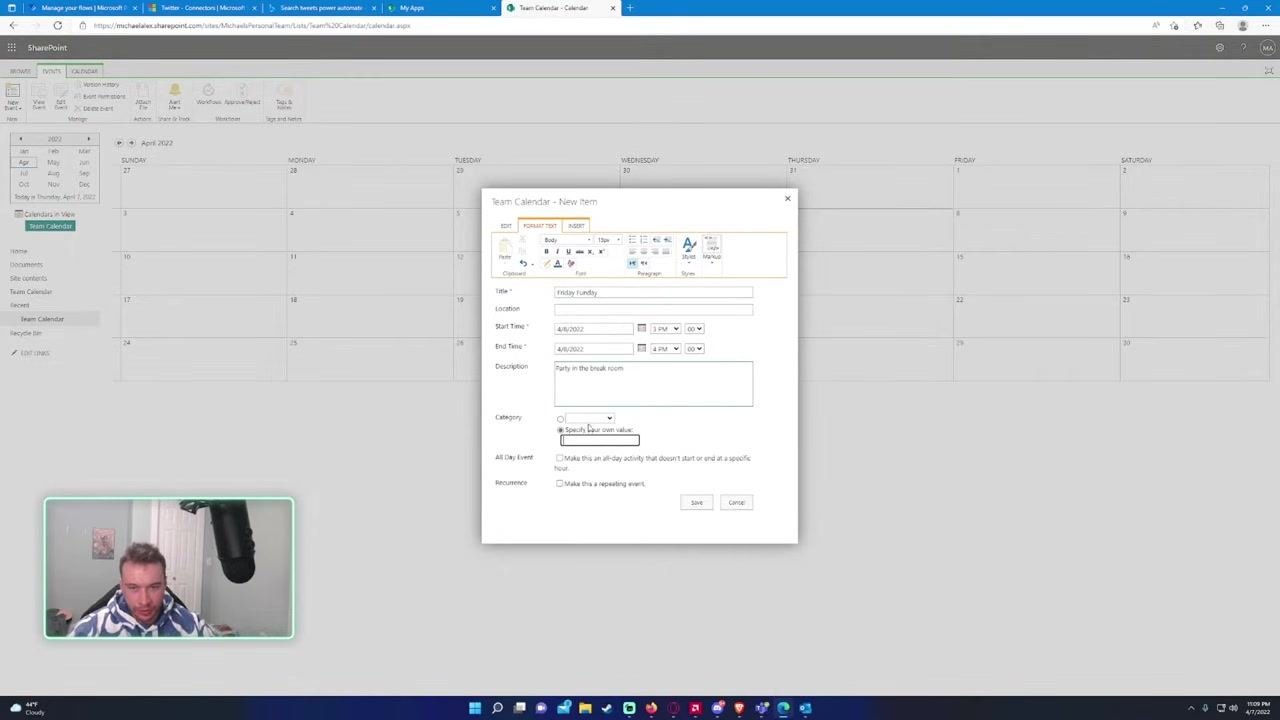
Add a new event
Click New Event (or New) at the top of the calendar. A dialog titled Team Calendar - New item appears. Enter the event details:
- Title: Friday Funday
- Start Time: 4/8/2022, 3:00 PM
- End Time: 4/8/2022, 4:00 PM
- Description: Party in the break room. Get together.
Leave other fields at their defaults unless you need to specify a category or make the event recurring or all-day, then click Save.
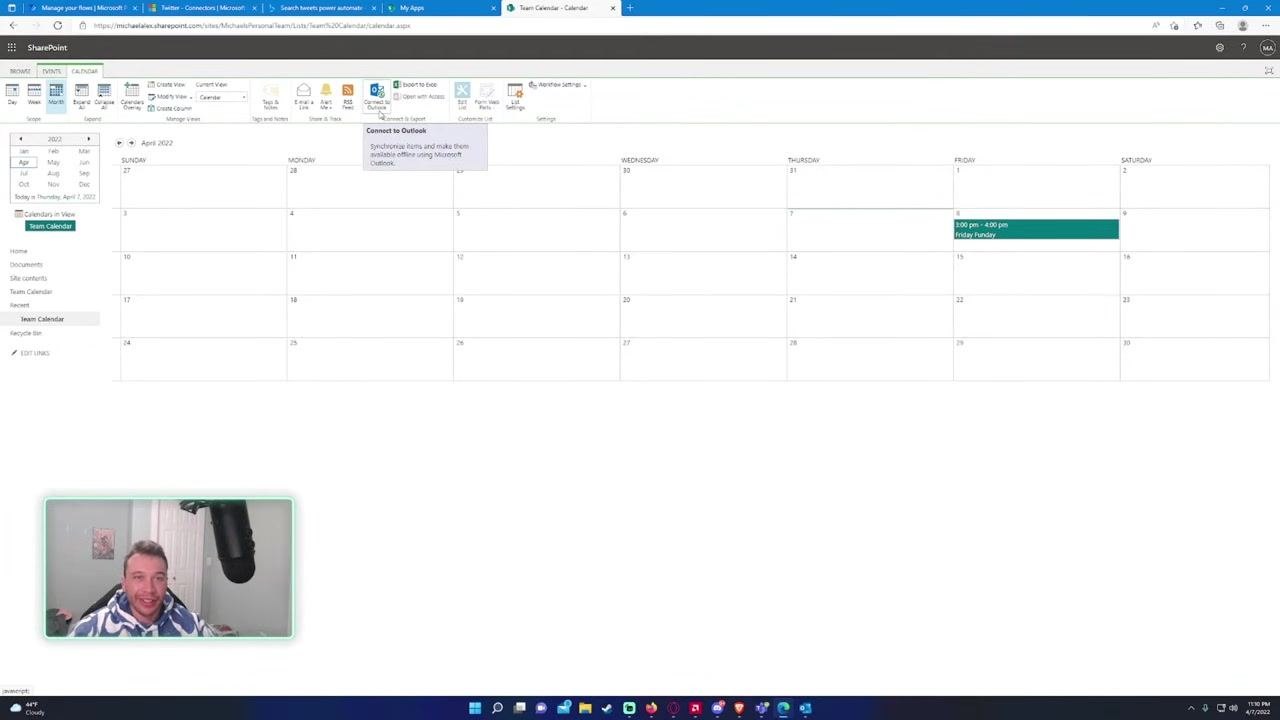
Verify the event is added
Confirm that the new event appears on the calendar grid at the correct date and time. Hovering over the event displays its details.
Connect the calendar to Outlook
In the calendar view, click the Calendar tab at the top and select Connect to Outlook from the ribbon. When prompted, click Yes to allow Outlook to connect to your SharePoint calendar.
View the calendar in Outlook
After connecting, Outlook opens and displays your SharePoint calendar alongside your other calendars. Verify that the "Friday Funday" event appears under the correct calendar.
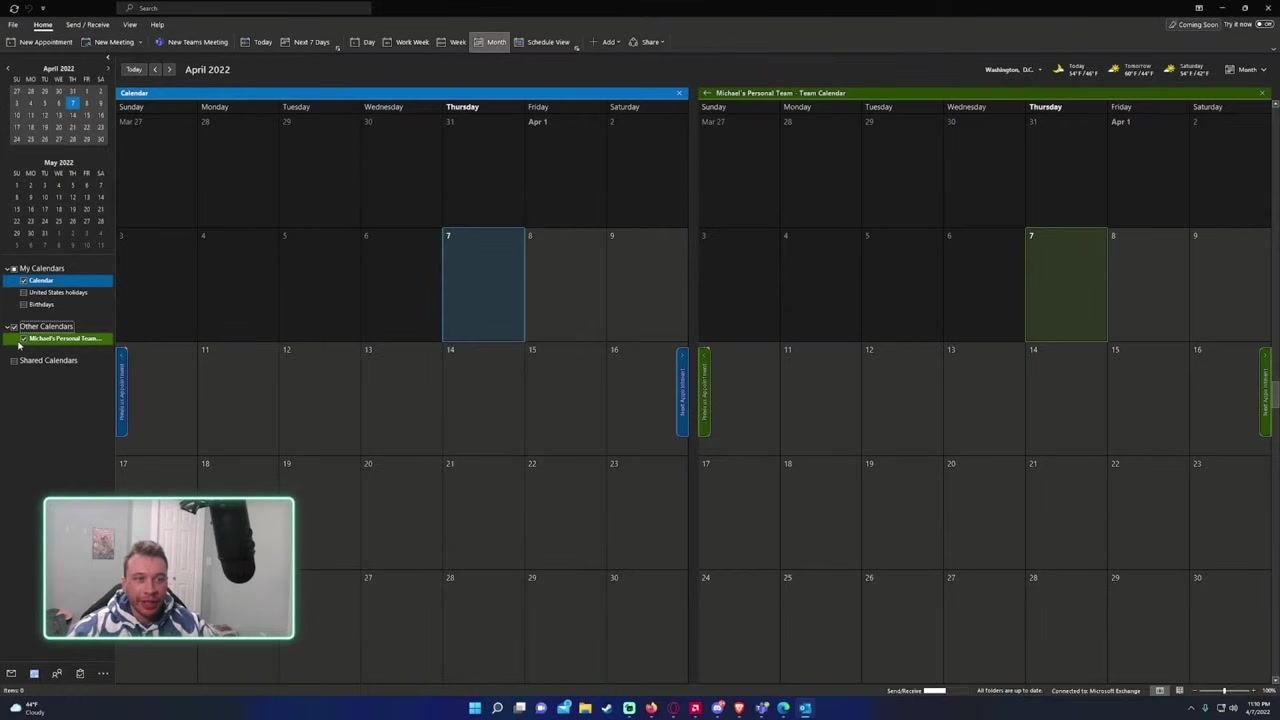
Restrict permissions to owners only
If you want only site owners to add events to the calendar, open the Calendar tab and click List Settings or Permissions (the exact label may vary). If the "Event Permissions" button is disabled, confirm you have the necessary permissions or select the calendar object first. Then adjust the settings so that only owners can add or edit events, and restrict or remove member permissions as needed.
Open calendar list settings
Navigate to your SharePoint calendar, click the Settings gear icon, and select List settings. On the Team Calendar - Settings page, review the sections for List Information, General Settings, Permissions and Management, and Content Types. Under Permissions and Management, click Permissions for this list.
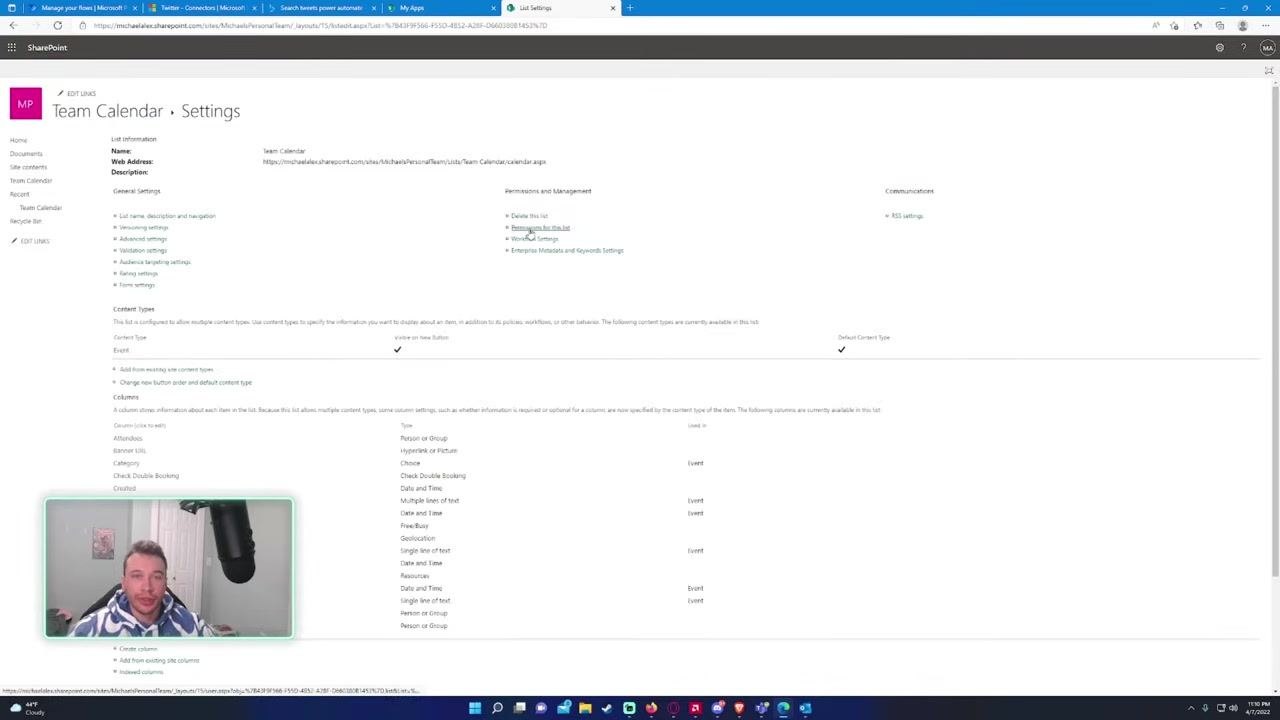
Stop inheriting permissions
On the permissions page, a yellow banner indicates that the calendar currently inherits permissions from the parent site. Click Stop Inheriting Permissions in the ribbon. A confirmation dialog states: "You are about to create unique permissions for this list. Changes made to the parent site permissions will no longer affect this list." Click OK to confirm.
Modify member permissions
After breaking inheritance, you see a list of SharePoint groups (such as Owners, Members, and Visitors) with their current permission levels. Select the checkbox next to the Members group (for example, "Michael_s Personal Team Members") and click Edit User Permissions in the ribbon. On the Edit Permissions screen, change the permission level for Members from Edit to Read by selecting the Read checkbox, then click OK to save.
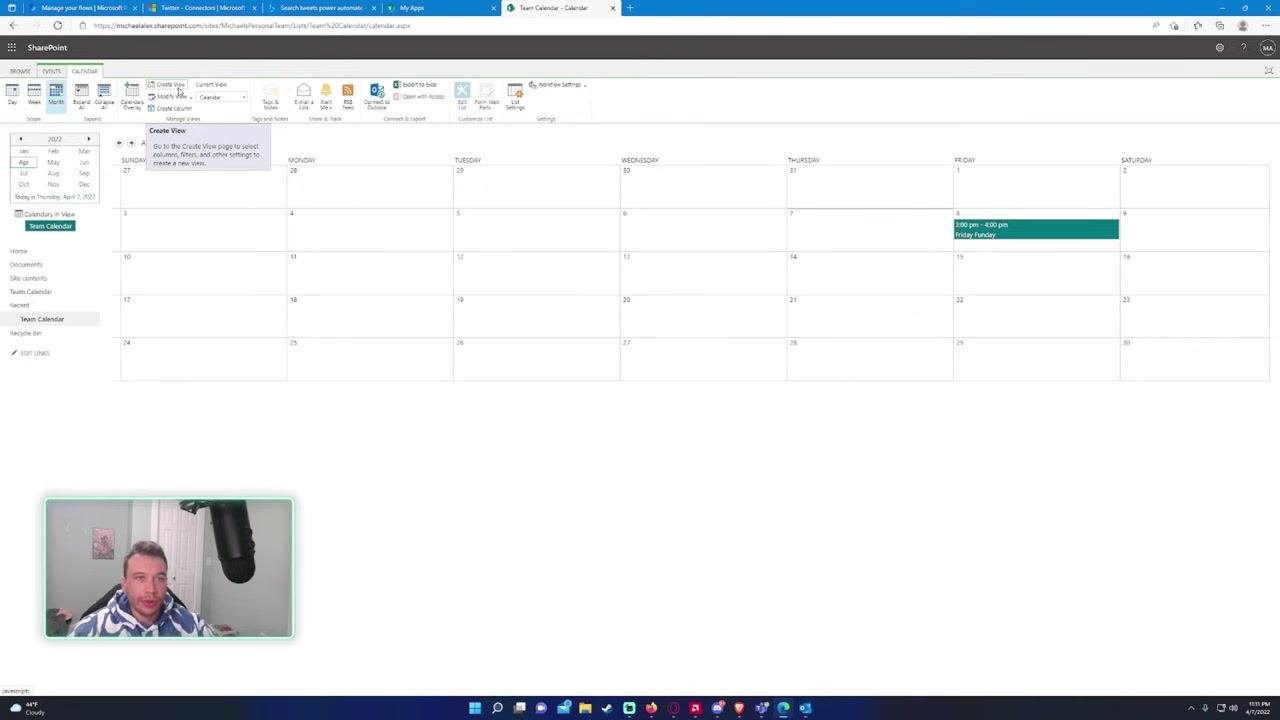
Verify permissions and calendar functionality
Return to the calendar view to confirm everything works as expected. Only users in the Owners group can now add or edit events, while Members have read-only access. The calendar continues to display normally, with events such as "Friday Funday" still visible.
Summary
You have now learned how to create a calendar in SharePoint, add it to your site navigation, populate it with events, connect it to Outlook for broader access, and restrict editing permissions to site owners only. Your team can view the calendar from the navigation menu and in Outlook, while only owners retain the ability to add or edit events.
Generation details: cost, quality tiers
Docsie billed 2,500 credits ($1.75) to analyze this 5-minute video at standard quality. The rewrite, template fill and Word/PDF exports were included. The same video at each quality tier:
| Quality | Frames sampled | Credits | Approx. cost |
|---|---|---|---|
| Draft | every 16-30 s | 1,250 | $0.88 |
| Standard (this guide) | every 8-15 s | 2,500 | $1.75 |
| Detailed | every 4-7 s | 5,000 | $3.50 |
| Ultra | every 1-3 s | 10,000 | $7.00 |
Credits priced at $0.70 per 1,000; plans include a monthly allowance. Enterprise customers on on-premise or bring-your-own-model deployments run this on their own inference and pay no per-video credits.
Generated by Docsie Video-to-Docs on 2026-09-20 from a 4-minute video. Screenshots are frames from the source video and belong to their creator, Michael Alex, whose original is embedded above. If you own this video and want the guide removed or credited differently, contact us and we will act within one business day.