
How to Create a Folder in SharePoint
Organizing documents in SharePoint often starts with creating folders to structure your content. This guide walks you through how to create a folder in SharePoint, including how to confirm you have the right permissions and how to enable folder creation if it has been disabled.
Video: How to Create a Folder in SharePoint? by Kernel Data Recovery (2023). All credit for the demonstration goes to the creator; watch the original on YouTube. The written guide below was generated from this video by Docsie. Creator? Request a change or removal.
Organizing documents in SharePoint often starts with creating folders to structure your content. This guide walks you through how to create a folder in SharePoint, including how to confirm you have the right permissions and how to enable folder creation if it has been disabled.
Prerequisites
Before you create a folder in SharePoint, confirm that you have the required permission to do so. This permission is enabled by default, but a site owner or administrator may have turned it off. If you're not sure whether folder creation is enabled, follow the steps below to check and, if necessary, enable it.
Open your SharePoint site
Open your web browser and go to your SharePoint platform. Navigate to the specific SharePoint site where you want to create a new folder.
Access library settings
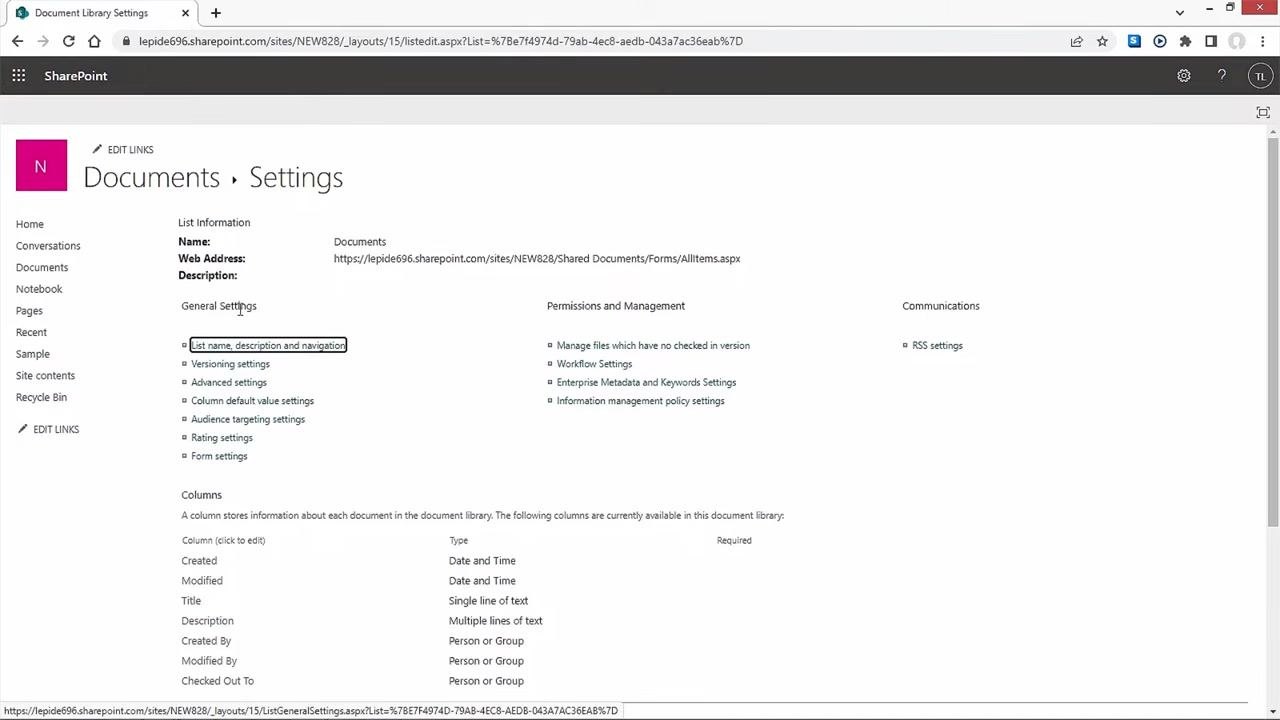
Select the Documents tab from the left navigation menu. Click the Settings (gear) icon, then choose Library Settings from the dropdown menu.
Open advanced library settings
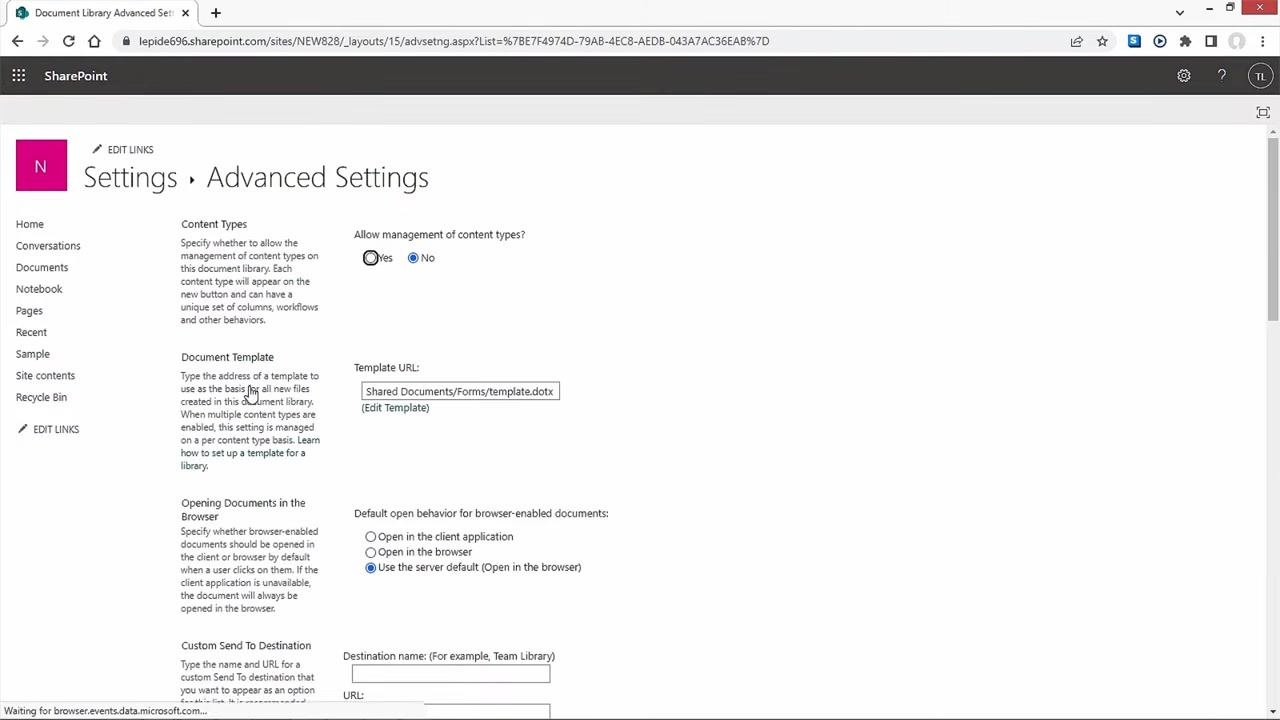
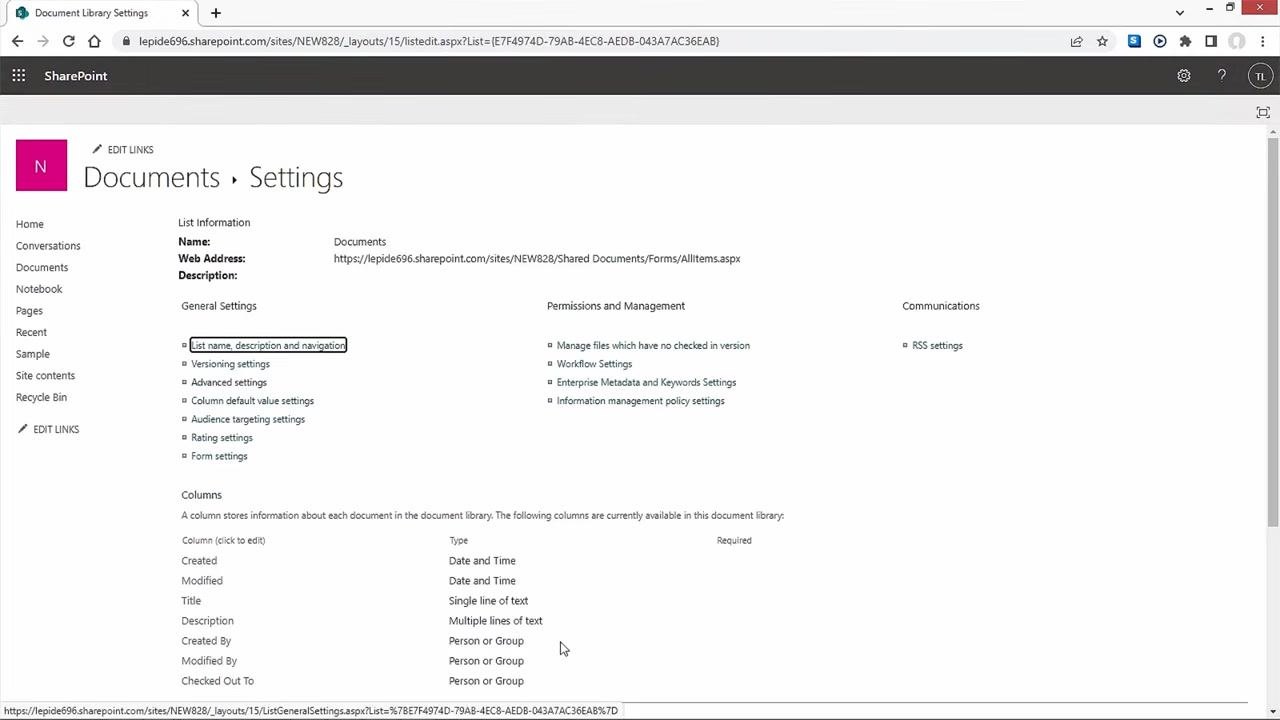
In the Library Settings window, locate the General Settings section and click Advanced settings.
Enable the folder creation option
Scroll down to the Folders section on the Advanced Settings page. Select Yes for the Make "New Folder" command available option, then click OK at the bottom of the page to save your changes.
Create the folder
Return to your SharePoint site and go to the Documents tab. Click the + New button, then select Folder from the dropdown menu.
- If Folder does not appear in the menu, folder creation permission is still disabled and you'll need to complete Steps 2–4 again.
- Enter your desired folder name in the prompt that appears.
- Click Create to finish.
Verify the folder and start organizing files
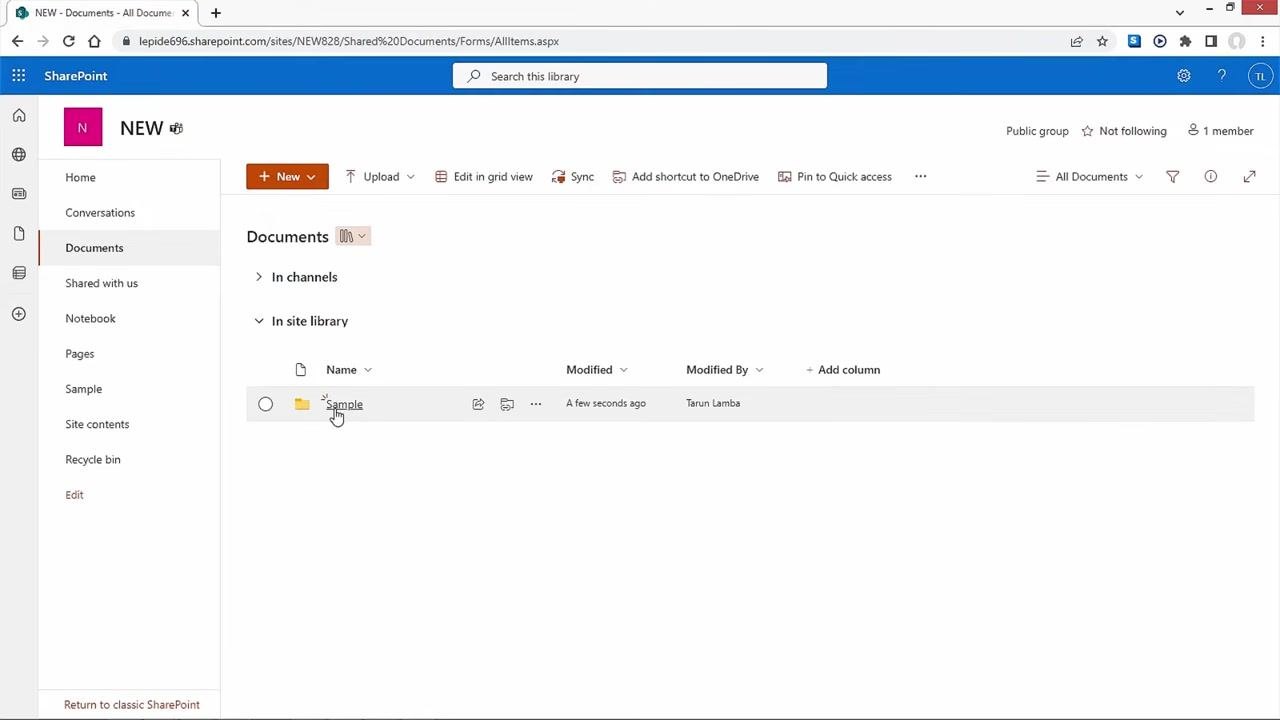
After creating the folder, confirm that it appears in your SharePoint document library. Look for the new folder (for example, one named "Sample") in the list of documents. Click on the folder to open it, then begin adding files and other documents to organize your content.
Additional notes
- You can rename the folder later if needed.
- If you run into any issues, verify your permissions or contact your SharePoint administrator.
What's next
Once your folder structure is in place, you may also need to move or migrate data between SharePoint versions. For secure and efficient migration of entire or selective SharePoint data, consider using a professional migration tool such as Kernel Migrator for SharePoint, which uses advanced algorithms to help ensure data integrity during migration.
For more information or to obtain the tool:
- Visit: https://www.nucleustechnologies.com/sharepoint-migration/
- Email: support@nucleustechnologies.com
- Call: 1-866-348-7872
By following these steps, you have successfully created a folder in SharePoint and learned about options for migrating your data securely between SharePoint versions.
Generation details: cost, quality tiers
Docsie billed 1,500 credits ($1.05) to analyze this 3-minute video at standard quality. The rewrite, template fill and Word/PDF exports were included. The same video at each quality tier:
| Quality | Frames sampled | Credits | Approx. cost |
|---|---|---|---|
| Draft | every 16-30 s | 750 | $0.52 |
| Standard (this guide) | every 8-15 s | 1,500 | $1.05 |
| Detailed | every 4-7 s | 3,000 | $2.10 |
| Ultra | every 1-3 s | 6,000 | $4.20 |
Credits priced at $0.70 per 1,000; plans include a monthly allowance. Enterprise customers on on-premise or bring-your-own-model deployments run this on their own inference and pay no per-video credits.
Generated by Docsie Video-to-Docs on 2026-09-08 from a 2-minute video. Screenshots are frames from the source video and belong to their creator, Kernel Data Recovery, whose original is embedded above. If you own this video and want the guide removed or credited differently, contact us and we will act within one business day.