
How to Put on a Fall Protection Harness
Wearing a fall protection harness correctly is essential to worker safety on any job where a fall hazard exists. This procedure explains how to put on a fall protection harness step by step, from unpacking it to performing the final fit and safety checks. Following these steps ensures the harness is positioned, adjusted, and verified so it will function correctly if a fall occurs.
Video: How to Put on a Fall Protection Harness | Safety, Hazards, Training, Oregon OSHA by Oregon Occupational Safety & Health (Oregon OSHA) (2019). All credit for the demonstration goes to the creator; watch the original on YouTube. The written guide below was generated from this video by Docsie. Creator? Request a change or removal.
Wearing a fall protection harness correctly is essential to worker safety on any job where a fall hazard exists. This procedure explains how to put on a fall protection harness step by step, from unpacking it to performing the final fit and safety checks. Following these steps ensures the harness is positioned, adjusted, and verified so it will function correctly if a fall occurs.
Purpose
This procedure describes the correct method for donning, adjusting, and verifying the fit of a fall protection harness before use. It covers strap identification, connector types, adjustment technique, and final safety checks needed to confirm the harness is ready for work.
Scope
This procedure applies to any worker who is required to wear a full-body fall protection harness. It covers standard harness components and common connector types, including pass-through buckles, quick-connect buckles, and tongue-and-buckle connectors. Because harness designs vary by manufacturer, always confirm the specific fitting instructions for your equipment.

Required equipment and PPE
- A full-body fall protection harness, removed from its packaging
- A clear, open area to lay out the harness and avoid tangling straps
- Access to the manufacturer's specific fitting instructions for your harness model
Before starting, familiarize yourself with the essential components found on all harnesses:
- Shoulder straps
- Chest strap
- Leg or thigh straps
- Sub-pelvic (pelvic) strap
- Waist component, which allows the front and back of the harness to cross over when fitted
Step-by-step procedure
Prepare the harness
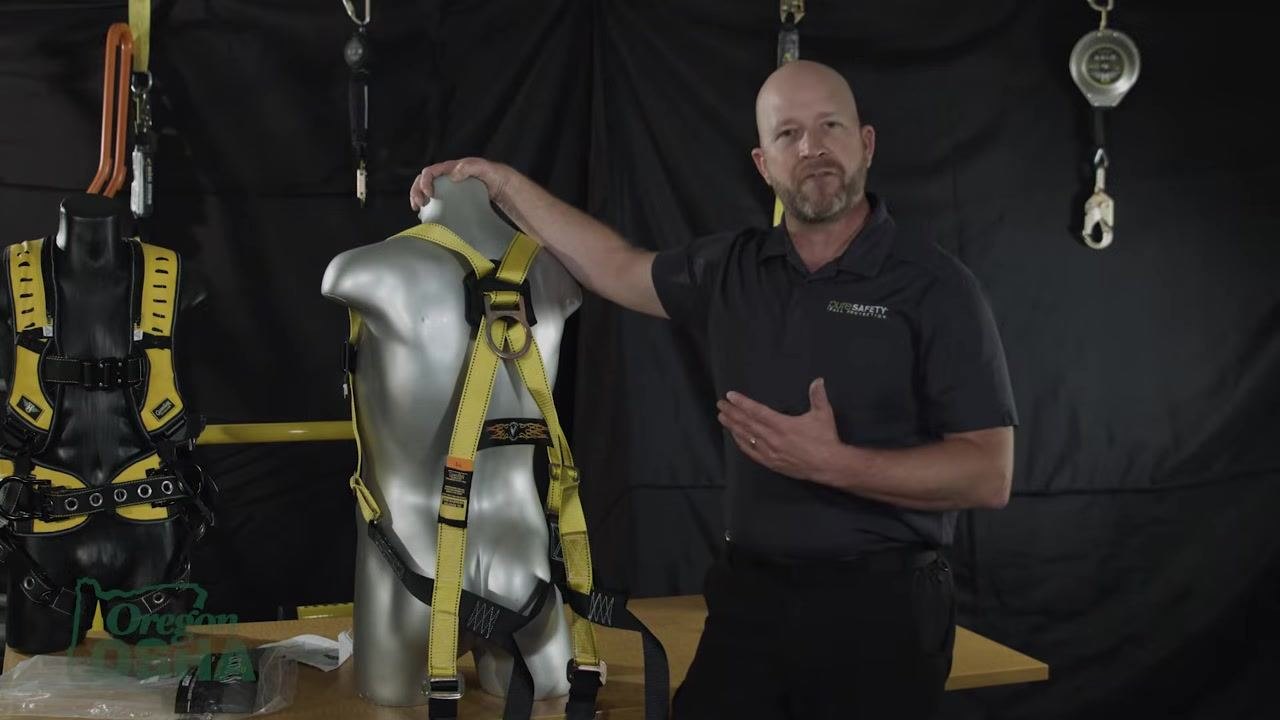
Remove the harness from its packaging and open it up fully to avoid tangling the straps. Throw the harness up and over your shoulder blades so that it sits in the upper part of your back before you begin fitting it.
Position the shoulder straps
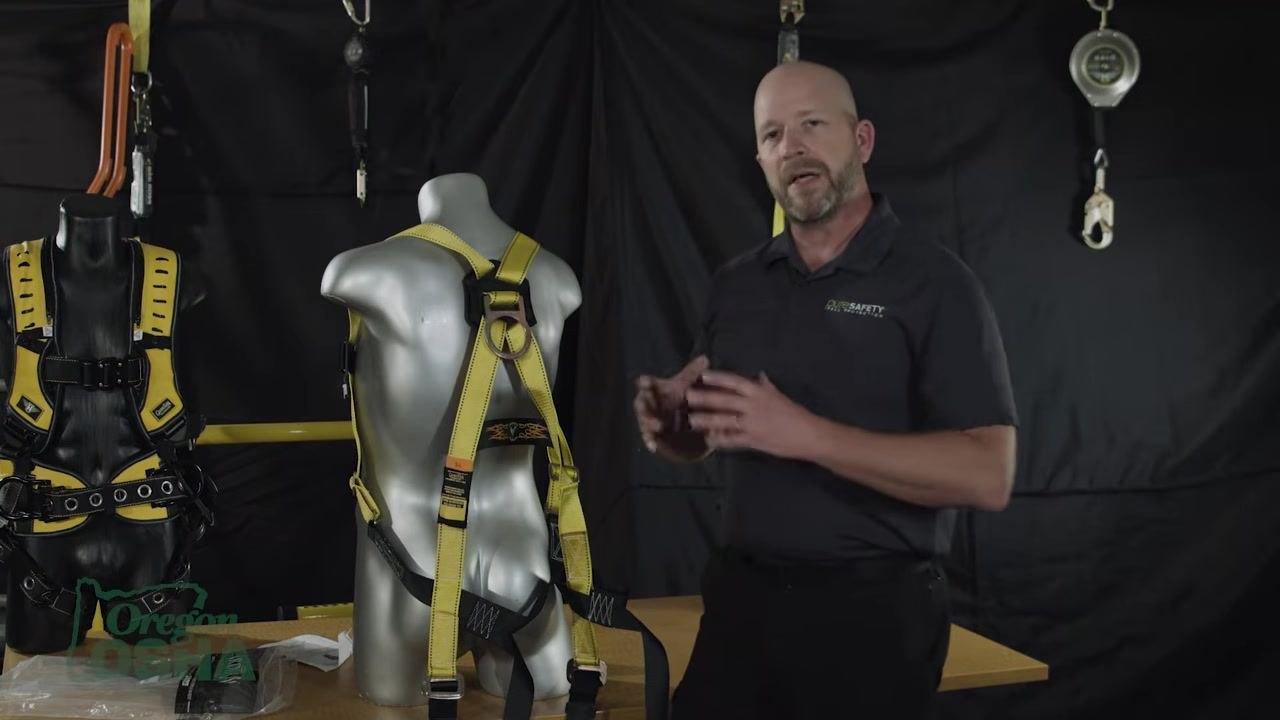
Drape the harness over the shoulders, making sure the straps are not twisted, so the harness is positioned correctly on the upper back. This sets the foundation for all the adjustments that follow.
Check the harness placement
Confirm that the harness sits correctly across the upper back and shoulders before moving on. Proper initial placement makes every later adjustment easier and more accurate.
Assess harness size and fit
Evaluate whether the harness is the correct size for the wearer. Harnesses come in various sizes and functions, so proper sizing is crucial for safety and effective fall protection.
Adjust the harness for a proper fit
Make any adjustments needed so the harness sits snugly but comfortably. Double-check that all straps are lying flat and are not twisted before proceeding to the leg straps.
Identify the leg strap buckle type
Locate the leg or thigh straps and identify the type of buckle or connector fitted. The most common type is the pass-through buckle, which passes through one side and locks into position.
Identify other connector types
Some harnesses use a quick-connect buckle instead of a pass-through design. Take note of which connector type is fitted to your harness before securing the straps.
Recognize the quick-connect buckle
Quick-connect buckles snap together and lock securely in place. They are commonly found on both chest and leg straps and are designed for fast, secure fastening, which is especially useful where frequent adjustments are needed.
Recognize the tongue-and-buckle connector
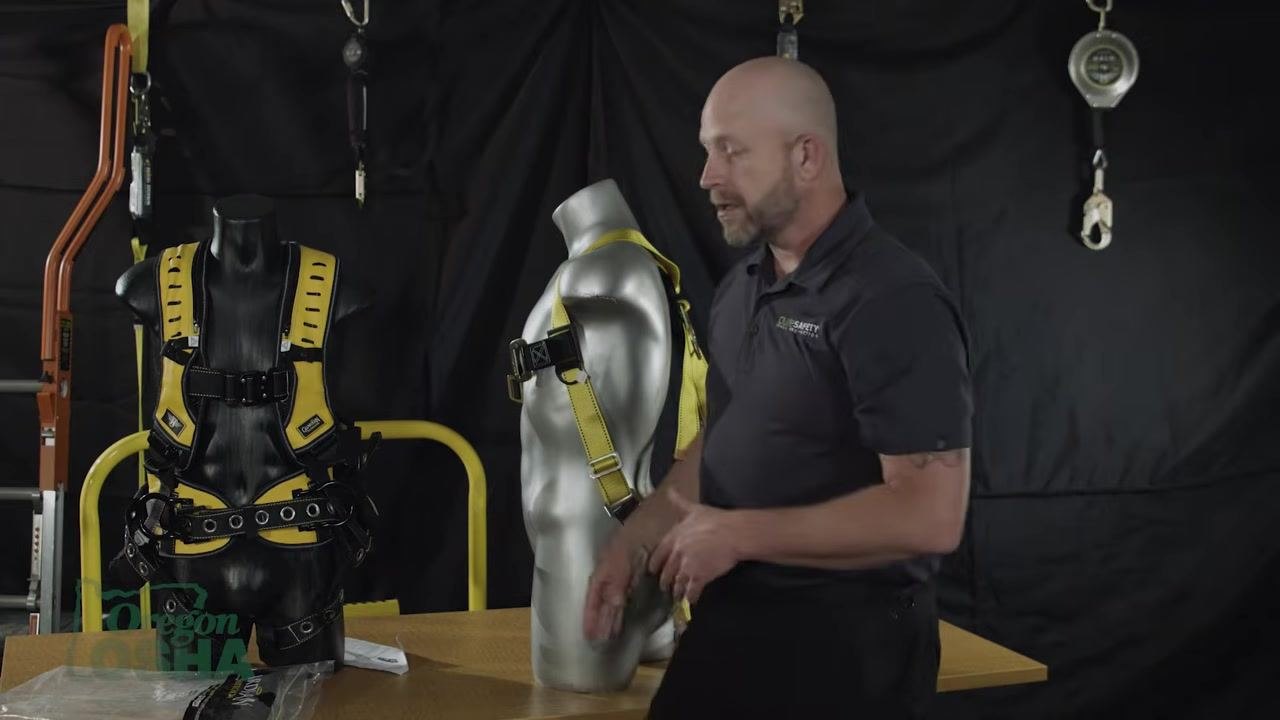
The tongue-and-buckle connector functions like a traditional belt, with a tongue that fits into grommet holes. This design is commonly used on leg straps and allows for easy, variable adjustment, which is convenient when wearing cold or wet weather gear.
Secure the leg strap through the buckle
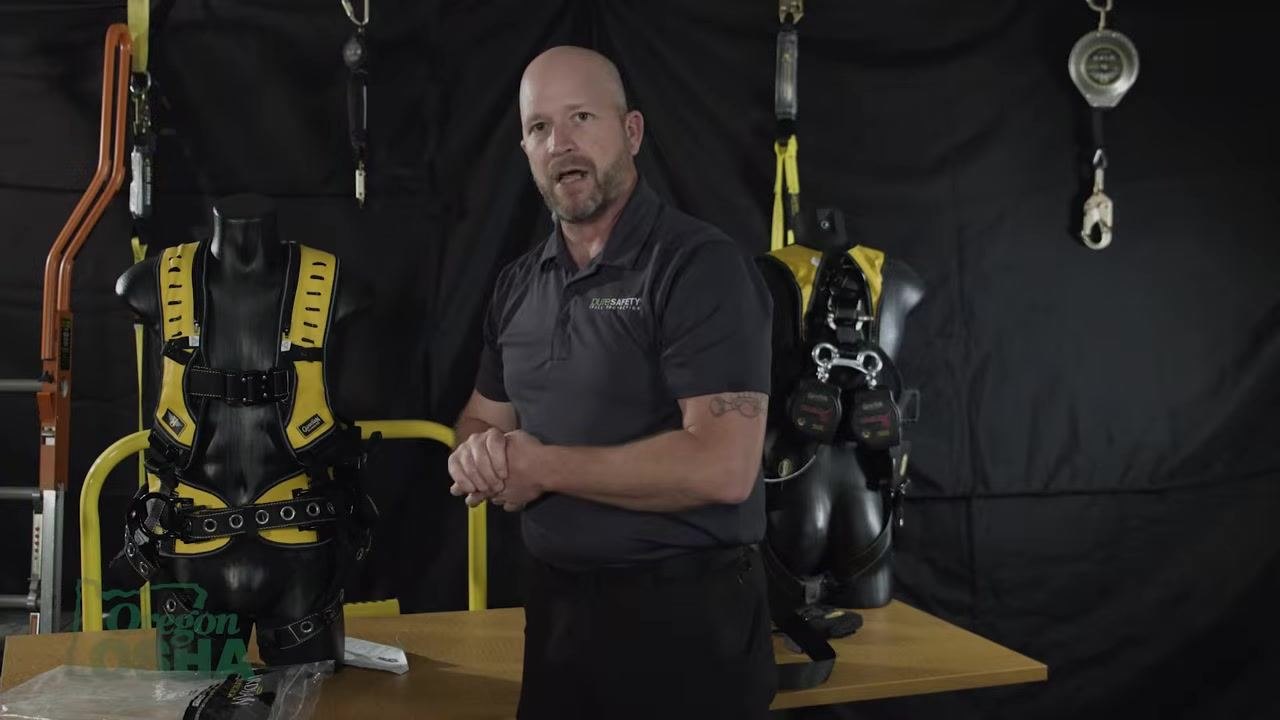
Pass the leg strap through the buckle. To tighten, lift up on the buckle and pull the webbing through until it is snug. Leave a small amount of flexibility at this stage, since further adjustments will follow.
Safety note: Do not fully tighten the leg straps yet. Leave some flexibility to allow for even adjustment across the whole harness.
Check leg strap fit and flexibility
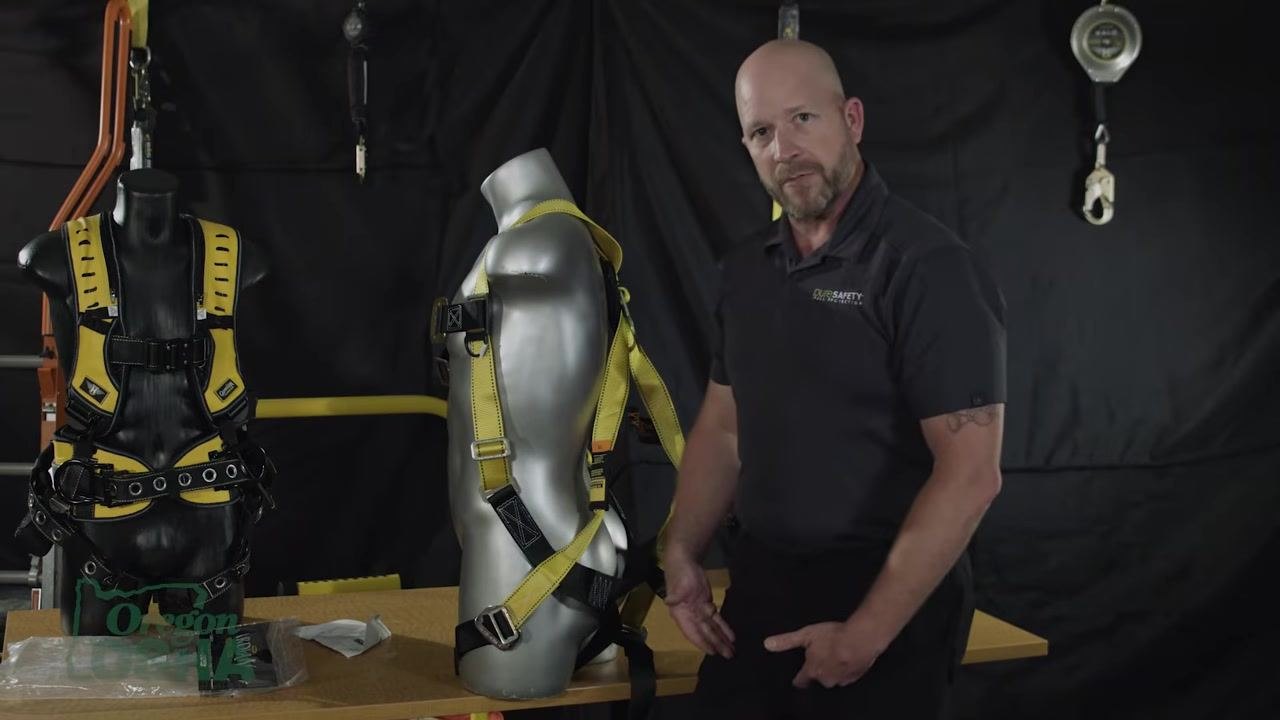
Confirm that the leg straps are snug but not overly tight, allowing for some movement and comfort. Additional adjustments will still be made once the rest of the harness is fitted.
Adjust the harness evenly
Think of fitting the harness like shrinking a tube: adjust a little at the top, then a little at the bottom, alternating between areas rather than fully tightening one section before moving to the next.
After adjusting one leg strap, repeat the same process on the other side so both leg straps are evenly tightened and comfortable before moving to the chest strap.
Attach and adjust the chest strap
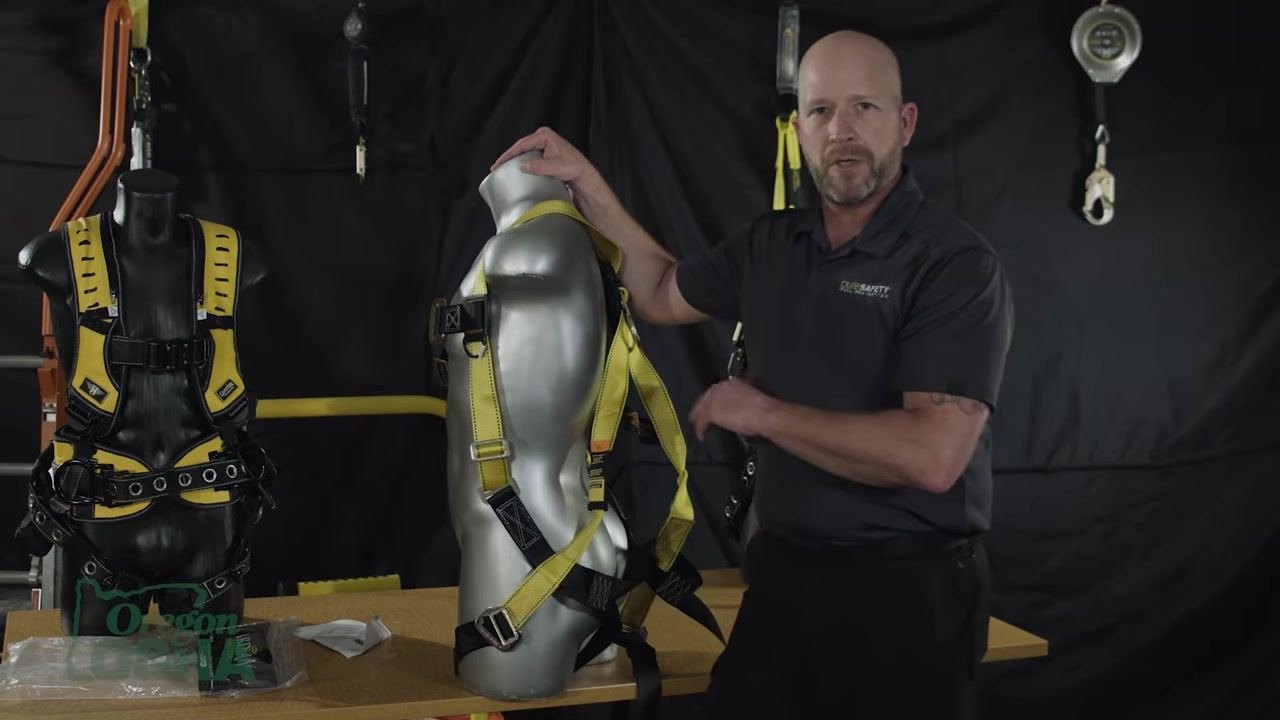
Connect the chest strap across the front of the torso, ensuring it is properly latched. The chest strap should lay flat across the chest and not be overly tight; its main function is to keep the shoulder straps from slipping off the body.
Check chest strap placement and tension
Confirm that the chest strap is flat and secure, but not so tight that it pulls the harness inward or causes discomfort.
Understand the purpose of the chest strap
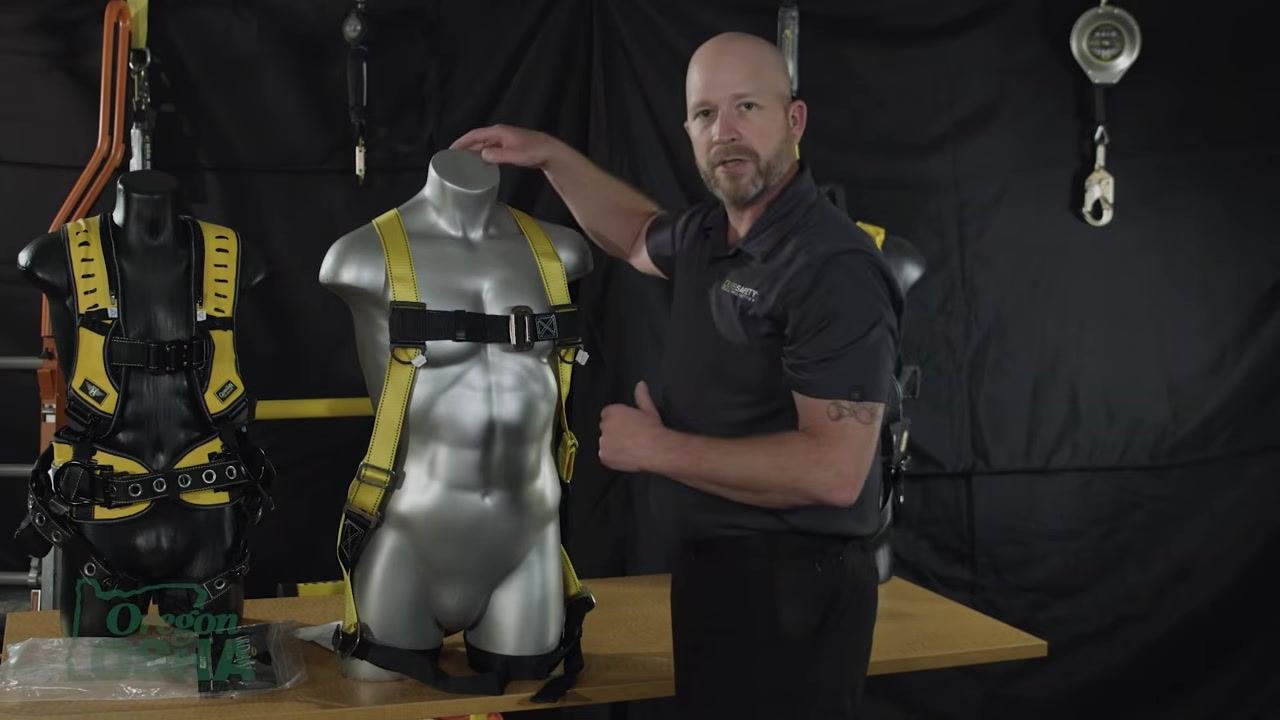
The chest strap distributes force in the event of a fall, helping to protect the chest cavity, shoulders, pelvis, and hips. The harness design ensures that fall forces are applied to the structural elements of the body.
Recognize the crossover effect
Note the crossover design of the harness, where the shoulder straps cross at the chest and hips. This design helps distribute fall forces effectively across the body's strongest areas.
Ensure proper force distribution
Make sure the harness is adjusted so that, in the event of a fall, the forces are applied to the chest, shoulders, pelvis, and hips. This distribution is essential for safety.
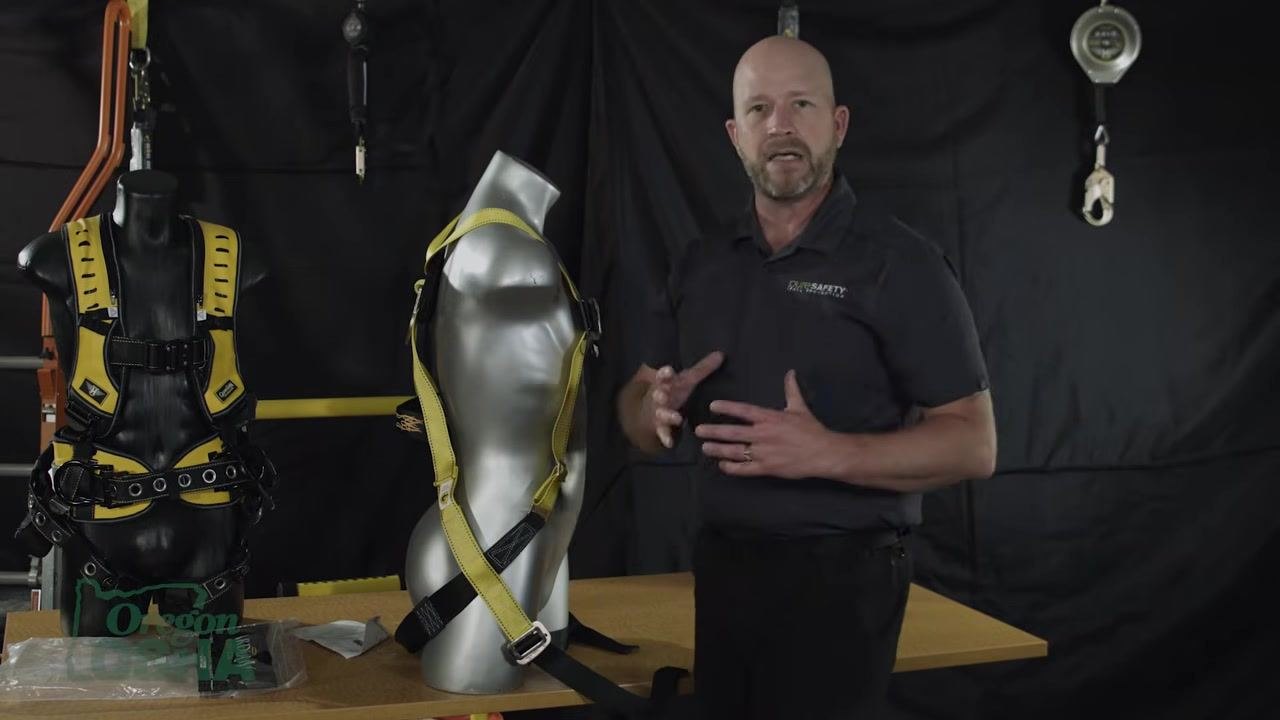
Save minor adjustments for last
Treat the chest strap adjustment as a minor adjustment compared to the torso and leg straps. Get the major straps properly fitted first, then finalize the chest strap.
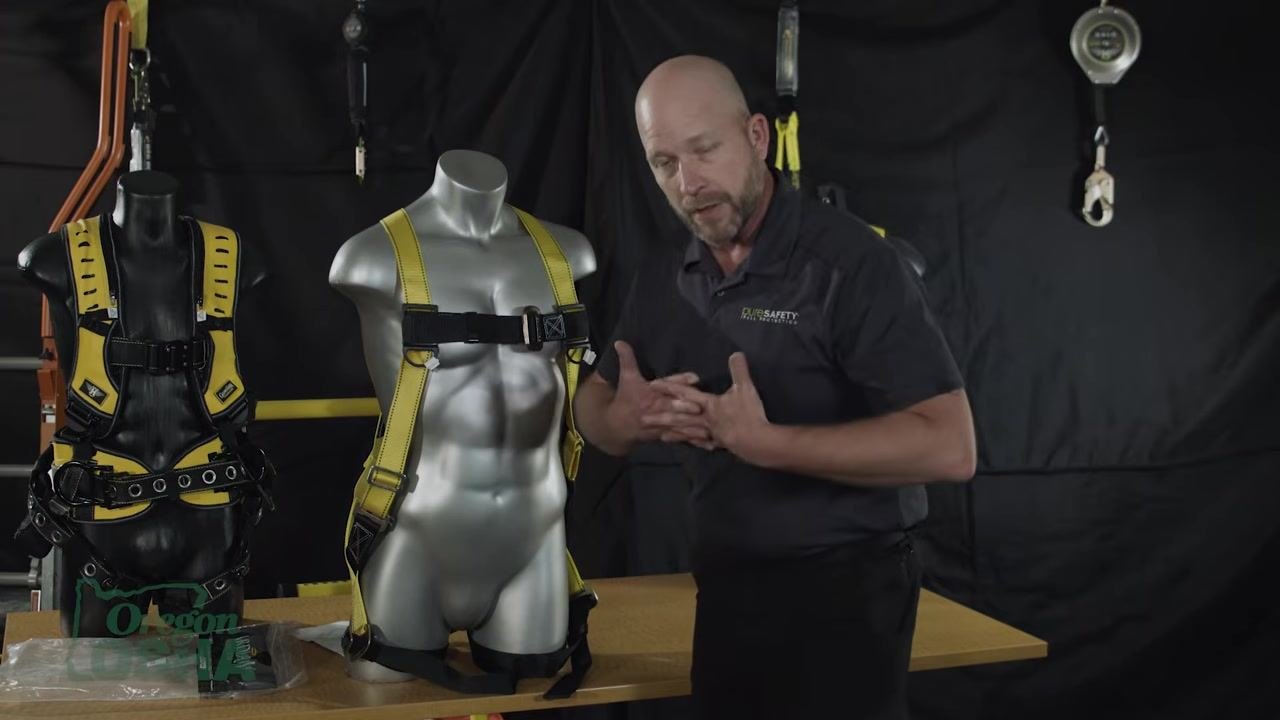
Adjust the torso straps according to connector type
Torso strap adjusters vary by harness model:
- Some require pulling up to tighten
- Others require pulling down
- Some use roller buckles or internal adjusters
Identify the type of adjuster on your harness and use the appropriate method to achieve a snug, comfortable fit.
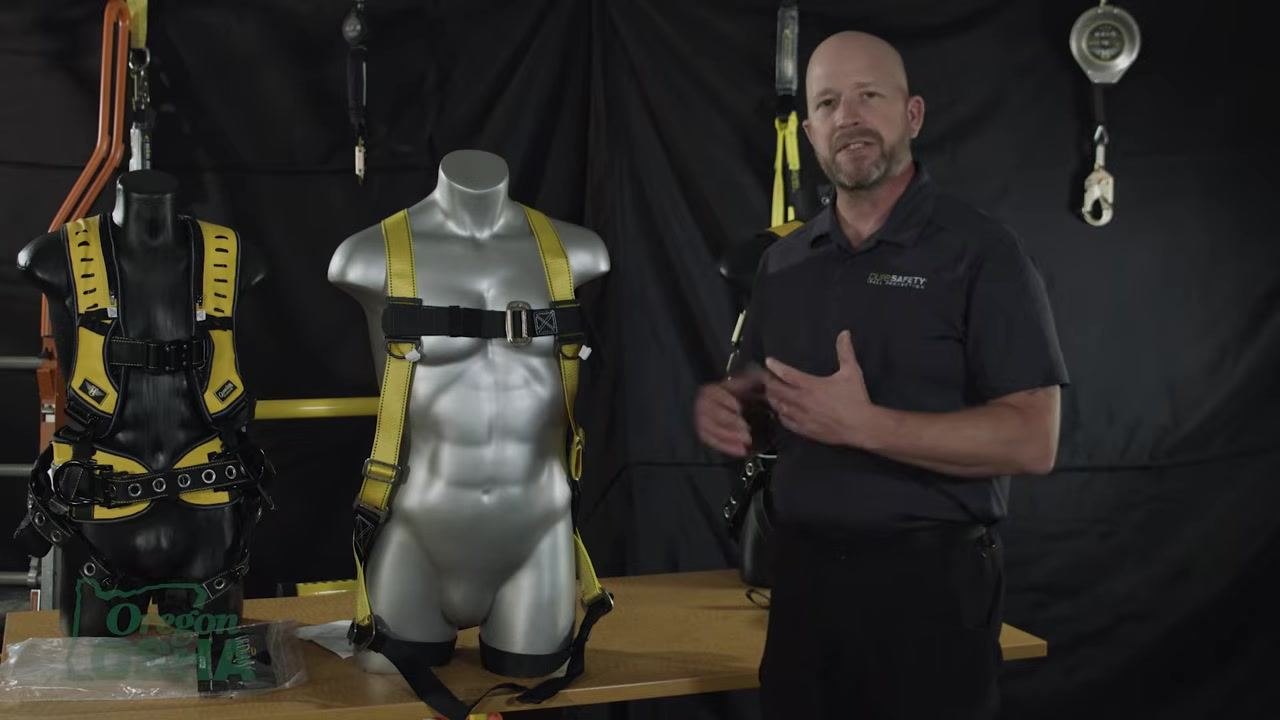
Review the overall harness fit
With the harness fitted, review the shoulder straps, chest strap, and leg straps together. Shoulder straps should lay flat against the body without twists, sitting comfortably to allow free arm movement without excessive slack.
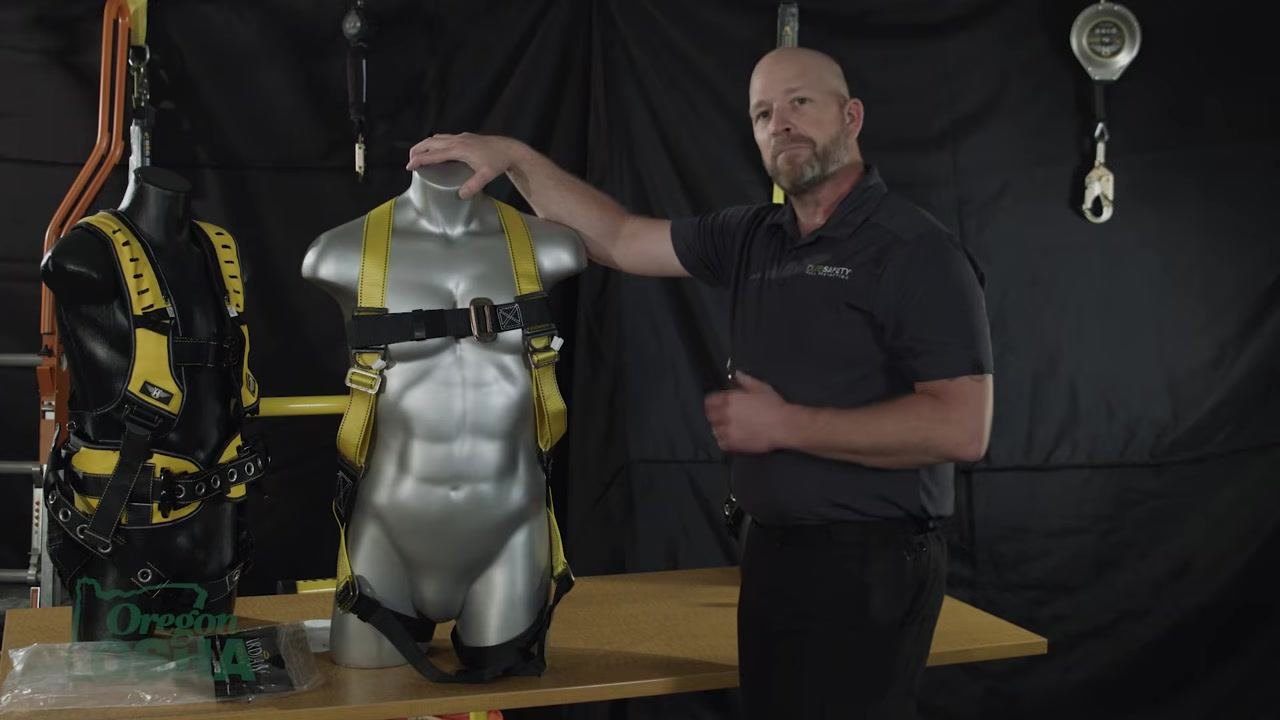
Compare harness types for excess strap tail
Observe the difference between harnesses that leave excess tail (strap ends) after adjustment and those designed to eliminate extra tail.
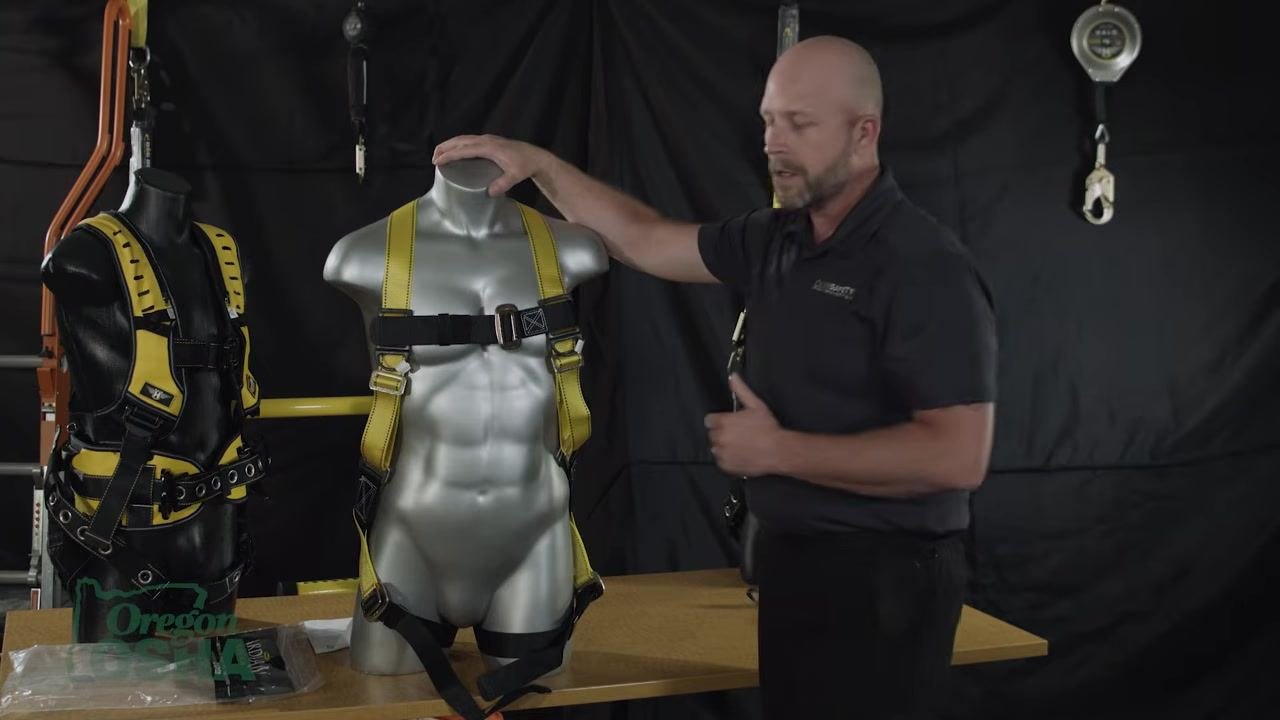
Confirm there is no excess tail
On harnesses with improved adjustment mechanisms, ensure that after tightening there is no leftover strap tail hanging down. The harness should fit cleanly and securely without loose ends.
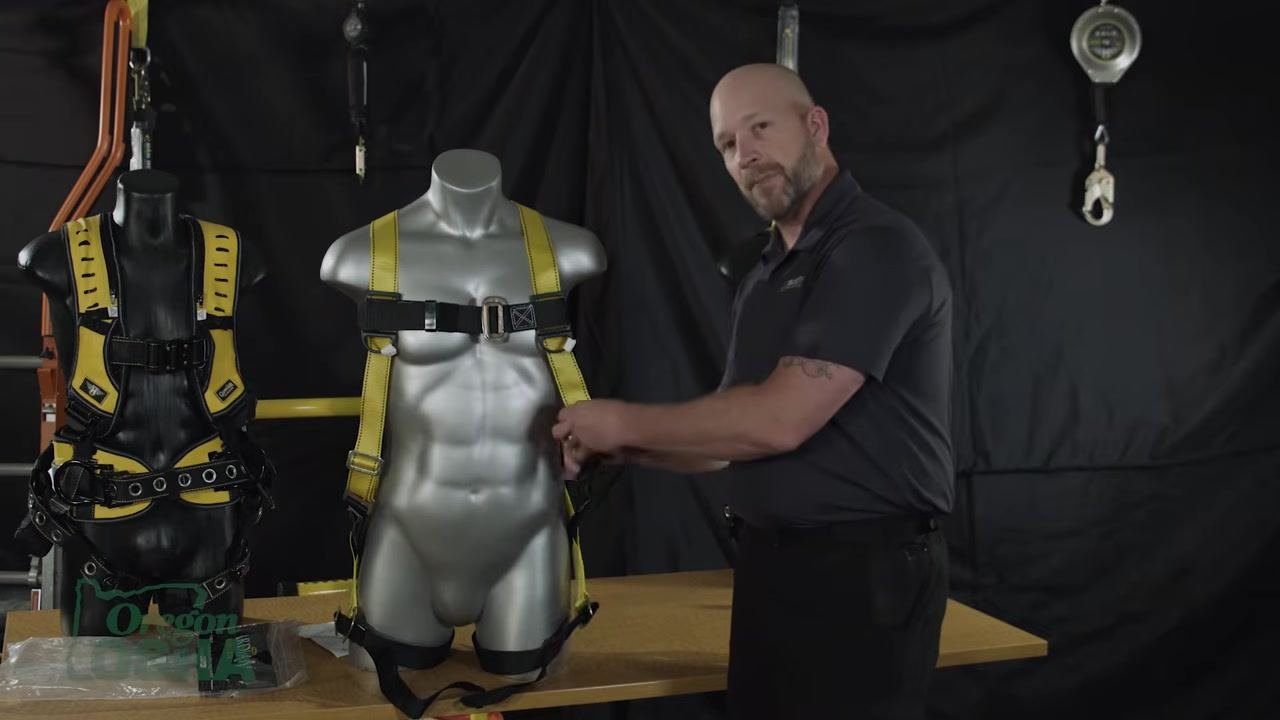
Pull the strap through to tighten
Pull the adjustment strap through the buckle to achieve a snug fit. If necessary, move the chest strap to accommodate the tightening process, since strap positions may shift on the body as you tighten.
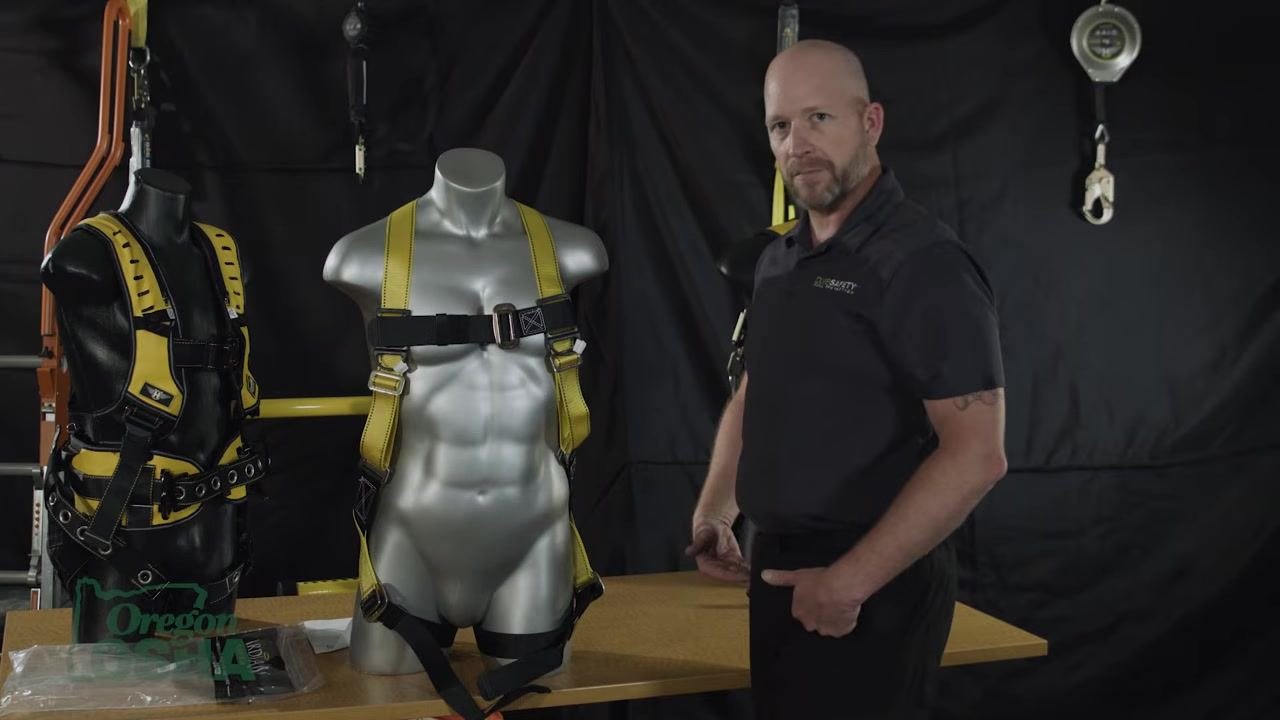
Ensure symmetrical adjustment
Adjust both sides of the harness so they are as symmetrical as possible. Avoid having one side tighter or looser than the other.
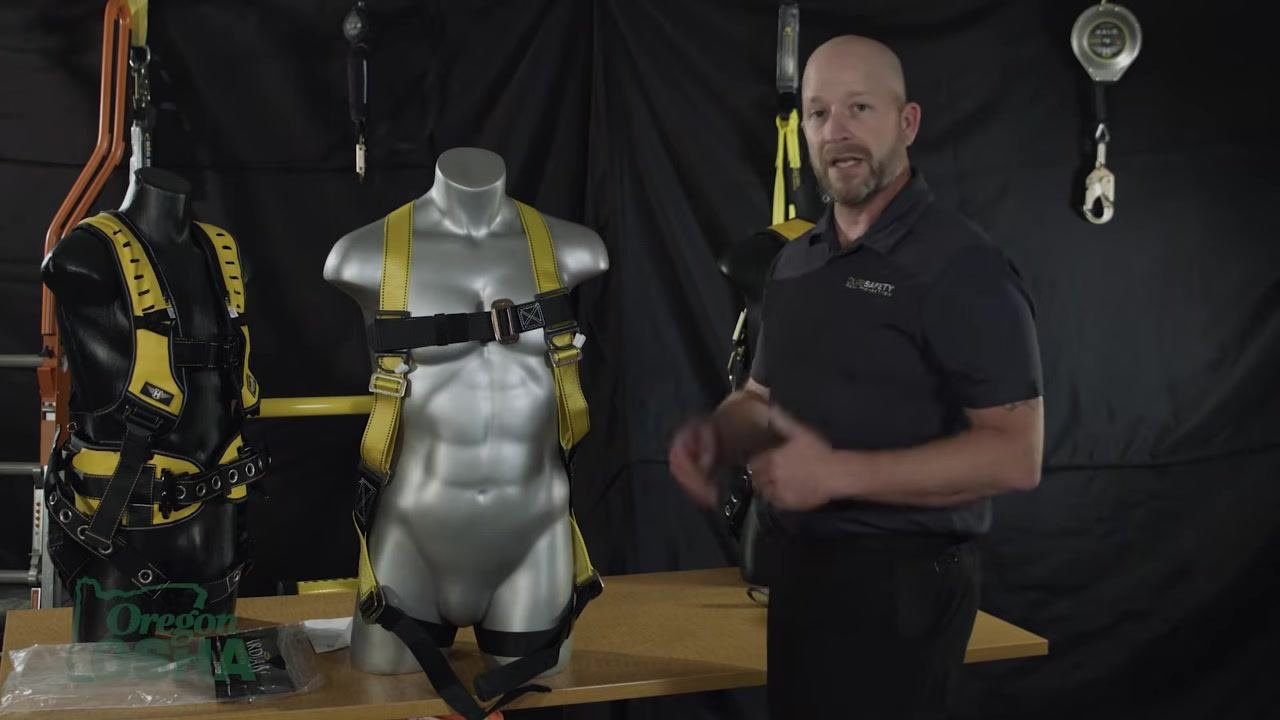
Tighten the torso and recheck the leg straps
As you tighten the torso straps, remember that the leg straps and sub-pelvic strap will also be drawn up. Keep the leg straps a little loose at this stage to allow for final adjustment once the torso is fitted.
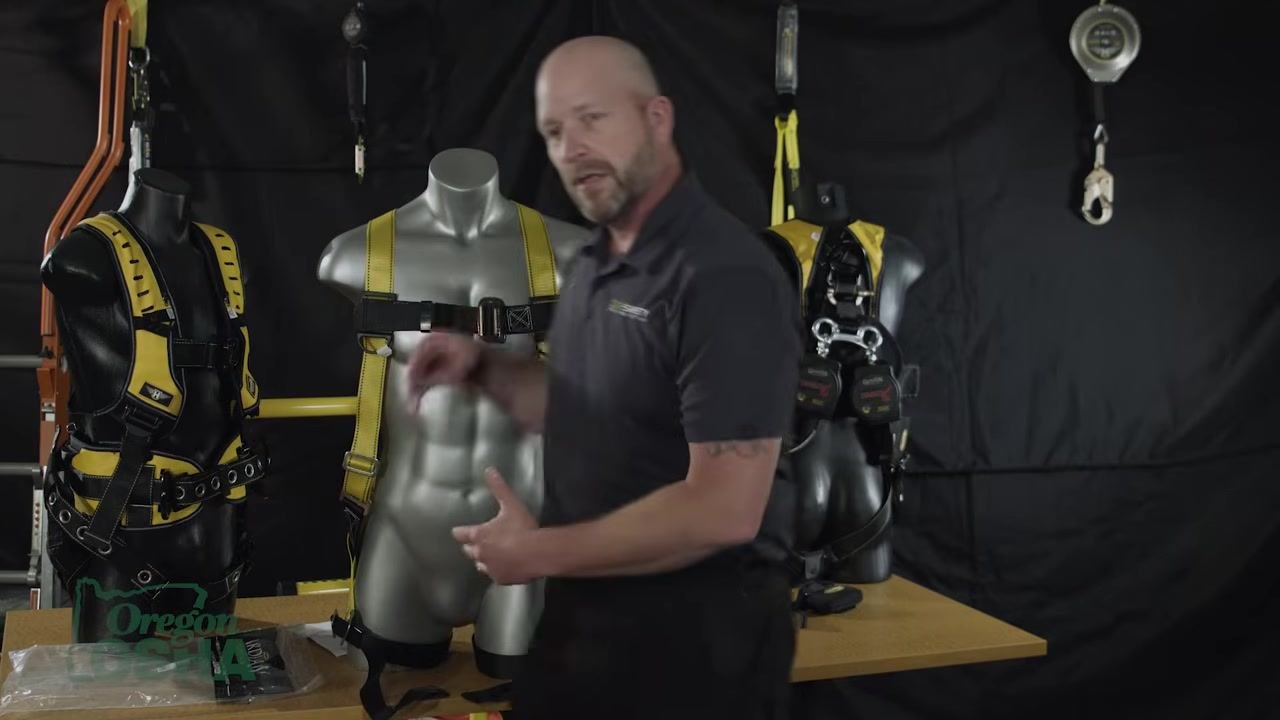
Complete the final fitting for snugness
Once the harness is fully fitted, all straps should be snug to the body. For leg straps, allow only enough space to fit a flat hand between the strap and the leg—no more.
Safety note: In the event of a fall, the leg straps bear much of the force and move up into the groin area. Correct adjustment is critical to avoid injury from improperly fitted straps.
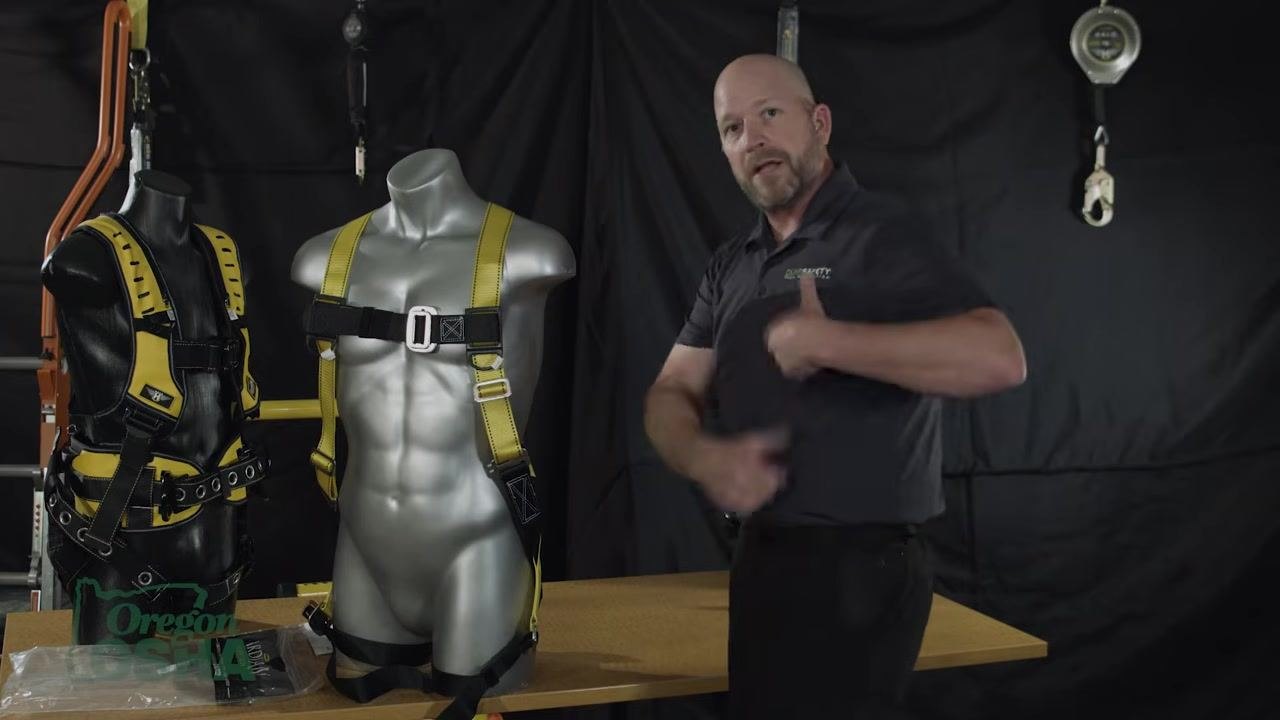
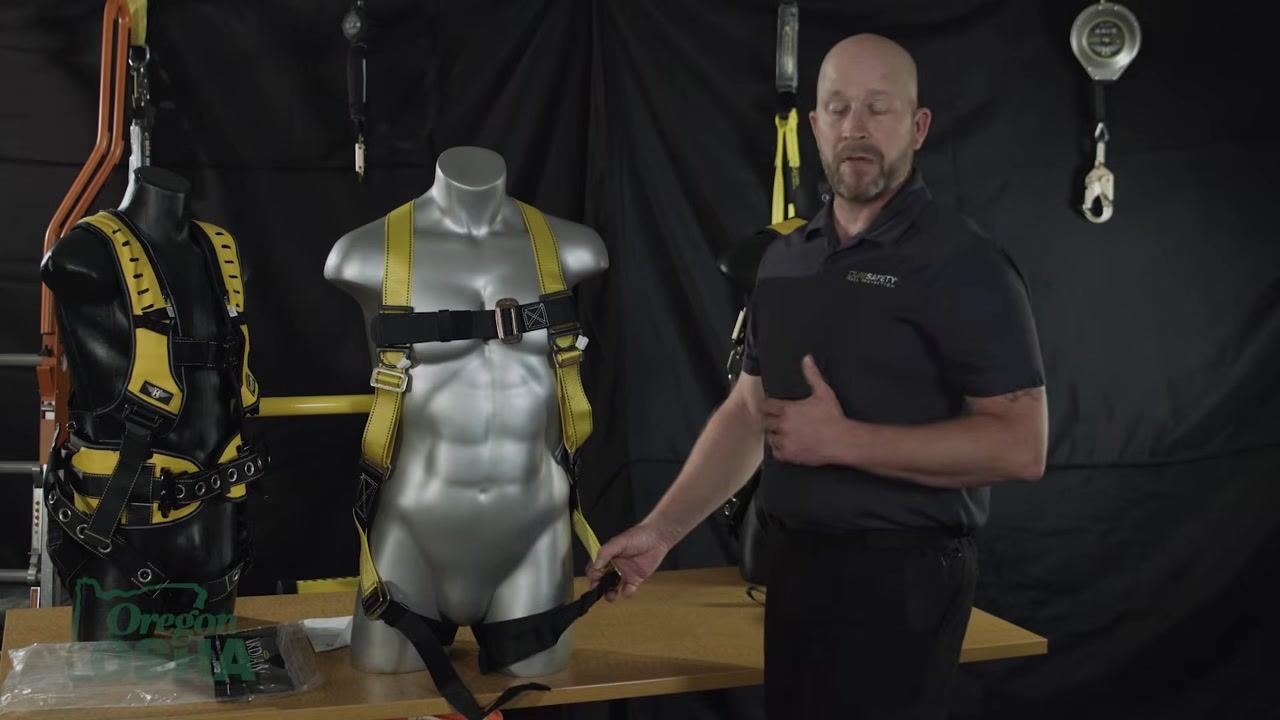
Confirm all adjustments are complete
Double-check that the harness is symmetrical, snug, and free of excess tail once all straps are adjusted.
Check the harness alignment forms an "H" pattern
Confirm that the harness forms a clear "H" shape across the shoulders and chest. Adjust the straps as needed to maintain this pattern, which ensures even weight distribution and proper function.
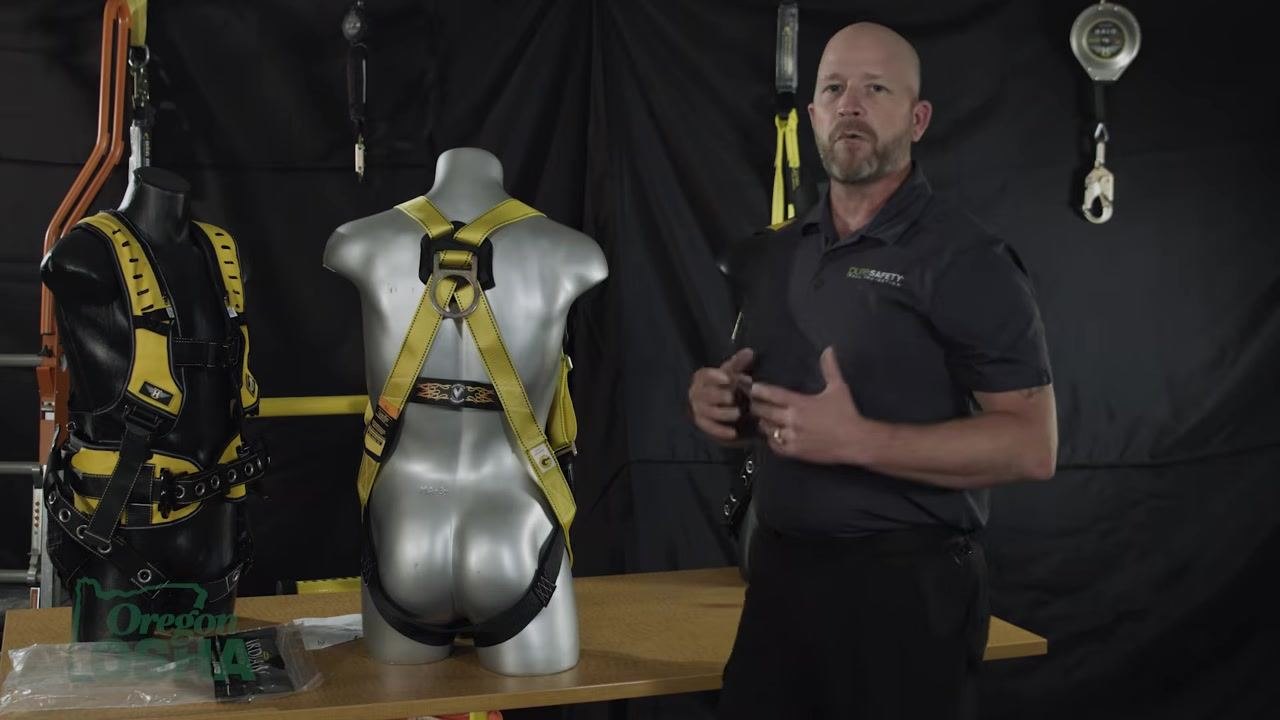
Secure all loose ends and strap tails
Make sure no straps or tails are left dangling from the harness. Tuck away or secure any excess strap material to prevent it from catching on tools, sharp objects, or other hazards.
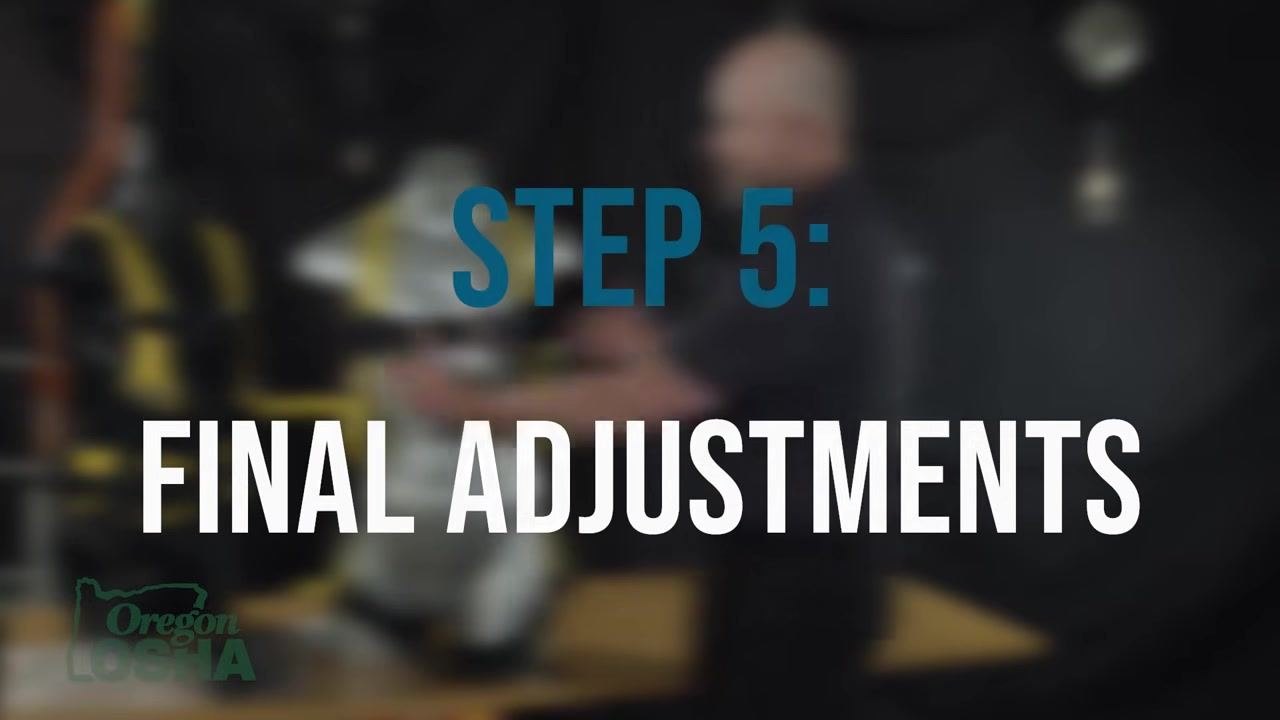
Perform a mobility check
Stretch your arms, bend over, and flex as you would during normal work activities to confirm the harness does not restrict movement or cause discomfort.
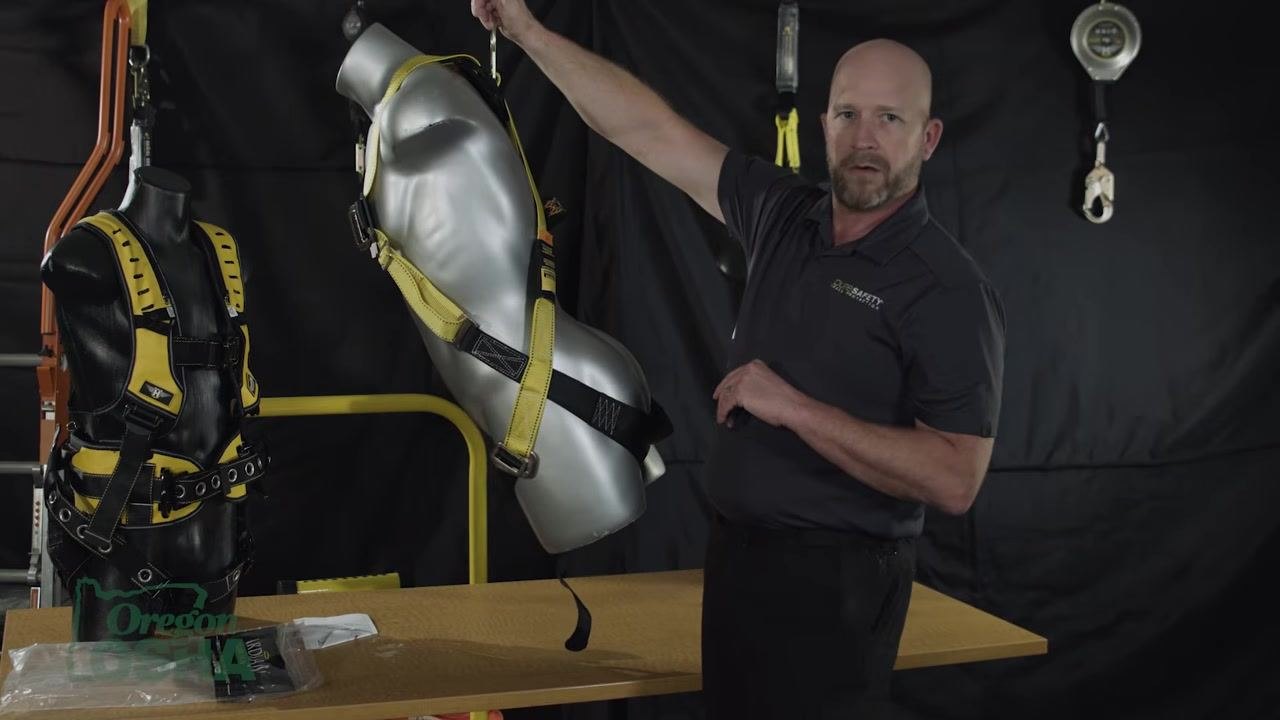
Verify D-ring placement
Confirm that the D-ring is positioned in the upper part of the back, centered between the shoulder blades. This is the designated pick point in the event of a fall and is critical for proper fall arrest function.
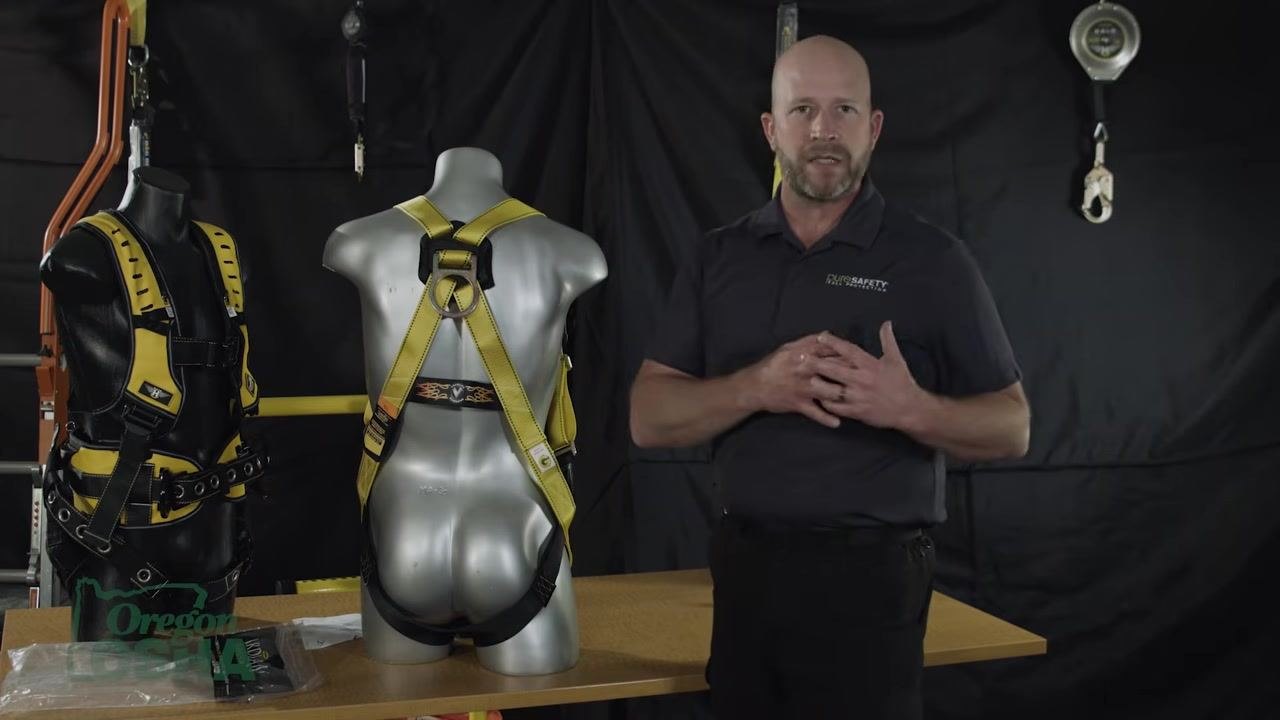
Avoid low D-ring placement
Do not allow the D-ring to sit too low on the back. A low D-ring can cause the worker to be pulled into a supine or "Superman" position during a fall.
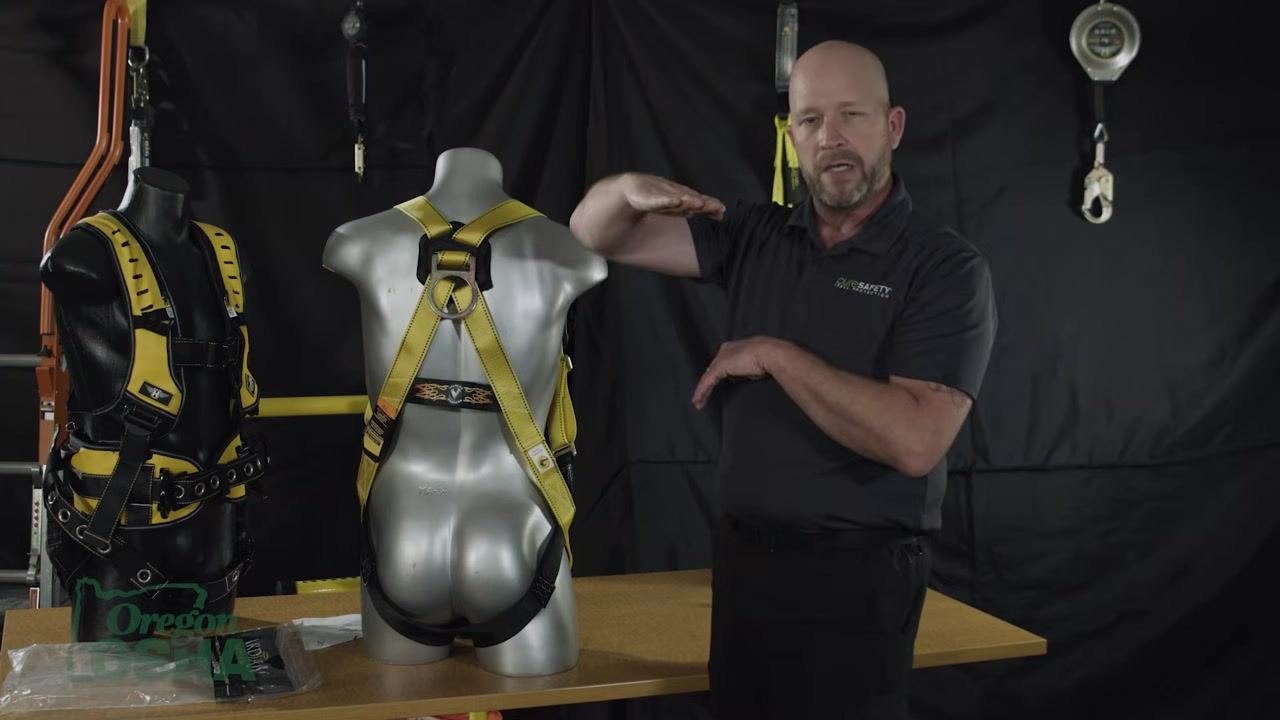
Check the maximum allowable suspension angle
When suspended, the body should not exceed a 30-degree angle from vertical. Heavier weights may cause a greater angle, so always check the actual angle with the intended user.
Verify sub-pelvic strap placement
Ensure the sub-pelvic strap is correctly positioned beneath the buttocks. This strap is critical for supporting the body in the event of a fall.
Understand the function of the sub-pelvic strap
The sub-pelvic strap acts like a seat when a fall occurs, supporting the body and creating a seat-like effect. Proper placement prevents the harness from causing injury during suspension.
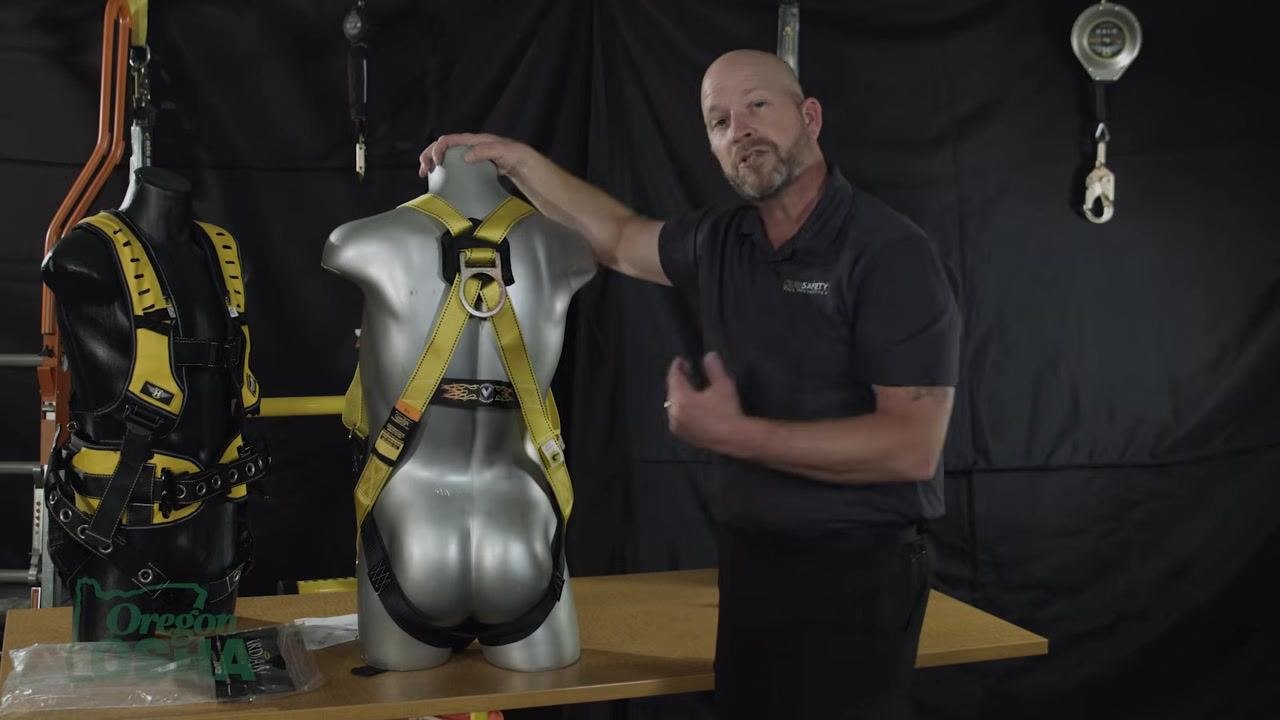
Ensure the strap contacts a flat area of the body
Confirm that the sub-pelvic strap rests against a flatter part of the body rather than digging into sensitive areas. This placement is important for comfort and safety.
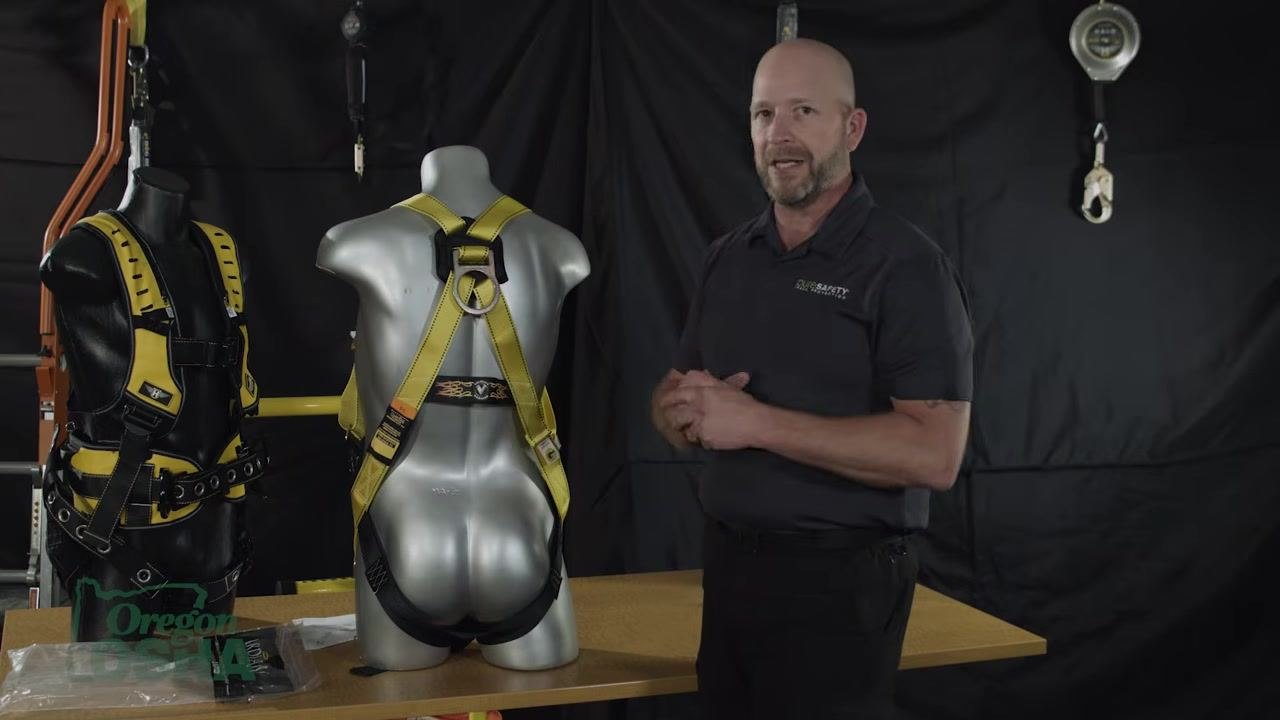
Review OSHA force requirements
OSHA has strict regulations regarding the amount of force a harness can apply to the body during a fall. Keep these requirements in mind when confirming the final fit.
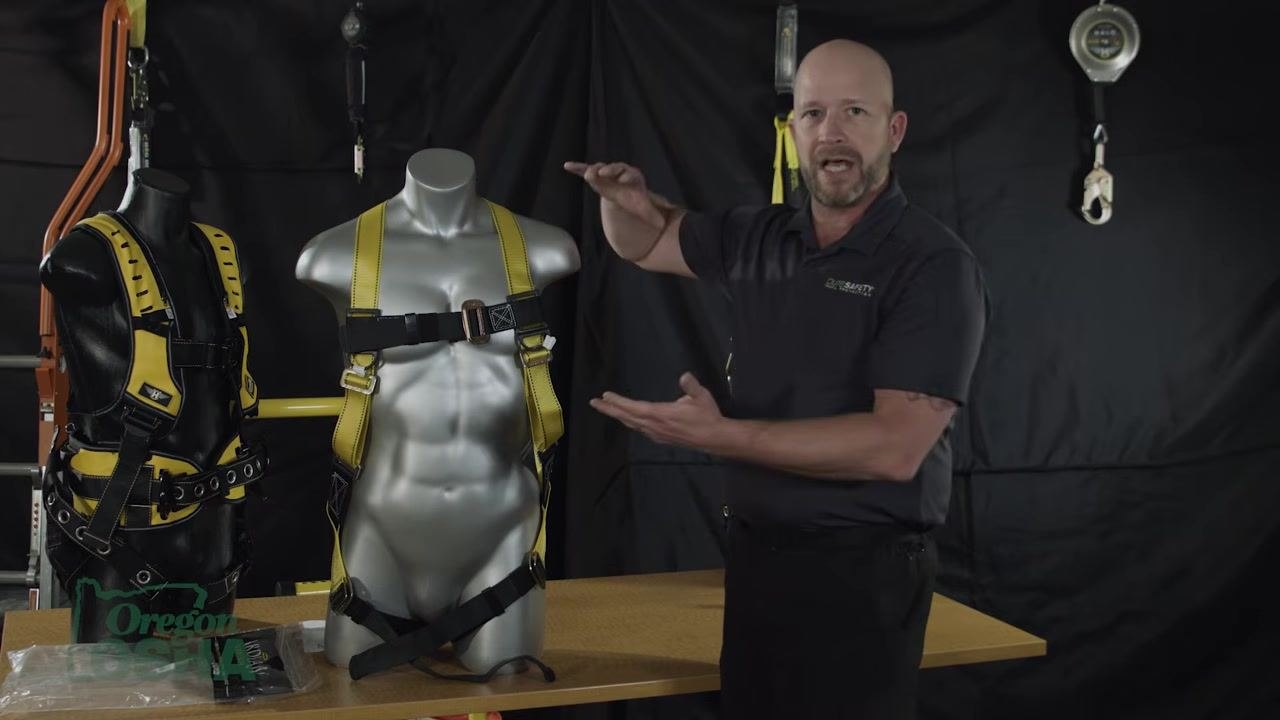
Understand the risks of improper force distribution
Improperly adjusted harnesses can cause significant injury due to excessive force on the body. Correct adjustment throughout this procedure is essential to avoid these damaging effects.
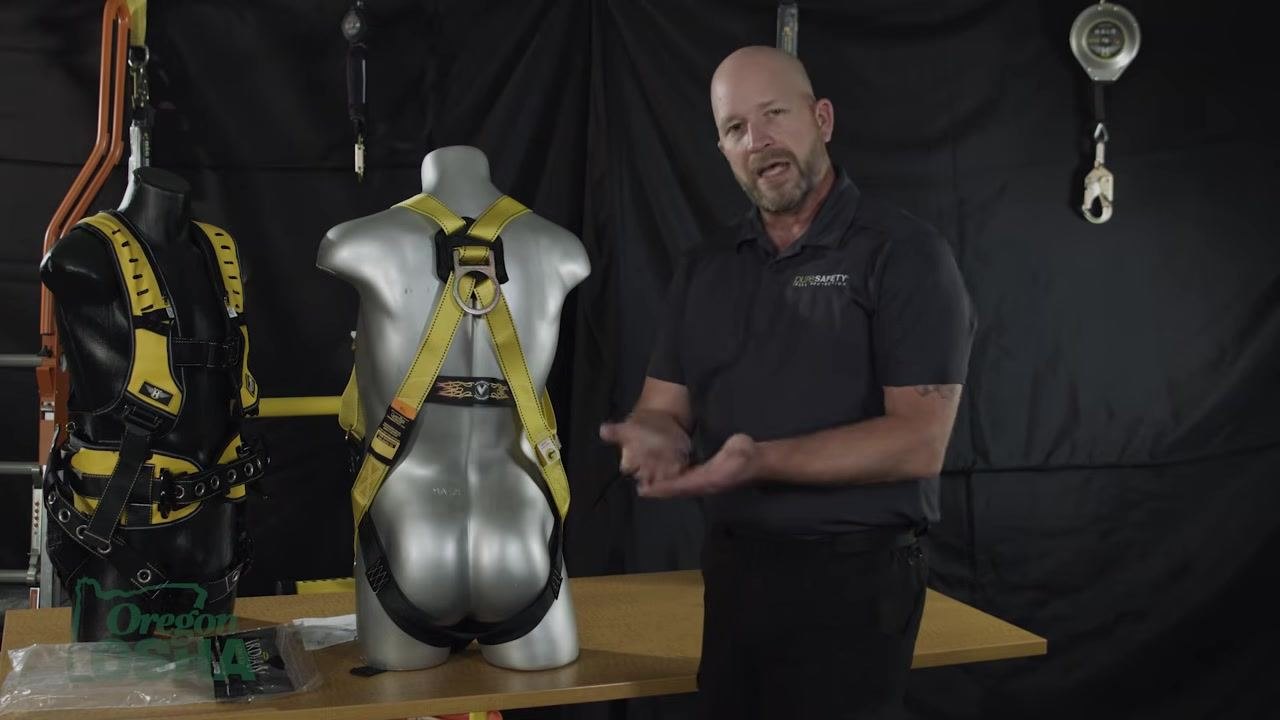
Consult manufacturer instructions
The harness fitting shown here is for demonstration purposes only, and actual products may differ. Always refer to your specific harness manufacturer's instructions for detailed fitting and adjustment procedures.
Final verification checklist
Before use, confirm the following points to verify the harness is properly worn:
- Shoulder straps lay flat against the body, are not twisted, and allow free arm movement without excessive slack
- Chest strap sits across the mid-chest area, not too high near the neck or too low near the abdomen, and is snug but not restrictive
- Leg straps are evenly tightened and secure, snug but allowing normal leg movement without restricting circulation
- The full range of motion has been tested by moving the arms and legs to confirm the harness does not impede movement
- Both sides of the harness are adjusted evenly, with all straps lying flat and buckles properly secured, giving the harness a symmetrical appearance
- All buckles, adjusters, and straps are securely fastened with no twists, tangles, or loose ends that could compromise safety
- The harness forms a clear "H" pattern across the shoulders and chest, with no excess strap tail remaining
- The D-ring sits in the upper back, centered between the shoulder blades, and the suspension angle does not exceed 30 degrees from vertical
- The sub-pelvic strap is positioned beneath the buttocks against a flat area of the body
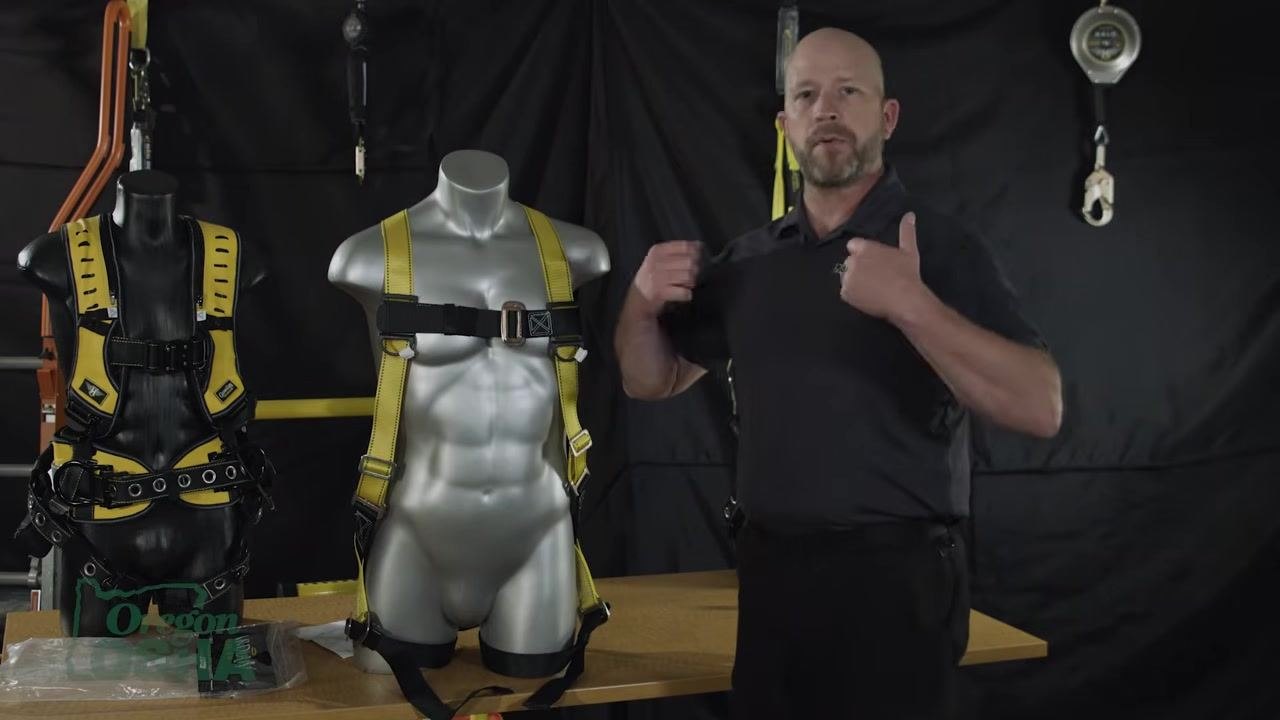
Completing this checklist confirms the fall protection harness has been put on correctly, ensuring both comfort and maximum protection in the event of a fall. Always consult your equipment manufacturer for instructions specific to your harness model.

Generation details: cost, quality tiers
Docsie billed 5,000 credits ($3.50) to analyze this 10-minute video at standard quality. The rewrite, template fill and Word/PDF exports were included. The same video at each quality tier:
| Quality | Frames sampled | Credits | Approx. cost |
|---|---|---|---|
| Draft | every 16-30 s | 2,500 | $1.75 |
| Standard (this guide) | every 8-15 s | 5,000 | $3.50 |
| Detailed | every 4-7 s | 10,000 | $7.00 |
| Ultra | every 1-3 s | 20,000 | $14.00 |
Credits priced at $0.70 per 1,000; plans include a monthly allowance. Enterprise customers on on-premise or bring-your-own-model deployments run this on their own inference and pay no per-video credits.
Generated by Docsie Video-to-Docs on 2026-09-20 from a 9-minute video. Screenshots are frames from the source video and belong to their creator, Oregon Occupational Safety & Health (Oregon OSHA), whose original is embedded above. If you own this video and want the guide removed or credited differently, contact us and we will act within one business day.