
How to Apply a Tourniquet
This guide explains how to apply a tourniquet when you do not have access to a commercial device and direct pressure has failed to control severe bleeding. Knowing how to apply a tourniquet correctly with improvised materials can be lifesaving in an emergency where medical help is not immediately available. The steps below cover material selection, positioning, tightening, securing, and the follow-up actions needed once the tourniquet is in place.
Video: How to apply an improvised tourniquet by ProTrainings Europe Ltd (2020). All credit for the demonstration goes to the creator; watch the original on YouTube. The written guide below was generated from this video by Docsie. Creator? Request a change or removal.
This guide explains how to apply a tourniquet when you do not have access to a commercial device and direct pressure has failed to control severe bleeding. Knowing how to apply a tourniquet correctly with improvised materials can be lifesaving in an emergency where medical help is not immediately available. The steps below cover material selection, positioning, tightening, securing, and the follow-up actions needed once the tourniquet is in place.

Purpose
To provide a step-by-step method for controlling severe, life-threatening bleeding on a limb using an improvised tourniquet when a commercial tourniquet is not available.
Scope
This procedure applies to situations where: - Direct pressure has not stopped the bleeding. - No commercial tourniquet is on hand. - The bleeding is on a limb (arm or leg) and is severe enough to be life-threatening.
Required materials
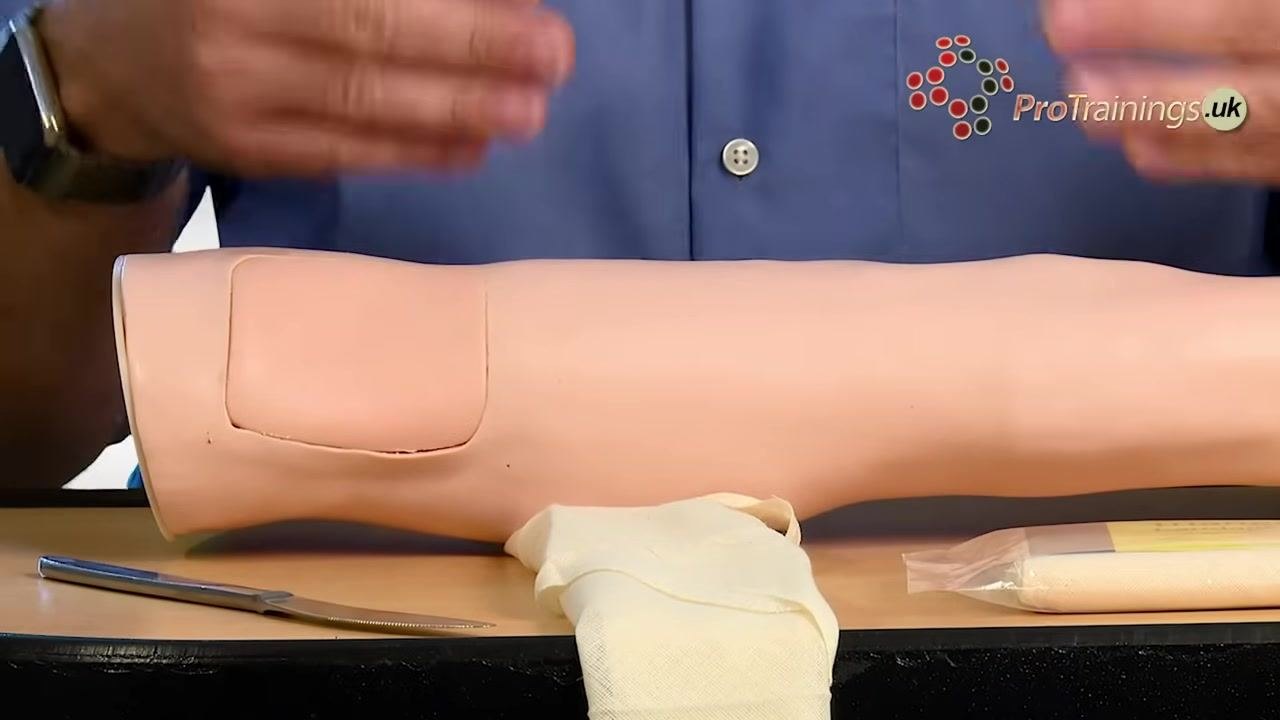
Before starting, gather a strong, pliable material to use as the tourniquet band, plus a rigid object to use as a windlass.
- Suitable band materials: a triangular bandage, gauze, regular bandages, or clothing, folded to at least 5 cm thick to avoid cutting into tissue.
- Suitable windlass objects: a strong, rigid item such as a knife handle, a piece of timber, or metal.
- Materials to avoid for the band: wire, string, rope, or shoelaces — these can cut into the muscle.
- Materials to avoid: leather belts, which are difficult to tighten sufficiently.
- Windlass items to avoid: fragile objects such as pens, which can break under pressure.
Steps to apply a tourniquet
Confirm an improvised tourniquet is needed
Only proceed with an improvised tourniquet if direct pressure has not stopped the bleeding and no commercial tourniquet is available. This procedure is intended as a last resort for severe limb bleeding.
Prepare the tourniquet material
Fold your chosen material — such as a triangular bandage — to a minimum thickness of 5 cm. It should be tight but not excessively tight to avoid causing additional injury. Apply it directly onto the skin where possible, though it can be used over clothing if necessary.
Safety note: Never place the tourniquet over a wound site or a joint. Position it on the mid-shaft of the limb bone, away from joints.
Position the tourniquet on the limb
Identify the location of the wound. Place the tourniquet on the upper arm, or above the wound on the affected limb, keeping it away from any joint and on the mid-shaft of the bone. This positioning is what allows the tourniquet to effectively stop arterial blood flow.
Apply the tourniquet band
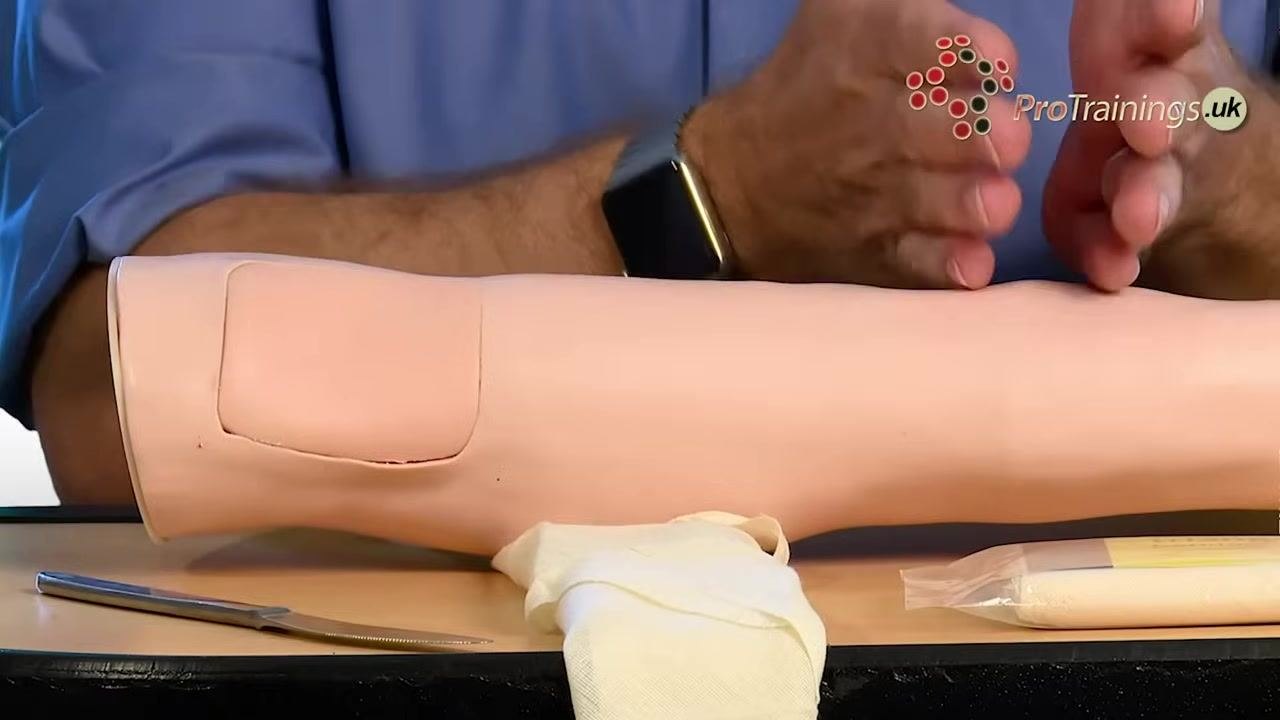
Wrap the folded dressing around the limb, above the wound site. Tie a half knot over the top of the limb and pull it tight to begin restricting blood flow.
Select a suitable windlass
Choose a strong, rigid object — such as a piece of timber, metal, or a knife handle — to use as a windlass for tightening the band. Avoid fragile items like pens, as they may break under pressure and fail to tighten the tourniquet effectively.
Insert the windlass and tighten
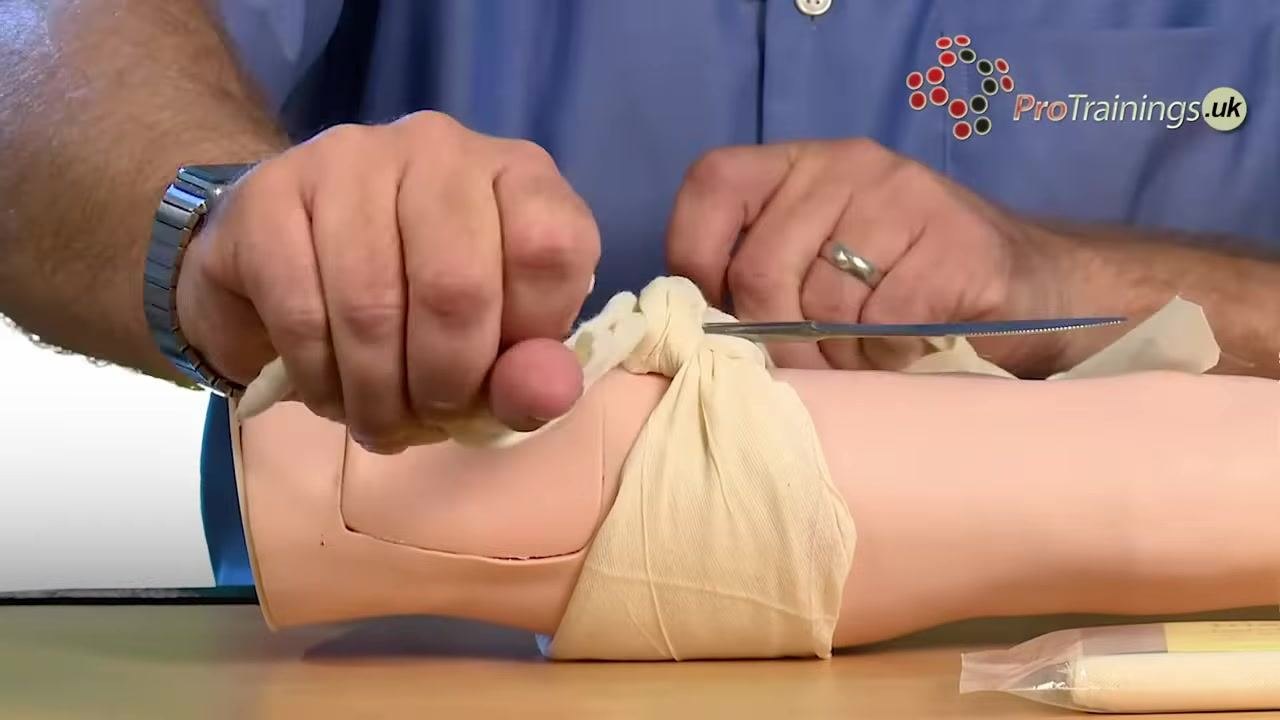
Place the windlass over the knot in the bandage and tie the bandage over it to secure it in place. Begin twisting the windlass to tighten the tourniquet, increasing pressure on the limb. Continue winding until the bleeding slows or stops completely.
Safety note: Tell the casualty the procedure will be uncomfortable but is necessary to save their life by stopping the bleeding. Make sure the tourniquet is tight enough to stop all blood flow, not just venous return — if blood continues to ooze or spurt, twist further to apply more pressure.
Secure the windlass
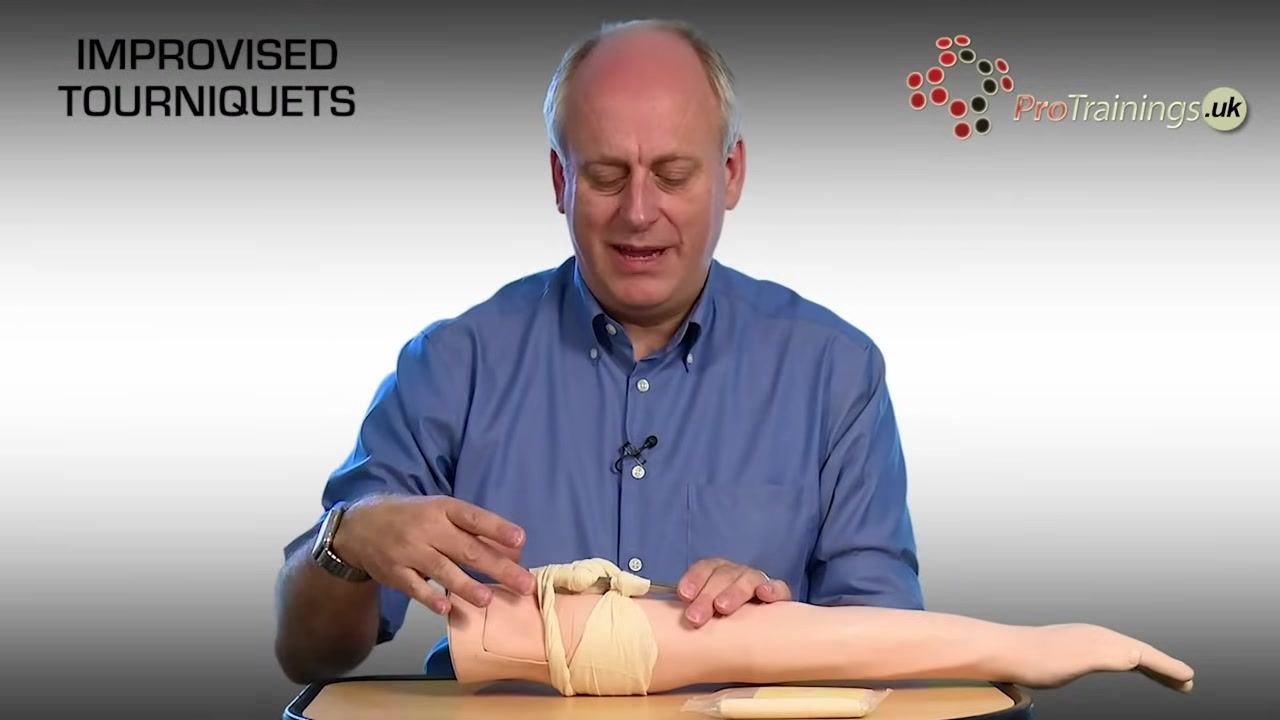
Once bleeding has stopped, use the loose ends (tails) of the bandage to secure the windlass in place. Tuck the tails under the windlass and tie them to prevent it from unwinding.
Leave the tourniquet in place
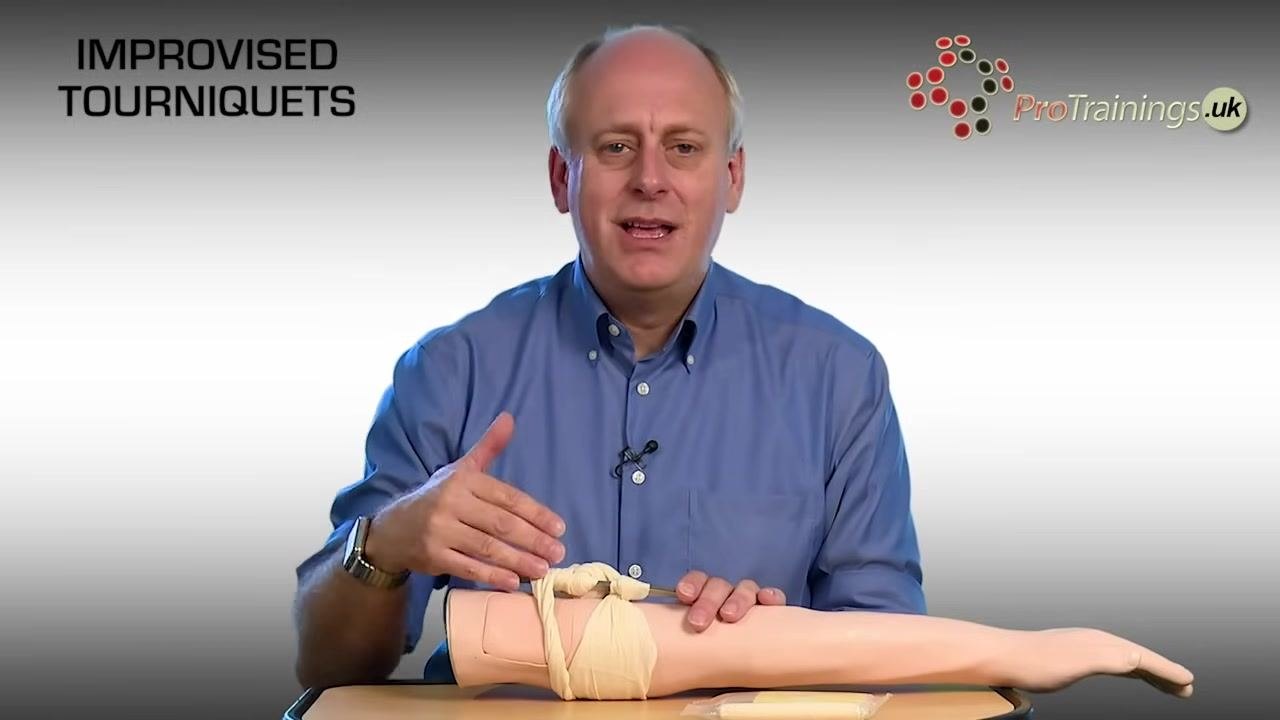
Do not remove the tourniquet once it has been applied and bleeding has stopped. Leave it in place until the casualty reaches emergency medical care, and do not cover it with clothing or other materials — it must remain visible so emergency responders can see it has been applied.
Inform emergency responders
When paramedics or emergency personnel arrive, clearly tell them that a tourniquet has been applied to the casualty. This step is crucial, as the presence of a tourniquet may otherwise be missed if not pointed out. Keep it visible and uncovered at all times.
Mark the casualty with a 'T' and the time of application
Using a pen, write a large, clear 'T' on the casualty's forehead to indicate that a tourniquet has been applied. Write the exact time of application next to the 'T'. This information is vital for hospital staff, as it can significantly affect treatment decisions based on how long the tourniquet has been in place.
Verification
Before considering the tourniquet complete, confirm the following:
- The windlass is secure and cannot unwind.
- The bandage is tight enough to stop all blood flow, not just venous return.
- The tourniquet is positioned on the mid-shaft of the limb, away from any joint or wound.
- The 'T' and time of application are clearly marked on the casualty.
- The tourniquet remains visible and uncovered.
An improvised tourniquet, when applied correctly, is a very effective way to stop severe bleeding when a commercial tourniquet is not available.
Summary of key reminders
- Always use wide, soft materials for an improvised tourniquet; avoid wire, string, rope, shoelaces, or leather belts.
- Never place the tourniquet over a wound or a joint.
- Ensure the tourniquet is tight enough to stop arterial blood flow, but not so tight as to cause unnecessary tissue damage.
- Always use a strong, rigid windlass to ensure effective tightening.
- Never remove the tourniquet in the field — only medical professionals should do so.
- Always inform emergency responders about the presence of a tourniquet, and keep it visible.
- Clearly mark the casualty with a 'T' and the time of application.
- Improvised tourniquets are a last resort, used only when direct pressure and commercial tourniquets are unavailable, but they are effective when applied correctly and promptly.

Generation details: cost, quality tiers
Docsie billed 2,000 credits ($1.40) to analyze this 4-minute video at standard quality. The rewrite, template fill and Word/PDF exports were included. The same video at each quality tier:
| Quality | Frames sampled | Credits | Approx. cost |
|---|---|---|---|
| Draft | every 16-30 s | 1,000 | $0.70 |
| Standard (this guide) | every 8-15 s | 2,000 | $1.40 |
| Detailed | every 4-7 s | 4,000 | $2.80 |
| Ultra | every 1-3 s | 8,000 | $5.60 |
Credits priced at $0.70 per 1,000; plans include a monthly allowance. Enterprise customers on on-premise or bring-your-own-model deployments run this on their own inference and pay no per-video credits.
Generated by Docsie Video-to-Docs on 2026-09-14 from a 3-minute video. Screenshots are frames from the source video and belong to their creator, ProTrainings Europe Ltd, whose original is embedded above. If you own this video and want the guide removed or credited differently, contact us and we will act within one business day.