
How to Respond to a Submittal in Procore
Knowing how to respond to a submittal in Procore helps you keep the review workflow moving. This guide shows you how to find a submittal assigned to you, attach your documents, and send your response. It also explains what happens after you submit, how to handle a rejection, and how to use the Submittals log to search, filter, and export your submittals.
Video: (By Procore) Uploading & Responding to Submittal Requests in Procore by Bold Commercial Construction, LLC (2026). All credit for the demonstration goes to the creator; watch the original on YouTube. The written guide below was generated from this video by Docsie. Creator? Request a change or removal.
Knowing how to respond to a submittal in Procore helps you keep the review workflow moving. This guide shows you how to find a submittal assigned to you, attach your documents, and send your response. It also explains what happens after you submit, how to handle a rejection, and how to use the Submittals log to search, filter, and export your submittals.
Prerequisites
Before you start, make sure you have the following:
- Access to your project in Procore
- A submittal assigned to you in the submittal workflow
- The spec sheets or other documents for the items you intend to install or work on, in line with the project plans or the spec book
Locate and open your assigned submittal
Step 1: Find the submittal assigned to you
- Open Procore and go to your project.
- On the project home page, find the My Open Items section.
- Look for your submittals in this section. Each one shows its title, status, responsible contractor, and due date.
You can also open the Submittals tool from the project tools menu to see all submittals assigned to you.
Step 2: Identify submittals that need your attention
Procore marks submittals assigned to you with a banner or a highlighted row. On the project home page, check My Open Items for submittals that have an "Open" status and a due date.
Step 3: Review the submittal notification email
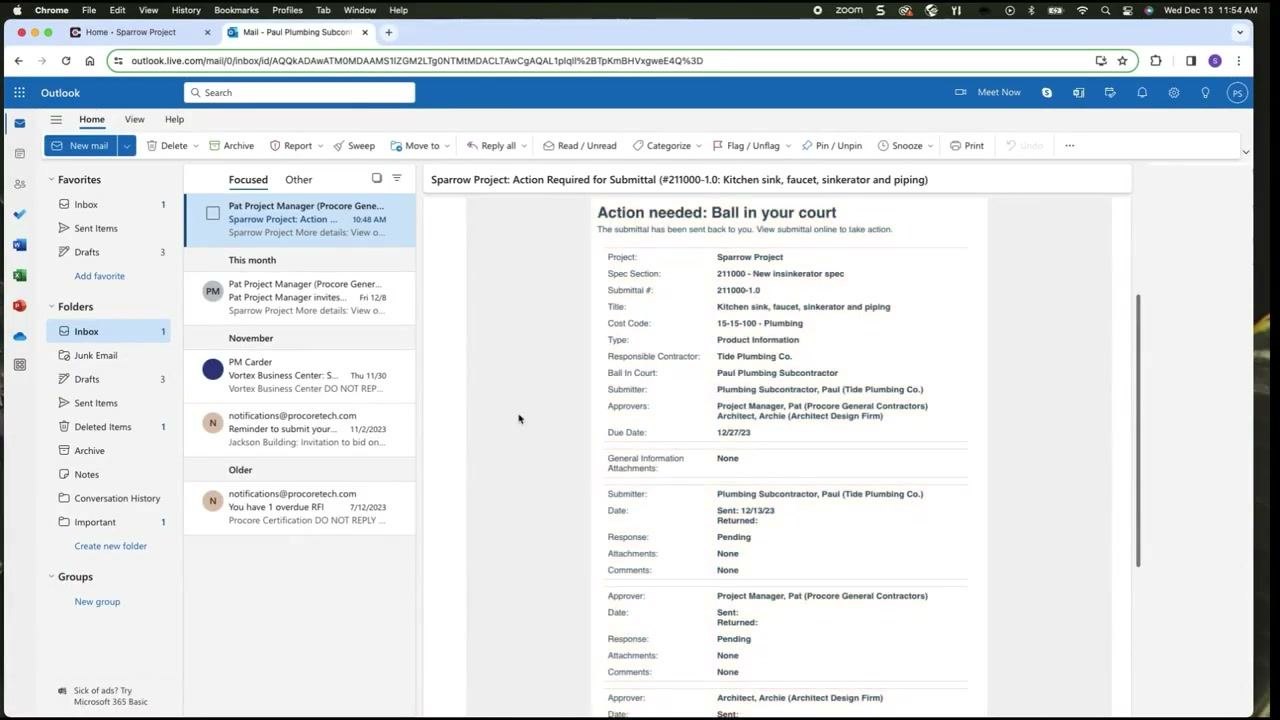
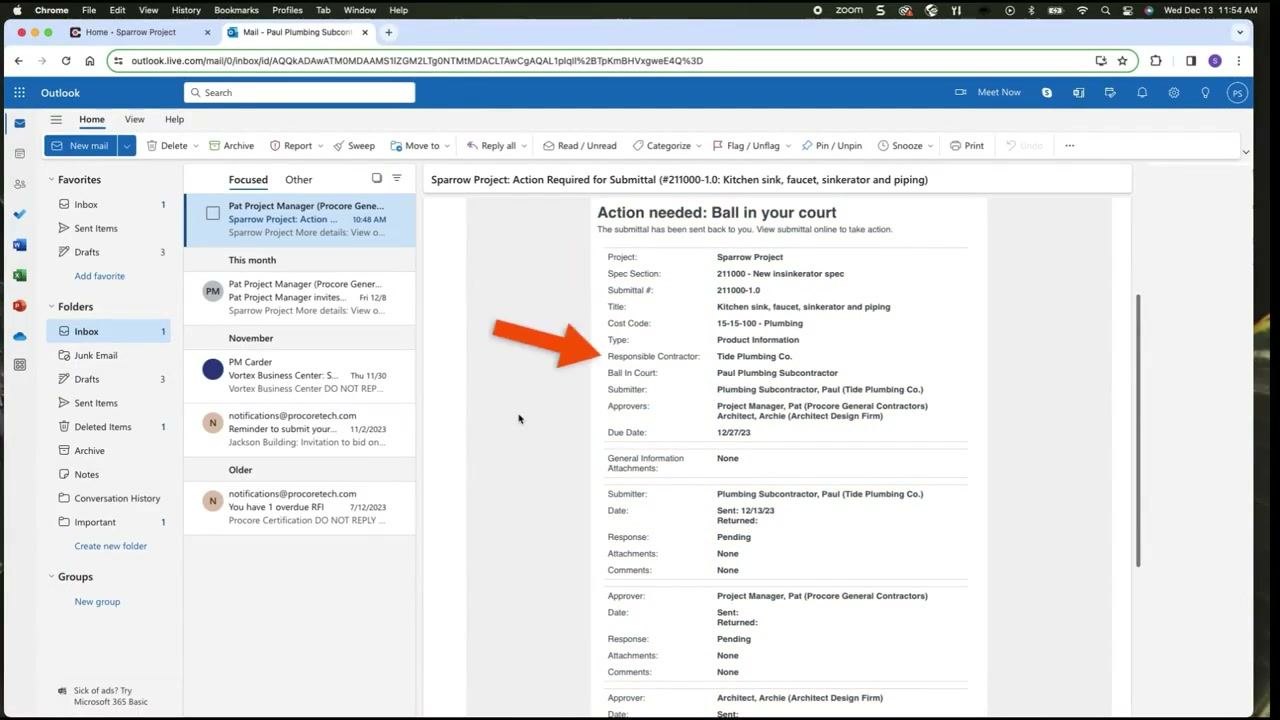
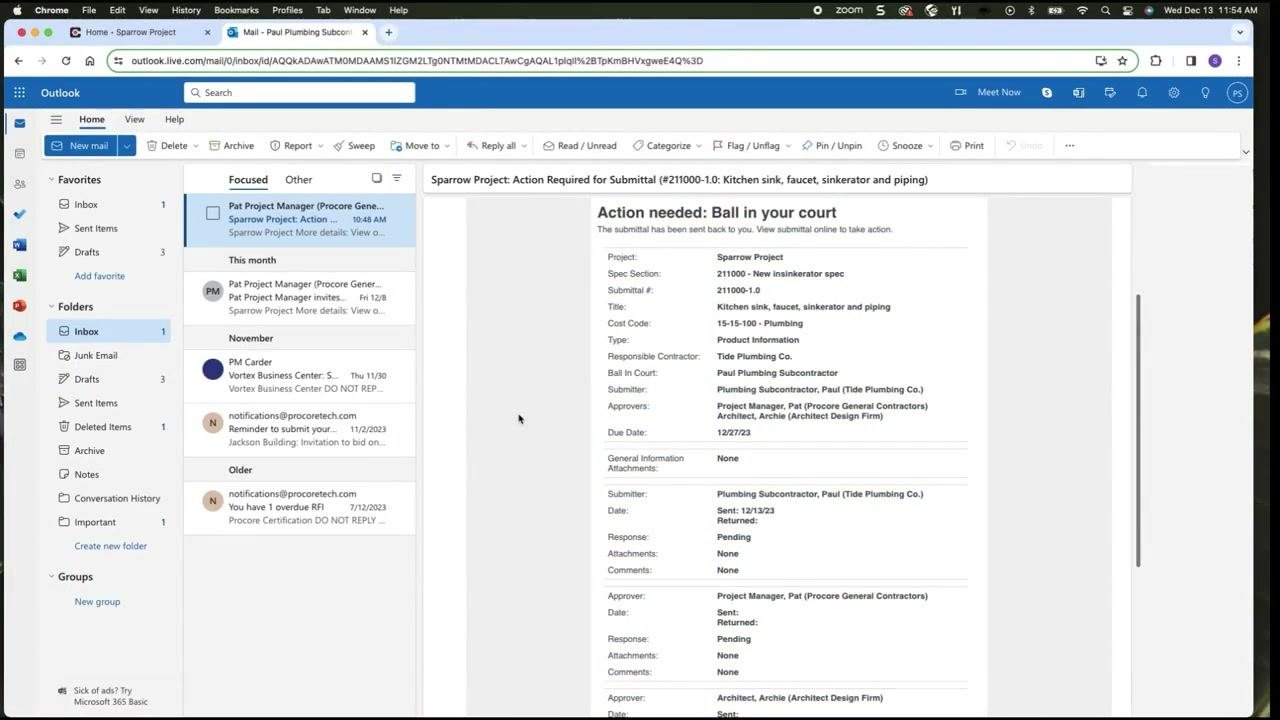
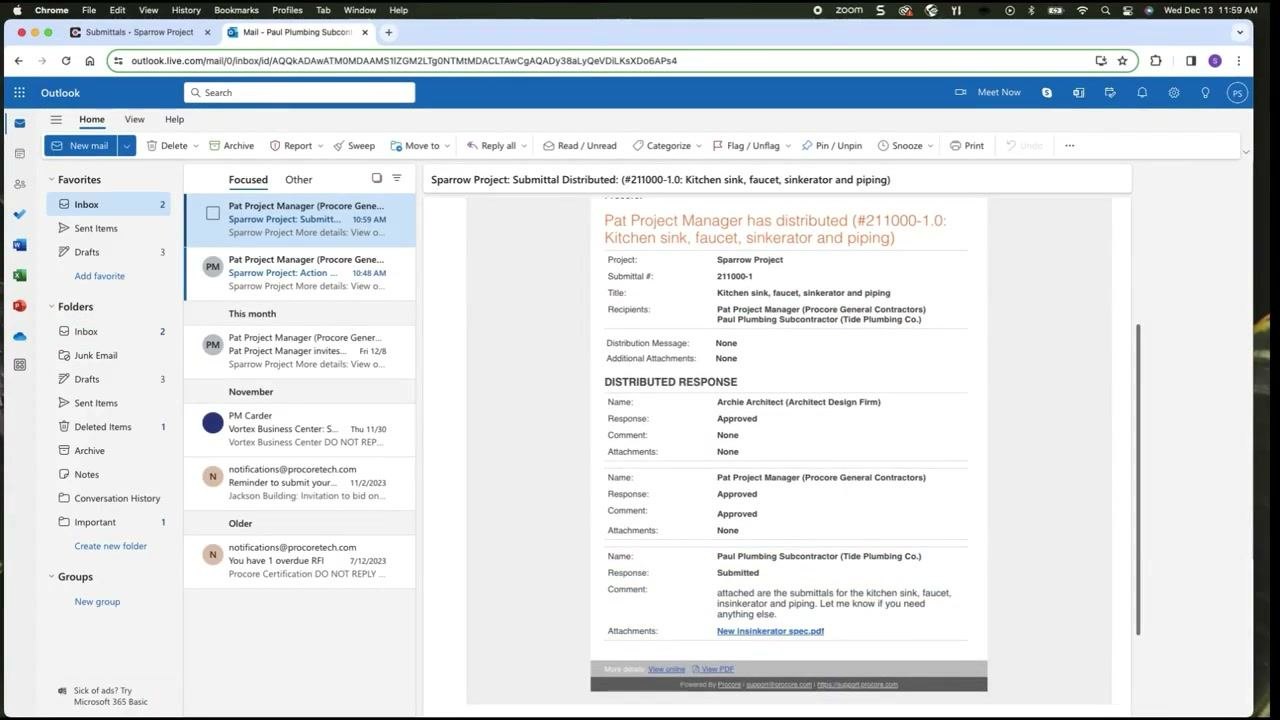
Check your inbox for the Procore notification about the assigned submittal. The email includes these details:
- Project name
- Spec section (for example, 211000 - New insinkerator spec)
- Submittal number (for example, 211000-1.0)
- Title (for example, Kitchen sink, faucet, sinkerator and piping)
- Cost code (for example, 15-15-100 - Plumbing)
- Responsible contractor (for example, Tide Plumbing Co.)
- Your role as the assignee (for example, Paul Plumbing Subcontractor)
- Due date (for example, 12/27/23)
Step 4: Go to the submittal from the email
Click the View Online link in the notification email to go directly to the submittal in Procore. Alternatively, navigate to the submittal manually with the Submittals tool.
Step 5: Open the submittal to respond
Click the submittal title, or click the Respond button next to your assignment in the submittal workflow. Review the workflow to see your position and the due date for your response.
Respond to the submittal
Step 6: Attach the required files
- In the response dialog, click Attach Files, or drag and drop the relevant spec sheets or documents.
- Attach all required documentation for the items you intend to install or work on, in compliance with the project plans or the spec book.
- Confirm that the attached files appear in the upload area (for example, "New insinkerator spec.pdf").
Step 7: Enter your response and comments
- Select the appropriate response from the dropdown (for example, Submitted).
- Enter any comments that give the architect or contractor reviewing your submission more context. For example:
attached are the submittals for the kitchen sink, faucet, insinkerator and piping. Let me know if you need anything else. - Click Preview to review your response and comments.
Step 8: Submit your response
After you preview your response and confirm everything is correct, click Respond to submit it. Procore automatically emails your Procore point of contact to let them know your submission is ready.
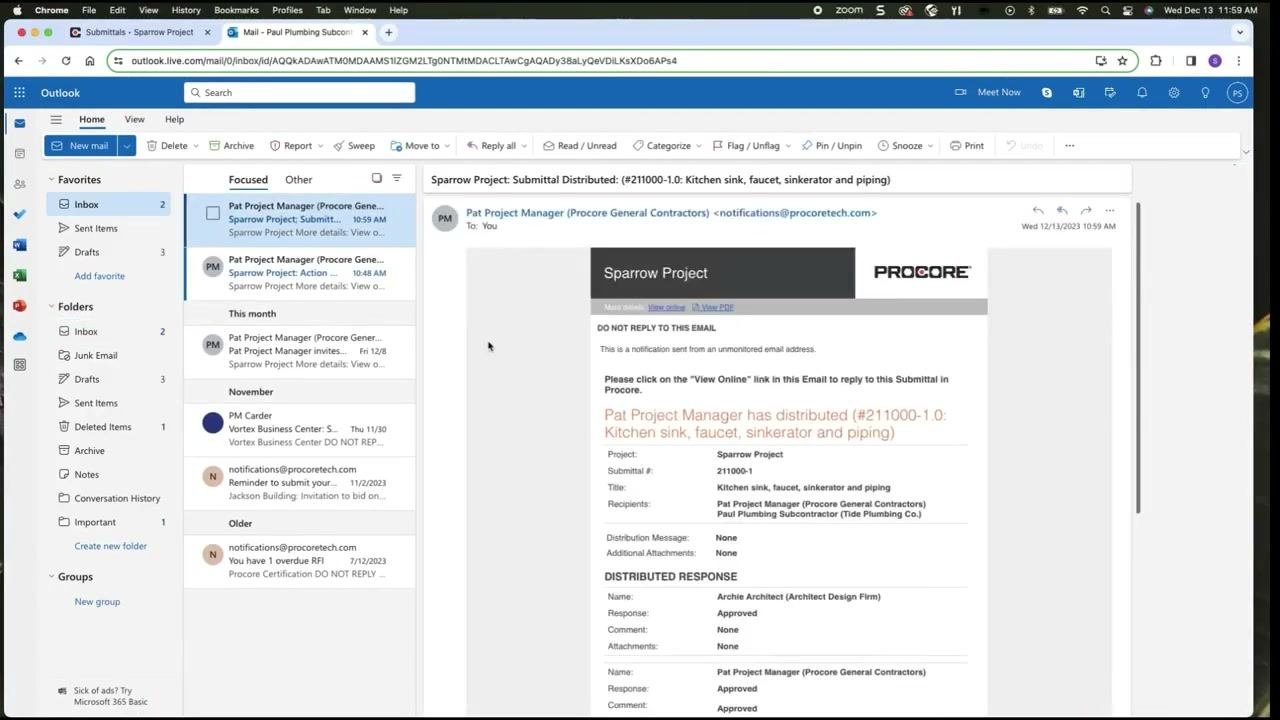
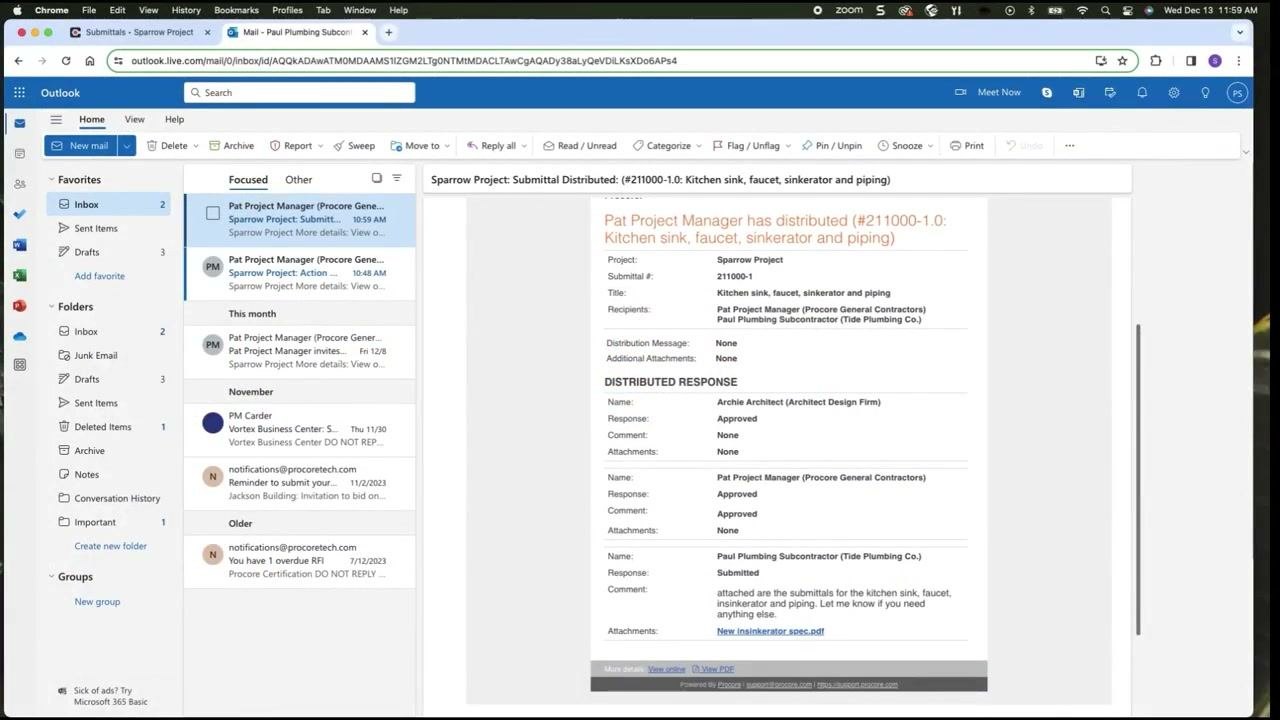
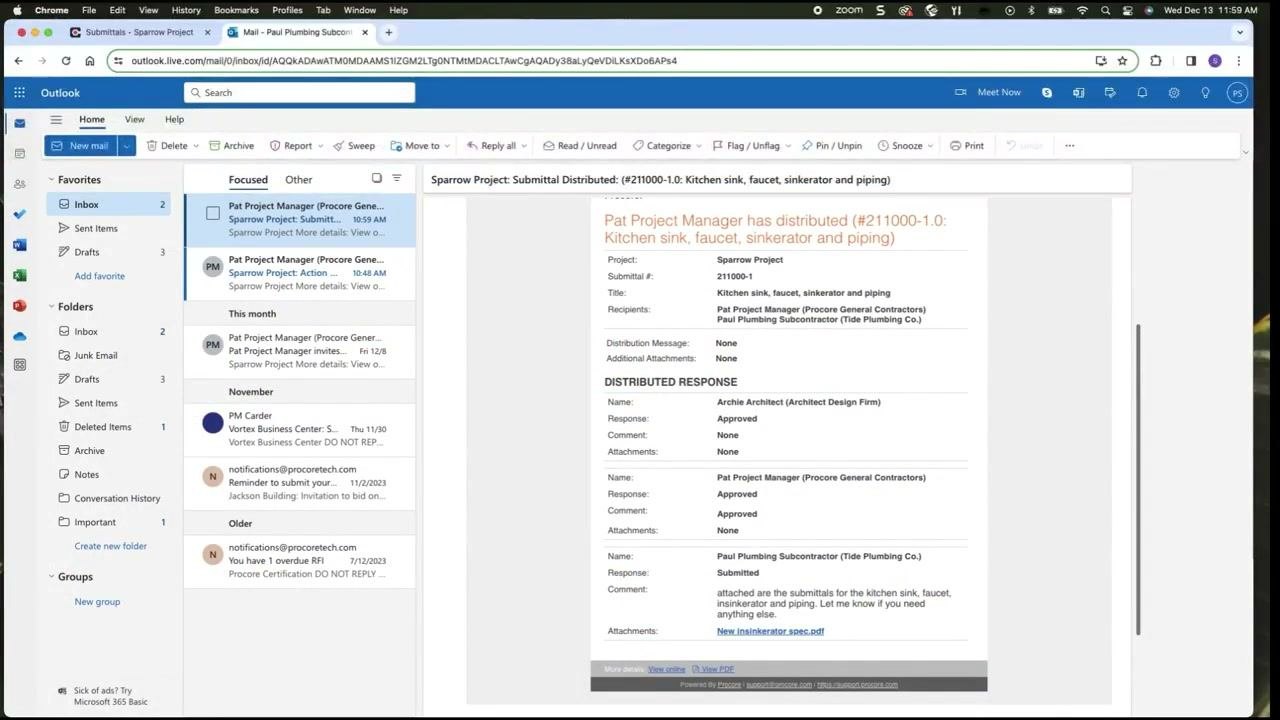
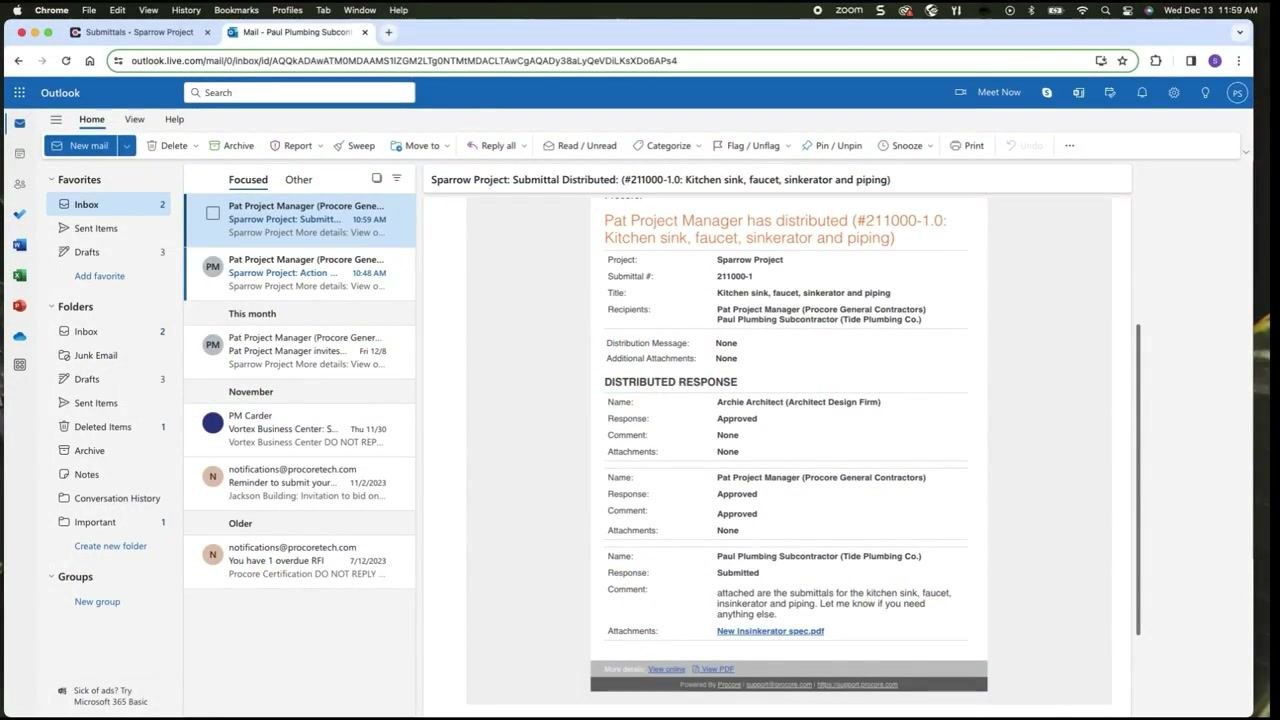
You then receive a confirmation email that your response has been distributed. The email includes the submittal details, the recipients, and the distributed response information.
Follow the submittal after you respond
Step 9: Track your submitted response
After you submit, review the submittal history in Procore to confirm your submission and see its status.
If you make an error or need to change something after submitting, contact your Procore point of contact. If applicable, they can reassign the submittal back to you so you can edit your response.
Step 10: Understand the "Ball in Court" concept
After you submit, responsibility for acting on the submittal (the "Ball in Court") shifts to the next designated person in the workflow. The workflow typically follows this sequence:
- Your Procore point of contact reviews your submission.
- The "Ball in Court" then shifts to the architect for final review.
- The architect approves or rejects the submittal based on their assessment.
- In some cases, multiple parties must approve the submittal before it is labeled as approved by the contractor and distributed back to you.
Reviewers may request additional information or clarification before they grant approval.
Step 11: Respond to a rejected submittal
If your submission is rejected, Procore returns the submittal to you for corrections. Make the necessary changes and resubmit under a new revision. The workflow may involve several exchanges before the submittal is approved.
Step 12: Download the approved specifications
Once your submittal is approved and your Procore point of contact distributes it back to you, download the final specifications with their approval stamps. You can download them directly from the email notification or by clicking View Online.
These approved specifications give you the details you need to purchase materials or perform your scope of work on the job site.
Step 13: Monitor status with automated notifications
Procore sends you an automated email whenever your submittal is distributed back to you. These emails include official spec sheets and any conditional approval notes. They help you track submittal status even when you are not logged in to Procore.
On large projects with many submittals, use these notifications to stay organized and act on each submittal on time.
Manage submittals in the Submittals log
Step 14: Search and filter the Submittals log
- Use the search bar at the top of the Submittals log to find specific submittals by keyword or number.
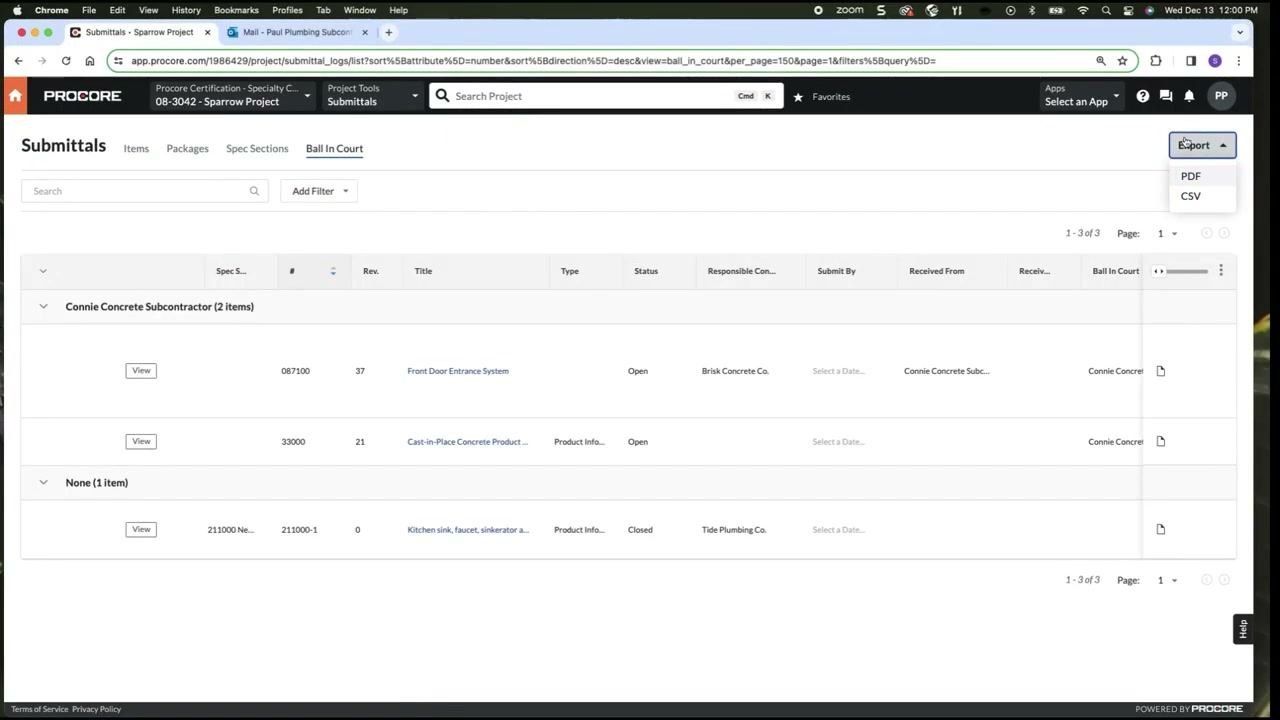
- Click Add Filter and apply one or more filters, such as Ball in Court, to narrow the list to the submittals relevant to your responsibilities.
- Select multiple filters at the same time to refine your results further.
Step 15: Monitor Ball in Court status
Check the Ball in Court column to see who is responsible for the next action in each submittal workflow. When the Ball in Court is assigned to you or your company, respond promptly to keep the workflow moving.
Step 16: Organize submittals by package and specification
Switch between the Items, Packages, and Spec Sections tabs to view submittals grouped by package or specification section. This grouping helps you track and manage related submittals.
Step 17: Export submittal lists for reporting
- Click Export in the upper right corner of the Submittals log.
- Choose whether to export your filtered submittal list as a PDF or a CSV file.
- Use the exported report for printing, sharing, or saving as a reference for project documentation.
Summary
You now know how to respond to a submittal in Procore. You can find your assigned submittal, attach your documents, add comments, and submit your response. You can also follow it through the Ball in Court workflow, resubmit after a rejection, and download the approved specifications. The Submittals log lets you search, filter, group, and export submittals so you can act on each one on time.
Generation details: cost, quality tiers
Docsie billed 2,500 credits ($1.75) to analyze this 5-minute video at standard quality. The rewrite, template fill and Word/PDF exports were included. The same video at each quality tier:
| Quality | Frames sampled | Credits | Approx. cost |
|---|---|---|---|
| Draft | every 16-30 s | 1,250 | $0.88 |
| Standard (this guide) | every 8-15 s | 2,500 | $1.75 |
| Detailed | every 4-7 s | 5,000 | $3.50 |
| Ultra | every 1-3 s | 10,000 | $7.00 |
Credits priced at $0.70 per 1,000; plans include a monthly allowance. Enterprise customers on on-premise or bring-your-own-model deployments run this on their own inference and pay no per-video credits.
Generated by Docsie Video-to-Docs on 2026-11-15 from a 4-minute video. Screenshots are frames from the source video and belong to their creator, Bold Commercial Construction, LLC, whose original is embedded above. If you own this video and want the guide removed or credited differently, contact us and we will act within one business day.