
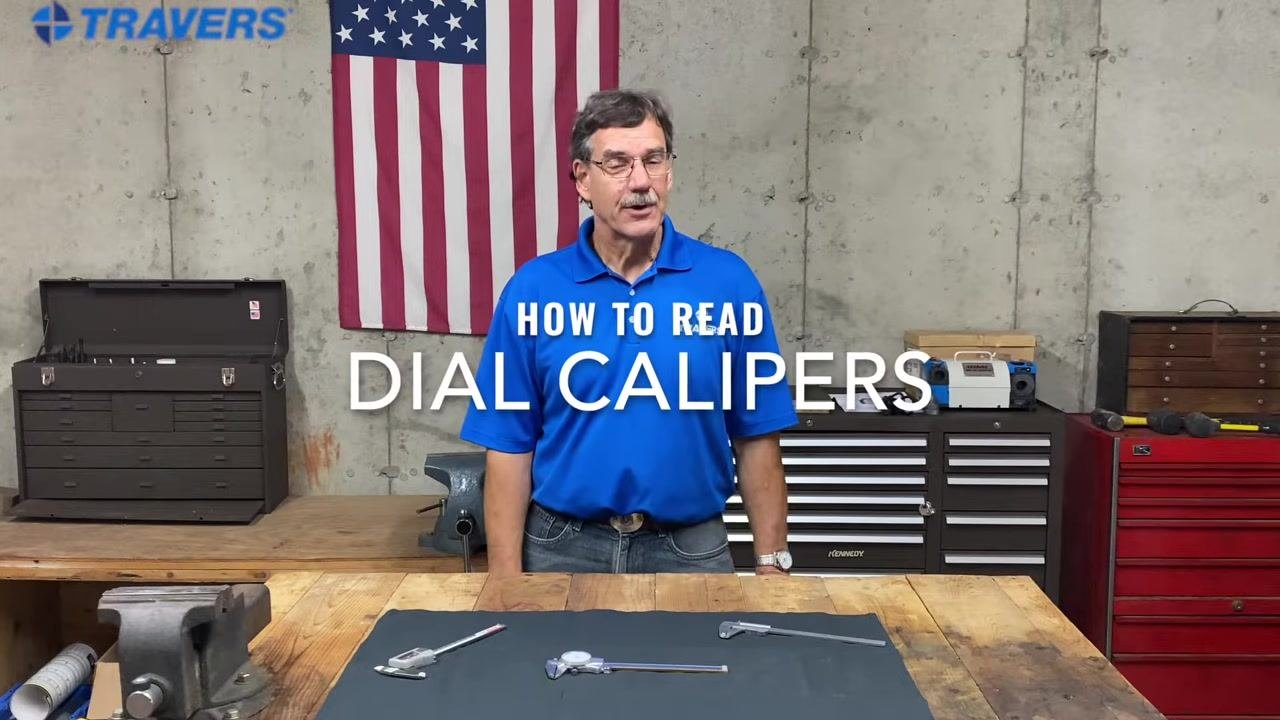
How to Read Dial Calipers
This procedure explains how to read dial calipers accurately, from identifying the caliper type to interpreting the main scale and dial face together. It walks through worked examples in thousandths of an inch, covers zeroing and inspection before use, and closes with technique tips for taking a clean measurement. Follow these steps whenever you need to take a precise inch measurement with a dial caliper.
Video: How Do You Read Measurements Taken With Dial Calipers? by Travers Tool Co (2021). All credit for the demonstration goes to the creator; watch the original on YouTube. The written guide below was generated from this video by Docsie. Creator? Request a change or removal.
This procedure explains how to read dial calipers accurately, from identifying the caliper type to interpreting the main scale and dial face together. It walks through worked examples in thousandths of an inch, covers zeroing and inspection before use, and closes with technique tips for taking a clean measurement. Follow these steps whenever you need to take a precise inch measurement with a dial caliper.
Purpose
The purpose of this SOP is to teach you how to read dial calipers correctly so that measurements taken in a machine shop or workshop setting are accurate and repeatable.
Scope
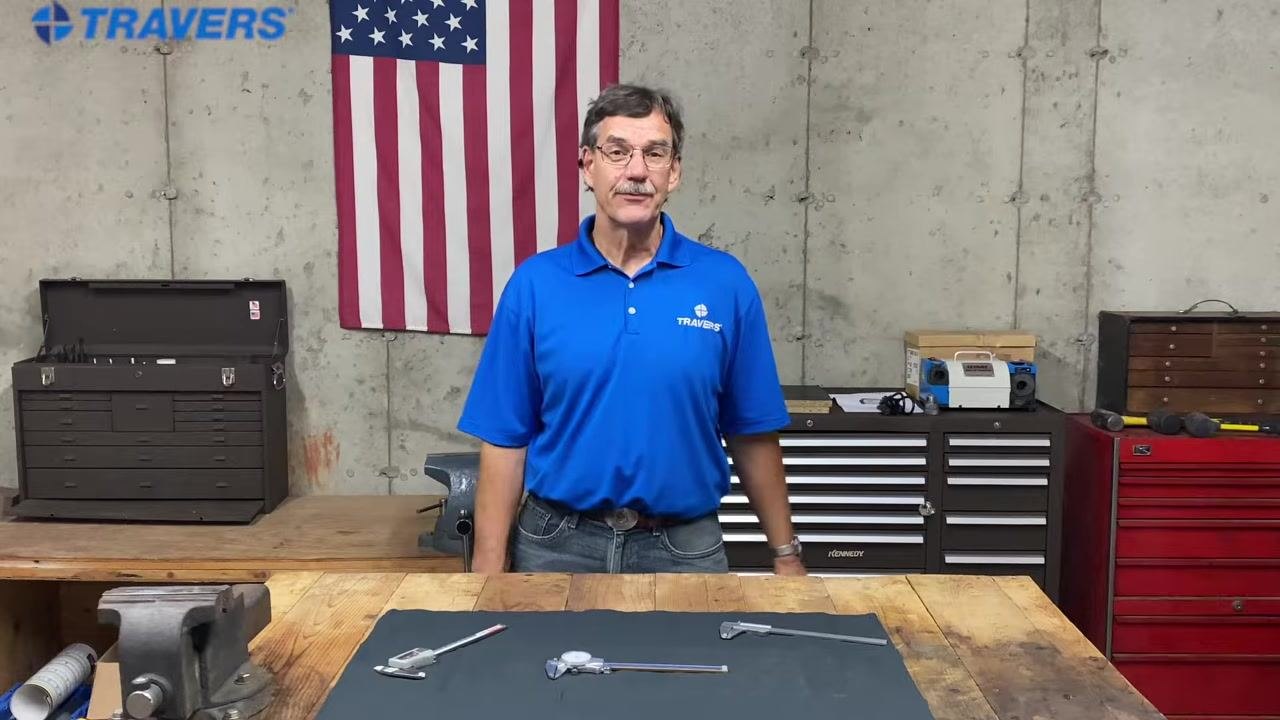
This procedure applies to standard dial calipers (such as Mitutoyo dial calipers) used for outside measurements in inches. It covers reading the main scale and dial face, zeroing the instrument, and basic measurement technique.
Required equipment
- A dial caliper (e.g., Mitutoyo dial caliper)
- The object or part to be measured
- A lint-free cloth for cleaning the measuring faces
Procedure
Identify the caliper type
Step 1. Before measuring, confirm you are working with a dial caliper rather than a digital or vernier caliper. Dial calipers are commonly used in machine shops and are a popular choice for precise measurements because of their readability and reliability.
Understand the dial caliper scale
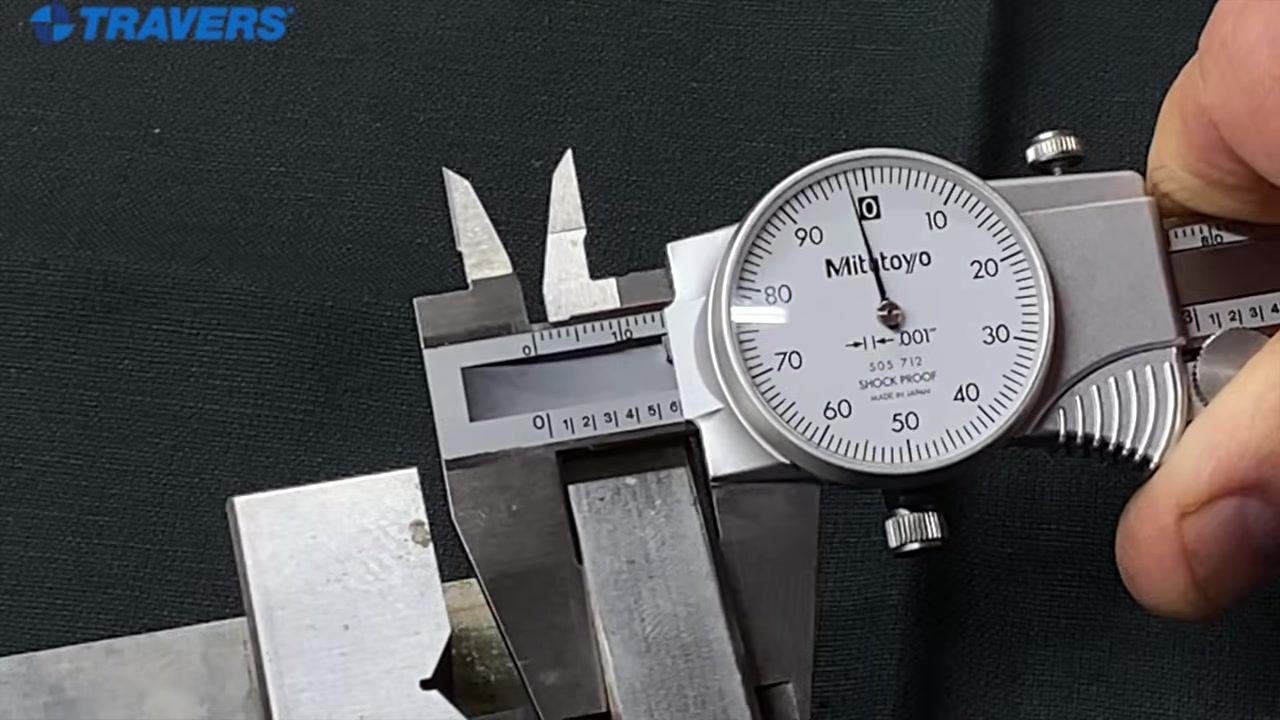
Step 2. Identify the two scales you will read together: the main scale (linear scale) on the caliper body, which shows whole inches and tenths of an inch, and the dial face, which displays hundredths and thousandths of an inch. On the main scale, "0" represents zero inches, "1" represents one inch, and the smaller divisions between whole inches represent tenths (0.1, 0.2, and so on).
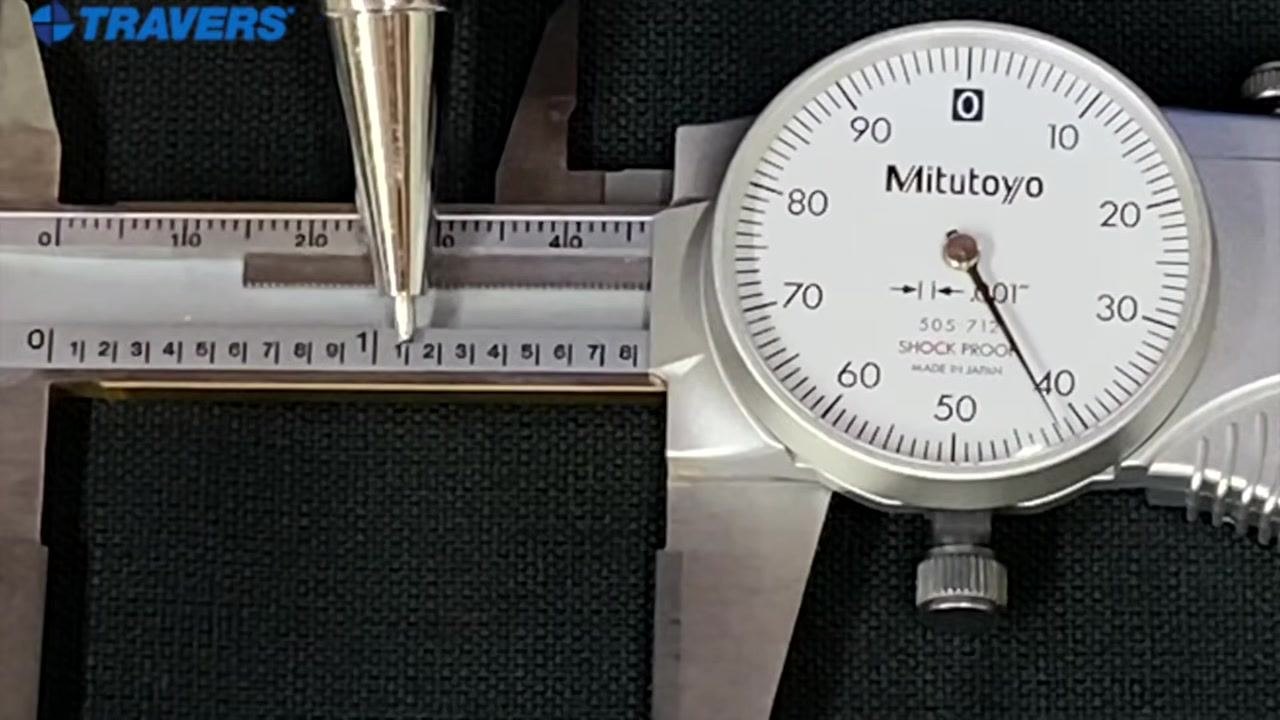
Step 3. Learn how the dial itself is divided. Each full revolution of the dial equals 0.1 inch (one tenth). The number the pointer lands on (for example, 80) represents that many thousandths of an inch (0.080 inch). Each small tick mark between the numbers on the dial equals 0.001 inch (one thousandth).
Step 4. Note that a numbered line on the dial represents a value in thousandths (for example, 80 = 0.080 inch), while all the unnumbered lines between the numbers represent single thousandths of an inch.
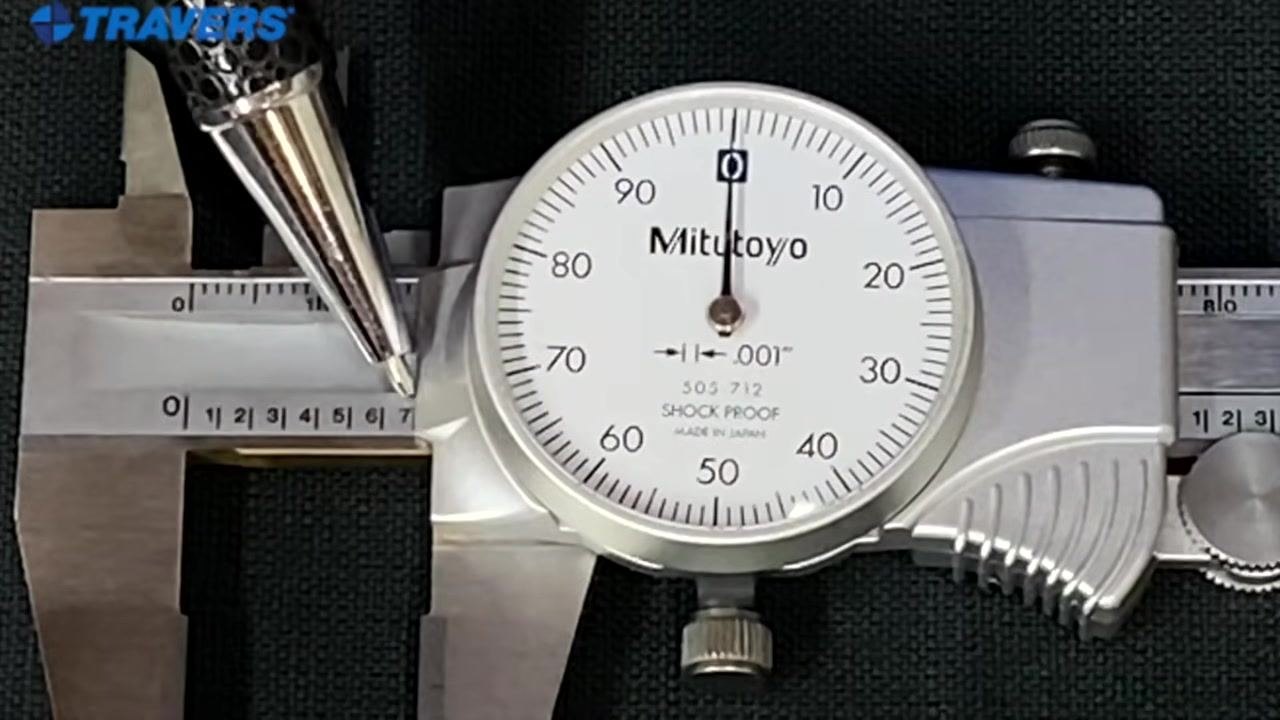
Step 5. As a reference example, if the pointer rests exactly on 80, the dial is indicating 0.080 inch (eighty thousandths).
Read a measurement example
Step 6. Start every reading by checking the main scale for whole inches. If the "1" line is not visible past the caliper's sliding edge, the measurement is less than one inch. Align the edge of the caliper carefully with the scale for an accurate reading.
Work through step-by-step measurement examples
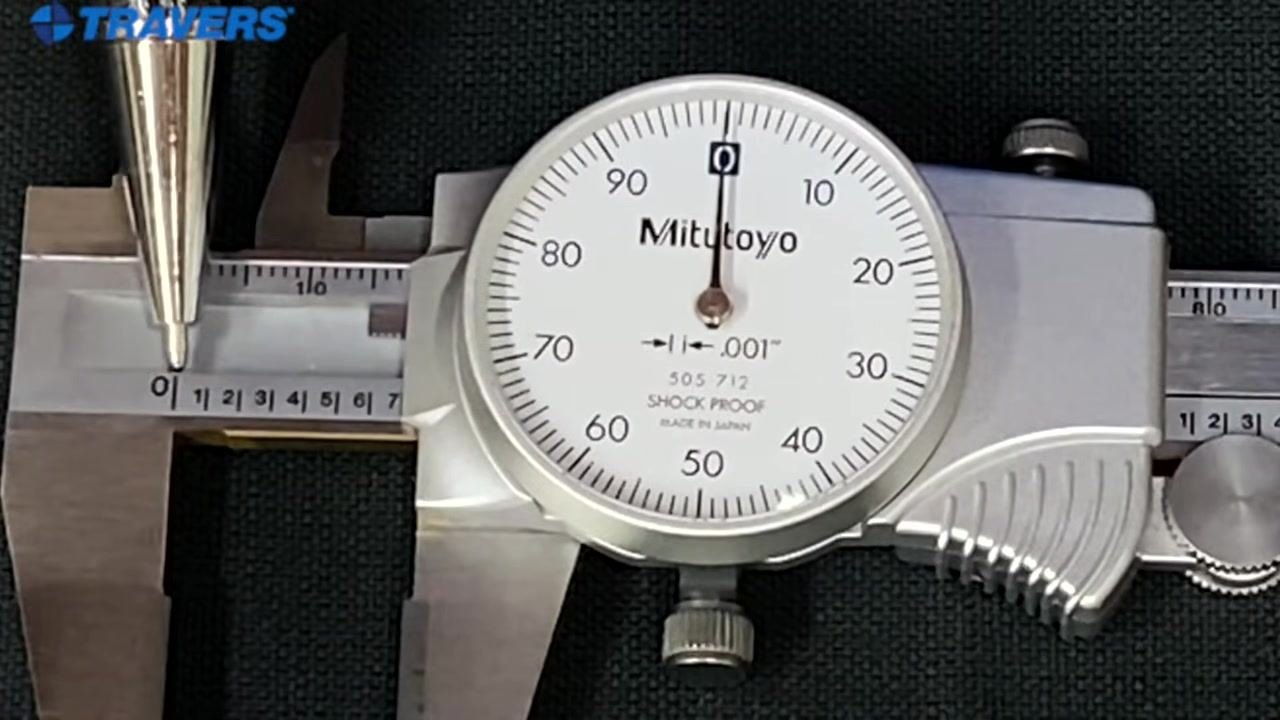
Step 7. Read a measurement of 0.700 inch. Observe the main scale and note the last visible number, "7." Use the line next to the "7," not the number itself, as your reference point. Then check the dial: if the needle points exactly at "0," the dial contributes 0.000. Combine the two readings: main scale 0.700 + dial 0.000 = 0.700 inches total.
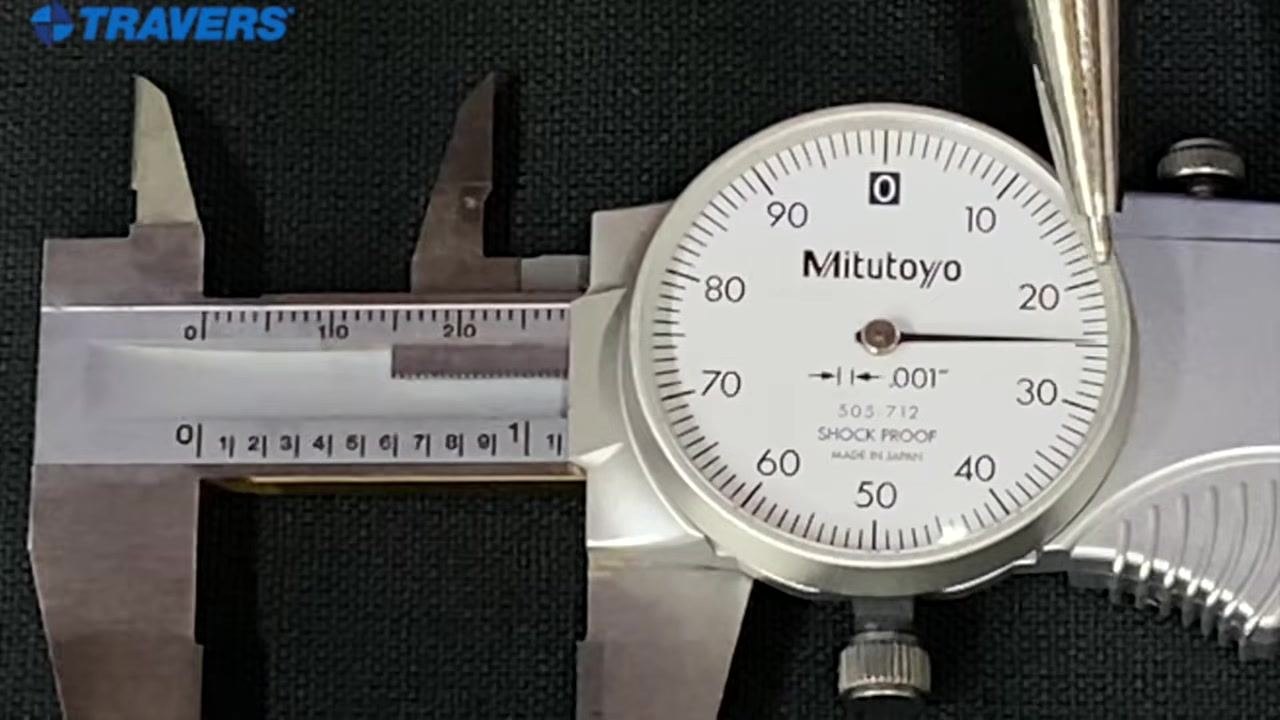
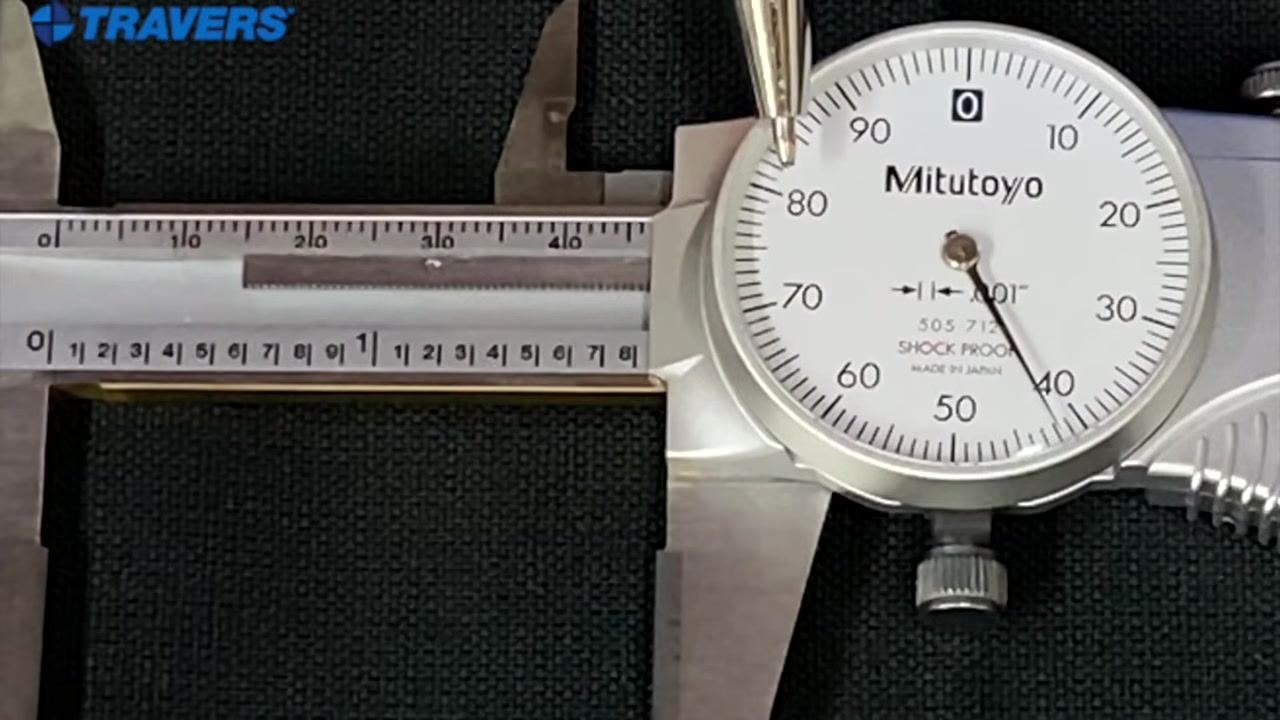
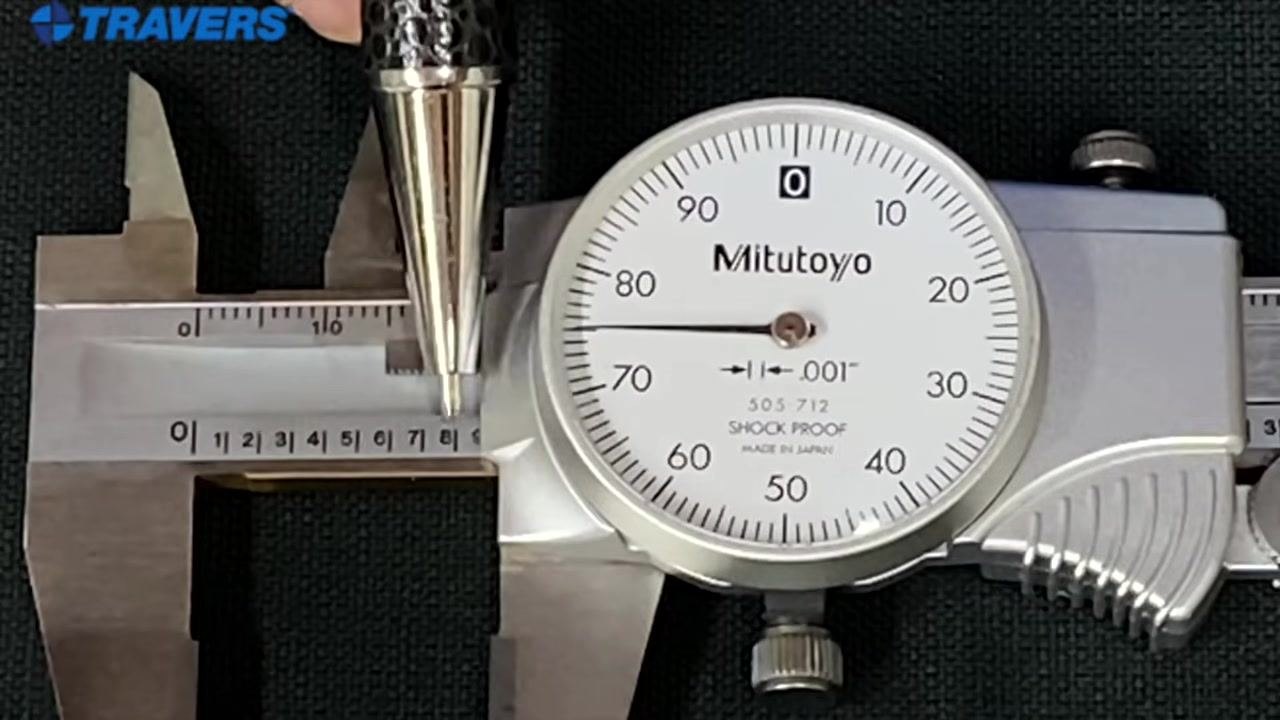
Step 8. Read a measurement of 0.875 inch. Confirm the measurement is under one inch because no whole-inch mark is visible past the "0." The last visible number on the main scale is "8," and the line next to it is visible. On the dial, the needle sits past "70" and five tick marks beyond it (70 + 5 = 75 thousandths). Combine the readings: main scale 0.800 + dial 0.075 = 0.875 inches total.
Step 9. Read a measurement of 1.125 inches. The "1" is visible on the main scale, confirming at least one full inch. The smaller "1" after the whole-inch mark adds one tenth (0.100). On the dial, the needle sits past "20" and five tick marks beyond it (20 + 5 = 25 thousandths). Combine the readings: main scale 1.100 + dial 0.025 = 1.125 inches total.
Practice additional readings
Step 10. Practice example: reading 1.313 inches. Confirm the pointer sits directly on the "1" on the main scale, indicating a whole inch has been passed.
Step 11. Identify the next significant line after the "1." The line next to the "3" on the lower scale represents 300 thousandths (0.300) past the whole inch, meaning the measurement is at least 1.300 inches. Then read the dial: the needle points at "10" (0.010) plus 3 tick marks beyond it (0.003), for a dial value of 0.013. Combine the readings: main scale 1.300 + dial 0.013 = 1.313 inches total.
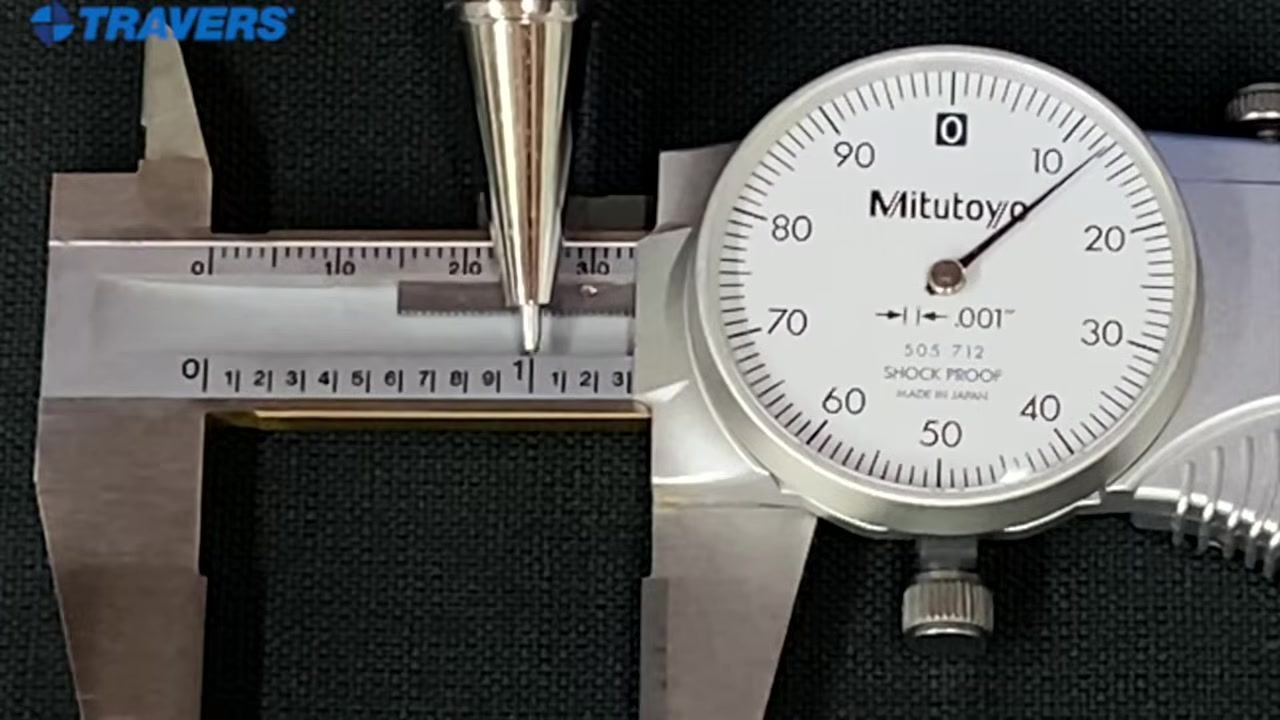
Step 12. Confirm the reading by checking both the main scale and dial marks together to verify the total of 1.313 inches.
Step 13. Practice example: reading 0.890 inches. Examine the main scale for whole inches; since the "1" is not visible, the measurement is less than one inch, and the "0" is clearly visible at the start of the scale.
Step 14. Locate the last visible number before the sliding jaw. Here, "8" is clearly visible, but the edge sits very close to "9," making it hard to tell if the measurement has reached 0.900 inch. Use the dial to clarify: if the needle sits two tick marks before "0," the reading is 0.002 inch less than the next hundred-thousandths mark, meaning it has not quite reached 0.900 inch.
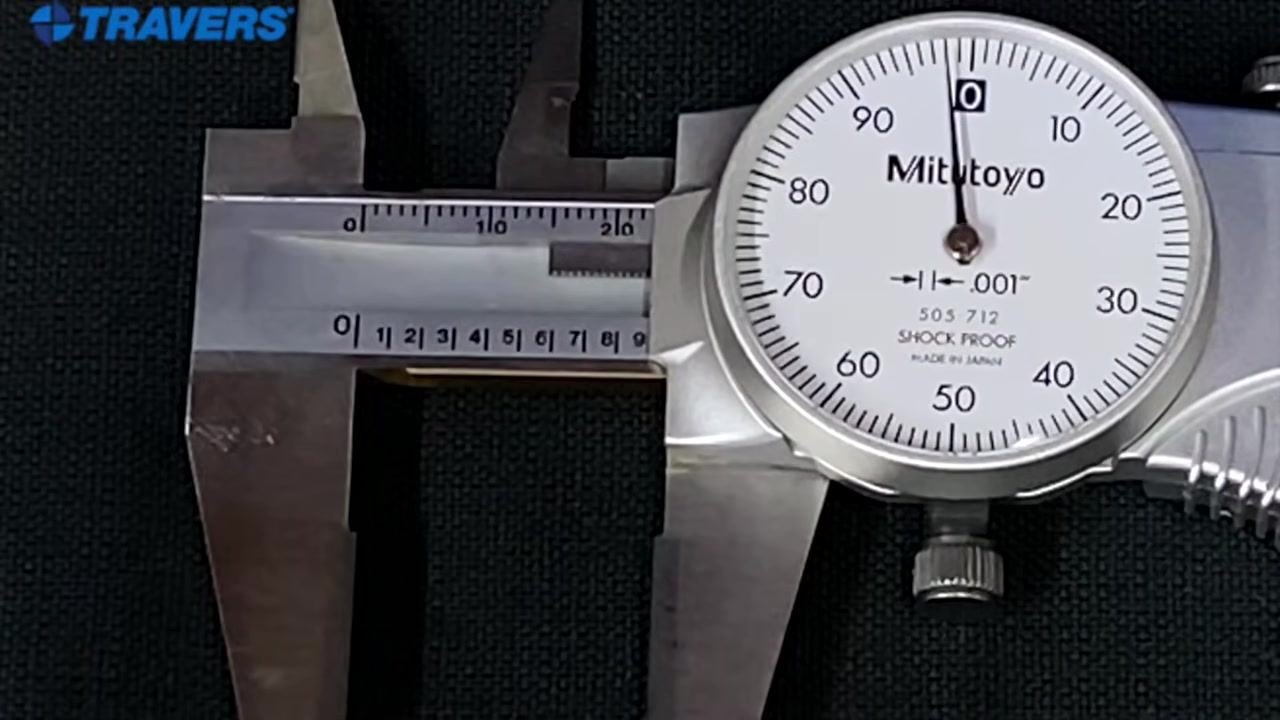
Tip: When the main scale edge sits very close to a major mark, always check the dial to confirm whether the measurement has reached or just fallen short of that mark. If the needle sits before zero, subtract the number of tick marks from the next hundred-thousandths value to get the precise reading.
Step 15. Combine the readings: main scale 0.800 + dial 0.090 (needle at 90, minus 0.002 for the two ticks before zero) = 0.890 inches total, confirmed by the pointer position on the main scale and the dial needle sitting just before zero.
Inspect and zero the caliper before use
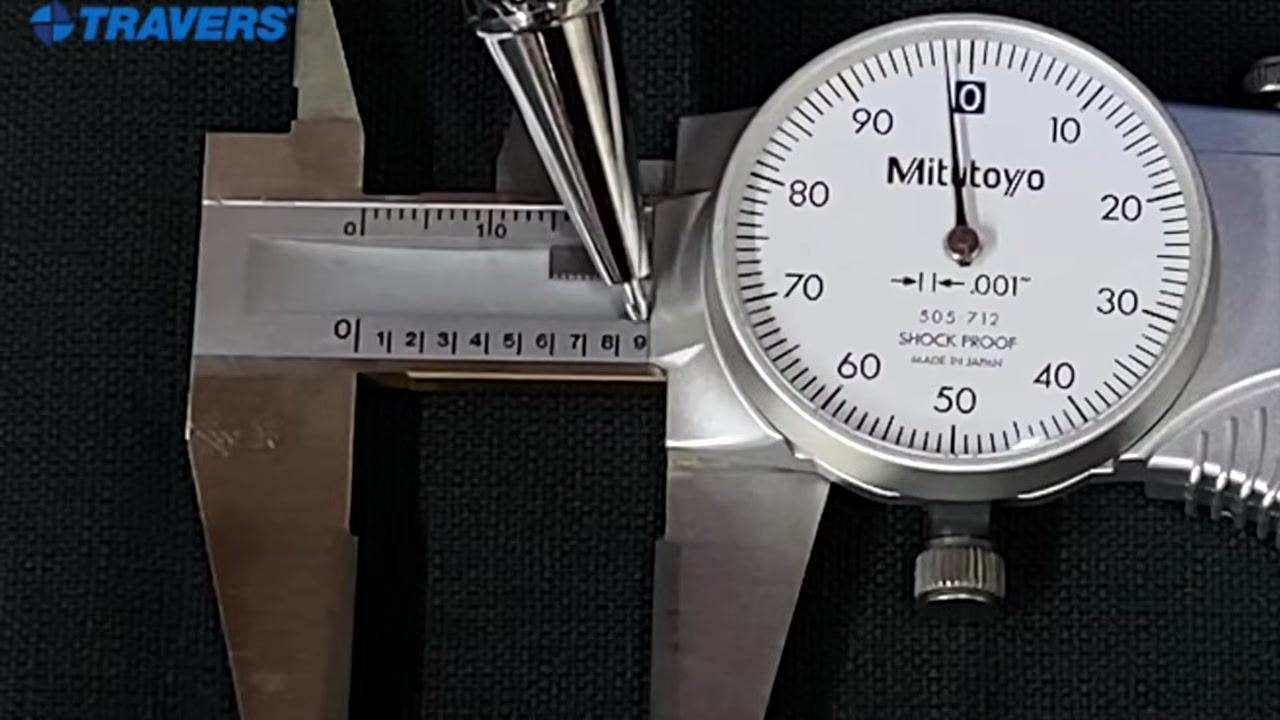
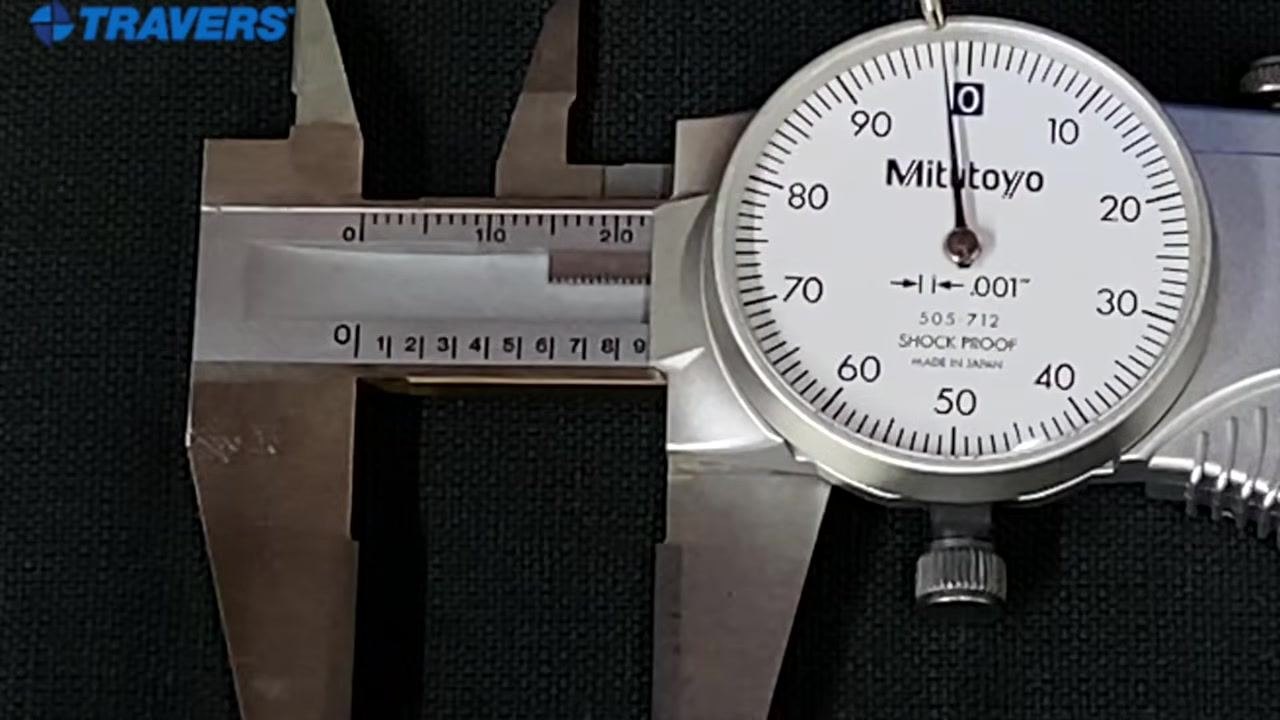
Step 16. Before taking any measurement, close the caliper jaws fully and check that it reads zero. Confirm the main scale's "0" mark aligns with the reference edge and the dial needle points exactly at "0." While inspecting, check the measuring faces for dirt, dust, or debris that could prevent full closure, and clean them with a lint-free cloth if needed. Also inspect the caliper for visible damage or wear that could affect accuracy. If the needle is not at "0," gently loosen the bezel lock (if present), rotate the dial bezel until the needle aligns with zero, and tighten the lock to secure the setting. Open and close the jaws several times to confirm the dial consistently returns to zero before you begin measuring.
Take an accurate measurement
Step 17. Be aware that an inch-based dial caliper is not suited for reading millimeter values directly; using it to read millimeters can produce an unexact measurement. The dial reads in thousandths of an inch (0.001"), and the main scale is calibrated in inches, so rely on the inch scale for accurate readings with this instrument.
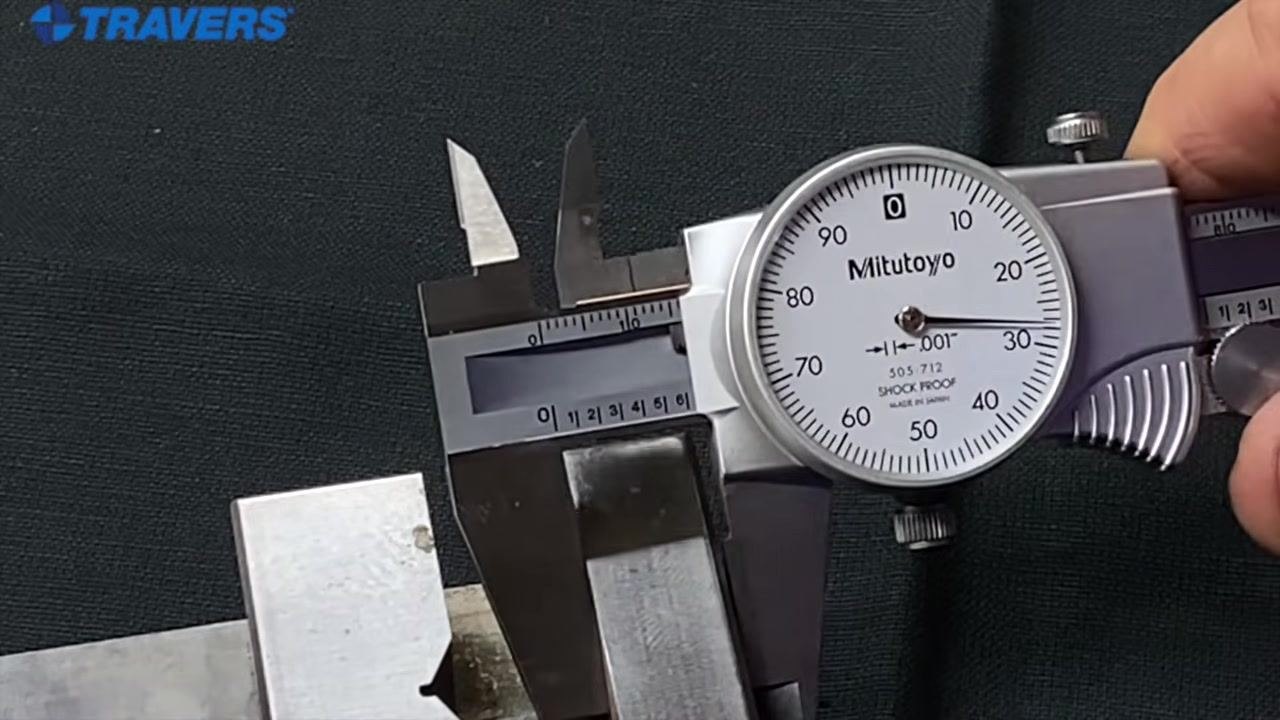
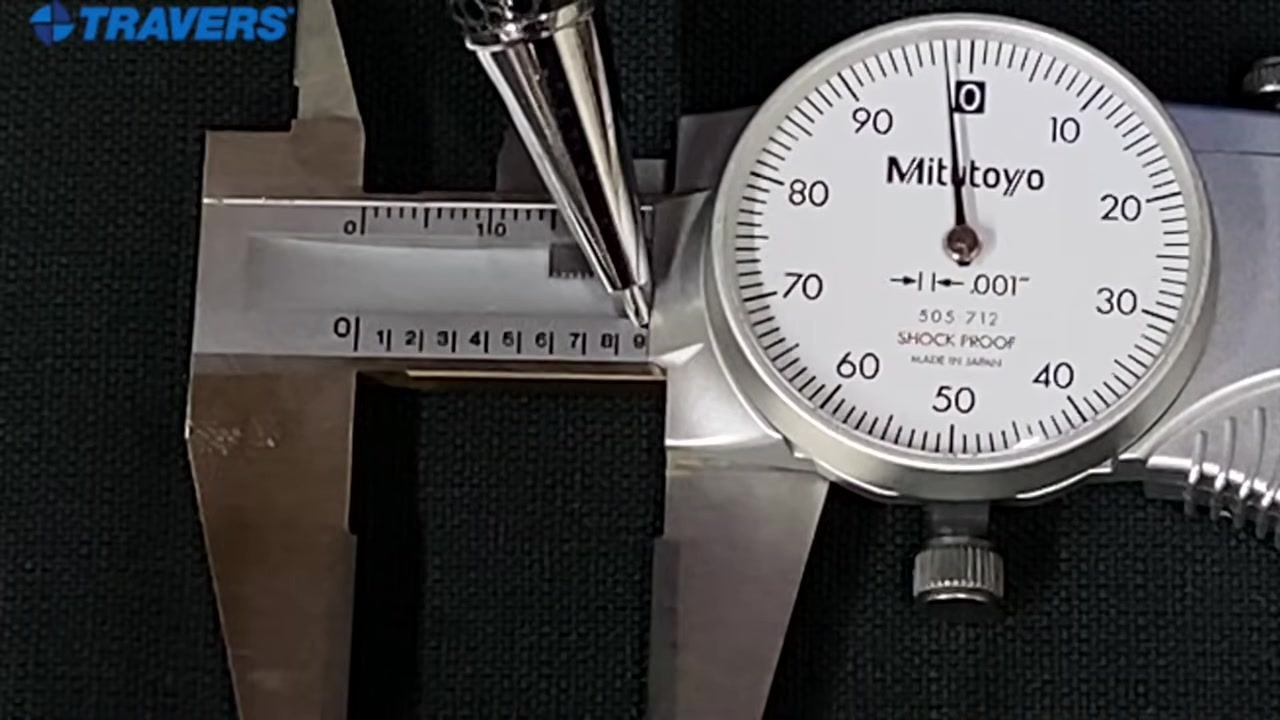
Step 18. Hold the caliper with your thumb on the adjustment wheel and maintain steady pressure while taking a measurement. Slightly wiggle the caliper to ensure the jaws are properly seated on the part being measured before reading the scale.
Step 19. Use the outside jaws of the caliper to measure the external dimension of the object, then read the main scale and dial together to determine the measurement.
Step 20. Read the dial carefully for small offsets. If the needle sits just before the zero mark, the measurement is slightly less than a whole number, such as two thousandths before zero. Read both the main scale and the dial together to arrive at the most accurate measurement possible.
Verification
- Confirm the caliper reads zero when the jaws are fully closed before starting any measurement.
- Always read the main scale first for whole inches and tenths, then add the dial reading in thousandths.
- When the main scale edge sits close to a major mark, check the dial to confirm whether the value has been reached or just fallen short.
- Combine the main scale and dial values for the final total measurement.
What's next
Continue practicing readings across different measurement values to build speed and confidence. Regular practice with both the main scale and dial improves accuracy, especially as you work with parts of varying sizes in inch measurements.
Generation details: cost, quality tiers
Docsie billed 3,500 credits ($2.45) to analyze this 7-minute video at standard quality. The rewrite, template fill and Word/PDF exports were included. The same video at each quality tier:
| Quality | Frames sampled | Credits | Approx. cost |
|---|---|---|---|
| Draft | every 16-30 s | 1,750 | $1.22 |
| Standard (this guide) | every 8-15 s | 3,500 | $2.45 |
| Detailed | every 4-7 s | 7,000 | $4.90 |
| Ultra | every 1-3 s | 14,000 | $9.80 |
Credits priced at $0.70 per 1,000; plans include a monthly allowance. Enterprise customers on on-premise or bring-your-own-model deployments run this on their own inference and pay no per-video credits.
Generated by Docsie Video-to-Docs on 2026-09-20 from a 6-minute video. Screenshots are frames from the source video and belong to their creator, Travers Tool Co, whose original is embedded above. If you own this video and want the guide removed or credited differently, contact us and we will act within one business day.