
How to Drive a Forklift
Forklifts are common equipment in shipyards, warehouses, and similar work environments, and learning how to drive a forklift is a valuable skill for many workplaces. This procedure walks you through the walkaround inspection, the location and function of the primary controls, the start-up sequence, and the basic driving, lifting, and tilting operations for a standard counterbalance forklift.
Video: HOW TO DRIVE A FORKLIFT! by Creating Alpha (2018). All credit for the demonstration goes to the creator; watch the original on YouTube. The written guide below was generated from this video by Docsie. Creator? Request a change or removal.
Forklifts are common equipment in shipyards, warehouses, and similar work environments, and learning how to drive a forklift is a valuable skill for many workplaces. This procedure walks you through the walkaround inspection, the location and function of the primary controls, the start-up sequence, and the basic driving, lifting, and tilting operations for a standard counterbalance forklift.
Purpose
This document explains how to drive a forklift safely, covering the pre-operation walkaround, control identification, starting procedure, and basic maneuvering so that you become familiar with the machine before operating it.
Scope
This procedure applies to standard counterbalance forklifts with rear-wheel steering and a propane or gasoline fuel system, of the type used in shipyards, warehouses, and outdoor work yards.
Requirements
- Appropriate safety gear, such as a hat or helmet, while operating the forklift
- A flat, paved surface with clear surroundings for practice and operation
- Familiarity with site-specific safety protocols and manufacturer guidelines
- Hands-on training and certification, as required by your site, before independent operation
Inspect the forklift and its surroundings
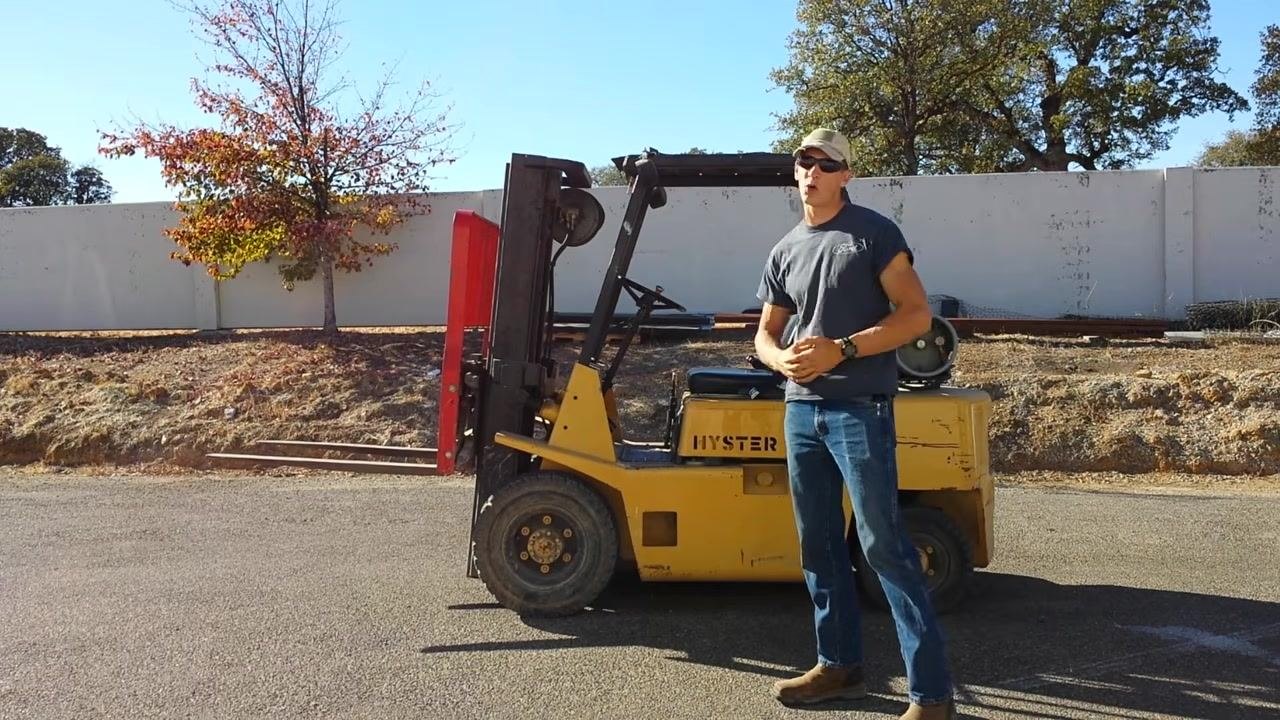
Approach the forklift and visually inspect its overall condition before use. Note the environment around the machine, including the surface type and any nearby equipment or obstacles, to confirm it is safe to begin the inspection.
Identify the forks and their movement
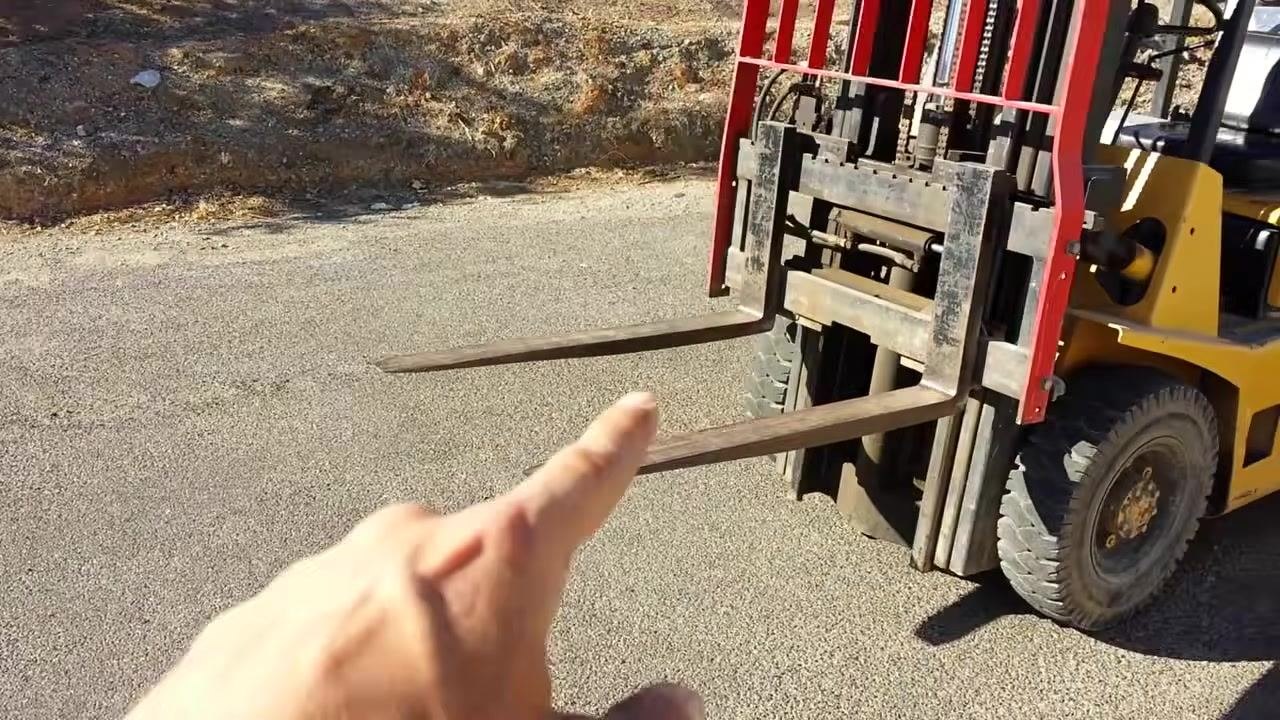
Locate the forks at the front of the machine. The forks are designed to slide under crates or packages for lifting, and on most standard forklifts they can move up and down, side to side, and tilt forward and backward — the three primary controls found on most standard forklifts.
Note the steering and drive controls
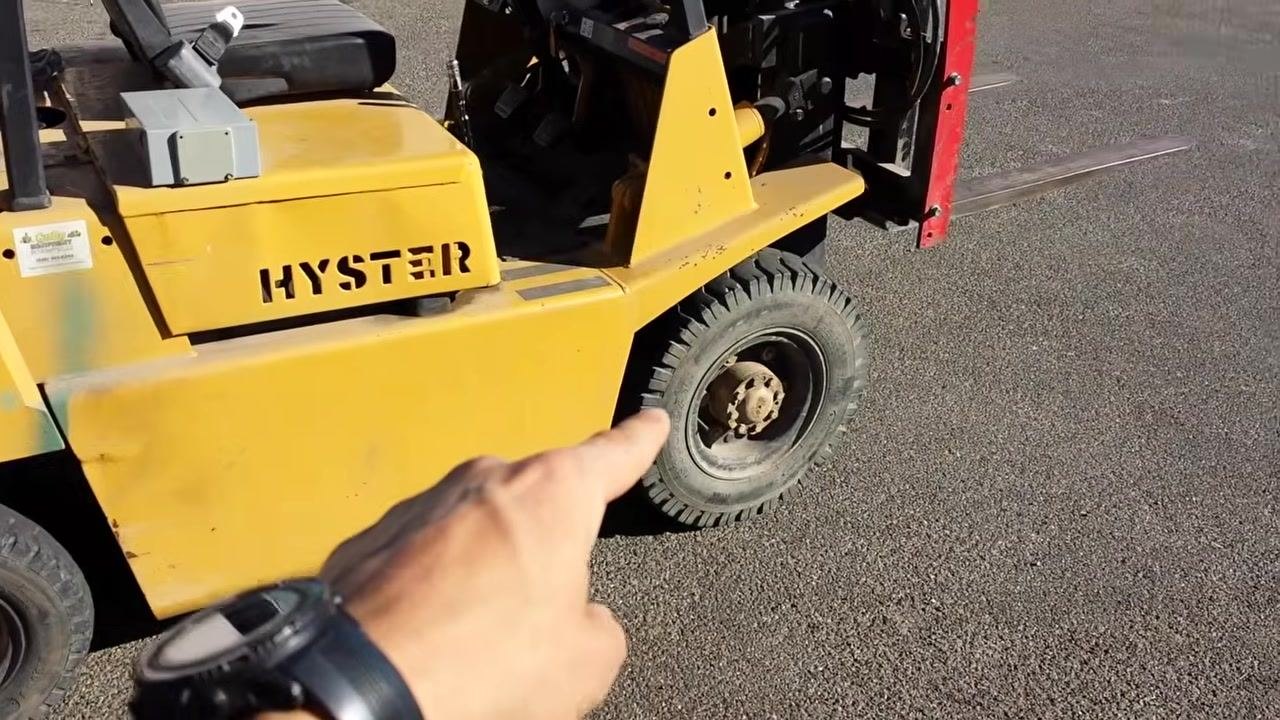
Most forklifts, including standard models, use rear steering tires, which allow for very tight turns because the back tires turn instead of the front. The forklift also has forward and reverse gears, similar to most vehicles.
Identify the counterweight and fuel system
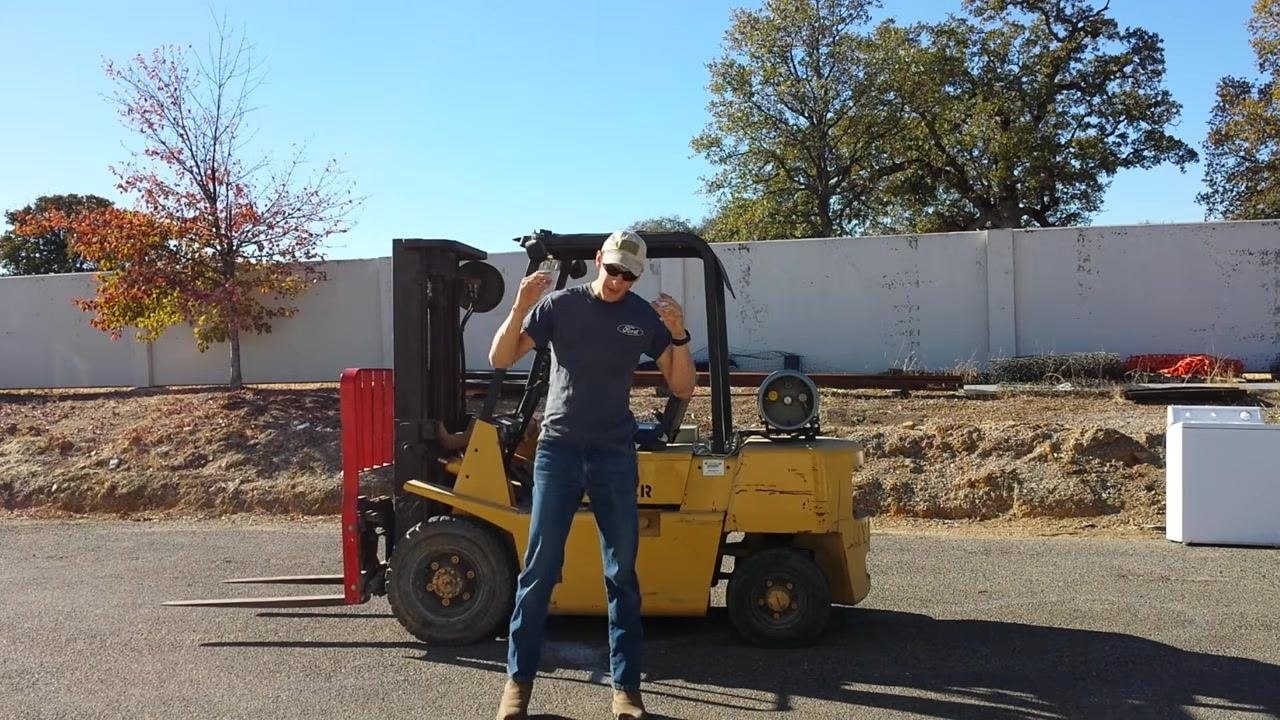
The back of the forklift is very heavy, serving as a counterweight for lifting loads. Locate the fuel tank at the rear of the machine; many forklifts use propane tanks, though some may use gasoline.
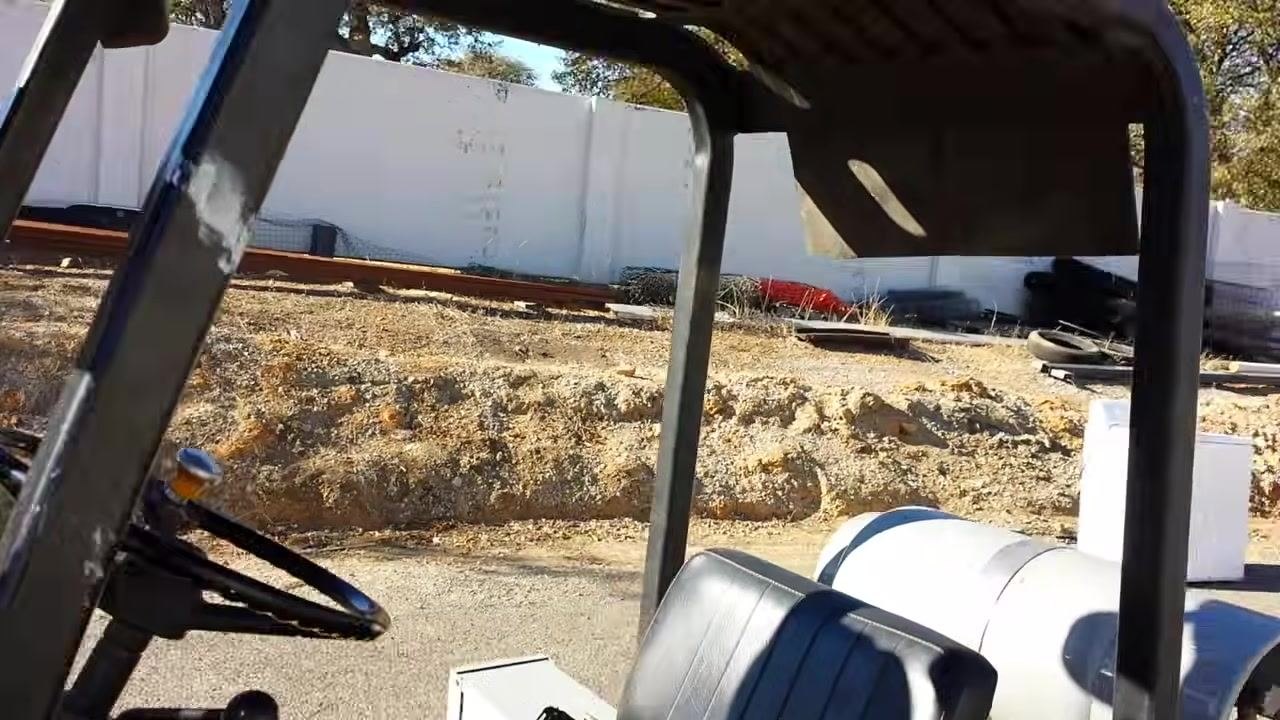
Review the operator's area
In the center of the forklift, locate the operator's seat and seat belt. Note the rearview mirror and spotlights used for night operation; the basic controls are positioned within easy reach of the operator's seat.
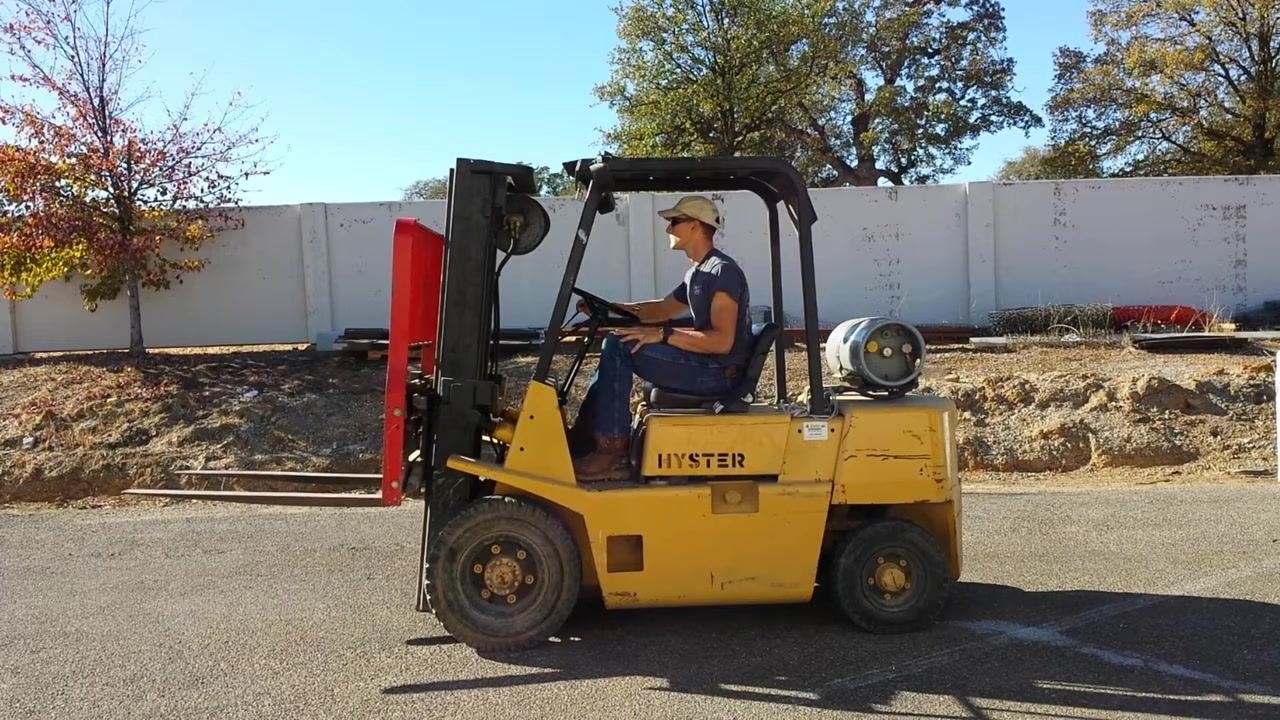
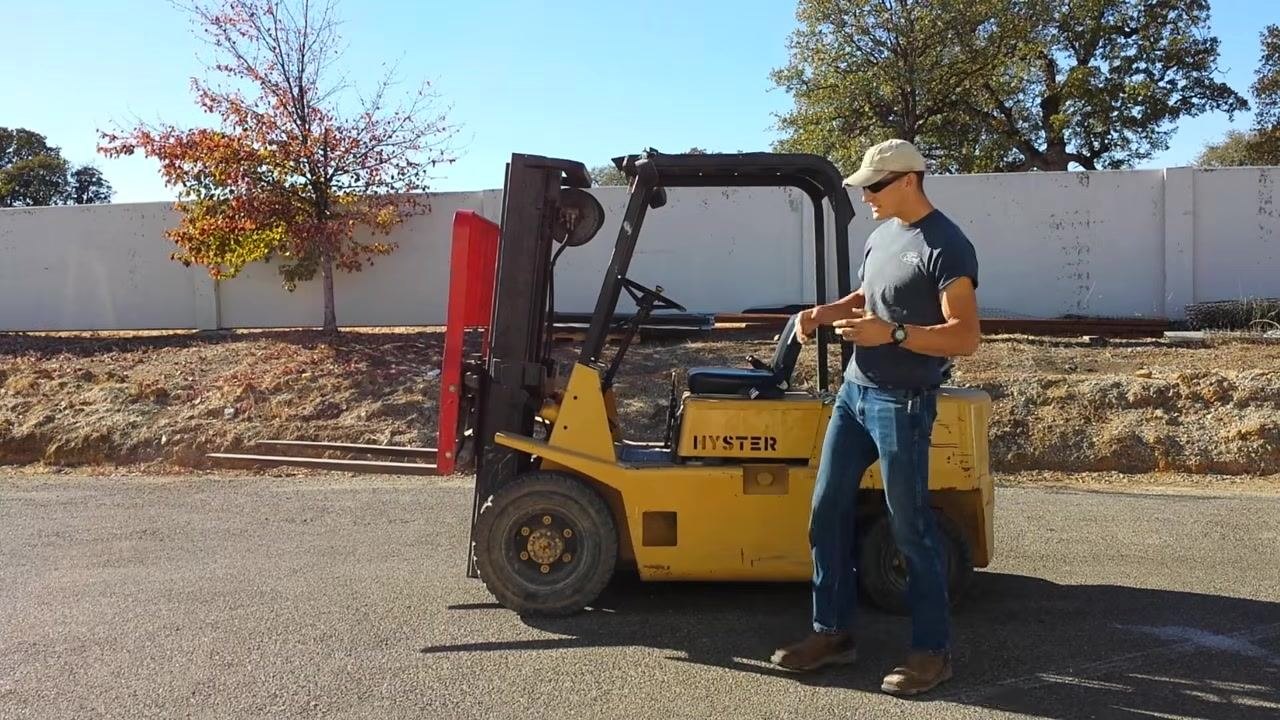
Examine the dashboard and controls
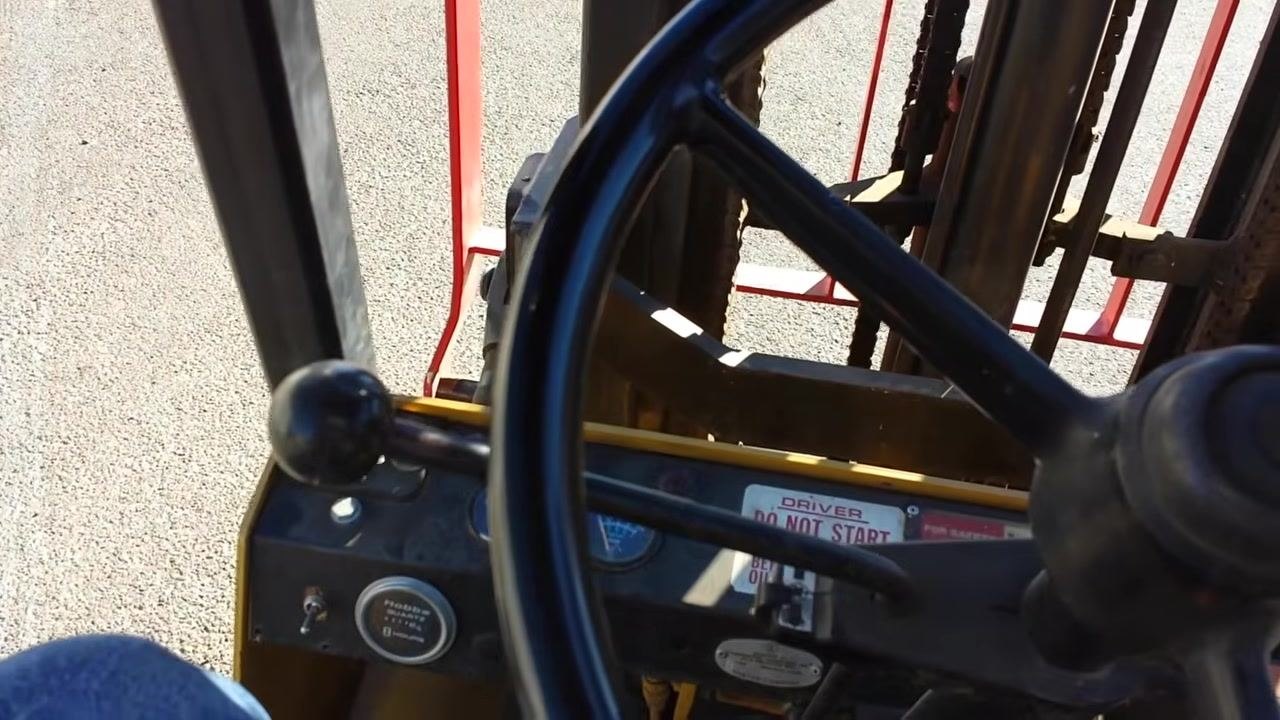
Locate the hour meter (labeled Hobbs Quartz), which records the total hours the machine has been in use, similar to an odometer. Identify the switch that operates the spotlights, and find the coolant gauge, which measures engine temperature.
Check the oil pressure gauge and warning lights
Locate the oil pressure gauge on the dashboard, which measures the engine oil pressure in PSI and kg/cm². Find the warning lights above the gauges; if any are illuminated, there may be an issue with the forklift, and if they are off, the machine is generally safe to operate.
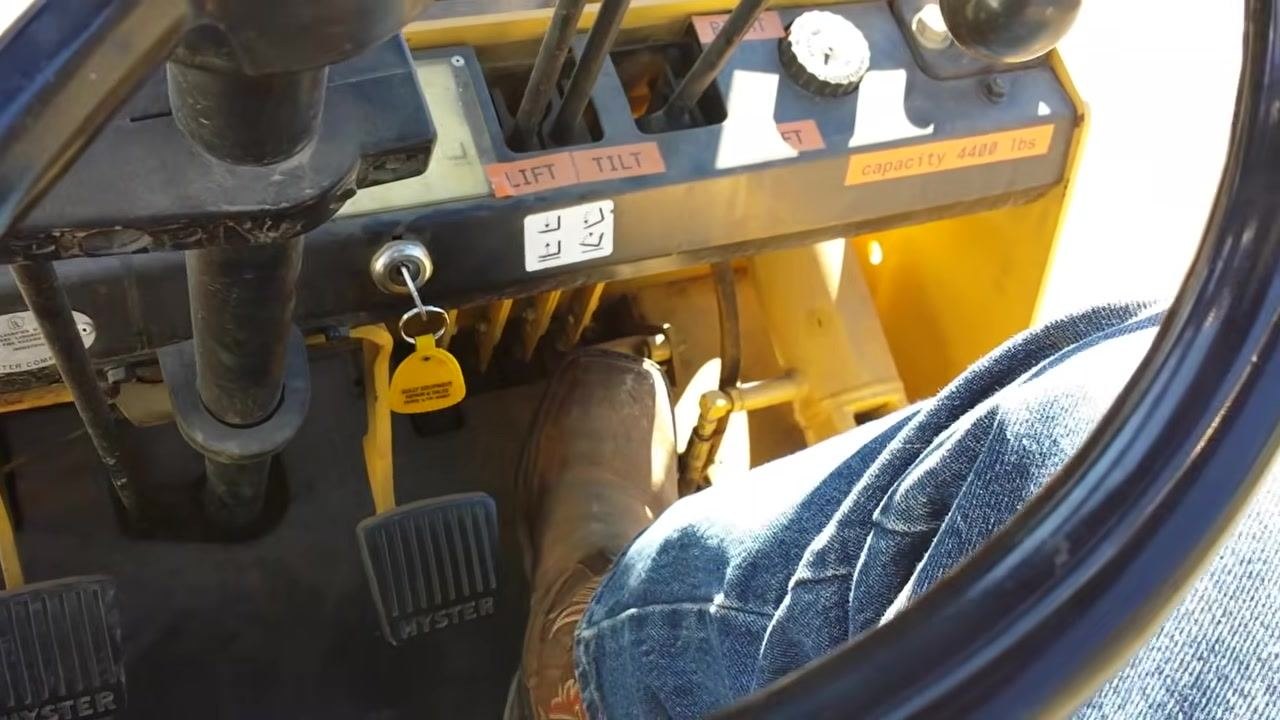
Locate the pedals and ignition
Identify the two brake pedals on the floor; press either or both to stop the forklift. The gas pedal is located to the right, similar to a standard car, next to the ignition key.
Locate the gear selector and parking brake
The gear selector is positioned next to the steering wheel and has three positions: Forward, Neutral, and Reverse. The forklift must be in Neutral to start the engine. The parking brake lever is located near the operator's right knee: pull it toward you to engage it and push it away to disengage it. Always ensure the parking brake is engaged before starting the forklift.
Identify the hydraulic control levers
Locate the three levers to the right of the steering wheel. The lever closest to the steering wheel controls the mast (forks) up and down, the center lever controls the tilt of the mast forward and backward, and the third lever controls the side-to-side movement (side shift) of the forks.
Prepare to start the forklift
Sit in the operator's seat and fasten the seat belt. Place your foot on one of the brake pedals, insert the key into the ignition, confirm the gear selector is in Neutral, ensure the parking brake is engaged, and check the dashboard for any warning lights or abnormal readings.
Start the engine
Turn the ignition key one click to the right to the "on" position, then continue turning the key to start the engine.
Disengage the parking brake and move forward
Move the parking brake lever to the "off" position before driving. Shift the gear selector to the Forward position and gently press the gas pedal to begin moving forward.
Operate the lift arm
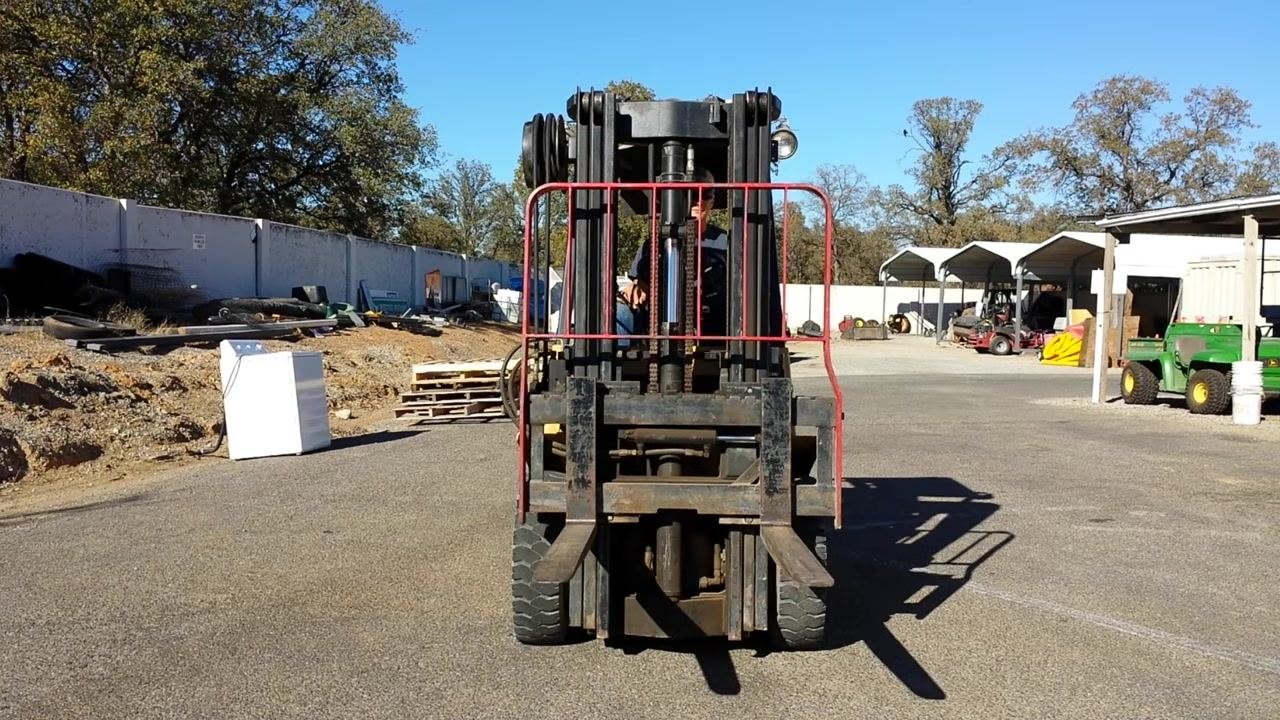
With the engine idling, shift to Neutral before operating the lift arm and place your foot on the gas pedal to provide a small amount of throttle. Use the lever closest to the steering wheel to raise the forks by pushing it down, or lower them by pulling it up; always provide some gas while operating the hydraulic controls to ensure smooth movement.
Observe the lift arm movement
From the operator's seat, watch the forks as they move up or down in response to the lever. Ensure the forks are not in contact with the ground before tilting them.
Operate the tilt function
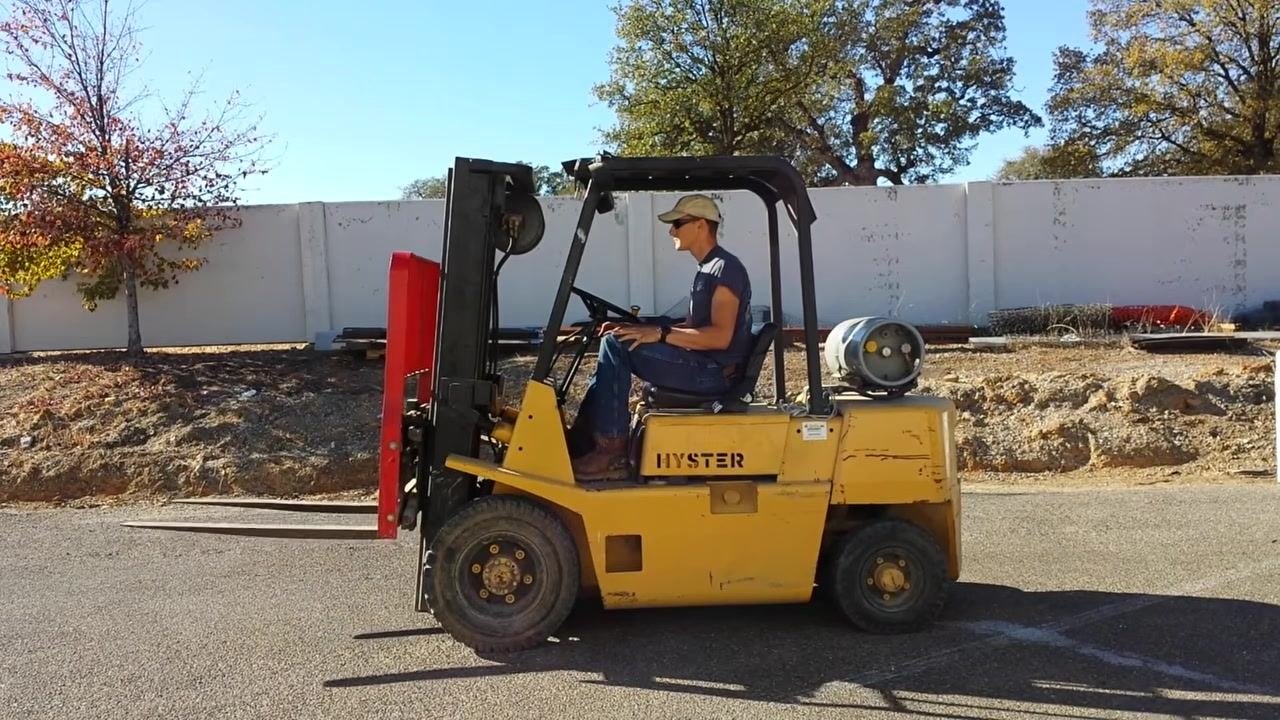
With the forklift still in Neutral and the forks slightly raised, use the center hydraulic lever. While gently pressing the gas pedal, push the lever forward to tilt the mast and forks downward, or pull it back toward you to tilt the mast upward; always provide some gas while tilting for a proper hydraulic response.
Observe the tilt movement
Watch the forks from the operator's seat as you tilt them forward or backward. Ensure the forks remain clear of the ground and any obstacles during this operation.
Verify operation from outside the forklift
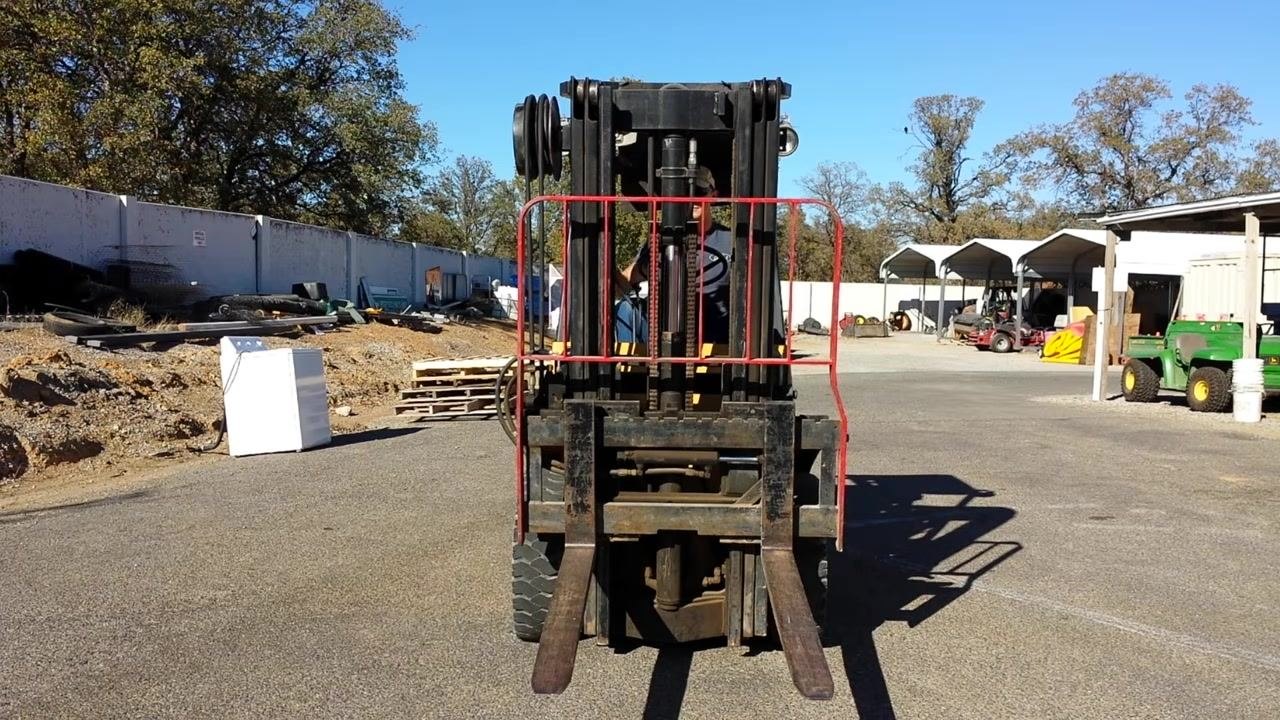
Step outside and observe the forklift from the front and side to see the movement of the forks and mast. Confirm that the forks lift and tilt smoothly and that the operator maintains proper posture and hand position on the controls.
Review operating posture and environment
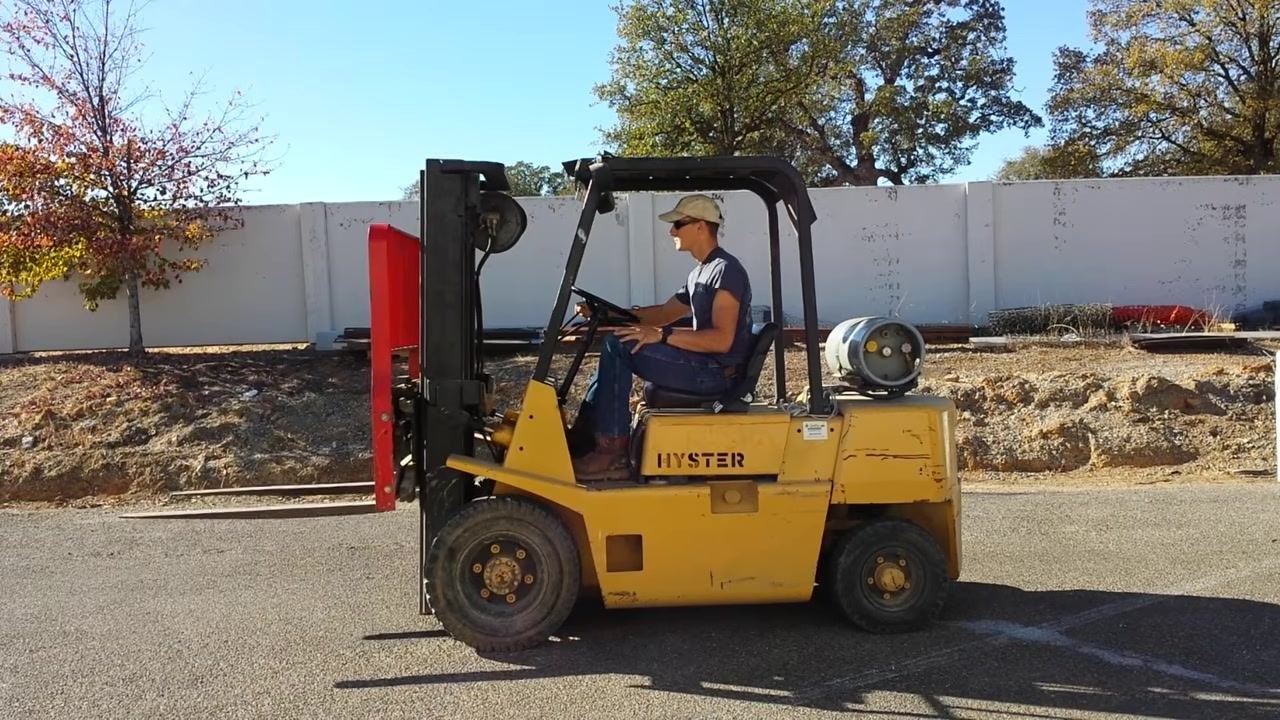
Confirm the operator is seated upright with a straight back and both hands on the controls, wearing appropriate safety gear such as a hat or helmet. Verify the forklift is on a flat, paved surface with clear surroundings, the propane tank is mounted securely at the rear, the forks are raised and slightly tilted with the mast stable, the operator's feet are positioned correctly on the pedals, and the area around the forklift is free of immediate obstacles.
Operate the side-shift lever
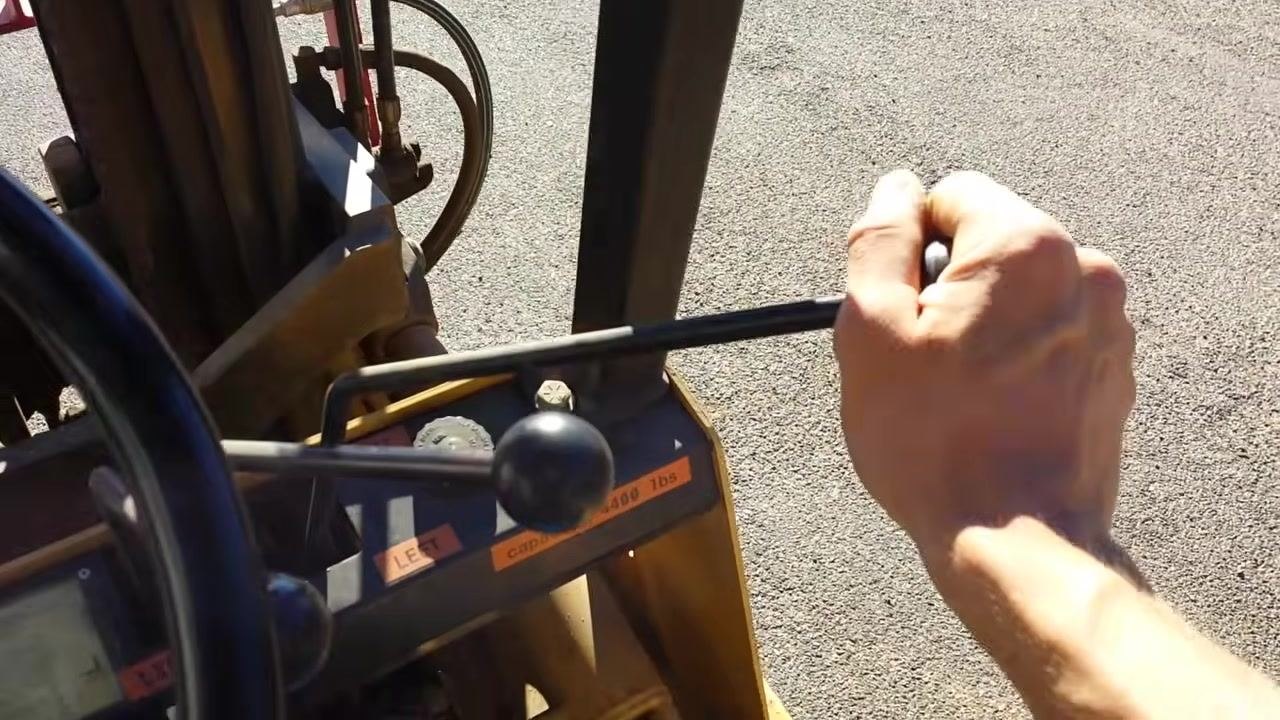
Place your hand on the control lever labeled LEFT and RIGHT, and gently move it from left to right to control the direction of the forklift's forks. Apply a small amount of gas using the accelerator pedal at the same time to ensure smooth movement, and check the control panel for capacity information, such as a "cap 4000 lbs" label. Maintain a firm grip on the lever for precise control.
Review the basic controls recap
Sit in the operator's seat and confirm you are familiar with the steering wheel, control levers, and pedals before driving. The operator should be seated with both hands on the controls, ready to drive.
Practice driving and maneuvering
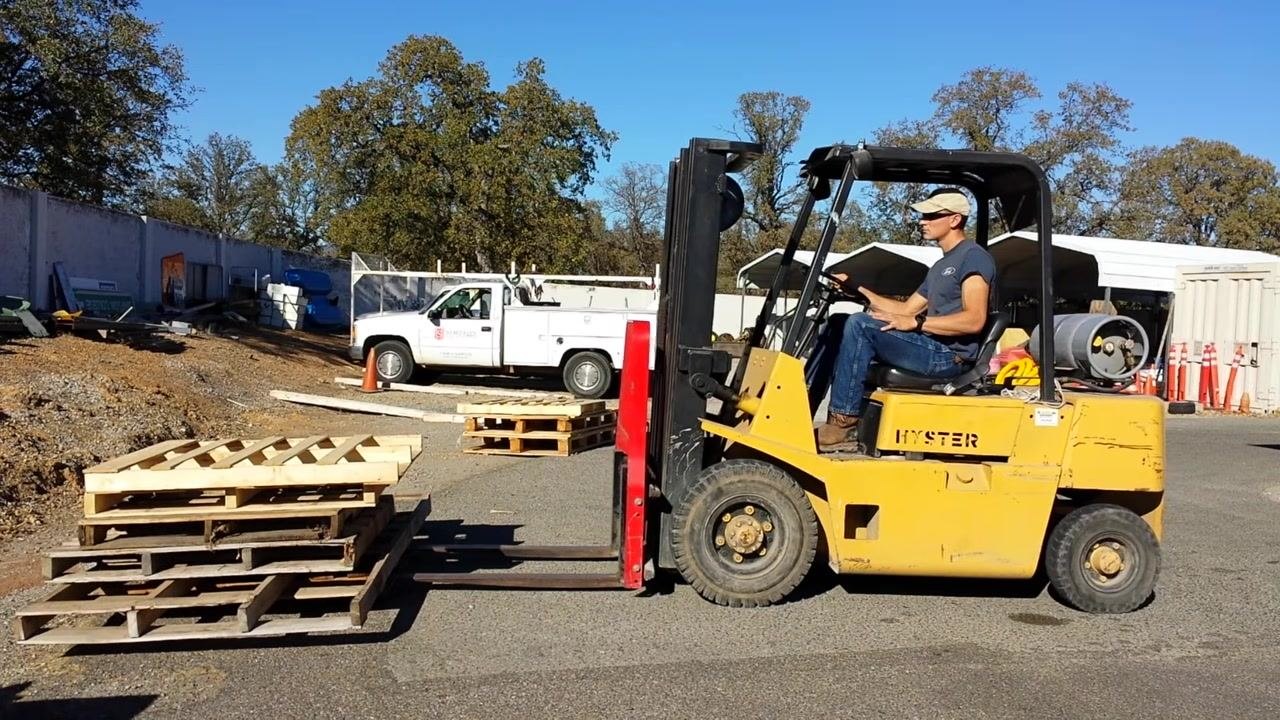
Engage drive mode as instructed and begin moving the forklift forward. Approach a stack of wooden pallets, aligning the forks with the load, while maintaining awareness of your surroundings, including other vehicles and obstacles.
Position the forks under the load
Carefully maneuver the forklift to position the forks under the pallets, adjusting the fork height and angle as needed for safe lifting. Remain seated and attentive to the controls and the environment throughout this step.
Conclude operation and exit the forklift
Once the task is complete, park the forklift in a safe location, turn off the engine, and exit the vehicle.
Verification and safety summary
Before concluding any session, confirm that the forklift is parked in a safe location, the engine is off, the parking brake is engaged, and no warning lights were left illuminated during operation. Review that the forks and mast returned to a stable position and that the surrounding work area remains clear of obstacles.
What's next
Always follow site-specific safety protocols and manufacturer guidelines when operating a forklift. This procedure provides a basic overview of how to drive a forklift and should be supplemented with hands-on training and certification as required by your workplace before independent operation.
Generation details: cost, quality tiers
Docsie billed 3,500 credits ($2.45) to analyze this 7-minute video at standard quality. The rewrite, template fill and Word/PDF exports were included. The same video at each quality tier:
| Quality | Frames sampled | Credits | Approx. cost |
|---|---|---|---|
| Draft | every 16-30 s | 1,750 | $1.22 |
| Standard (this guide) | every 8-15 s | 3,500 | $2.45 |
| Detailed | every 4-7 s | 7,000 | $4.90 |
| Ultra | every 1-3 s | 14,000 | $9.80 |
Credits priced at $0.70 per 1,000; plans include a monthly allowance. Enterprise customers on on-premise or bring-your-own-model deployments run this on their own inference and pay no per-video credits.
Generated by Docsie Video-to-Docs on 2026-09-20 from a 6-minute video. Screenshots are frames from the source video and belong to their creator, Creating Alpha, whose original is embedded above. If you own this video and want the guide removed or credited differently, contact us and we will act within one business day.