
How to Use an Air Compressor
This guide explains how to use an air compressor with a starter kit for spray painting. It covers unpacking the kit, setting up the compressor and spray gun, adjusting air pressure, performing routine maintenance, and reviewing all included components. Following these steps ensures your compressor is configured correctly and ready for safe, effective use.
Video: How to set up an air compressor kit by VinnyByrneTraining (2014). All credit for the demonstration goes to the creator; watch the original on YouTube. The written guide below was generated from this video by Docsie. Creator? Request a change or removal.
This guide explains how to use an air compressor with a starter kit for spray painting. It covers unpacking the kit, setting up the compressor and spray gun, adjusting air pressure, performing routine maintenance, and reviewing all included components. Following these steps ensures your compressor is configured correctly and ready for safe, effective use.
Purpose
This document provides step-by-step instructions for setting up and operating a compressor starter kit for spray painting applications, including safety precautions and routine maintenance practices.
Scope
This procedure applies to anyone setting up a Sealey Power Products 50L Direct Drive Compressor (3.0HP, model SAC05030) starter kit for spray painting, including first-time users unfamiliar with compressor operation and maintenance.
Required equipment and PPE
Before you begin, confirm your starter kit includes the following components:
- Compressor (Sealey Power Products, 50L Direct Drive, 3.0HP, model SAC05030)
- Airline hose (AH10R, silicone-free)
- Spray gun (FMT3006, 1.3 tip)
- Face mask (3M 6941) — required PPE for spray painting
Step-by-step setup
Unpack the compressor starter kit
Confirm all components listed above are present before proceeding. Verify nothing is missing or damaged.
Review the compressor packaging
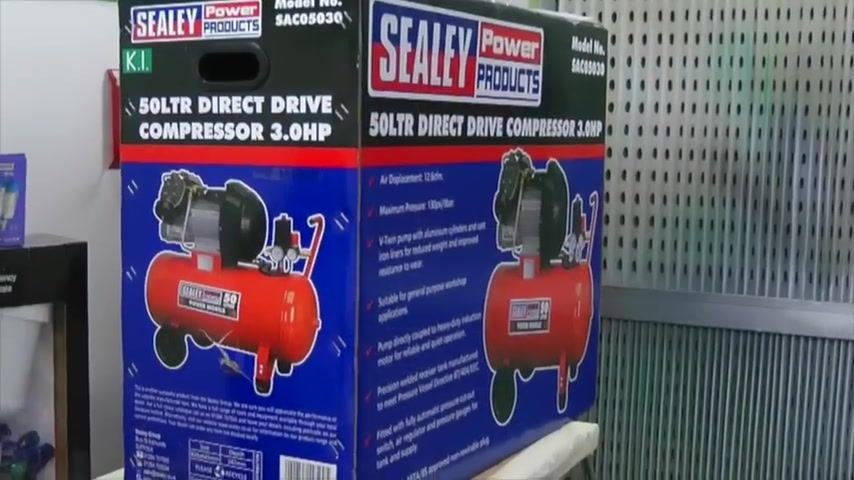
Inspect the box for the Sealey Power Products 50L Direct Drive Compressor 3.0HP. Check that the specifications match model SAC05030, and read the features and safety information printed on the box before placing it in your workspace.
Lay out all kit components
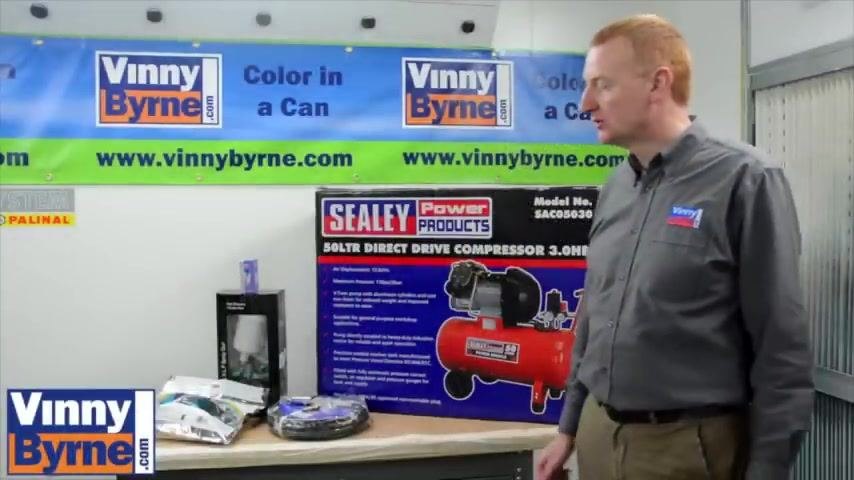
Arrange the compressor, airline hose, spray gun, and face mask on a clean, flat surface. Ensure the workspace is well-ventilated and free of obstructions.
Set up the compressor
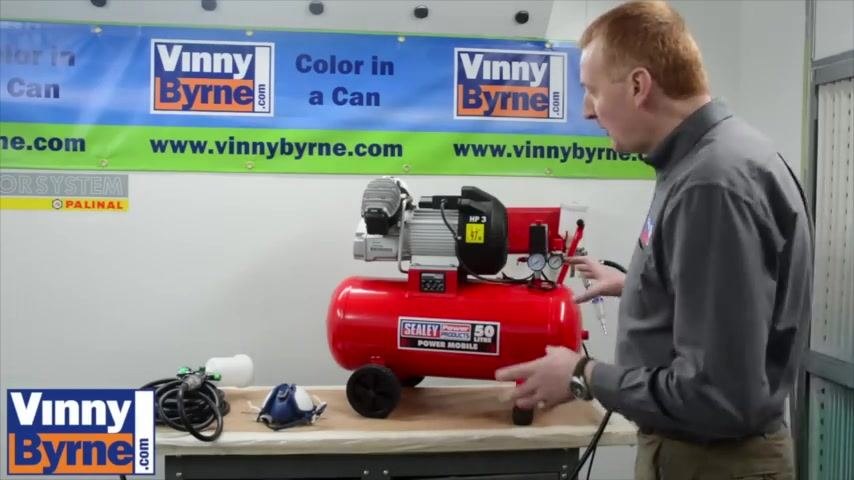
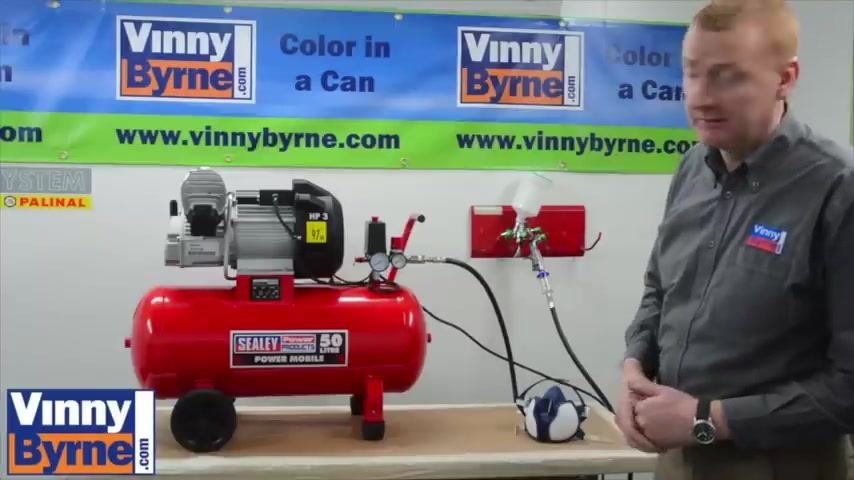
Remove the compressor from its packaging and place it securely on your workbench. Confirm it is the Sealey Power Products 50L Direct Drive model with a 3 horsepower motor.
Note: This is an entry-level model; other, more affordable compressors are also available.
Inspect compressor features
Verify the compressor has a 50-litre tank and a 3HP motor, and ensure all connections and fittings are secure.
Prepare the spray gun
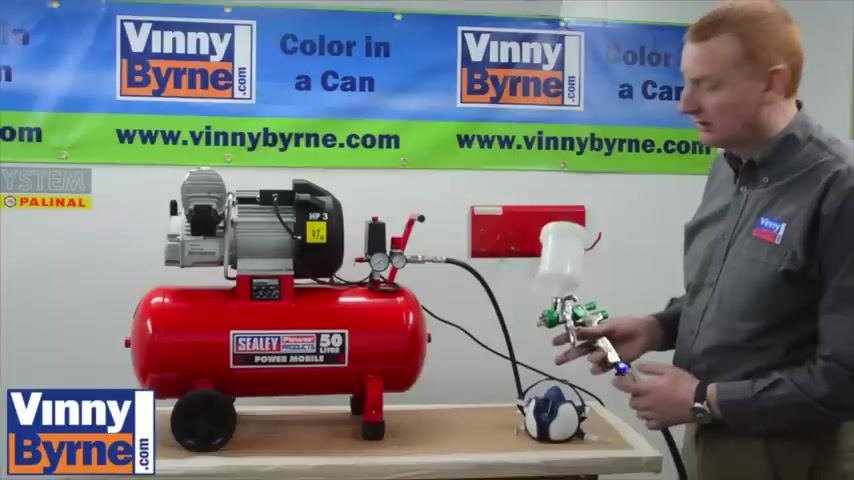
Attach the airline hose to the compressor and the spray gun. Fit a filter onto the bottom of the spray gun bowl to catch rust and moisture.
Note: The spray gun typically costs around 70 euros plus tax.
Check safety equipment
Confirm the face mask is included and ready for use.
Safety note: Always wear the face mask when spray painting to protect yourself from fumes and particulates.
Understand compressor gauges and controls
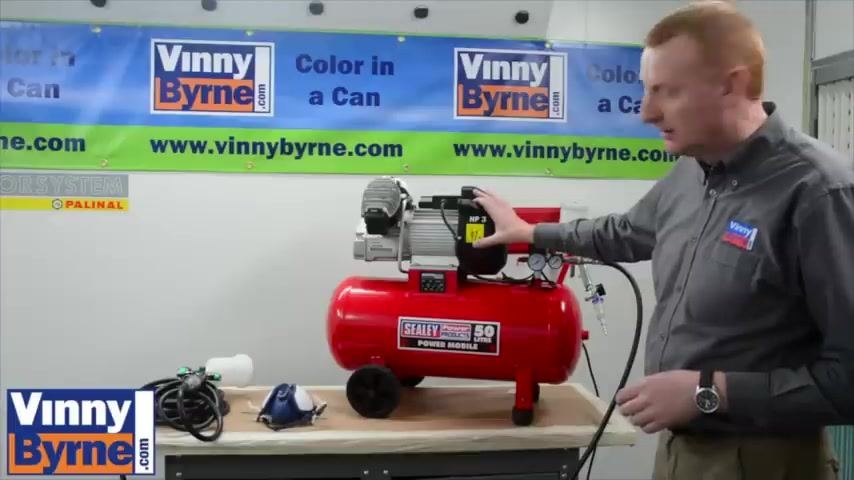
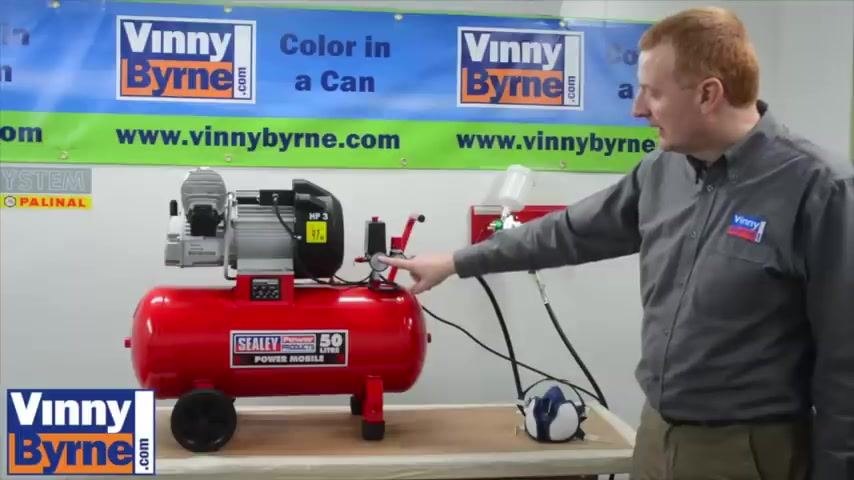
Locate the two gauges on the compressor. The main gauge displays the pressure reached by the compressor, while the second gauge acts as a regulator, letting you set the desired air pressure for the spray gun.
Set the air pressure for the spray gun
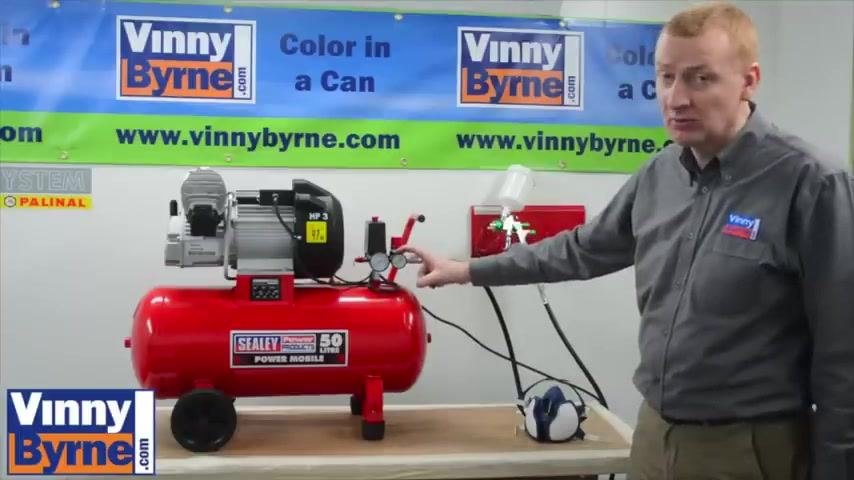
Use the regulator gauge to set the air pressure. For a compliant spray gun, set the pressure to 2 bars, which is the ideal spraying pressure.
Account for pressure loss
Be aware that setting the regulator to 2 bars may result in some pressure loss, especially when using a 10-metre hose. Adjust accordingly to ensure optimal spray performance.
Adjust for pressure loss and use an inline gauge
If you are using a long hose (for example, 10 metres), set the compressor regulator slightly higher than 2 bars to compensate for pressure loss. Fit a small pressure gauge (clock) at the spray gun to check and fine-tune the pressure at the point of use, adjusting as needed to achieve 2 bars at the gun.
Use the compressor for multiple applications
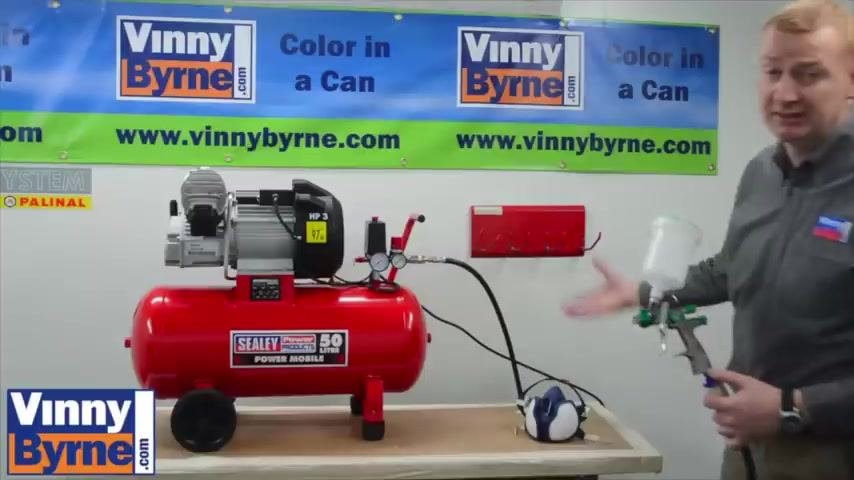
Recognize that the compressor can power various pneumatic tools and accessories, including:
- Tyre inflators
- Sandblasters
- Air impact wrenches
- Other air tools
Consider the compressor a versatile and valuable addition to your workshop.
Perform regular compressor maintenance
Carry out basic maintenance on your compressor daily or at least weekly. Drain water from the compressor tank to prevent moisture buildup, which is especially important in humid climates.
Safety note: Turn off and unplug the compressor before performing maintenance, and move it away from electrical outlets before draining.
To drain the tank: - Locate the drain valve at the bottom of the tank. - Open the valve to release water, dirt, and debris. - Close the valve securely after draining.
Understand the importance of draining the tank
Draining the tank prevents water from accumulating and circulating inside the cylinder, which can damage the compressor. Make this a routine part of your compressor care to extend its lifespan and maintain performance.
Review the contents of the starter compressor kit
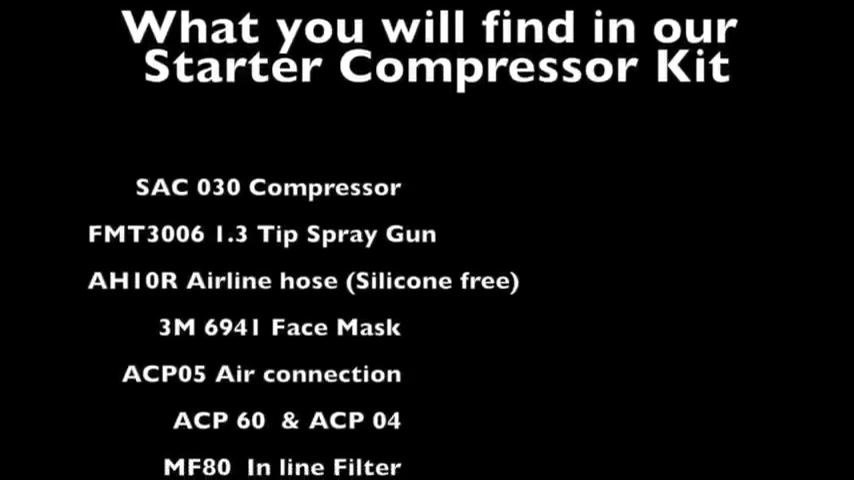
Confirm that your kit includes the following items:
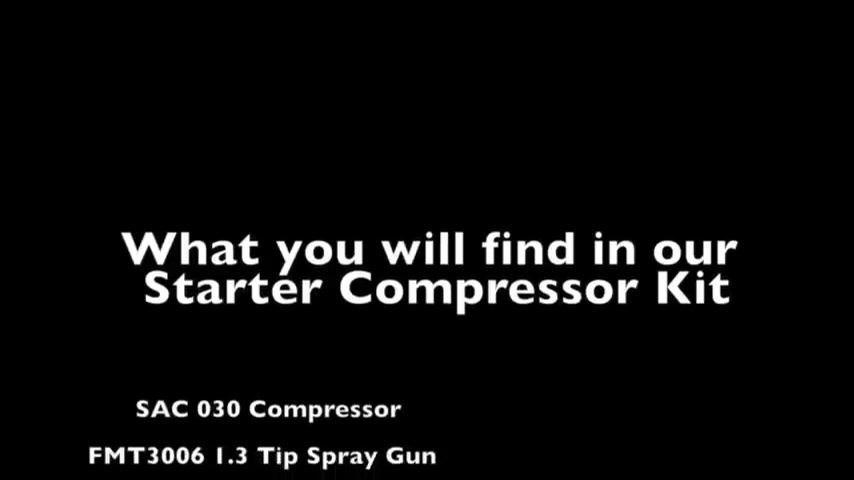
- SAC05030 compressor (V-twin, 3HP, 50-litre capacity)
- FMT3006 1.3 tip spray gun
- AH10R airline hose (silicone-free)
- 3M 6941 face mask
- ACP05 air connection
- ACP60 and ACP04 air couplings
- MF80 inline filter
Use the MF80 inline filter
Ensure you include the MF80 inline filter in your compressor setup. This filter helps remove moisture and particulates from the air supply, protecting your spray gun and ensuring a clean finish.
Verification and summary
Once all steps are complete, you should have:
- All starter kit components unpacked, laid out, and verified against the full contents list
- The compressor set up on your workbench with the airline hose and spray gun connected
- The regulator gauge set to 2 bars (adjusted for hose length as needed)
- The face mask ready and worn during spray painting
- A routine drain-and-maintenance schedule established for the compressor tank
By following these steps, your compressor starter kit is properly configured and ready for spray painting, with all safety and operational considerations addressed. Regular maintenance and correct pressure settings will help you achieve the best results and prolong the life of your equipment.
What's next
If you require additional information or support:
- Visit the website at www.vinnybyrne.com
- Send an email to the support team at sales@vinnybyrne.com for personalized assistance

Generation details: cost, quality tiers
Docsie billed 2,000 credits ($1.40) to analyze this 4-minute video at standard quality. The rewrite, template fill and Word/PDF exports were included. The same video at each quality tier:
| Quality | Frames sampled | Credits | Approx. cost |
|---|---|---|---|
| Draft | every 16-30 s | 1,000 | $0.70 |
| Standard (this guide) | every 8-15 s | 2,000 | $1.40 |
| Detailed | every 4-7 s | 4,000 | $2.80 |
| Ultra | every 1-3 s | 8,000 | $5.60 |
Credits priced at $0.70 per 1,000; plans include a monthly allowance. Enterprise customers on on-premise or bring-your-own-model deployments run this on their own inference and pay no per-video credits.
Generated by Docsie Video-to-Docs on 2026-09-28 from a 3-minute video. Screenshots are frames from the source video and belong to their creator, VinnyByrneTraining, whose original is embedded above. If you own this video and want the guide removed or credited differently, contact us and we will act within one business day.