
How to Import a Solution in Dynamics 365
This guide walks you through the full solution lifecycle in Microsoft Dynamics 365: locating and reviewing a solution, exporting it as a package, and reviewing the import process so you understand exactly what happens before committing to an import. If you're learning how to import a solution in Dynamics 365, it's important to first understand how solutions are structured, exported, and validated — this guide covers each of those stages using the NOCModule solution as a working example.
Video: Import and Export Solution in Dynamics CRM 365 by Microsoft CRM Dynamics 365 Tutorial Videos. All credit for the demonstration goes to the creator; watch the original on YouTube. The written guide below was generated from this video by Docsie. Creator? Request a change or removal.
This guide walks you through the full solution lifecycle in Microsoft Dynamics 365: locating and reviewing a solution, exporting it as a package, and reviewing the import process so you understand exactly what happens before committing to an import. If you're learning how to import a solution in Dynamics 365, it's important to first understand how solutions are structured, exported, and validated — this guide covers each of those stages using the NOCModule solution as a working example.
Prerequisites
- Access to a Microsoft Dynamics 365 environment with permissions to view, export, and import solutions.
- A web browser (Chrome is used in this guide) with access to the Dynamics 365 interface.
- An archive manager, such as WinRAR, to inspect exported solution ZIP files.
- A text editor, such as Notepad, to review XML configuration files.
Open the Solutions list in Dynamics 365
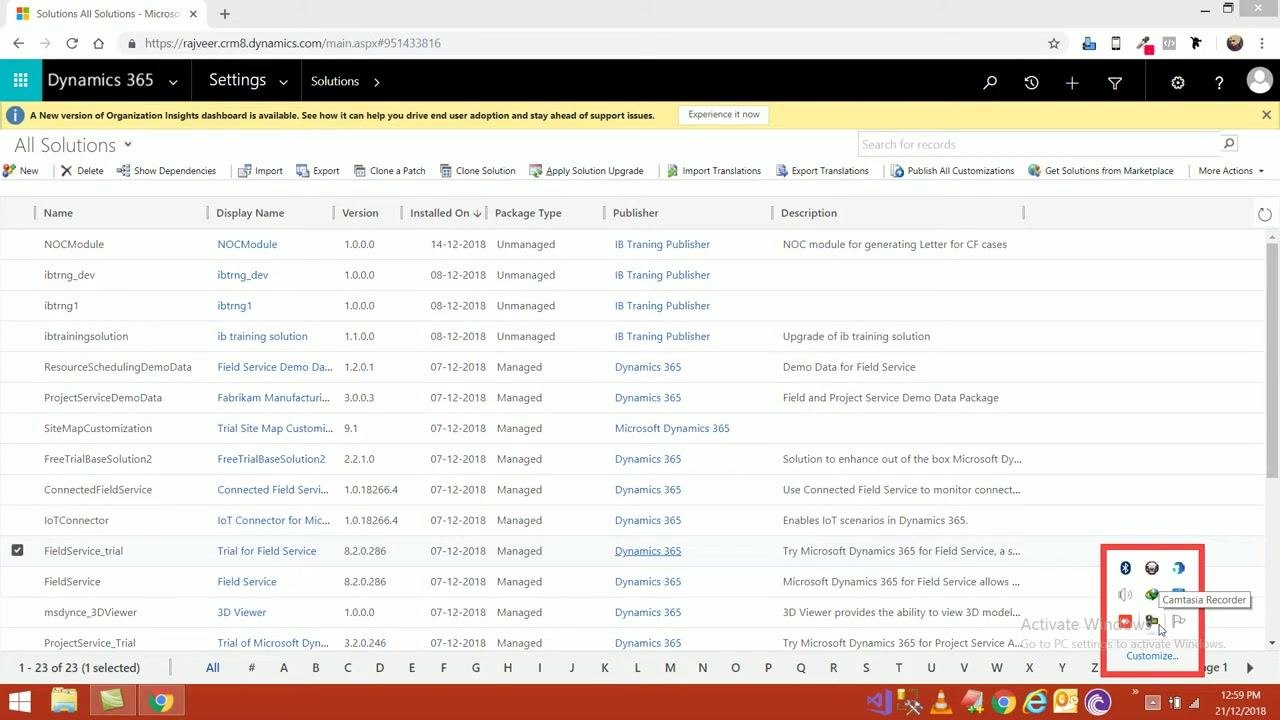
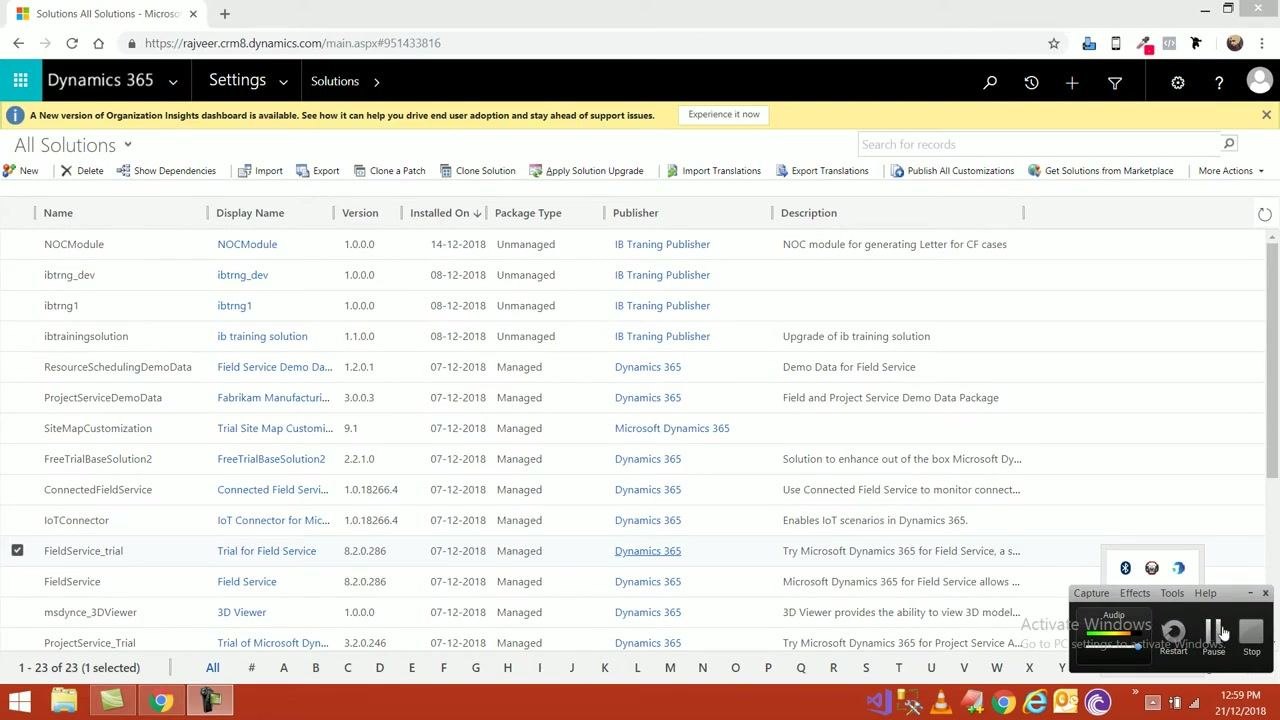
Navigate to your Dynamics 365 environment in your web browser, then open the Settings menu and select Solutions. The All Solutions page displays a list of available solutions with columns for Name, Display Name, Version, Installed On, Package Type, Publisher, and Description.
A notification bar may appear at the top of the page, such as a prompt about a new version of the Organization Insights dashboard. The toolbar above the list includes New, Delete, Show Dependencies, Import, Export, Clone a Patch, Clone Solution, Apply Solution Upgrade, Import Translations, Export Translations, Publish All Customizations, Get Solutions from Marketplace, and More Actions.
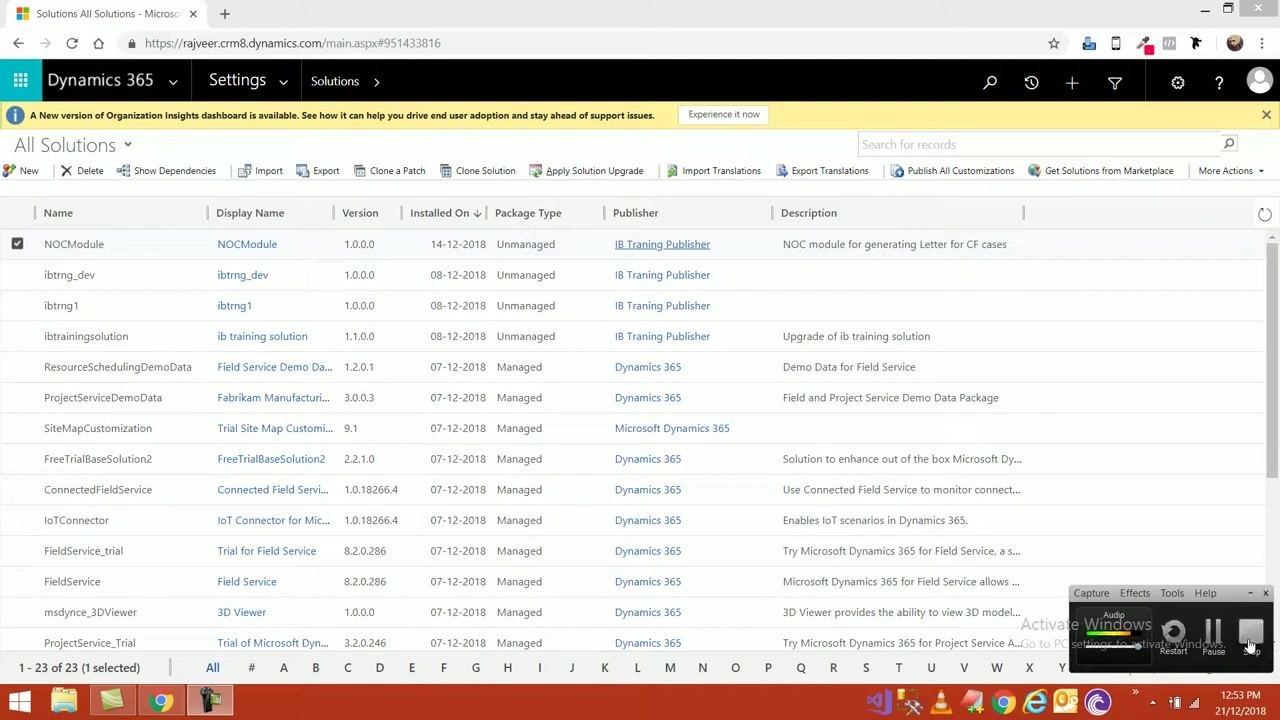
Select a solution to view its components
Click the checkbox next to the solution you want to review (for example, NOCModule), then click the solution's Display Name link to open its details. As the solution loads, the browser tab updates and a loading bar appears at the top of the page.
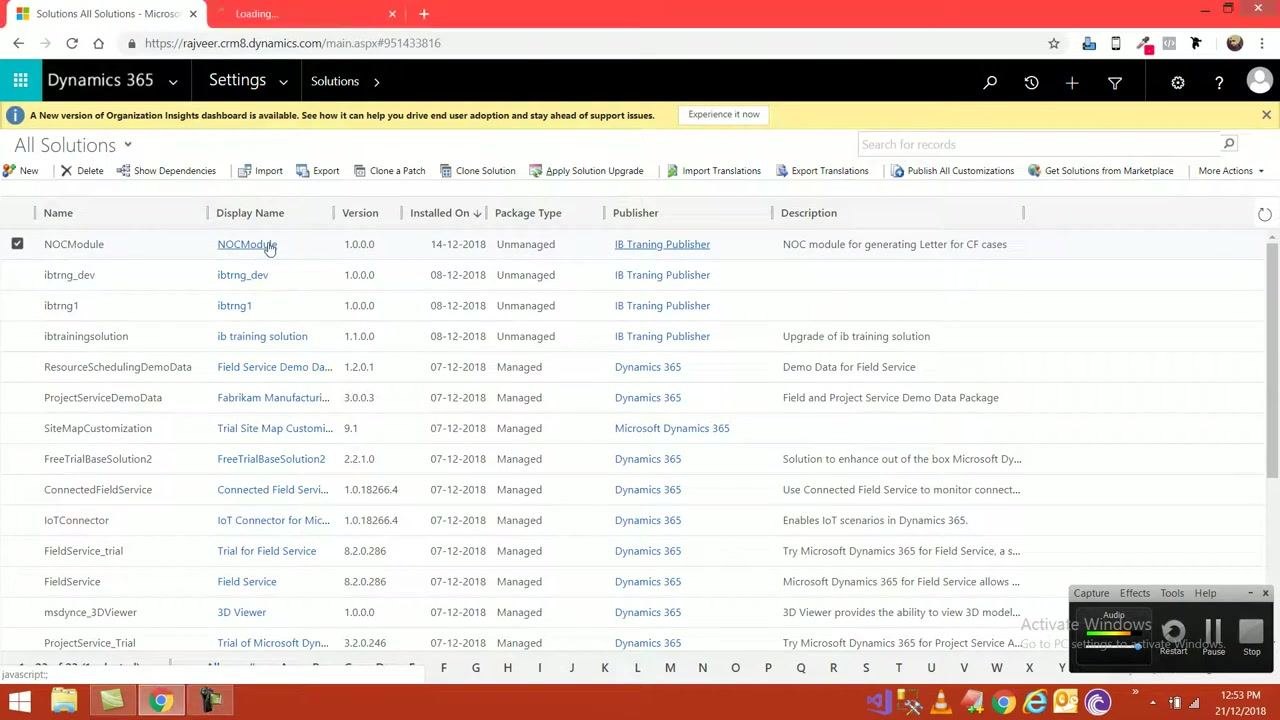
View solution components in PowerApps
The solution opens in a new tab labeled with its name (for example, Solution: NOCModule), displaying its components in the PowerApps interface. The left sidebar lists categories such as Information, Entities, Option Sets, Client Extensions, Web Resources, Processes, Plug-in Assemblies, Service Endpoints, Dialog Boxes, Reports, Security Roles, SLAs, Model-driven Apps, and more.
The main panel shows a table of components with columns for Display Name, Name, Type, State, Customizable, and Description. Toolbar options include Save and Close, Show Dependencies, Export Solution, Translations, Publish All Customizations, Actions, New, Add Existing, Delete, Remove, Publish, Add Required Components, and Managed Properties.
Scroll through and review all components
Scroll down to view additional entities within the solution, such as Invoice Line Detail, IoT Device, Journal Line, Opportunity Line, Order, Quote, Quote Line Detail, RMA, and Work Order. Each row shows the component's type (Entity, Option Set), state (Managed or Unmanaged), whether it is customizable, and a brief description.
If the solution contains many components, continue scrolling or use pagination controls to review all items, such as IB Sales Team Profile, IB Training Multi Entity BPF, Agreement, and Customer Asset. The Add Required Components button is available if you need to add dependencies.
Return to the Solutions list
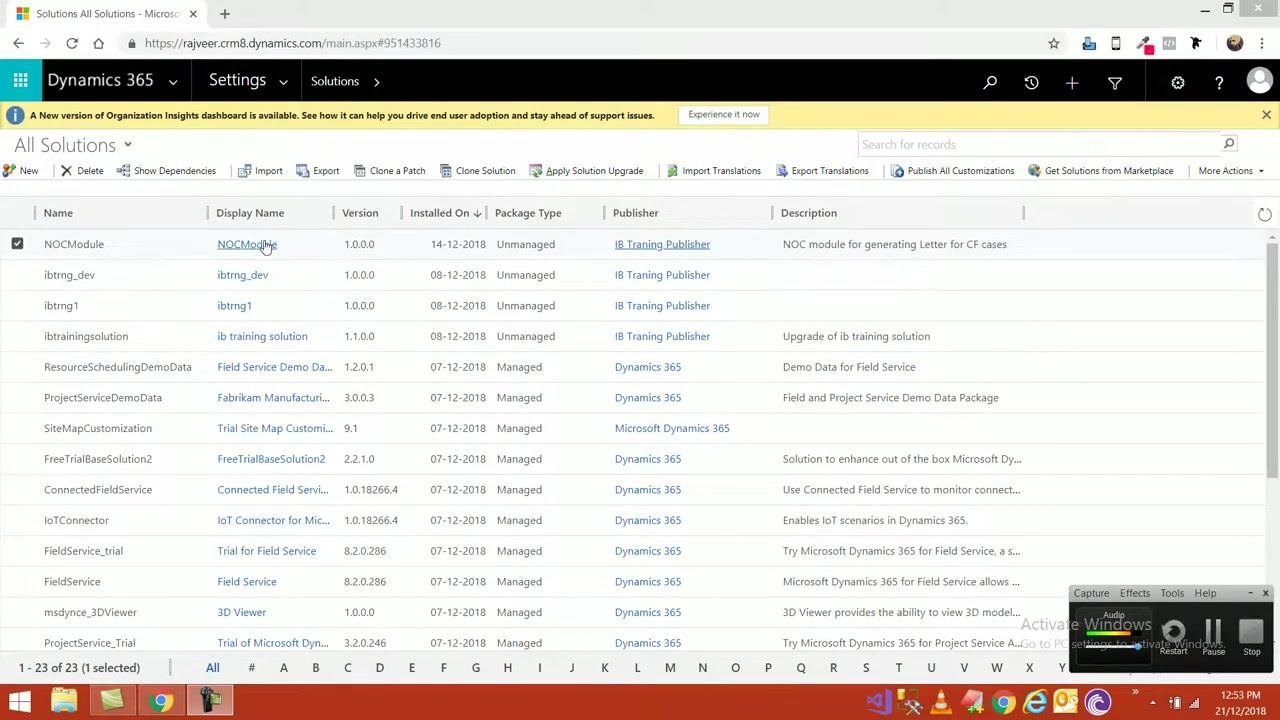
Switch back to the original browser tab to return to the All Solutions page, which displays the full list of solutions as before.
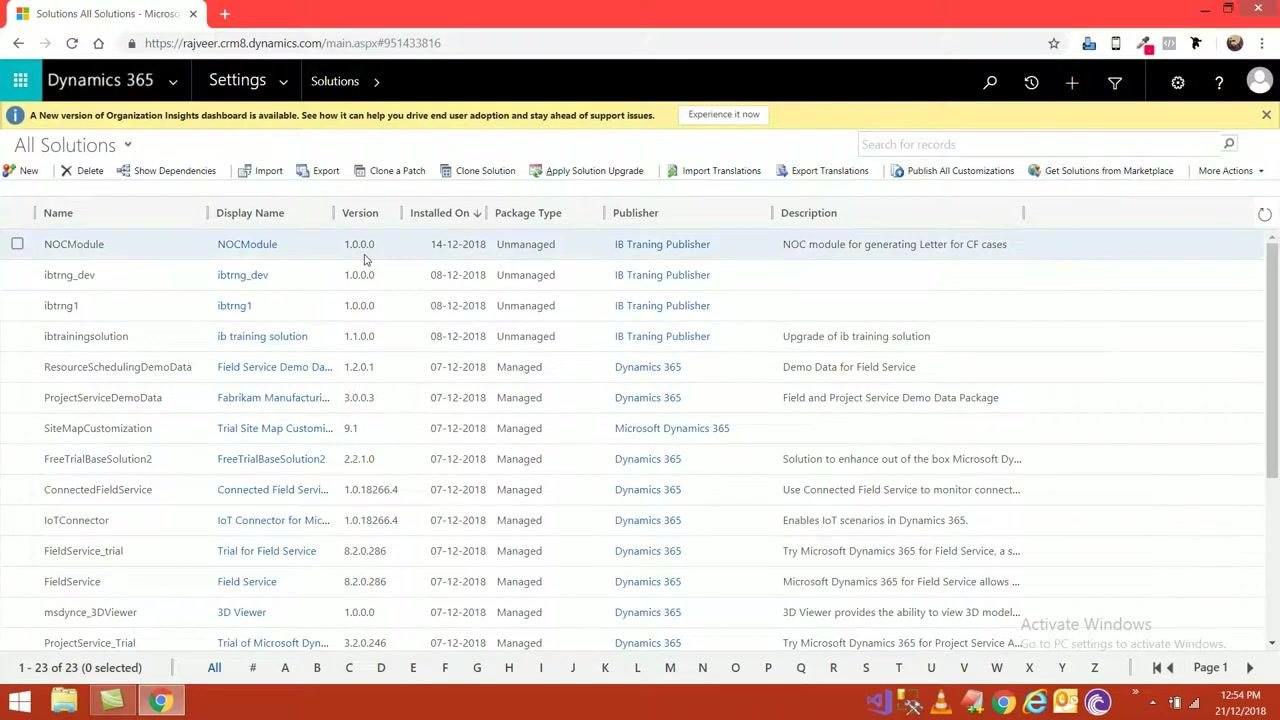
Begin exporting a solution
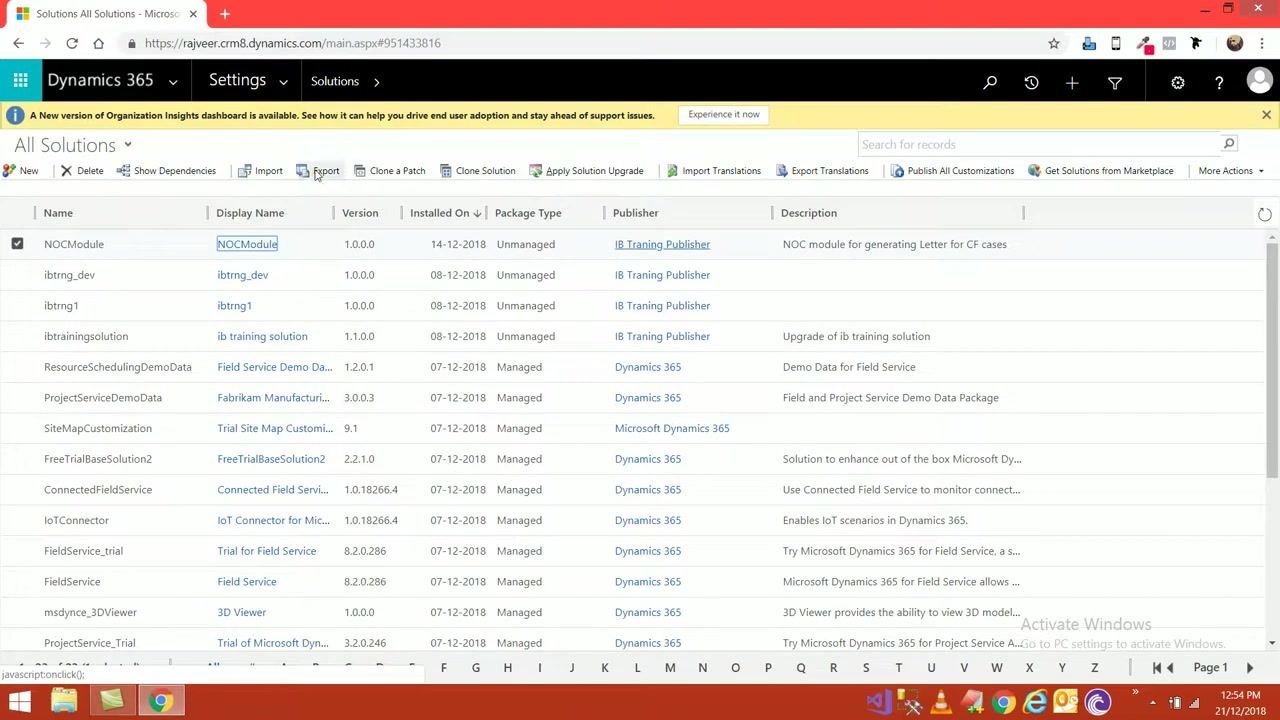
On the All Solutions page, select the checkbox next to the solution you want to export (for example, NOCModule), then click Export in the toolbar above the solutions list. The selected solution is highlighted and the toolbar options remain visible.
Review missing required components
A Missing Required Components dialog appears, warning that import will fail if these components don't already exist in the target organization. To add missing components, you would need to cancel the export, open the solution, and click Add Required Components.
The dialog lists missing components with columns for Display Name, Name/Id, Type, Managed Solution, and Required By. Examples include CountryList (Option Set) and IB Sales Person (Security Role). Use the scroll bar to review all listed items; Back, Next, and Cancel options are available at the bottom.
Continue reviewing additional missing components
Scroll through the dialog to see further missing dependencies, such as IB Training Multi Entity BPF (Entity), Order (Field), and Quote (Field). The same Back, Next, and Cancel controls remain available as you review the complete list.
Configure export system settings
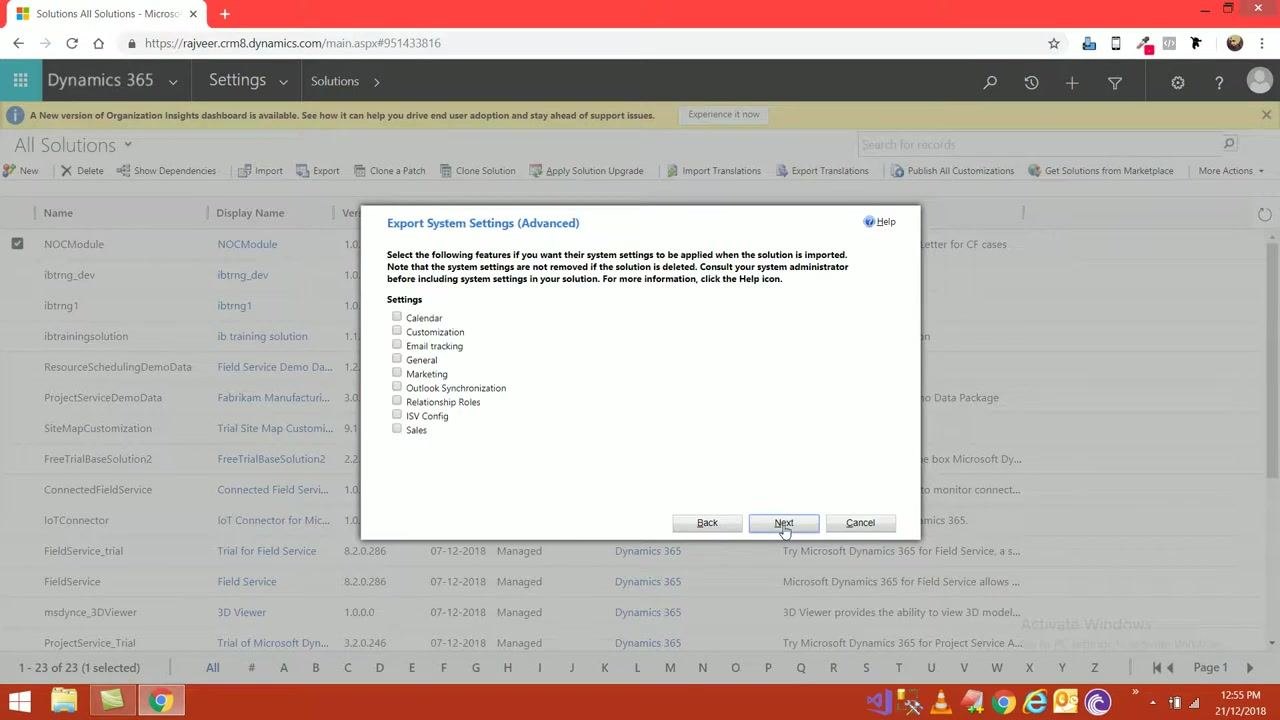
The Export System Settings (Advanced) dialog prompts you to select which system settings to include with the exported solution. Available options, all unchecked by default, include Calendar, Customization, Email Tracking, General, Marketing, Outlook Synchronization, Relationship Roles, ISV Config, and Sales.
The dialog explains that these settings will be applied when the solution is imported, and that system settings are not removed if the solution is deleted — consult your system administrator before including them. Click Next to proceed.
Select the package type for export
The Package Type dialog lets you choose between:
- Unmanaged — use this option if you will not distribute the solution for others to install; you can still modify it and export it as managed later. This is selected by default.
- Managed — use this option if you will distribute the solution for others to install; a managed solution cannot be modified or exported as unmanaged once installed.
Click Export to proceed with the selected package type.
Confirm export completion
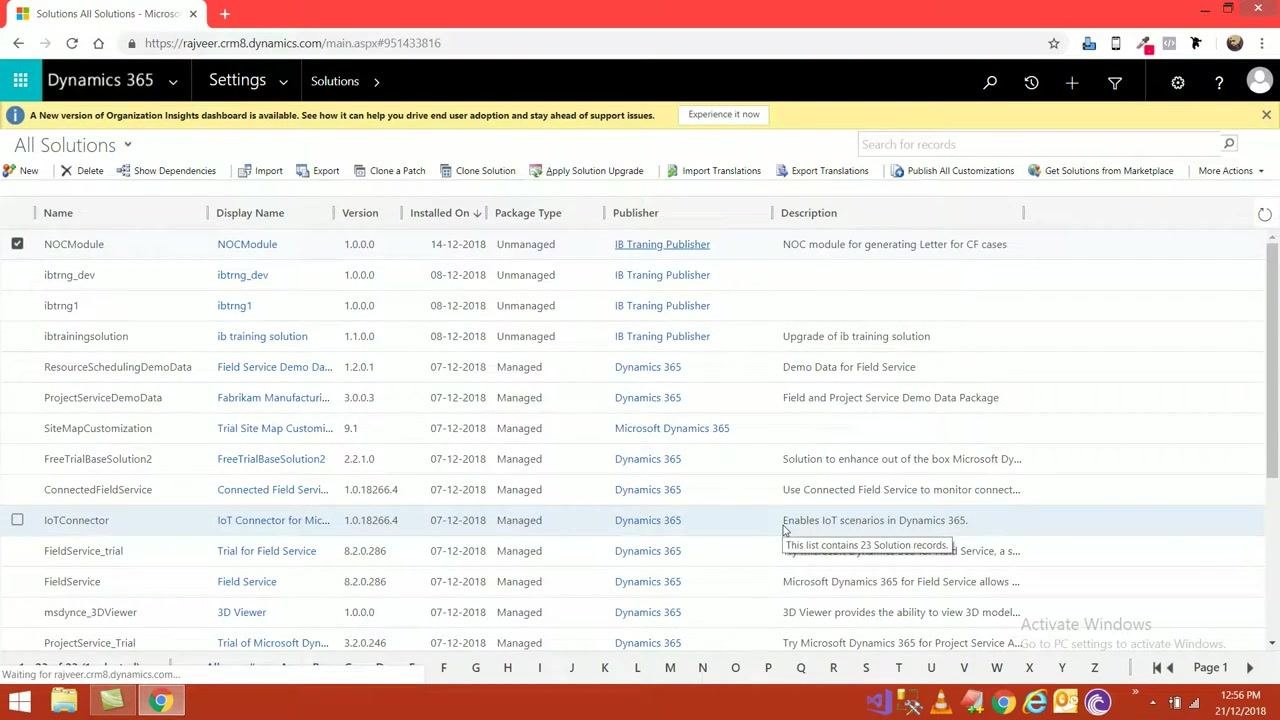
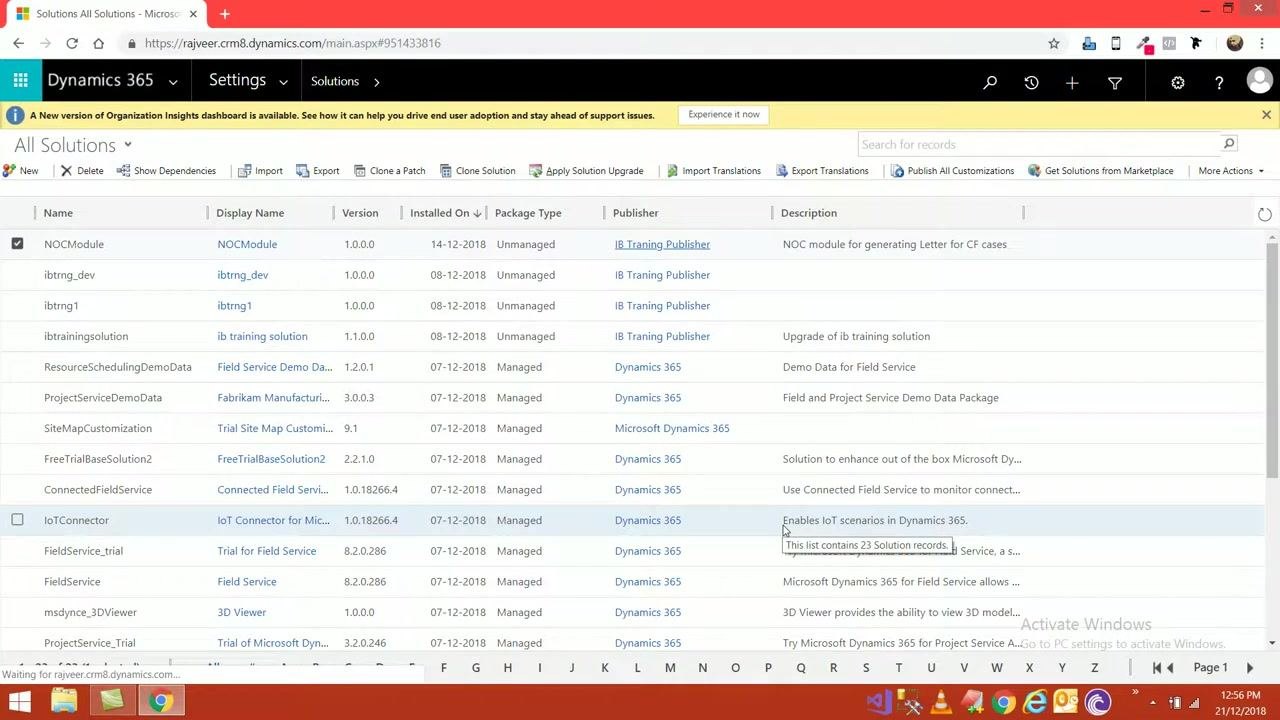
Once the export process finishes, you are returned to the All Solutions page with your previously selected solution still highlighted. A tooltip over another solution (for example, IoTConnector) may confirm the total number of solution records in the list, such as "This list contains 23 Solution records." No additional dialogs appear, confirming the export has completed successfully.
Locate and verify the exported solution file
Remain on the All Solutions page and confirm that your exported solution (for example, NOCModule) remains selected. The environment is stable, with no further export dialogs present, confirming the export process is complete.
Open the exported solution ZIP archive
Locate the downloaded ZIP file (for example, NOCModule_1_0_0_0.zip), typically found in your browser's download bar or the Downloads folder. Double-click the file to open it in an archive manager such as WinRAR.
The archive contains folders for Formulas and Workflows, along with the files [Content_Types].xml, customizations.xml, and solution.xml. The archive manager displays file sizes, packed sizes, modification dates, and CRC32 checksums for each item. This package contains all the components required to import the solution into another Dynamics 365 environment.
Inspect solution files in the archive
Right-click on a file such as [Content_Types].xml to open the context menu, which includes options like Select all, Add files to archive, Extract to the specified folder, Test archived files, View file, and others. Select View file or Open with to inspect the XML contents directly from the archive.
Review the customizations.xml file
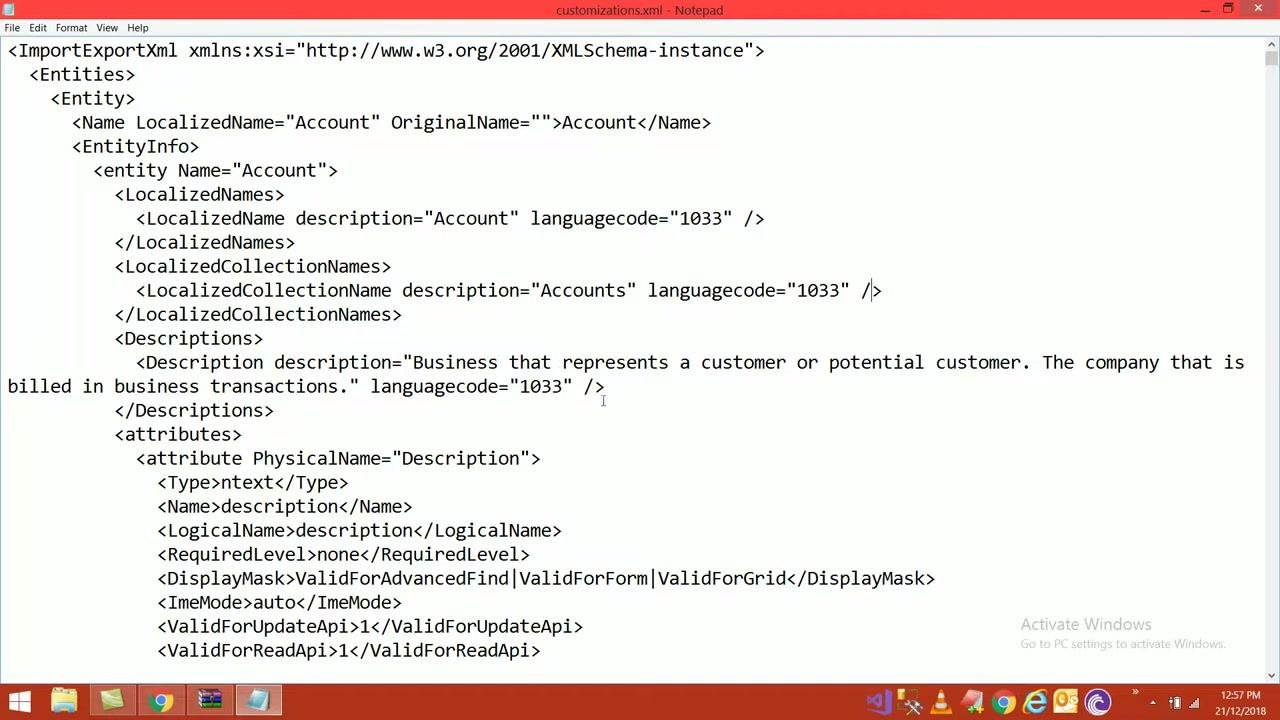
Open customizations.xml in a text editor such as Notepad to review the XML structure that defines entities and their attributes. For example, the Account entity includes a description attribute defined with properties such as type, name, required level, display mask, and API validity flags.
Review the solution.xml file
Open solution.xml in a text editor to review the solution's metadata, including its unique name, localized name, description, version, managed status, and publisher details. For example, the file may show <UniqueName>NOCModule</UniqueName>, <Version>1.0.0.0</Version>, <Managed>0</Managed>, and publisher information such as <UniqueName>ibtraningpublisher</UniqueName> with a customization prefix of ibtrng.
Return to the Dynamics 365 Solutions list
Close the archive manager and text editor windows, then return to the browser displaying the All Solutions page. The environment remains unchanged, and you are ready to proceed with importing the solution into another environment.
Browse and select files in the Downloads folder
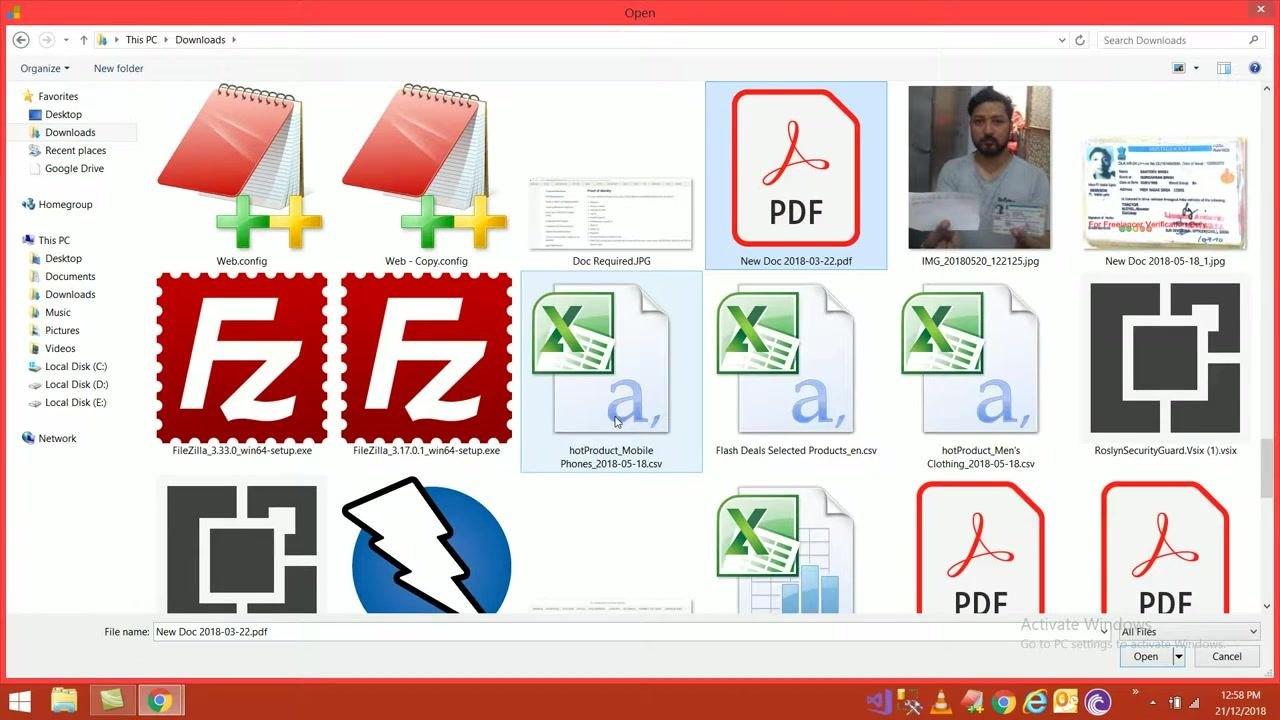
When you're ready to import, the Open dialog displays the contents of your Downloads folder. The navigation pane on the left lists Favorites (Desktop, Downloads, Recent places, Google Drive), Homegroup, This PC, and Network. The main pane shows a grid of files and folders, including configuration files, images, PDFs, executables, and CSV files.
The file name field at the bottom shows the currently highlighted file, and the dialog filter is set to All Files. Browse this folder to locate and select the solution ZIP file you want to import.
Review the solution information before import
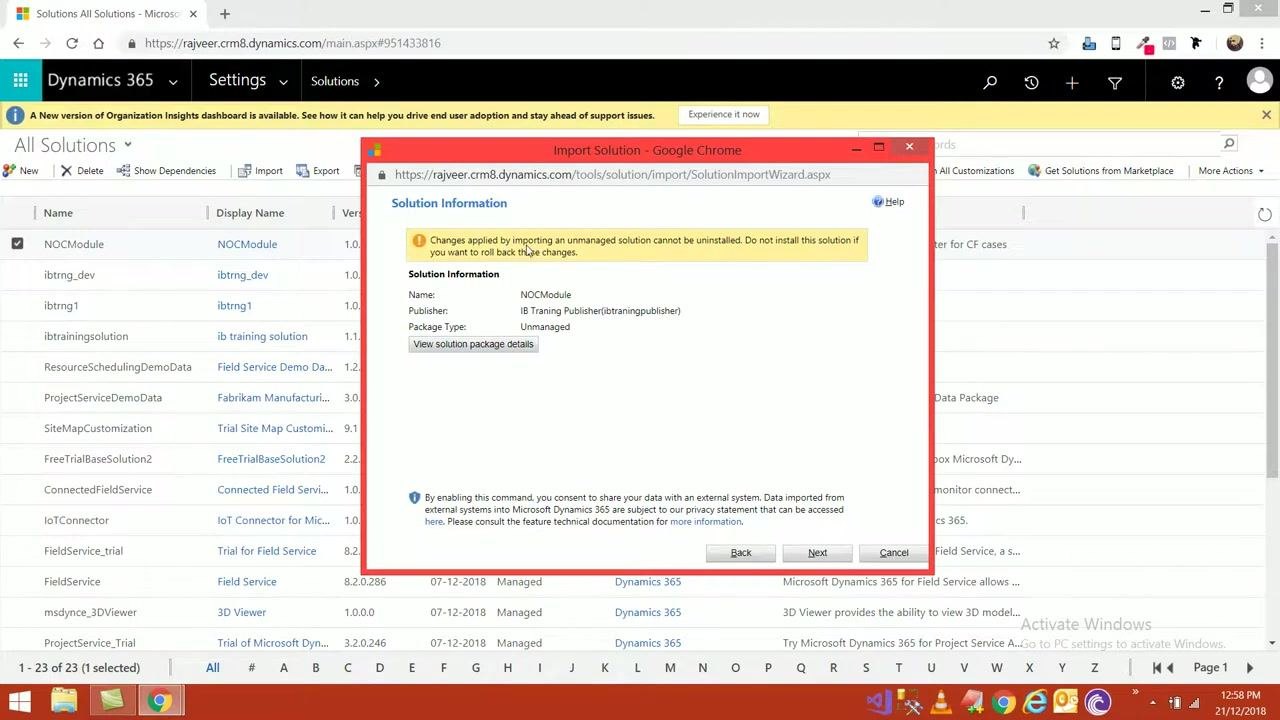
Once you select the solution file, the Import Solution dialog displays a warning: "Changes applied by importing an unmanaged solution cannot be uninstalled. Do not install this solution if you want to roll back the changes."
Review the solution details shown in the dialog:
- Name: NOCModule
- Publisher: IB Traning Publisher (ibtraningpublisher)
- Package Type: Unmanaged
You can optionally click View solution package details for more information. The background shows the All Solutions list with the solution selected. At this point, no action has been taken — this is purely a review step.
Decide whether to proceed or cancel
The Import Solution dialog remains open while you review the solution information and warning. The Back, Next, and Cancel buttons are available at the bottom of the dialog, allowing you to proceed with the import or stop the process at this stage.
Cancel the solution import (if needed)
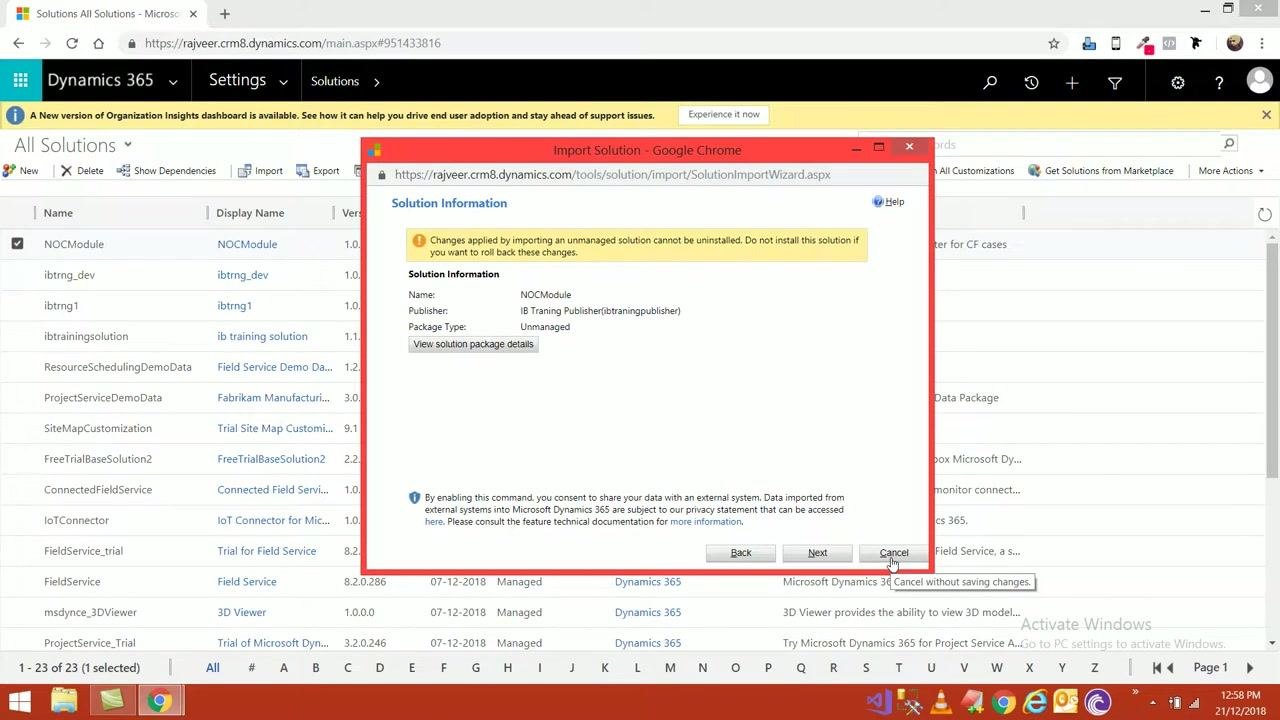
If you decide not to proceed, move the cursor to the Cancel button at the bottom right of the Import Solution dialog. Hovering over the button displays the tooltip "Cancel without saving changes."
Confirm cancellation and return to the Solutions list
Click Cancel to exit the import process. The Import Solution dialog closes, and you return to the main All Solutions view in Dynamics 365, where the solutions list is displayed as before.
Summary
This guide covered how to navigate the Solutions area in Dynamics 365, view a solution's components, export a solution as a package, and inspect the exported files. It also demonstrated how to import a solution in Dynamics 365 by walking through the Import Solution dialog, reviewing the solution's details and warnings, and canceling the import if you decide not to proceed. Understanding each of these steps helps you confidently manage solution transfers between Dynamics 365 environments.
Generation details: cost, quality tiers
Docsie billed 3,500 credits ($2.45) to analyze this 7-minute video at standard quality. The rewrite, template fill and Word/PDF exports were included. The same video at each quality tier:
| Quality | Frames sampled | Credits | Approx. cost |
|---|---|---|---|
| Draft | every 16-30 s | 1,750 | $1.22 |
| Standard (this guide) | every 8-15 s | 3,500 | $2.45 |
| Detailed | every 4-7 s | 7,000 | $4.90 |
| Ultra | every 1-3 s | 14,000 | $9.80 |
Credits priced at $0.70 per 1,000; plans include a monthly allowance. Enterprise customers on on-premise or bring-your-own-model deployments run this on their own inference and pay no per-video credits.
Generated by Docsie Video-to-Docs on 2026-10-01 from a 6-minute video. Screenshots are frames from the source video and belong to their creator, Microsoft CRM Dynamics 365 Tutorial Videos, whose original is embedded above. If you own this video and want the guide removed or credited differently, contact us and we will act within one business day.