
How to Create a Word Template in Dynamics 365
This guide walks you through how to create a Word template in Dynamics 365, from signing in to your instance to selecting the record type your template will use. Word templates let you automate document generation directly from your Dynamics 365 data, streamlining tasks such as generating contracts, quotes, or other business documents.
Video: How To Create Word Template In Microsoft Dynamics 365 (Quick Tutorial) by Glen Knows Everything. All credit for the demonstration goes to the creator; watch the original on YouTube. The written guide below was generated from this video by Docsie. Creator? Request a change or removal.
This guide walks you through how to create a Word template in Dynamics 365, from signing in to your instance to selecting the record type your template will use. Word templates let you automate document generation directly from your Dynamics 365 data, streamlining tasks such as generating contracts, quotes, or other business documents.
Prerequisites
- Access to a web browser.
- A Dynamics 365 instance, either a free trial or a full licensed version.
- Valid sign-in credentials for your Dynamics 365 account.
Sign in to Dynamics 365
Open your web browser and navigate to your Dynamics 365 instance. Sign in using your credentials. You can use either a free trial or a full licensed version to follow along.
Review the dashboard
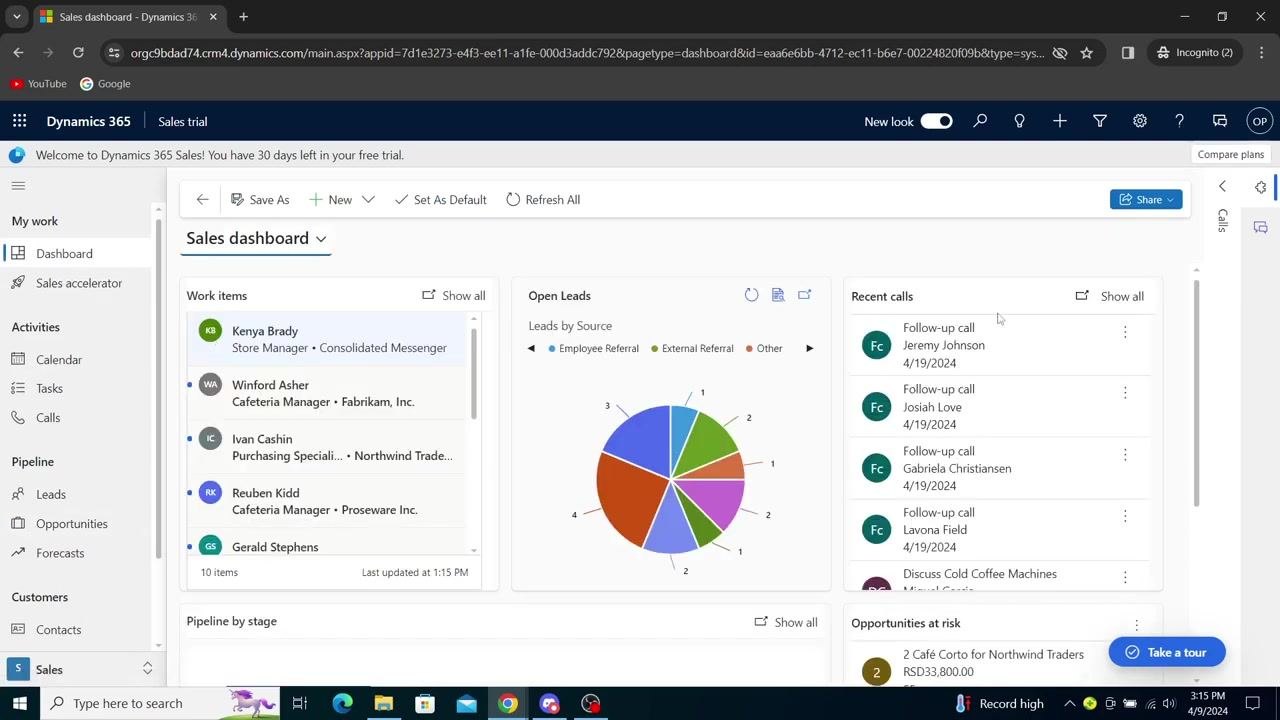
After signing in, you land on the main dashboard. The left sidebar provides navigation options such as Dashboard, Sales accelerator, Calendar, Tasks, Calls, Leads, Opportunities, Forecasts, and Contacts. The main area shows your open opportunities, pipeline value, and a visual deal tracker. Confirm you are on the correct dashboard before continuing.
Open the Settings menu
Locate the gear icon in the top navigation bar and click it to open the Settings menu. The panel that appears on the right side of the screen includes options such as About, Privacy & Cookies, Legal terms, Personalization Settings, Advanced Settings, and Toast Notification Display Time.
Open Advanced Settings
In the Settings panel, find and click Advanced Settings under the "More Settings" section. This opens a new browser tab containing the advanced settings area.
Navigate to Business Management
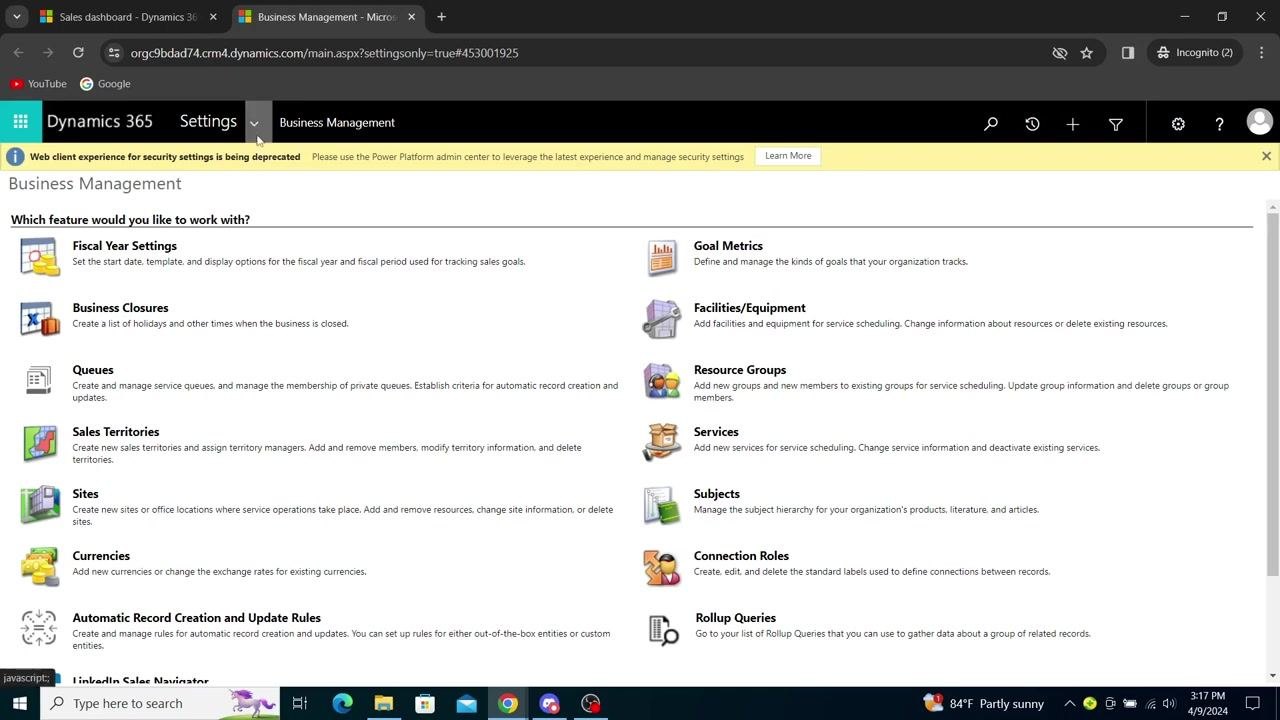
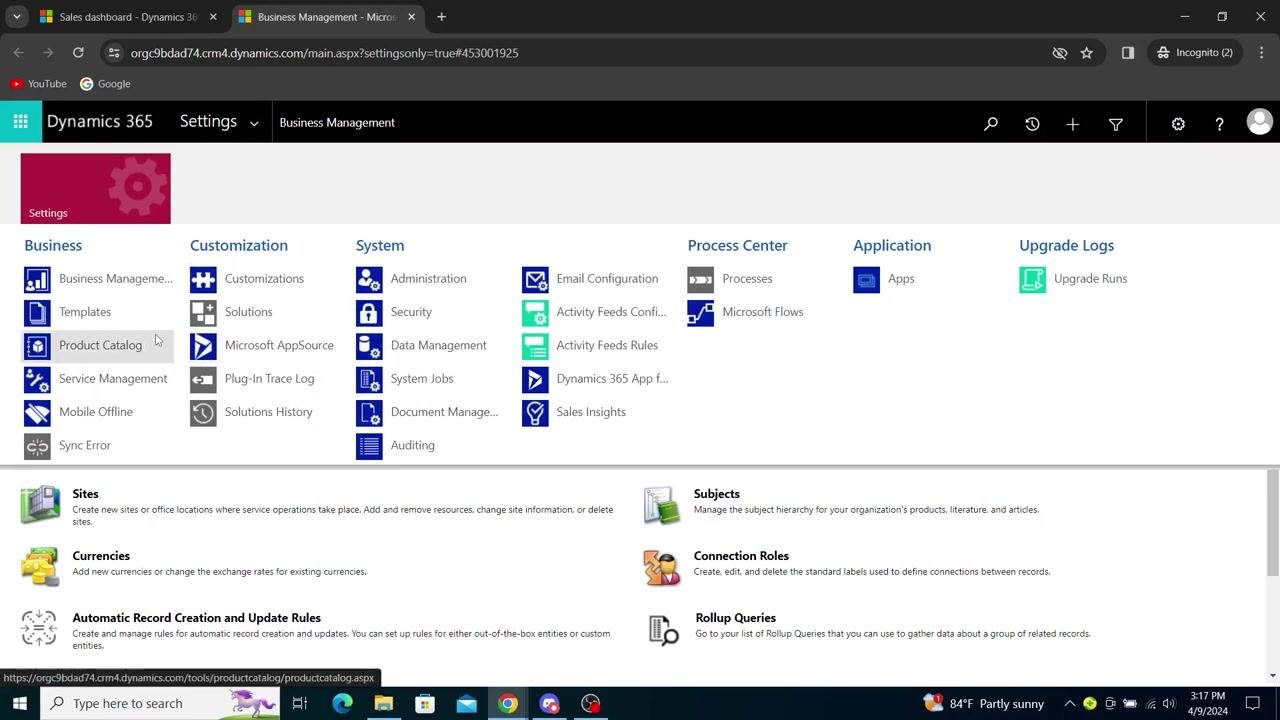
In the new tab, go to the Business Management section. From here you can manage features such as Fiscal Year Settings, Business Closures, Queues, Sales Territories, Sites, Currencies, Goal Metrics, Facilities/Equipment, Resource Groups, Services, Subjects, Connection Roles, and Rollup Queries.
Go to Templates
At the top of the Business Management screen, locate Templates under the "Business" column and click it to open the template management area.
Create a new template
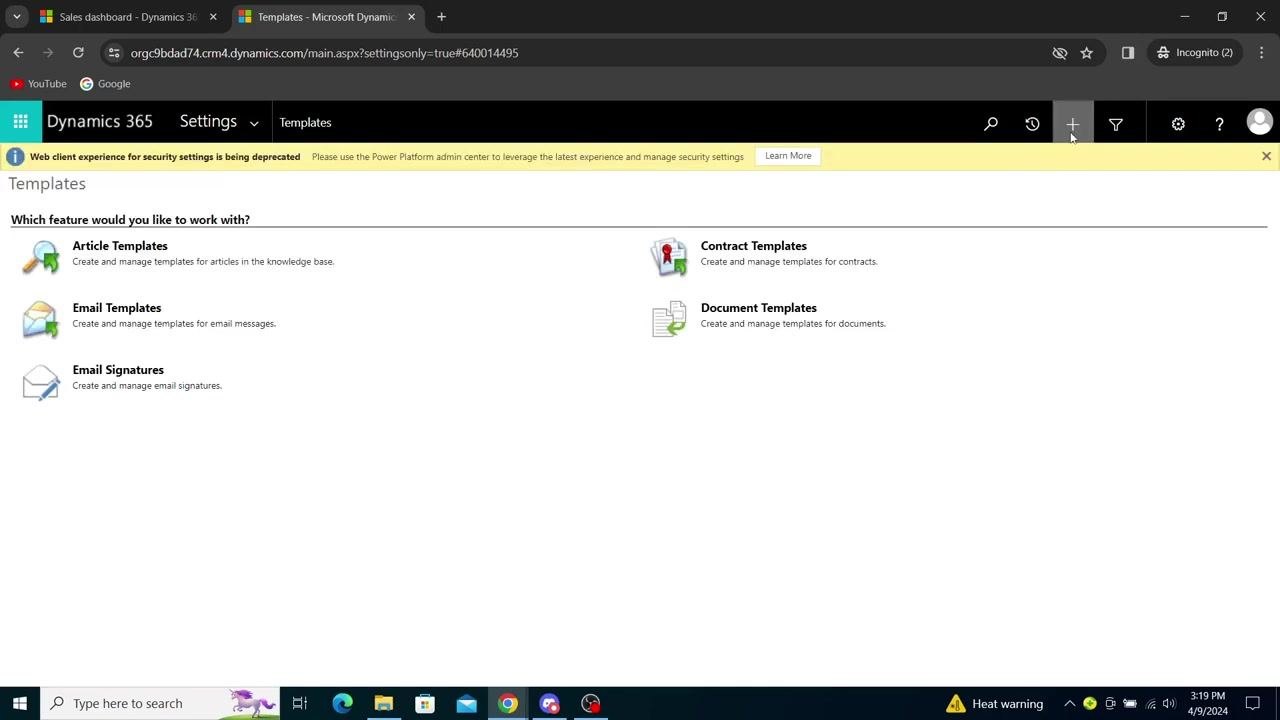
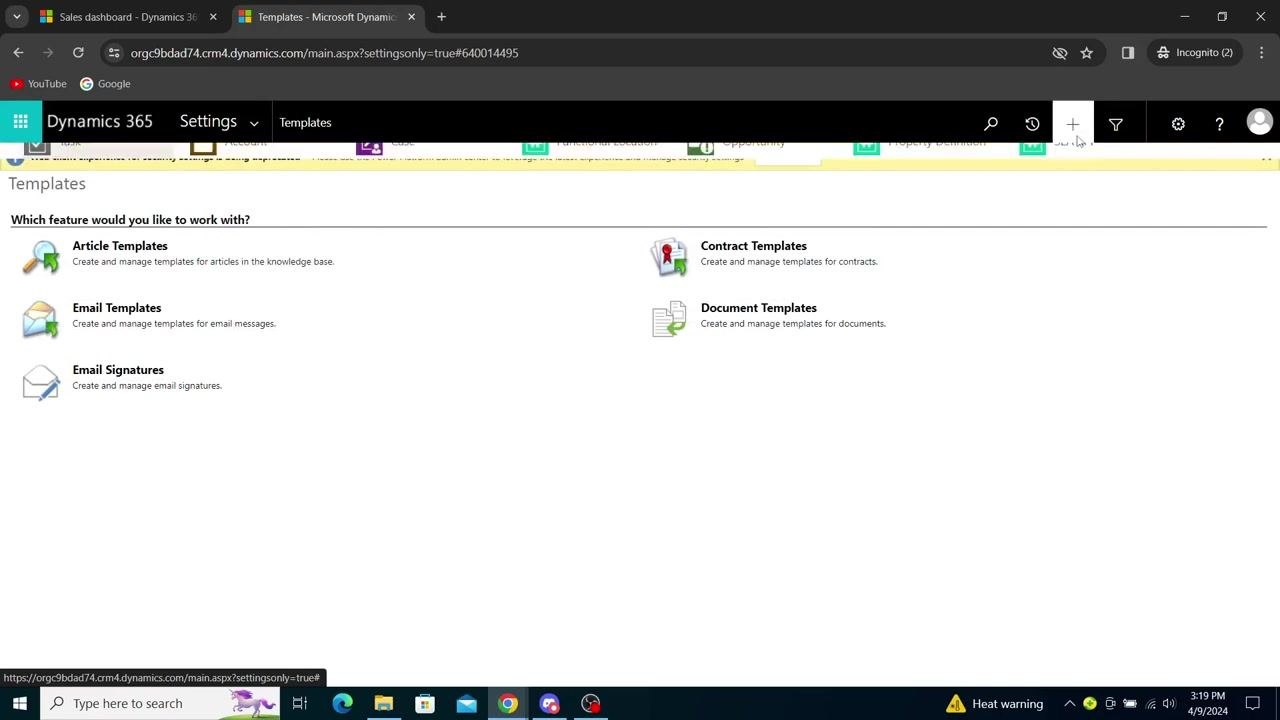
In the Templates section, you see options for Article Templates, Email Templates, Email Signatures, Contract Templates, and Document Templates. Click the plus (+) icon at the top right of the screen, then choose the template type that fits your needs, such as Article, Email, Contract, or Document.
Access the full Templates list
After clicking the plus icon, you are taken to a screen listing template categories: Article Templates for the knowledge base, Email Templates for email messages, Email Signatures, Contract Templates, and Document Templates. Click the plus (+) icon at the top right again to start creating a new template.
Choose the Word Template option
After clicking the plus icon, you are presented with a list of template types to create. Select Word Template to create a template using Microsoft Word. This option lets you generate templates for document automation within Dynamics 365.
Select the record type for the template
After choosing the Word Template option, a list of available record types appears. Under "Activities," you can select Task, Phone Call, Email, Meeting, or Portal Comment. Under "Records," you can select from a wide range of entities, including Account, Case, Opportunity, Invoice, Lead, or Quote. Click the record type that matches the data your template should use.
Complete the template creation process
Follow the on-screen prompts to finish setting up your Word template, and save it once all required fields and configurations are complete.
What's next
After completing these steps, you will have navigated the full process of creating a Word template in Dynamics 365: accessing Advanced Settings, opening Business Management and Templates, selecting the Word Template option, and choosing the relevant record type for your business needs. You are now ready to use your template to automate document generation and streamline your workflow within Dynamics 365.
Generation details: cost, quality tiers
Docsie billed 1,500 credits ($1.05) to analyze this 3-minute video at standard quality. The rewrite, template fill and Word/PDF exports were included. The same video at each quality tier:
| Quality | Frames sampled | Credits | Approx. cost |
|---|---|---|---|
| Draft | every 16-30 s | 750 | $0.52 |
| Standard (this guide) | every 8-15 s | 1,500 | $1.05 |
| Detailed | every 4-7 s | 3,000 | $2.10 |
| Ultra | every 1-3 s | 6,000 | $4.20 |
Credits priced at $0.70 per 1,000; plans include a monthly allowance. Enterprise customers on on-premise or bring-your-own-model deployments run this on their own inference and pay no per-video credits.
Generated by Docsie Video-to-Docs on 2026-10-01 from a 2-minute video. Screenshots are frames from the source video and belong to their creator, Glen Knows Everything, whose original is embedded above. If you own this video and want the guide removed or credited differently, contact us and we will act within one business day.