
How to Import Points from Excel into CATIA
This guide shows you how to import points from Excel into CATIA using the GSD PointSpline loft macro. You prepare an Excel sheet with point coordinates, adjust the macro for compatibility, run it, and then turn the resulting spline into a solid extrusion.
Video: How to import points from Excel in Catia - Importer points d'excel dans Catia by Romain Knobloch (2020). All credit for the demonstration goes to the creator; watch the original on YouTube. The written guide below was generated from this video by Docsie. Creator? Request a change or removal.
This guide shows you how to import points from Excel into CATIA using the GSD PointSpline loft macro. You prepare an Excel sheet with point coordinates, adjust the macro for compatibility, run it, and then turn the resulting spline into a solid extrusion.
Prerequisites
Before you start, make sure you have the following:
- Access to the CATIA command directory at
C:\Programmes\Dassault Systemes\B22\win_b64\code\command - The macro file
GSD.PointSpline.loft.fromExcel - Excel with the Developer tab available (the steps below explain how to enable it)
- A CATIA part file in which you want to import the points
Prepare your Excel file
Step 1: Copy the macro file
Open Windows Explorer and go to C:\Programmes\Dassault Systemes\B22\win_b64\code\command. The access path appears at the top of the Explorer window. Find the file named GSD.PointSpline.loft.fromExcel.
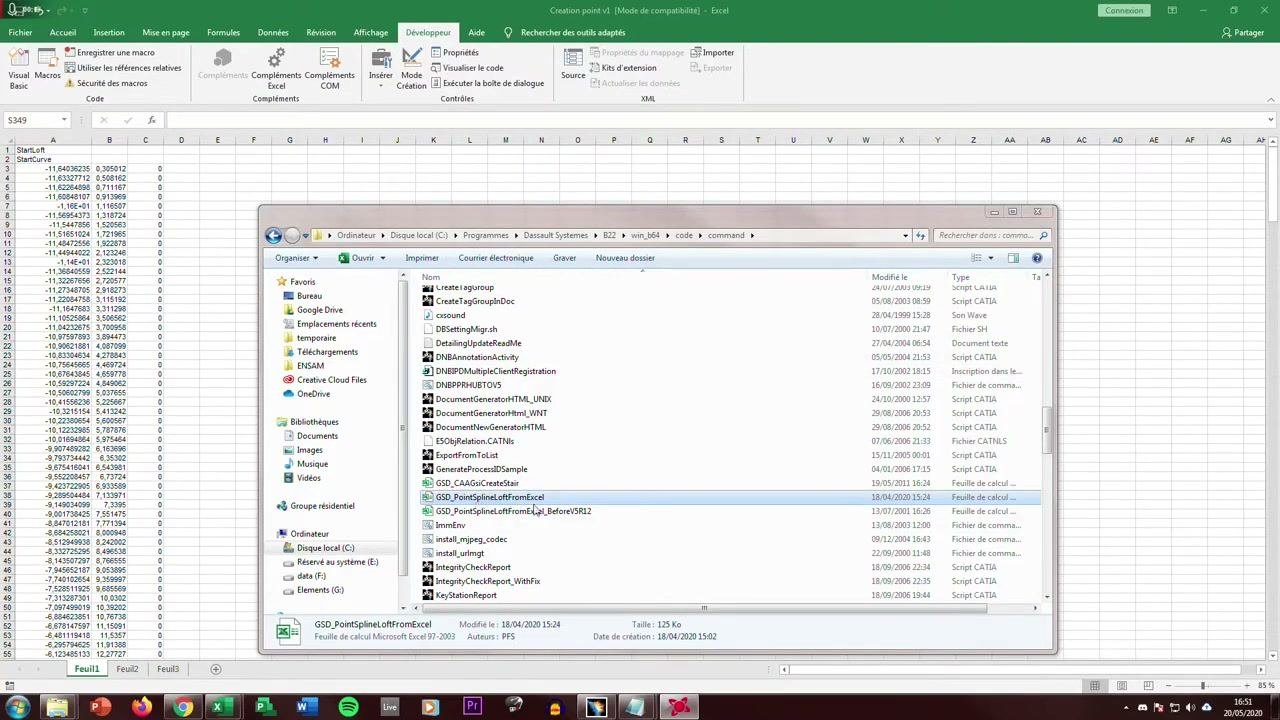
Right-click GSD.PointSpline.loft.fromExcel and select Copy. Paste the file into your chosen working directory for easier access.
Step 2: Enter the point coordinates in Excel
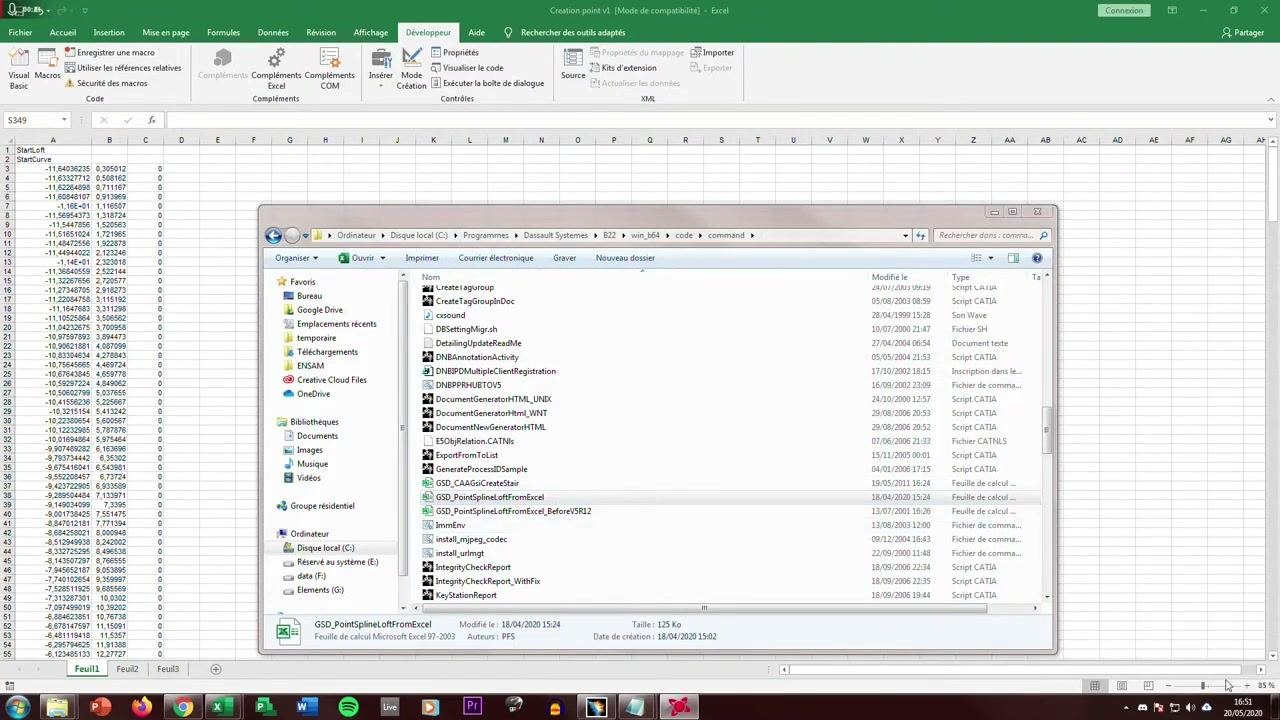
Open your Excel file and enter your point data in the following format:
- The first cell contains
StartLoft. - The second cell contains
StartCurve. - Starting on the next row, enter one point per row: column A holds the X coordinate, column B the Y coordinate, and column C the Z coordinate.
Do not omit the Z coordinate, even if all values are zero for planar points.
StartLoft
StartCurve
-11.68042253   3.050612   0
-11.59483733   1.317624   0
...
Step 3: Add the end instructions
At the end of your point list, add these three instructions in the same column, one per row:
EndCurveEndLoftEnd
These instructions mark the end of your data for the macro.
Step 4: Match the first and last points for a closed contour
If you want to create a closed contour, make sure the last point in your list is identical to the first point.
Step 5: Enable macros in Excel
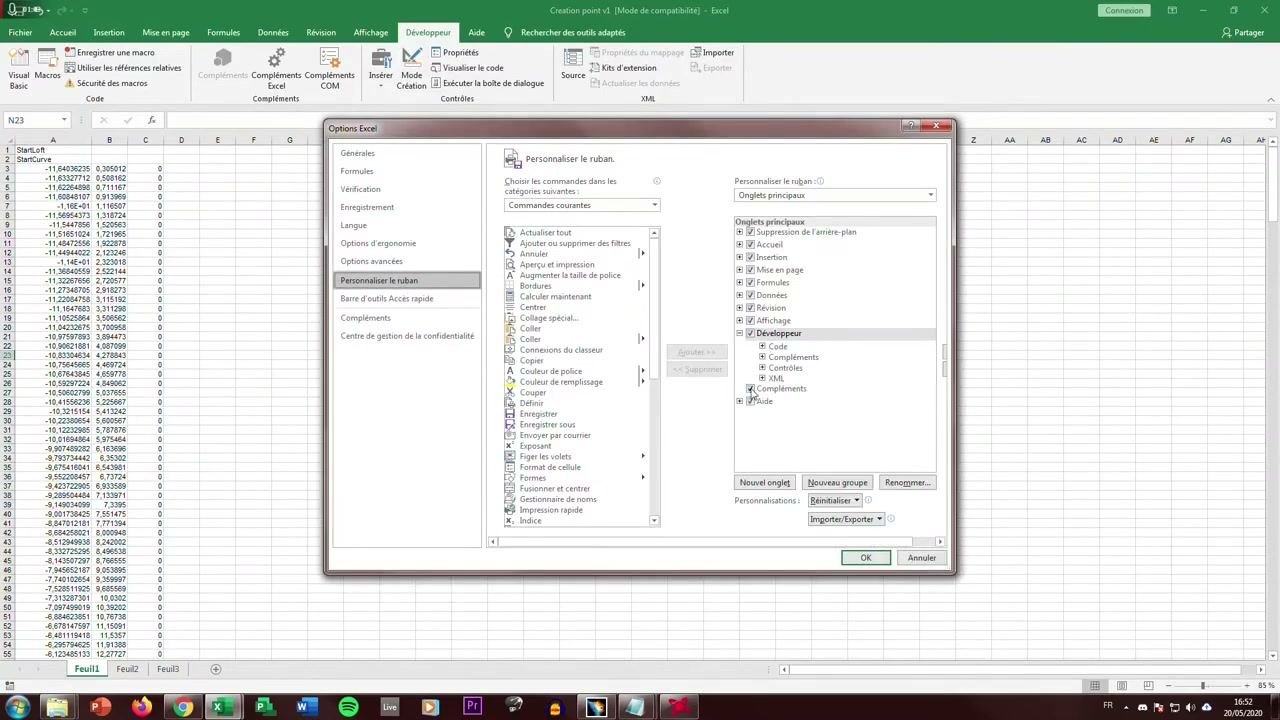
Go to the Developer tab in Excel. If the tab is not visible, enable it:
- Click File > Options.
- Select Customize Ribbon.
- Check the Developer option in the right pane.
Modify the macro
Step 6: Make the macro compatible
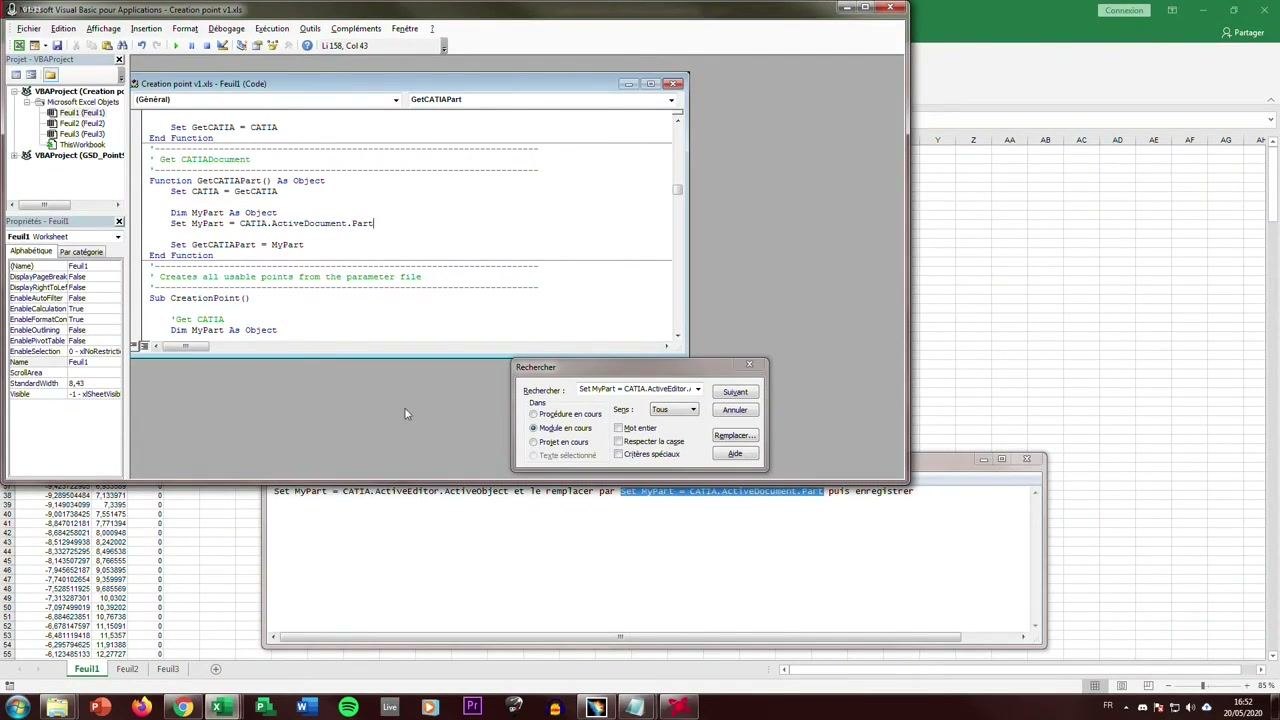
Open the macro in the Visual Basic for Applications (VBA) editor by clicking Developer > Visual Basic. In the macro code, locate this line:
Set MyPart = CATIA.ActiveEditor.ActiveObject
Replace it with:
Set MyPart = CATIA.ActiveDocument.Part
Save the changes to the macro.
Import the points into CATIA
Step 7: Open your CATIA part
Launch CATIA and open the part file where you want to import the points. Make sure the part is active before you continue.
Step 8: Open the macro dialog in Excel
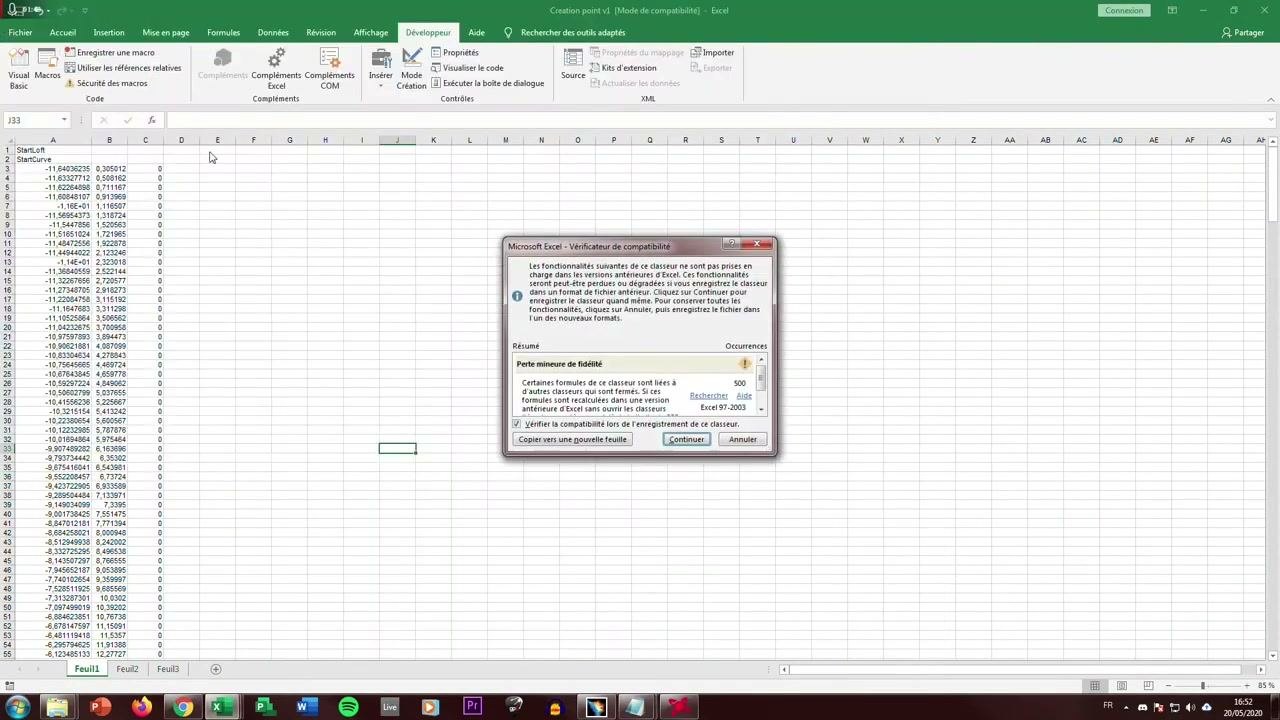
Switch back to your prepared Excel file that contains the point data and the macro. If a compatibility checker dialog appears (for example, "Microsoft Excel - Vérificateur de compatibilité"), review the summary and click Continuer.
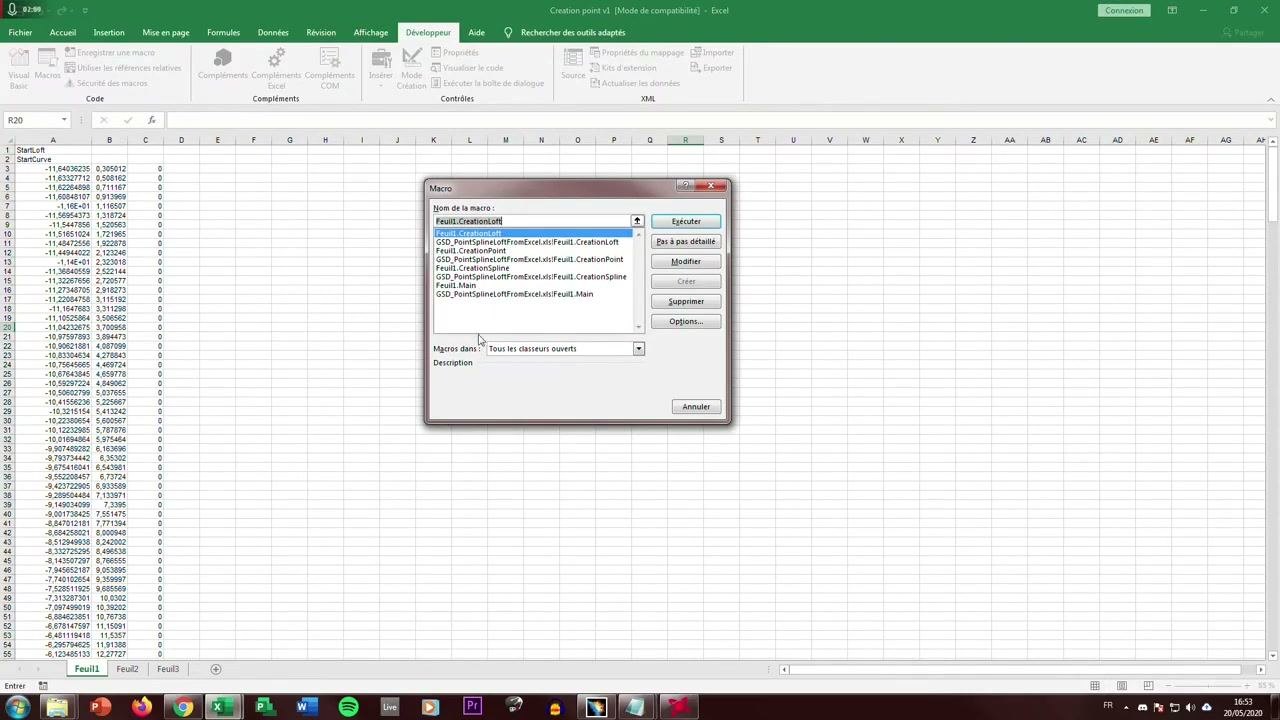
Go to the Developer tab and click Macros to open the macro selection dialog. If you have run several tests, you may see more macros listed. Normally, you see only four main macros.
Step 9: Run the main macro
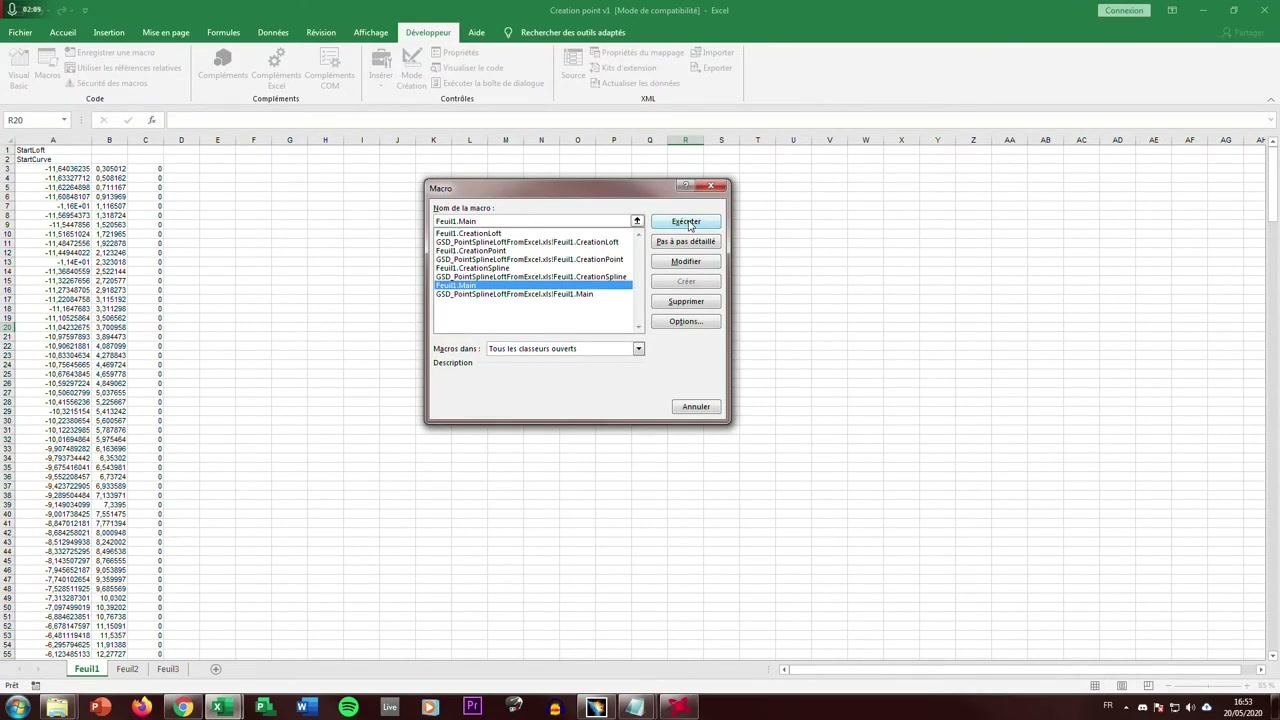
In the macro dialog, select Feuil1.Main (or the equivalent main macro for your sheet). Click Exécuter (Execute) to run the macro.
Step 10: Choose the type of geometry to create
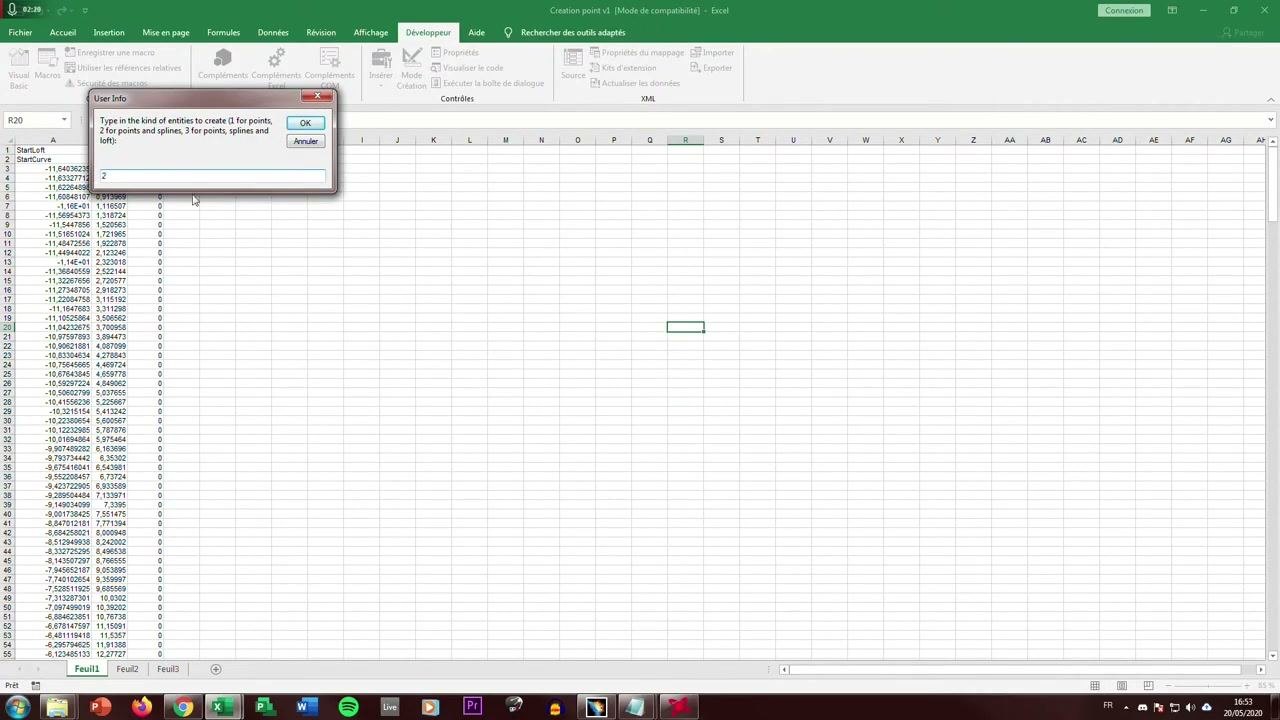
A prompt appears: "Type in the kind of entities to create (1 for points, 2 for points and splines, 3 for points, splines and loft):". Enter 2 to create both points and a spline (curve), then click OK.
The macro processes the data and sends the geometry to CATIA. The imported points and the generated spline profile appear in your part, and the tree lists all points and the spline.
Create an extrusion from the imported profile
Step 11: Move the geometry into your main body
In CATIA, locate the generated spline (for example, Spline.6) in the specification tree under "GeometryFromExcel". Right-click the spline and use the context menu to move or copy it into your main body or core as needed.
Step 12: Extrude the imported profile
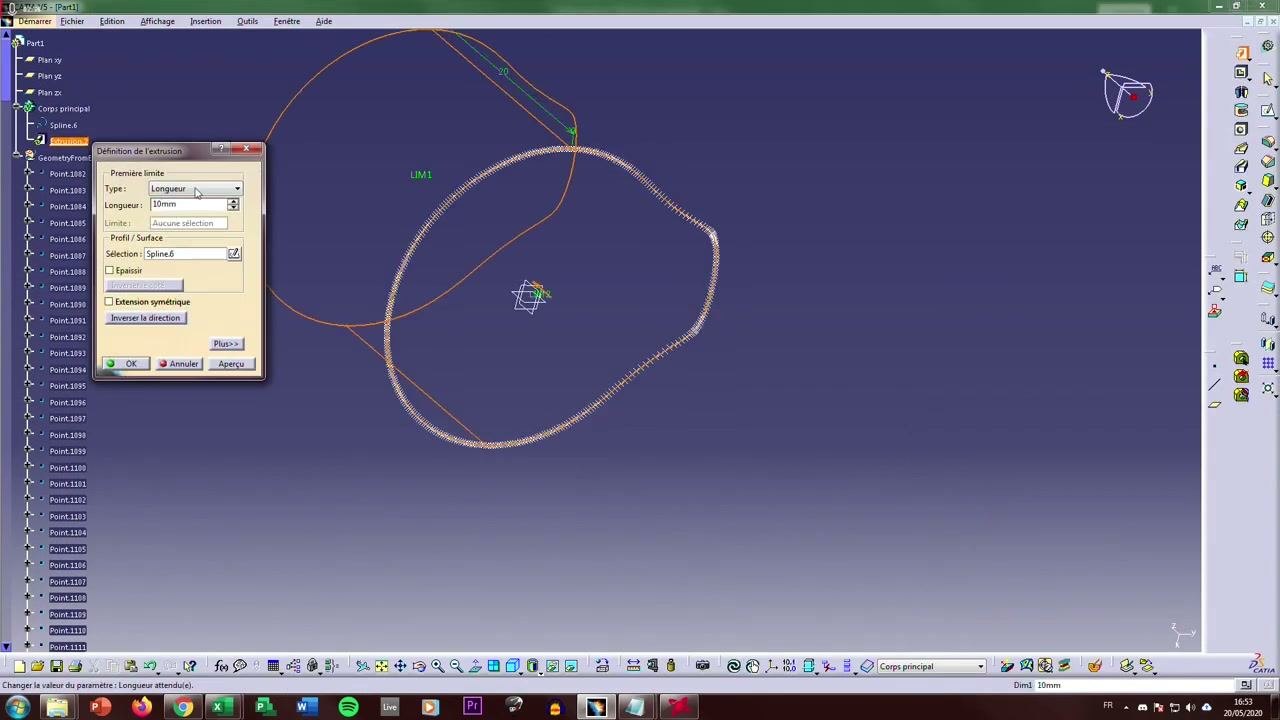
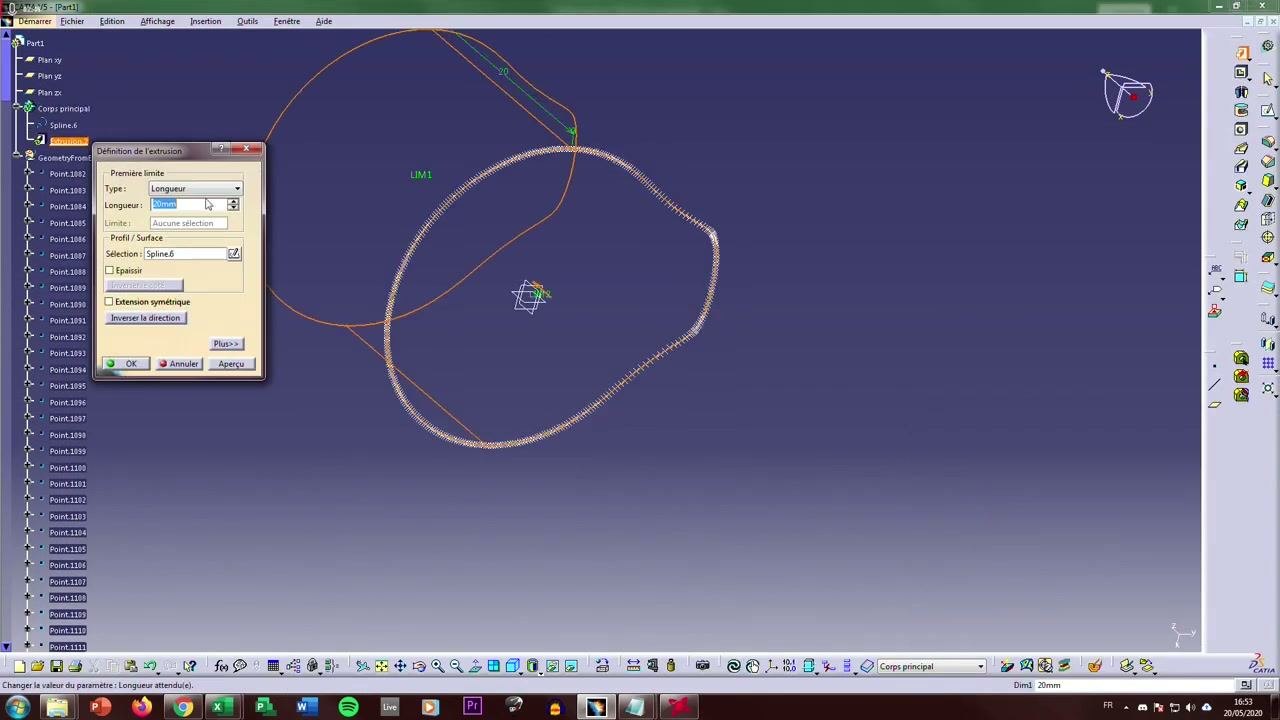
With the spline selected, start the extrusion (pad) feature. In the "Définition de l'extrusion" (Extrusion Definition) dialog:
- Set Type to "Longueur" (Length).
- Enter the desired Longueur, for example
10mmor20mm. - Make sure the correct spline is selected as the profile/surface.
- Adjust other options as needed, such as symmetric extension or reverse direction.
Click OK to generate the extrusion.
Step 13: Verify the final solid
Confirm that the extrusion has been created from the imported profile. The final solid should match the shape defined by your Excel point data.
Summary
You now know how to import points from Excel into CATIA. You prepared the Excel point list, adjusted the macro, ran it to generate a spline profile, and created a solid extrusion from your imported geometry.
Generation details: cost, quality tiers
Docsie billed 2,000 credits ($1.40) to analyze this 4-minute video at standard quality. The rewrite, template fill and Word/PDF exports were included. The same video at each quality tier:
| Quality | Frames sampled | Credits | Approx. cost |
|---|---|---|---|
| Draft | every 16-30 s | 1,000 | $0.70 |
| Standard (this guide) | every 8-15 s | 2,000 | $1.40 |
| Detailed | every 4-7 s | 4,000 | $2.80 |
| Ultra | every 1-3 s | 8,000 | $5.60 |
Credits priced at $0.70 per 1,000; plans include a monthly allowance. Enterprise customers on on-premise or bring-your-own-model deployments run this on their own inference and pay no per-video credits.
Generated by Docsie Video-to-Docs on 2026-11-15 from a 3-minute video. Screenshots are frames from the source video and belong to their creator, Romain Knobloch, whose original is embedded above. If you own this video and want the guide removed or credited differently, contact us and we will act within one business day.