
How to Add Text in CATIA
This guide shows you how to add text in CATIA V5 by creating a sketch, drafting the text on a drawing sheet, importing it as a DXF file onto a 3D part, and extruding it into a raised or recessed feature. Follow these steps to create a part with custom 3D text, such as a logo or label, using the Part Design and Drafting workbenches.
Video: CATIA V5 | Tutorial | How to create 3D Text? by Tech Theatre. All credit for the demonstration goes to the creator; watch the original on YouTube. The written guide below was generated from this video by Docsie. Creator? Request a change or removal.
This guide shows you how to add text in CATIA V5 by creating a sketch, drafting the text on a drawing sheet, importing it as a DXF file onto a 3D part, and extruding it into a raised or recessed feature. Follow these steps to create a part with custom 3D text, such as a logo or label, using the Part Design and Drafting workbenches.
Prerequisites
- CATIA V5 installed and ready to use.
- Basic familiarity with the Part Design and Drafting workbenches.
Start a new part design
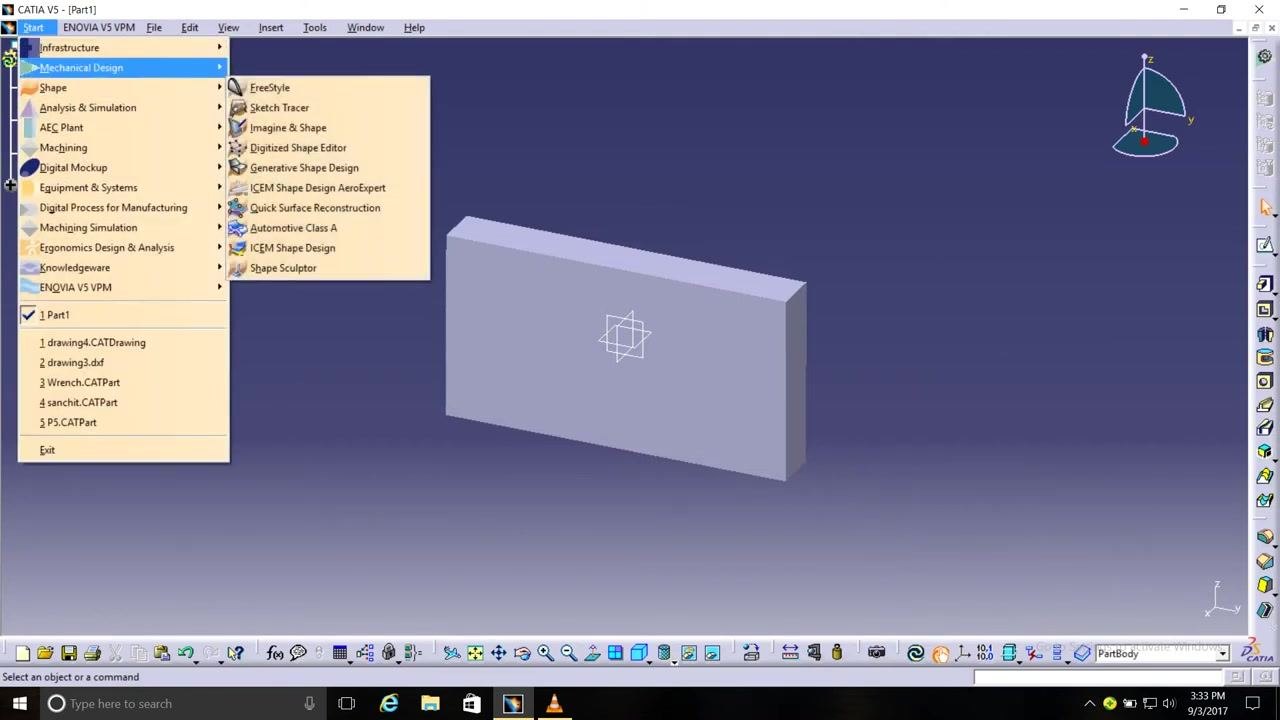
Open CATIA V5 and go to the top menu. Click Start, hover over Mechanical Design, and select Part Design from the submenu to begin a new part.
Create a basic sketch
In the Part Design workbench, you see the tree structure on the left with Part1, xy plane, yz plane, zx plane, and PartBody. The main workspace shows a grid with axes. Use the sketch tools to draw a rectangle on the grid.
Enter the Drafting workbench
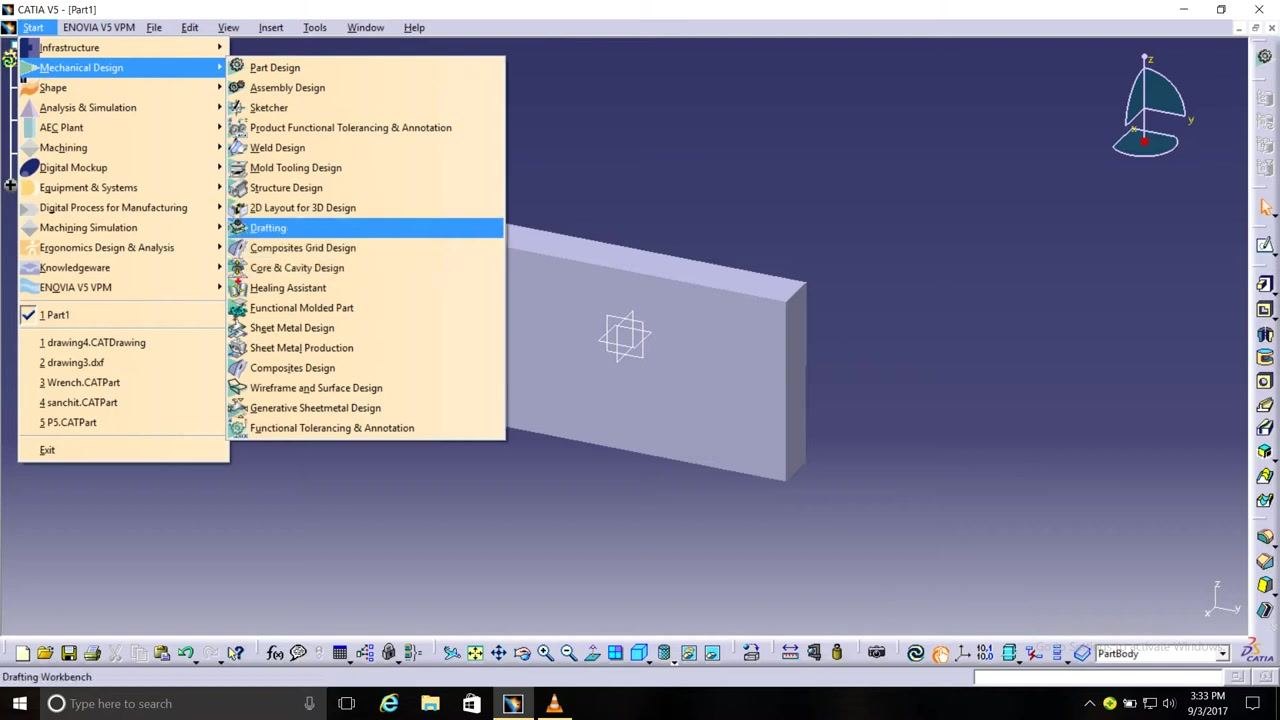
From the Start menu, hover over Mechanical Design and select Drafting from the submenu. This opens the Drafting workbench, preparing the environment for creating 2D drawings from your 3D part.
Add text to the drawing sheet
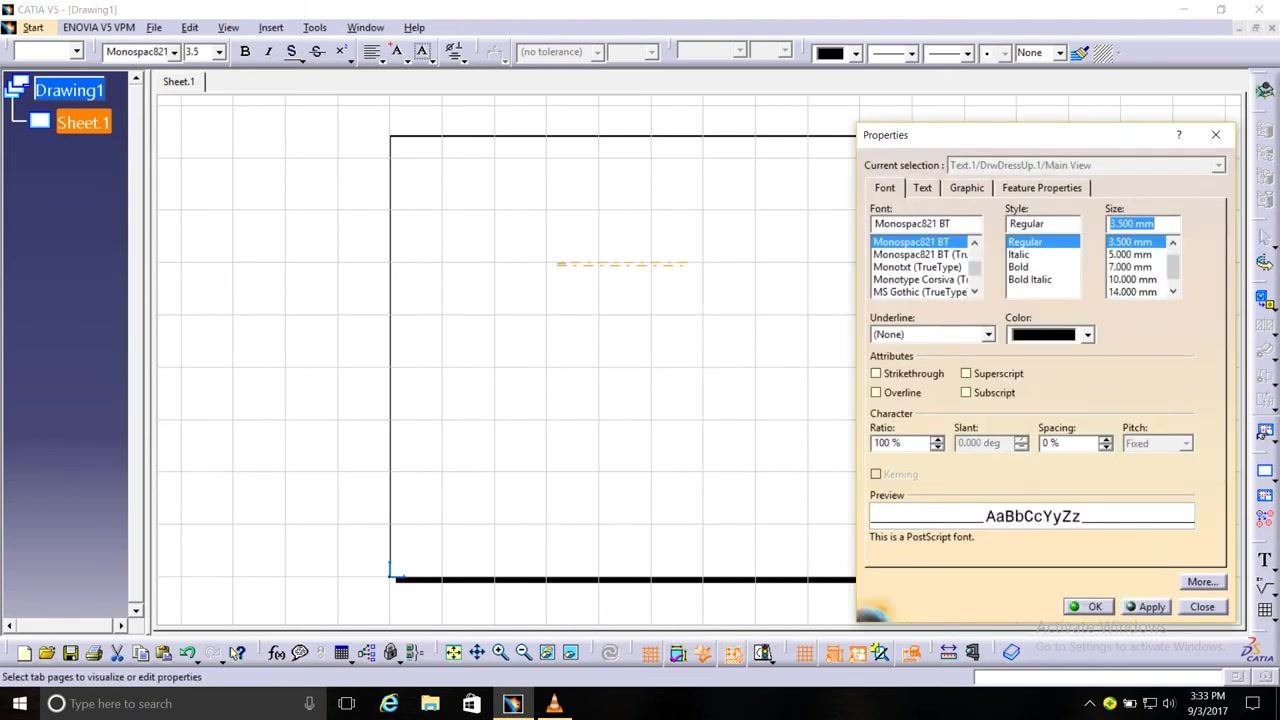
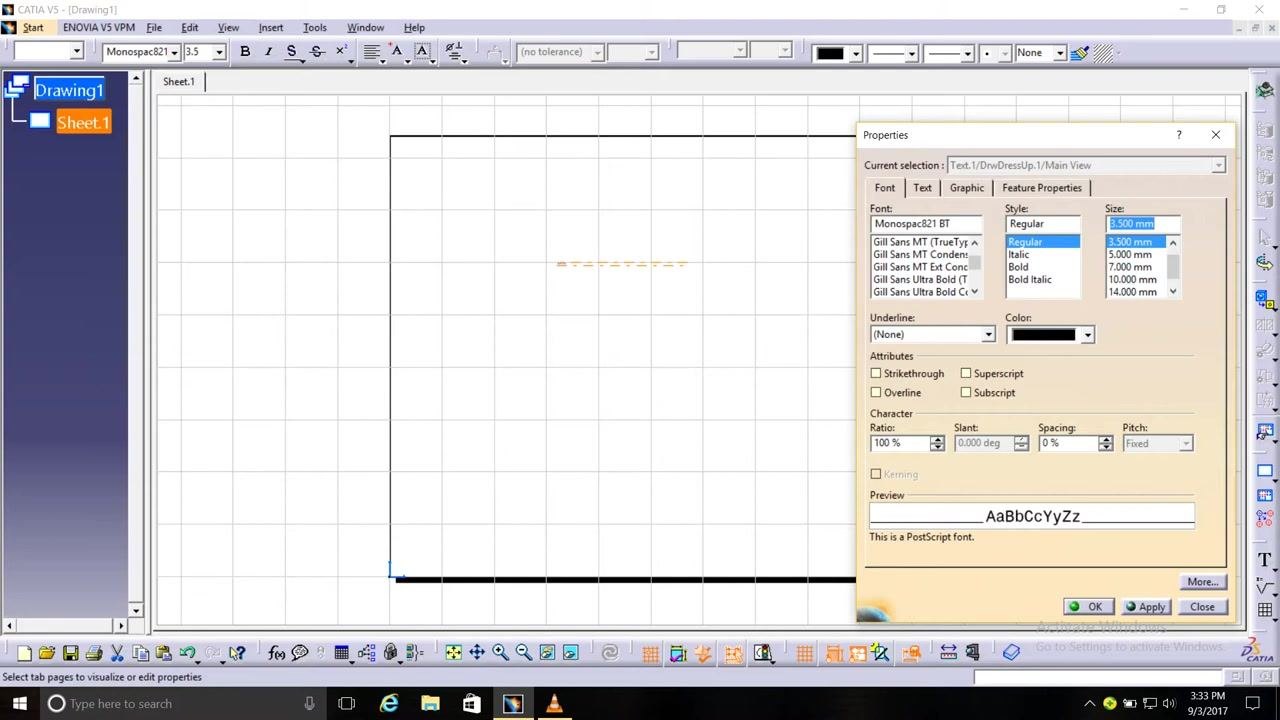
In the Drafting workbench, the left panel shows Drawing1 and Sheet.1, while the main area displays the drawing sheet as a grid with a border. A green line marks the insertion point for text. Open the Text Editor dialog and type your text, such as "CATI".
Edit the text properties
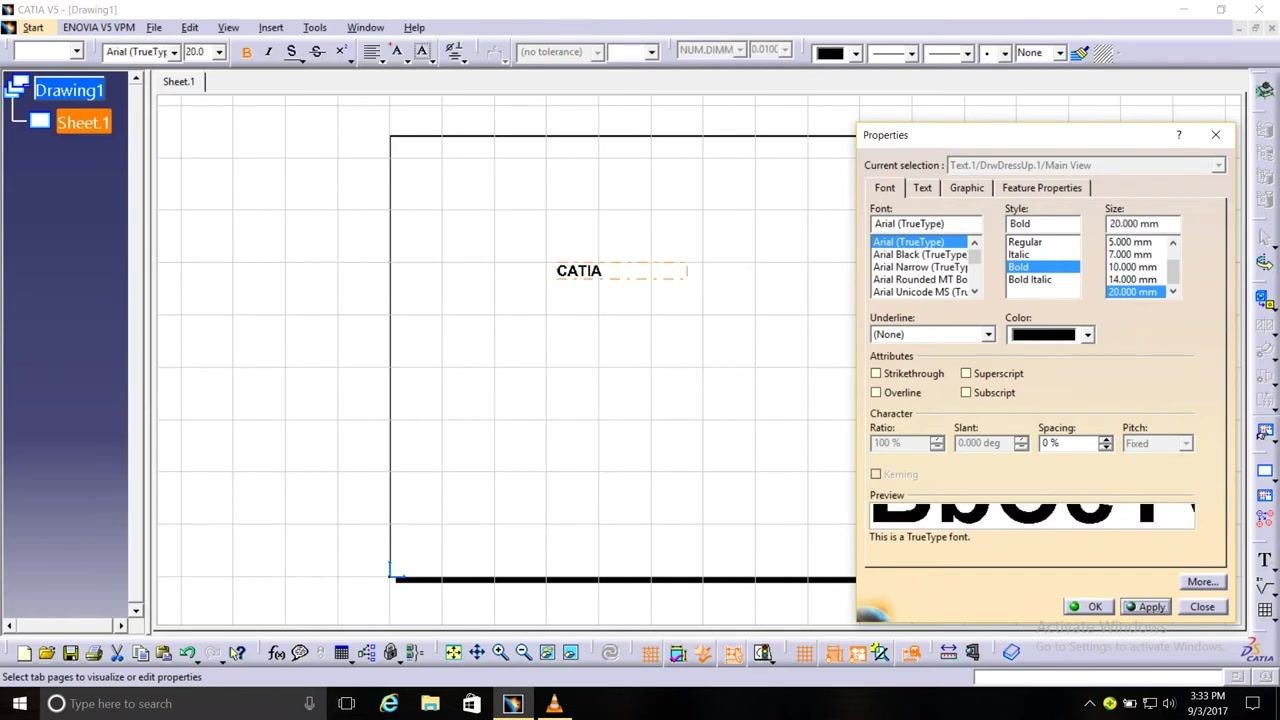
When the Properties dialog appears, use it to customize the text. Adjust the font to Monospac821 BT or Arial (TrueType), set the style to Bold, and set the size to 20.000 mm. The text "CATIA" now appears bold and prominent on the drawing sheet.
Save the drawing as a DXF file
Open the Save As dialog and navigate to the desired folder, such as Documents. Enter the file name as text1, set the file type to .dxf, and click Save to store your drawing in DXF format.
Open and import the DXF file into a new part
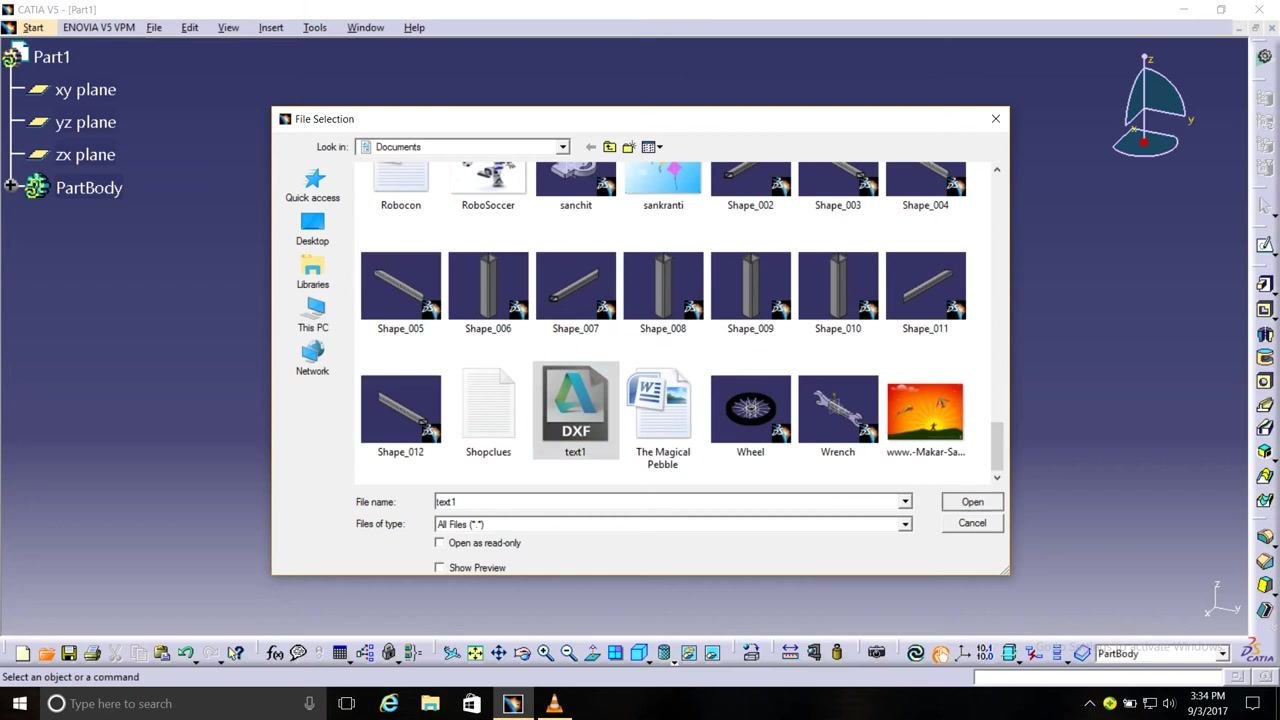
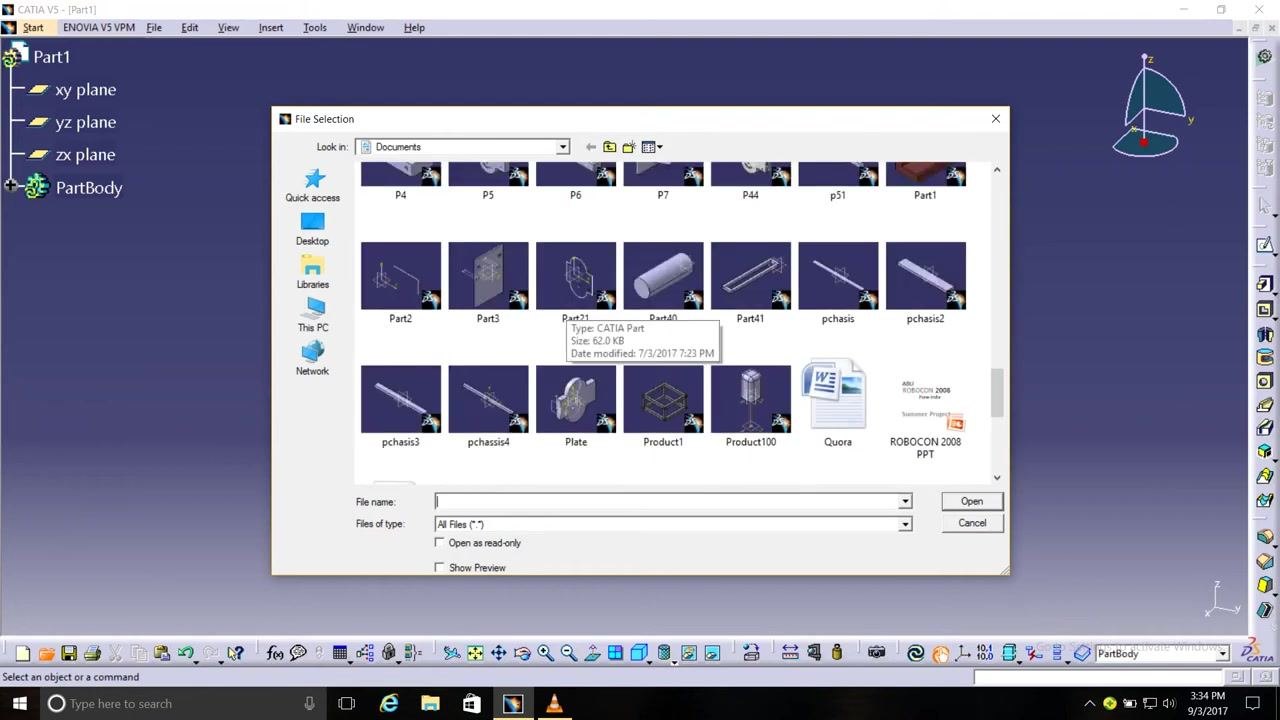
In CATIA V5, the File Selection dialog shows the contents of the Documents folder, including various CATIA parts and other document types. Locate and select the DXF file named text1, confirm that the file name field displays text1, and click Open to import the file into the current session.
Copy the imported text from the drawing
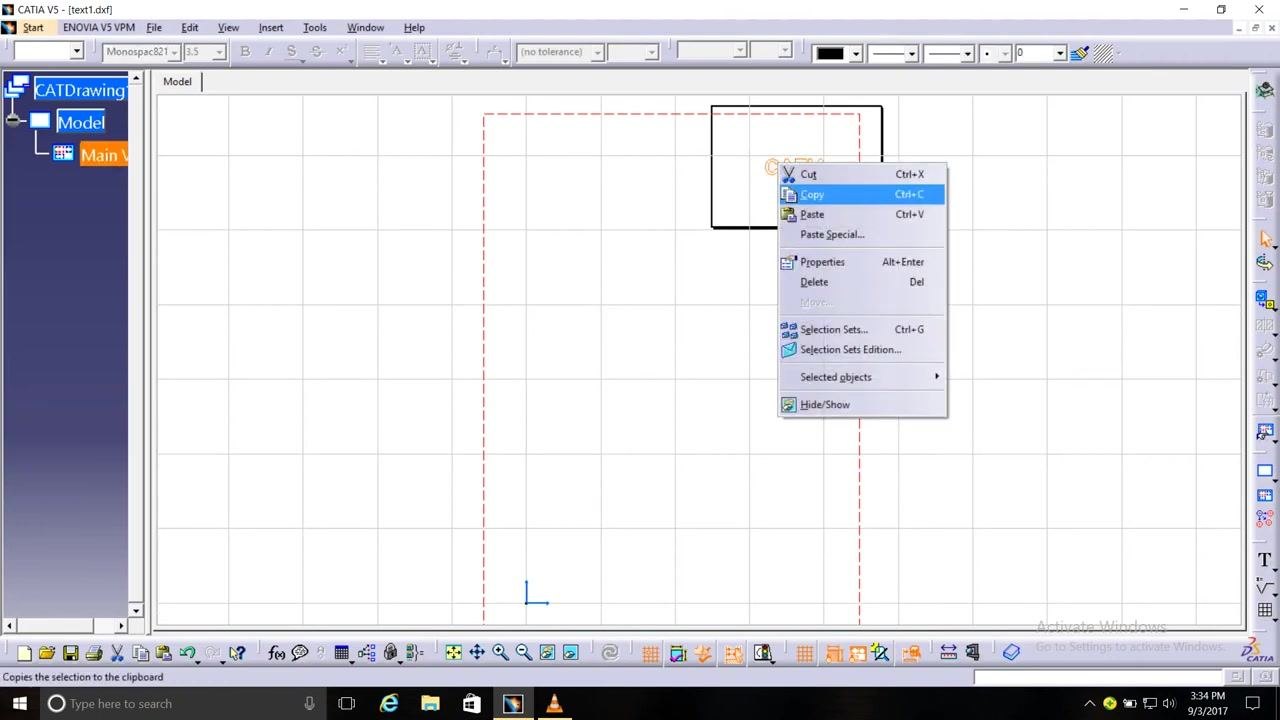
The imported DXF drawing opens, displaying a grid with a red dashed border and the text "CATIA" inside a rectangle. Right-click on the text or the drawing object to open the context menu, then select Copy (or use Ctrl+C) to copy it to the clipboard.
Switch back to the Part Design workbench
Return to the Part Design workbench, where the workspace displays a 3D grid with the part body visible in the center. The tree structure on the left shows Part1, xy plane, yz plane, zx plane, and PartBody highlighted. You are now ready to paste the copied text onto the 3D part.
Paste the text onto the 3D part
Right-click on the 3D part or the workspace to open the context menu, then select Paste (or use Ctrl+V) to insert the copied text. The pasted object appears aligned with the grid on the face of the 3D part.
Verify the placement of the text
The workspace now shows the 3D part with the text "CATIA" clearly visible on its face. A circular rotation indicator appears, letting you rotate the part for a better view. Confirm that the text is correctly positioned on the part.
Extrude the text using Pad Definition
When the Pad Definition dialog appears, set the Type to Dimension and enter the Length as 3 (typically in mm). Make sure the Profile/Surface is set to Sketch.2, then click OK to apply the extrusion and create a raised or recessed text feature on the part.
Hide reference planes for a clear view
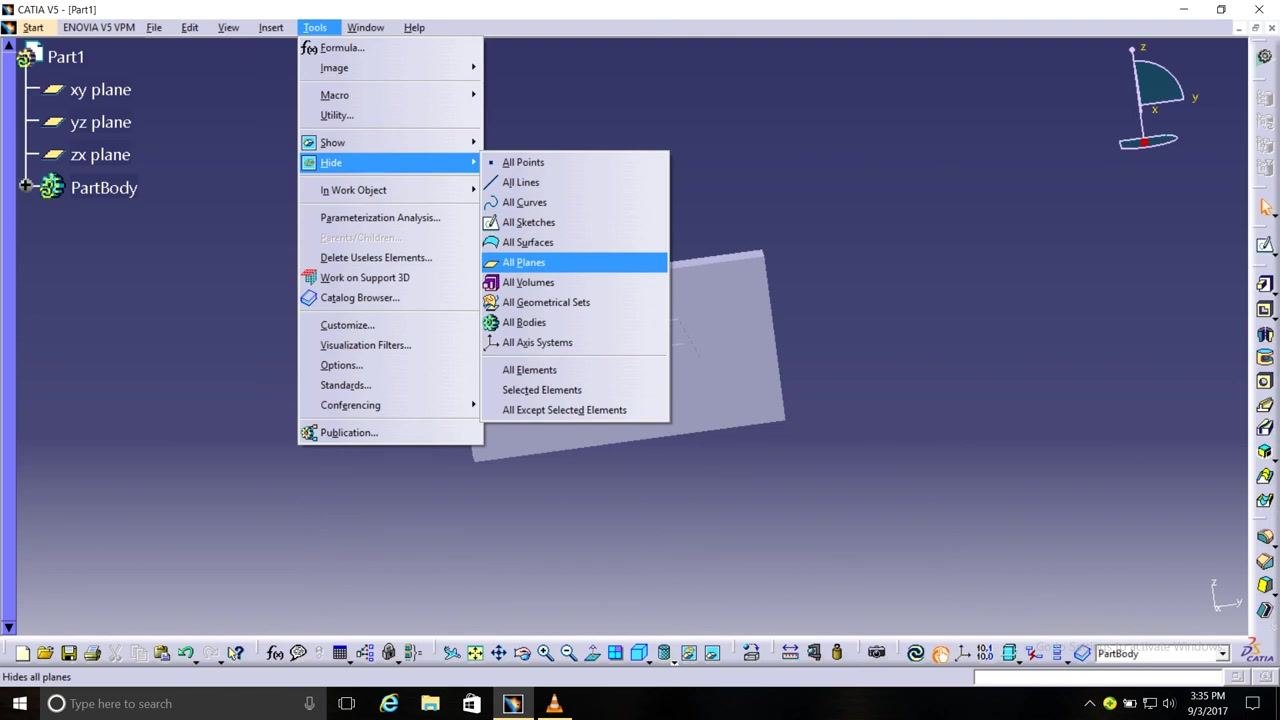
Go to the top menu and select Tools, hover over Show/Hide, then select Hide > All Planes from the submenu. This hides all reference planes, giving you an unobstructed view of the 3D part and the extruded text.
Inspect the final 3D part with text
Rotate and zoom the 3D part to inspect the final result. The part now displays the text "CATIA" as a 3D feature, either raised or recessed depending on your extrusion settings, with reference planes hidden for better visualization.
Final review and save
Review the part to confirm the text is correctly applied and visible, then save your work to preserve the changes made to the 3D part.
Summary
By following these steps, you have learned how to add text in CATIA V5 by importing a DXF drawing, copying and pasting text onto a 3D part, extruding the text into a 3D feature, and saving the finished part for further use or export.
Generation details: cost, quality tiers
Docsie billed 2,000 credits ($1.40) to analyze this 4-minute video at standard quality. The rewrite, template fill and Word/PDF exports were included. The same video at each quality tier:
| Quality | Frames sampled | Credits | Approx. cost |
|---|---|---|---|
| Draft | every 16-30 s | 1,000 | $0.70 |
| Standard (this guide) | every 8-15 s | 2,000 | $1.40 |
| Detailed | every 4-7 s | 4,000 | $2.80 |
| Ultra | every 1-3 s | 8,000 | $5.60 |
Credits priced at $0.70 per 1,000; plans include a monthly allowance. Enterprise customers on on-premise or bring-your-own-model deployments run this on their own inference and pay no per-video credits.
Generated by Docsie Video-to-Docs on 2026-10-12 from a 3-minute video. Screenshots are frames from the source video and belong to their creator, Tech Theatre, whose original is embedded above. If you own this video and want the guide removed or credited differently, contact us and we will act within one business day.