
How to Use a Barcode Scanner in a Warehouse
This procedure explains how to use a barcode scanner in the warehouse to pick shoe orders accurately using a handheld RF gun. The RF gun is a Radio Frequency device that works together with the Warehouse Management System (WMS) to guide you to the correct shelf location, confirm the product, and record the quantity you pick. Following these steps ensures inventory accuracy and helps you avoid picking errors before products move to the production line for packing and shipping to individual stores.
Video: How to use an RF Gun or Scanner - PICKING orders in a warehouse by Raymond Harlall (2016). All credit for the demonstration goes to the creator; watch the original on YouTube. The written guide below was generated from this video by Docsie. Creator? Request a change or removal.
This procedure explains how to use a barcode scanner in the warehouse to pick shoe orders accurately using a handheld RF gun. The RF gun is a Radio Frequency device that works together with the Warehouse Management System (WMS) to guide you to the correct shelf location, confirm the product, and record the quantity you pick. Following these steps ensures inventory accuracy and helps you avoid picking errors before products move to the production line for packing and shipping to individual stores.
Purpose
This SOP guides warehouse staff through preparing, powering on, and using a handheld RF gun to complete the outbound picking process. It covers signing in, navigating to assigned locations, scanning barcodes, handling quantity mismatches, and wrapping up a picking session.
Scope
This procedure applies to any warehouse associate assigned to outbound order picking using a WMS-connected RF gun. It covers the full workflow from shift start (battery and device preparation) through completing a picking run and returning equipment to a ready state.
Required equipment
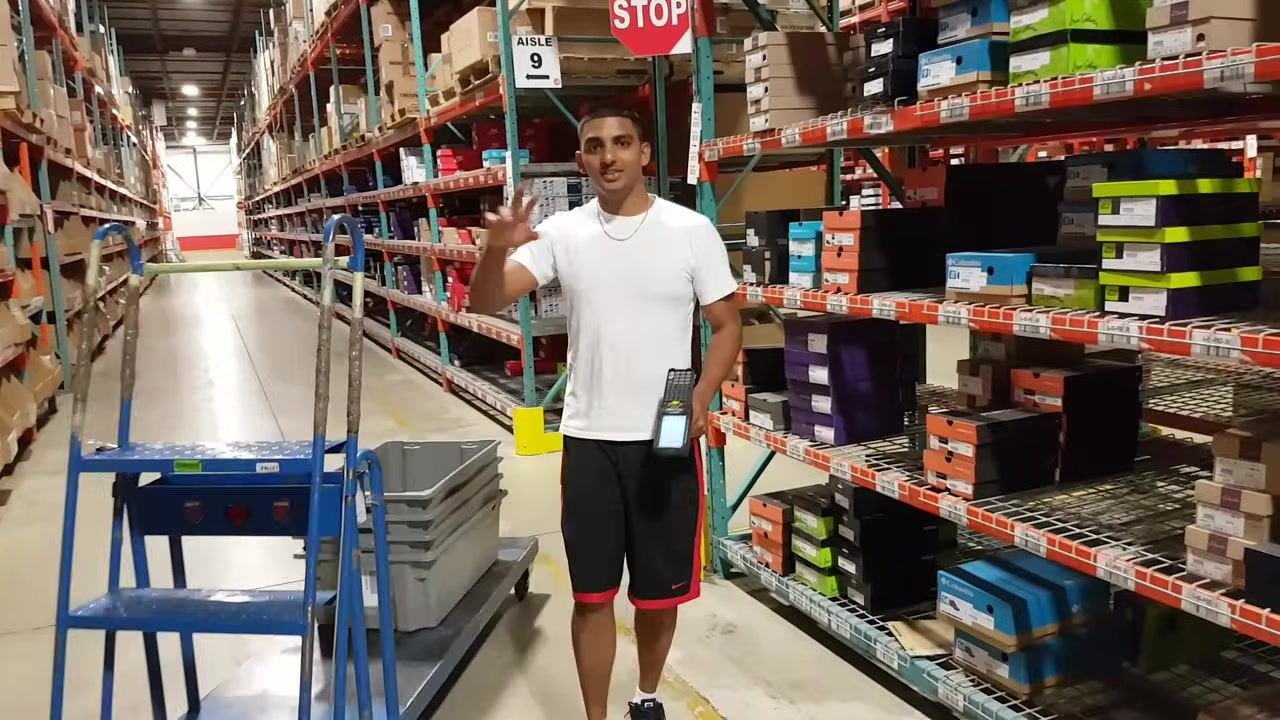
Before you begin picking, confirm you have the following:
- A handheld RF gun (barcode scanner) with a charged battery
- Your personal login credentials for the RF gun
- A cart for transporting totes through the warehouse
- Gray plastic totes for collecting picked items
Procedure
Prepare the RF gun for your shift
At the start of each shift, change the battery in your RF gun; each device typically uses one battery per day. Charge the used battery overnight or at the end of your shift so it is ready for next use. Insert the fresh battery until it clicks securely into place, then shake the RF gun gently to confirm it is seated and not rattling.
Inspect the RF gun for damage
Visually examine the RF gun before use. Check for cracks, missing buttons, or loose components, and inspect the scanner lens to ensure it is clean and unobstructed.
Power on the RF gun
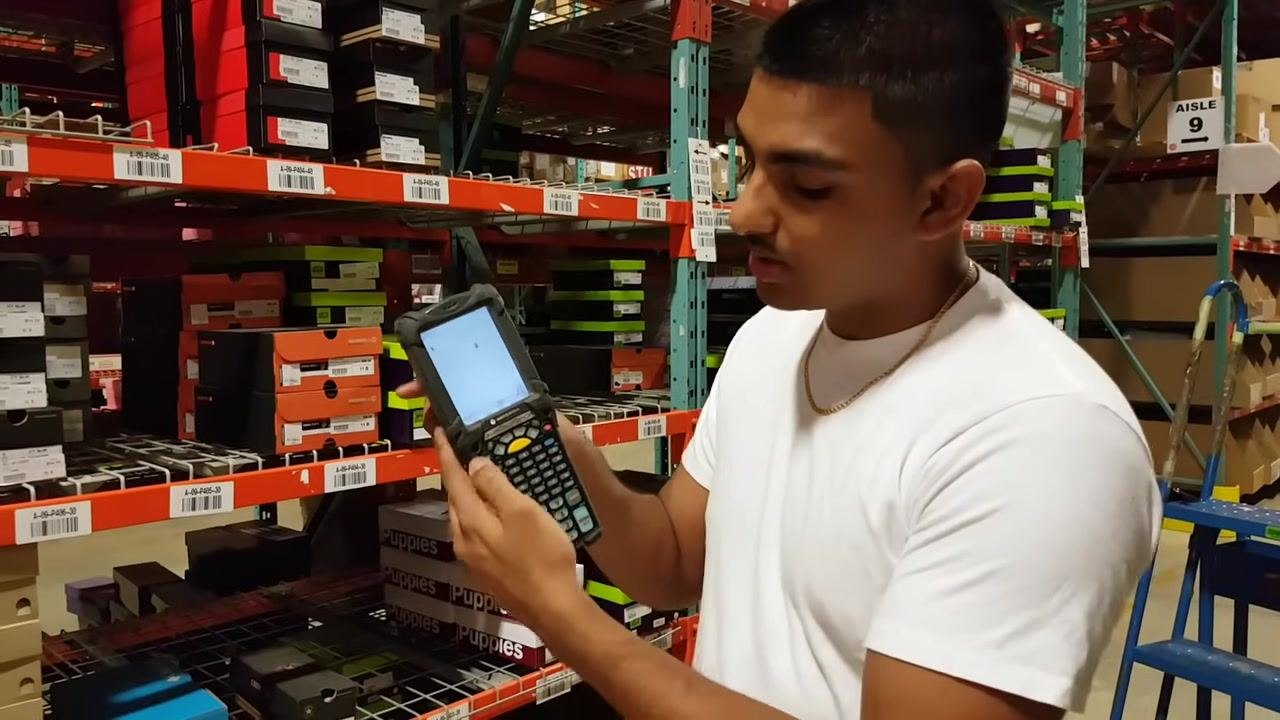
Locate the red power button on the RF gun and press it to turn on the device. Wait for the device to boot up and display the login screen.
Note: Background noise from nearby production activity is normal in a warehouse environment and does not indicate a problem.
Sign in to the RF gun
Enter your username and password on the RF gun's login screen. Make sure your credentials are entered correctly, and shield the screen if you are being observed or trained to prevent others from seeing your password. Confirm successful login when the system grants access to the main menu.
Confirm system access
Once logged in, verify you are in the correct system mode. If prompted, select the appropriate function for your task, such as Picking.
Understand inbound and outbound flow
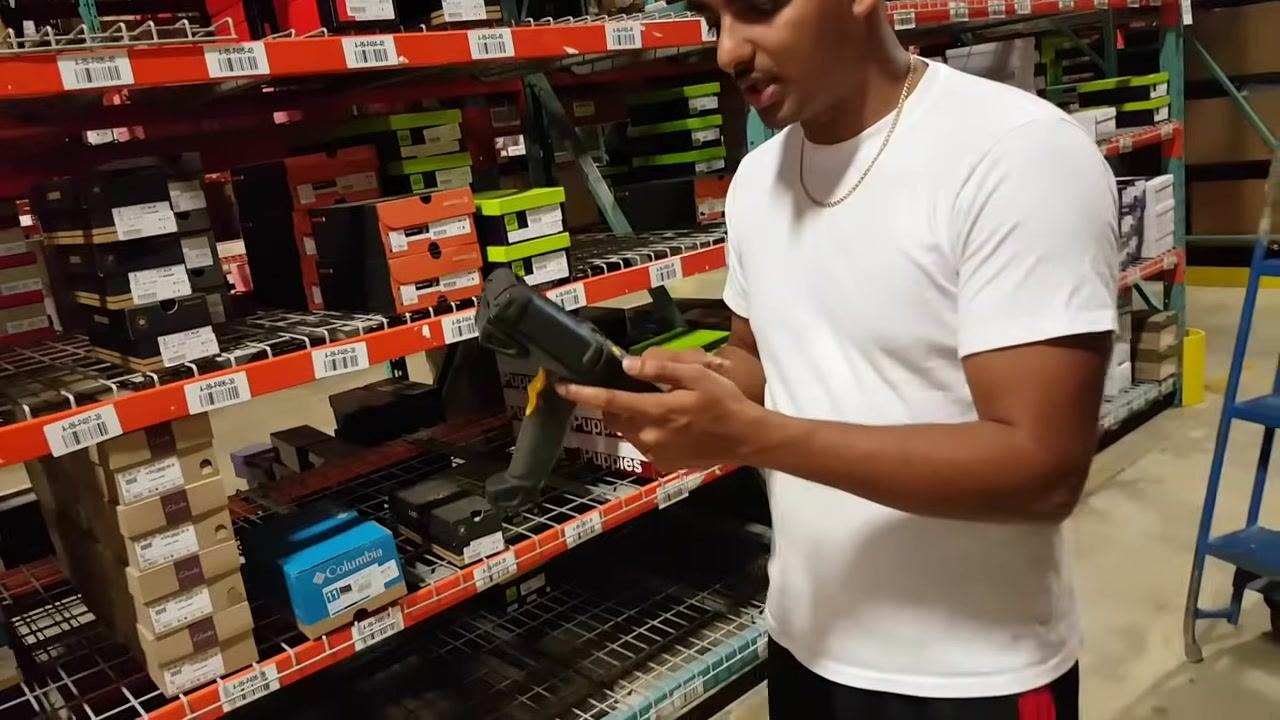
Warehouse operations are divided into inbound (receiving) and outbound (shipping) processes. Inbound products arrive from trailers and are initially stored in high storage locations, often on skids at the top of racks. Outbound picking is the process of collecting products from shelves to fulfill orders.
Prepare for picking
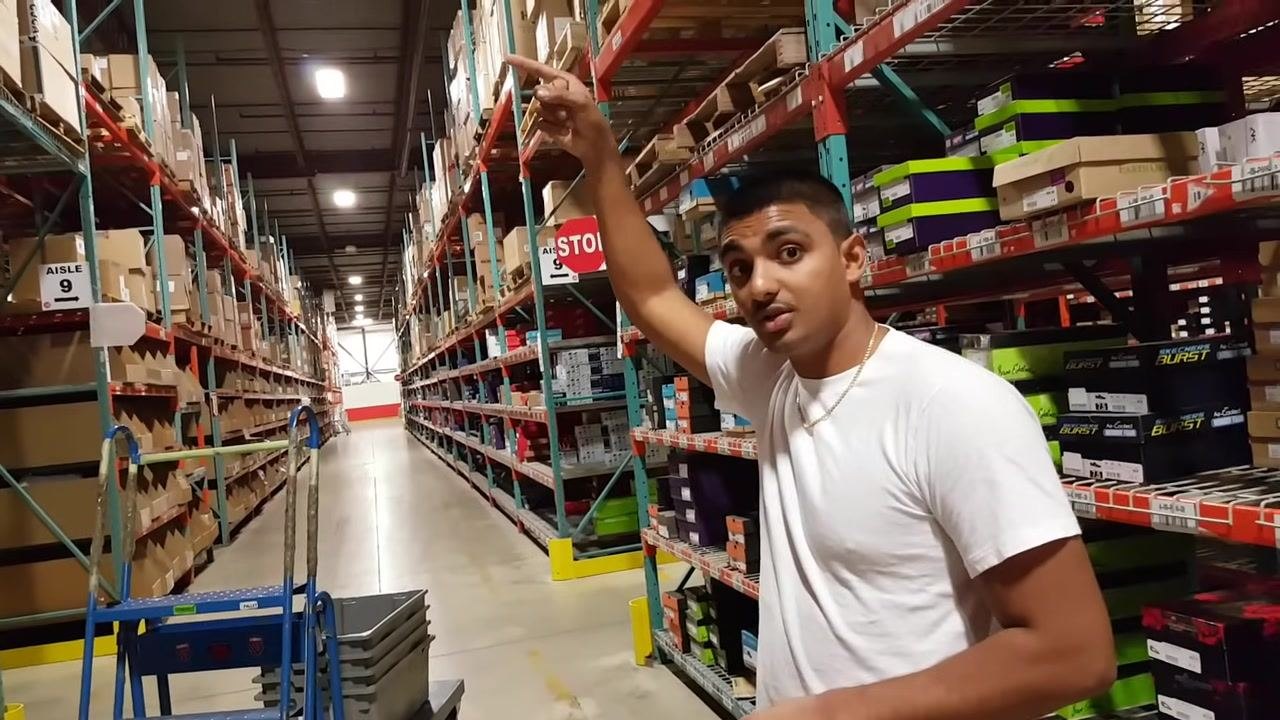
Machine operators are responsible for moving cases or skids from high storage down to accessible shelves; another worker then places the case on the shelf, a process known as "fill activating." This procedure covers picking only, so before starting, confirm you are logged in and in the correct mode to receive picking instructions from the WMS.
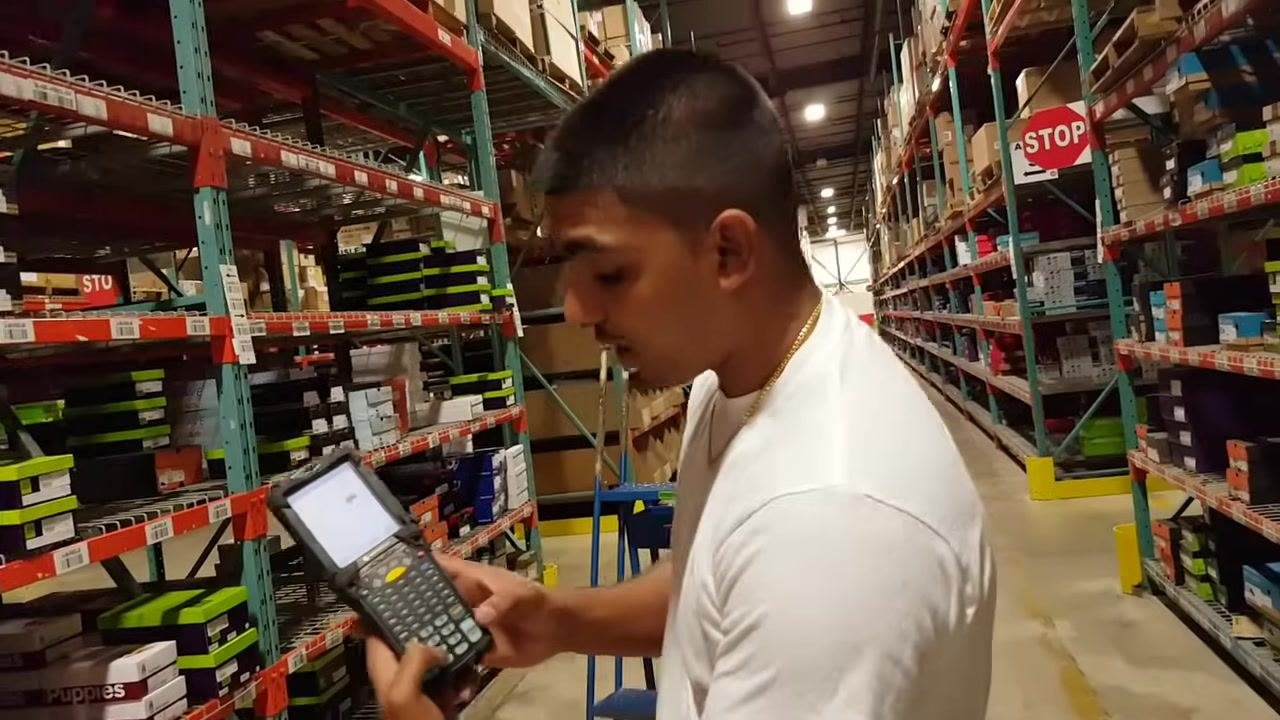
Select the outbound process
On the RF gun, choose the outbound process by pressing the number 2 key; outbound is typically option 2 in the menu.
Select the picking option
After selecting outbound, press the number 2 key again to choose Picking. Always use option 2 for picking on this menu.
Note: The menu may display additional options if you press 5. To return to the previous menu, press Shift + 2.
Review the assigned location and task details
Once Picking is selected, the RF gun automatically displays your assigned picking location; the WMS communicates via radio frequency to send the location and quantity details to your scanner. Check the screen for a location code such as A09, where the letter A indicates an "active" picking location for hand-picking individual items, while a B code indicates a bulk storage area accessed by machine operators. The number that follows refers to the aisle.
Navigate to the assigned aisle and shelf
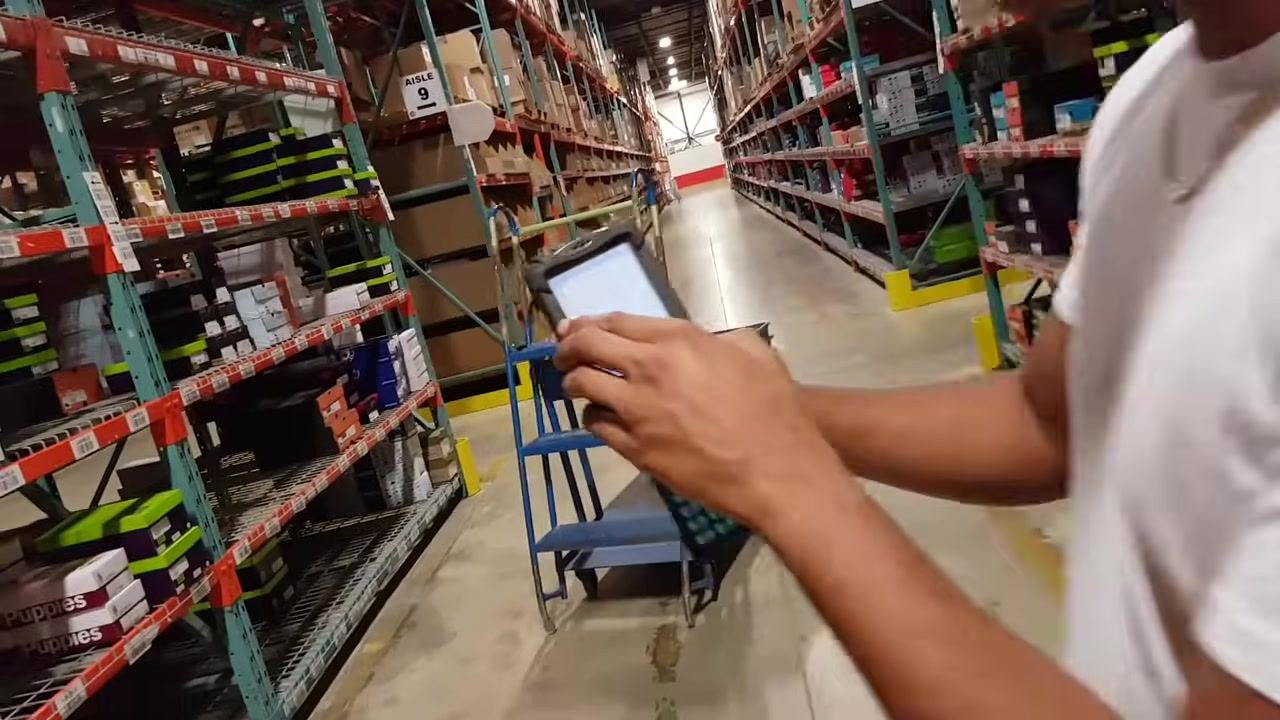
Move to the aisle and shelf location indicated on the RF gun, for example Aisle 9, location A-09. Use the aisle signage and shelf labels to confirm you are at the correct spot.
Understand location codes
Location codes follow a consistent pattern: A indicates an active picking location for manual picking, B indicates bulk storage for machine operators, the following numbers indicate the aisle, and shelf and bin numbers (for example P-40-120) further specify the exact spot.
Safety note: Always verify that the location code on your RF gun matches the physical shelf label before picking any items. This ensures accuracy and prevents picking errors.
Verify the bin and product before picking
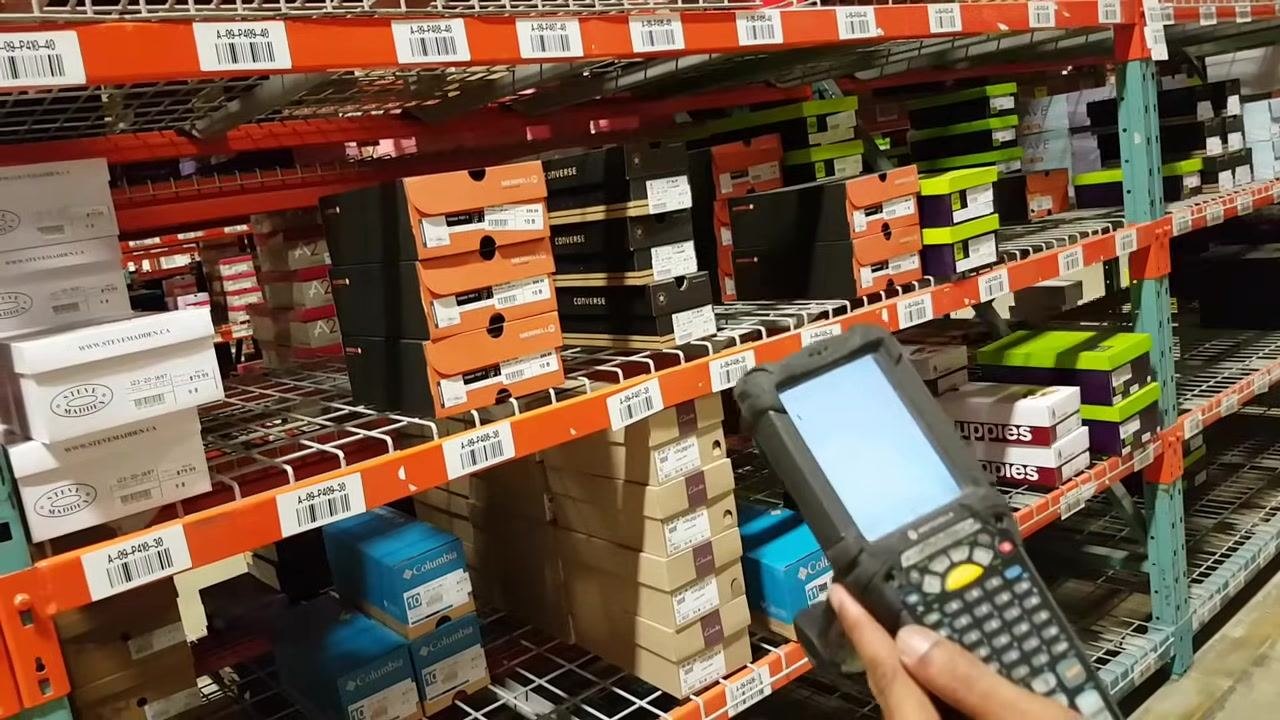
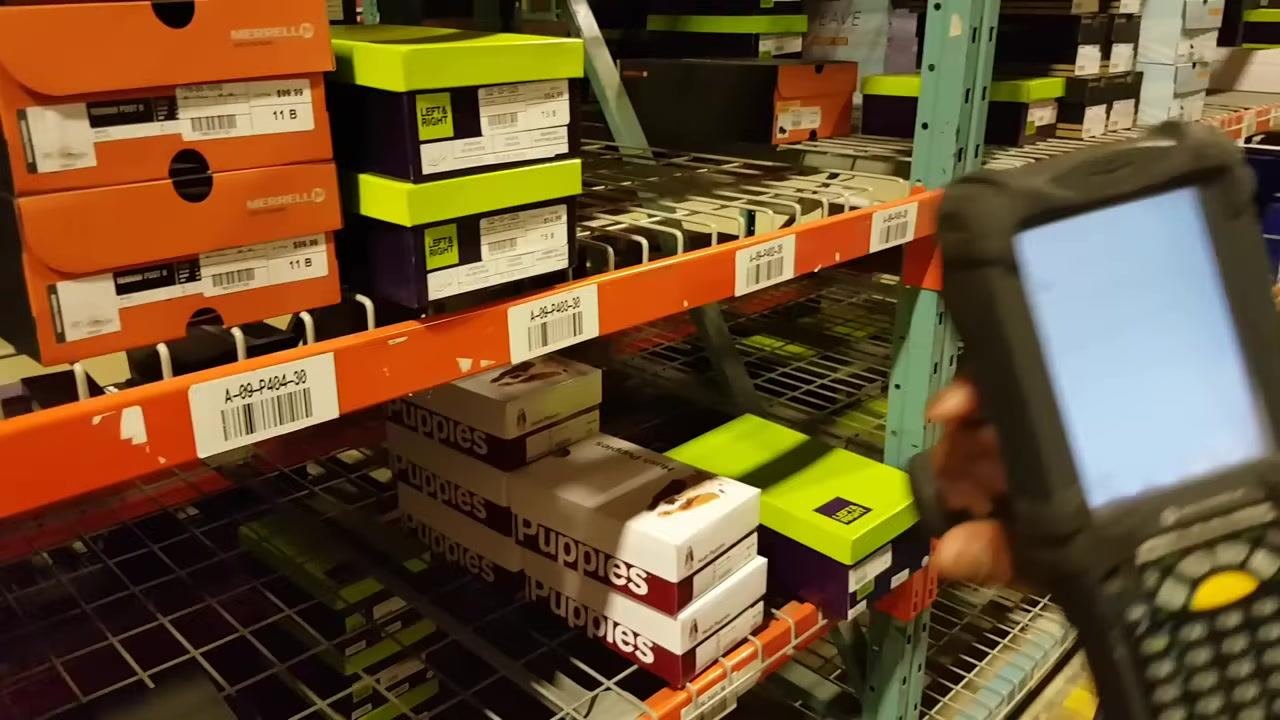
Locate the bin label that matches the picking code on your RF gun display, then hold the RF gun so you can view the screen and shelf label together and confirm they match exactly. Inspect the products in the bin to confirm they match the expected item type and brand.
Safety note: If the product or packaging does not match what is expected, do not pick the item. Report the discrepancy to your supervisor immediately.
Identify the active location and target location
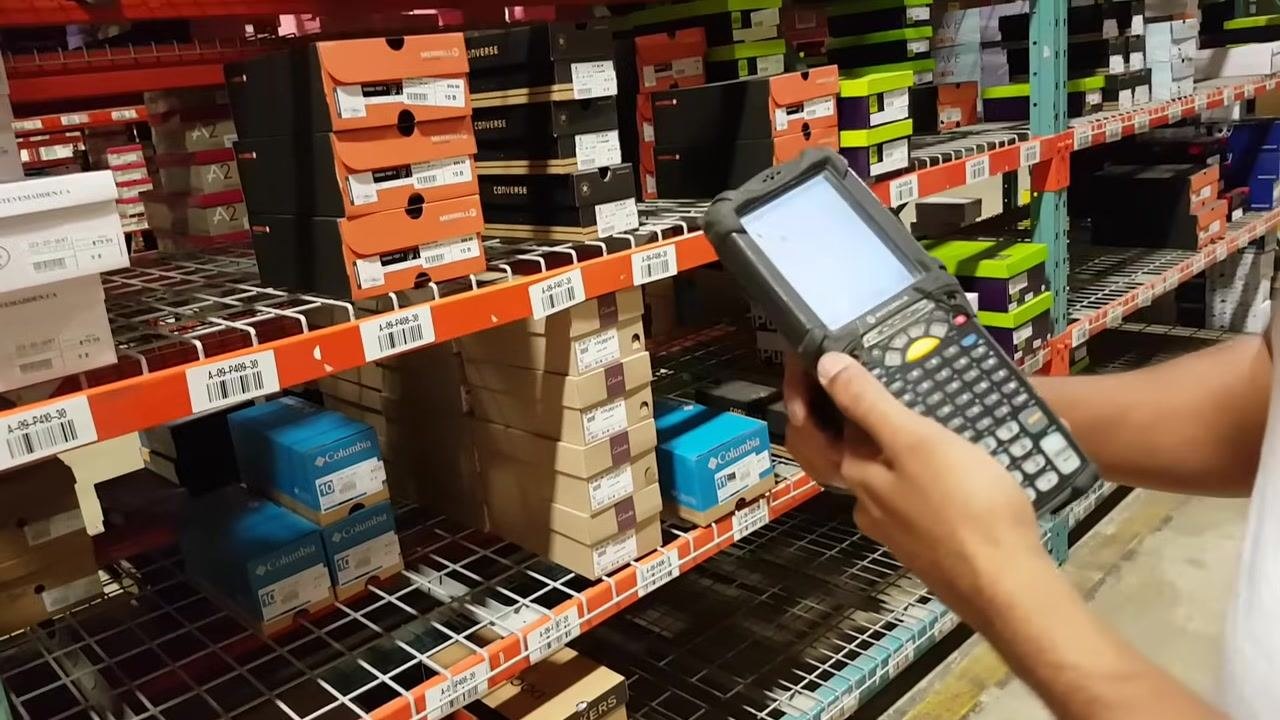
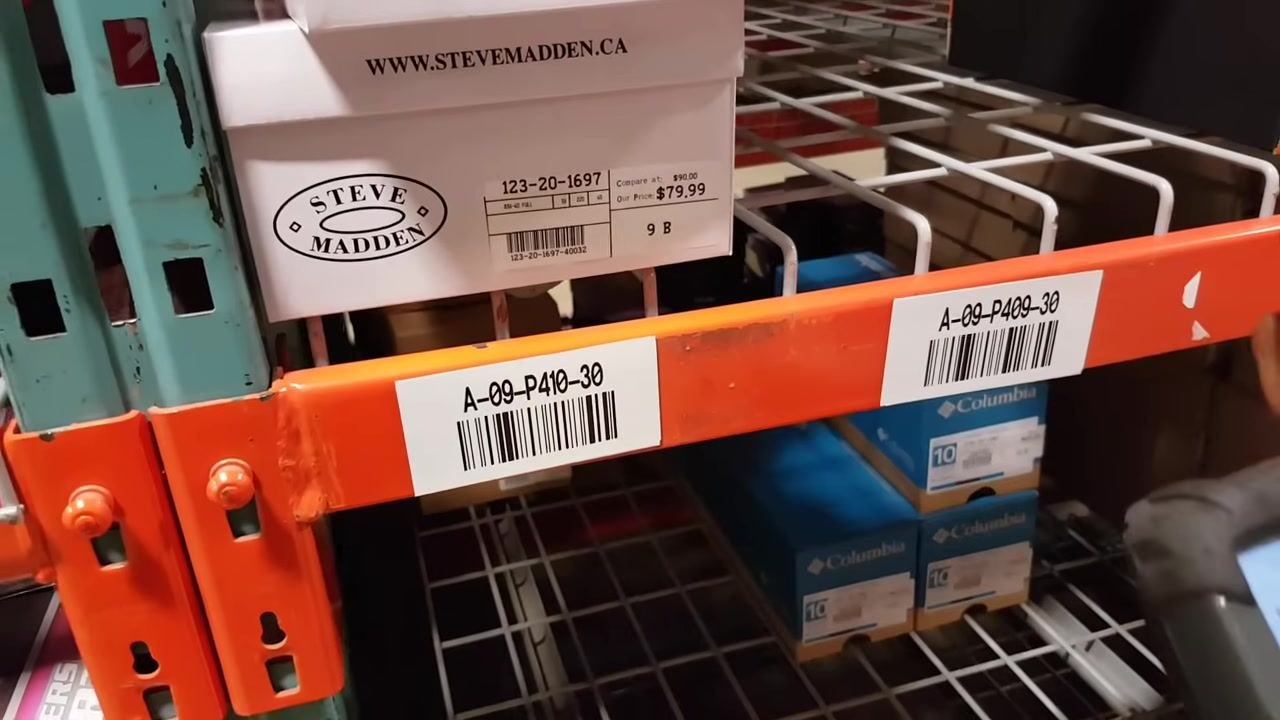
Locate the current active location on the shelf, such as "A-09-P410-30," and confirm you are in the correct aisle using the shelf and signage. Use your scanner to check the next required location, then move to the correct shelf to find the product the scanner indicates.
Verify the shelf label and product
Closely inspect the shelf labels to ensure you are at the correct location, and double-check that the location code matches the one shown on your scanner. Look for the correct shoe box on the shelf.
Scan the location to confirm
Use the handheld scanner to scan the barcode on the shelf label at the target location. This confirms you are picking from the correct spot.
Safety note: The scanner will not accept an incorrect location, which prevents picking errors.
Confirm the scan was successful
Ensure the scanner successfully reads the barcode; the scanner screen should update to confirm the correct location before you proceed.
Pick the correct quantity
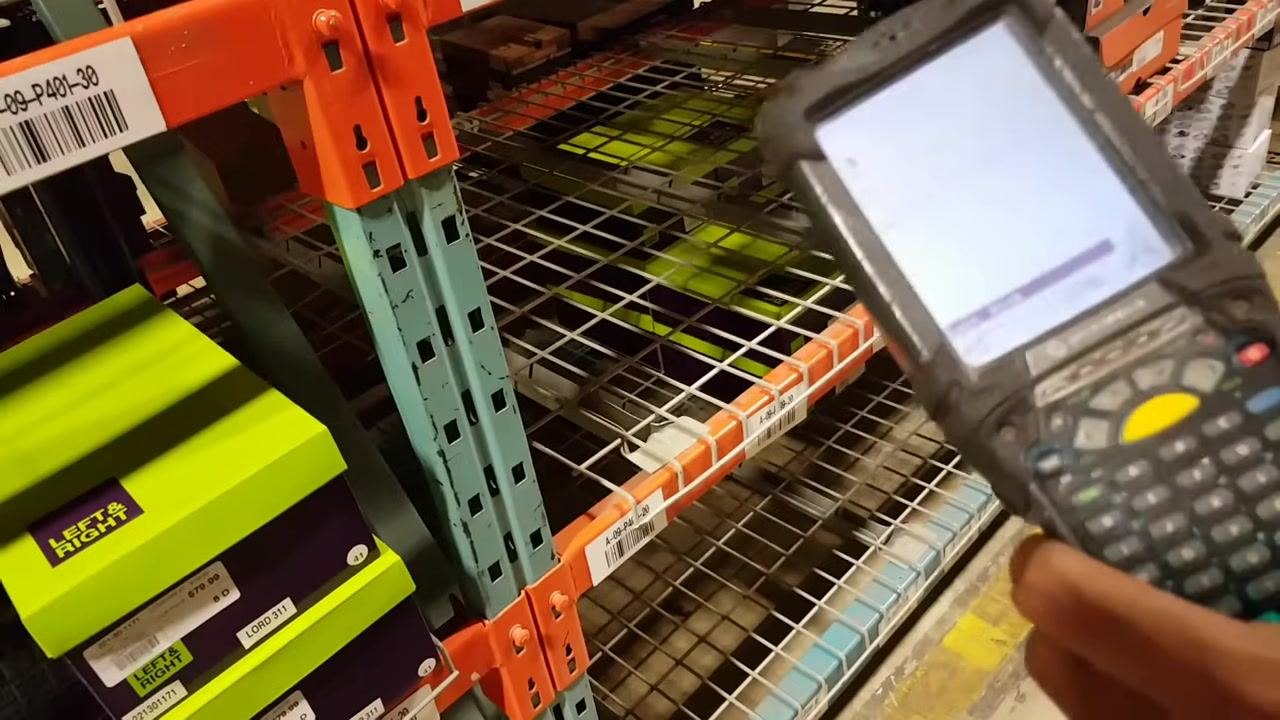
Follow the scanner's instructions to pick the required quantity, for example one pair of shoes, and enter that quantity into the scanner. Use the "down shift" key if required by the scanner interface.
Assign the picked item to a tote
After entering the quantity, scan the barcode on the tote where the picked item will be placed. This temporarily assigns the picked item to the tote for tracking, then place the picked shoe box into the tote.
Continue picking until the cart is full
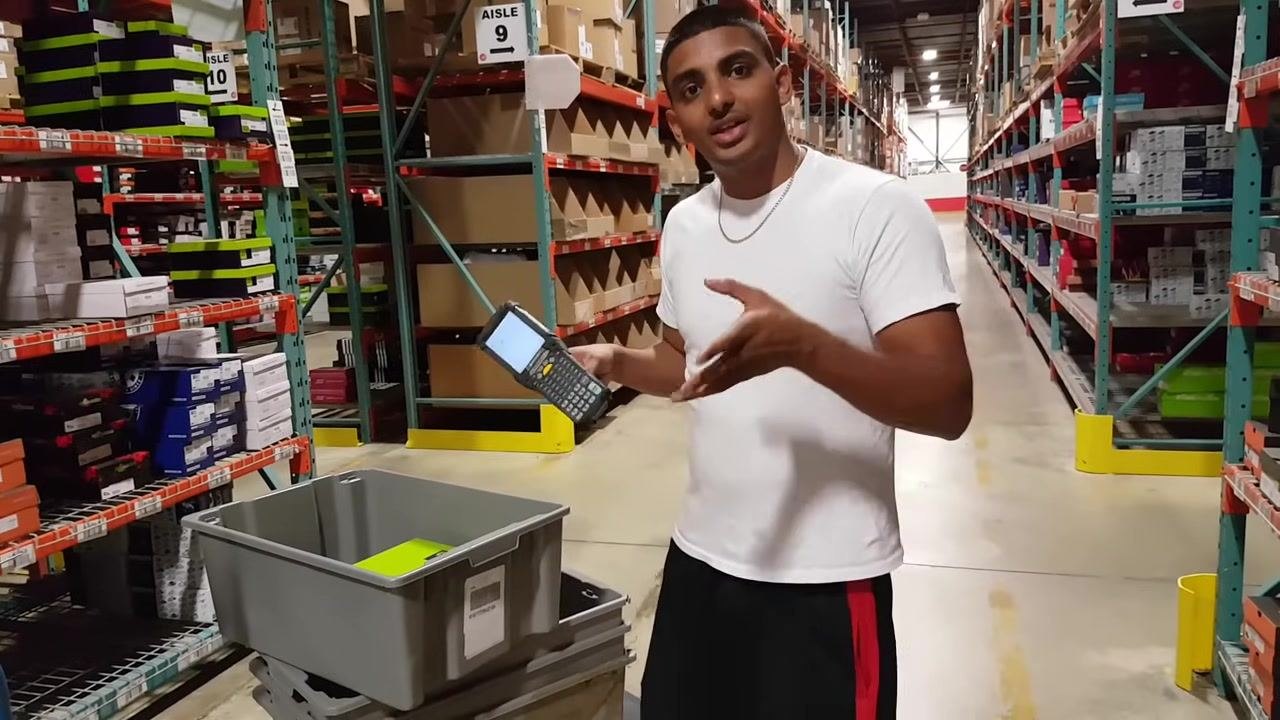
Repeat the process for additional items until all required products are picked or the cart is full.
Equipment reminder: Essential tools for picking are a cart to hold totes and your handheld scanner.
Handle multi-quantity picks
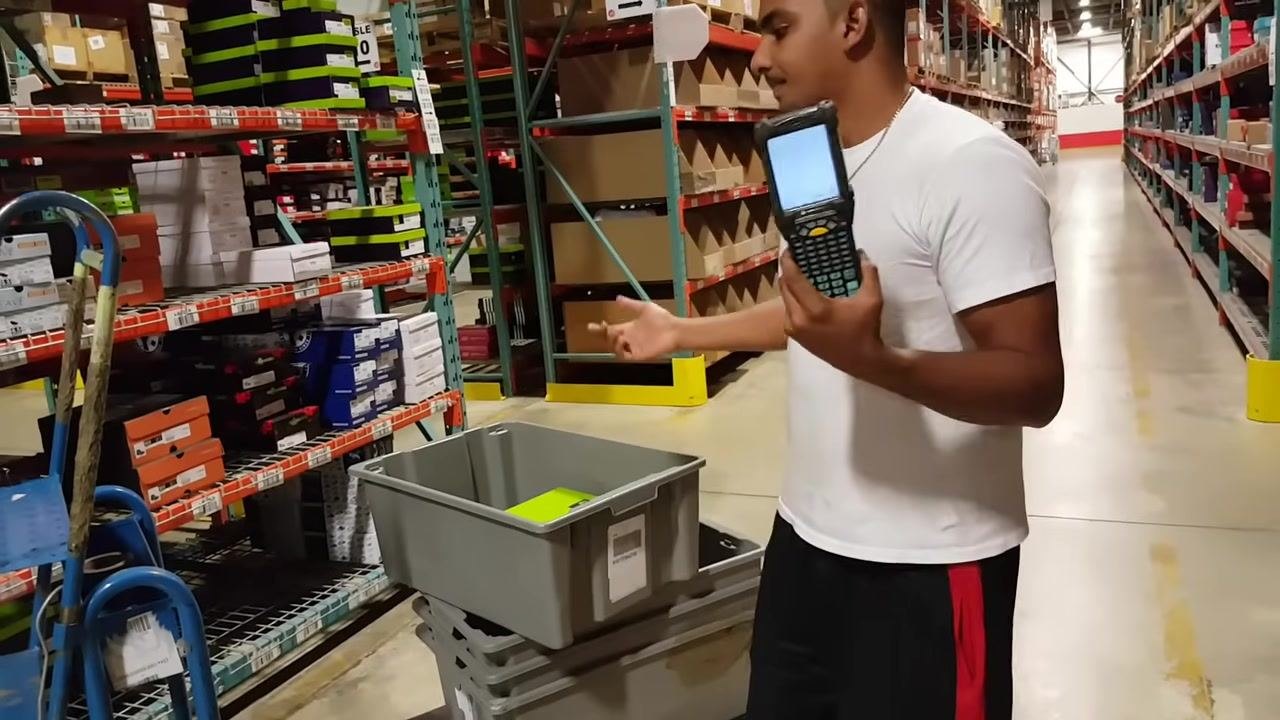
When the scanner instructs you to pick more than one unit, complete the same scanning and tote-assignment steps described above, standing next to the cart with empty and partially filled totes ready.
Scan the location and product for multi-quantity picks
Scan the shelf location barcode, then scan the barcode on the shoe box to confirm the product. The scanner will display the required quantity, for example "2."
Prepare to split the picked quantity if needed
If you can only take part of the required quantity, prepare to place the selected item into a tote. Confirm you are at the correct shelf location using the barcode and shelf label before proceeding.
Place the partial quantity in the tote
Place the picked shoe box into the tote and use the scanner to record the action, scanning the tote barcode for tracking.
Respond to a quantity mismatch warning
If you enter a quantity less than requested, the scanner displays a "quantity mismatch" warning. Review the warning on the scanner screen and acknowledge it as required by the device interface.
Safety note: When you split a pick by taking less than the requested quantity, the system prompts you to return to the location and pick the remaining amount.
Return to the shelf for the remaining quantity
Follow the updated scanner instructions, which now ask for the remaining item, and walk back to the shelf area.
Place the remaining quantity in a separate tote
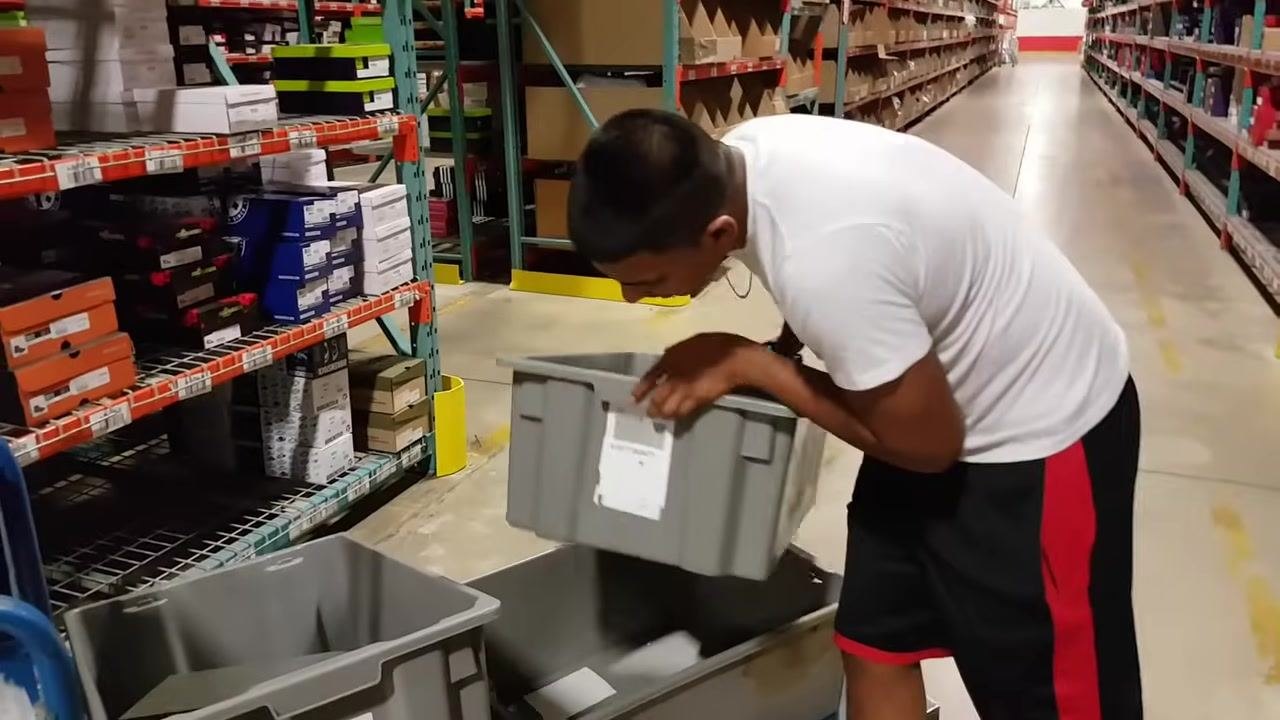
After retrieving the remaining item, place it in a different tote as instructed by the scanner and scan the new tote's barcode to assign the item.
Repeat until all items are picked
Continue picking and splitting quantities as needed, placing items in totes until the cart is full or all picks are complete.
Verification and summary
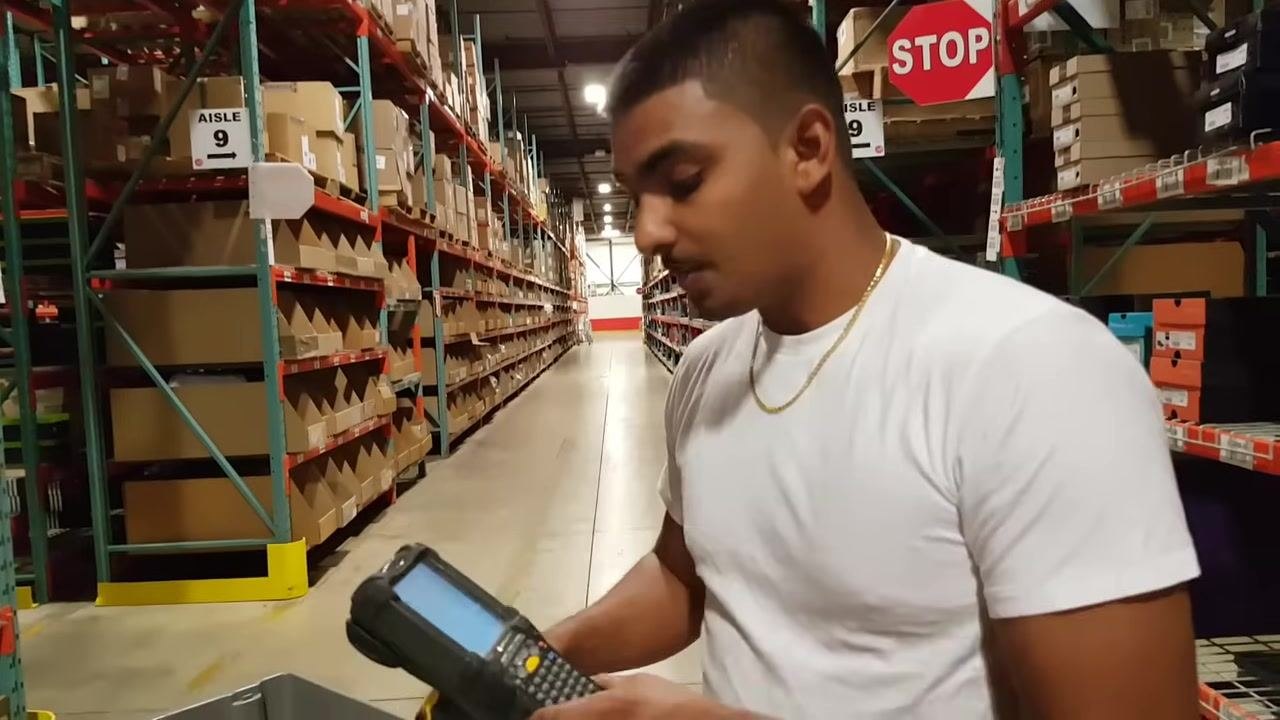
Before ending your session, confirm the scanner has returned to its idle or home screen and that all totes are accounted for and organized on the cart. Review the aisle to make sure no items or totes are left behind. The warehouse environment during this check should show clearly labeled aisles, prominent safety signage such as a red "STOP" sign, gray plastic totes with visible barcodes, and a blue rolling ladder for accessing higher shelves.
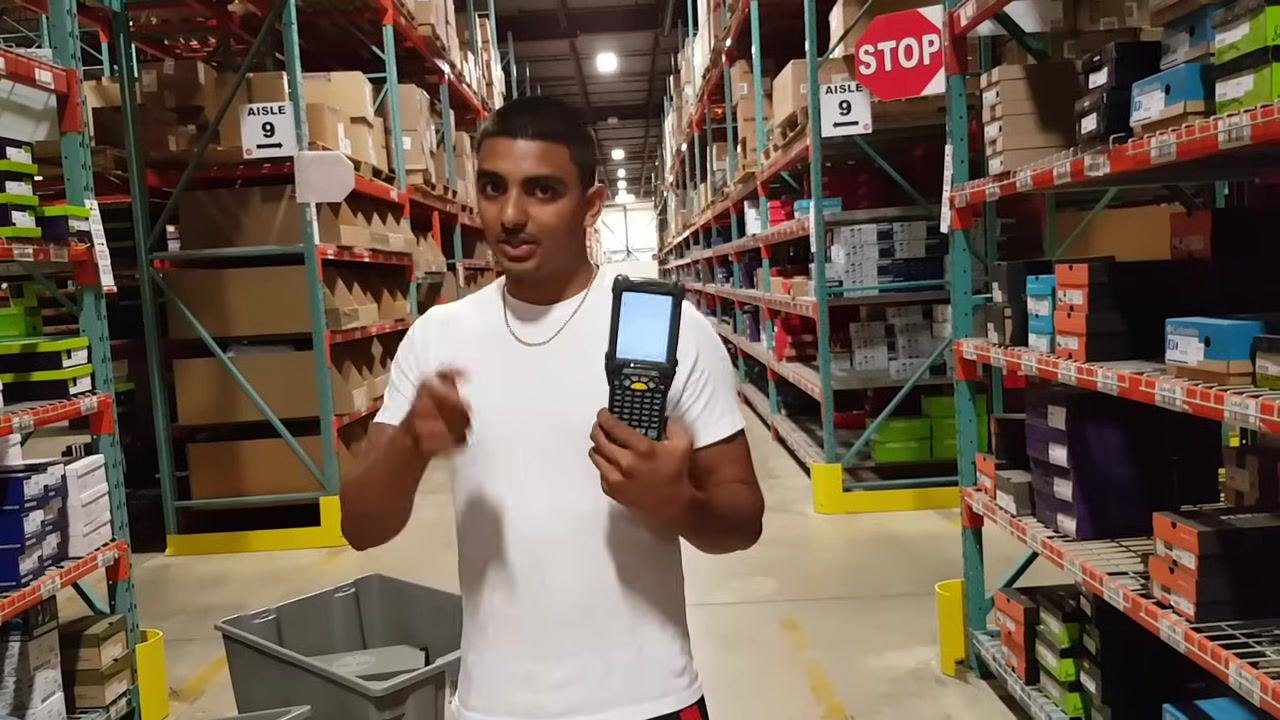
Confirm that all picked items have been scanned and assigned to the correct totes, and that no quantity mismatch warnings remain unresolved on the scanner.
What's next
Once the picking run is complete, ensure all equipment, including the scanner, totes, and cart, is ready for the next picking session or returned to its designated area. Keep your workspace organized so the next round of picking or inventory tasks can begin without delay.
Generation details: cost, quality tiers
Docsie billed 4,500 credits ($3.15) to analyze this 9-minute video at standard quality. The rewrite, template fill and Word/PDF exports were included. The same video at each quality tier:
| Quality | Frames sampled | Credits | Approx. cost |
|---|---|---|---|
| Draft | every 16-30 s | 2,250 | $1.57 |
| Standard (this guide) | every 8-15 s | 4,500 | $3.15 |
| Detailed | every 4-7 s | 9,000 | $6.30 |
| Ultra | every 1-3 s | 18,000 | $12.60 |
Credits priced at $0.70 per 1,000; plans include a monthly allowance. Enterprise customers on on-premise or bring-your-own-model deployments run this on their own inference and pay no per-video credits.
Generated by Docsie Video-to-Docs on 2026-09-08 from a 8-minute video. Screenshots are frames from the source video and belong to their creator, Raymond Harlall, whose original is embedded above. If you own this video and want the guide removed or credited differently, contact us and we will act within one business day.