
How to Barcode Scanner
This standard operating procedure explains how to set up a barcode scanner and connect it to your computer. It covers unboxing, cable connection, device detection, and configuring the scanner's output behavior, including carriage return and tab key settings. Following these steps will help you learn how to barcode scanner setups correctly and troubleshoot common configuration issues.
Video: POSGuys How To: Set Up A Barcode Scanner by POSGuys.com (2017). All credit for the demonstration goes to the creator; watch the original on YouTube. The written guide below was generated from this video by Docsie. Creator? Request a change or removal.
This standard operating procedure explains how to set up a barcode scanner and connect it to your computer. It covers unboxing, cable connection, device detection, and configuring the scanner's output behavior, including carriage return and tab key settings. Following these steps will help you learn how to barcode scanner setups correctly and troubleshoot common configuration issues.
Purpose
This procedure ensures that a barcode scanner is properly connected, detected, and configured for use with a computer, including optional output settings such as carriage returns and tab keys.
Scope
This procedure applies to standard USB barcode scanners, including models from manufacturers such as Zebra and Honeywell. It covers the initial physical setup as well as optional configuration adjustments using the scanner's quick start guide.
Required equipment
- Barcode scanner
- USB cable (may be pre-attached to the scanner or included separately)
- Computer with an available USB port
- Quick start guide (included in the scanner's packaging, or downloadable from the manufacturer's website or POSGuys.com)
- Text editor (such as Notepad)
Steps
Unbox your barcode scanner
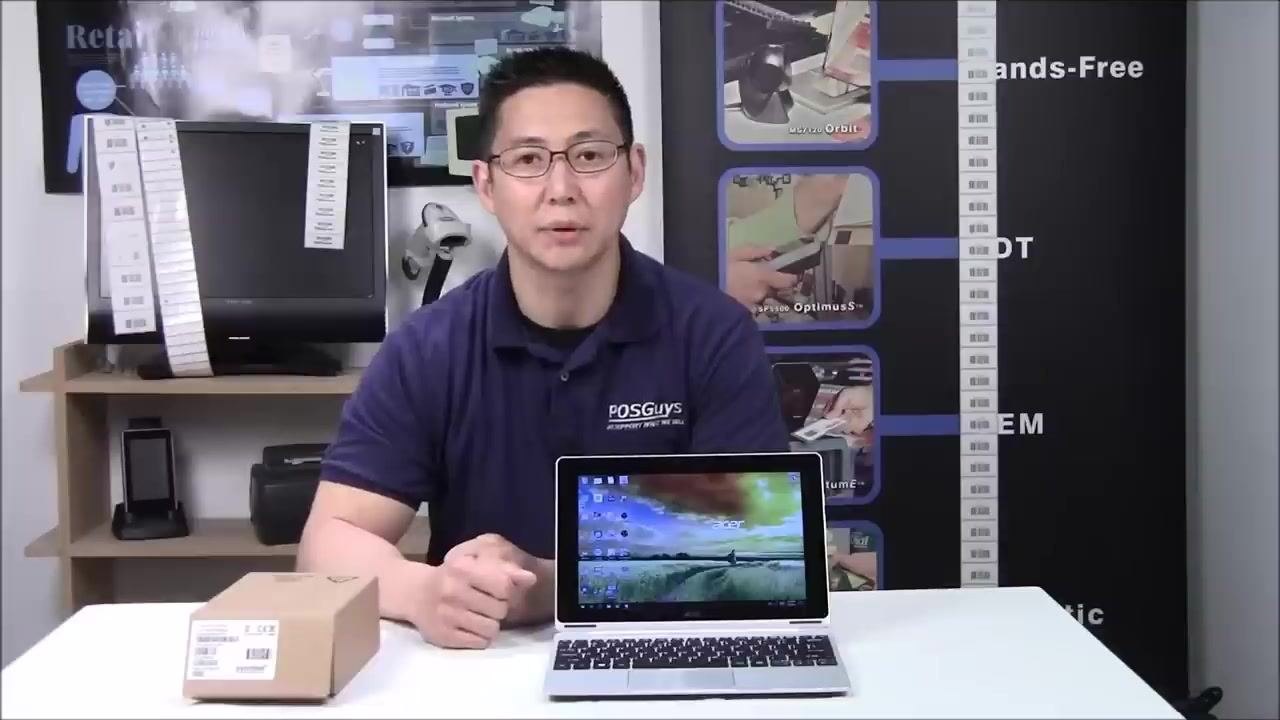
Remove the barcode scanner and all included components from the box. Most manufacturers either pre-attach the cable to the scanner or include it separately. Confirm you have the scanner, USB cable, and any included documentation, such as a quick start guide.
Identify the USB cable
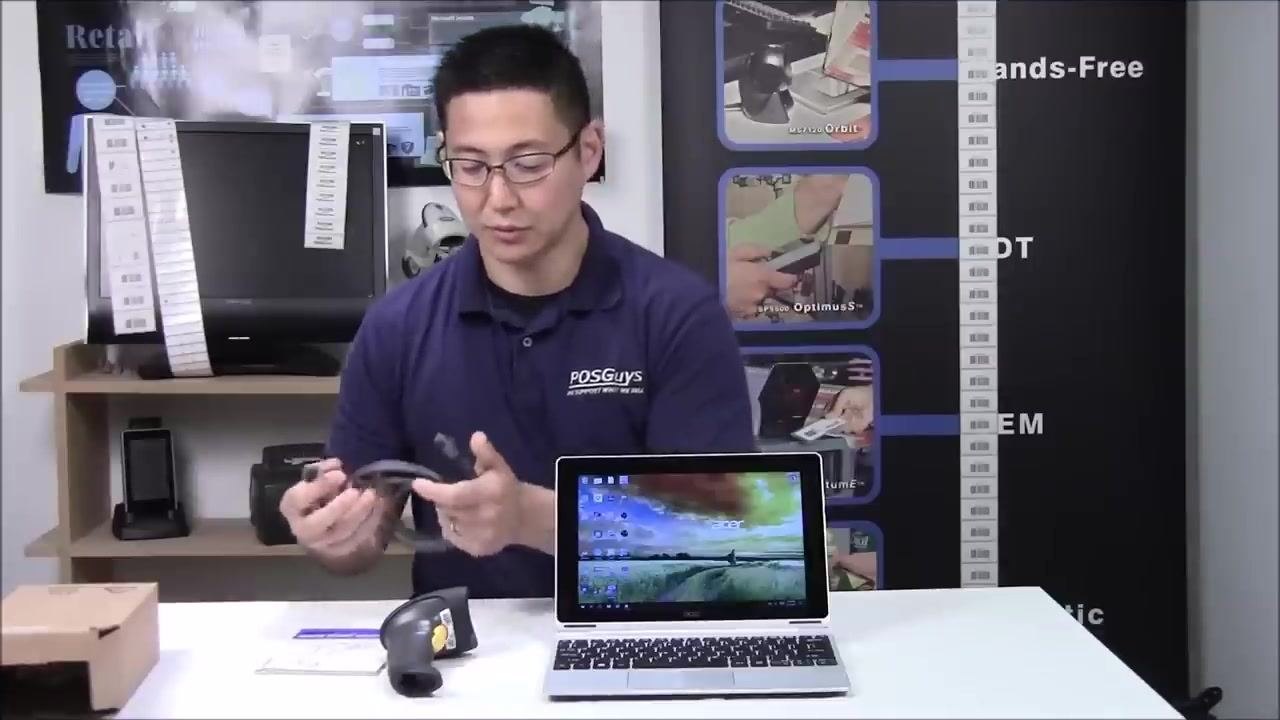
Locate the USB cable that will connect the scanner to your computer. USB is the most common interface and works for the majority of users.
Connect the USB cable to the scanner
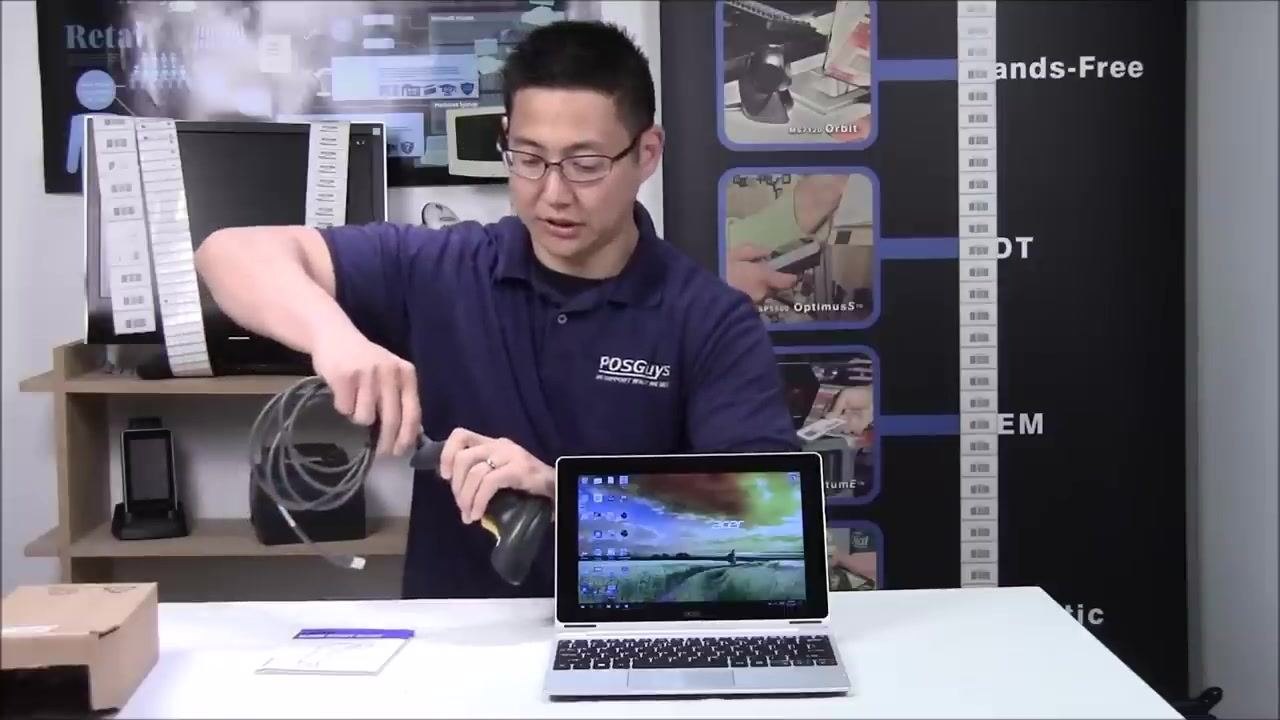
Insert the cable into the port on the barcode scanner. Push until you hear a click, which indicates the retention clip has locked the cable in place.
Plug the USB cable into your computer
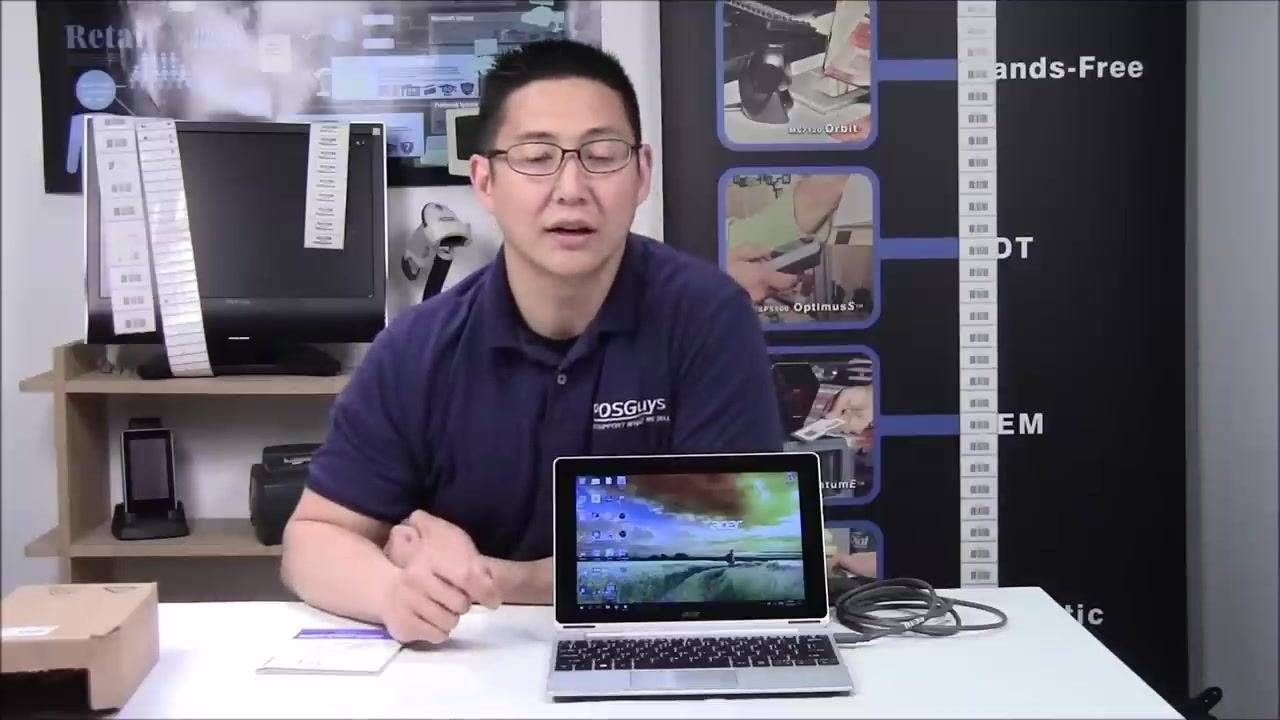
Take the other end of the USB cable and plug it into an available USB port on your computer. You do not need to power off your computer for this step. Allow Windows to automatically detect the new device.
Wait for device detection
Watch for a notification in the bottom corner of your screen. Windows typically displays a message such as "Detecting Zebra barcode scanner," "Honeywell barcode scanner," or "Human Interface Device (HID) detected."
Verify scanner activation
Once the scanner is installed, a beam will emit from the scanner, indicating that it is ready to use.
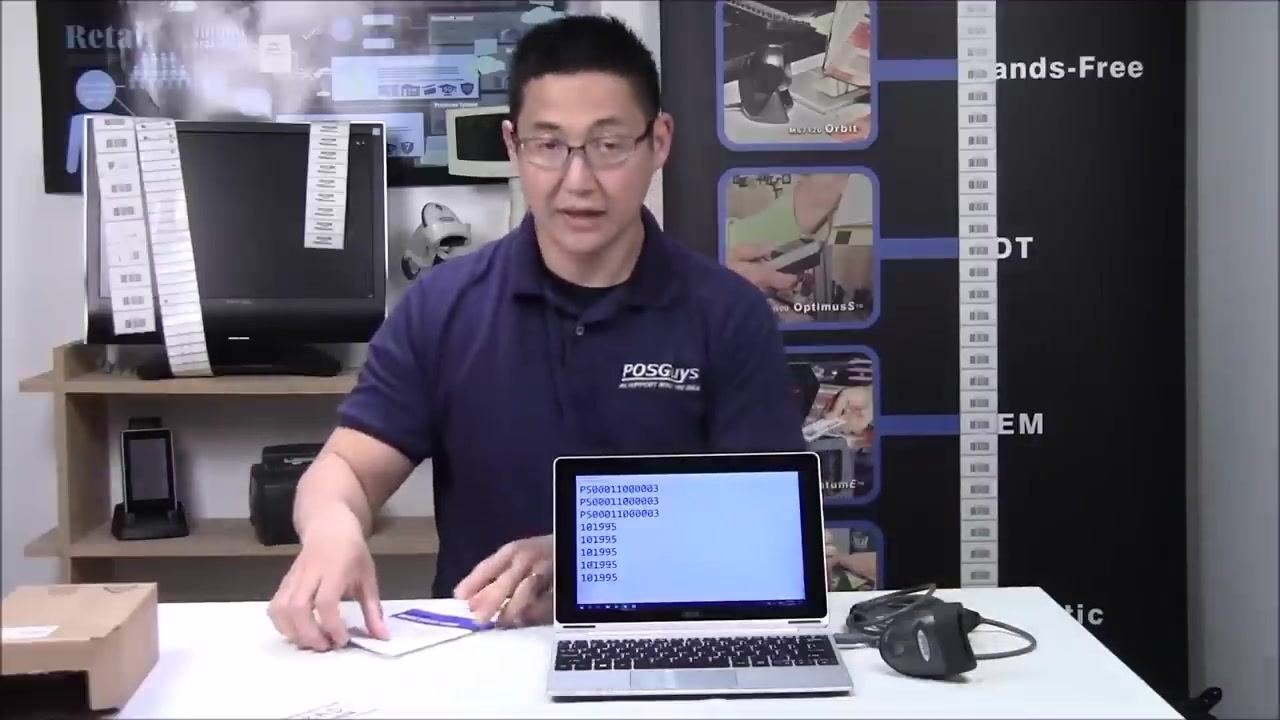
Test the scanner input
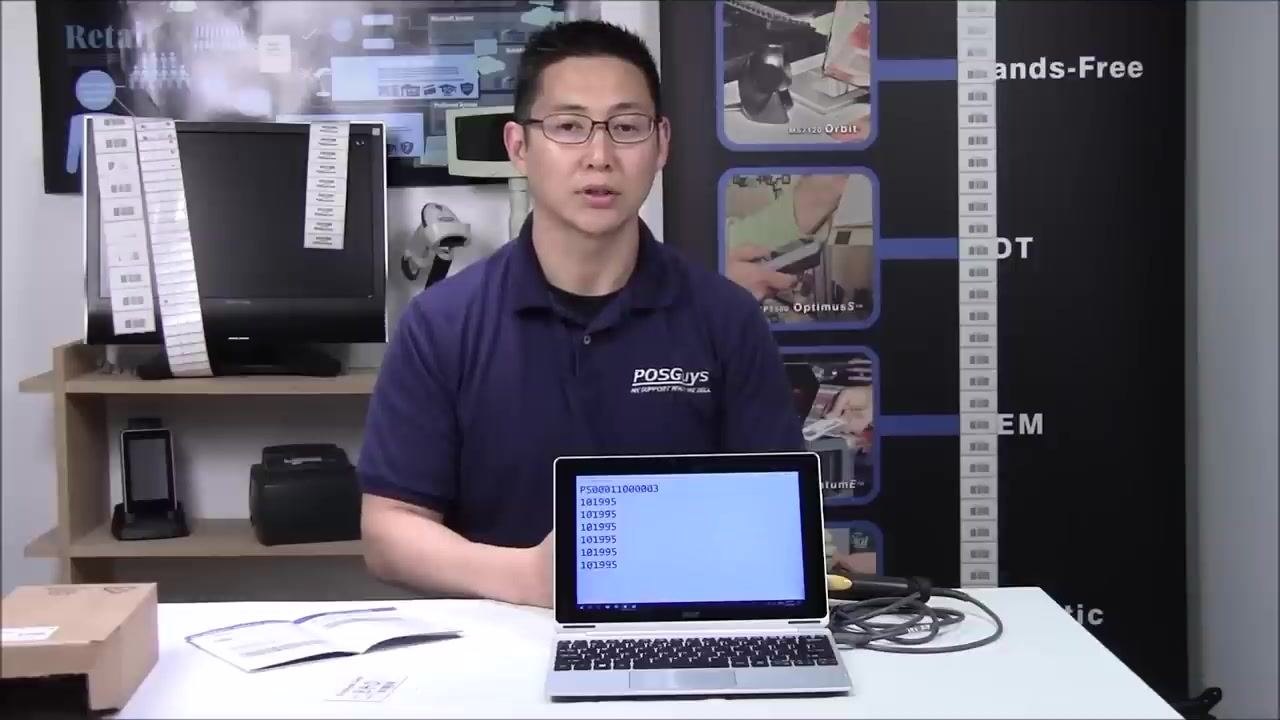
Open a text editor such as Notepad on your computer. Place the cursor in the text area where you want the scanned data to appear. Scan a barcode using the scanner; the data should appear wherever the cursor is located.
Set a carriage return (optional)
If you want the scanner to automatically add a carriage return (Enter key) after each scan, you may need to configure this setting. Refer to the quick start guide included in the box for a barcode labeled "Add Enter Key," "Add Carriage Return," or "Add Line Feed." Scan the appropriate configuration barcode from the guide to enable this feature.
Locate the quick start guide
Find the quick start guide in your scanner's packaging. This guide contains important setup barcodes and instructions.
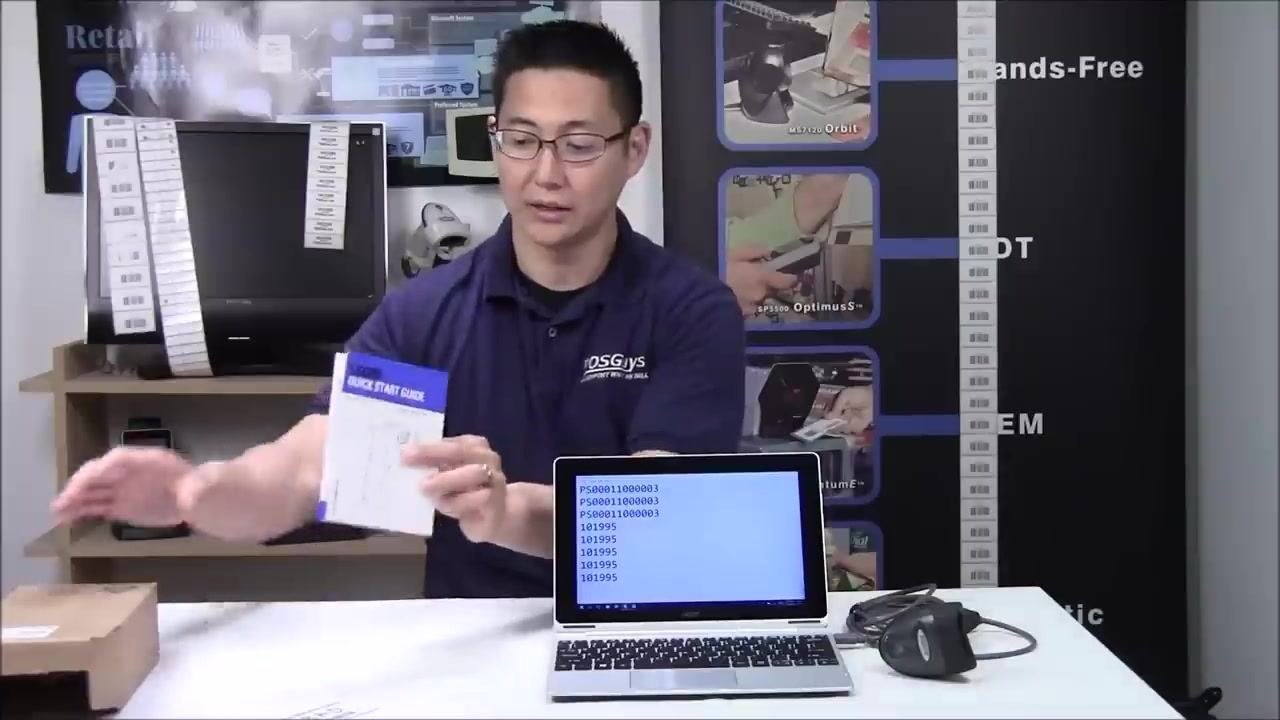
Scan configuration barcodes from the guide
Open the quick start guide to the page with configuration barcodes. Scan the barcode for "Add Enter Key" or a similar option to enable automatic carriage returns after each scan.
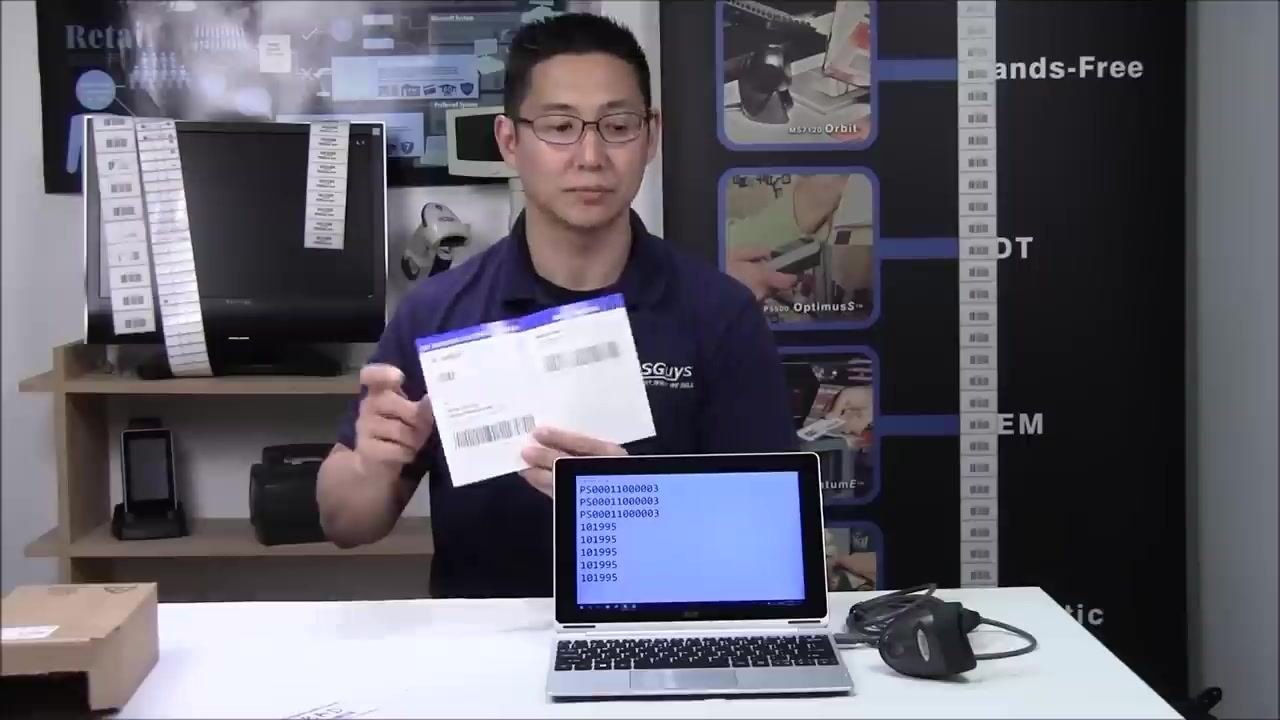
Verify carriage return functionality
After scanning the "Add Enter Key" or "Add Carriage Return" barcode from the quick start guide, scan a barcode to confirm that the scanner now automatically adds an Enter key after each scan. Observe that the cursor moves to the next line or field after scanning.
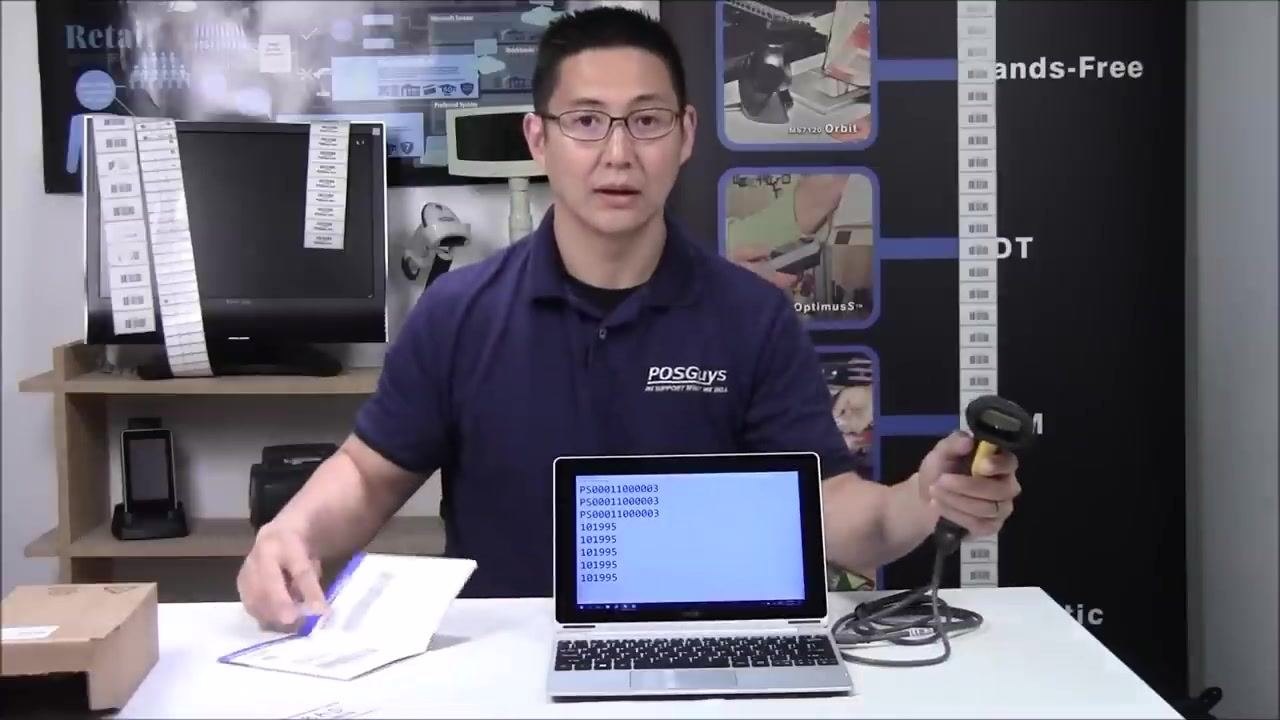
Switch to tab key output (optional)
If you prefer the scanner to send a Tab key instead of a carriage return after each scan, locate the "Add Tab Key" barcode in the quick start manual. Scan the "Add Tab Key" barcode. The scanner will then send a Tab key after each scan, moving the cursor to the next field instead of the next line. To revert to a carriage return, scan the "Add Carriage Return" barcode again.
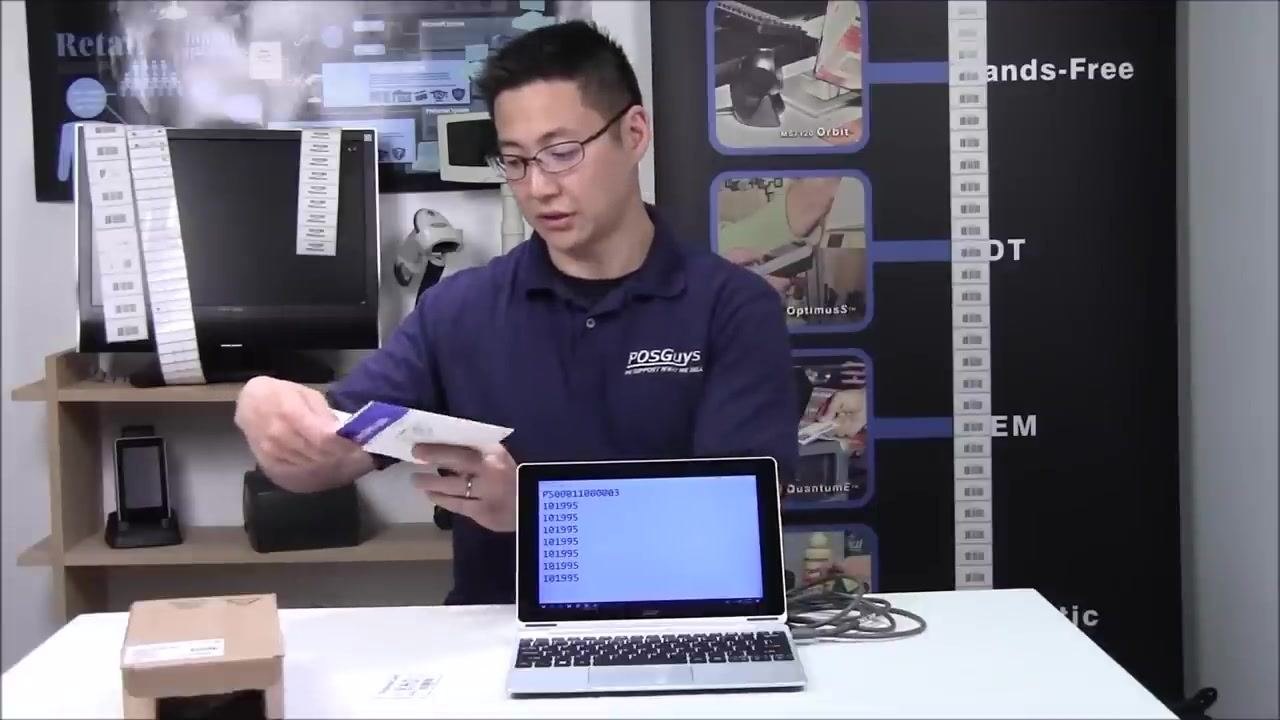
Restore default scanner settings
If you accidentally scan other configuration barcodes—such as serial, country code, or speed emulation—and the scanner no longer works as expected, locate the "Return to Default" barcode in the quick start guide. Scan this barcode to reset the scanner to its factory settings. After restoring defaults, scan the "Add Carriage Return" barcode again if you want to re-enable the Enter key after each scan.
Note: Scanning unfamiliar configuration barcodes can change scanner behavior unexpectedly. Use the "Return to Default" barcode if this occurs.
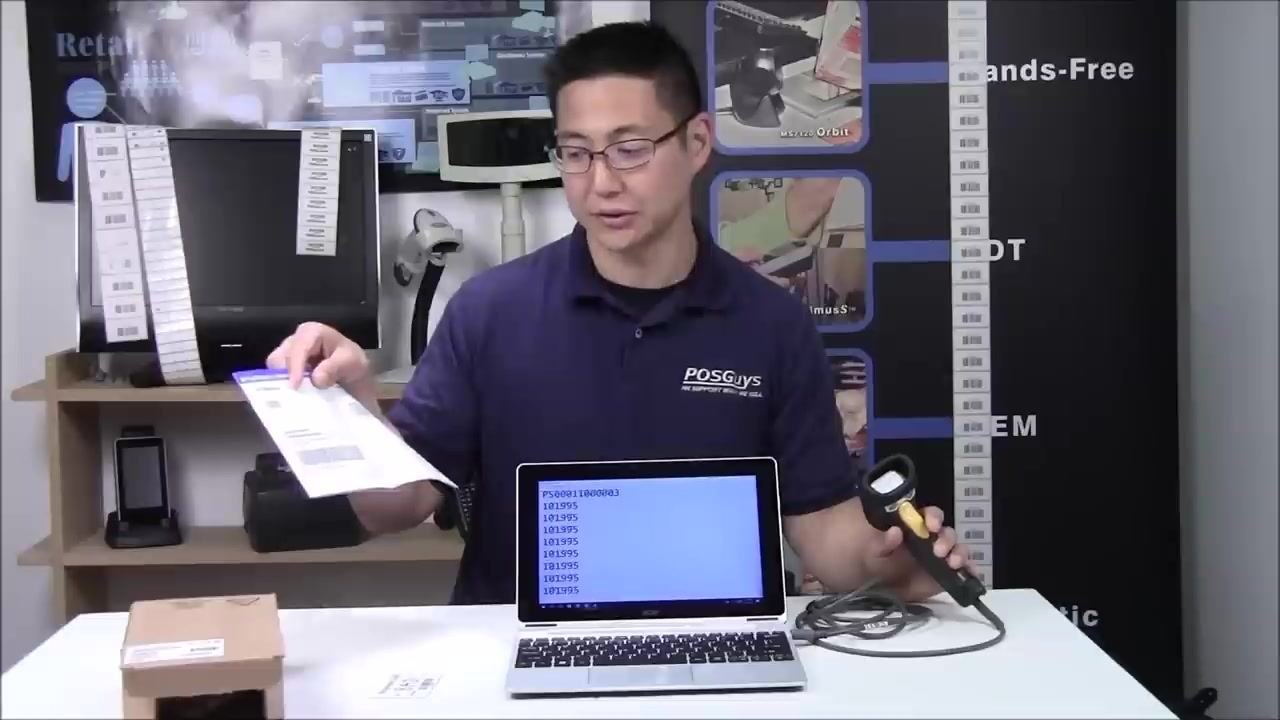
Test the scanner after reset
After scanning the "Return to Default" barcode, scan a barcode to verify that the scanner has returned to its original, out-of-the-box behavior, meaning no carriage return or tab key is sent. If needed, scan the "Add Carriage Return" barcode again to restore the Enter key functionality.
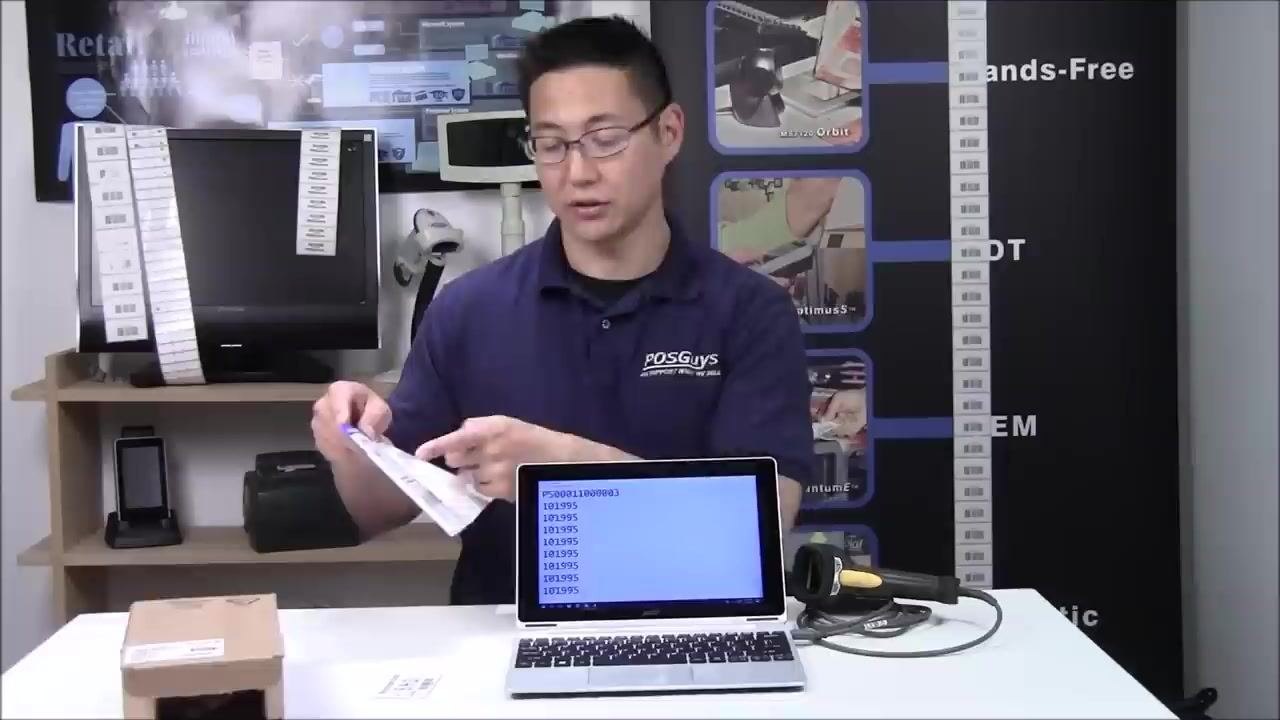
Confirm final configuration
Scan a barcode to ensure the scanner is configured as desired, whether that is carriage return, tab key, or default behavior. Observe the output in your text editor or application to confirm the correct behavior.
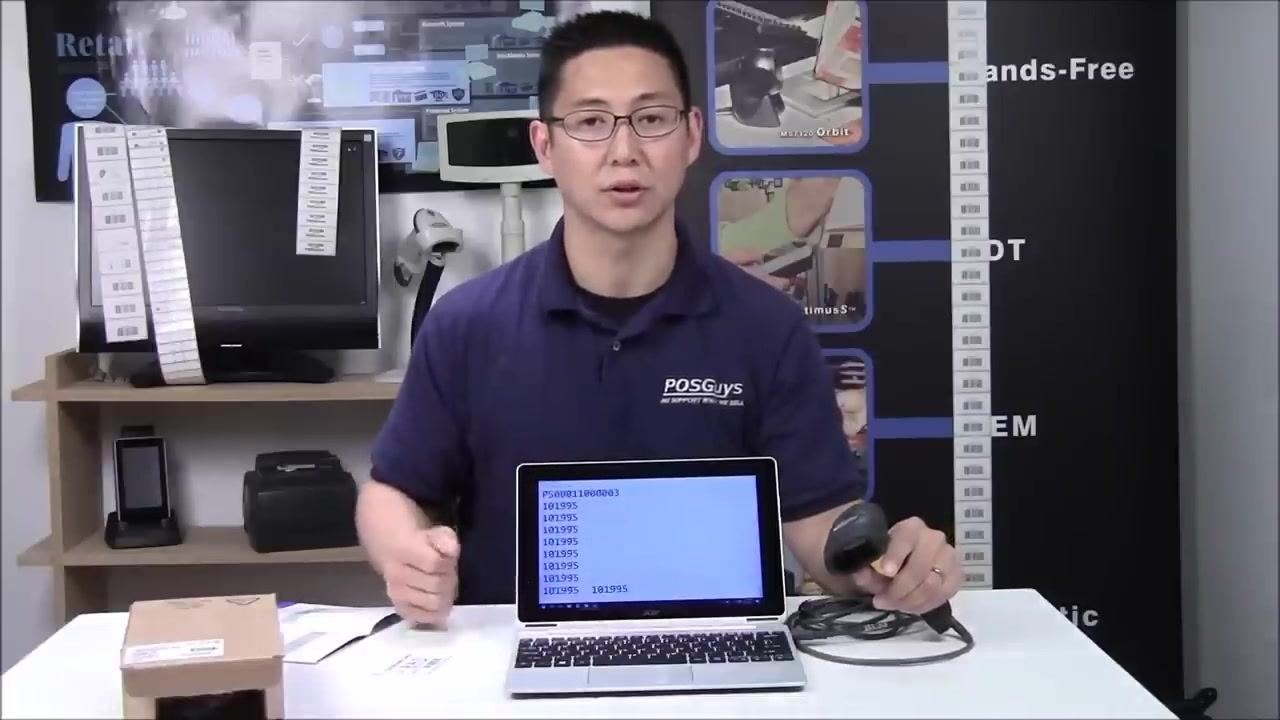
Complete setup and access further resources
Your barcode scanner is now fully set up and ready for use. For more information, troubleshooting, or to download a manual for your specific barcode scanner model, visit POSGuys.com.
Verification and summary
By completing these steps, your barcode scanner is connected, detected, and configured according to your preference: carriage return, tab key, or default output. If your scanner did not include a quick start guide, you can download one from the manufacturer's website or POSGuys.com.
What's next
For additional support, troubleshooting resources, or manuals specific to your barcode scanner model, visit POSGuys.com.
Generation details: cost, quality tiers
Docsie billed 2,000 credits ($1.40) to analyze this 4-minute video at standard quality. The rewrite, template fill and Word/PDF exports were included. The same video at each quality tier:
| Quality | Frames sampled | Credits | Approx. cost |
|---|---|---|---|
| Draft | every 16-30 s | 1,000 | $0.70 |
| Standard (this guide) | every 8-15 s | 2,000 | $1.40 |
| Detailed | every 4-7 s | 4,000 | $2.80 |
| Ultra | every 1-3 s | 8,000 | $5.60 |
Credits priced at $0.70 per 1,000; plans include a monthly allowance. Enterprise customers on on-premise or bring-your-own-model deployments run this on their own inference and pay no per-video credits.
Generated by Docsie Video-to-Docs on 2026-09-10 from a 3-minute video. Screenshots are frames from the source video and belong to their creator, POSGuys.com, whose original is embedded above. If you own this video and want the guide removed or credited differently, contact us and we will act within one business day.