
How to Operate a Forklift
This document provides step-by-step guidance for safely and effectively operating a standard sit-down forklift. It covers pre-operation checks, basic driving controls, hydraulic lever operation, picking up a pallet, using the side shift function, and placing a pallet into racking. Follow each step in sequence to ensure safe and efficient forklift operation.
Video: Forklift Certified in 5 Minutes by Forklift Joe (2019). All credit for the demonstration goes to the creator; watch the original on YouTube. The written guide below was generated from this video by Docsie. Creator? Request a change or removal.
Introduction
This document provides step-by-step guidance for safely and effectively operating a standard sit-down forklift. It covers pre-operation checks, basic driving controls, hydraulic lever operation, picking up a pallet, using the side shift function, and placing a pallet into racking. Follow each step in sequence to ensure safe and efficient forklift operation.
Purpose
The purpose of this SOP is to instruct operators on the correct procedure for operating a sit-down forklift, including inspection, driving, lifting, tilting, side-shifting, and pallet placement, while maintaining safety standards throughout the process.
Scope
This procedure applies to any operator using a standard sit-down forklift equipped with forks (with or without fork extensions), a lift lever, a tilt lever, and a side shift lever. It covers operation from initial inspection through pallet placement in warehouse racking.
Prerequisites and required equipment
- You must be trained and authorized to operate a forklift before beginning this procedure.
- A seatbelt is required equipment on the forklift and must be worn at all times during operation.
- Fork extensions, if required for larger loads, must be securely attached before use.
- Some forklifts may be equipped with a clamp attachment or side shift function; verify what your specific machine has before operating those controls.
Procedure 1: Preparing to operate the forklift
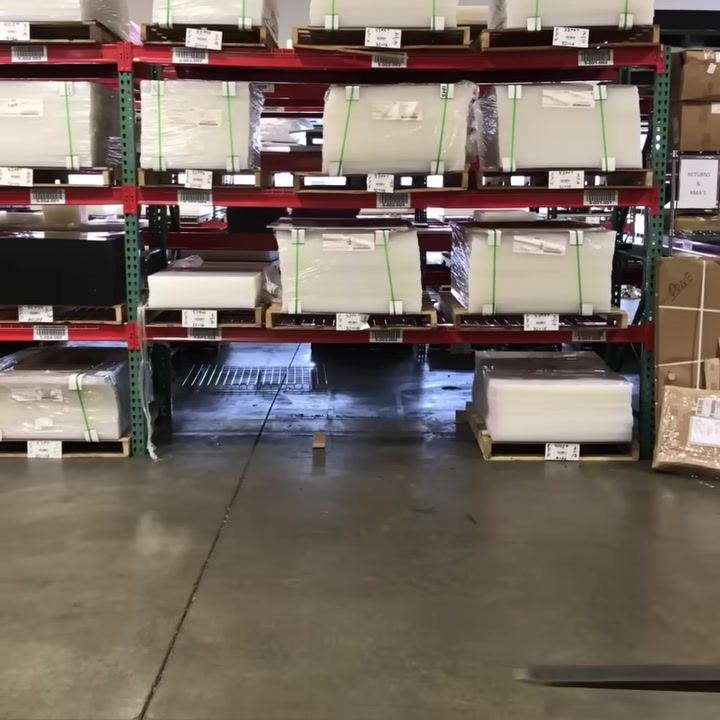
- Familiarize yourself with the work environment
- Observe the warehouse setting, noting the organized shelving, palletized goods, and clear aisles.
- Ensure the area is free of obstructions and that all materials are properly stored.
- Take note of safety signage and labels on racks and equipment.
-
Identify the forklift and its features
- Approach the sit-down forklift and visually inspect it.
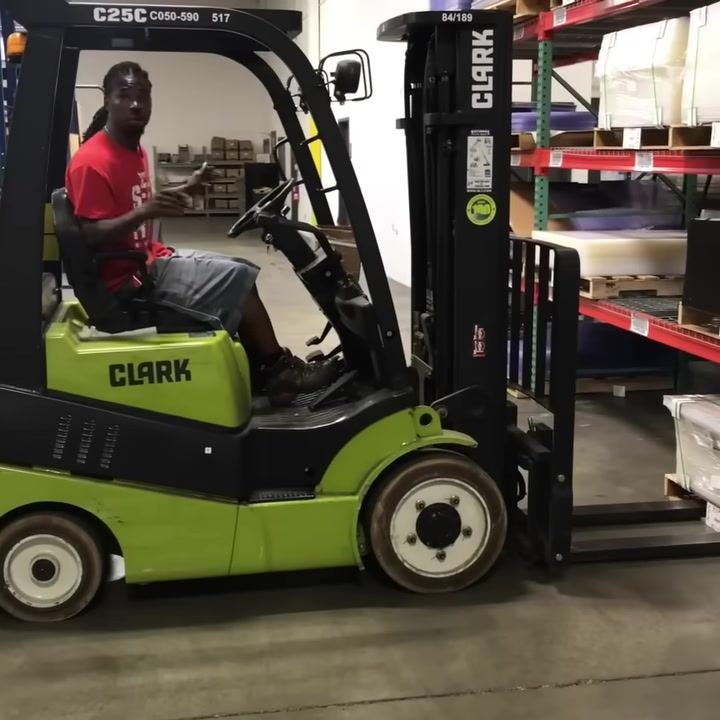
- Locate the forks at the front of the machine. In this demonstration, fork extensions are installed to accommodate larger loads.
- Check for any visible safety or instructional labels on the forklift.
-
Understand the fork extensions
- Recognize that the forks may be longer than standard due to extensions.
- Use fork extensions only when necessary for specific loads, and ensure they are securely attached.
-
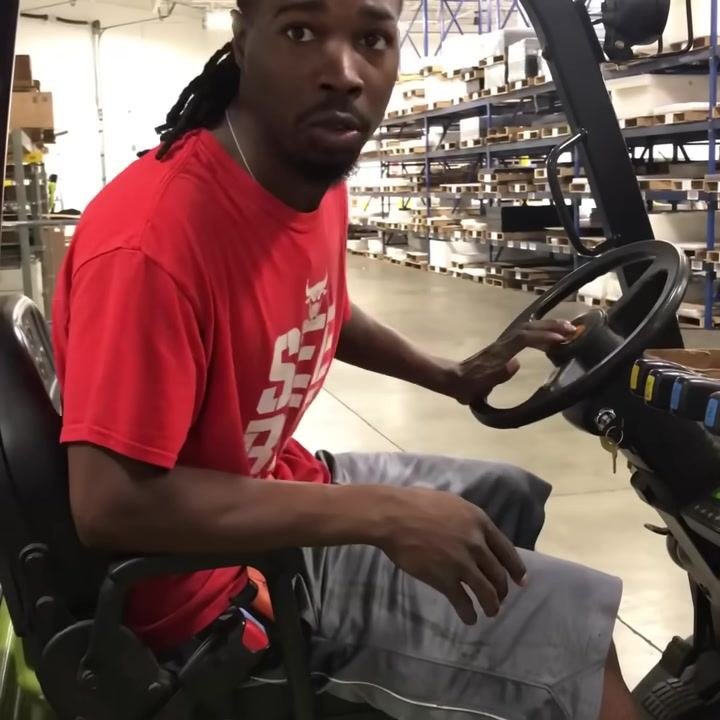
Always wear your seatbelt
- Before starting the forklift, sit in the operator's seat and fasten your seatbelt.
- Many employers enforce strict seatbelt policies; failure to comply can result in termination.
-
Start the forklift
- Insert the key and turn it to start the engine, similar to starting a car.
- Confirm that all indicator lights and gauges are functioning properly.
-
Learn the basic driving controls
- Use the steering wheel to maneuver the forklift. The steering operates like a regular car: turn left to go left, right to go right.
- Use the pedals to move forward and reverse, just as you would in a car.
- Practice backing up and turning in open space to get comfortable with the controls.
-
Familiarize yourself with the hydraulic controls
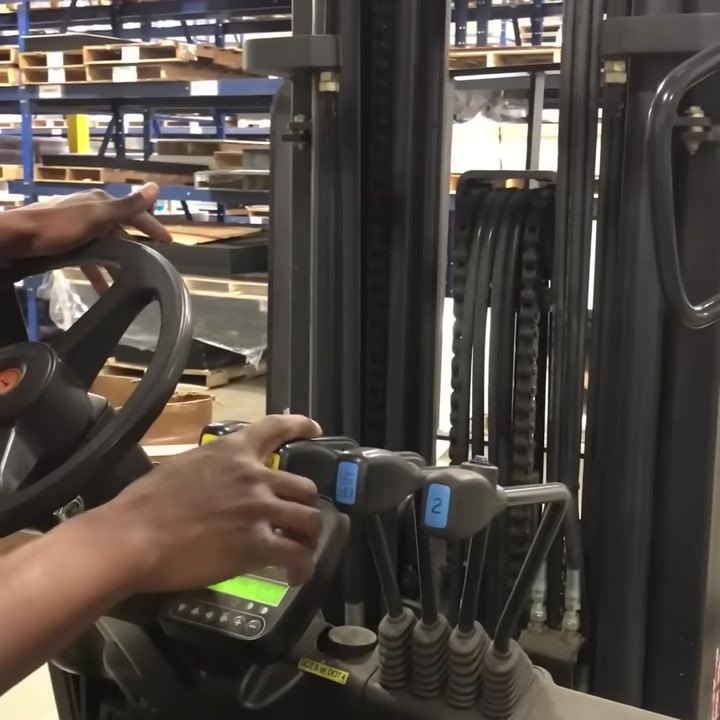
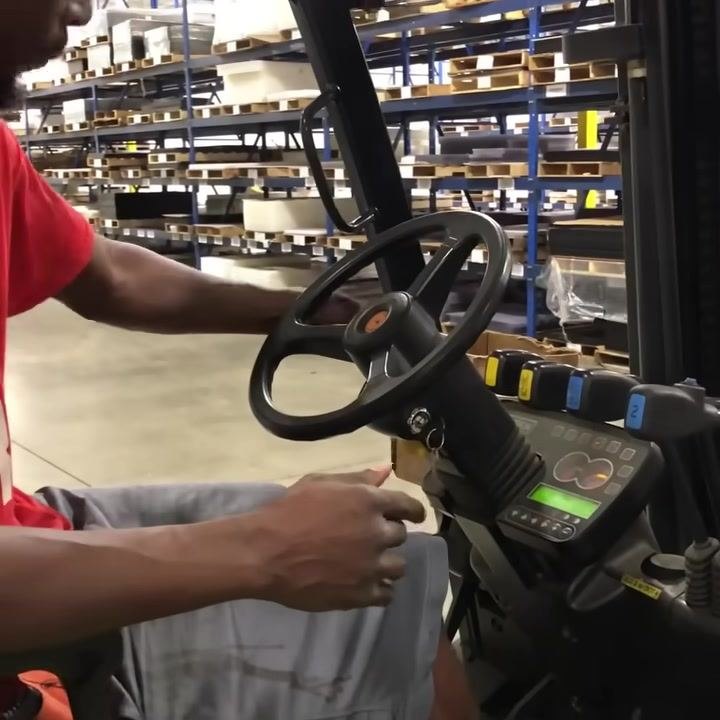
- Identify the three main hydraulic levers to the right of the steering wheel:
- Closest lever: controls the vertical movement of the forks (lifting and lowering)
- Middle lever: controls the tilt of the mast (tilting forks forward and backward)
- Farthest lever: controls side-to-side movement (side shift), if equipped
- Note: Not all forklifts have a side shift or clamp control.
- Identify the three main hydraulic levers to the right of the steering wheel:
-
Operate the fork controls
- Lift control (closest lever): pull the lever down to raise the forks; push the lever up to lower the forks.
- Tilt control (middle lever): pull or push to tilt the mast forward or backward. Verify the specific direction on your machine.
- Side shift/clamp control (farthest lever): move the lever left or right to shift the forks side-to-side, if available. If your forklift does not have a clamp or side shift, this lever will not function.
-
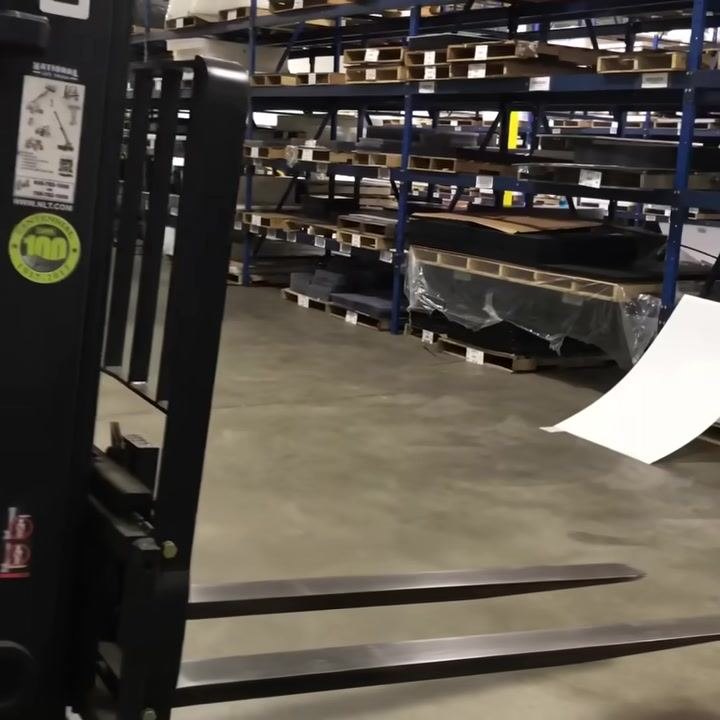
Observe fork movement
- Watch the forks as you operate the controls to ensure they move as intended.
- Confirm that the forks lift, lower, tilt, and (if equipped) shift side-to-side smoothly.
- Test all controls
- Test each hydraulic control to verify functionality.
- If a control does not respond (for example, side shift or clamp), check if the attachment is installed. If not, the lever will have no effect.
Safety reminders: - Always wear your seatbelt before operating the forklift. - Only use attachments (like fork extensions or clamps) when required and ensure they are properly installed. - Familiarize yourself with all controls before moving loads. - Never operate a forklift unless you are trained and authorized.
Procedure 2: Picking up a pallet
-
Understand the clamp vs. forks
- Note that some forklifts have clamp attachments, but in this demonstration, standard forks are installed.
- Only use the clamp lever if your forklift is equipped with a clamp attachment; otherwise, operate the forks as shown.
-
Release the parking brake
- Locate the parking brake lever and disengage it before moving the forklift.
- Ensure the forklift is in a safe, clear area before releasing the brake.
-
Select the direction of travel
- Use the directional control lever to choose your direction:
- Push the lever forward for Drive Forward
- Set the lever in the middle for Neutral
- Pull the lever back for Reverse
- Confirm the selected gear before pressing the accelerator.
- Use the directional control lever to choose your direction:
-
Drive forward toward the pallet
- With the lever in the forward position, gently press the accelerator pedal to move toward the pallet.
- Steer the forklift as you would a car, keeping the forks low to the ground while approaching the load.
-
Align the forks with the pallet
- Approach the pallet slowly and ensure the forks are level and aligned with the pallet openings.
- Lower the forks if necessary using the hydraulic controls.
- Tilt the mast slightly forward to help the forks slide under the pallet.
-
Insert the forks under the pallet
- Carefully drive forward until the forks are fully inserted under the pallet.
- Make sure the forks are centered and not sticking out the other side of the pallet.
-
Lift the pallet
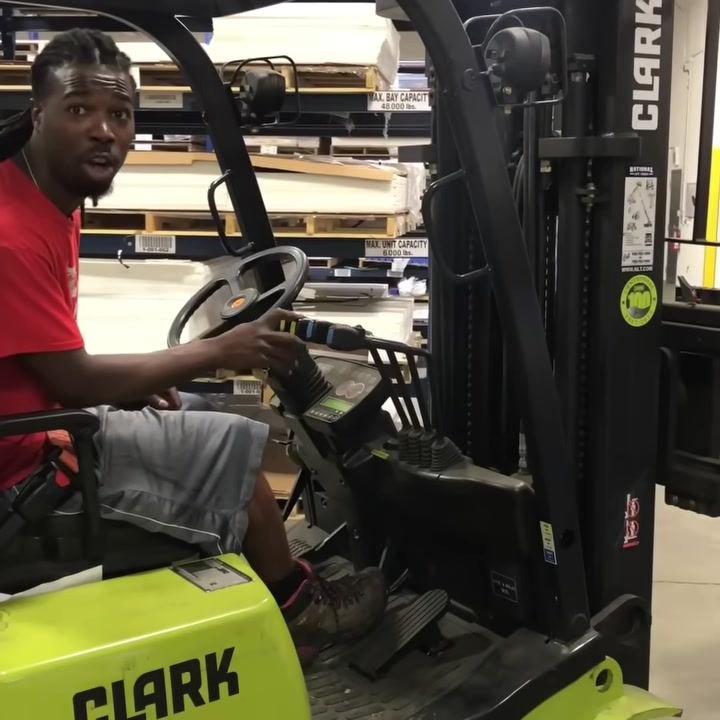
- Use the hydraulic lever closest to you (typically marked with a fork symbol) to raise the forks and lift the pallet off the ground.
- Do not lift the pallet too high; just enough to clear the floor and any obstacles.
-
Reverse safely
- Shift the directional control lever to Reverse.
- Slowly back away from the racking or stack, checking your surroundings to avoid collisions.
- Use mirrors and look over your shoulder as needed.
-
Adjust fork height as needed
- If necessary, use the lift lever to adjust the fork height while reversing to ensure safe clearance.
- Keep the load low while traveling.
-
Operate the tilt control
- Use the second hydraulic lever (always the tilt lever, regardless of forklift type) to tilt the mast back slightly.
- Tilting the load back helps stabilize it during transport.
Key reminders: - Always check that the forks are fully inserted and the load is stable before lifting. - Keep the load low and tilted back while moving. - Move slowly and cautiously, especially when reversing or maneuvering near racking. - Only use the clamp or side shift controls if your forklift is equipped with those attachments.
Procedure 3: Using the side shift and placing the pallet
- Understand the tilt and side shift levers
- The tilt lever tilts the mast and forks forward or backward to stabilize or release the load.
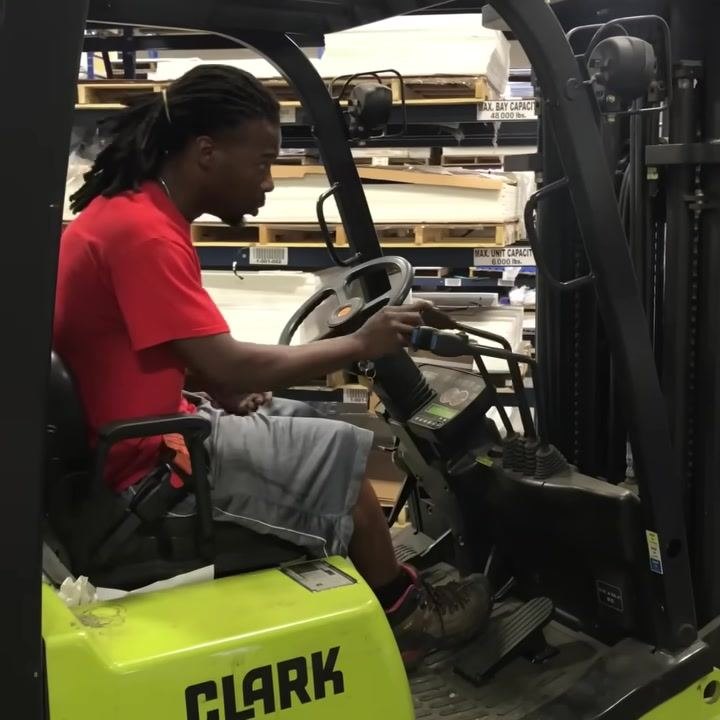
- The third lever (side shift) is crucial for precise placement of pallets into racks.
- Use the side shift lever to move the forks and load left or right for fine alignment.
-
Operate the side shift lever
- Move the third lever left or right to shift the forks and load accordingly.
- Use this function to align the pallet precisely with the rack openings.
-
Back up and align with the rack
- After picking up the pallet, back up the forklift to create space for alignment.
- Line up the forklift and pallet with the rack so you can drive straight in without needing to turn.
-
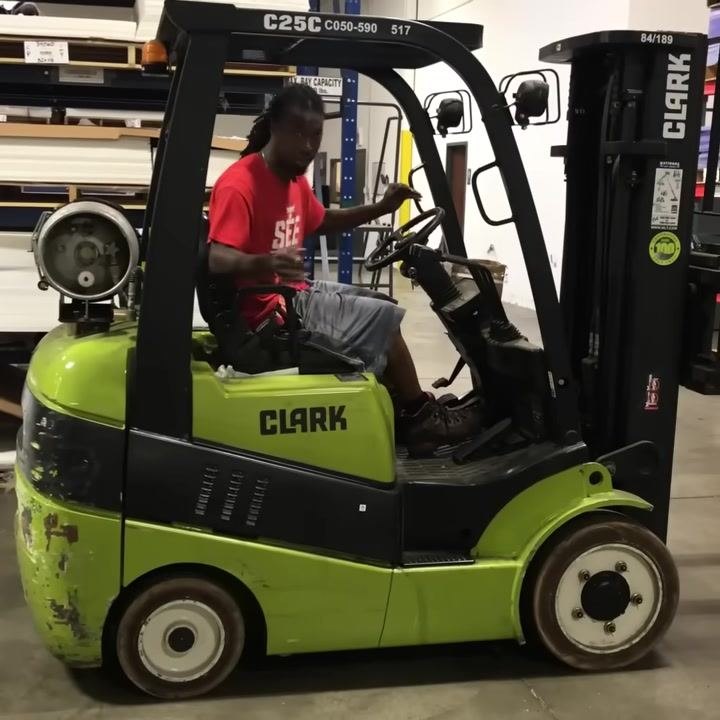
Approach the rack straight on
- Drive the forklift forward, keeping the pallet level and aligned with the rack.
- Ensure the load is stable and the path is clear.
-
Note on licensing and certification (optional)
- Most jobs require you to be certified to operate a forklift, but may not ask to see your license.
- Always answer honestly about your certification status; most employers will provide training if needed.
-
Lower the pallet if necessary
- If the pallet is too large or does not fit, lower it back to the floor using the lift lever.
- Be quick and careful when adjusting the load.
-
Communicate clearly about certification
- When asked, state that you are certified if you have completed the necessary training.
- Understand that many employers value experience and will provide on-the-job instruction.
-
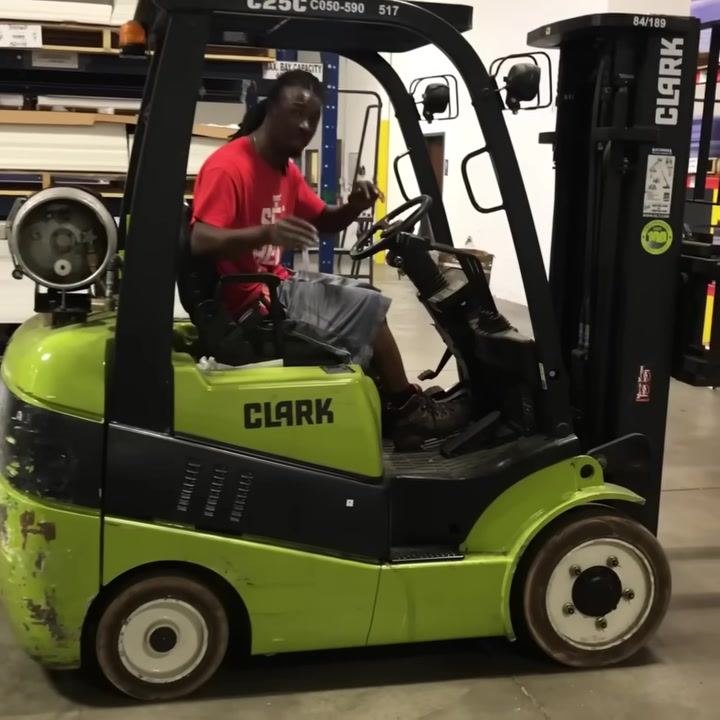
Be honest and professional
- Avoid misrepresenting your qualifications; honesty is important for safety and trust.
- A small exaggeration may seem harmless, but always prioritize safety and proper training.
- Drive the pallet into position
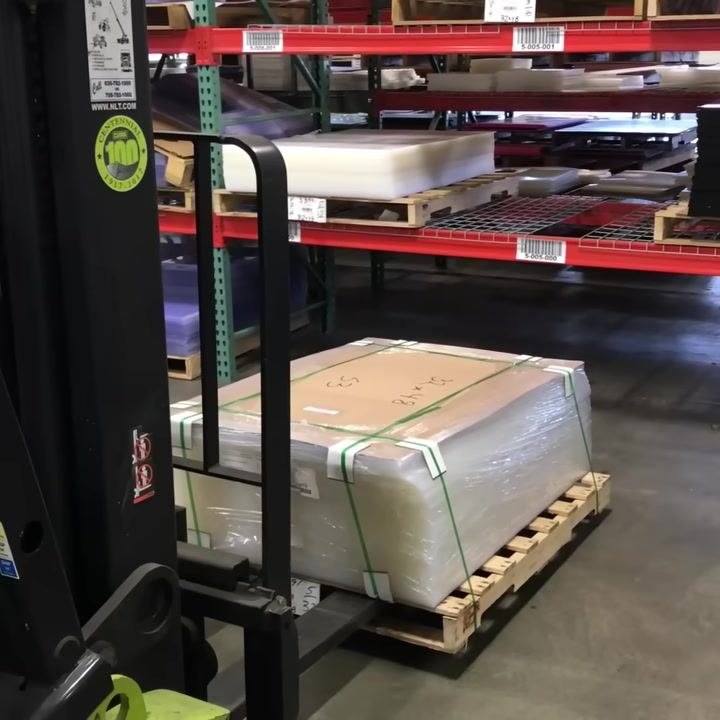
- Once the pallet is almost on the floor, drive the forklift straight into the rack opening.
- Ensure the pallet is aligned and positioned correctly before lowering it completely.
- Lower the pallet fully to the floor
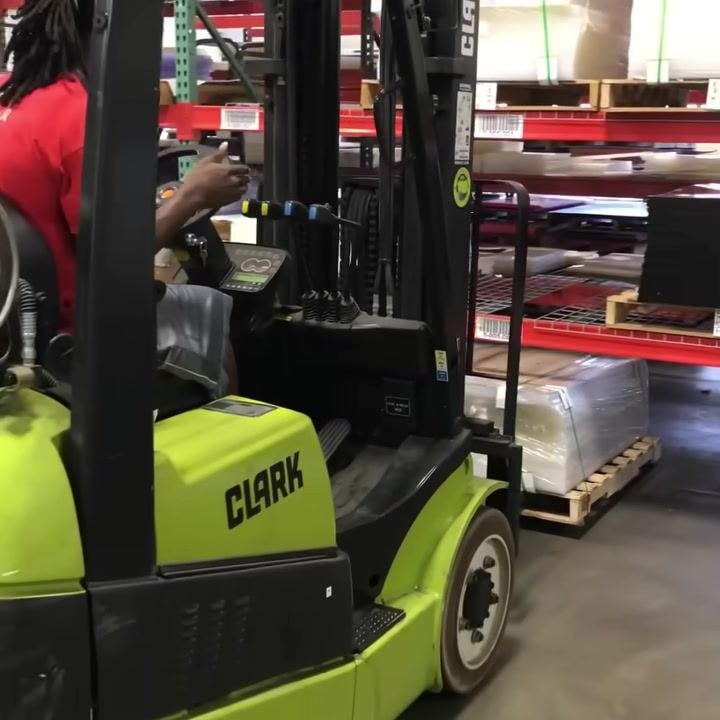
- Once the pallet is positioned inside the rack, use the lift lever to lower the pallet further so that it rests securely on the floor or rack surface.
- Ensure the forks are not supporting the weight of the pallet before attempting to withdraw them.
- Confirm that the pallet is stable and properly seated before proceeding.
Key reminders: - Use the side shift lever for precise alignment when placing pallets in racks. - Always approach the rack straight on to minimize the need for turning. - Lower the pallet carefully and ensure it is fully supported by the rack before withdrawing the forks. - Be honest about your certification and seek proper training if needed.
Procedure 4: Understanding and operating the forklift levers
- Observe the operator's demonstration setup
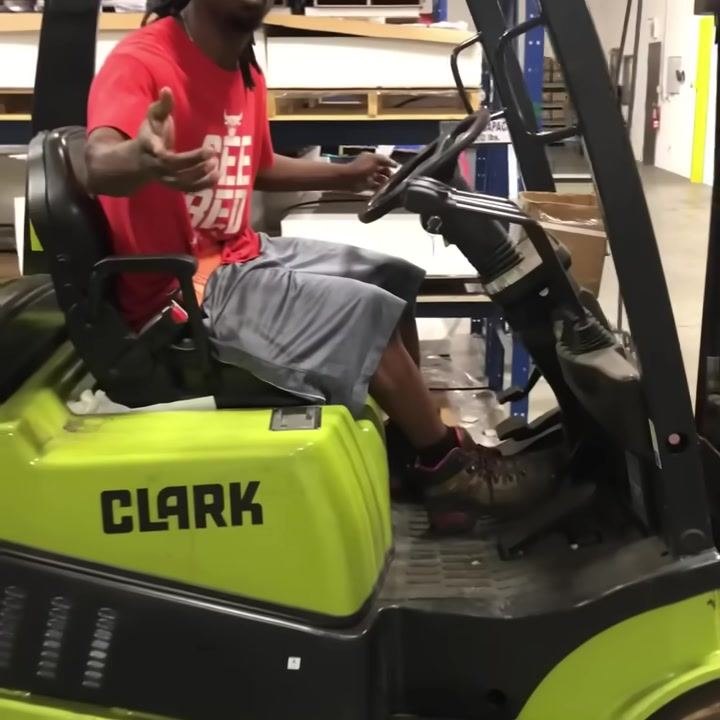
- The operator is seated on a green CLARK forklift inside a warehouse environment, preparing to demonstrate the lever functions.
-
Identify the lift lever
- The first lever, closest to the operator, is the lift lever.
- The lever panel is shown up close, with multiple levers visible next to the steering wheel and a dashboard displaying digital readouts and indicator lights.
-
Identify the tilt lever
- The second lever is the tilt lever.
- The mast and chains shown control the mechanism affected by the tilt lever.
-
Identify the side shift lever
- The third lever moves the forks side to side.
- The mast and fork carriage indicate the side-to-side movement.
- Note: only three levers are relevant; the clamp lever is not functional on this model.
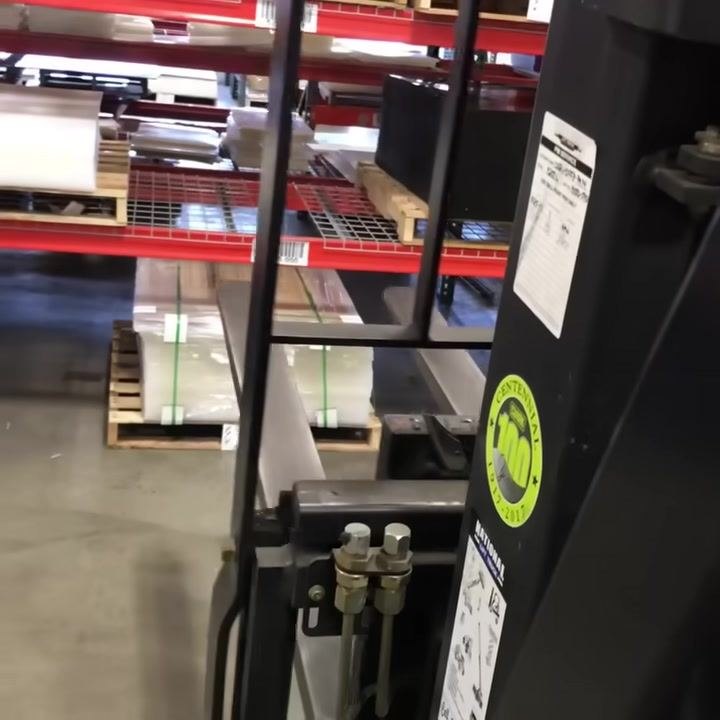
- Observe the side shift in action
- The forks move from side to side when the side shift lever is operated.
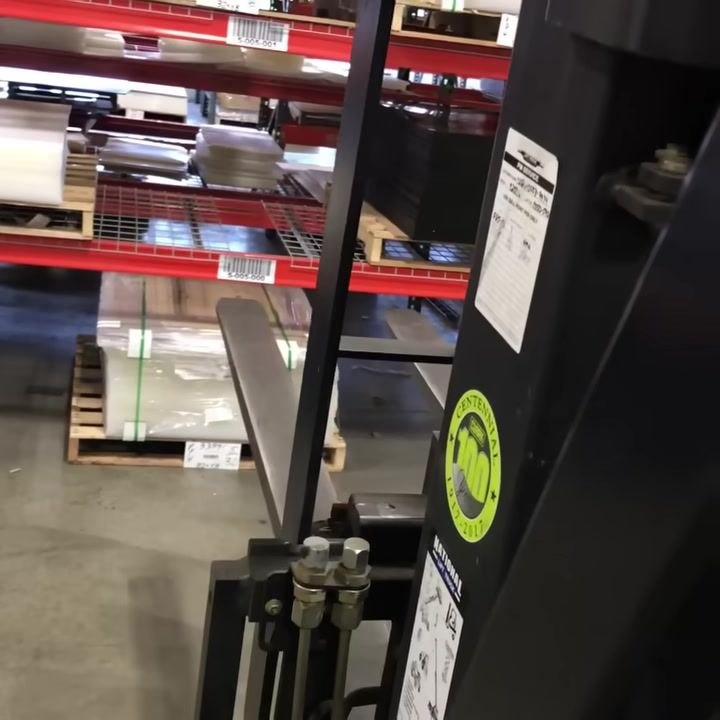
- Continue observing the side shift demonstration
- Another angle confirms the forks moving side to side as the lever is operated.
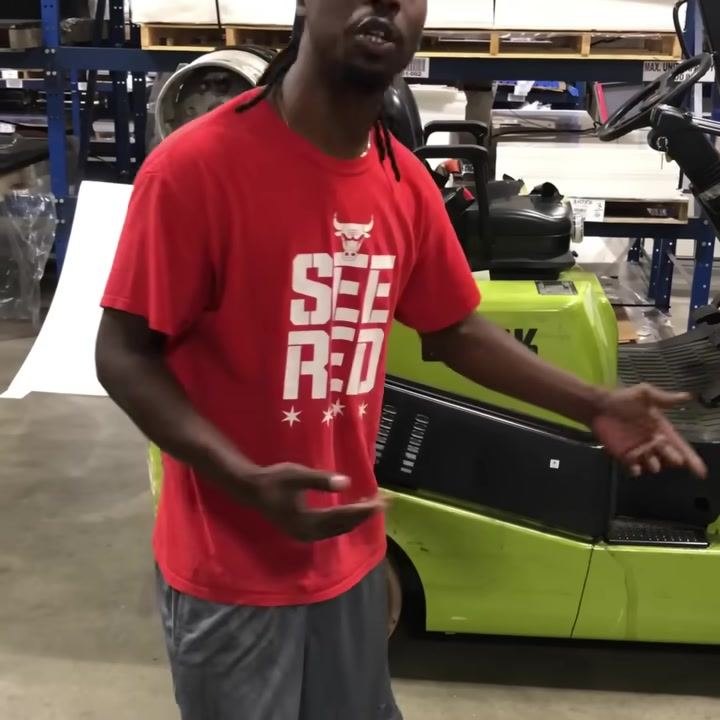
- Note the operator's encouragement and summary
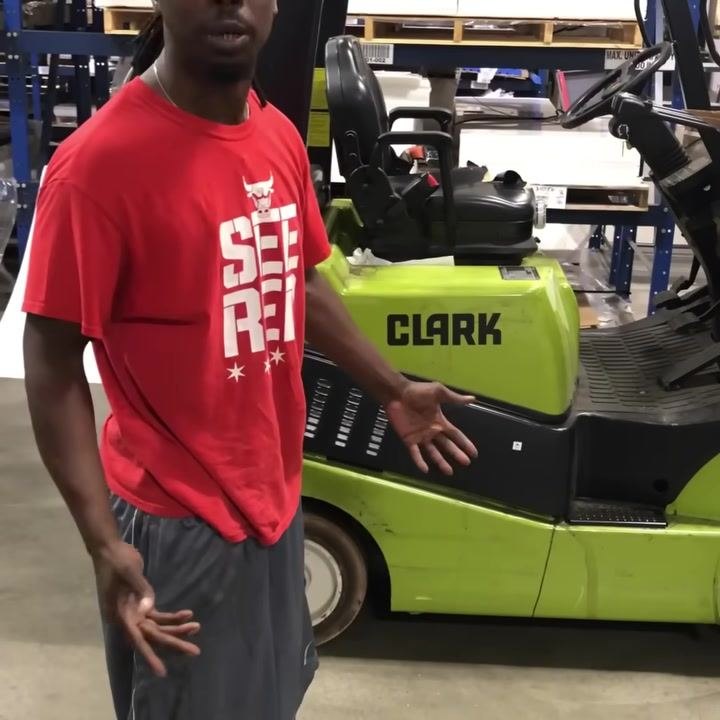
- The operator stands beside the forklift, addressing the viewer directly and reiterating the simplicity of the controls.
-
Understand the comparison to driving a car
- Operating a forklift is comparable to driving a car in terms of steering and control.
-
Remember the key lever functions
- The first lever closest to the operator controls the lift function.
Summary of lever functions: - First lever (closest to operator): controls the lift (raises and lowers the forks) - Second lever: controls the tilt (tilts the mast forward and backward) - Third lever: controls the side shift (moves the forks left and right) - Clamp lever (if present): not functional on this model; can be ignored
Tip: Operating a forklift is similar to driving a car. Focus on the three main levers for basic operation.
Procedure 5: Final lever review and safe operation tips
- Review the lever functions
- The first lever moves the forks up and down.
- The second lever is the tilt lever; it makes the forks tilt.
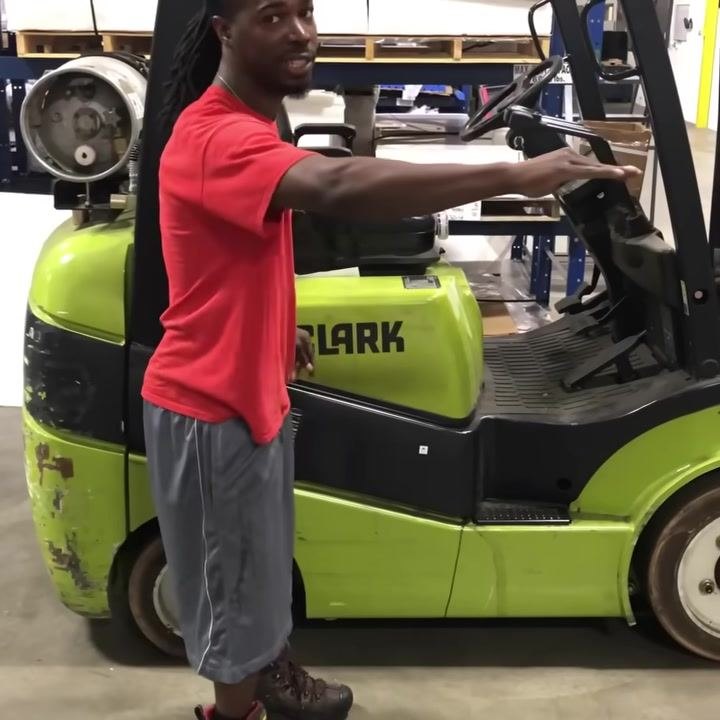
- The forklift's lever controls, seat, and part of the dashboard are visible during this explanation.
-
Understand the third lever's function
- The third lever moves the fork side to side. These three functions are all you need to know.
-
Follow safety and operation advice
- The main thing about driving the forklift is to take your time.
-
Practice patience and gain experience
- Take it slow — this is the key to driving a forklift safely over the long term.
-
Note the closing safety reminder
- Never hurt anybody. Operate carefully at all times.
-
Final closing remarks
- Viewers are encouraged to seek additional guidance if further help is needed.
Summary of key points
- First lever: raises and lowers the forks.
- Second lever: tilts the forks forward and backward.
- Third lever: moves the forks side to side.
- Safety advice: always take your time and operate the forklift slowly for long-term safety and success.
- Final tip: never rush — patience and careful operation are essential for safe forklift driving.
Verification checklist
- Seatbelt fastened before starting the forklift.
- All indicator lights and gauges functioning at start-up.
- All three hydraulic levers tested and confirmed responsive (lift, tilt, side shift).
- Attachments, such as fork extensions or clamps, verified as installed and secure where applicable.
- Forks fully inserted and load stable before lifting a pallet.
- Load kept low and tilted back while traveling.
- Pallet aligned straight with the rack before insertion.
- Pallet lowered fully and confirmed stable before withdrawing the forks.
What's next
Continue practicing the three main lever functions — lift, tilt, and side shift — until you are comfortable operating them in sequence. Always take your time when driving and handling loads, and never operate a forklift without proper training and authorization.
Generation details: cost, quality tiers
Docsie billed 4,000 credits ($2.80) to analyze this 8-minute video at standard quality. The rewrite, template fill and Word/PDF exports were included. The same video at each quality tier:
| Quality | Frames sampled | Credits | Approx. cost |
|---|---|---|---|
| Draft | every 16-30 s | 2,000 | $1.40 |
| Standard (this guide) | every 8-15 s | 4,000 | $2.80 |
| Detailed | every 4-7 s | 8,000 | $5.60 |
| Ultra | every 1-3 s | 16,000 | $11.20 |
Credits priced at $0.70 per 1,000; plans include a monthly allowance. Enterprise customers on on-premise or bring-your-own-model deployments run this on their own inference and pay no per-video credits.
Generated by Docsie Video-to-Docs on 2026-09-08 from a 7-minute video. Screenshots are frames from the source video and belong to their creator, Forklift Joe, whose original is embedded above. If you own this video and want the guide removed or credited differently, contact us and we will act within one business day.