
How to Vehicle Inspection Checklist
This vehicle inspection checklist walks you through a complete under-hood, tire, and wiper inspection routine. Use it to confirm that fluid levels, belts, hoses, wipers, and tires are all within safe operating limits before a vehicle is returned to service or sent out on a long trip. Follow each step in order and address any issue you find before moving on.
Video: How to Perform a Vehicle Inspection by mccsyuma (2014). All credit for the demonstration goes to the creator; watch the original on YouTube. The written guide below was generated from this video by Docsie. Creator? Request a change or removal.
This vehicle inspection checklist walks you through a complete under-hood, tire, and wiper inspection routine. Use it to confirm that fluid levels, belts, hoses, wipers, and tires are all within safe operating limits before a vehicle is returned to service or sent out on a long trip. Follow each step in order and address any issue you find before moving on.
Purpose
This procedure standardizes how you perform a basic vehicle inspection, covering fluid checks, under-hood component checks, wiper and tire pressure checks, and tire tread depth checks. Completing this vehicle inspection checklist ensures consistent, thorough results every time.
Scope
This procedure applies to routine vehicle inspections performed in a garage or shop setting. It covers the air filter, brake fluid, battery, power steering fluid, windshield washer fluid, coolant, drive belt, radiator hoses, windshield wipers, tire pressure (including the spare), and tire tread depth.
Required equipment and supplies
- Tire pressure gauge
- Flashlight
- Power steering fluid
- Brake fluid (DOT 3)
- Coolant/antifreeze
- Windshield washer fluid
- Paper towels
- Tire tread depth gauge (or a U.S. penny as an alternative)
- Funnel (for coolant top-off)
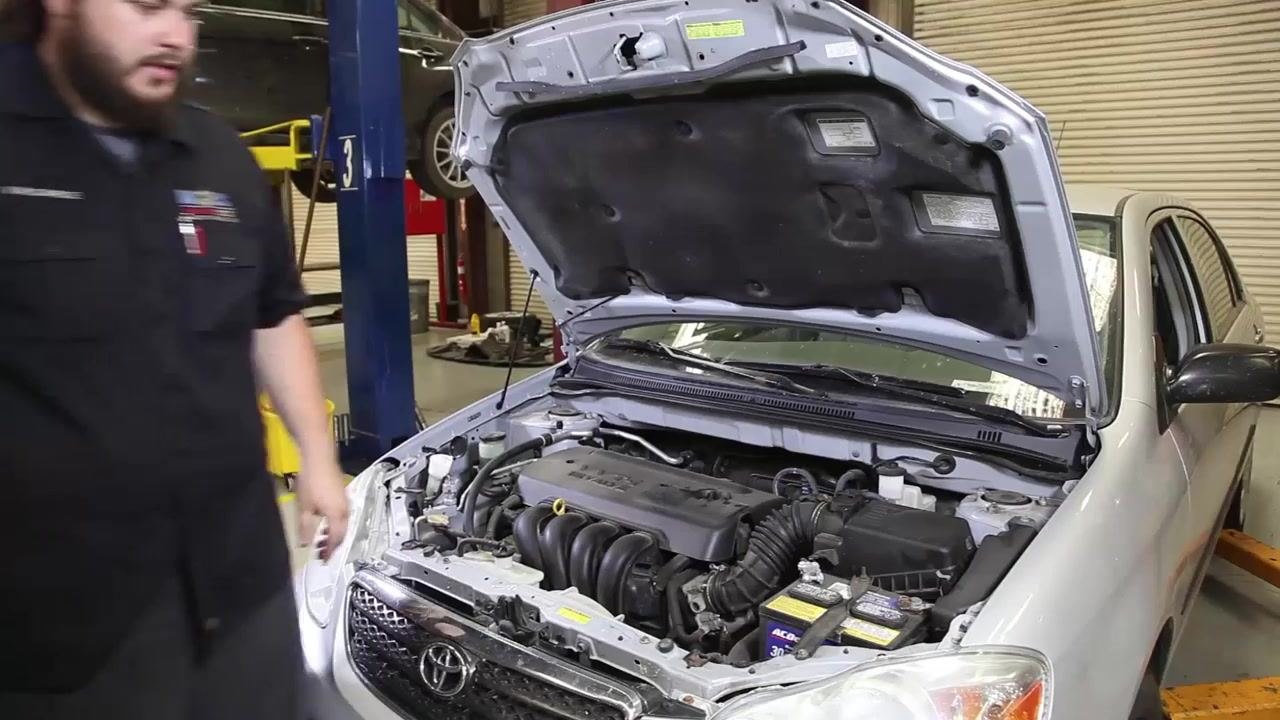
Section 1: Initial checks and fluid inspection
Step 1: Inspect the air filter
Locate the air filter housing under the hood and release the clips securing the cover. Lift the cover and remove the air filter element, then hold it up to the light to inspect for excessive dirt or debris. If the filter is dirty, replace it with a new one; contact your local auto center to check for availability if needed.
Step 2: Check the brake fluid level
Locate the brake fluid reservoir under the hood and remove the cap. Visually inspect the fluid level; it should be at or near the "Full" mark. If the fluid is low, top it off with DOT 3 brake fluid and replace the cap securely.
Step 3: Inspect the battery and terminals
Examine the battery terminals for signs of corrosion, indicated by white or greenish deposits. If comfortable doing so, remove the battery caps and check the water level inside the battery. If you are unsure or uncomfortable performing this check, seek assistance from your local auto center.
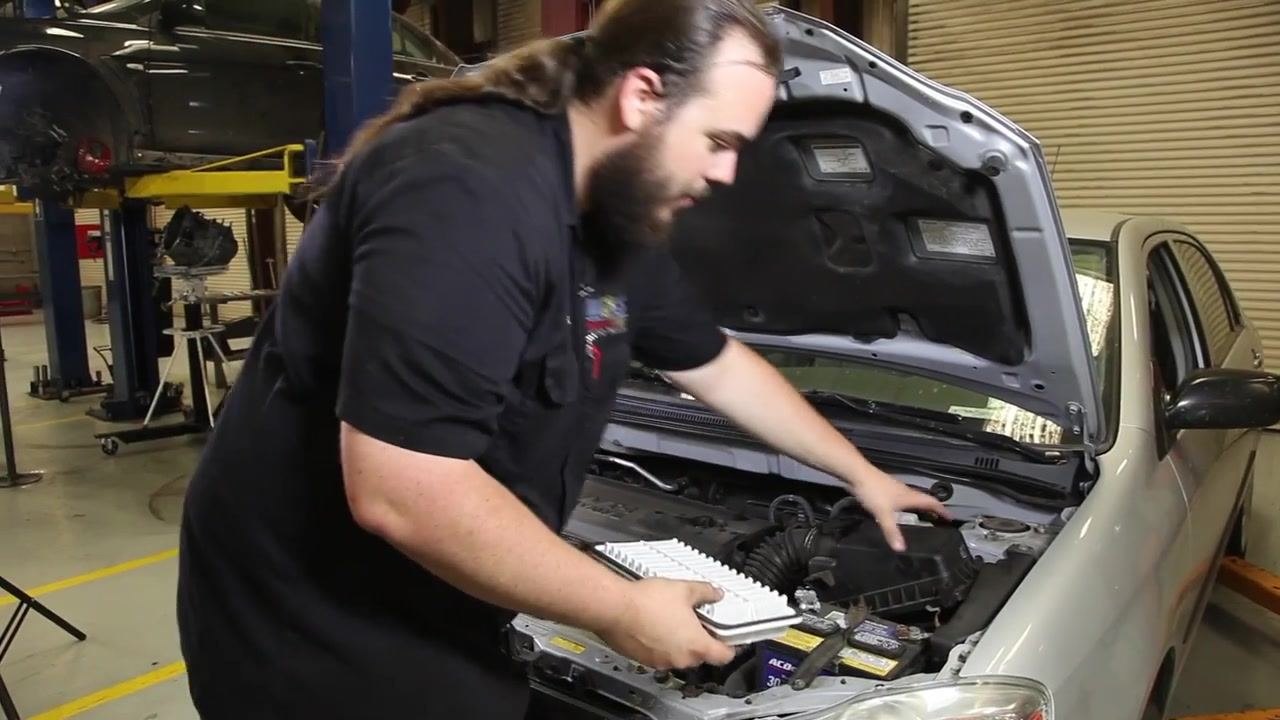
Step 4: Check the power steering fluid
Locate the power steering fluid reservoir and inspect the fluid level, which should sit between the "Min" and "Max" marks. If the fluid is below the minimum, open the reservoir and prepare to add fluid as needed.
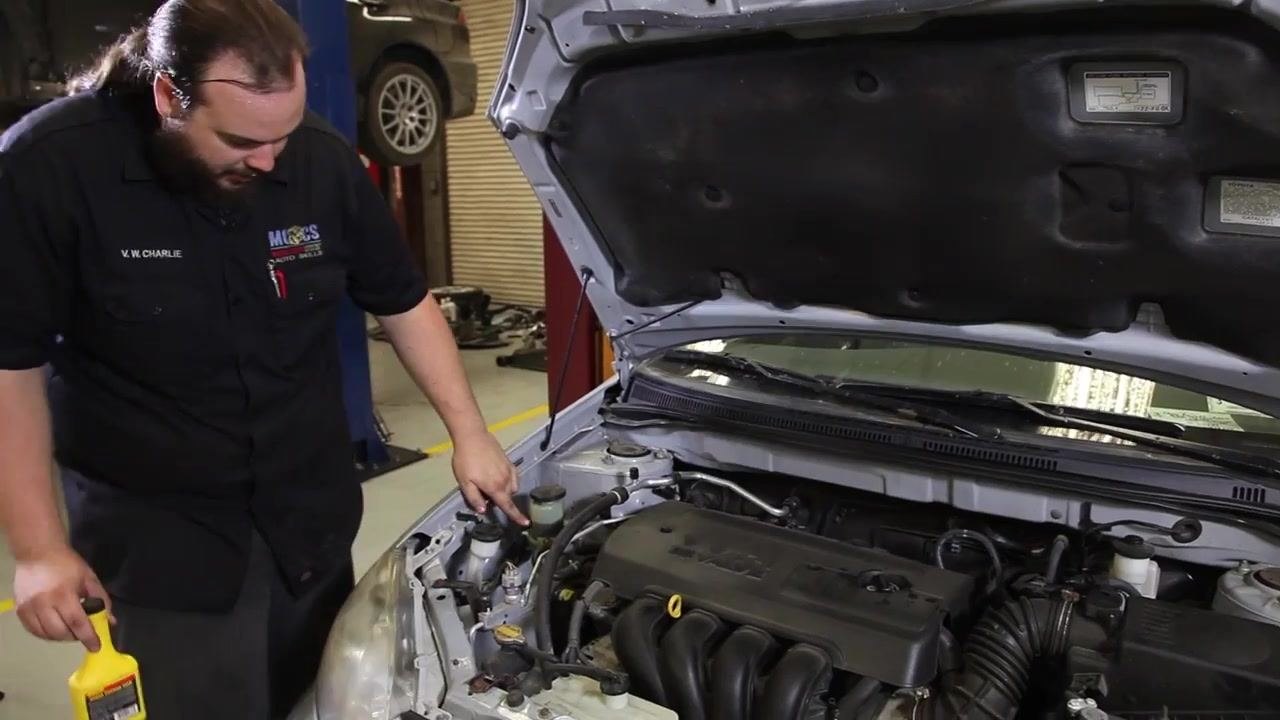
Section 2: Fluid top-offs and under-hood component inspection
Step 5: Top off power steering fluid
Pour power steering fluid into the reservoir until it reaches the appropriate level, using the correct fluid type specified for the vehicle. Replace the reservoir cap securely once finished.
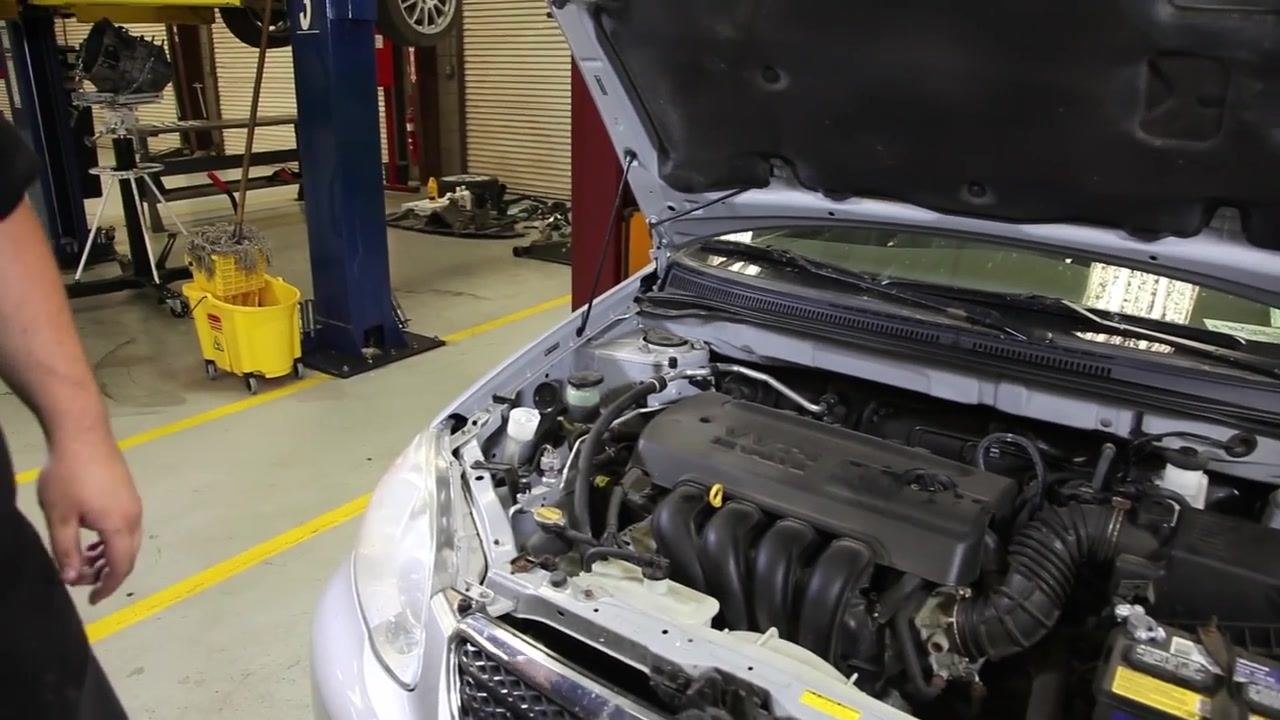
Step 6: Check and fill windshield washer fluid
Locate the windshield washer fluid reservoir, typically marked with a windshield or water symbol. Open the cap and visually inspect the fluid level. If low, pour in windshield washer fluid until full, then replace the cap securely.
Step 7: Inspect and top off coolant
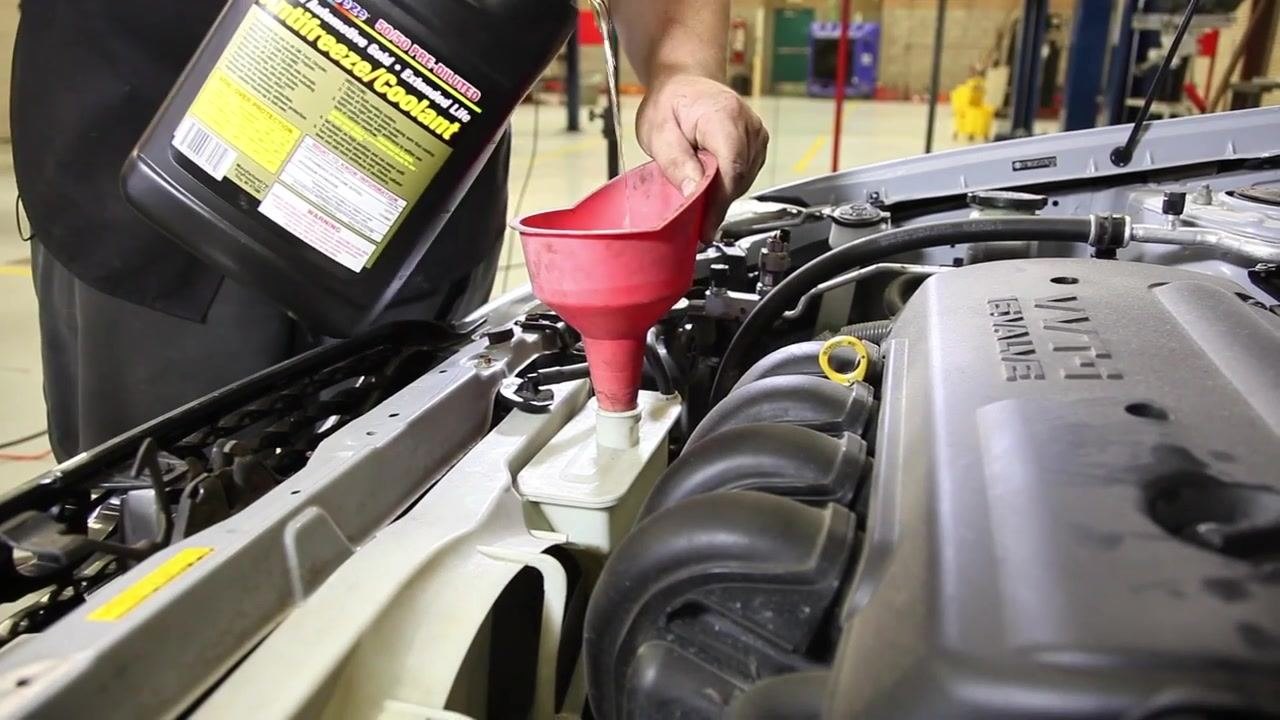
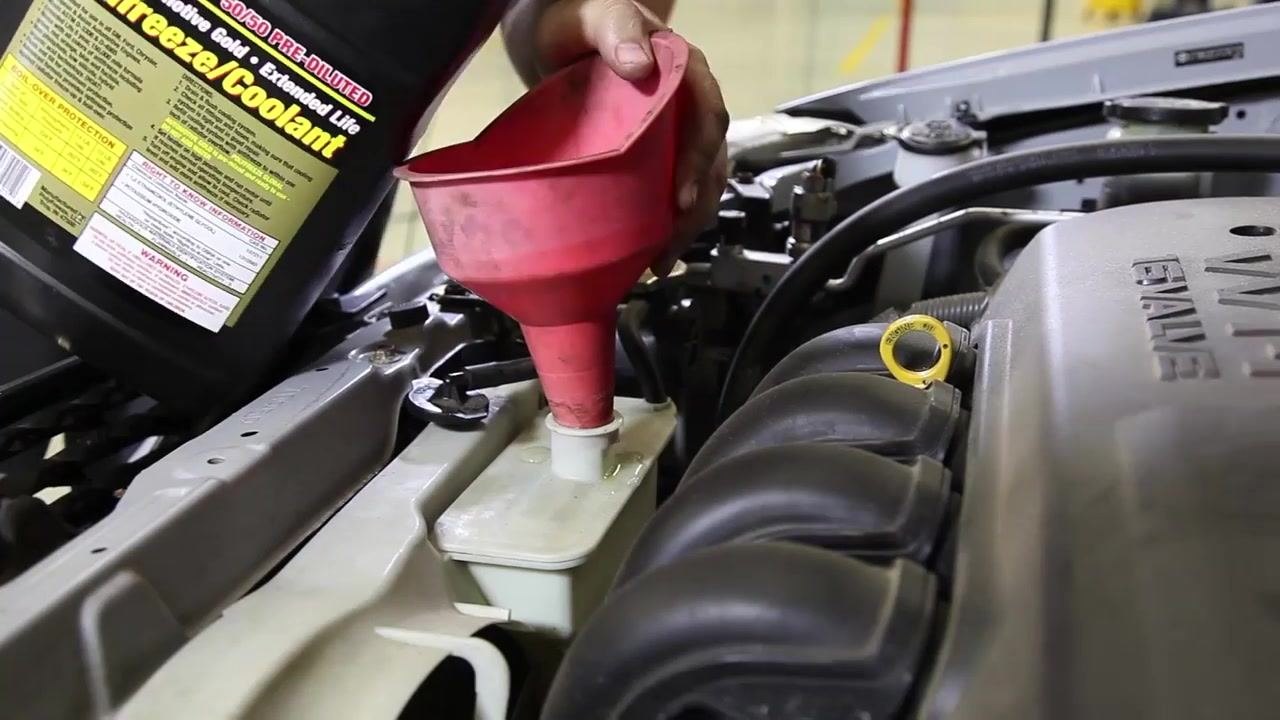
Locate the coolant overflow bottle, usually a translucent plastic tank near the radiator. Use a flashlight to check the level against the "Low" and "Full" marks. If the coolant is low, place a funnel over the opening and pour in coolant/antifreeze until the level sits between "Low" and "Full." Remove the funnel, wipe any spills with a clean towel, and replace the cap securely.
Step 8: Check the drive belt condition
Locate the drive belt, also called the serpentine or accessory belt, in the engine bay. Visually inspect it for cracks, tears, or excessive wear. Replace the belt before any long trip if damage is found; otherwise proceed to the next step.
Step 9: Inspect radiator hoses
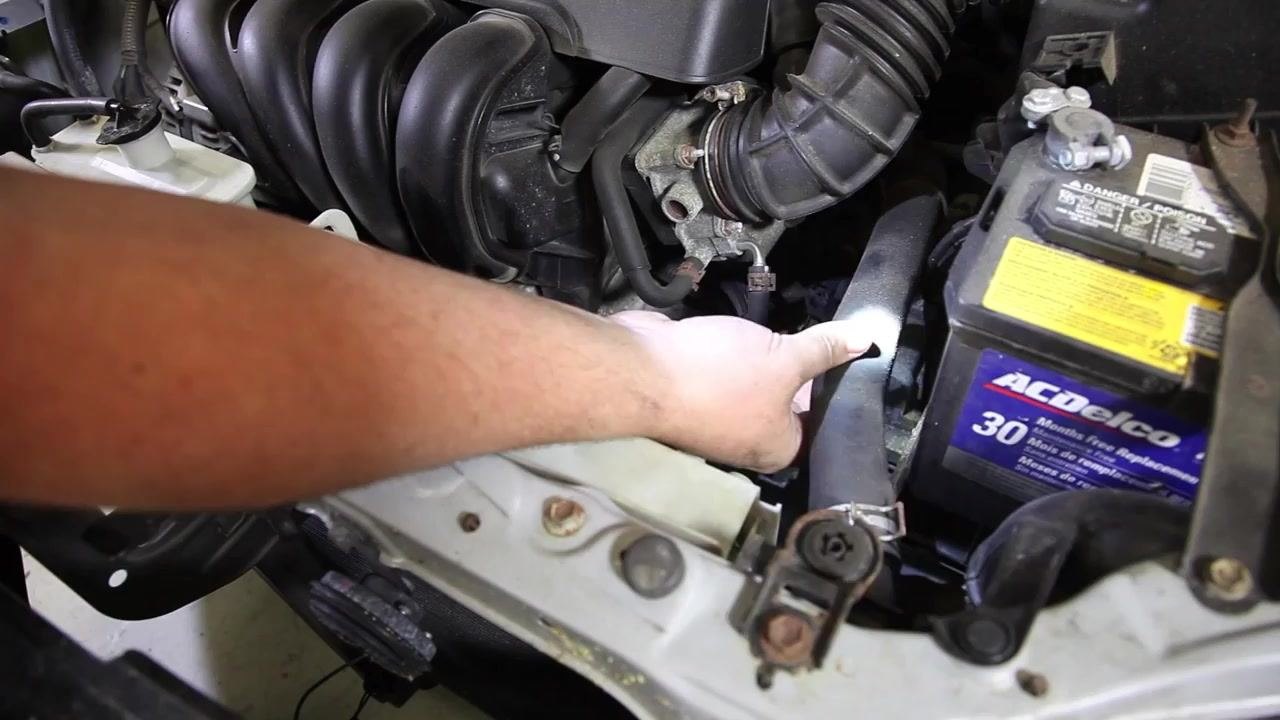
Locate the upper and lower radiator hoses connected to the radiator and engine. Squeeze each hose gently to check for firmness; a healthy hose feels firm but not overly hard or excessively soft. If a hose feels squishy or shows signs of wear, plan to replace both radiator hoses.
Section 3: Windshield wiper and tire pressure inspection
Step 10: Inspect windshield wipers
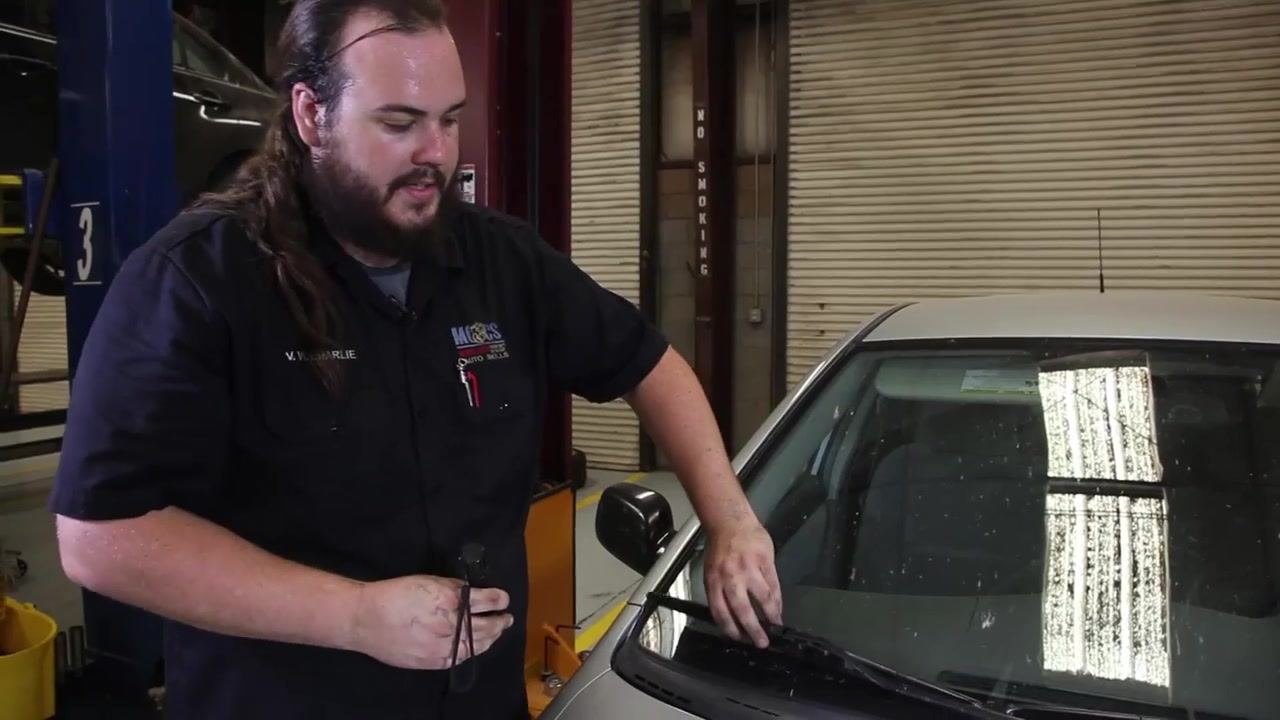
Examine both windshield wiper blades for cracks, tears, or separation in the rubber, running your finger along the blade edge to check for damage. If any damage is found, replace the wiper blades immediately; if the blades are in good condition, proceed to the next step.
Step 11: Locate tire pressure information
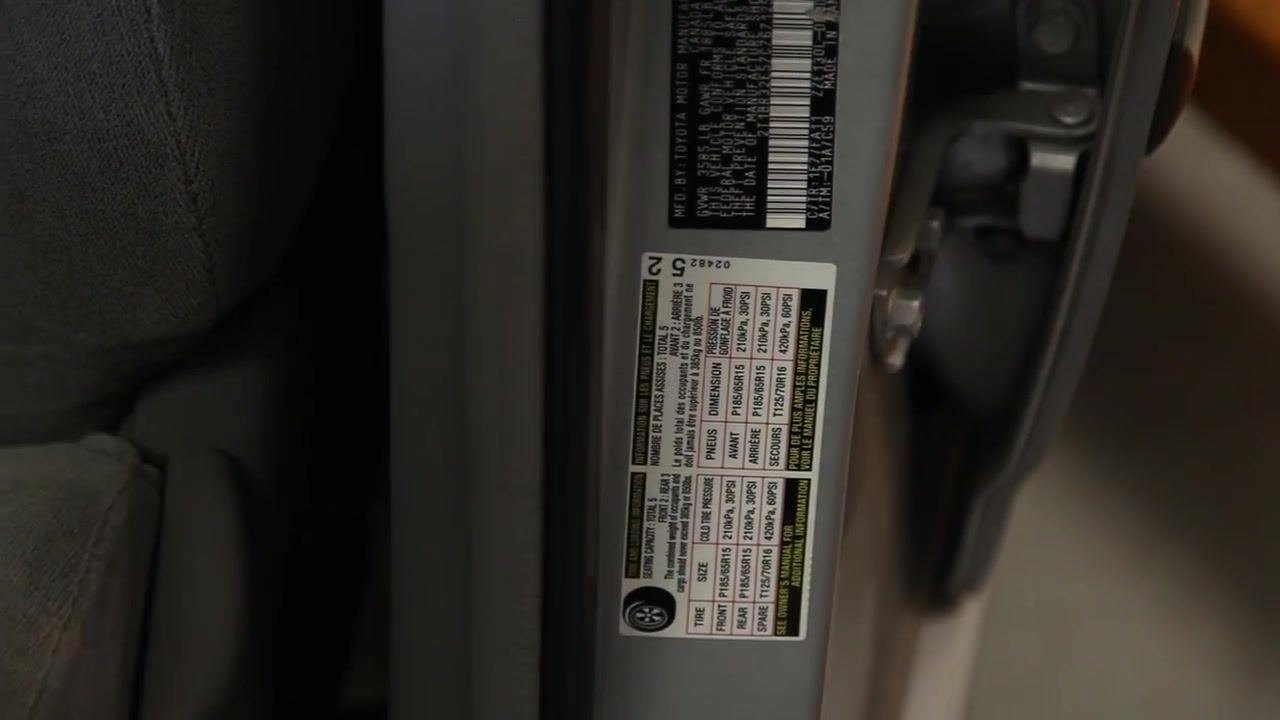
Open the driver's side front door and look for the tire information sticker, typically located on the door jamb. Identify the recommended tire pressures for the front, rear, and spare tires. In this example, the sticker specifies 30 PSI for the front tires, 30 PSI for the rear tires, and 60 PSI for the spare.
Step 12: Check tire pressure
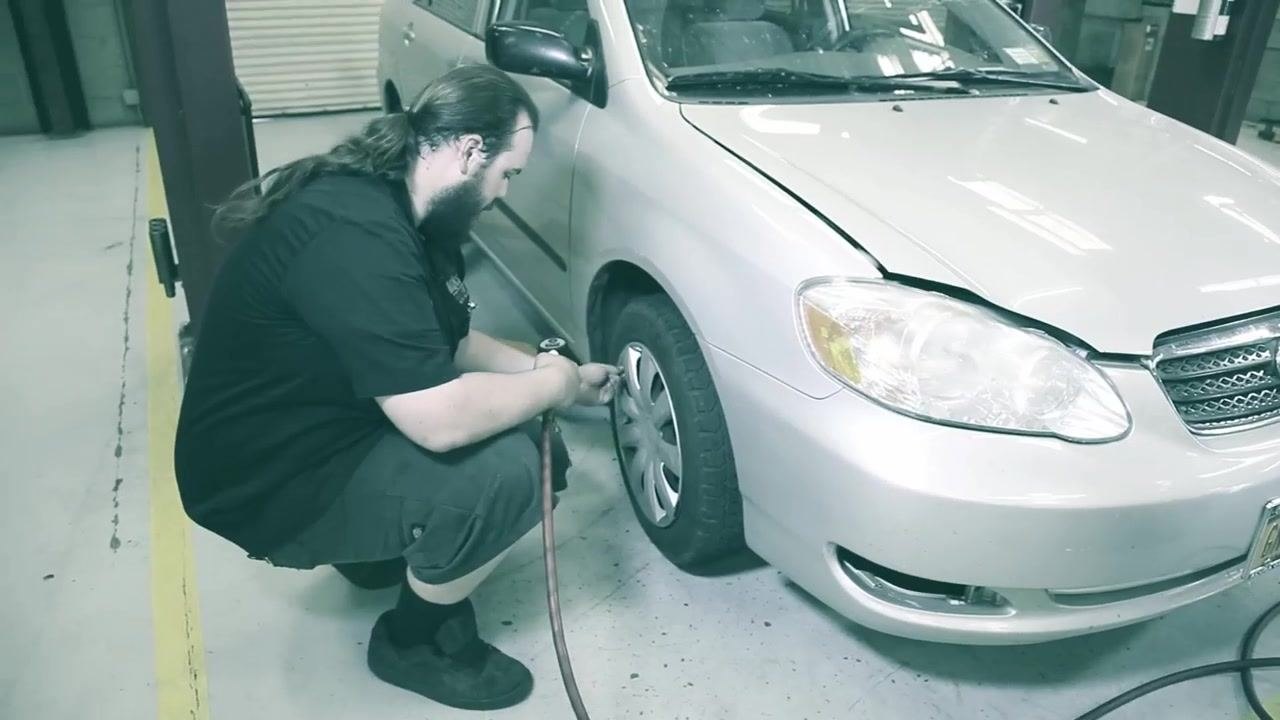
Remove the valve cap from the tire's valve stem and attach a tire pressure gauge or inflator. Read the current pressure on the gauge; in this example, the tire reads 32 PSI. Adjust as necessary if the reading is above or below the recommended value, then replace the valve cap.
Step 13: Repeat for all tires
Move to the next tire and repeat the process of removing the valve cap, checking the pressure, and adjusting as needed. Confirm all four tires are set to the recommended 30 PSI.
Step 14: Check spare tire pressure
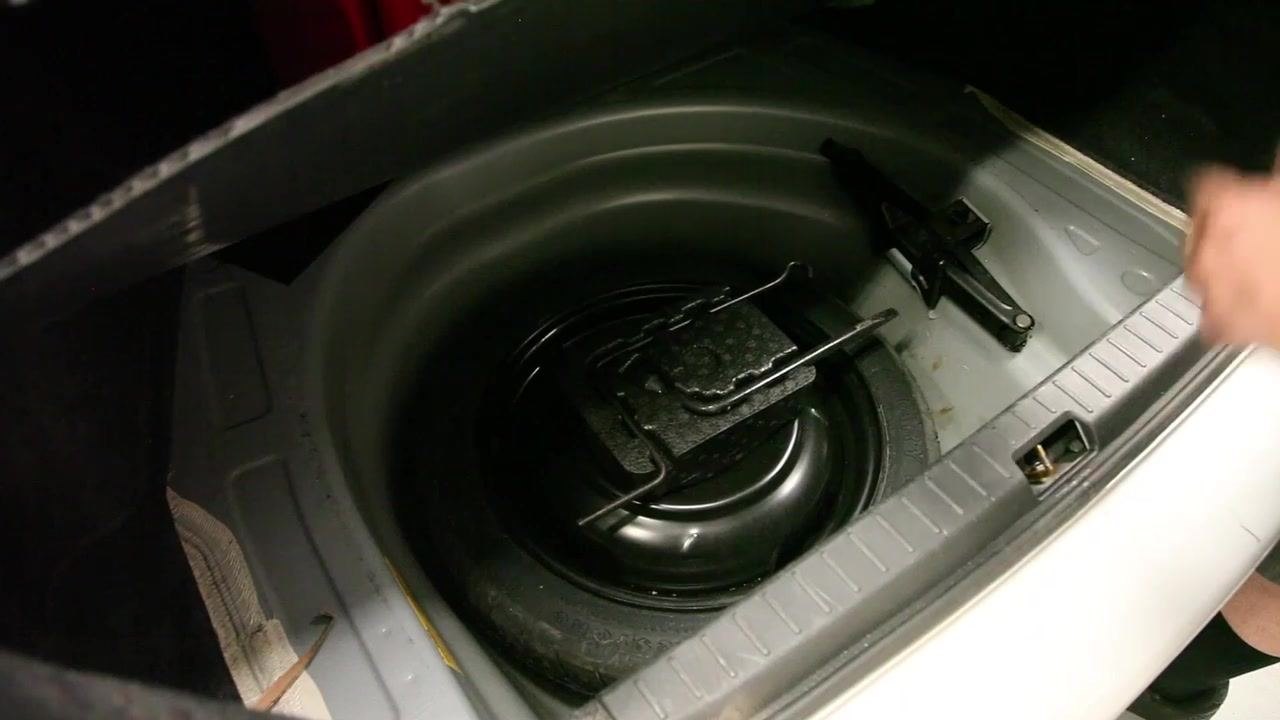
Open the trunk and lift the mat to access the spare tire compartment, removing any tools or covers as needed. Check the spare tire's pressure using a tire gauge or inflator and confirm it matches the recommended 60 PSI.
Step 15: Inflate the spare tire if needed
If the spare tire pressure is below the recommended value (for example, 24 PSI), use an air compressor or inflator to fill it to 60 PSI and confirm the pressure with the gauge. Replace the trunk mat and secure all tools once finished.
Section 4: Tire tread depth inspection
Step 16: Prepare for tread depth inspection
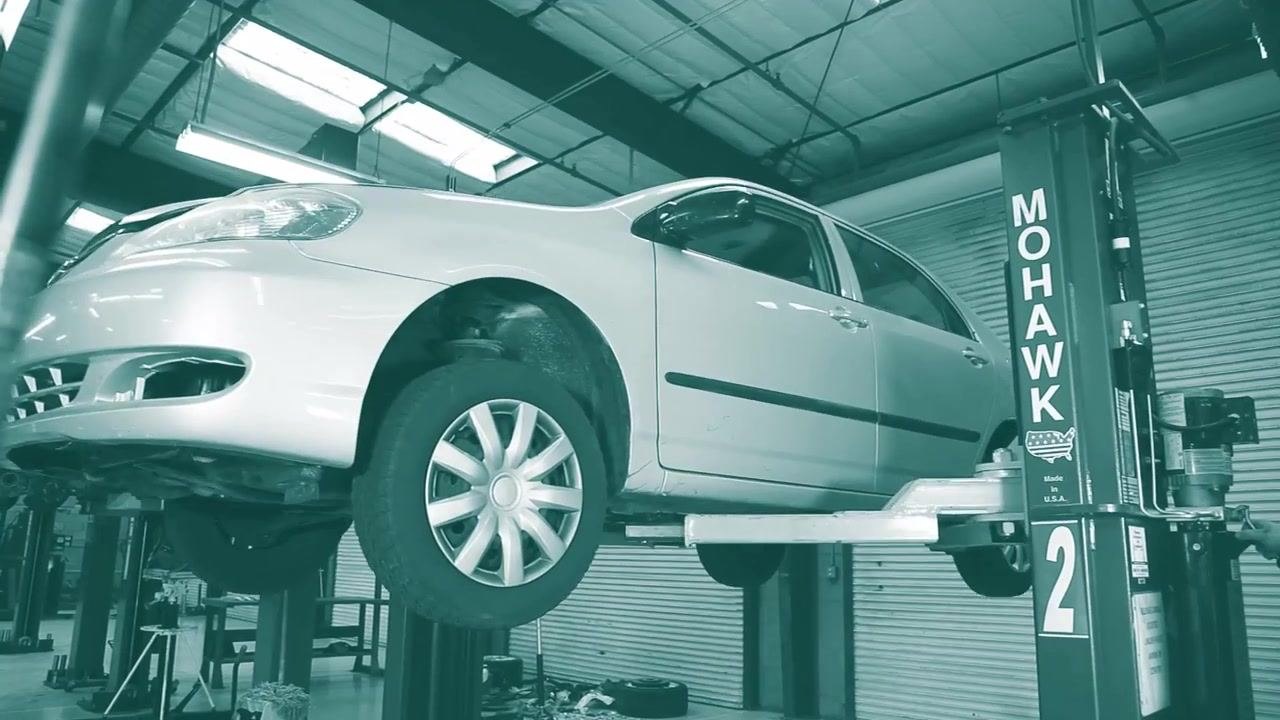
Park the vehicle on a flat, stable surface and ensure it is safely secured. Gather a tire tread depth gauge or a penny for the inspection.
Step 17: Check tread depth using a tire depth gauge
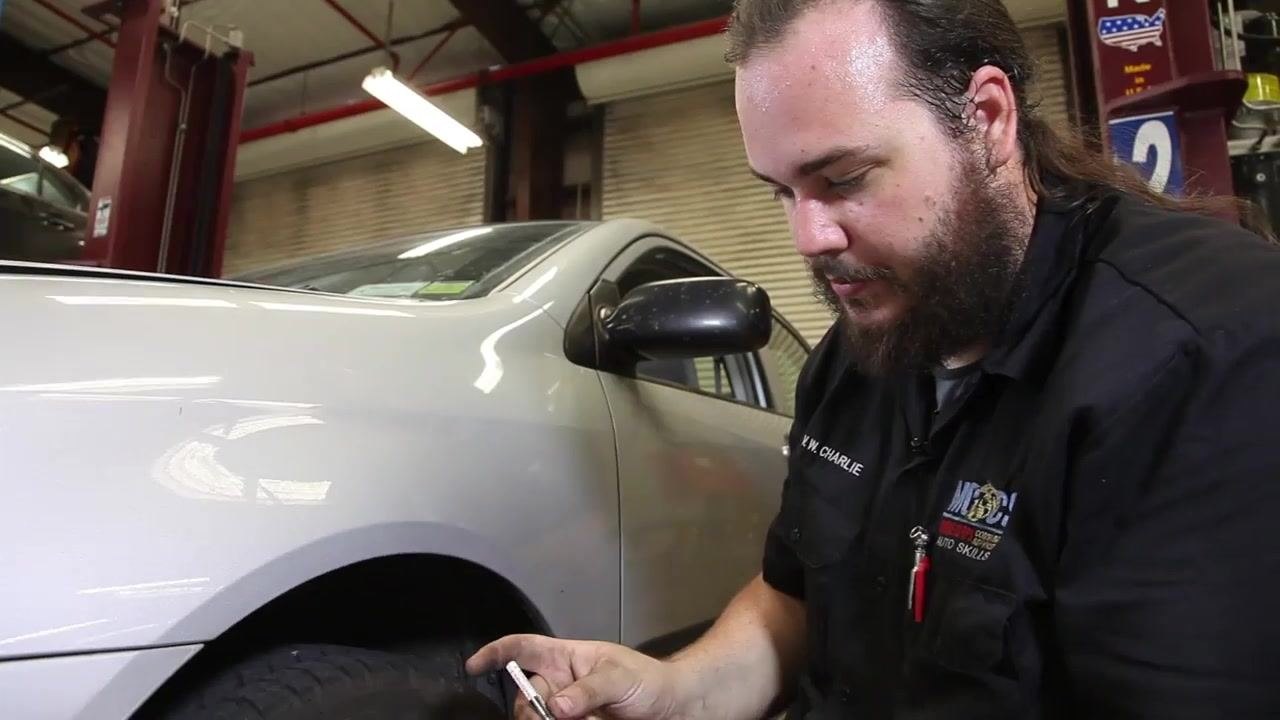
Position yourself next to the tire you wish to inspect. Insert the gauge's probe into the center groove of the tire tread, since the center typically shows the most wear, and press the gauge down until the base is flush with the tread surface. Remove the gauge and read the measurement; in this example, the reading is approximately 4/32" (four thirty-seconds of an inch). A tread depth of 3/32" (three thirty-seconds of an inch) is the minimum safe depth, and tires at or below this should be replaced soon.
Step 18: Interpret the tread depth reading
Compare your measurement to the minimum safe tread depth of 3/32". In this example, the tire measures 4/32", which is close to requiring replacement.
Step 19: Use the penny method as an alternative
If a tread depth gauge is not available, insert a U.S. penny into the center tread groove with Abraham Lincoln's head facing down. If the top of Lincoln's head is visible, the tread is worn to 2/32" or less and the tire should be replaced. If the tread covers part of Lincoln's head, the tire still has usable tread.
Step 20: Communicate results and complete the inspection
If any tread depth reading is close to or below the minimum, inform the vehicle owner that new tires are recommended for safety, and document the tread depth readings for all tires inspected. Return all tools to their proper storage locations, ensure the vehicle is ready for use or further service, and clean up the work area.
Verification and summary
Confirm the following before closing out the vehicle inspection checklist:
- Air filter is clean or replaced
- Brake fluid is at or near the "Full" mark
- Battery terminals show no corrosion
- Power steering fluid is between "Min" and "Max"
- Windshield washer fluid reservoir is full
- Coolant level is between "Low" and "Full"
- Drive belt shows no cracks, tears, or excessive wear
- Radiator hoses are firm with no signs of wear
- Windshield wiper blades show no cracks, tears, or separation
- All four tires and the spare are at the recommended PSI
- Tire tread depth is above 3/32" on all tires
What's next
If any component fails inspection, address the issue before the vehicle is used for extended periods or long trips. For items you're unsure about, such as battery water levels, contact your local auto center for assistance. Always refer to the vehicle's tire information sticker for correct pressure values on future inspections.
Generation details: cost, quality tiers
Docsie billed 3,000 credits ($2.10) to analyze this 6-minute video at standard quality. The rewrite, template fill and Word/PDF exports were included. The same video at each quality tier:
| Quality | Frames sampled | Credits | Approx. cost |
|---|---|---|---|
| Draft | every 16-30 s | 1,500 | $1.05 |
| Standard (this guide) | every 8-15 s | 3,000 | $2.10 |
| Detailed | every 4-7 s | 6,000 | $4.20 |
| Ultra | every 1-3 s | 12,000 | $8.40 |
Credits priced at $0.70 per 1,000; plans include a monthly allowance. Enterprise customers on on-premise or bring-your-own-model deployments run this on their own inference and pay no per-video credits.
Generated by Docsie Video-to-Docs on 2026-09-10 from a 5-minute video. Screenshots are frames from the source video and belong to their creator, mccsyuma, whose original is embedded above. If you own this video and want the guide removed or credited differently, contact us and we will act within one business day.