
How to Use a Ladder Safely
Ladder accidents are one of the leading causes of injury on job sites, surpassing incidents involving power tools or nail guns. More than 150,000 people visit the emergency room every year because of ladder accidents, and several hundred people die from ladder-related falls annually. This document explains how to use a ladder safely, covering ladder selection, inspection, setup, extension, stabilization, and safe climbing technique so that you can complete work at height with minimal risk of injury.
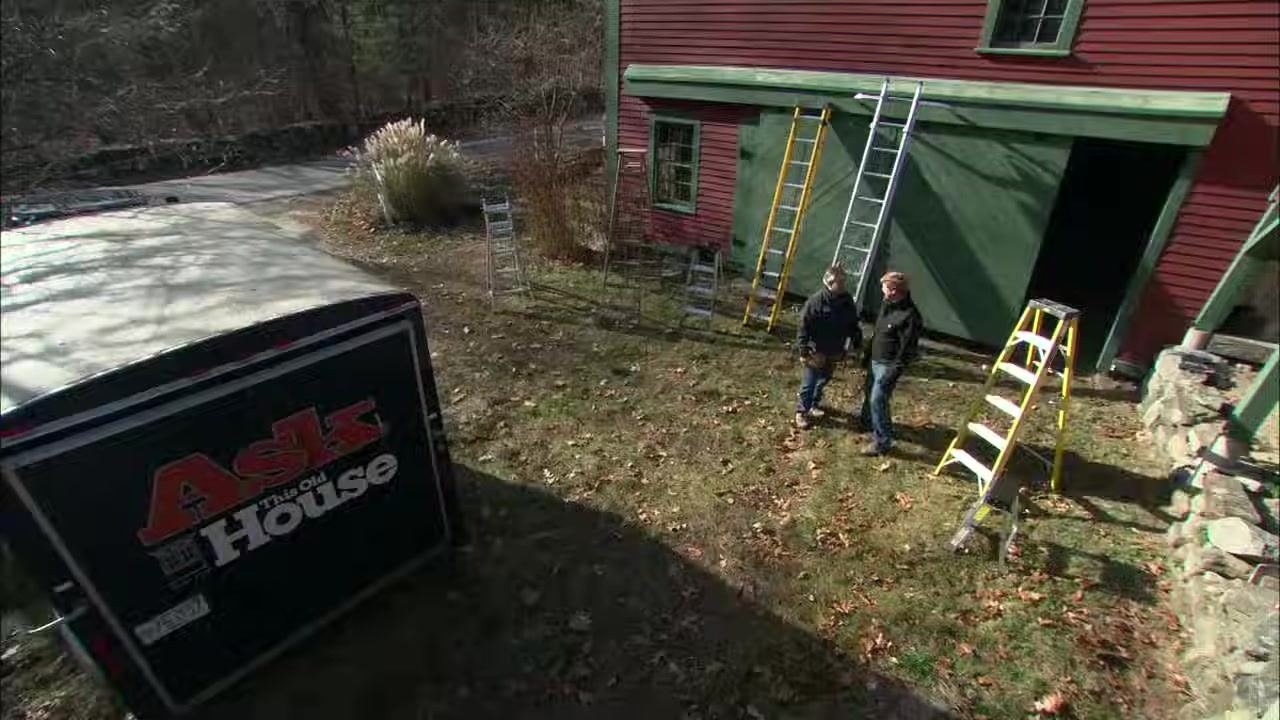
Video: How to Use Ladders Safely | Ask This Old House by This Old House (2015). All credit for the demonstration goes to the creator; watch the original on YouTube. The written guide below was generated from this video by Docsie. Creator? Request a change or removal.
Ladder accidents are one of the leading causes of injury on job sites, surpassing incidents involving power tools or nail guns. More than 150,000 people visit the emergency room every year because of ladder accidents, and several hundred people die from ladder-related falls annually. This document explains how to use a ladder safely, covering ladder selection, inspection, setup, extension, stabilization, and safe climbing technique so that you can complete work at height with minimal risk of injury.
Purpose
This procedure describes the steps you must follow to select the correct ladder, verify it is safe to use, set it up correctly, and climb it safely. Following these steps significantly reduces the risk of injury or fatality when using ladders on the job site or at home.
Scope
This procedure applies to wood, fiberglass, and aluminum ladders, including step ladders, extension ladders, and multi-position ladders. It covers ladder use for general construction, maintenance, and home projects, including work performed near electrical sources or fragile surfaces such as gutters and glass panes.
Required equipment and PPE
- Wood or fiberglass ladder — required when working near electrical sources, since these materials do not conduct electricity
- Aluminum ladder — suitable for general use only when there is no risk of electrical contact; it is lighter and often less expensive
- Tool belt — used to carry tools so your hands remain free while climbing
- Tape measure — used to verify correct ladder placement distance from the building
- Ladder levelers — used to stabilize the ladder feet on soft or uneven ground
- Ladder stabilizer (standoff) — used to keep the ladder clear of gutters and delicate surfaces
- Multi-position ladder with locking hinge — used only in manufacturer-approved configurations
Select the ladder material for the job
Choose fiberglass or wood ladders when working near electrical sources to minimize the risk of electric shock. Choose aluminum ladders for general use only when there is no risk of electrical contact, since they are lighter and easier to handle. Never use an aluminum ladder near electrical wiring or fixtures.
Confirm the material is appropriate before you bring the ladder to the work area. Electricians commonly use wood or fiberglass ladders for this reason, while aluminum ladders are commonly purchased by homeowners for general tasks.
Safety note: Material alone does not determine weight capacity. Regardless of whether the ladder is fiberglass, wood, or aluminum, you must check the manufacturer's specifications for the maximum load rating before use.

Check the weight rating label
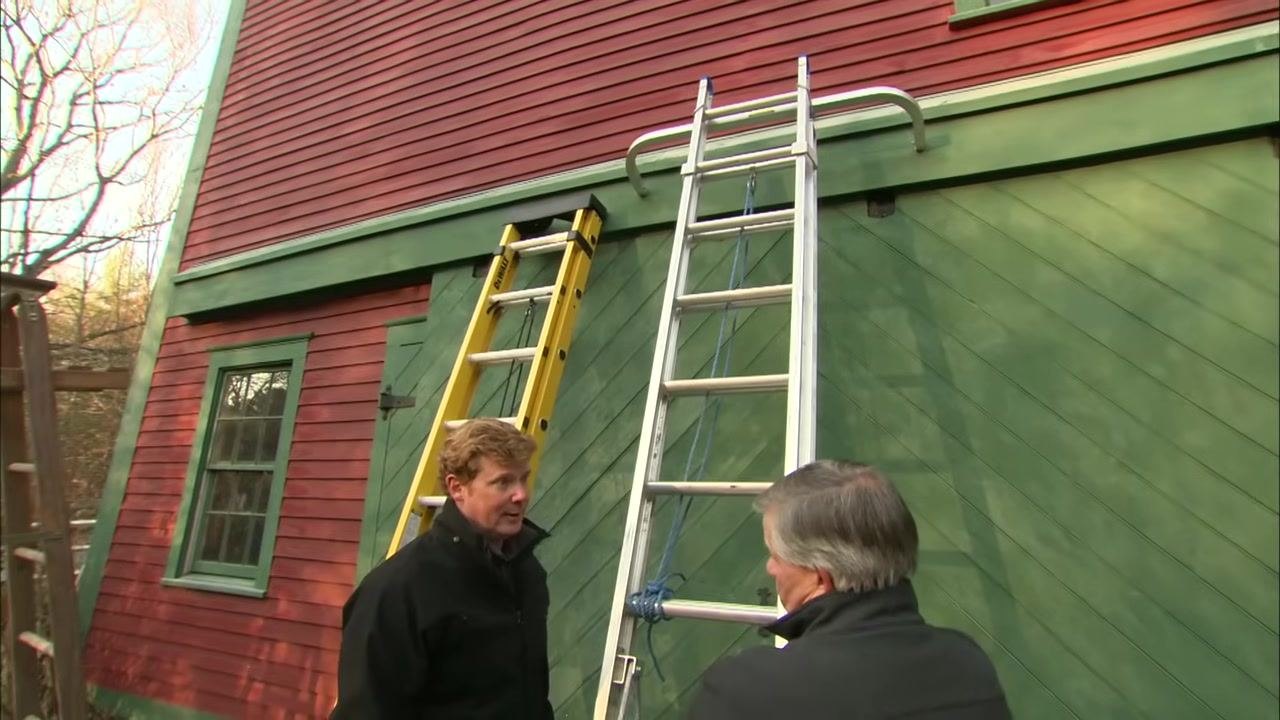
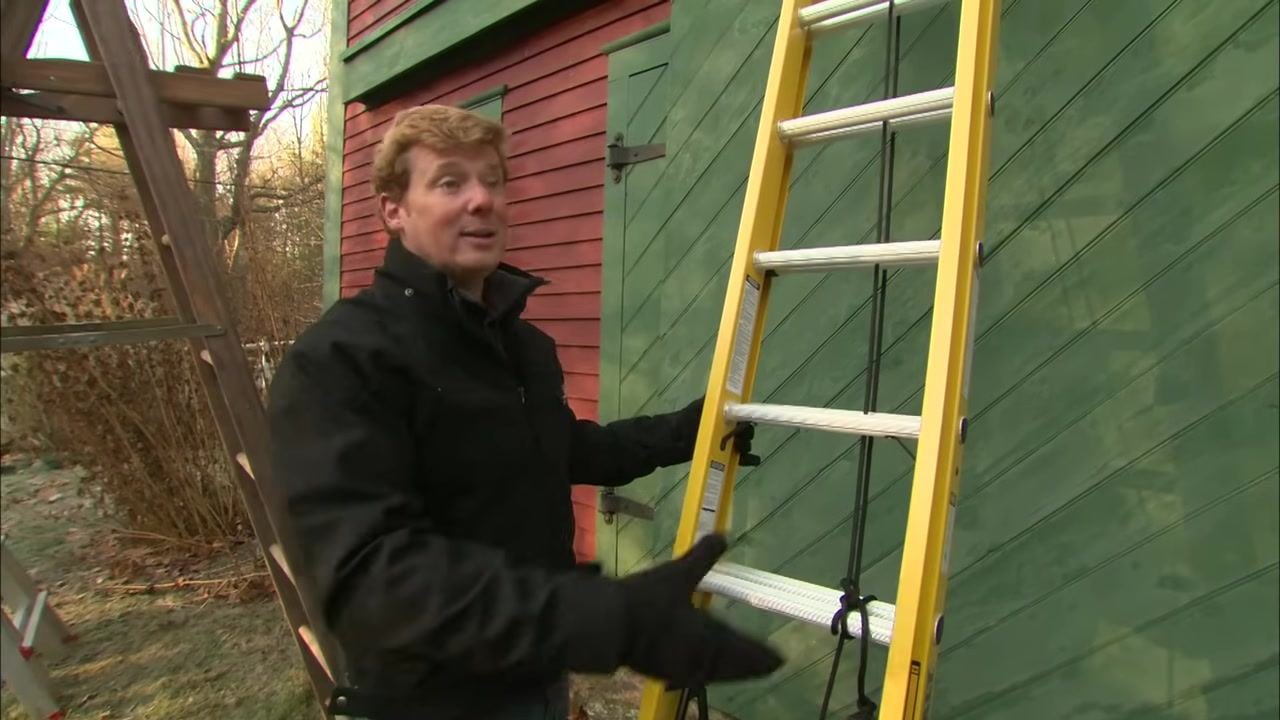
Locate the weight rating label on the side of the ladder. Every ladder is clearly labeled with its type and maximum load capacity, such as Type 1A (rated up to 300 pounds) or Type 1 aluminum (rated up to 250 pounds). Always verify the label before use to confirm the ladder meets your needs.
Safety note: The weight rating includes not only your body weight but also any tools, tool belt, and materials you carry up the ladder. For example, if you weigh 200 pounds and your tool belt and materials weigh 50 pounds, you need a ladder rated for at least 250 pounds. Never exceed the ladder's maximum load rating — carrying heavy loads such as bundles of shingles up an older or damaged ladder can cause rungs to break.
Store ladders properly
Store ladders indoors whenever possible to protect them from the elements. Exposure to weather can degrade wood, fiberglass, and aluminum alike, reducing their strength and safety over time.
Inspect the ladder before each use
Always inspect the ladder before using it, regardless of how well it has been stored. For wooden ladders, check for broken or cracked rungs, damaged legs, or signs of rot; discard the ladder if any part is loose or compromised. For fiberglass ladders, look for frayed fiberglass, cracks in the side rails, holes, or damaged rungs; any visible damage means the ladder should not be used. For aluminum ladders, ensure the ladder has not been bent, twisted, or otherwise structurally deformed from being dropped or blown over.
If a ladder has been blown down, fallen, or hit something, inspect the rails for bends or creases. Even slight bends or creases weaken the ladder. If the rails are not in good shape, replace the ladder immediately — do not attempt to use or repair a damaged ladder.
Safety note: Do not attempt to repair a ladder with structural damage. If any rung, rail, or support is loose or compromised, throw the ladder away to prevent accidents.

Maintain proper climbing form
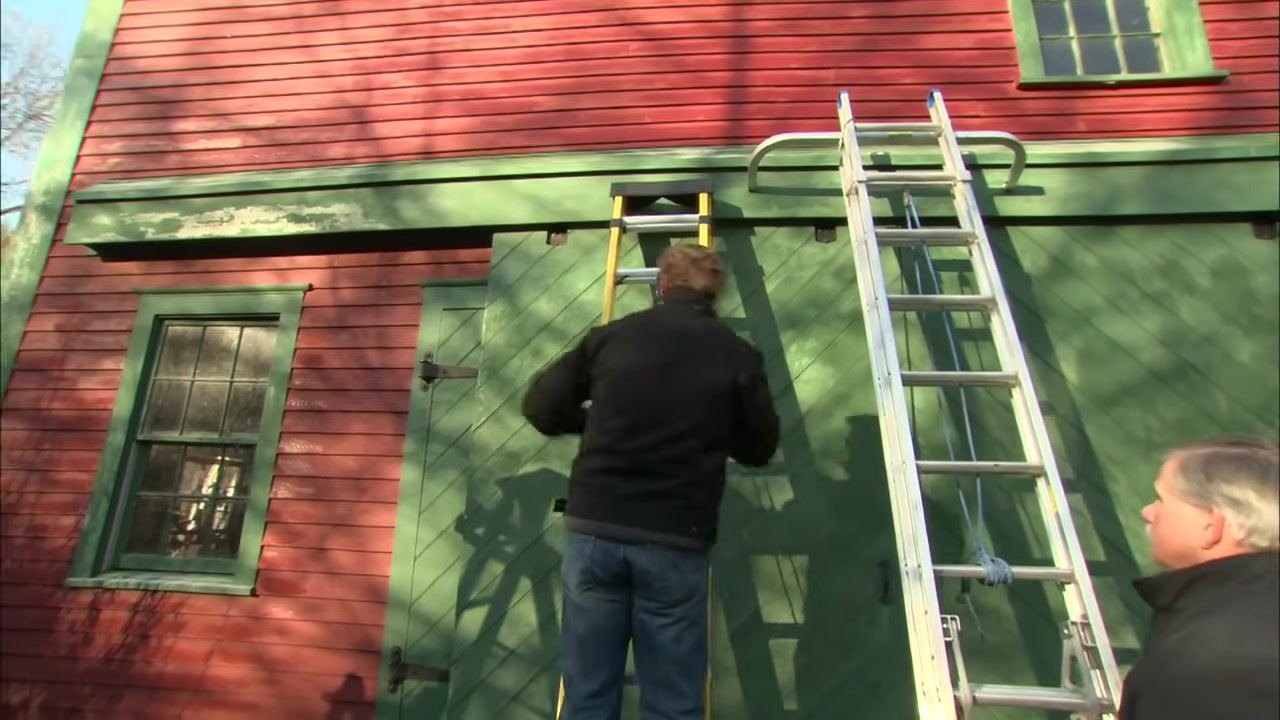
Keep your center of gravity centered on the ladder and avoid overextending your body in either direction. Follow the three-points-of-contact rule: keep either two feet and one hand, or two hands and one foot, in contact with the ladder at all times while climbing up or down.

Wear a tool belt to keep your hands free
Wear a tool belt when using a ladder and place any tools you need in it before climbing. This keeps your hands free so you can maintain three points of contact while ascending or descending.
Set up a step ladder correctly
Always open a step ladder fully before use; never lean a closed step ladder against a wall. Ensure the spreaders are locked down before climbing. Do not stand on the top cap, the top step below the cap, the paint tray, or the narrow rungs at the back of the ladder. Only use the designated steps for standing and working.
Identify the sections of an extension ladder
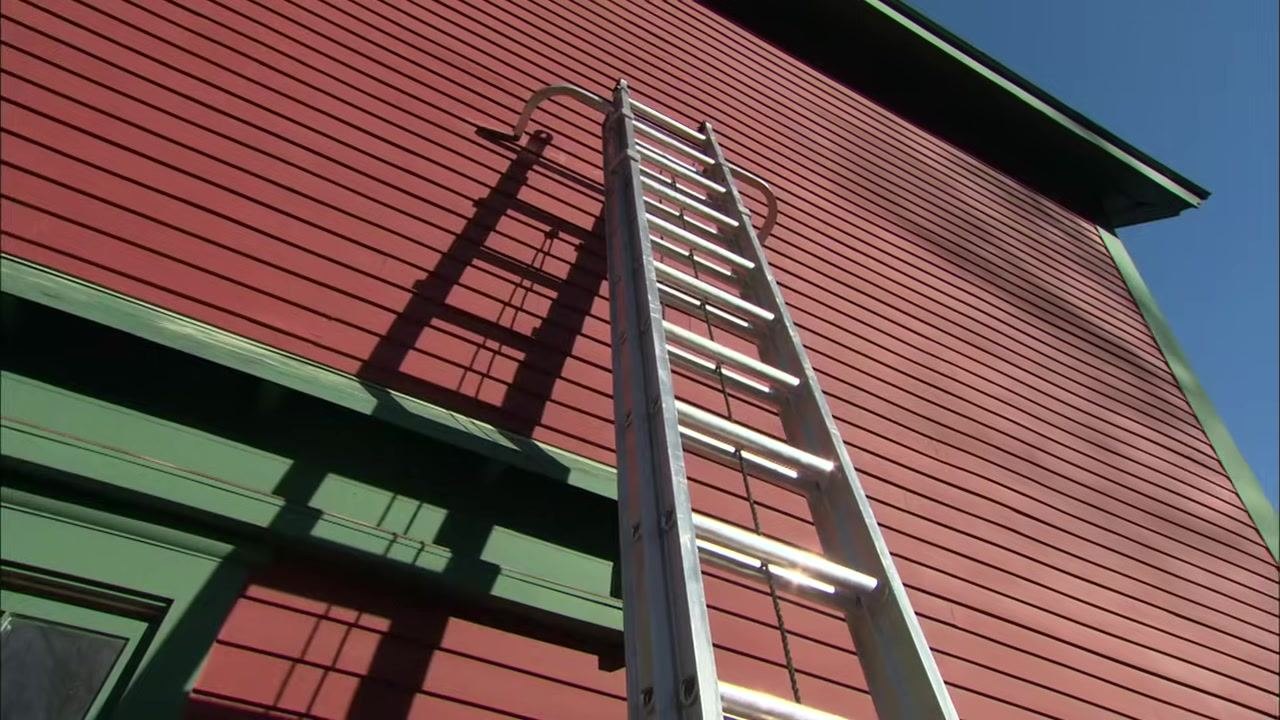
Extension ladders typically have two sections, though larger ladders may have three. The back section rests on the ground, while the outer section is the moving part that extends upward. Set up the ladder on stable, level ground and ensure it is fully extended and locked before use.
Locate the outer, moving section by finding the part of the ladder that is not in direct contact with the ground and that slides upward. Confirm that both the base and outer sections rest on stable, level ground, and that the surrounding area is clear of obstacles, debris, and uneven surfaces before extending the ladder.
Move the ladder into position
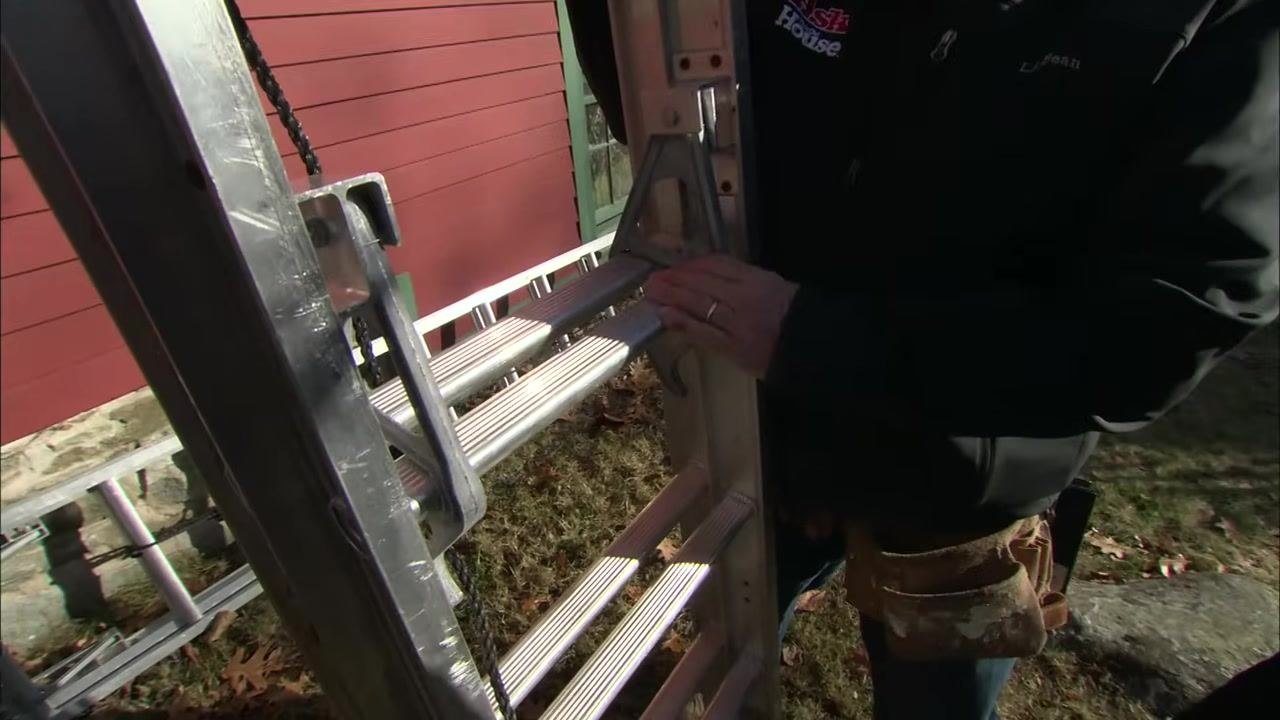
Slide the upper section of the ladder up, then drop it down so the rung locks engage and secure the ladder in position. Extension ladders are heavy and can be unwieldy, especially when working alone.
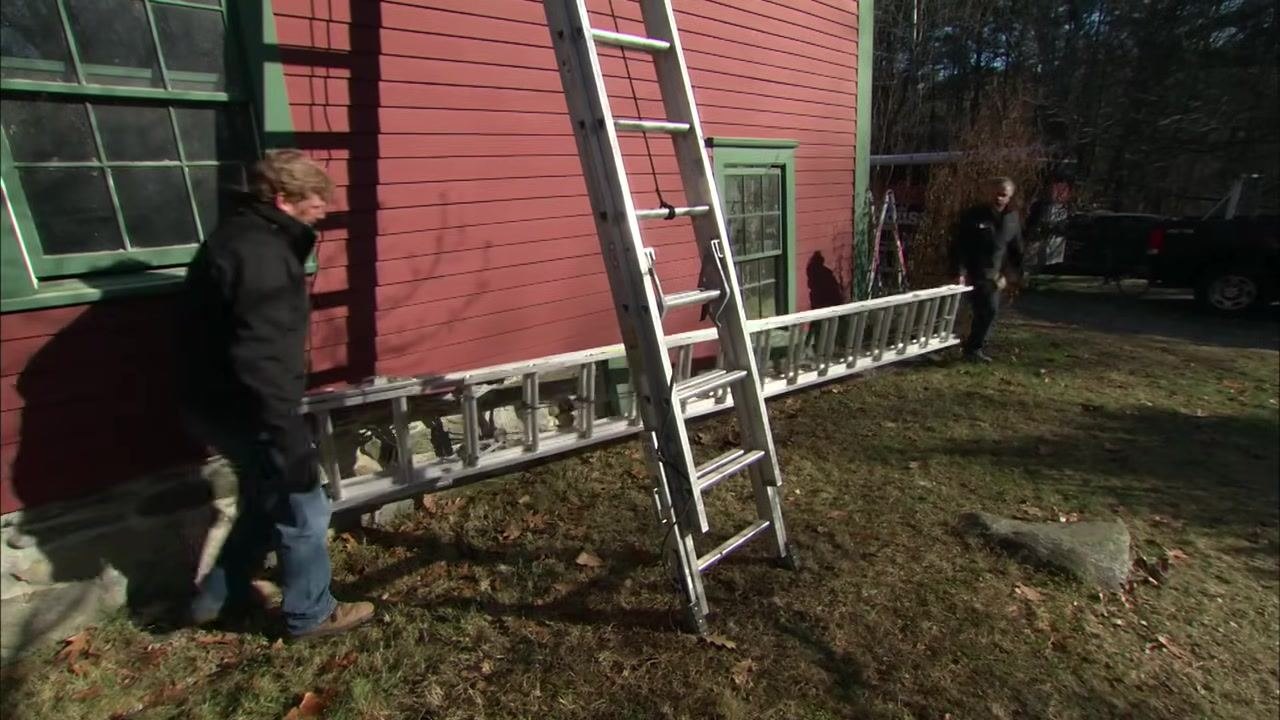
If possible, work with a partner: have one person hold the bottom of the ladder while the other maneuvers the top, making the ladder easier and safer to handle.
If you must work alone, carefully muscle the ladder into position by yourself, taking care because the ladder can be heavy and awkward to maneuver.
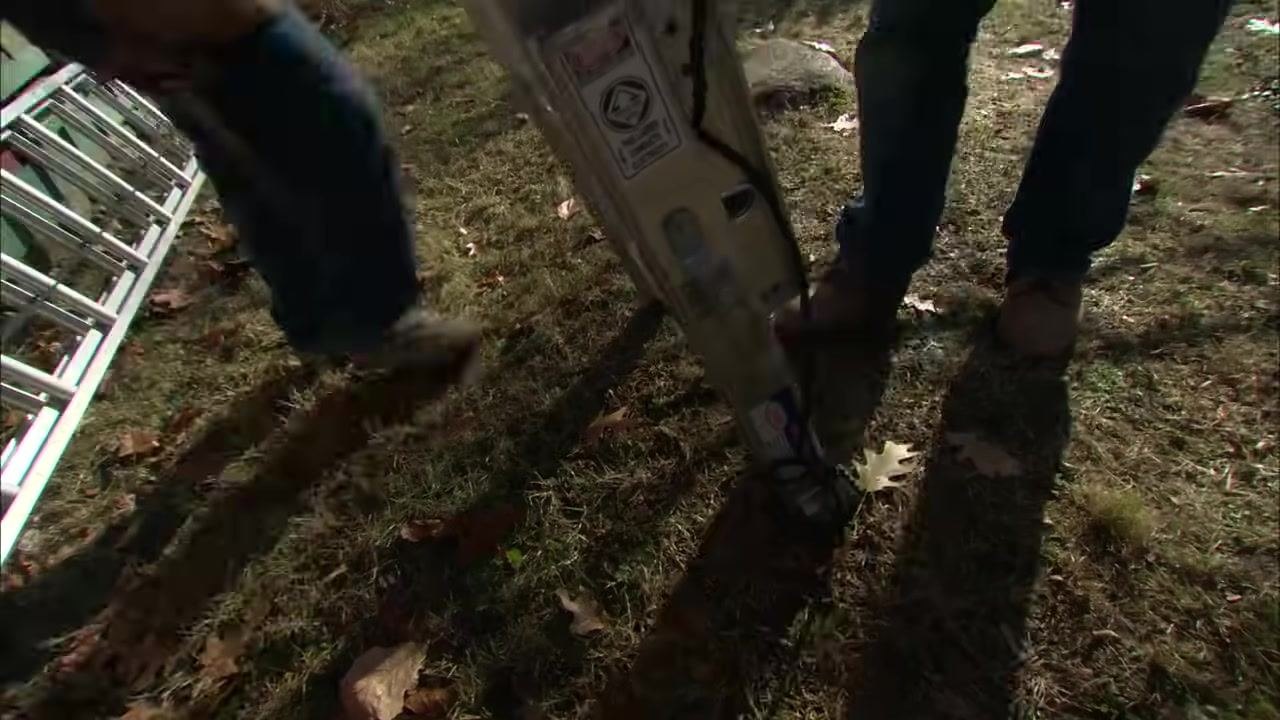
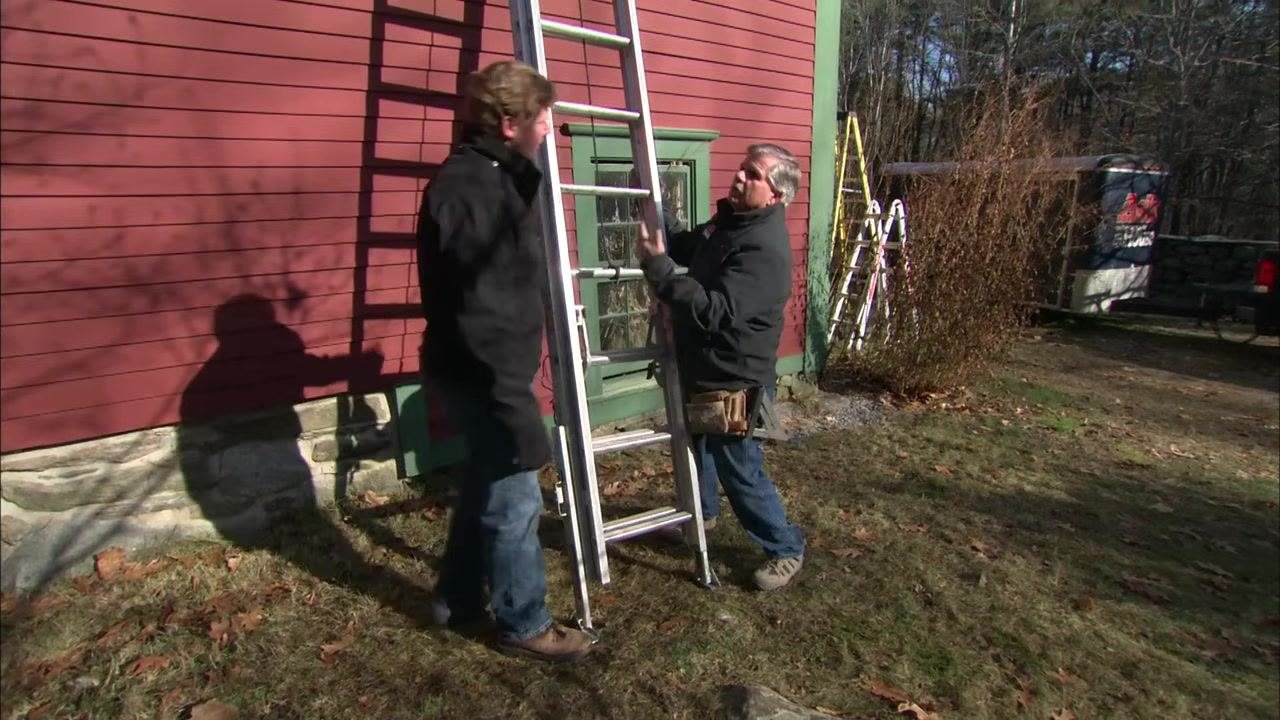
Position the base of the ladder firmly against the building's foundation, ensuring the feet are stable and not resting on loose debris or uneven ground.
Push the ladder up so it stands vertically against the building. One person should hold the ladder steady while the other raises it, if possible.
Set the correct ladder angle using the 4:1 ratio
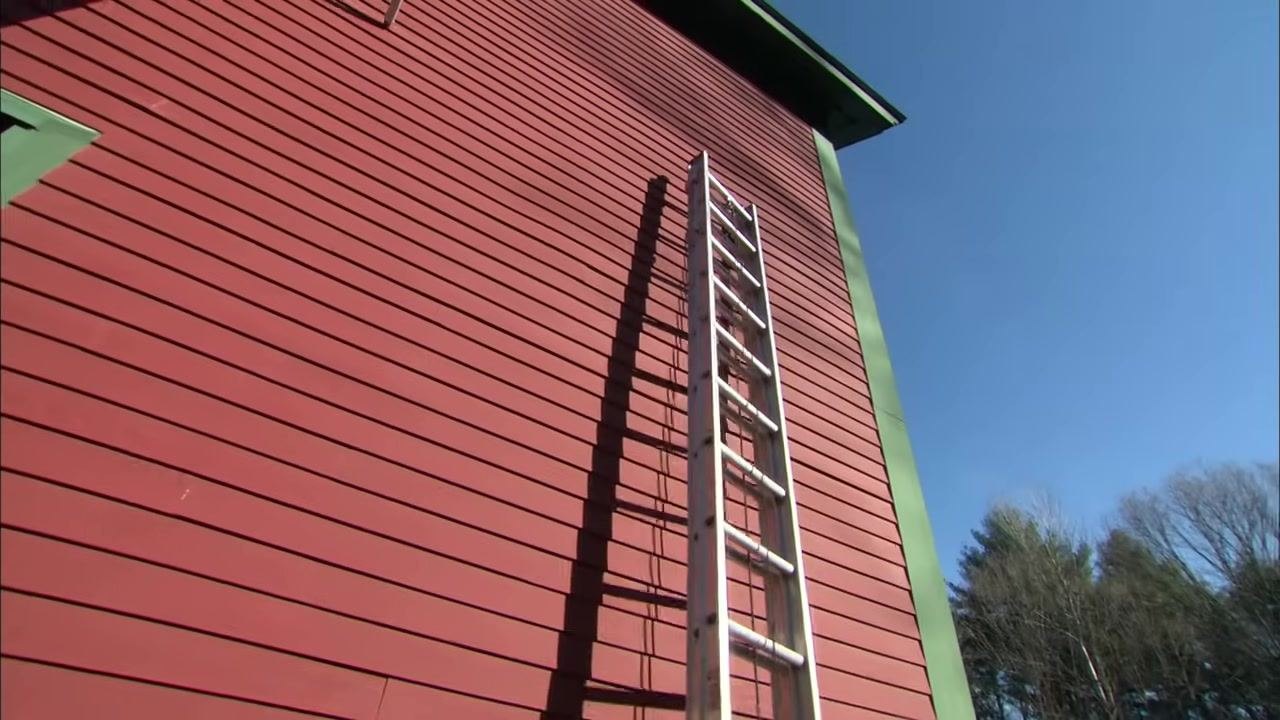
Walk the base of the ladder out slowly to achieve the correct angle, roughly 75 degrees, so the ladder leans safely against the building.
Use the 4-to-1 rule for ladder placement: for every 4 feet of ladder height, position the base 1 foot away from the building. For example, a 16-foot ladder should have its base 4 feet from the wall, and a 32-foot ladder should have its base 8 feet from the wall.
Measure and verify the ladder angle
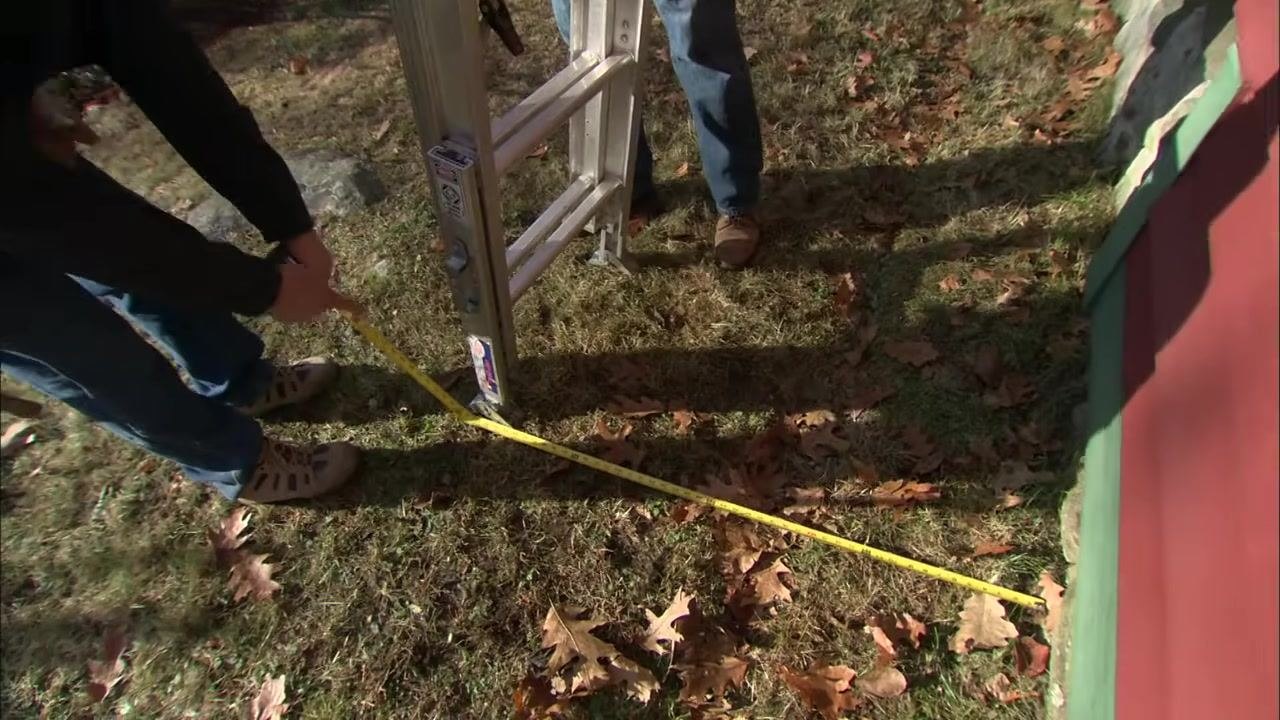
Use a tape measure to confirm the base of the ladder is the correct distance from the building, pulling the tape from the base of the ladder to the wall to check it matches the 4:1 ratio.
As a quick check, stand facing the ladder and extend your arms straight out; your hands should just reach the ladder's rung at shoulder height if the angle is correct. This confirms the ladder is set at a safe climbing angle.
Adjust the ladder feet for the ground surface
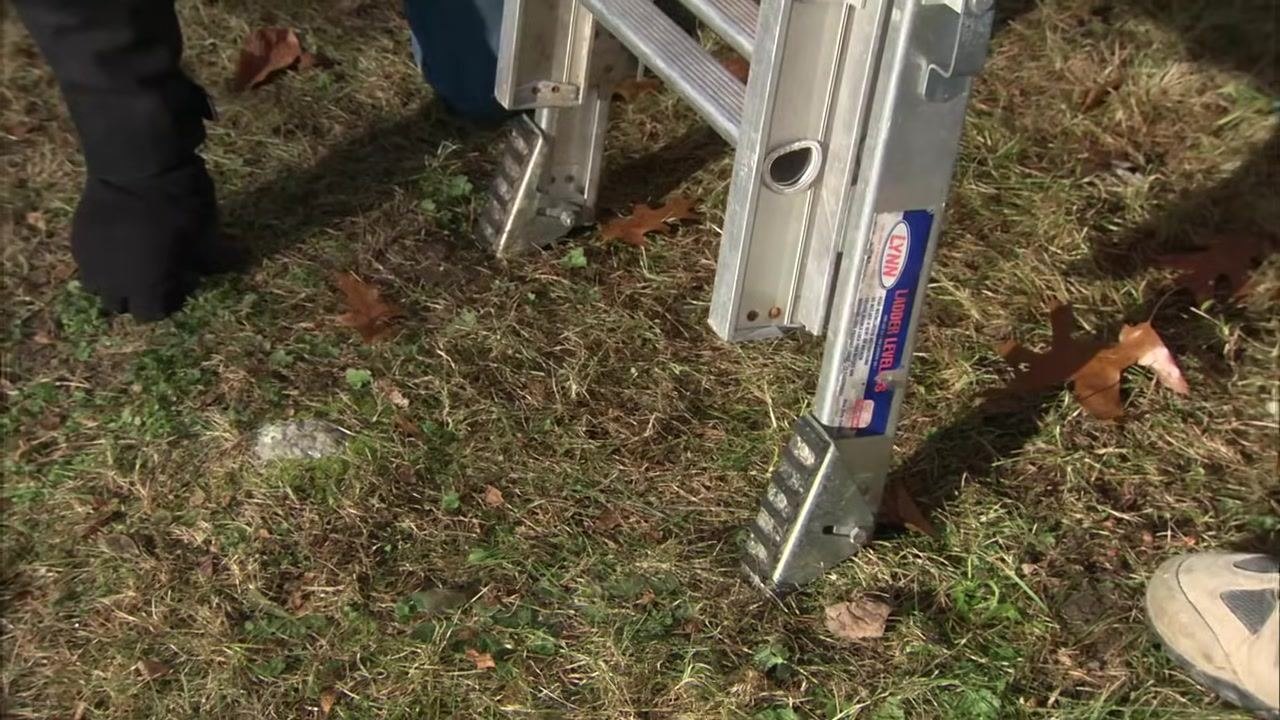
Inspect the feet of the extension ladder to ensure they sit flat on the ground. Ladder feet are designed for hard surfaces, so if you are working on a soft surface such as grass or soil, additional adjustment may be necessary for stability.
If your ladder is equipped with levelers, use them to stabilize the ladder on uneven or soft ground. Adjust the levelers so both feet are firmly in contact with the ground to provide a stable base.
Extend the ladder to the desired height
Stand the ladder upright and position it securely against the building, confirming it is stable before proceeding. One person should hold the ladder steady while the other prepares to extend it.
Stand to the side of the ladder to safely operate the extension mechanism and grasp the ladder securely before attempting to extend it.
Grab a rung of the upper section and push it upward, moving it rung by rung until the desired height is reached.
After extending the ladder, ensure both rung locks are fully engaged to secure the upper section, and visually confirm the locks are in place before using the ladder. If you need to extend the ladder further, stand behind it, brace it, and repeat the extension process.
Step back and visually inspect the ladder to confirm it is fully extended to the desired height and stable, with both feet firmly on the ground and the top section securely locked.
Safety note: Confirm once more that both rung locks are engaged after the ladder is extended. This double-check is critical before climbing.
Attach and use ladder stabilizers
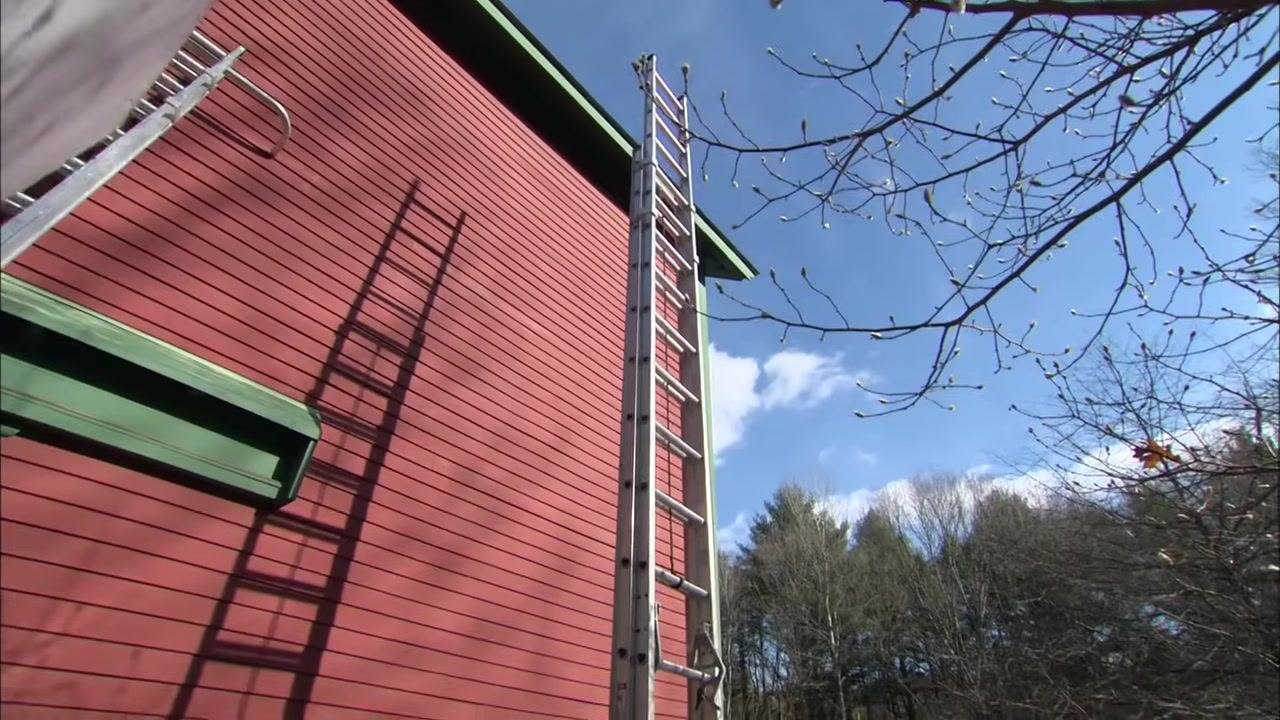
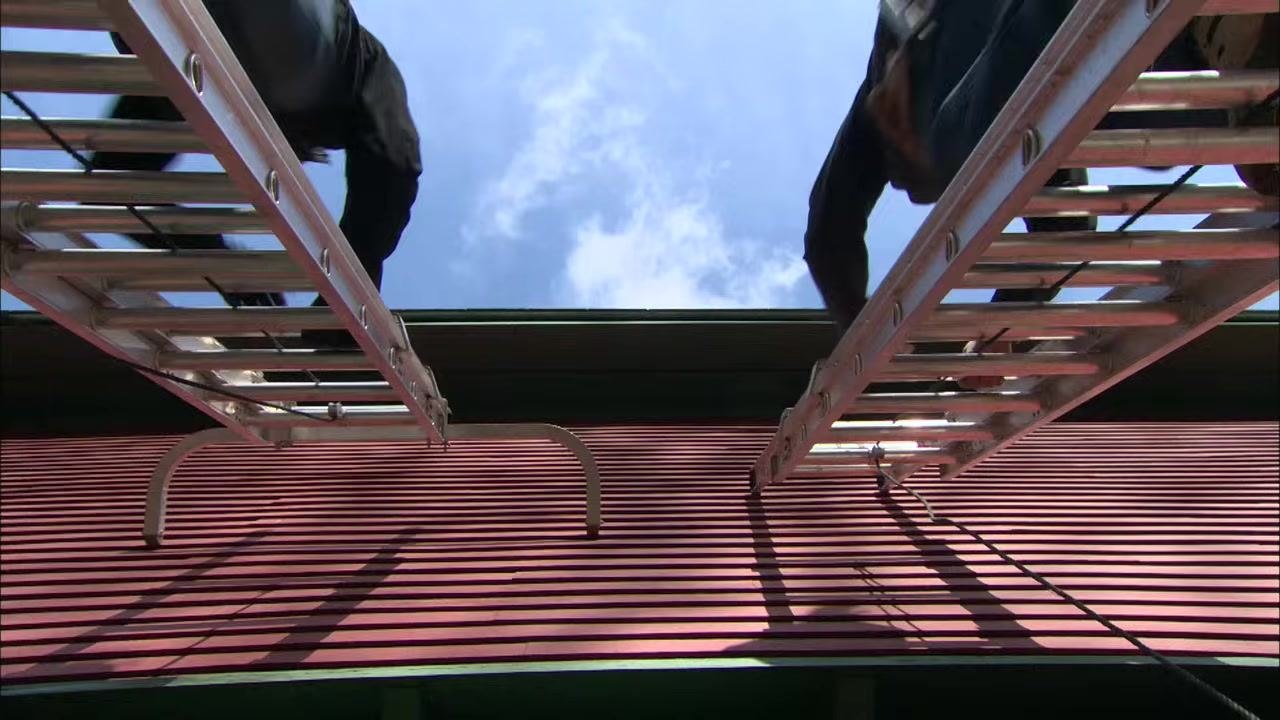
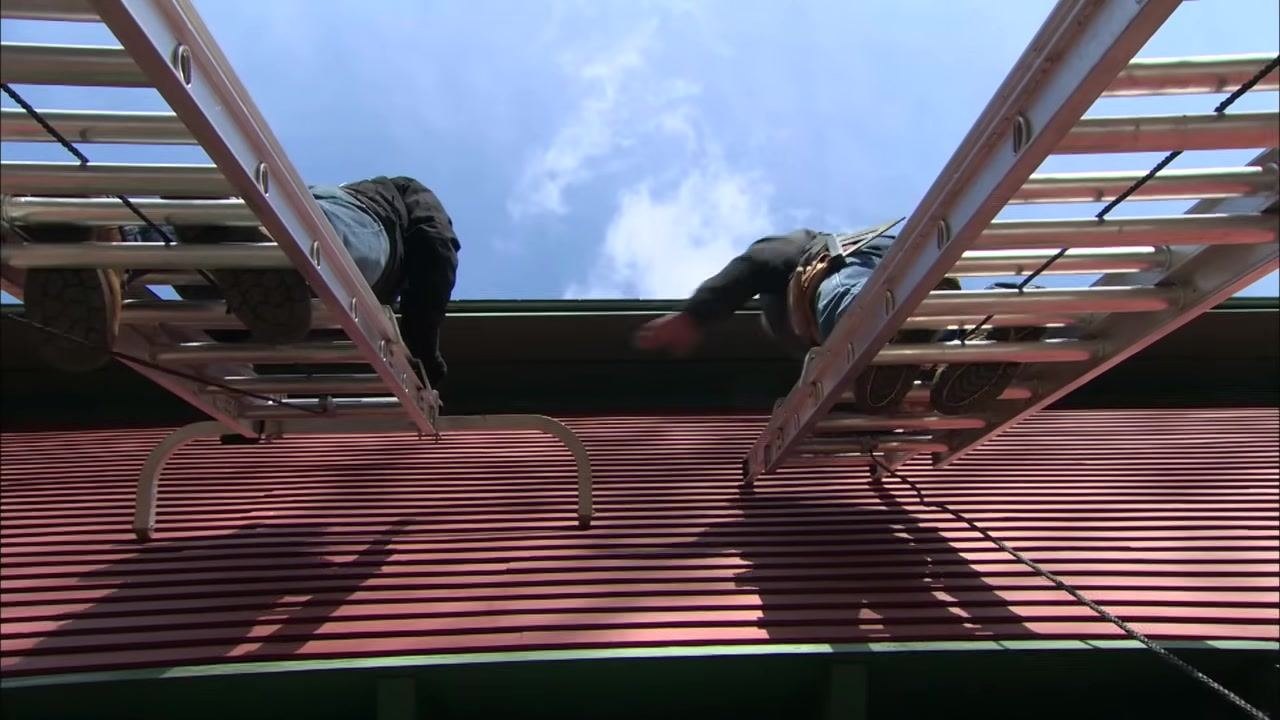
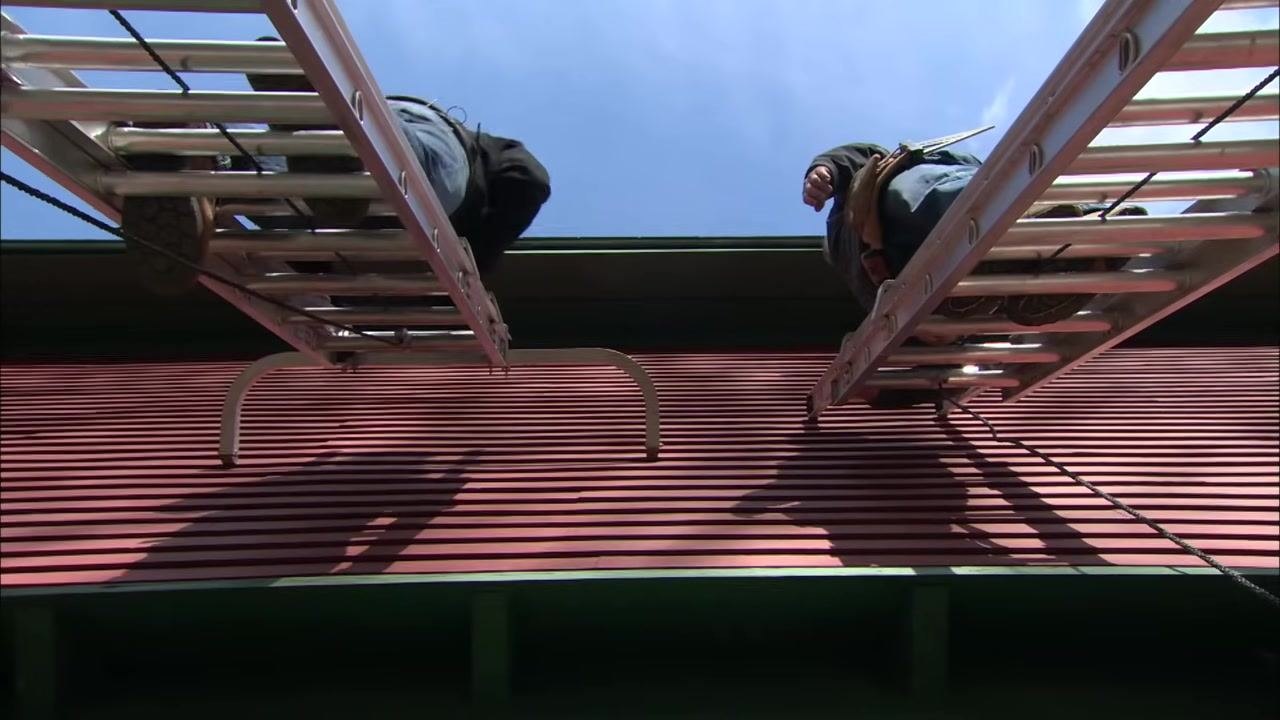
If your ladder is equipped with a stabilizer (also called a standoff), ensure it is properly attached at the top. The stabilizer helps distribute weight and keeps the ladder from resting directly on gutters or delicate surfaces.
The stabilizers keep the ladders away from the building's gutters and distribute weight evenly, allowing safe ascent even on delicate roof edges.
When working near delicate surfaces such as glass panes, do not place the ladder directly against them. Instead, position the ladder to the left or right of the fragile area and work from the side.
If obstacles prevent you from placing the ladder directly in front of your work area, move the ladder to the left or right and work from the side to prevent damage to fragile surfaces and maintain safety.
Use the stabilizer to set the ladder just underneath the roof overhang or on the first or second row of shingles. This prevents crushing gutters and provides a secure resting point.
Stabilizers are especially useful for working safely around gutters, overhangs, and delicate surfaces.
Configure a multi-position ladder correctly
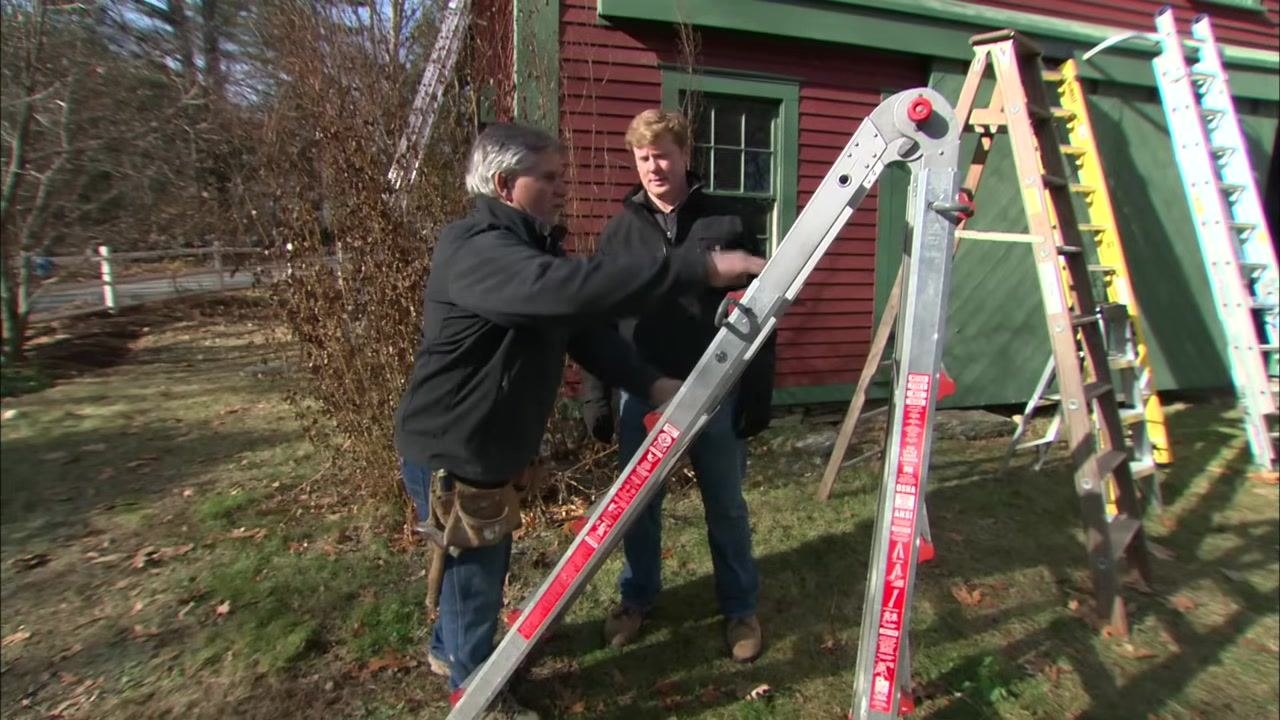
Examine the hinge mechanism on a multi-position ladder, which allows the ladder to lock into various configurations. Confirm the hinge locks securely before use.
To change the ladder's configuration, unlock the hinge and adjust one side at a time, sliding the ladder up on one side and then the other to achieve the desired height or shape. This method allows you to set the ladder for use on stairs or uneven surfaces.
Set the multi-position ladder in a configuration suitable for stairs, with one side longer than the other, and ensure the hinge is locked before climbing.
Safety note: Only use ladder configurations approved by the manufacturer. Do not attempt to create your own or use untested setups, as this can be dangerous.
Verification and summary
Before climbing any ladder, confirm the following: the material is appropriate for the job and any nearby electrical hazards, the weight rating label has been checked against your body weight plus tools and materials, the ladder has been inspected for damage and shows no cracks, bends, or defects, the ladder is set at the correct angle using the 4:1 ratio and verified by tape measure or arm-reach check, the feet or levelers are properly adjusted for the ground surface, both rung locks are engaged if the ladder is extended, and any stabilizer is properly attached if you are working near gutters or delicate surfaces.
Following these steps is a good way to stay out of the emergency room. Always double-check ladder stability and angle before climbing, and if you do not feel comfortable working with or being on the ladder, do not proceed — safety is paramount, and you should never take risks with ladder setup or use.
Generation details: cost, quality tiers
Docsie billed 5,500 credits ($3.85) to analyze this 11-minute video at standard quality. The rewrite, template fill and Word/PDF exports were included. The same video at each quality tier:
| Quality | Frames sampled | Credits | Approx. cost |
|---|---|---|---|
| Draft | every 16-30 s | 2,750 | $1.92 |
| Standard (this guide) | every 8-15 s | 5,500 | $3.85 |
| Detailed | every 4-7 s | 11,000 | $7.70 |
| Ultra | every 1-3 s | 22,000 | $15.40 |
Credits priced at $0.70 per 1,000; plans include a monthly allowance. Enterprise customers on on-premise or bring-your-own-model deployments run this on their own inference and pay no per-video credits.
Generated by Docsie Video-to-Docs on 2026-09-09 from a 10-minute video. Screenshots are frames from the source video and belong to their creator, This Old House, whose original is embedded above. If you own this video and want the guide removed or credited differently, contact us and we will act within one business day.