
How to Set Up a Scaffold
This standard operating procedure explains how to set up a scaffold safely, using a mobile aluminium scaffold as the reference structure. It covers the full sequence from base assembly through to installing safety features, performing final checks, and dismantling the structure once work is complete.
Video: How to Erect Scaffold by Kennards Hire (2019). All credit for the demonstration goes to the creator; watch the original on YouTube. The written guide below was generated from this video by Docsie. Creator? Request a change or removal.
This standard operating procedure explains how to set up a scaffold safely, using a mobile aluminium scaffold as the reference structure. It covers the full sequence from base assembly through to installing safety features, performing final checks, and dismantling the structure once work is complete.
Purpose
The purpose of this SOP is to provide a safe, repeatable process for assembling and dismantling a mobile scaffold. Scaffolding is often a safer and more versatile choice than a ladder for elevated work, provided it is assembled correctly and all safety features are in place.
Scope
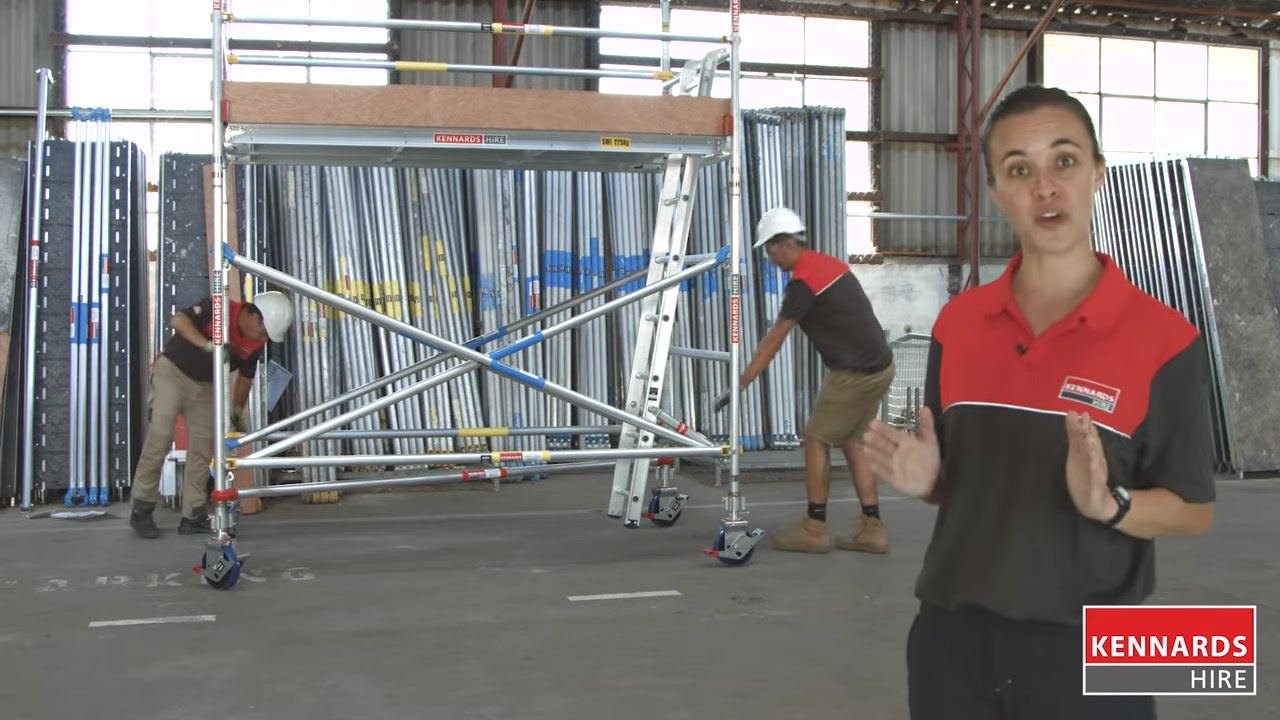
This procedure applies to mobile aluminium scaffolds assembled for general elevated work. Scaffolding is typically made from aluminium, which is strong and lightweight, and its parts are connected by braces and labeled for ease of use. Platforms and ladders are included to help you move around the scaffold safely.
If you require a working platform higher than four meters, the assembly must be performed by a licensed scaffolder. Any scaffold built over four meters in height falls outside the scope of self-assembly and must be erected by a licensed scaffolder.
Required equipment and PPE
Before you begin, gather the following components and protective equipment:
- Base frames (largest frame used at the bottom for stability)
- Casters (wheels) with locking brakes
- Diagonal and plan braces
- Working platforms
- A ladder
- A hatch deck
- Toe boards
- Outriggers (required for taller scaffolds)
- Safety glasses
- Protective gloves
- A safety helmet
Always follow the operator's instructions and any safety guidance provided by Kennards Hire staff before assembling, using, or dismantling the scaffold.

Assembling the mobile scaffold base
-
Identify the main components. Lay out the base frames, casters, braces, platforms, and ladders before you begin assembly.
-
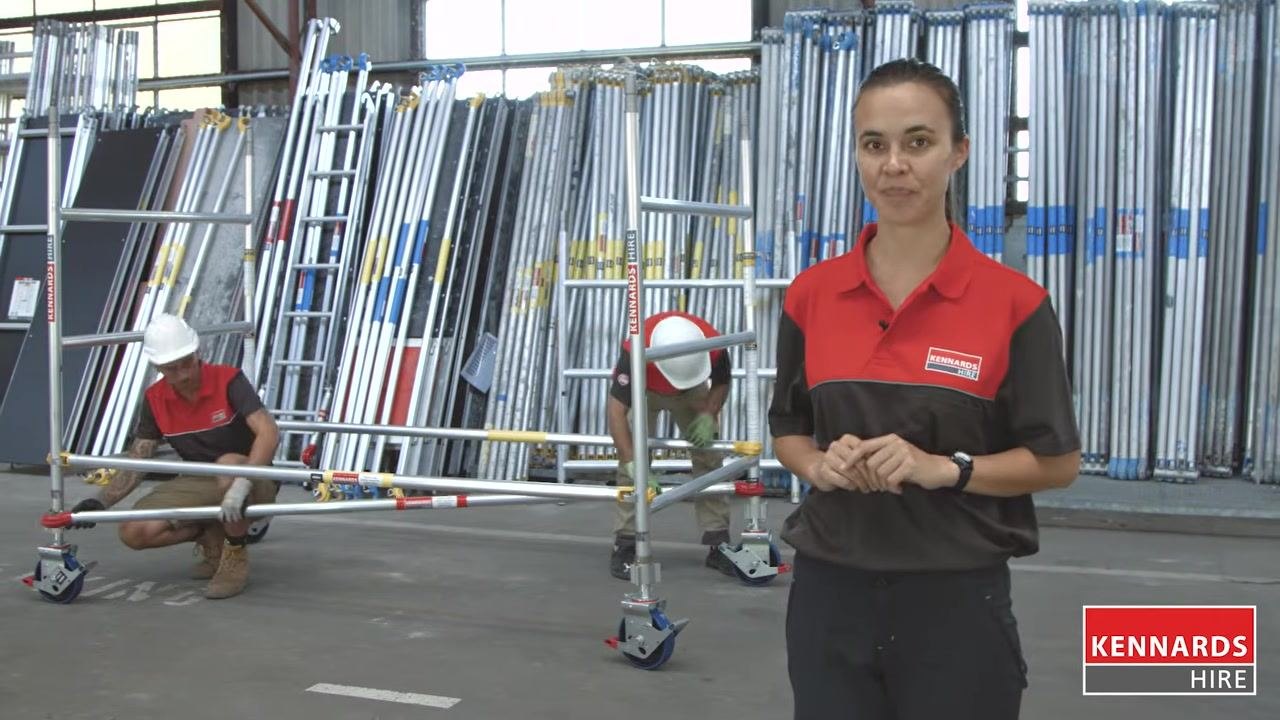
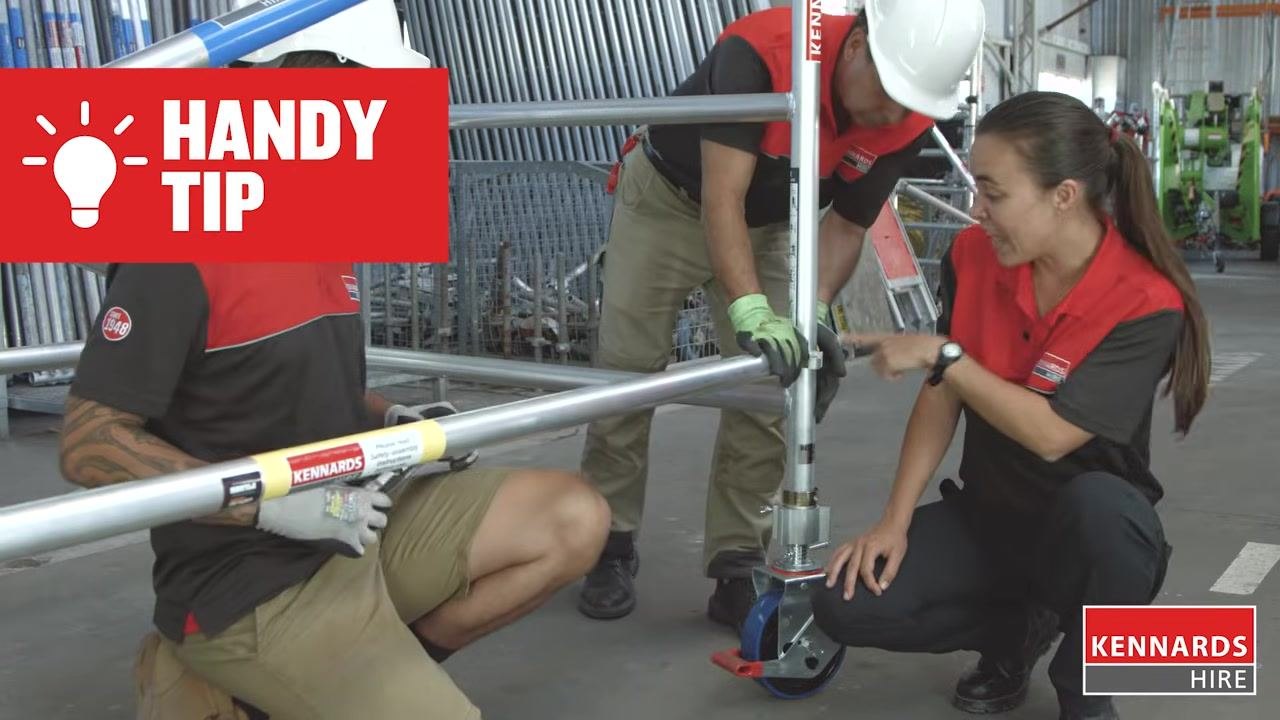
Insert the casters into the first base frame. Secure each caster to a frame leg and lock the brakes to prevent movement.
-
Repeat for the second base frame. Attach the remaining two casters and lock their brakes. Always use the largest frame at the bottom for stability.
-
Install a plan brace diagonally across opposite uprights below the first rung. This squares the scaffold base. Install additional diagonal braces to further stabilize the base frames. Check the level of the horizontal brace and ensure its end sits hard up against the bottom rung.
-
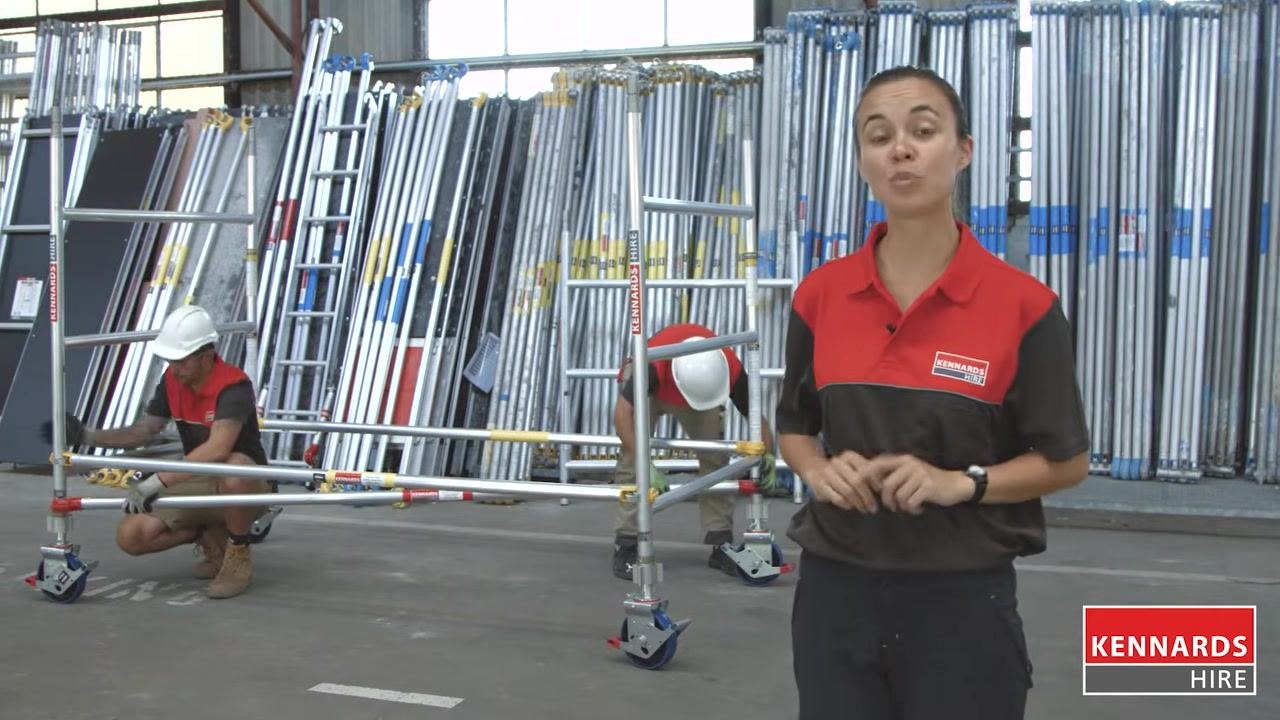
Tighten the wing nut on all four corners to secure the structure.
-
Install a temporary platform as a working surface on top of the rung, about half a meter above the ground. Position the platform just off center.
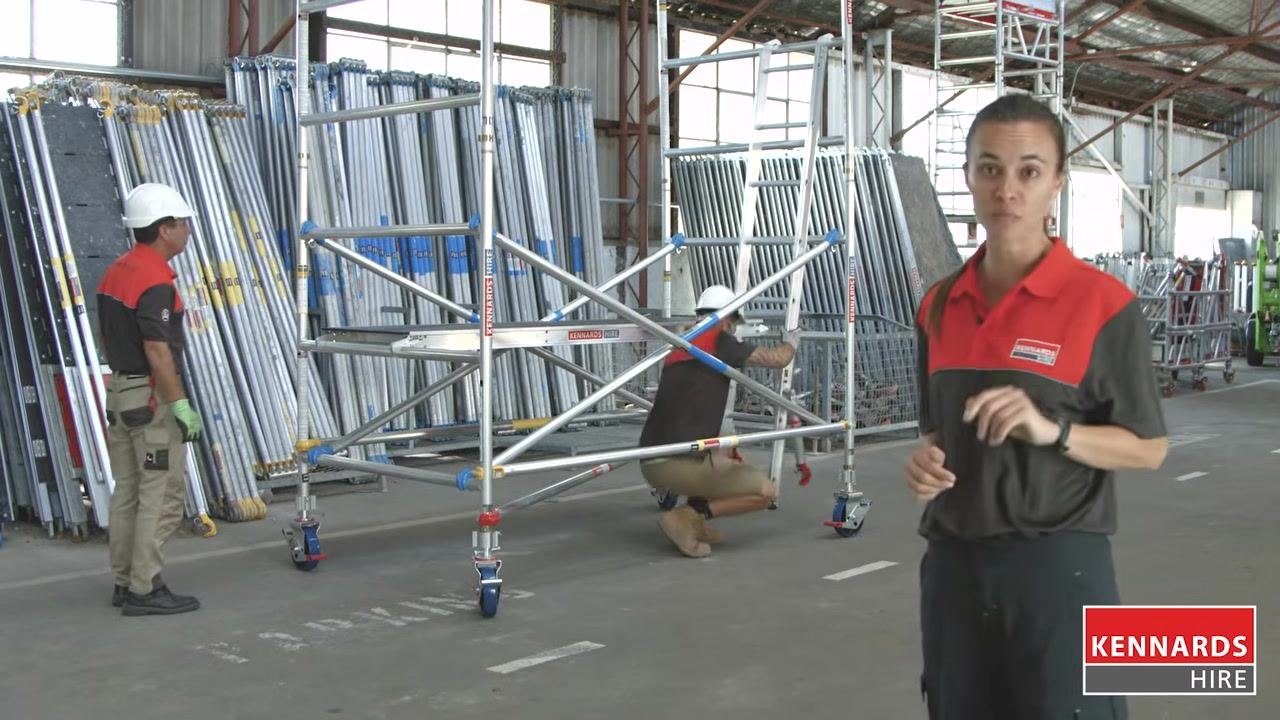
- Install a second set of base frames on top of the current base frames, repeating the process on both sides. Secure the frame clips to lock the frames in place.
At this stage, the base and initial structure of the mobile scaffold are safely assembled. Double-check that all braces, platforms, and frame clips are securely fastened before continuing.
Completing the scaffold assembly and installing safety features
- Install two extra diagonal braces after fitting the additional base frames. Place these braces in the opposite direction to the existing diagonals to further stabilize the structure.
-
Relocate the temporary platform from half a meter up to one meter above the ground.
-
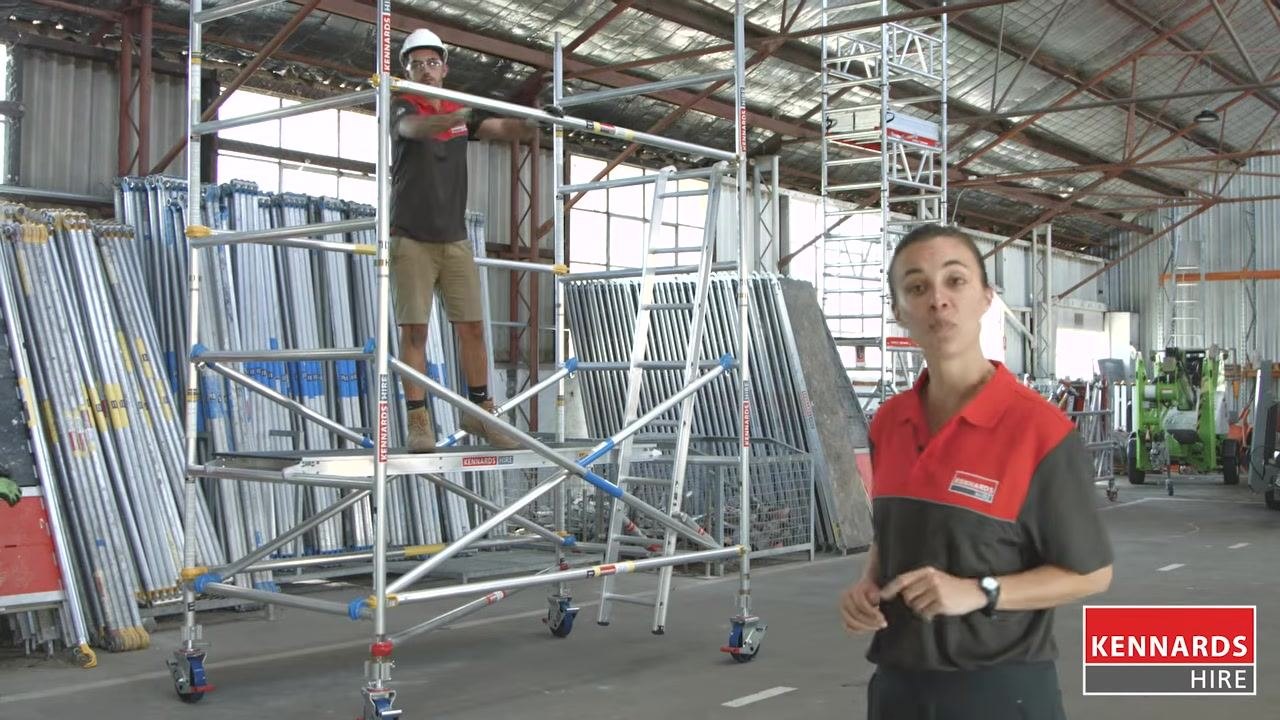
Install the ladder inside the scaffold. Secure the ladder at both the top rung and the bottom side to ensure stability.
-
Climb the ladder and install the next set of horizontal braces at the higher level, finishing both sides for complete support. A horizontal brace positioned near hip height acts as a fall prevention barrier in case of slips.
-
Install a hatch deck at two meters from the ground. This hatch deck serves as a safety barrier when installing guard rails at higher levels.
-
Remove the lower hip guard and reposition it above to create a mid rail for additional fall protection.
-
Remove the temporary platform and relocate it to match the height of the working platform.
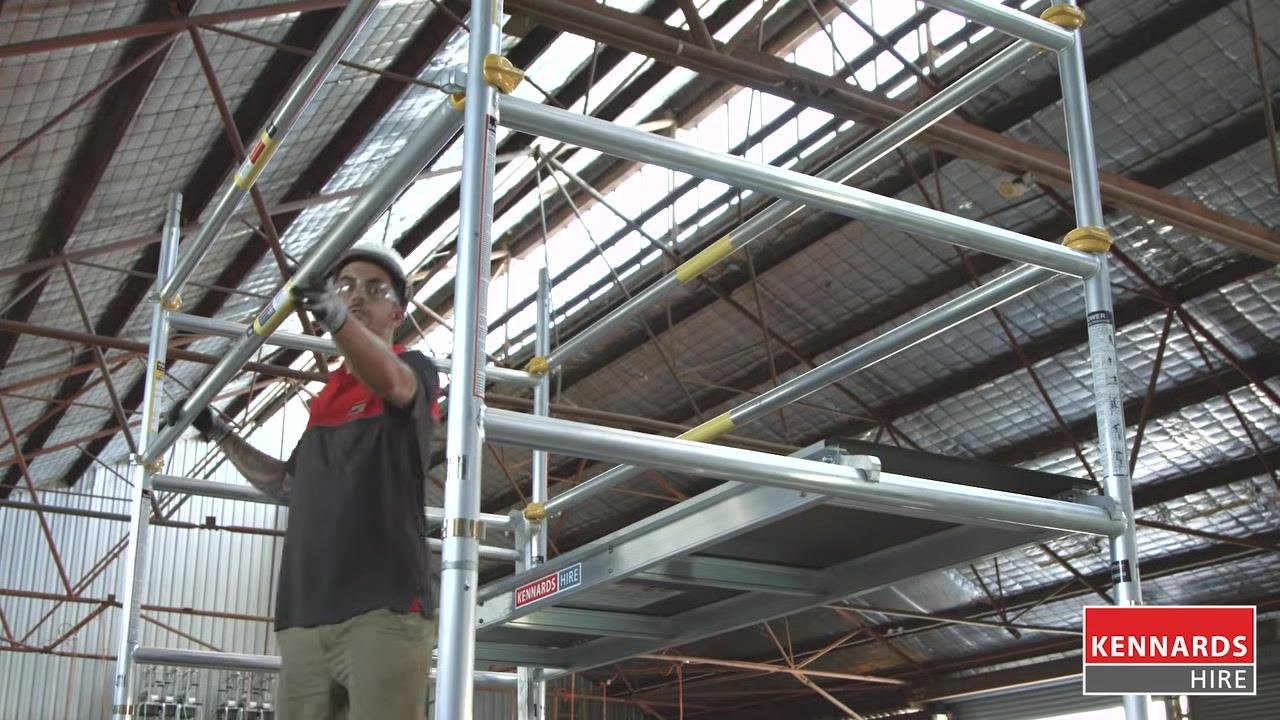
- Continue installing additional frames as needed to reach the desired height. If the total scaffold height will exceed three times the minimum base dimension, install outriggers for extra stability. Ensure each diagonal brace sits at a minimum of 45 degrees and that horizontal bars remain as level as possible.
If you plan to build a scaffold over four meters in height, it must be erected by a licensed scaffolder.
- Install toe boards on all working decks. Toe boards prevent slipping off the edge and stop tools or materials from falling.
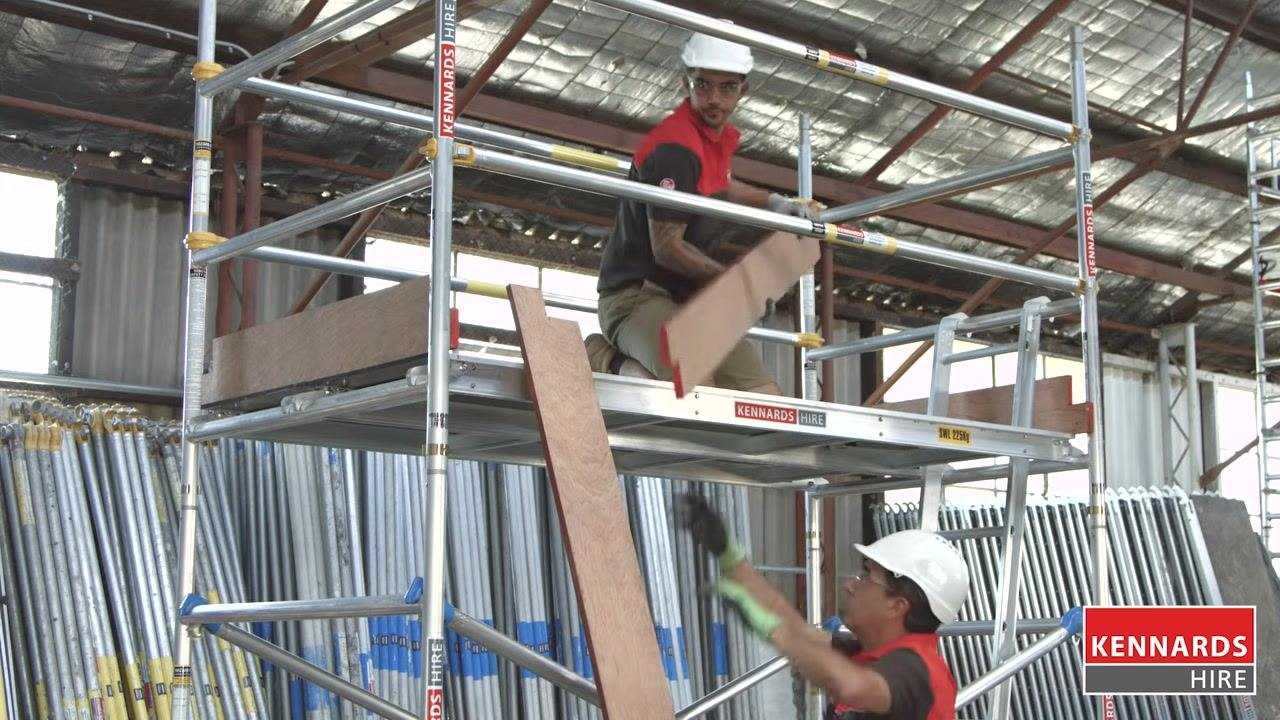
By completing these steps, you finish assembling the mobile scaffold with all necessary safety features, including braces, guard rails, hatch decks, and toe boards. Double-check that all components are securely fastened and comply with height and licensing regulations before use.
Installing the hatch deck correctly
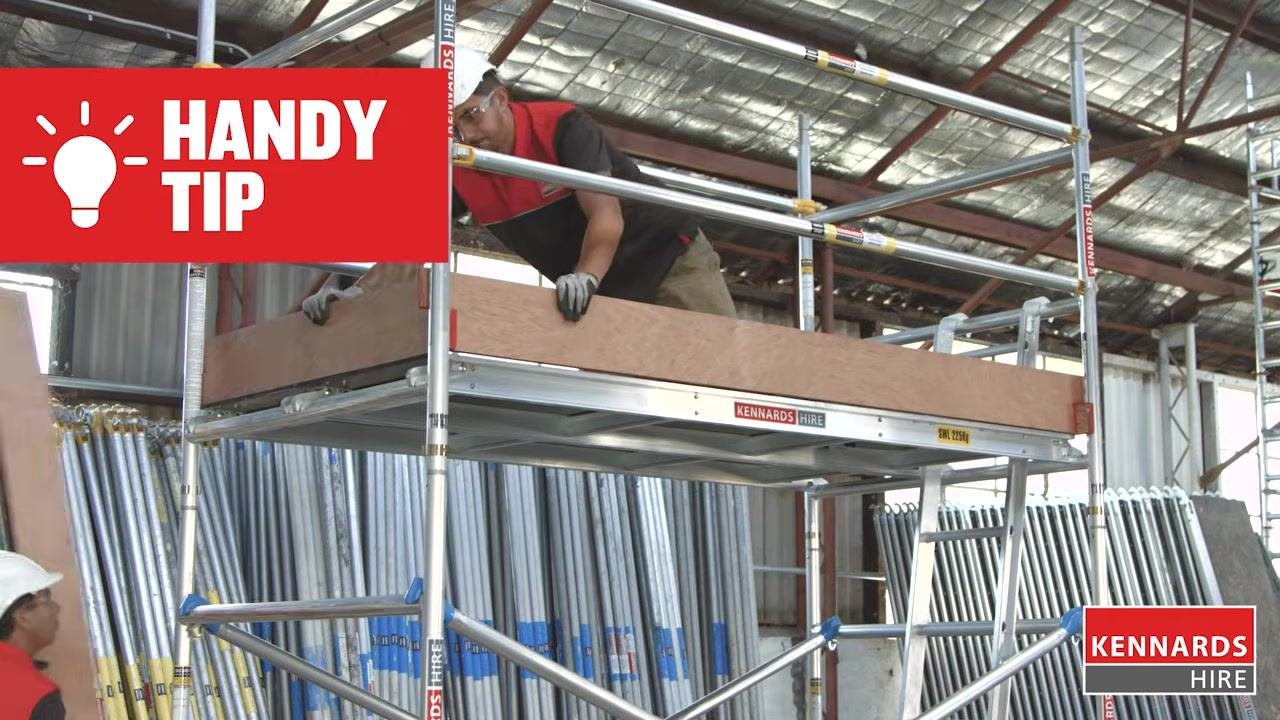
When installing your hatch deck, position the hatch latch at the center of the scaffold. The hatch should open onto the perimeter of the scaffold, allowing safe and easy access.
Performing final safety checks before use
Before putting the scaffold into use, confirm the following:
- The entire scaffold structure is firm and stable.
- All wing nuts are securely bolted.
- All caster brakes are locked into place to prevent movement.
Understanding the benefits of using a scaffold
Use scaffolding when you need to work at height for an extended period or when tools and equipment need to be close at hand. According to Safe Work Australia, 86% of falls occur when using a ladder, compared to only 14% when using a scaffold.
Dismantling the scaffold safely
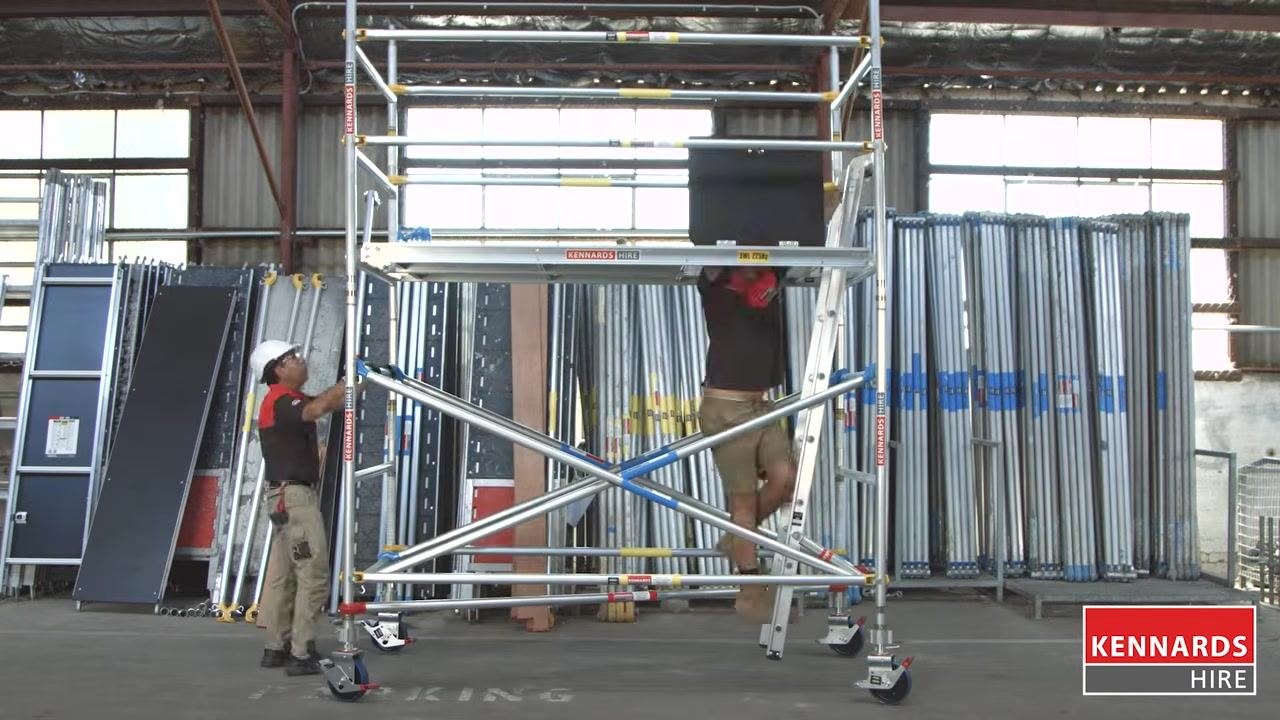
To take down the scaffold, reverse the assembly process, starting from the top. Never drop any parts to the ground; always lower them carefully to prevent damage or injury.
Verification and summary
Once assembled and checked, your scaffold is ready for safe and efficient use on your project.
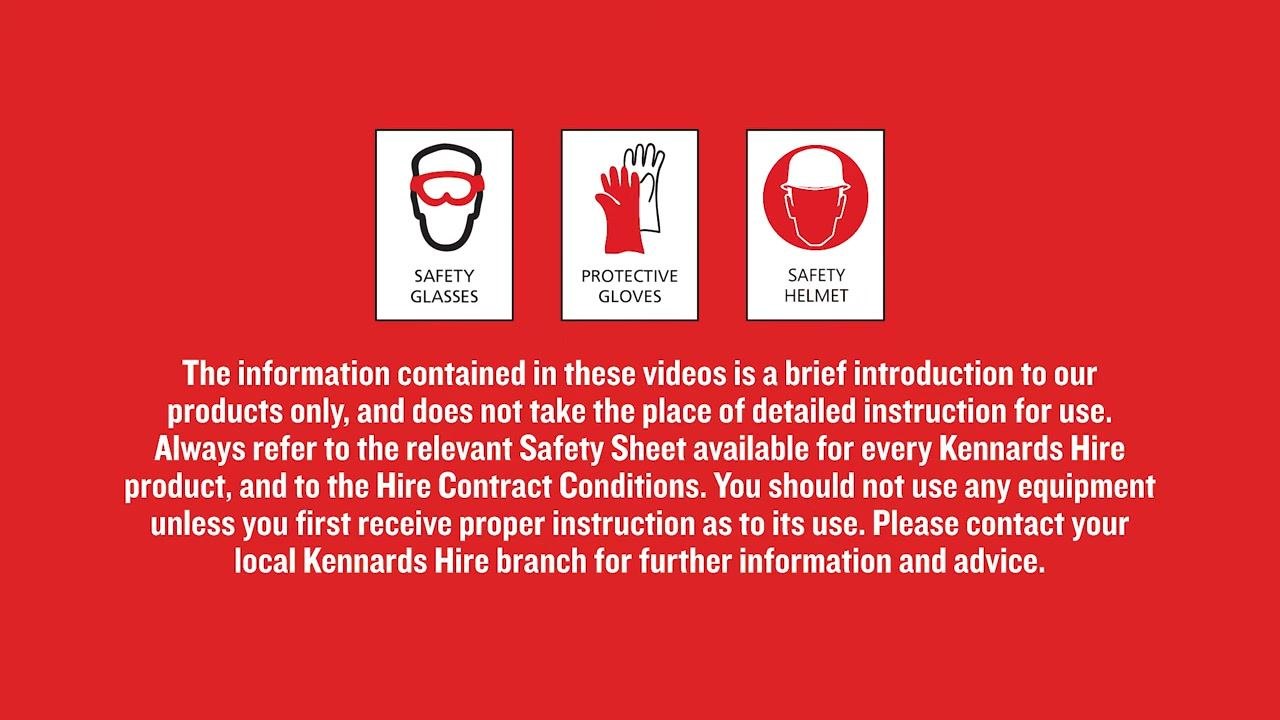
Always wear safety glasses, protective gloves, and a safety helmet when assembling, using, or dismantling the scaffold, and follow all safety instructions provided by Kennards Hire staff. Refer to the operator's instructions before using the scaffold.
What's next
Detailed operator instructions are available on the Kennards Hire website. If you have any questions or need advice on scaffold size, consult your local Kennards Hire branch for assistance.
Generation details: cost, quality tiers
Docsie billed 2,500 credits ($1.75) to analyze this 5-minute video at standard quality. The rewrite, template fill and Word/PDF exports were included. The same video at each quality tier:
| Quality | Frames sampled | Credits | Approx. cost |
|---|---|---|---|
| Draft | every 16-30 s | 1,250 | $0.88 |
| Standard (this guide) | every 8-15 s | 2,500 | $1.75 |
| Detailed | every 4-7 s | 5,000 | $3.50 |
| Ultra | every 1-3 s | 10,000 | $7.00 |
Credits priced at $0.70 per 1,000; plans include a monthly allowance. Enterprise customers on on-premise or bring-your-own-model deployments run this on their own inference and pay no per-video credits.
Generated by Docsie Video-to-Docs on 2026-09-09 from a 4-minute video. Screenshots are frames from the source video and belong to their creator, Kennards Hire, whose original is embedded above. If you own this video and want the guide removed or credited differently, contact us and we will act within one business day.