
How to Fire Extinguisher Inspection Checklist
This fire extinguisher inspection checklist walks you through the complete one-year maintenance check required to keep a fire extinguisher safe, functional, and compliant. Use this procedure to verify labels, physical condition, internal components, and documentation before returning any extinguisher to service.
Video: Yearly Fire Extinguisher Inspection by BYUI Fire Safety (2017). All credit for the demonstration goes to the creator; watch the original on YouTube. The written guide below was generated from this video by Docsie. Creator? Request a change or removal.
This fire extinguisher inspection checklist walks you through the complete one-year maintenance check required to keep a fire extinguisher safe, functional, and compliant. Use this procedure to verify labels, physical condition, internal components, and documentation before returning any extinguisher to service.
Purpose
This document provides step-by-step instructions for performing an annual (12-month) maintenance inspection on a fire extinguisher, ensuring it passes a Technical Maintenance Assessment (TMA) and is safely returned to its designated location.
Scope
This procedure applies to standard extinguishers undergoing routine one-year maintenance, including ABC Dry Chemical units commonly used on campus. It covers exterior inspection, hose examination, pressure verification, agent fluffing, safety pin reinsertion, and inspection tag replacement.
Required equipment and supplies
- A well-equipped maintenance area with tools, gauges, and cleaning supplies
- A stable work surface
- New zip tie in the current year's color
- New yellow inspection tag
- Punch tool for the inspection tag
- Rubber mallet (optional, for loosening compacted agent)
Step-by-step procedure
Prepare the work area
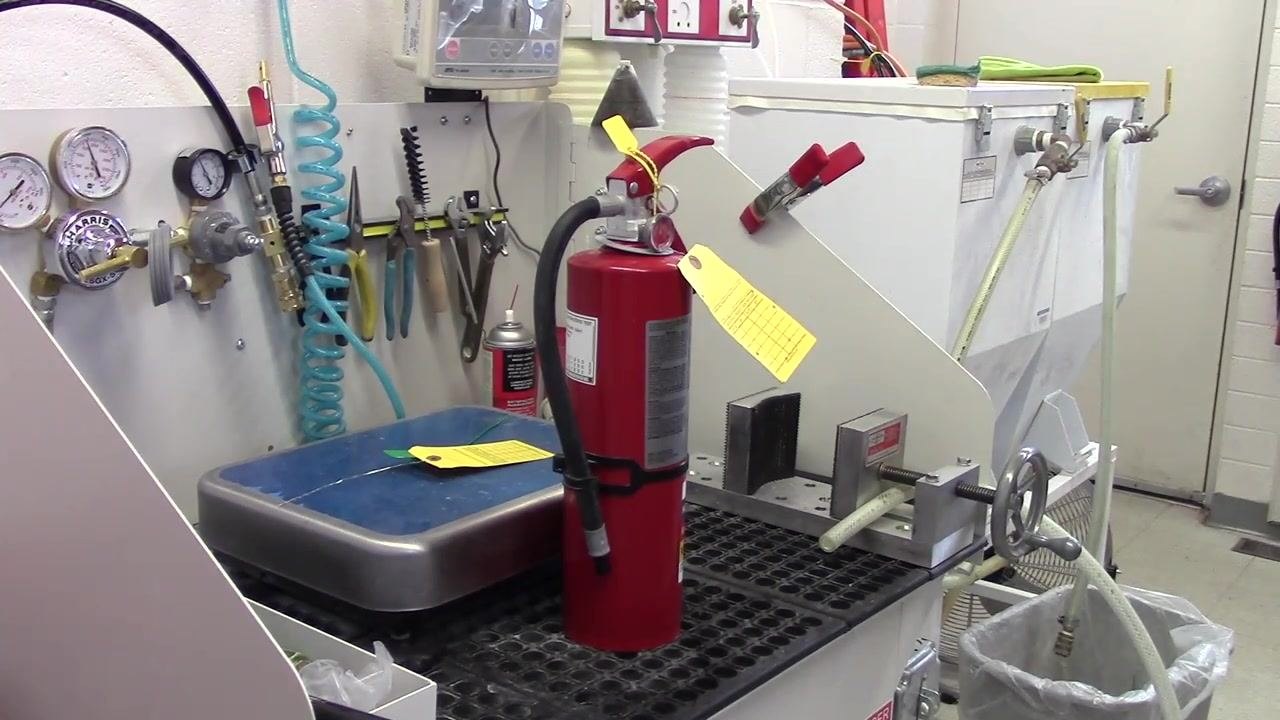
Set up in a well-equipped maintenance area with tools, gauges, and cleaning supplies readily available. Place the fire extinguisher upright on a stable work surface before beginning the inspection.
Inspect the exterior labels and instructions
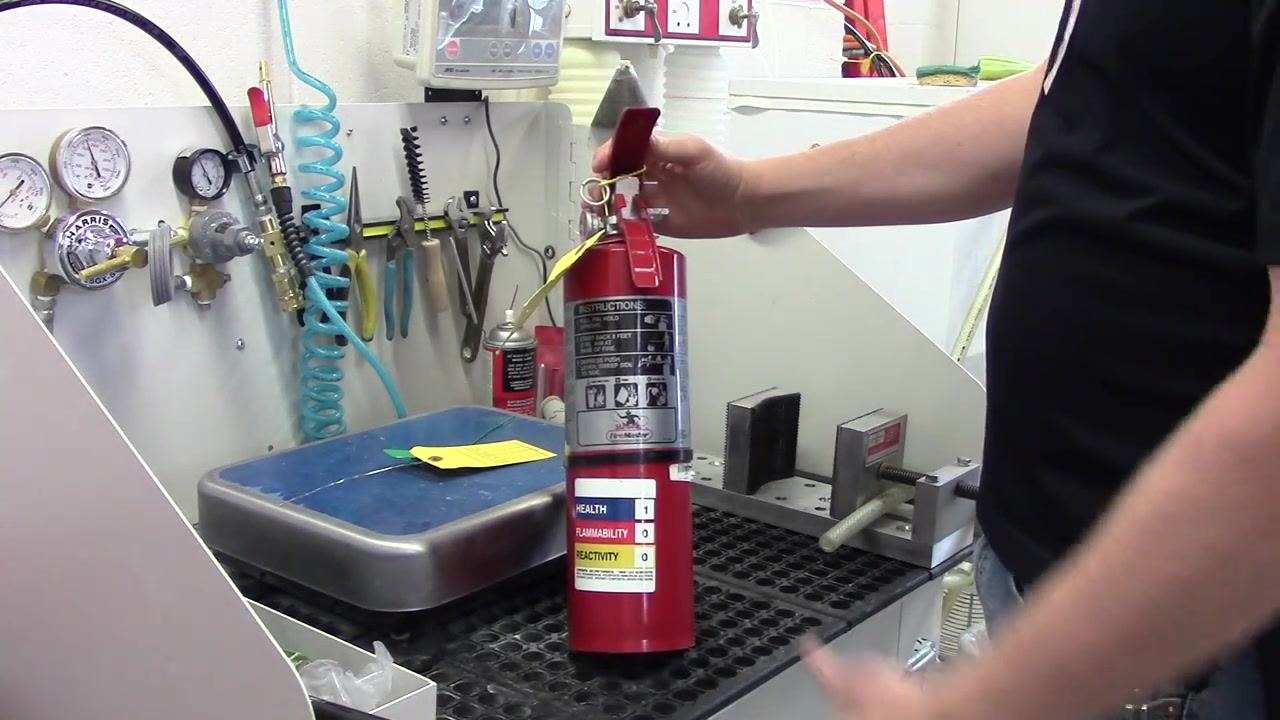
Examine the outside of the extinguisher for all instruction labels and safety information. Confirm that labels are present, legible, and not covered by stickers or other obstructions, with no rips, tears, or illegible sections.
Safety note: If any label is missing, damaged, or illegible, the extinguisher must be refilled and will not pass the TMA.
Check for physical damage
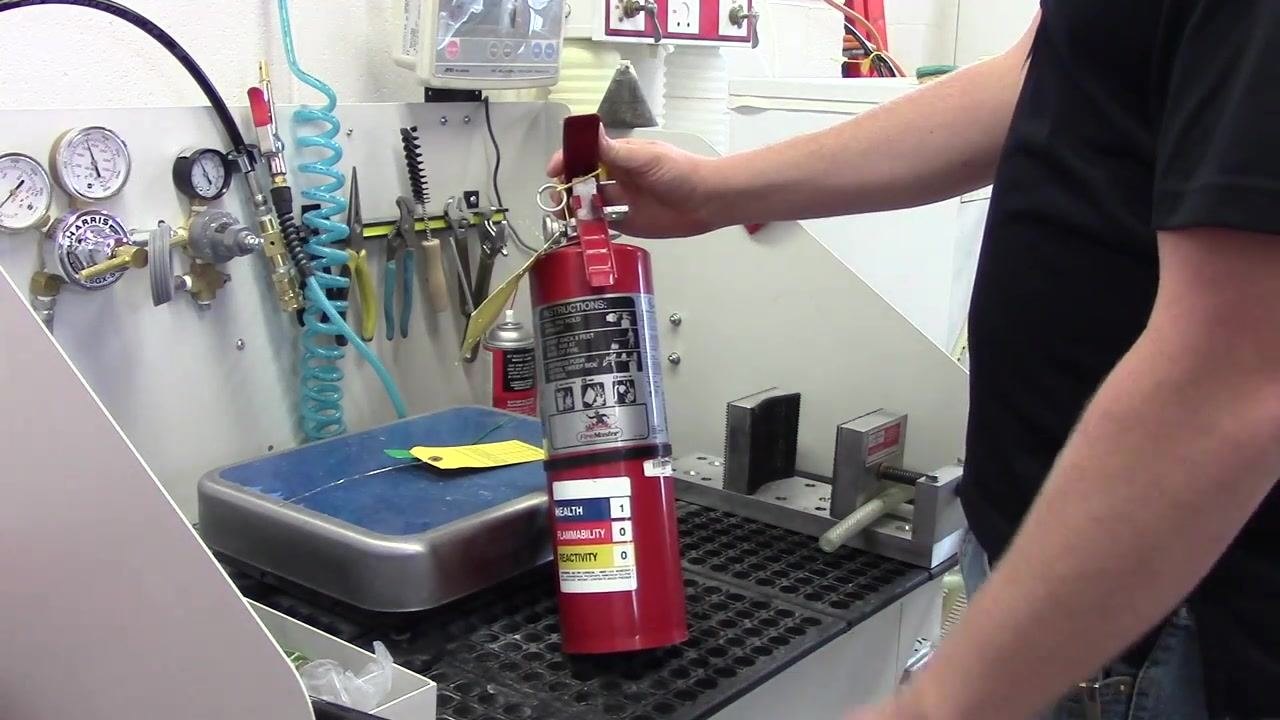
Inspect the extinguisher body for signs of corrosion, especially near the pressure gauge, hose connection, and base. Look for large dents, deformities, or other physical damage.
Safety note: If any such damage is found, the extinguisher must not be used.
Remove and inspect the hose
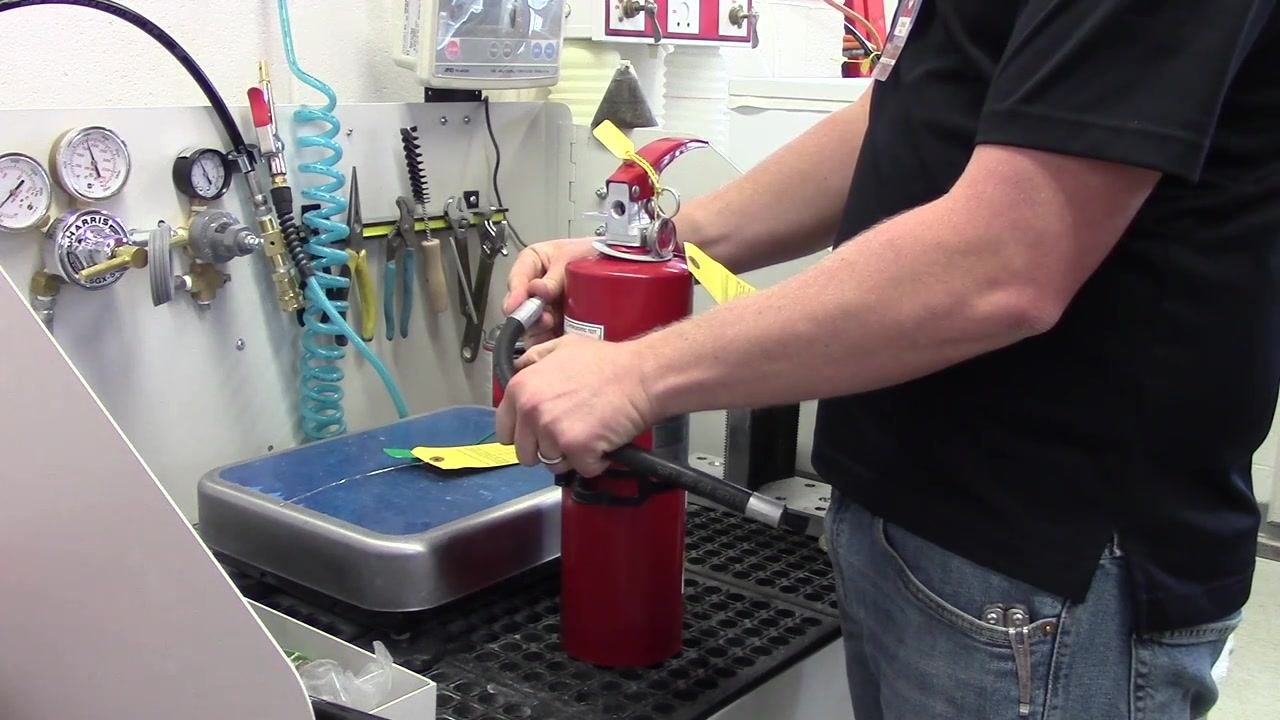
Unscrew or detach the hose from the extinguisher by twisting it off. Examine the hose for external deformities such as bends, creases, or cracks, and ensure there are no holes or breaks.
Check the inside of the hose
Hold the hose up to the light and look through it to confirm there are no blockages. Alternatively, blow air through the hose and feel for airflow at the other end to confirm it is clear. Set the hose aside once confirmed to be in good condition.
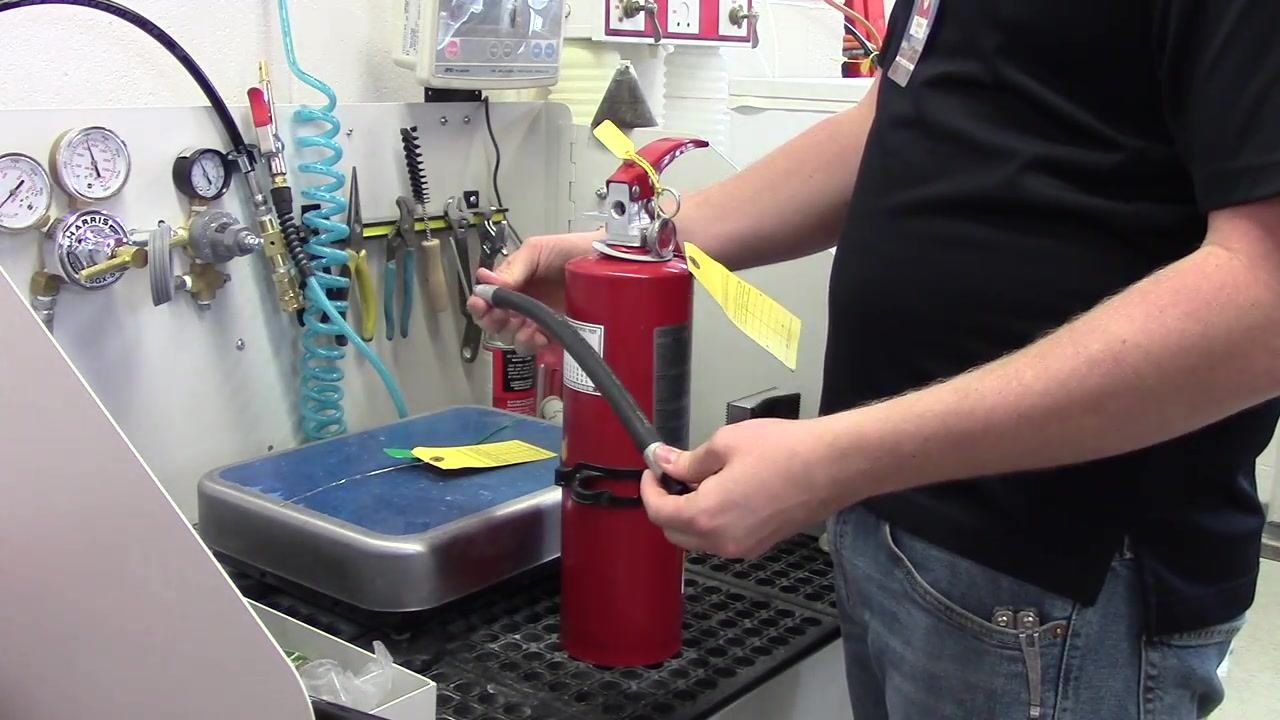
Inspect the pressure gauge
Check the pressure gauge and confirm the needle is within the green zone, indicating proper pressure.
Safety note: If the needle is outside the green zone, the extinguisher requires servicing.
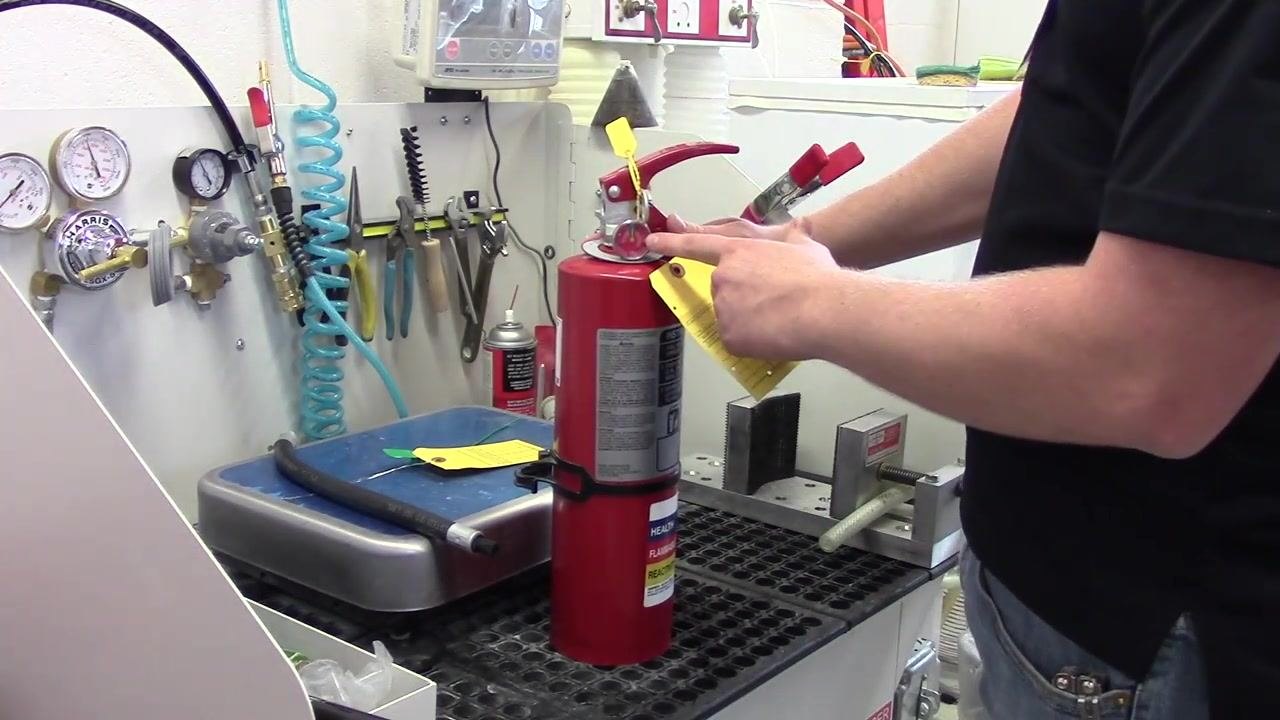
Remove the old inspection tag
Reconfirm the pressure gauge needle is within the green zone; if not, do not pass the extinguisher in your TMA checks and refill as needed. Remove the existing yellow inspection tag, as it will be replaced with a new one.
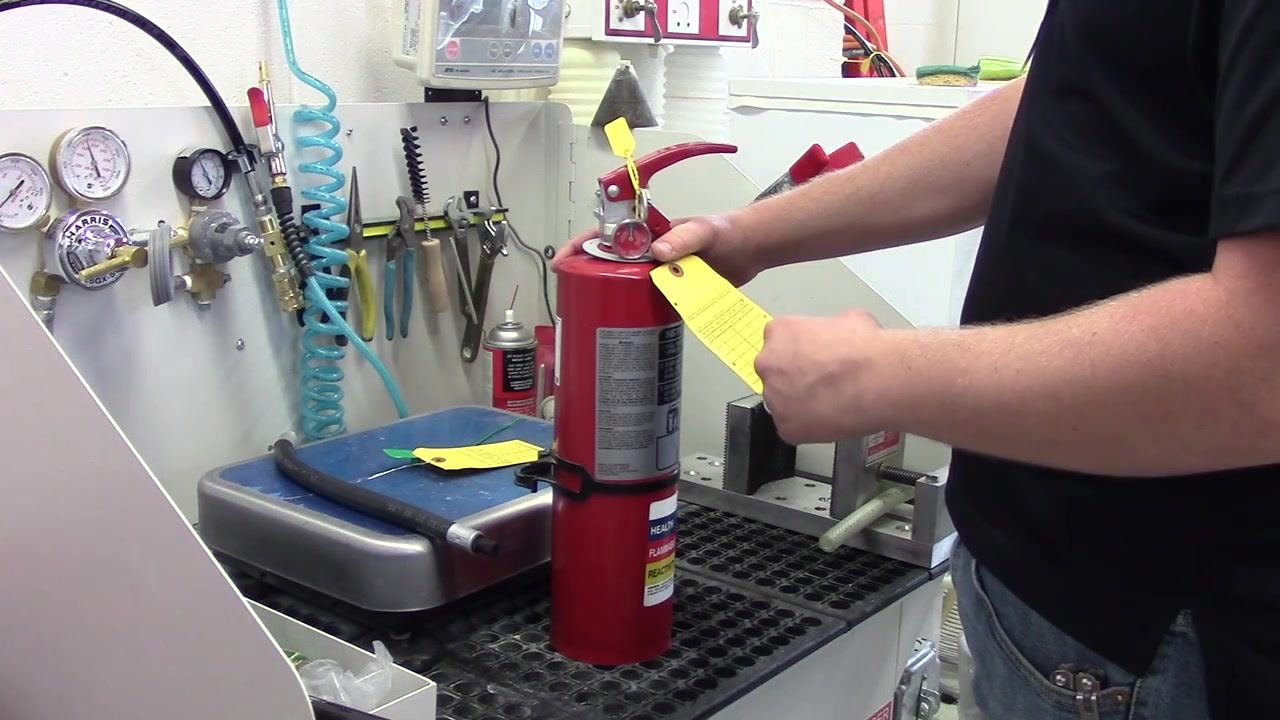
Fluff the extinguisher
Over time, the extinguishing agent inside can settle and compact at the bottom due to gravity. Grasp the extinguisher firmly, flip it upside down, and gently shake or move it to loosen the internal agent. Listen and feel for the product shifting or falling inside the cylinder, which indicates the agent is loose and not compacted.
Safety note: If you cannot hear or feel the agent moving, tap the extinguisher gently with your hand or use a rubber mallet to help loosen the contents. If the agent still does not loosen, make a note in the TMA so a supervisor can inspect the extinguisher.
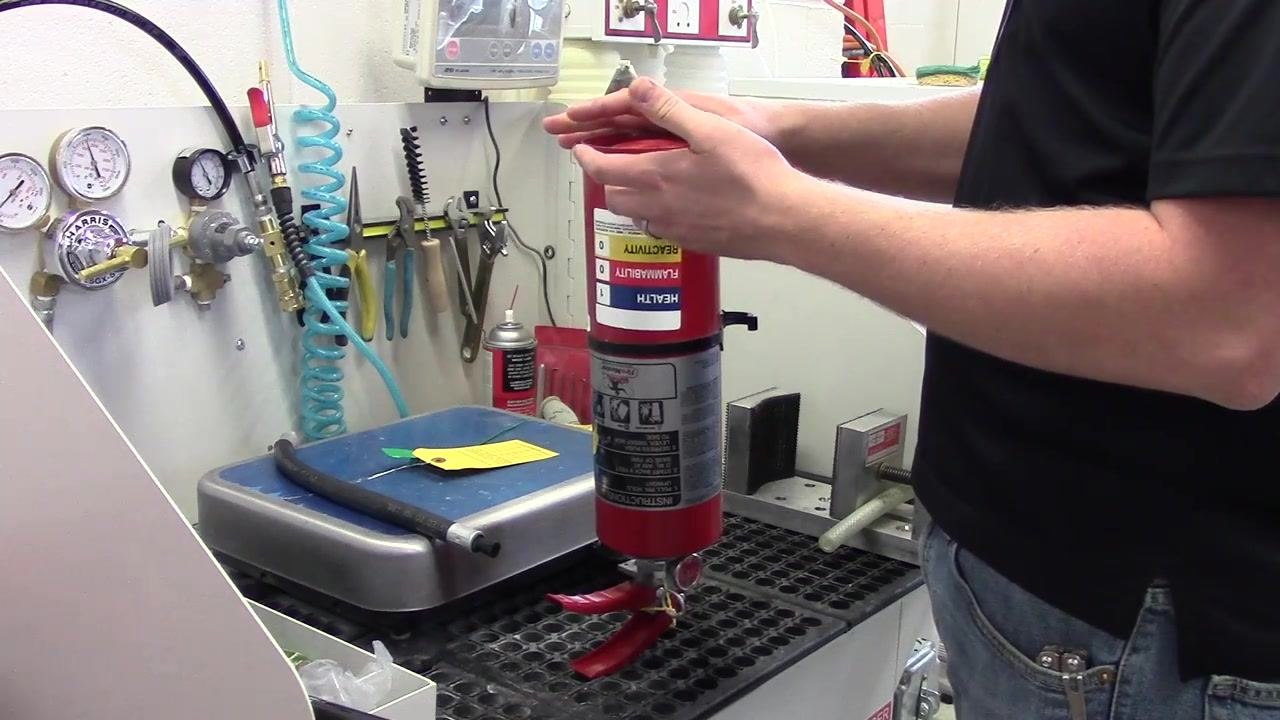
Return the extinguisher upright
Once you have confirmed the agent is loose, return the extinguisher to its upright position.
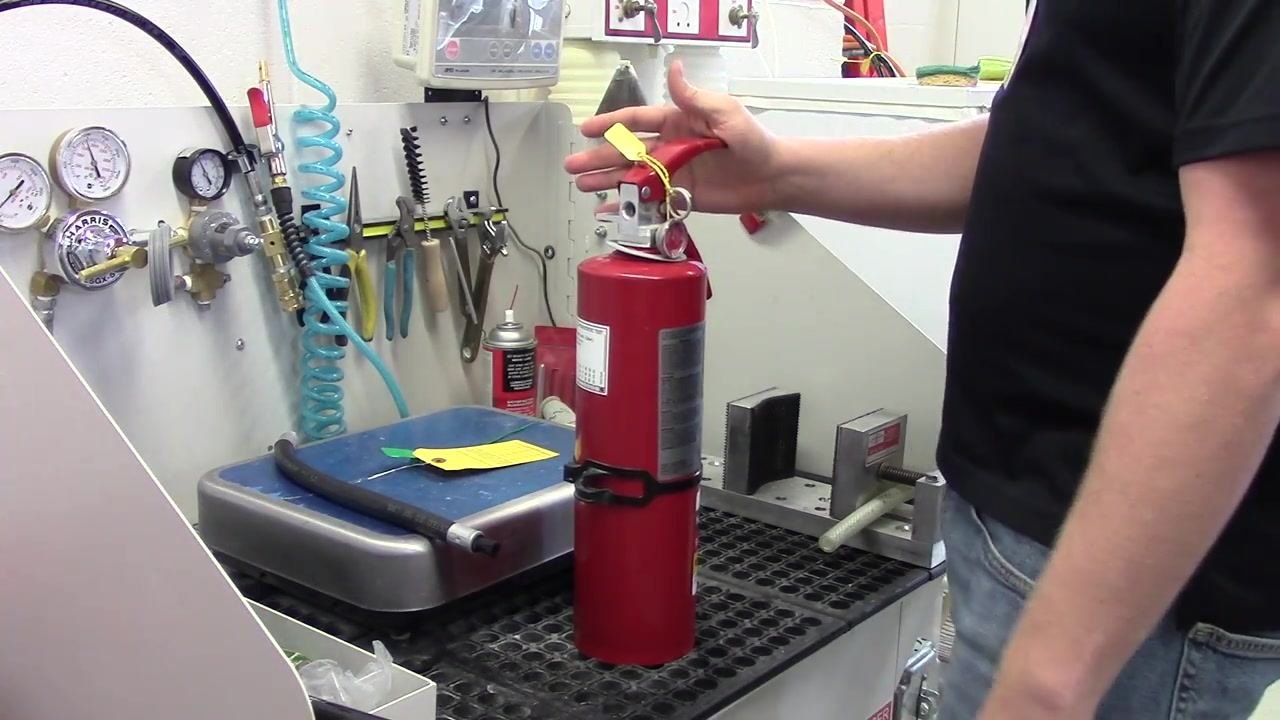
Remove the zip tie
Remove the zip tie securing the pin or handle, as it is no longer needed at this stage.
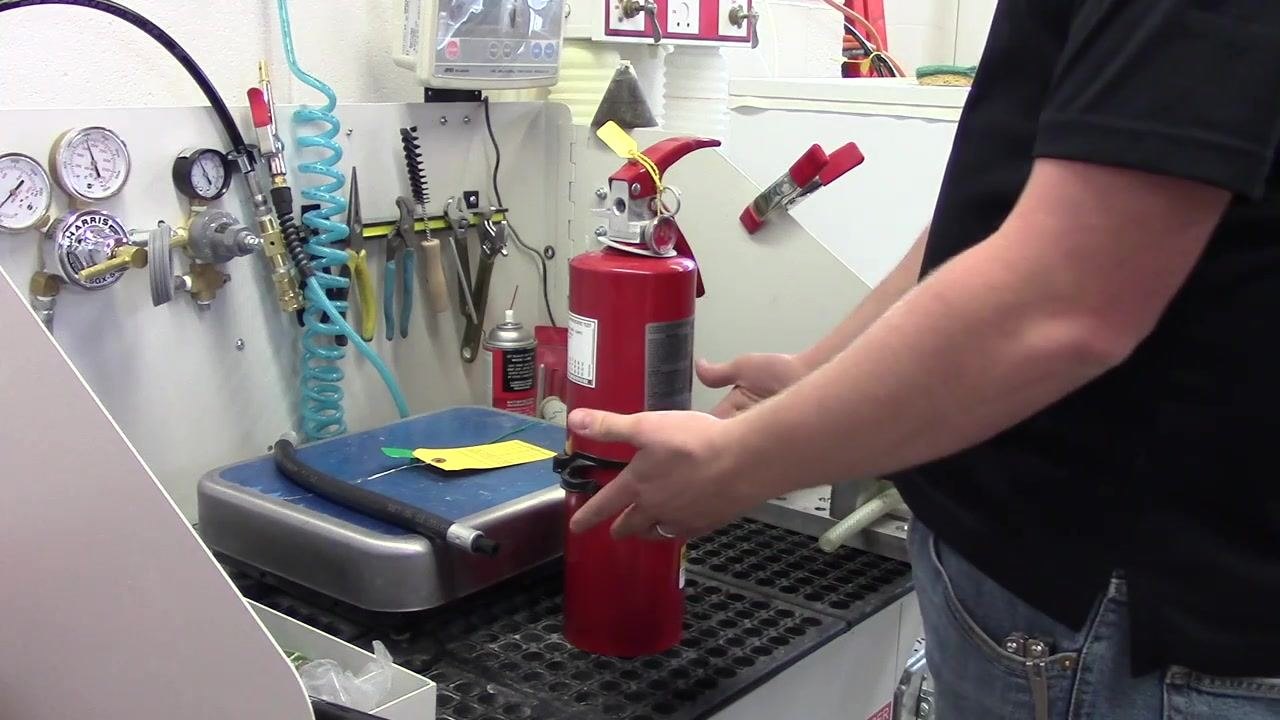
Reinsert the safety pin
The pin prevents accidental discharge by blocking the handle from being depressed. Ensure the pin is straight and undamaged before reinserting it through both the handle and the base of the fire extinguisher head.
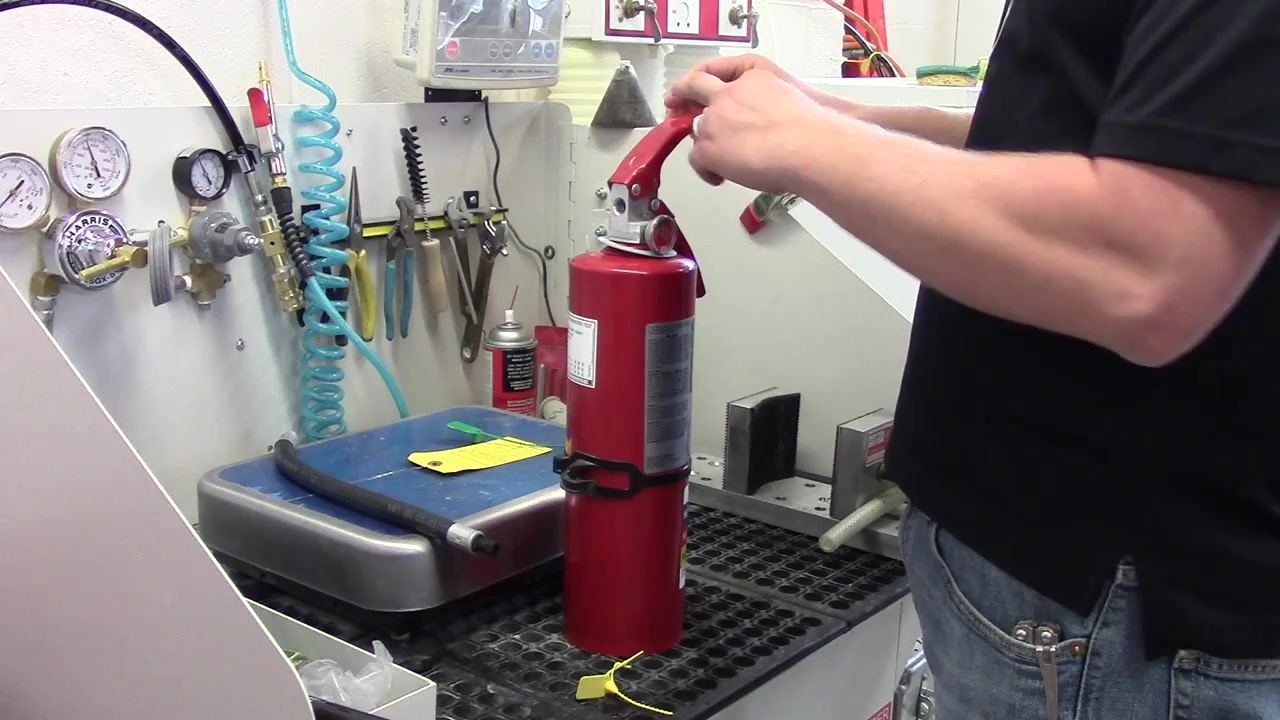
Install a new zip tie
Select a new zip tie in the correct color for the current year (for example, green for this year, yellow for previous years). Thread the zip tie through the hole in the pin and underneath the handle, then secure it tightly to prevent the pin from being pulled out accidentally. Tuck any excess length out of the way for a neat appearance.
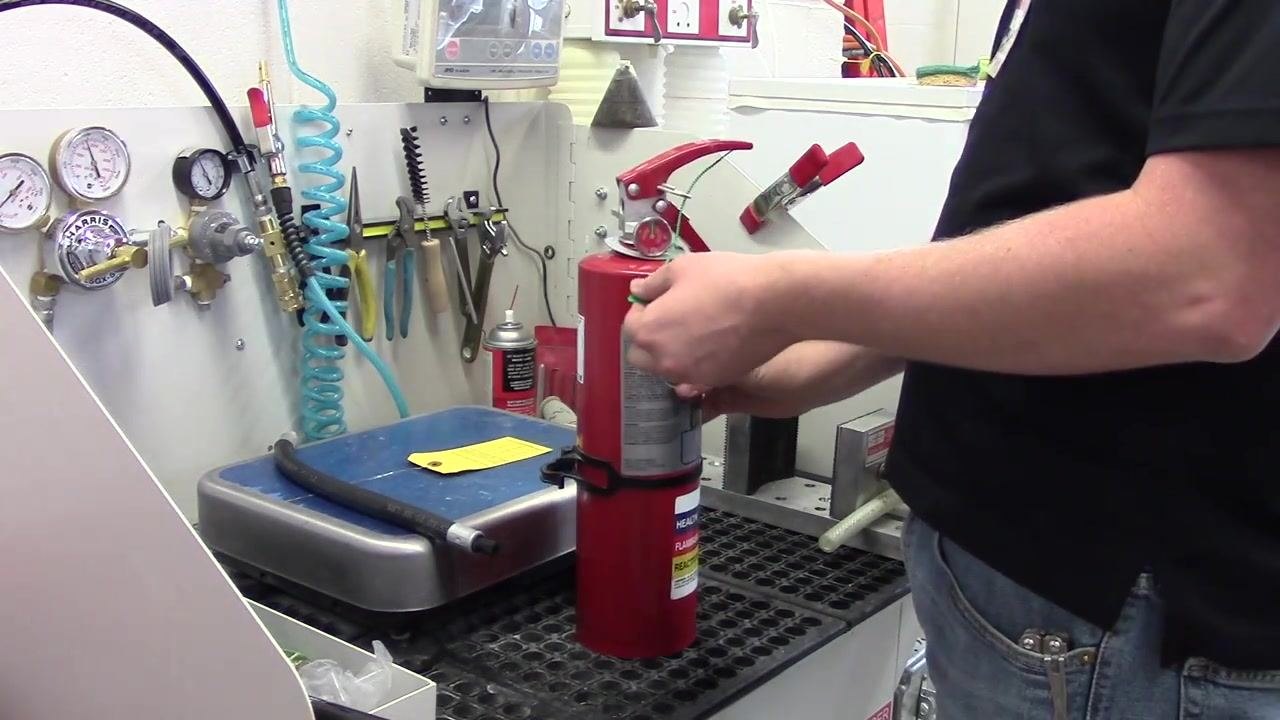
Reattach the hose
Align the hose with its threaded connection on the extinguisher and carefully twist it onto the fitting by hand, ensuring not to cross-thread. Tighten until hand-tight; do not overtighten. Place the hose back into its designated holder.
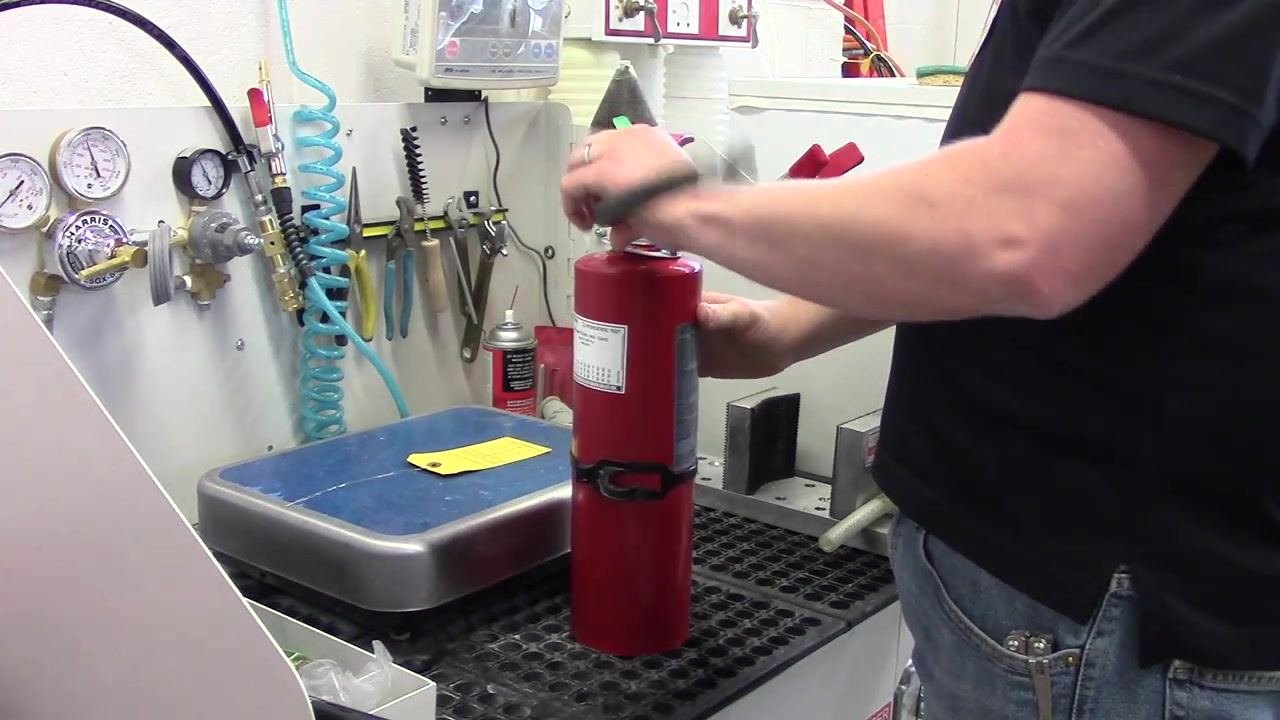
Attach a new inspection tag
Obtain a new yellow inspection tag for the current maintenance cycle. If not pre-punched by a supervisor, manually punch the tag to indicate:
- The type of maintenance performed (for example, 12-month/one-year maintenance)
- The year of service
- The month of service
- The type of extinguisher (typically ABC Dry Chemical for campus use)
Attach the completed inspection tag securely to the extinguisher.
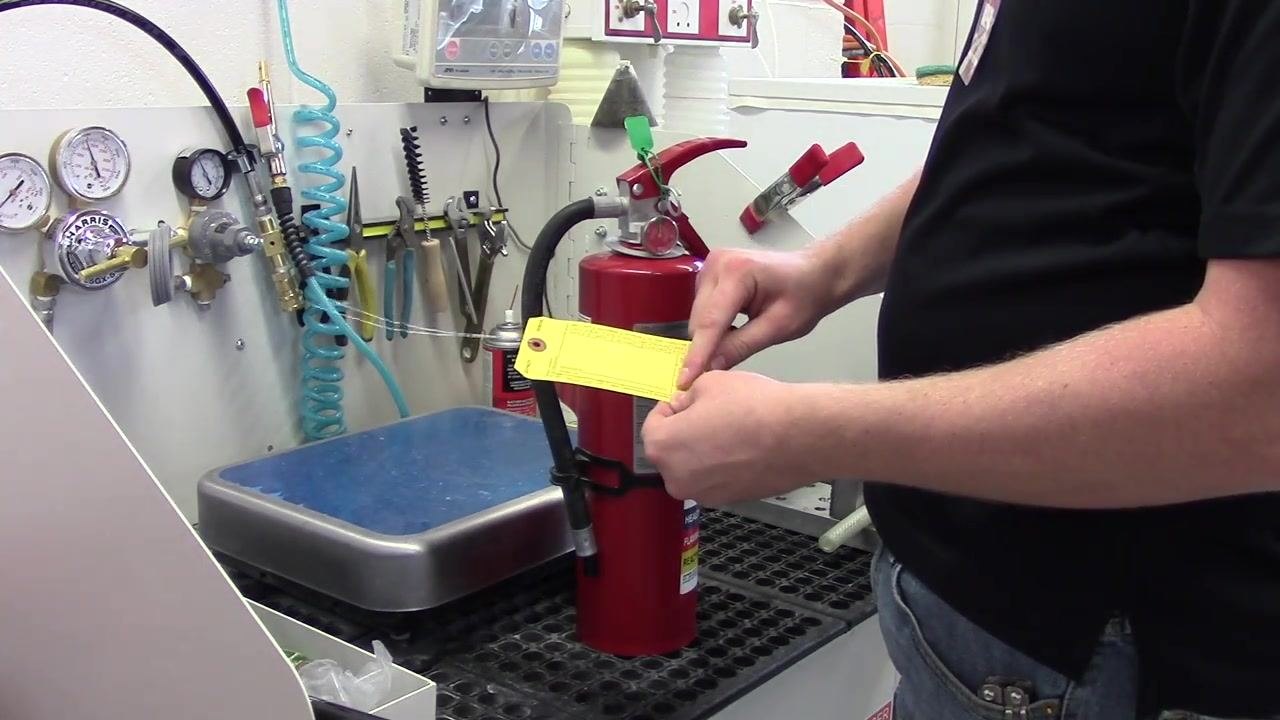
Punch the correct locations on the inspection tag
Identify the correct locations to punch on the yellow inspection tag based on the type of extinguisher and the maintenance performed. Use a punch tool to mark the appropriate boxes for the maintenance type, year, month, and extinguisher type.
Safety note: If you are unsure which locations to punch for rare or unusual extinguishers, consult your team members for guidance.
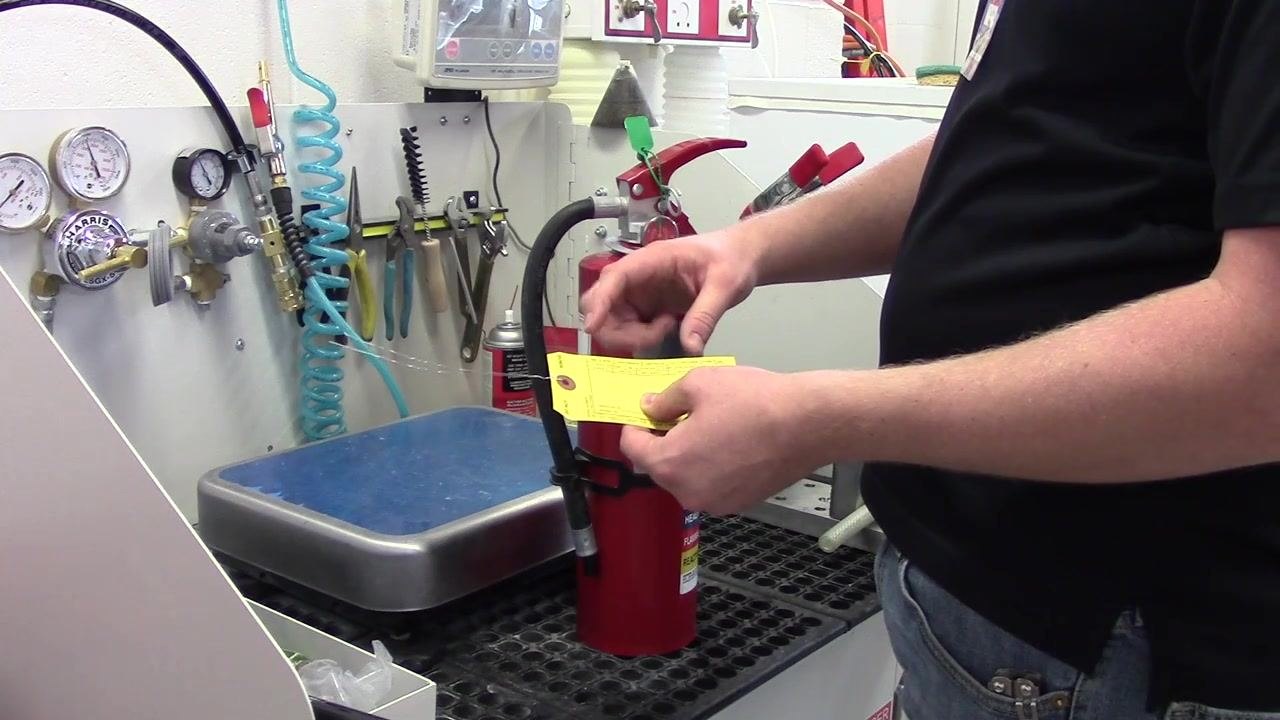
Attach the inspection tag to the fire extinguisher
Loop the wire from the inspection tag around the pressure gauge, positioning it so it sits behind the yellow tag. Pinch the wire with your fingers and wrap it around itself approximately five times to secure the tag in place.
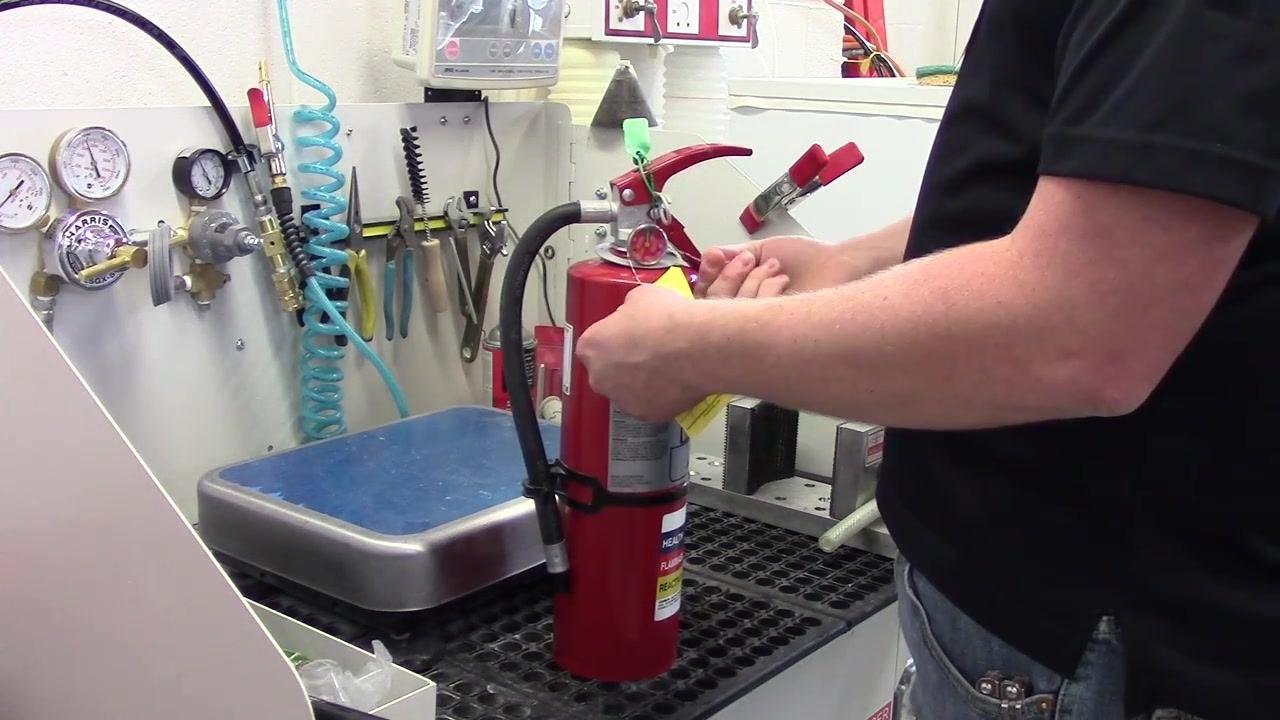
Position the tag for visibility and security
Crease the tag slightly so that it sits down in front of the extinguisher. Ensure the tag is visible and the monthly inspection record can be easily read, whether the extinguisher is in a cabinet, behind a door, or mounted on a wall. Adjust the tag so it does not stick out, reducing the risk of it being pulled or torn off.
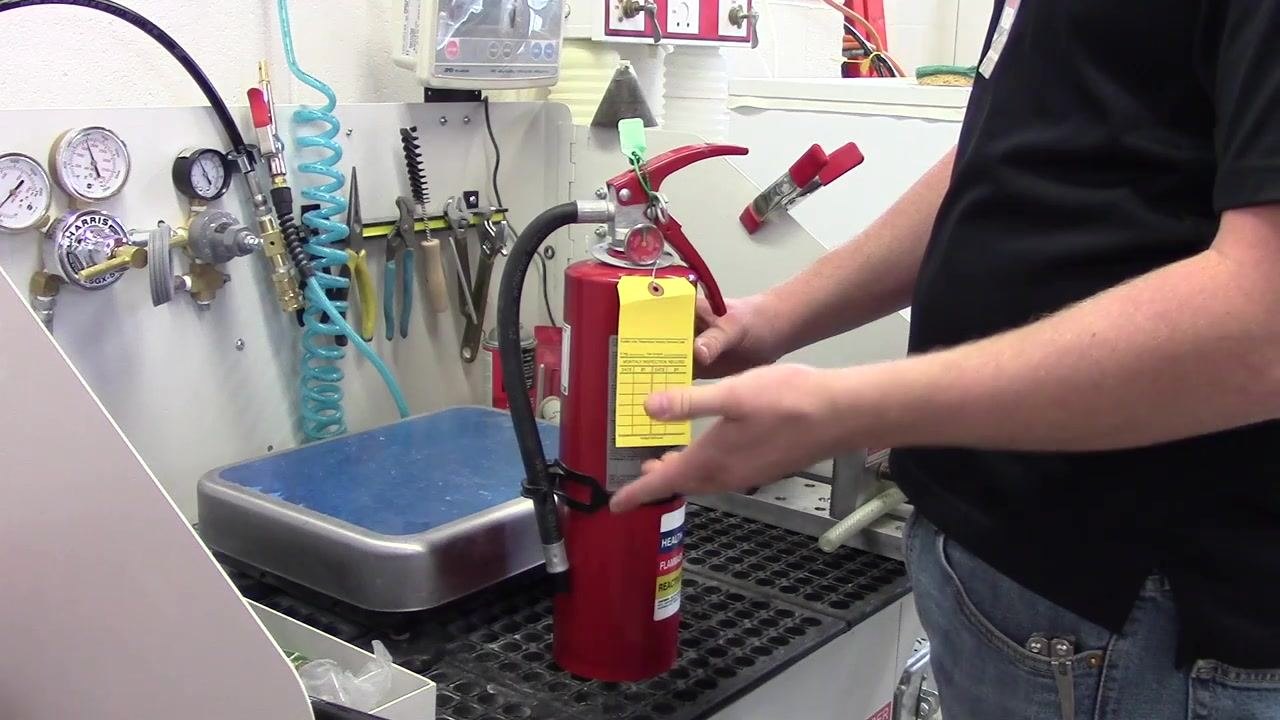
Final inspection and completion
Confirm that the inspection tag is securely attached and properly positioned, and verify that all maintenance steps have been completed and documented. The fire extinguisher is now fully serviced and ready for placement back in its designated location.
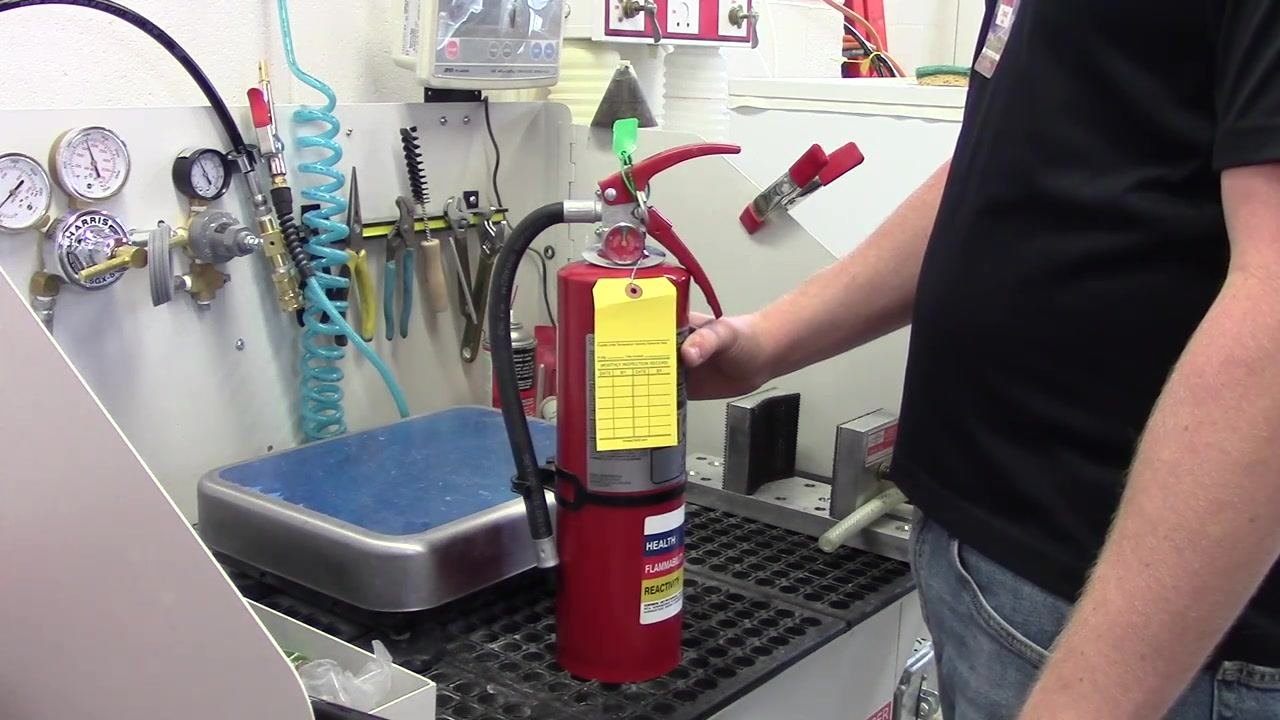
Verification and summary
Before returning the extinguisher to service, confirm the following:
- All exterior labels are present, legible, and undamaged
- No corrosion, dents, or deformities are present on the body
- The hose is free of cracks, holes, and blockages
- The pressure gauge needle is in the green zone
- The extinguishing agent has been fluffed and is not compacted
- The safety pin is straight, undamaged, and properly reinserted
- A new zip tie in the current year's color is securely installed
- The hose is reattached hand-tight and stored in its holder
- A new inspection tag is correctly punched and securely attached
- The tag is positioned for clear visibility without sticking out
Completing this fire extinguisher inspection checklist ensures the unit is safely reassembled, properly tagged for the current year, and ready for service. Always double-check your work for accuracy and security before returning the extinguisher to its designated location.
Generation details: cost, quality tiers
Docsie billed 3,000 credits ($2.10) to analyze this 6-minute video at standard quality. The rewrite, template fill and Word/PDF exports were included. The same video at each quality tier:
| Quality | Frames sampled | Credits | Approx. cost |
|---|---|---|---|
| Draft | every 16-30 s | 1,500 | $1.05 |
| Standard (this guide) | every 8-15 s | 3,000 | $2.10 |
| Detailed | every 4-7 s | 6,000 | $4.20 |
| Ultra | every 1-3 s | 12,000 | $8.40 |
Credits priced at $0.70 per 1,000; plans include a monthly allowance. Enterprise customers on on-premise or bring-your-own-model deployments run this on their own inference and pay no per-video credits.
Generated by Docsie Video-to-Docs on 2026-09-10 from a 5-minute video. Screenshots are frames from the source video and belong to their creator, BYUI Fire Safety, whose original is embedded above. If you own this video and want the guide removed or credited differently, contact us and we will act within one business day.