
How to Do a Respirator Fit Test
This document explains how to do a respirator fit test using the qualitative fit test method. It covers the required preparation, the sensitivity (taste) check, the fit test exercises, and the actions to take depending on the test outcome. Following this procedure ensures your respirator provides the seal and protection required before you enter a contaminated atmosphere.
Video: Respirator Fit Test Demonstration by 3M Worker Health and Safety (2017). All credit for the demonstration goes to the creator; watch the original on YouTube. The written guide below was generated from this video by Docsie. Creator? Request a change or removal.
This document explains how to do a respirator fit test using the qualitative fit test method. It covers the required preparation, the sensitivity (taste) check, the fit test exercises, and the actions to take depending on the test outcome. Following this procedure ensures your respirator provides the seal and protection required before you enter a contaminated atmosphere.
Purpose
A respirator only protects you if it fits your face properly. This procedure verifies that a tight-fitting facepiece forms an adequate seal through a qualitative fit test, satisfying OSHA requirements for respiratory protection.
Scope
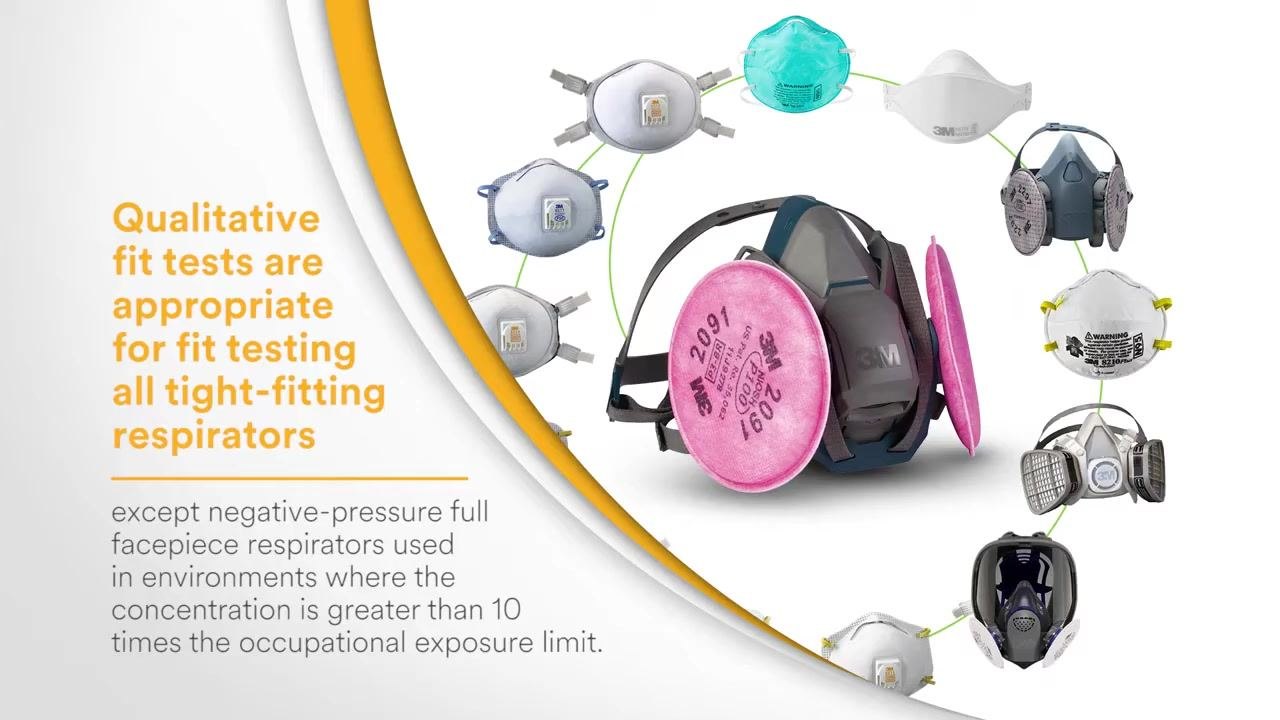
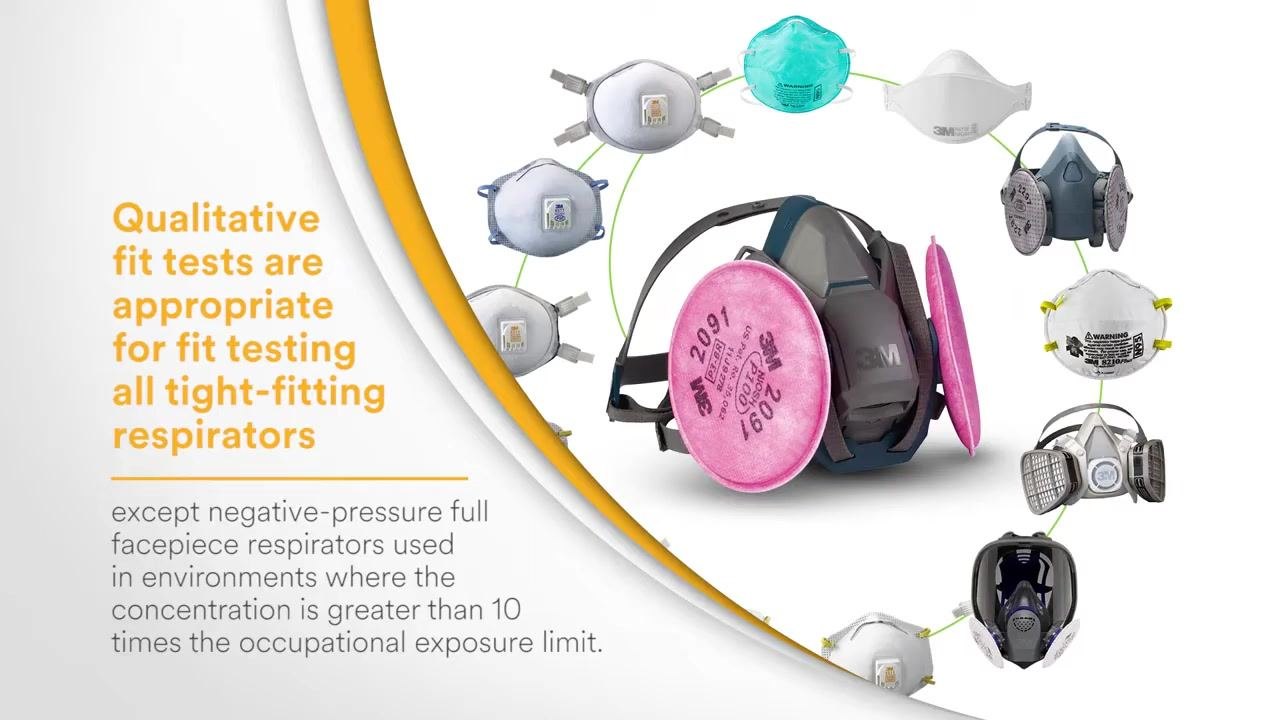
This procedure applies to qualitative fit testing of tight-fitting respirators, including particulate respirators and gas/vapor respirators fitted with particulate filters. Qualitative fit tests are appropriate for all tight-fitting respirators except negative-pressure full facepiece respirators used in environments where the contaminant concentration exceeds 10 times the occupational exposure limit.
Always read and follow all 3M User Instructions before using a respirator. Any demonstration or training material is for instructional purposes only and does not replace the User Instructions.
Prerequisites
Before you can be fit tested, confirm the following:
-
OSHA fit testing requirement: OSHA requires fit testing to be conducted at least annually for all tight-fitting facepieces. Do not wear a respirator in a contaminated atmosphere until the proper fit has been confirmed by a fit test.
-
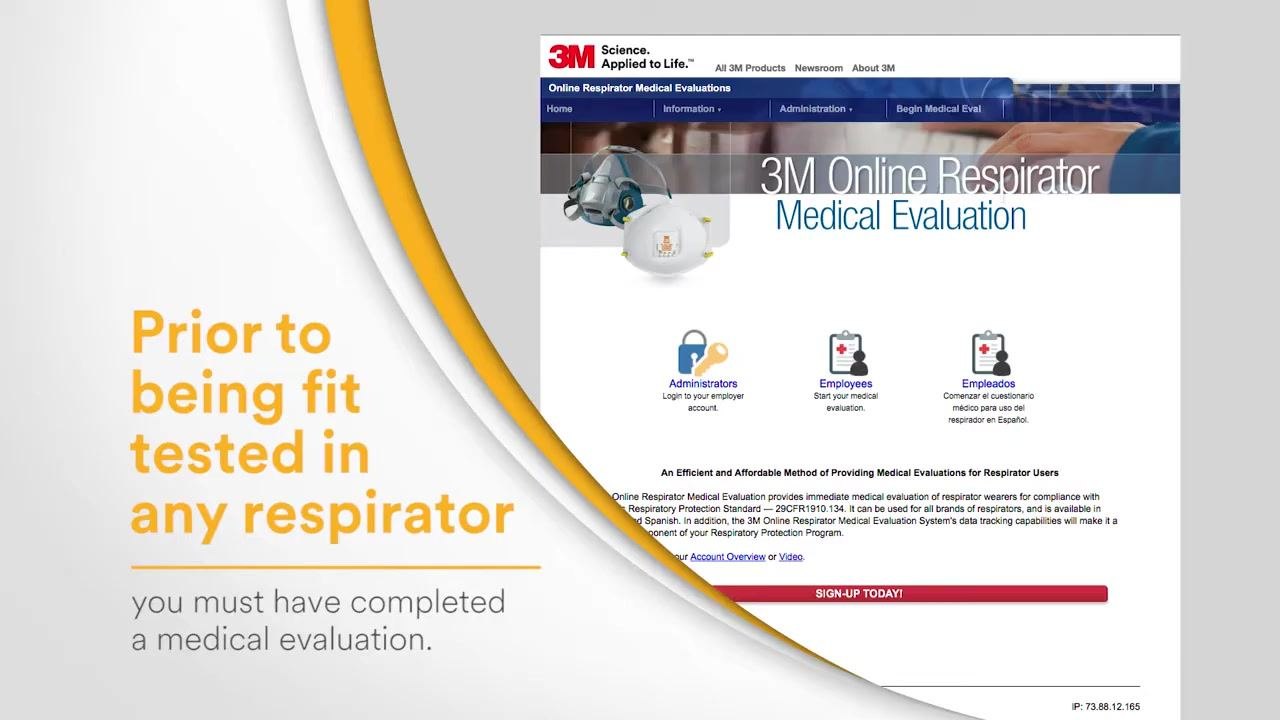
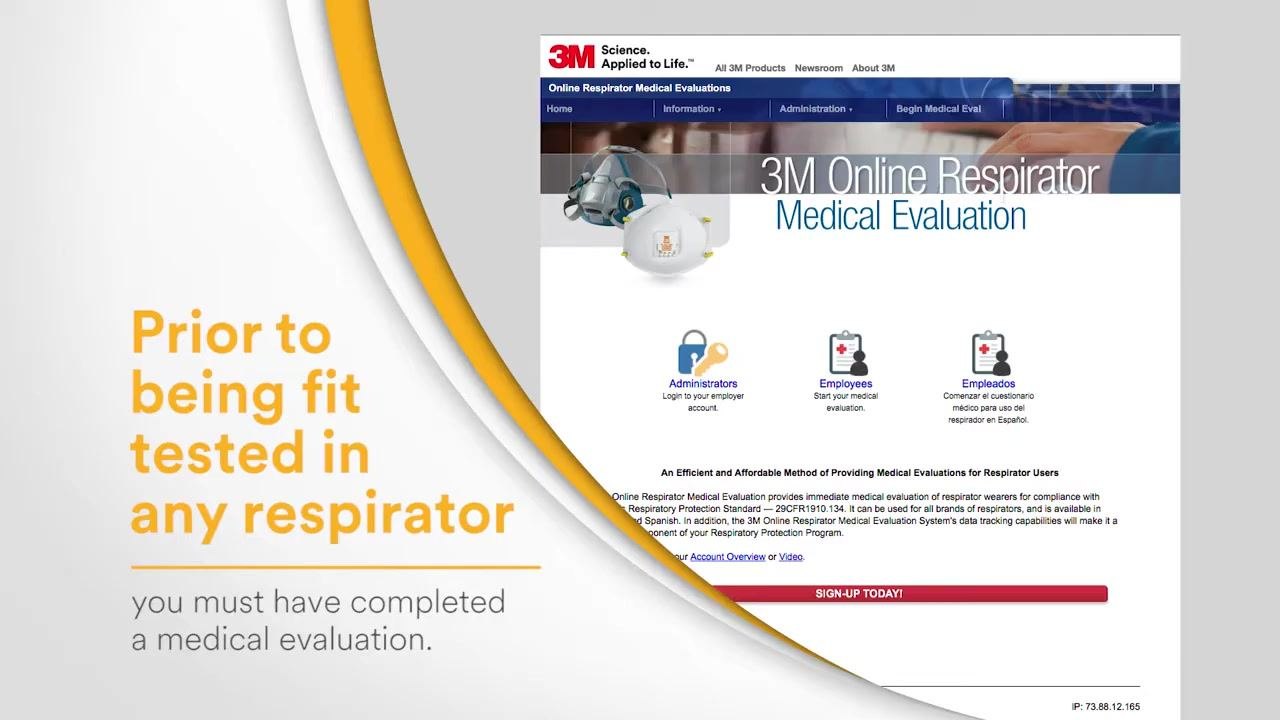
Medical evaluation completed: Prior to being fit tested in any respirator, you must complete a medical evaluation to determine your fitness for wearing a respirator. This evaluation can be completed online, such as through the 3M Online Respirator Medical Evaluation system. Administrators can log in to employer accounts, and employees can start their medical evaluation in English or Spanish.
-
Facepiece prepared: If you use a facepiece with a positive-pressure system, it must first be converted to negative pressure prior to the fit test. This step is necessary to ensure the accuracy of the test.
-
Correct fit test type confirmed: Confirm with your workplace requirements that a qualitative fit test is appropriate for your respirator type.
Required equipment and PPE
- Tight-fitting respirator (with particulate filters installed)
- Clear test hood
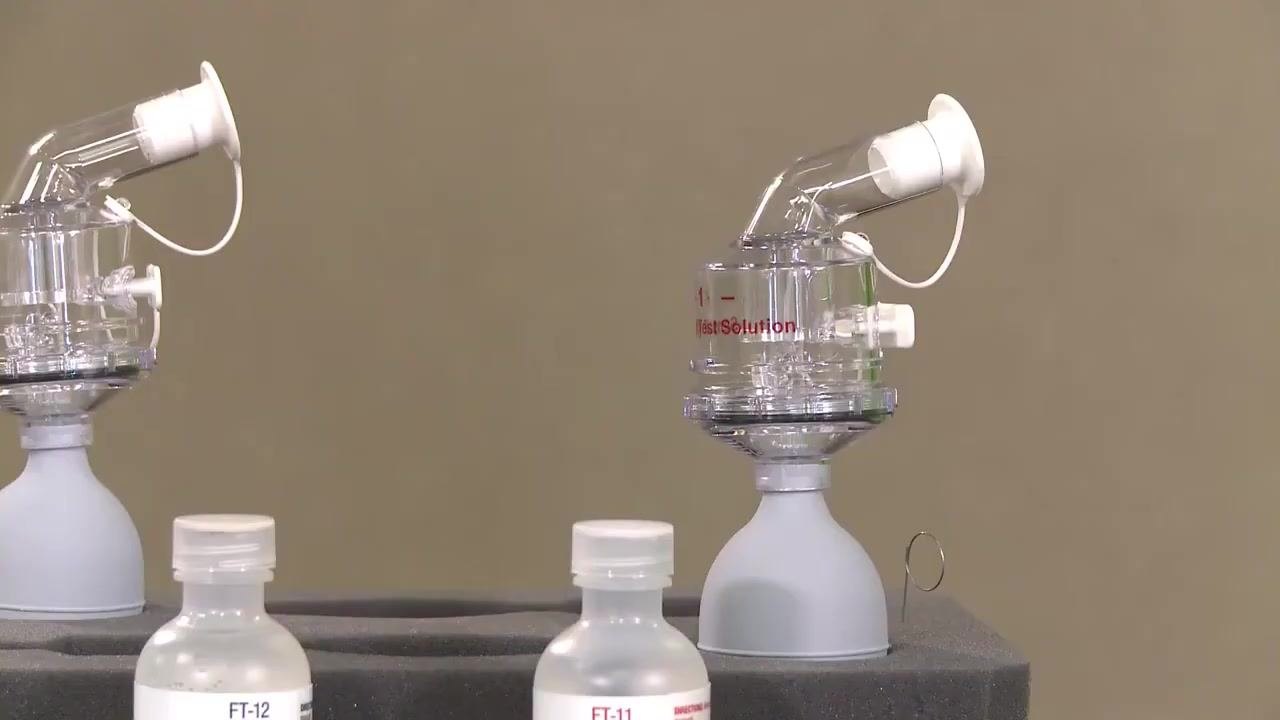
- Two nebulizers: one for the sensitivity solution, one for the fit test solution
- Sensitivity solution and fit test solution (saccharin-based or Bittrex, as determined by your instructor)
- Water for rinsing your mouth
- Disposable wipes for cleaning the hood
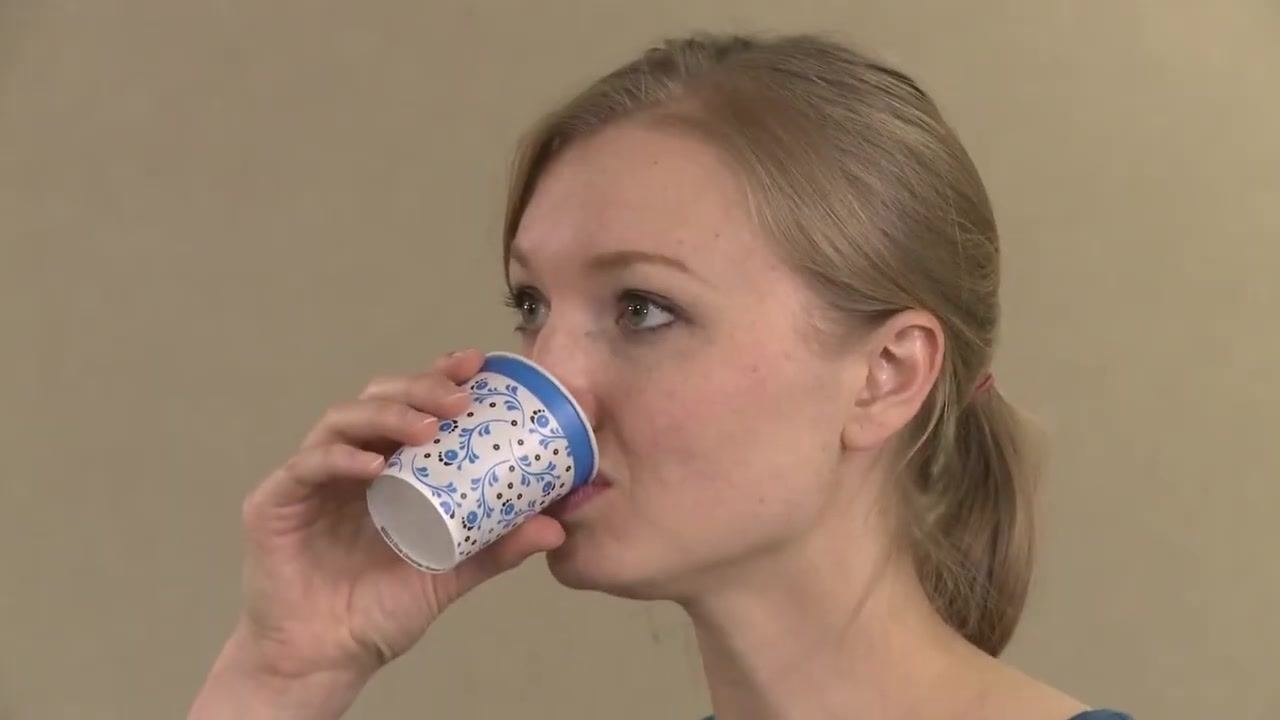
One type of qualitative fit test uses a mist containing either saccharin (a sweetener) or Bittrex (a bitter-tasting substance). Your instructor will inform you which material will be used for your fit test.
The qualitative fit test is valid for any particulate respirator or any gas and vapor respirator fitted with particulate filters. Particulate filters are used during the test so that only the facepiece fit is evaluated.
The qualitative fit test must be repeated at least once a year to ensure your respirator continues to fit properly. If your respirator does not fit well enough to pass the test, refit your existing respirator or try a different size or style until you pass.
Procedure: Performing the sensitivity check
The sensitivity check determines your ability to taste the test agent before you put on the respirator. Do not eat, drink, or chew gum for at least 15 minutes before this check. Do not wear your respirator during this step.
-
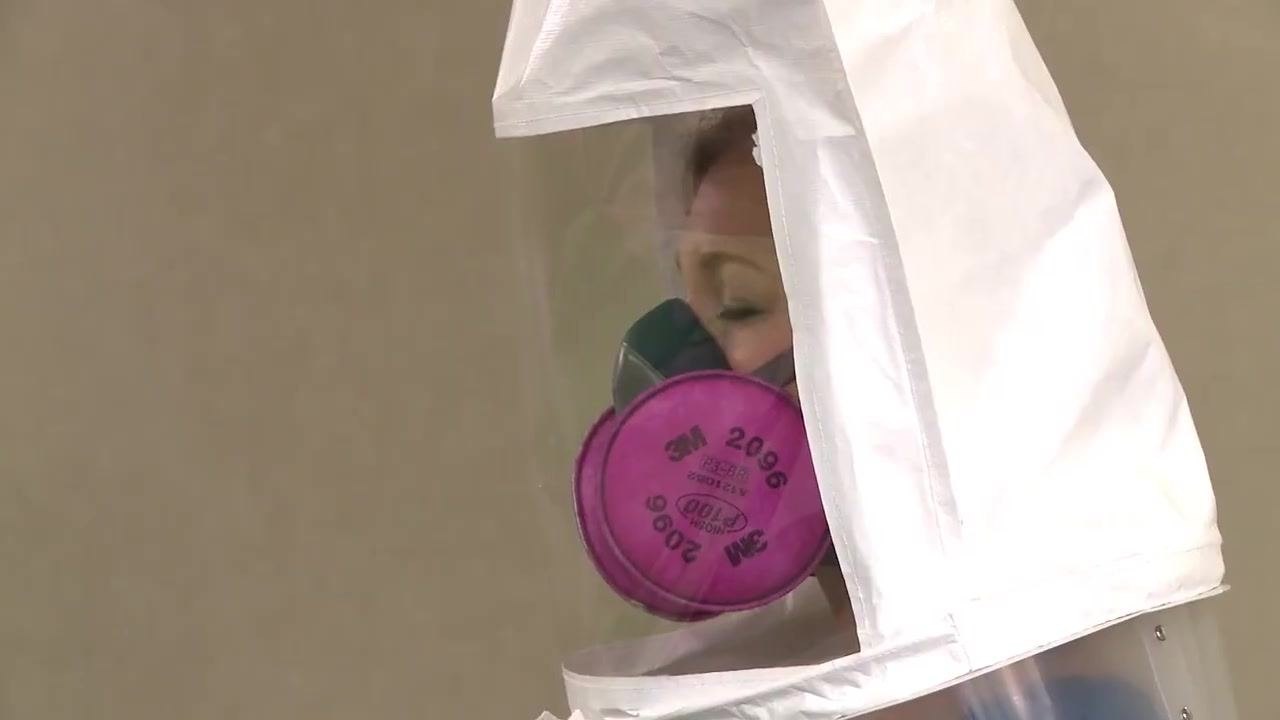
The instructor places the test hood over your head. Ensure the hood is positioned so there is approximately 6 inches (15 cm) of space between your face and the hood window. This allows for free movement of your head.
-
The instructor prepares the sensitivity solution and nebulizer. The instructor uses Nebulizer Number One, which contains the sensitivity solution (either saccharin or Bittrex, as previously determined).
-
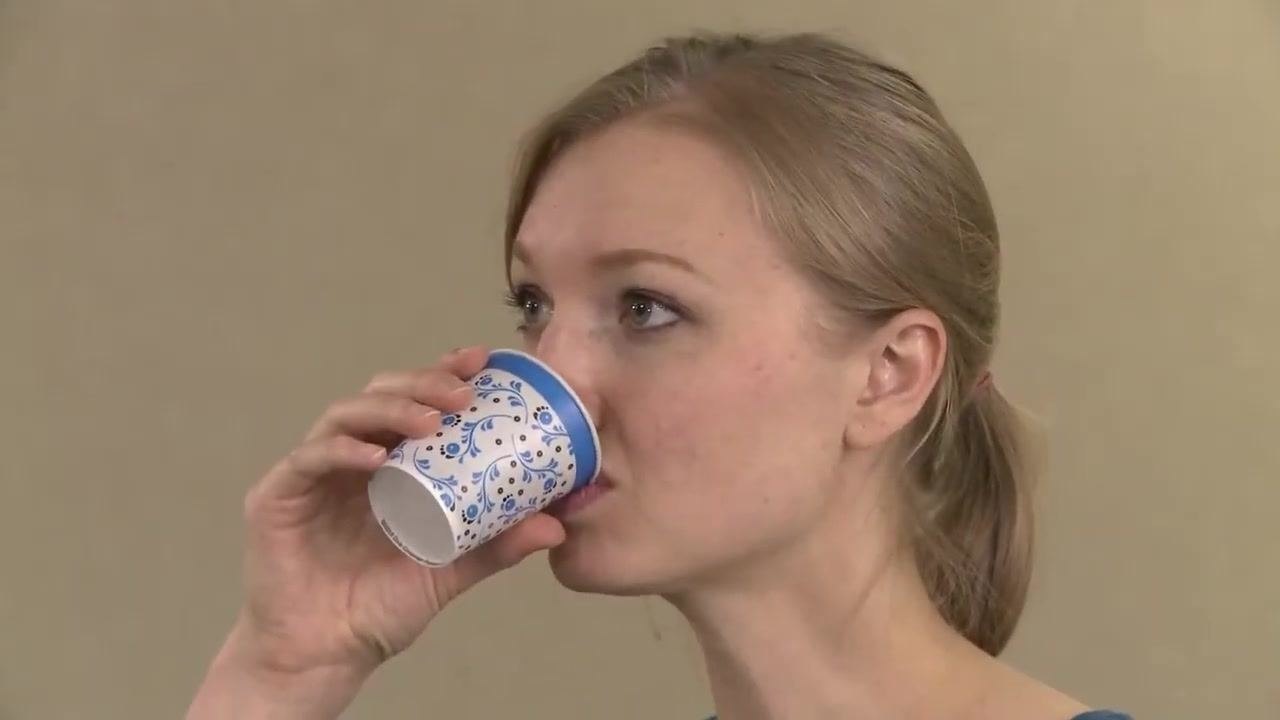
The instructor administers the sensitivity solution. The instructor sprays 10 squeezes of the sensitivity solution into the hood through the hole in the window. Breathe through your mouth and extend your tongue slightly during this process.
-
Report as soon as you taste the agent. If you taste the test agent at any time during the first 10 squeezes, immediately inform the instructor. The taste threshold is recorded as 10, regardless of the exact number of squeezes completed.
-
If you do not taste the agent after 10 squeezes, the instructor administers an additional 10 squeezes (20 total). If you taste the agent during this second set, the test is completed and recorded as 20.
-
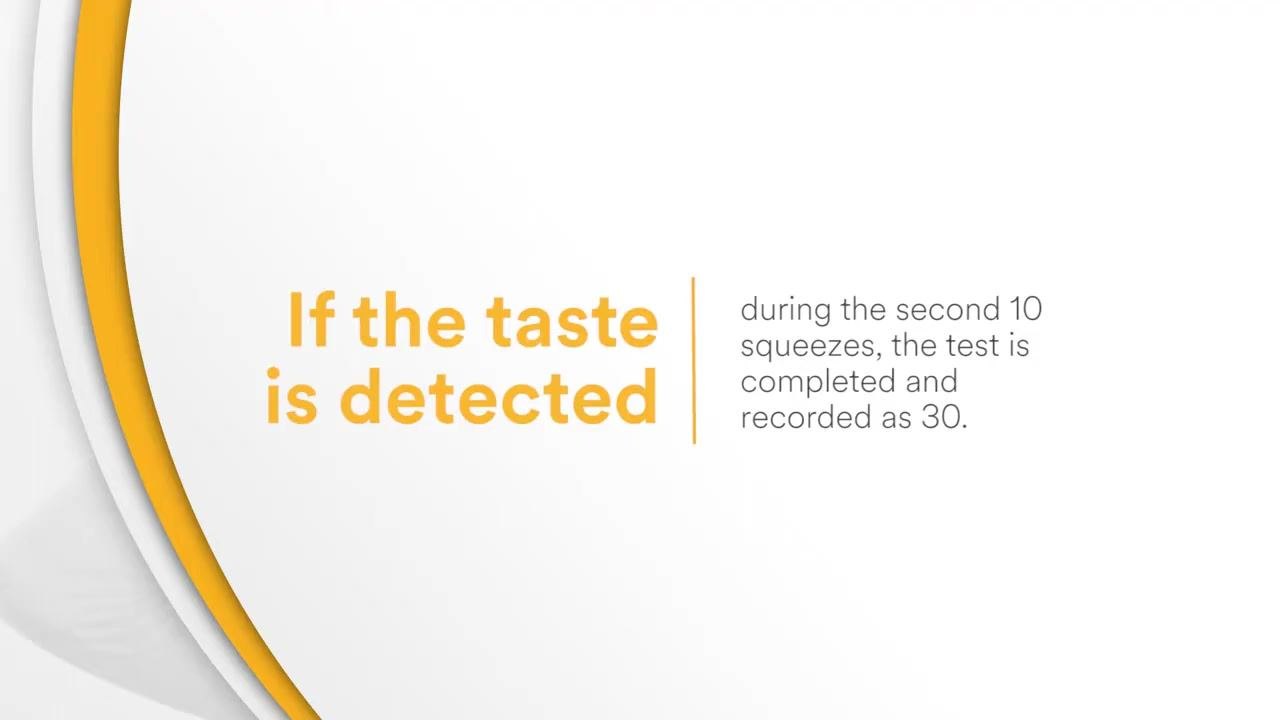
If you still do not taste the agent after 20 squeezes, the instructor adds a third set of 10 squeezes (30 total). If you taste the agent during this third set, the test is completed and recorded as 30.
-
If you still cannot taste the agent after 30 squeezes, consult your instructor for further instructions, as you may not be suitable for this type of fit test. The sensitivity test is over, and you cannot be tested using this material; ask your instructor about alternative fit testing methods.
Procedure: Conducting the fit test
Once your taste threshold is determined (10, 20, or 30 squeezes), proceed with the fit test as follows.
-
Remove the test hood and clear the taste from your mouth. Wait a few minutes for the taste to clear. Optionally, rinse your mouth with water to help remove any lingering taste.
-
Don your respirator. Put on your respirator following all instructions for proper fitting, and perform a user seal check as taught during your training session to confirm a proper fit.
-
Prepare for the fit test. The instructor places the test hood over your head again, ensuring approximately 6 inches (15 cm) of space between your face and the hood window for comfort and mobility.
-
The instructor administers the fit test agent. The instructor uses Nebulizer Number Two, which contains the fit test agent, and sprays it into the hood using the same number of squeezes (10, 20, or 30) determined during your sensitivity check.
-
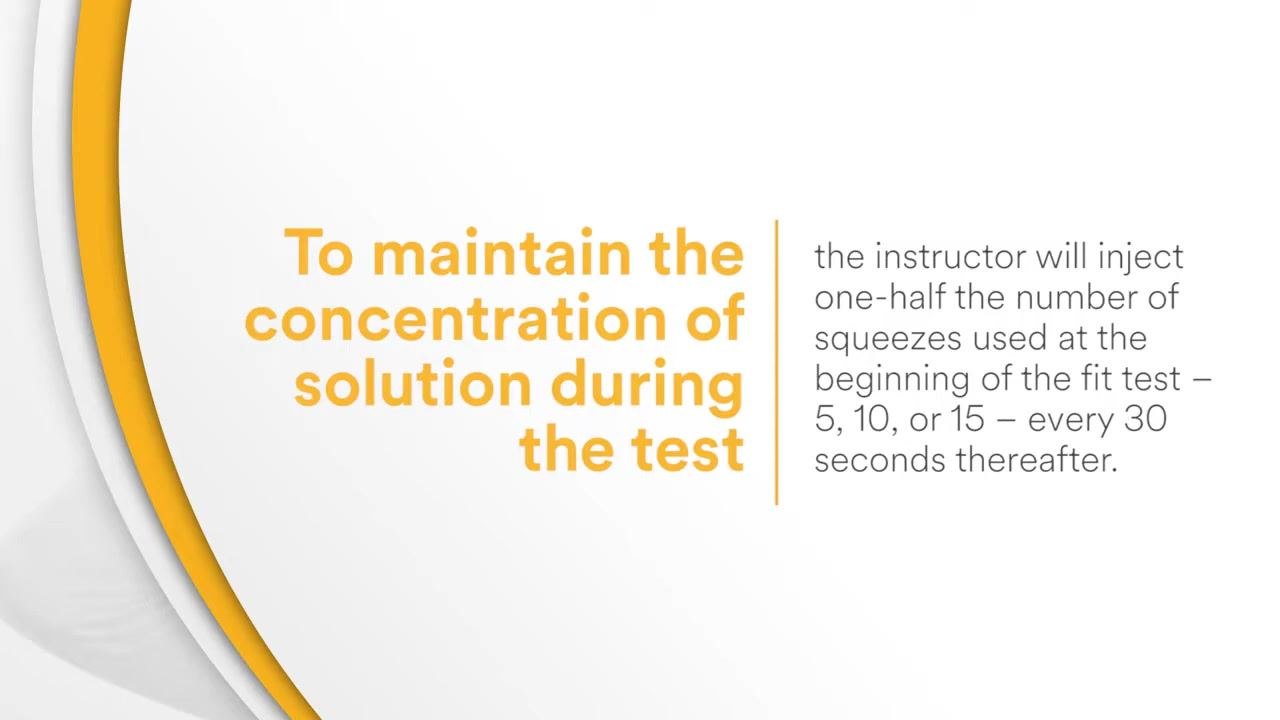
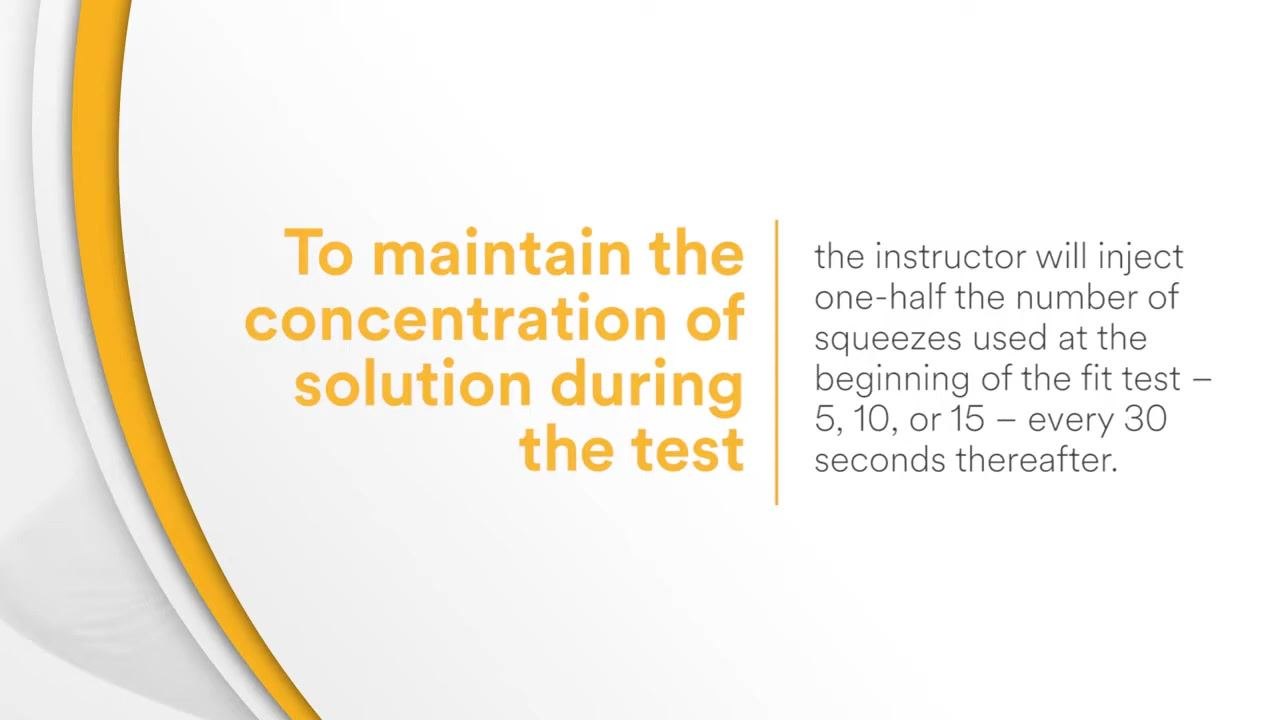
Solution concentration is maintained throughout the test. To maintain the concentration of the fit test agent, the instructor injects one-half the number of squeezes used at the start of the test (5, 10, or 15) every 30 seconds thereafter. Continue to breathe through your mouth for the entire duration of the fit test.
Procedure: Completing the fit test exercises
Perform each of the following exercises for 60 seconds, as directed by your instructor. Do not remove the hood or respirator at any point during these exercises, and remember that additional fit test solution is added at the beginning of the test and again 30 seconds into the test to maintain proper concentration.
-
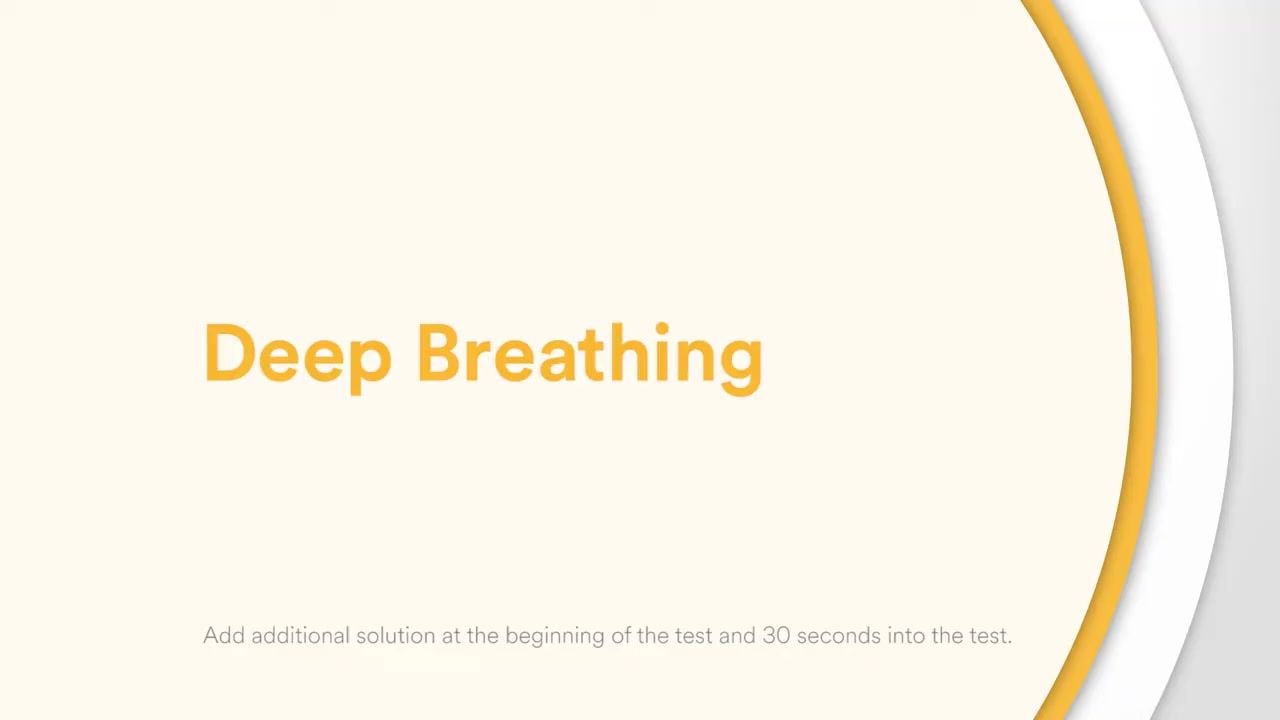
Breathe normally, then breathe deeply. Follow the instructor's direction to breathe normally first, then transition to deep, regular breathing.
-
Perform deep breathing for 60 seconds. Maintain deep, regular breaths for the full duration.
-
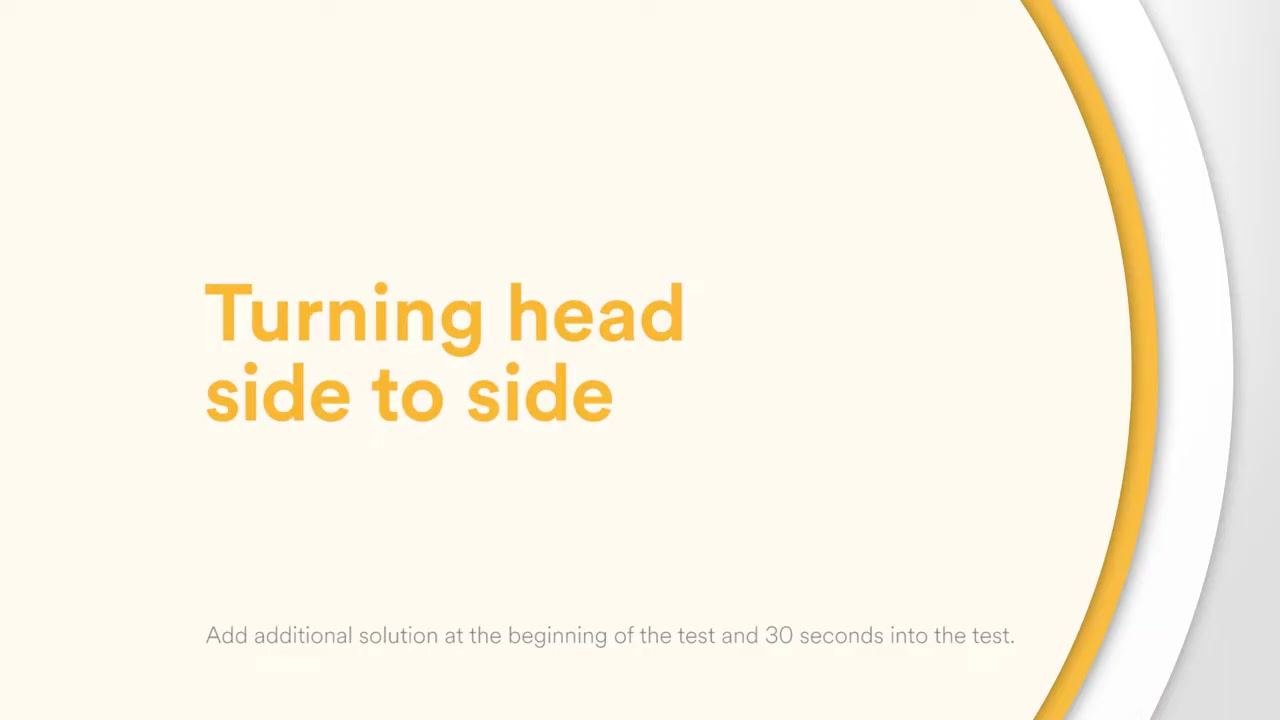
Turn your head side to side. Turn your head slowly from side to side, pausing at each side to take a breath before turning to the other side. Continue for 60 seconds. This movement helps confirm the respirator maintains its seal during head motion.
-
Continue deep breathing as directed and maintain solution concentration. Follow the instructor's timing and cues for each movement. The instructor adds additional fit test solution at the beginning of the test and again 30 seconds into the test. Do not remove the hood or respirator during this process.
-
Turn your head side to side (screen prompt). Follow the on-screen prompt "Turning head side to side," which helps confirm the respirator maintains its seal during head movement. Additional solution is added at the beginning of the test and 30 seconds in.
-
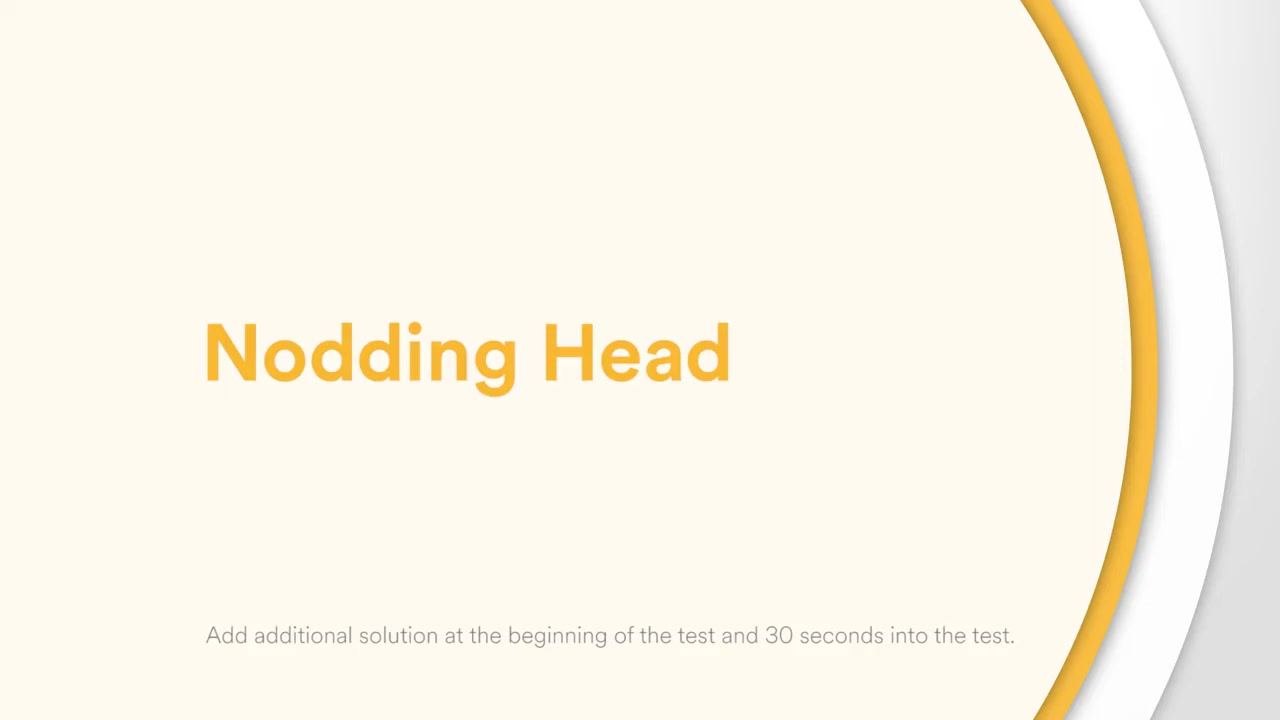
Nod your head up and down. Follow the on-screen prompt "Nodding Head" to check the respirator's fit during vertical head movement. Additional solution is added at the beginning of the test and 30 seconds in.
-
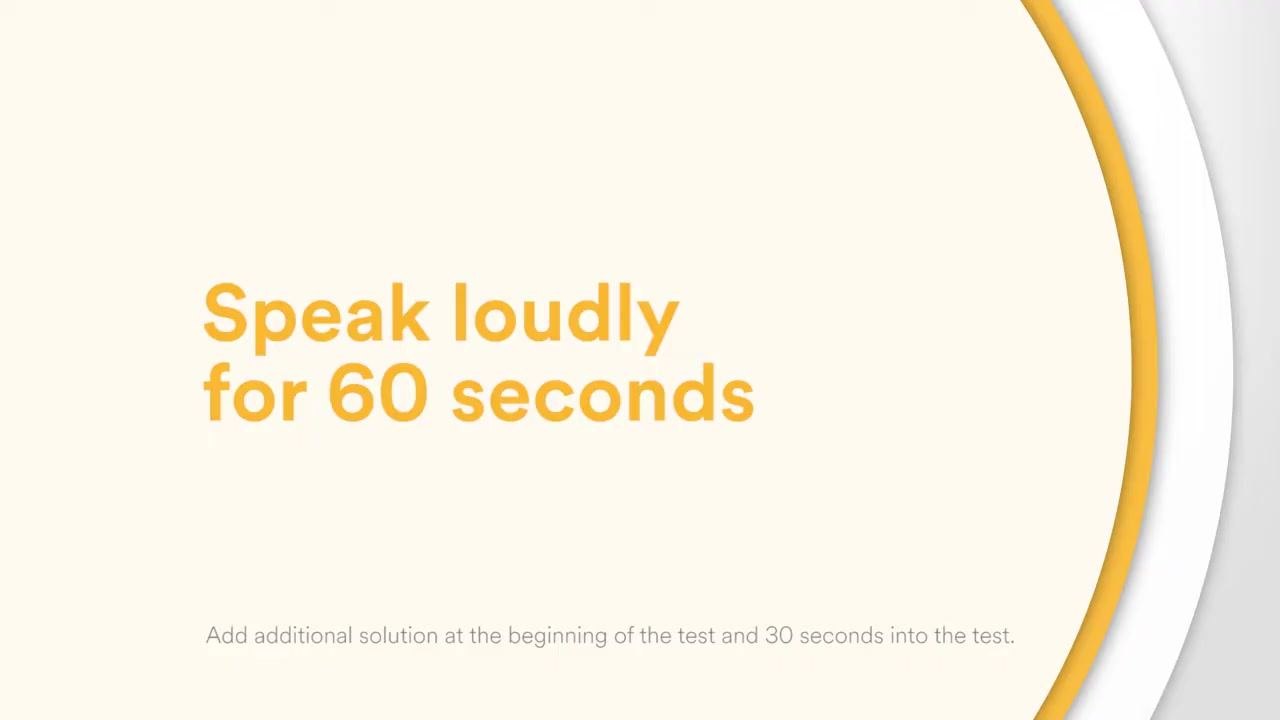
Speak loudly for 60 seconds. When prompted, read the rainbow passage slowly out loud. This step ensures the respirator maintains its seal while talking. Additional solution is added at the beginning of the test and 30 seconds in.
-
Continue speaking loudly for the full duration. Maintain speaking loudly for the entire 60 seconds as instructed, with additional solution added at the beginning of the test and 30 seconds in.
-
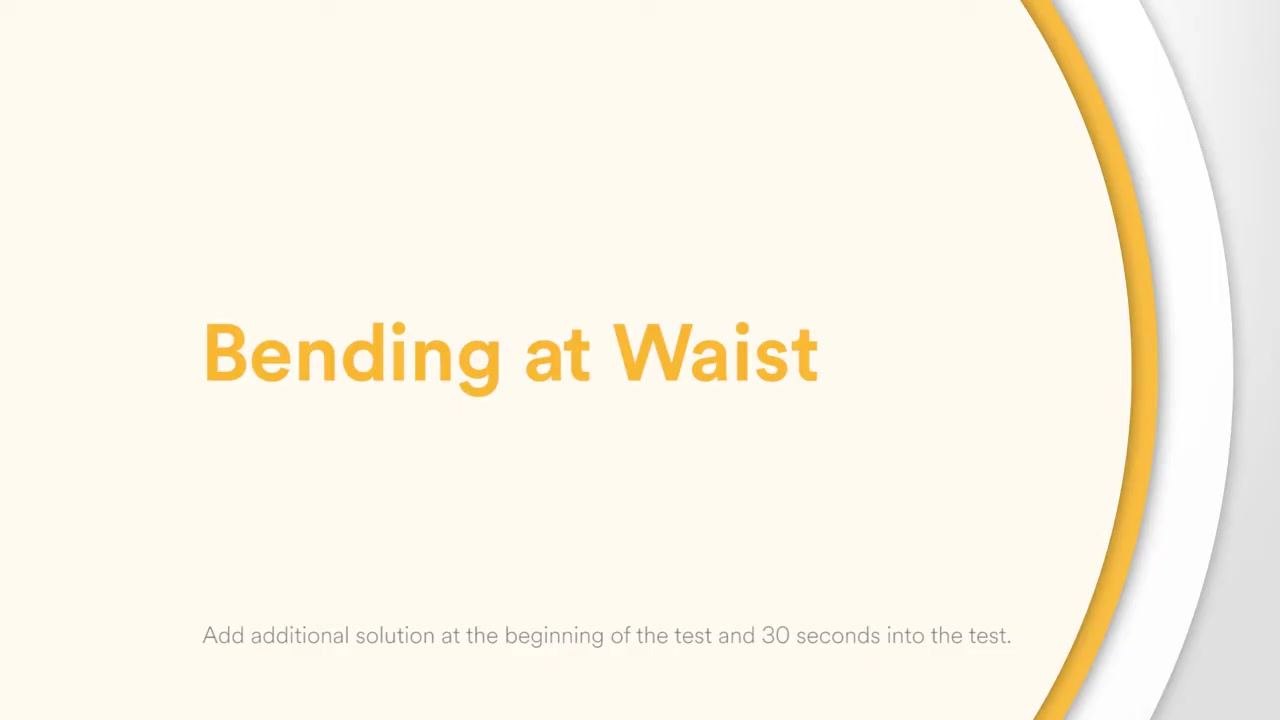
Bend at the waist. Carefully bend at the waist while holding onto the hood to prevent it from shifting. Additional solution is added at the beginning of the test and 30 seconds in.
-
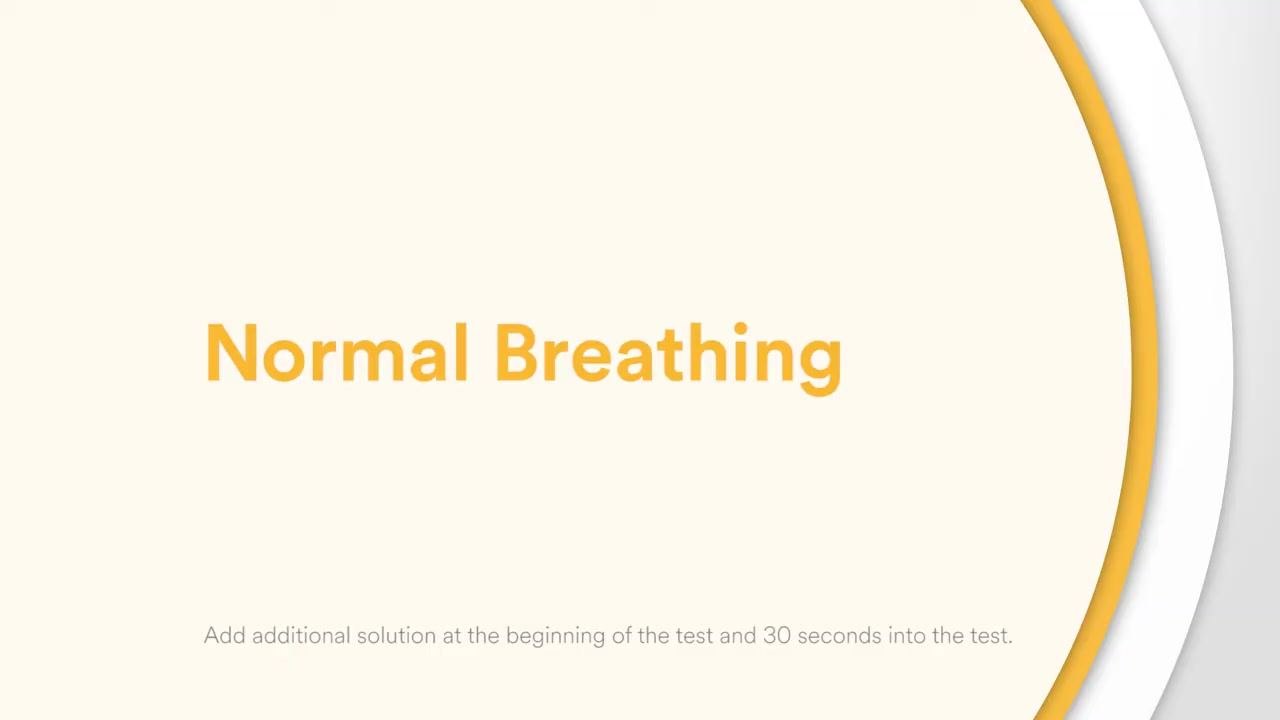
Resume normal breathing. Return to normal breathing to complete the fit test sequence. Additional solution is added at the beginning of the test and 30 seconds in.
Responding if you detect the test agent
If at any time during the fit test you detect the same taste you did during the sensitivity check, immediately stop the fit test.
Once you clear the taste of the test agent from your mouth, rinse your mouth with water or a neutralizing agent, then repeat the sensitivity test and fit test procedure from the beginning.
Completing the fit test and cleaning up
If you complete all exercises without tasting the test agent, the respirator fits you properly.
After the fit test is complete, the hood is cleaned with a disposable wipe. The administrator wipes down the inside of the hood thoroughly so it is ready for the next use.
Verification and safety reminders
When it comes to respiratory protection, you must have the proper fit. Achieving a proper fit, as confirmed by this procedure, is essential for effective respiratory protection and safety.
Before use, carefully review the following warning:
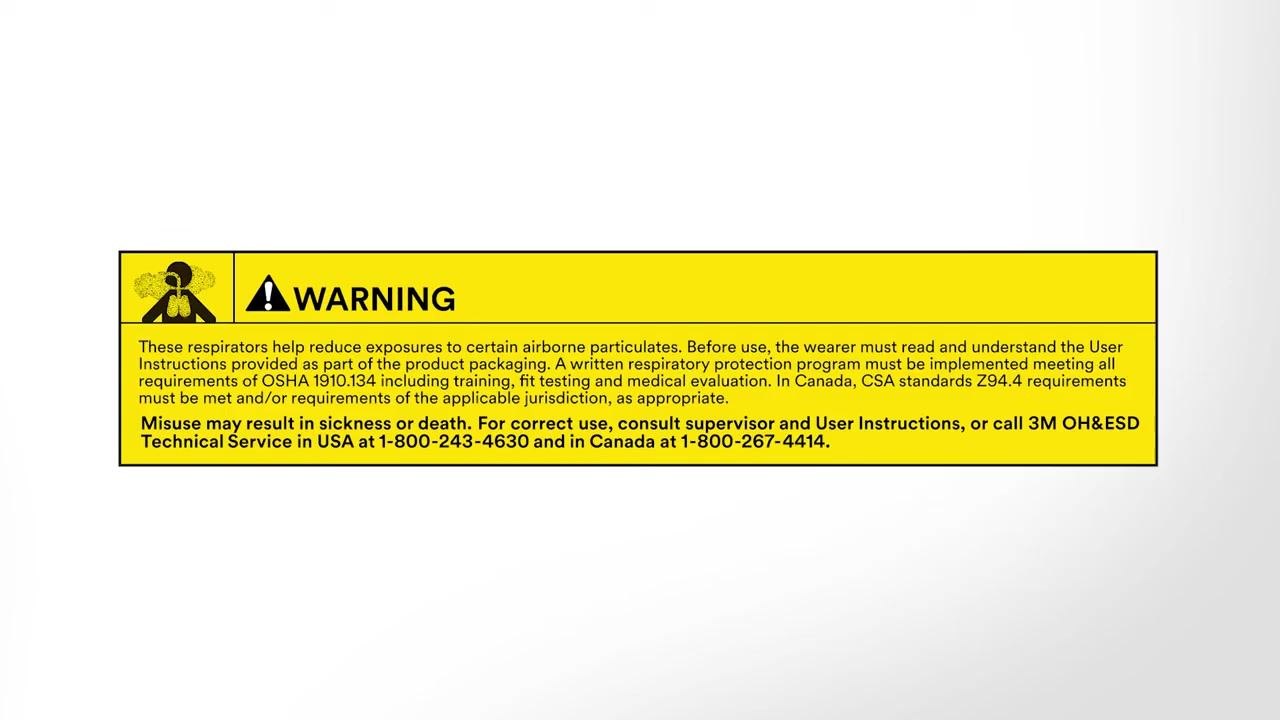
- These respirators help reduce exposures to certain airborne particulates. Before use, the wearer must read and understand the User Instructions provided as part of the product packaging.
- Ensure a written respiratory protection program is implemented that meets all OSHA 1910.134 requirements, including training, fit testing, and medical evaluation.
- In Canada, follow CSA standards Z94.4 or applicable jurisdiction requirements.
- Misuse may result in sickness or death. For correct use, consult your supervisor and the User Instructions, or call 3M OH&ESD Technical Service in the USA at 1-800-243-4630 or in Canada at 1-800-267-4414.
Take all warnings seriously and follow all instructions for safe respirator use.
What's next
Repeat this fit test procedure at least once a year, as required by OSHA, to confirm your respirator continues to provide a proper seal. If you change respirator models or sizes, or if your face shape changes, perform a new fit test before returning to a contaminated atmosphere.
Generation details: cost, quality tiers
Docsie billed 4,000 credits ($2.80) to analyze this 8-minute video at standard quality. The rewrite, template fill and Word/PDF exports were included. The same video at each quality tier:
| Quality | Frames sampled | Credits | Approx. cost |
|---|---|---|---|
| Draft | every 16-30 s | 2,000 | $1.40 |
| Standard (this guide) | every 8-15 s | 4,000 | $2.80 |
| Detailed | every 4-7 s | 8,000 | $5.60 |
| Ultra | every 1-3 s | 16,000 | $11.20 |
Credits priced at $0.70 per 1,000; plans include a monthly allowance. Enterprise customers on on-premise or bring-your-own-model deployments run this on their own inference and pay no per-video credits.
Generated by Docsie Video-to-Docs on 2026-09-09 from a 7-minute video. Screenshots are frames from the source video and belong to their creator, 3M Worker Health and Safety, whose original is embedded above. If you own this video and want the guide removed or credited differently, contact us and we will act within one business day.