
How to Do a Pre Trip Inspection
This checklist shows you how to do a pre-trip inspection on a tractor-trailer, following the outside inspection portion of the CDL road test that changed in 2023. There is no required order for the inspection — you may follow your examiner's preferred flow or build your own sequence, as long as every item below is covered. Every truck differs, especially in the engine compartment, so adapt each check to the specific vehicle you are inspecting. Before you begin, have the vehicle's inspection checklist, a tire gauge, and a rag or towel for checking dipsticks on hand.
Video: CDL Class A Pre-Trip Inspection: COMPLETE GUIDE (2024) by Driving Academy | CDL Truck Driving School (2024). All credit for the demonstration goes to the creator; watch the original on YouTube. The written guide below was generated from this video by Docsie. Creator? Request a change or removal.
This checklist shows you how to do a pre-trip inspection on a tractor-trailer, following the outside inspection portion of the CDL road test that changed in 2023. There is no required order for the inspection — you may follow your examiner's preferred flow or build your own sequence, as long as every item below is covered. Every truck differs, especially in the engine compartment, so adapt each check to the specific vehicle you are inspecting. Before you begin, have the vehicle's inspection checklist, a tire gauge, and a rag or towel for checking dipsticks on hand.
Vehicle Details
Record the identifying information for the specific tractor-trailer you are inspecting before starting the walk-around, since layout and component placement can vary from truck to truck.
| Field | Entry |
|---|---|
| Vehicle ID | |
| Mileage | |
| Route/Run | |
| Depot | |
| Operator | |
| Inspection Time |
The walkthrough does not capture specific data-entry values for vehicle ID, mileage, route, depot, operator, or inspection time — log these from your dispatch record or work order before you start the inspection.
Exterior Checks
Checking front lights and body condition
Begin the inspection at the front of the vehicle and confirm that every exterior light is operational and correctly mounted.
| Item | Inspection criteria | Pass | Fail | N/A |
|---|---|---|---|---|
| Clearance lights (top of cab) | Operational, proper color lens, not cracked, mounted securely | |||
| Headlights | Operational, proper color lens, not cracked, mounted securely | |||
| Turn signals | Operational, proper color lens, not cracked, mounted securely | |||
| High beams | Operational, proper color lens, not cracked, mounted securely |
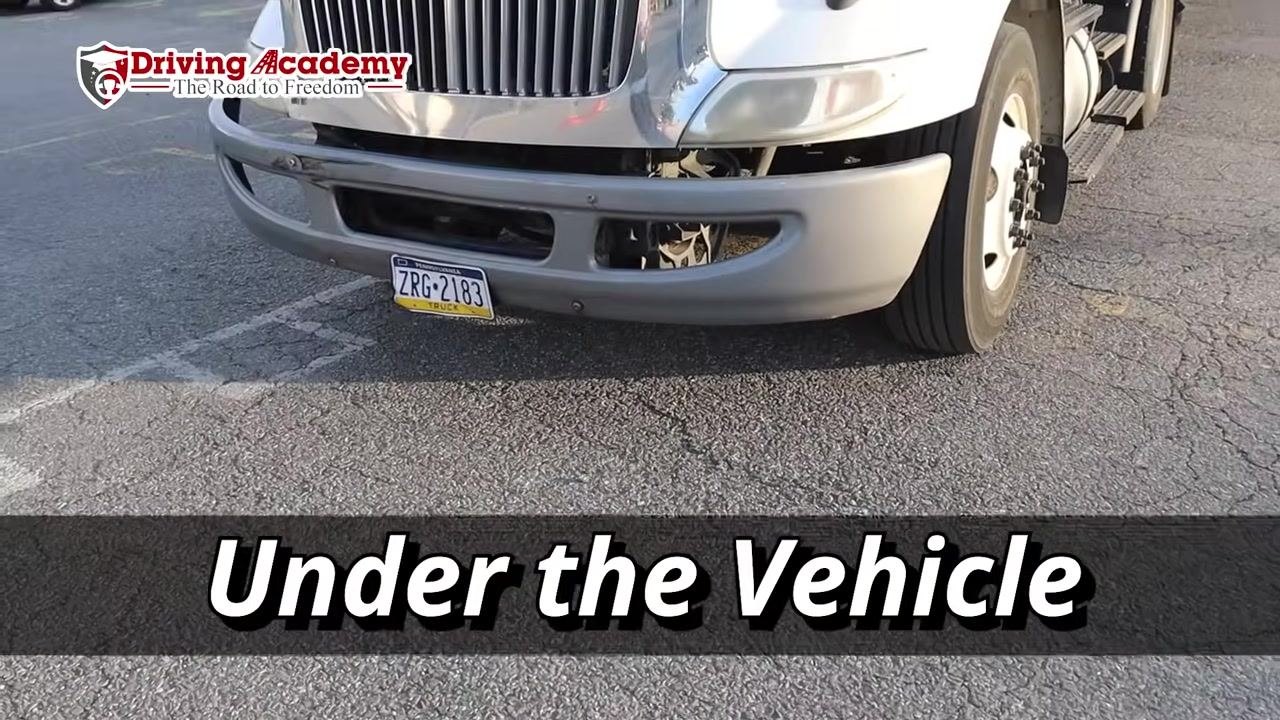
Checking for leaks and vehicle stance
Look underneath the vehicle for fluid leaks and confirm the truck is sitting level.
| Item | Inspection criteria | Pass | Fail | N/A |
|---|---|---|---|---|
| Under-vehicle leaks | No puddles or dripping fluid from engine or transmission | |||
| Vehicle stance | Not leaning left, right, front, or back (indicates suspension issue) |
Accessing and inspecting the engine compartment
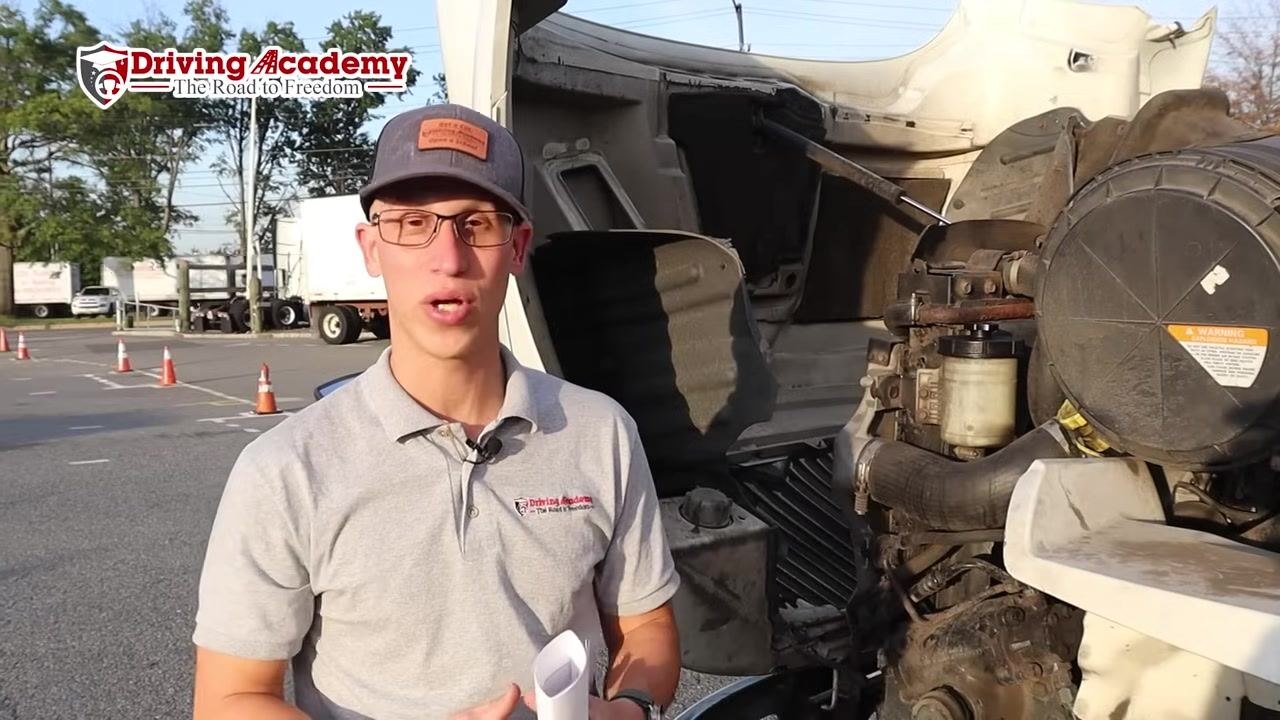
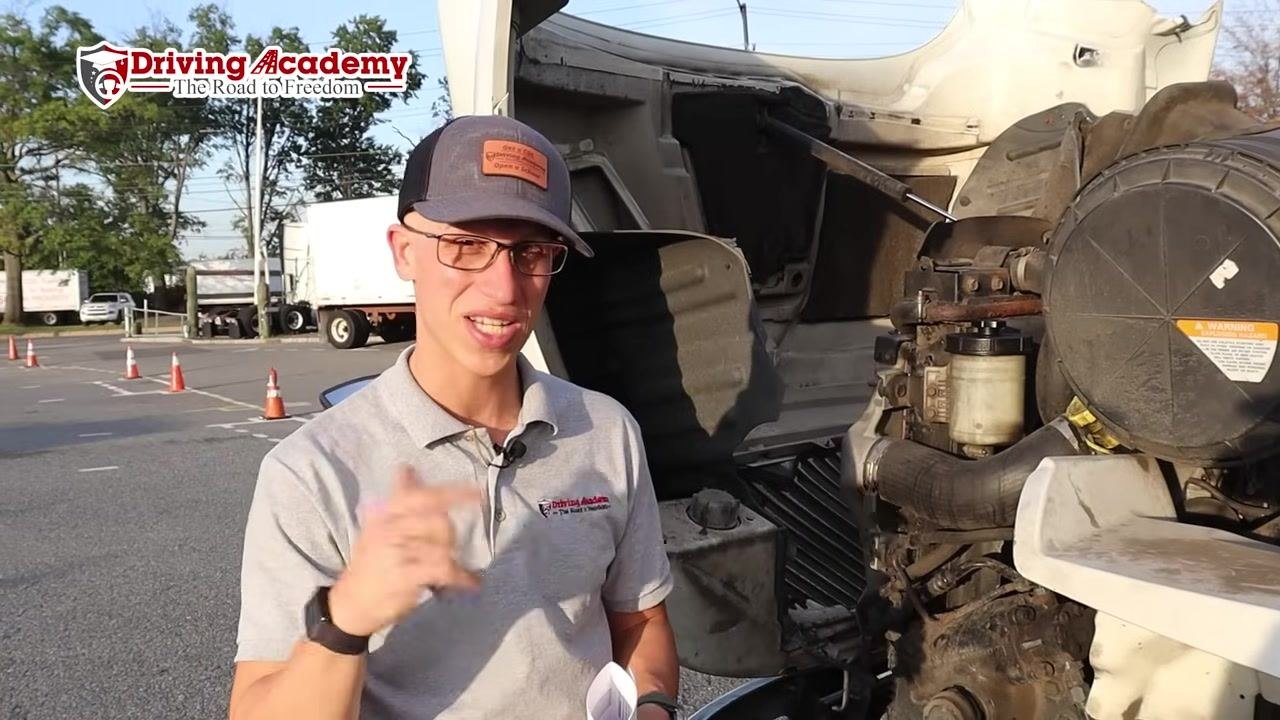
Release the hood latches on both sides of the vehicle, open the hood carefully, and secure it in the open position before inspecting the components underneath.
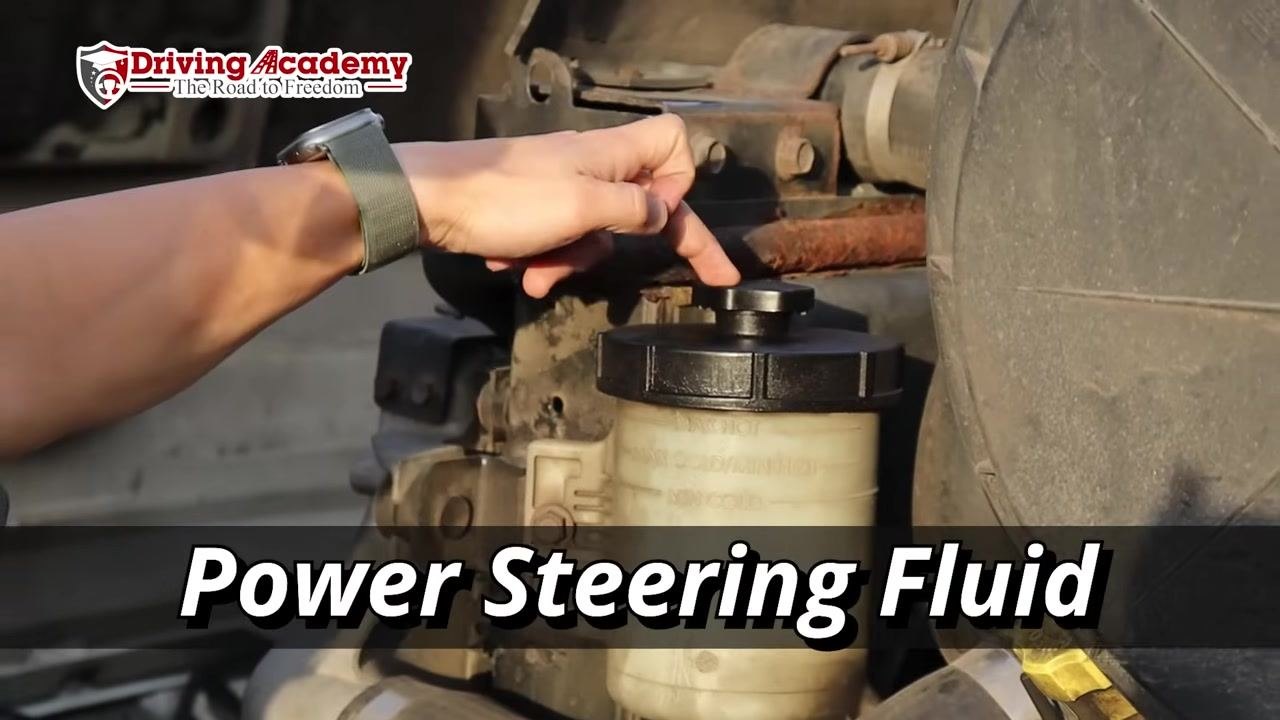
Fluid levels — with the engine off, unscrew each cap, pull out the dipstick, wipe it clean, reinsert it fully, then remove it again to read the level.
| Item | Inspection criteria | Pass | Fail | N/A |
|---|---|---|---|---|
| Engine oil level | Level falls between the "add" and "fill" lines on the dipstick | |||
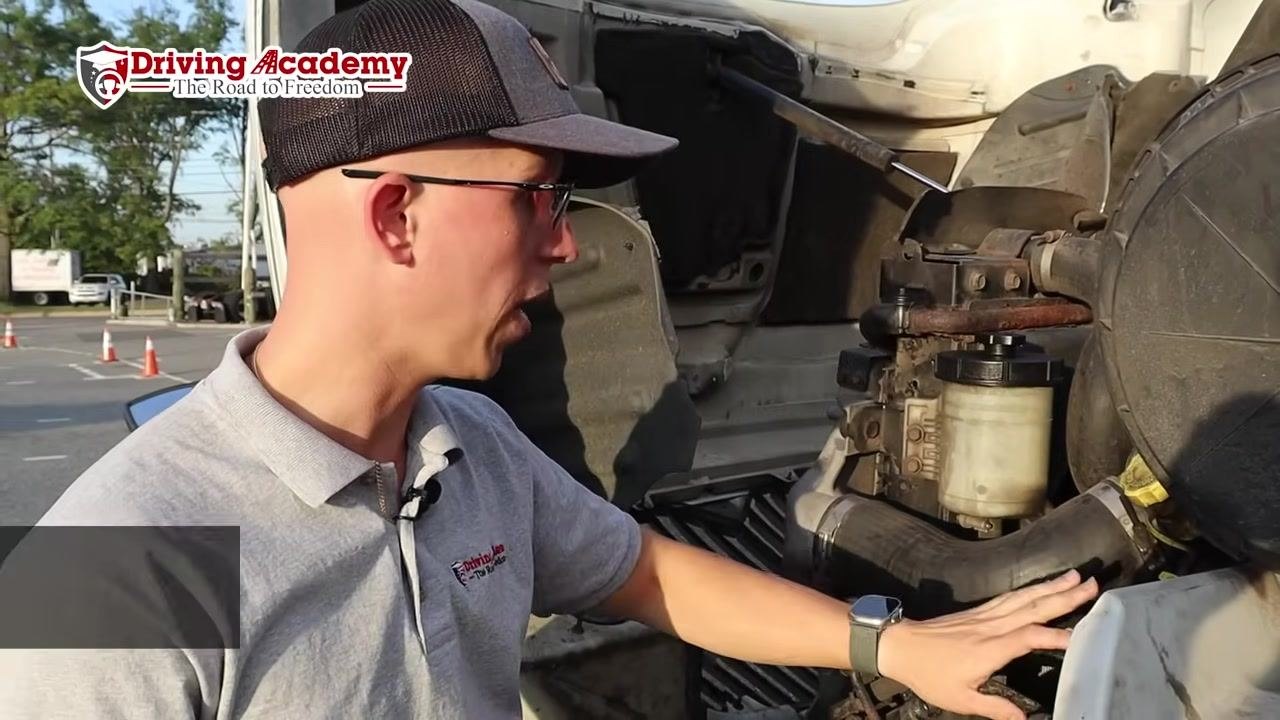
| Power steering fluid level | Fluid at proper operating level | |||
| Coolant level | Proper level visible on reservoir; never open cap when engine is hot; reservoir not cracked, damaged, or leaking, and securely mounted |
Hoses and steering components
| Item | Inspection criteria | Pass | Fail | N/A |
|---|---|---|---|---|
| Engine compartment hoses | Securely mounted, no leaks | |||
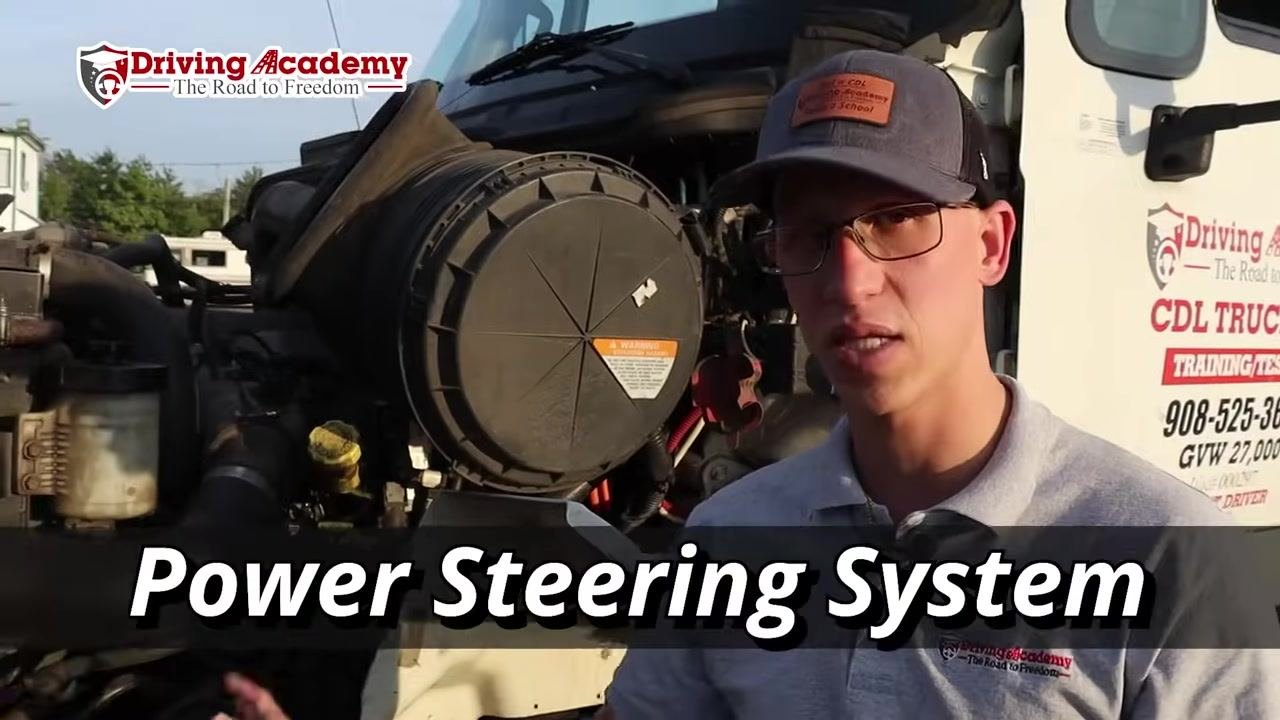
| Power steering box | Securely mounted, not damaged or broken, no loose or missing nuts/bolts, no leaks | |||
| Steering linkage (arm, link, rod) | Not worn, cracked, or loose; joints and sockets secure with no missing nuts, bolts, or cotter keys; no leaks, all connections tight |
Checking front tires and wheels
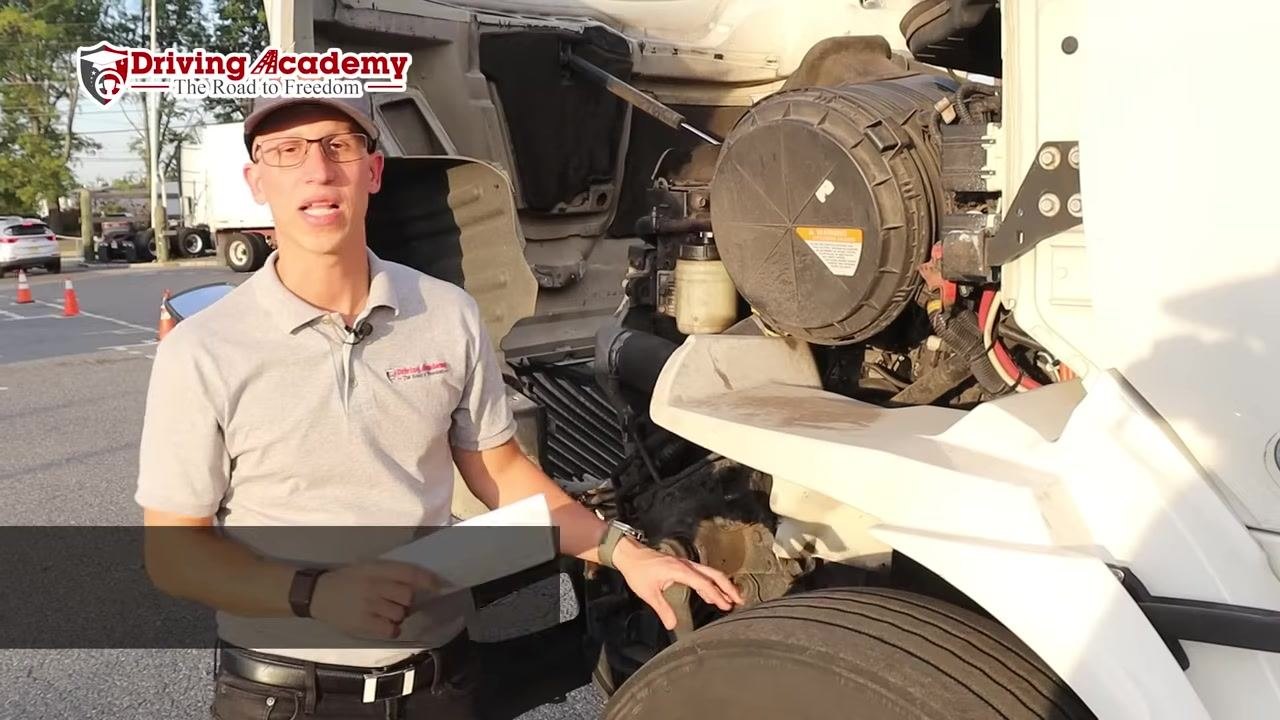
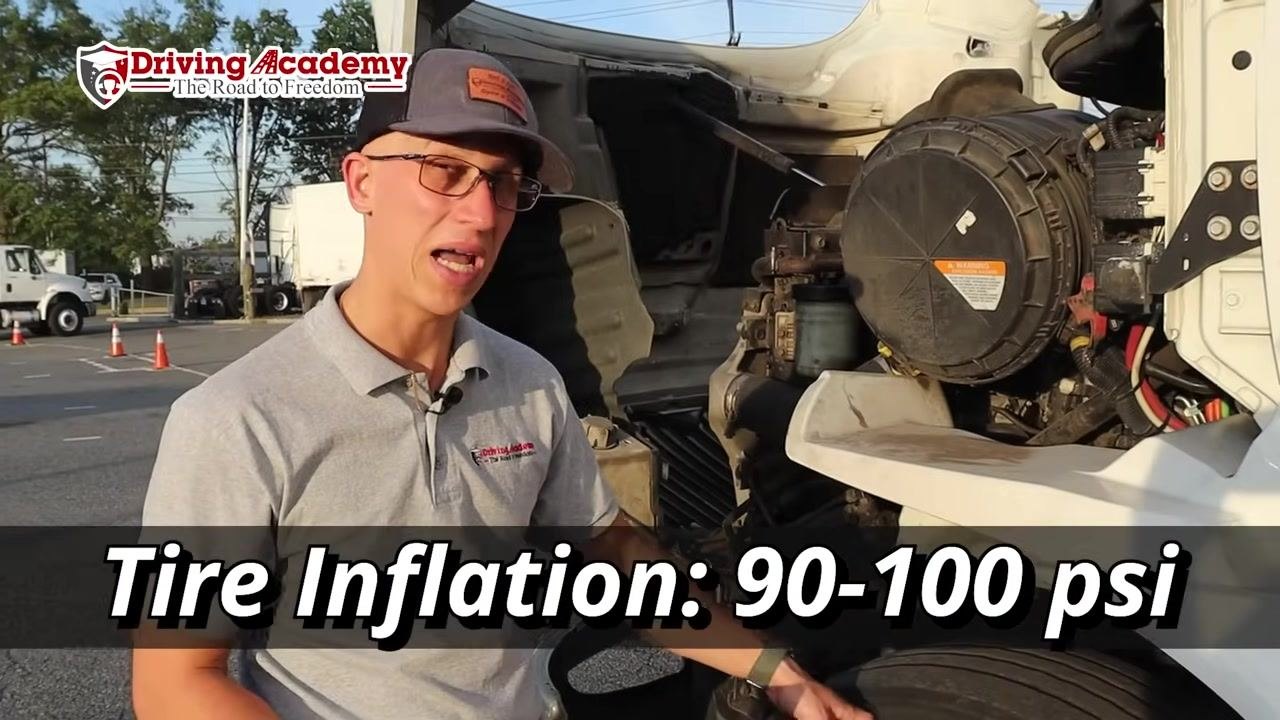
Move to the front tire area and inspect the tread, inflation, valve stem, and lug nuts.
| Item | Inspection criteria | Pass | Fail | N/A |
|---|---|---|---|---|
| Tread depth (steering axle) | No less than 4/32 inch, evenly worn, no cuts, bulges, or exposed cords | |||
| Tire inflation | Between 90 and 100 PSI, checked with a tire gauge | |||
| Mounting | Properly inflated and mounted securely | |||
| Valve stem | Mounted securely, no damage or looseness | |||
| Lug nuts | All present, in good condition, not distorted or damaged, no rust trails or shiny threads indicating looseness |
Checking brakes
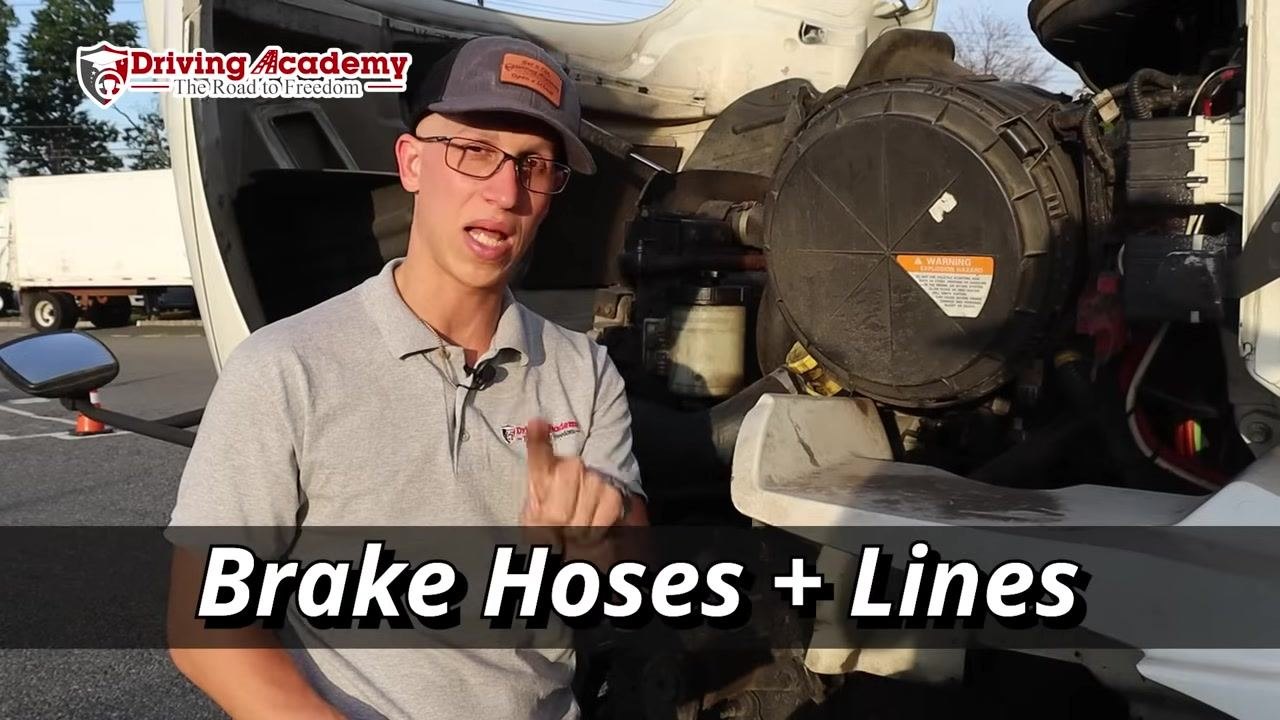
Inspect the brake hoses, lines, and contact surfaces for damage or contamination.
| Item | Inspection criteria | Pass | Fail | N/A |
|---|---|---|---|---|
| Brake hoses and lines | Securely mounted, no leaks or visible damage | |||
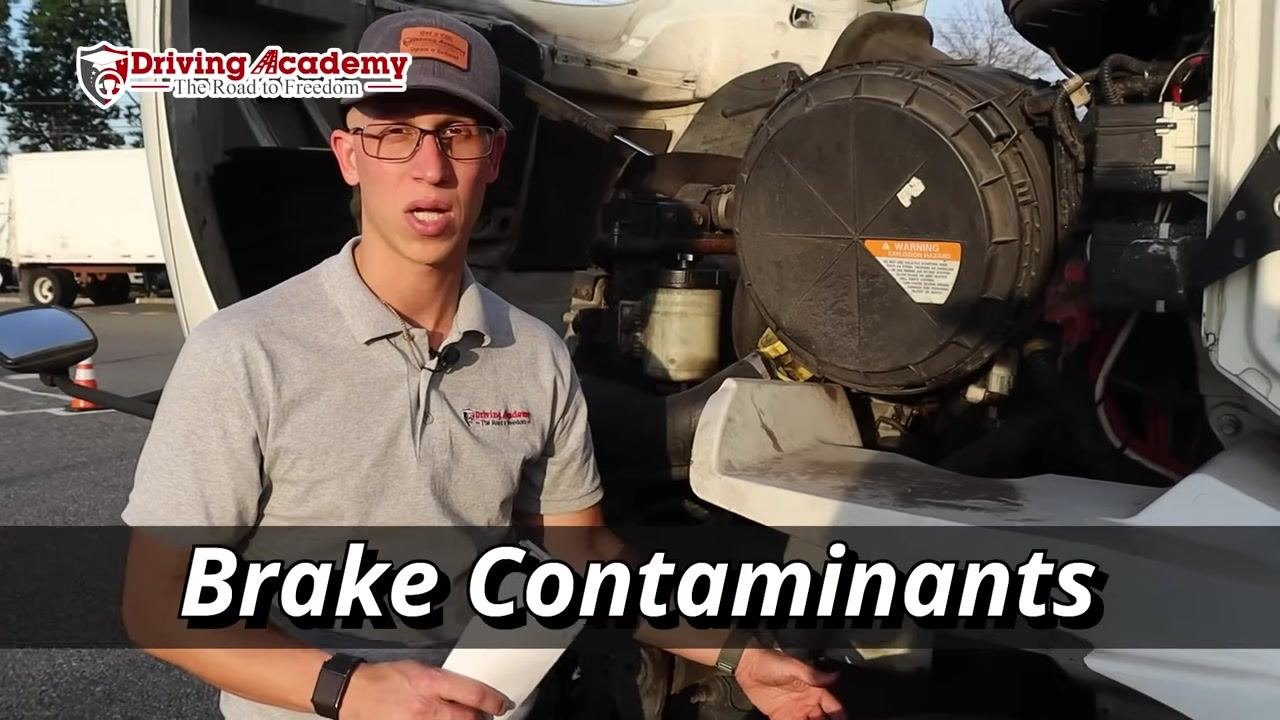
| Brake contaminants | No oil, grease, or debris between drum and brake shoes, or between disc brake components |
Checking suspension (front)
| Item | Inspection criteria | Pass | Fail | N/A |
|---|---|---|---|---|
| Spring hangers | No loose or missing nuts or bolts | |||
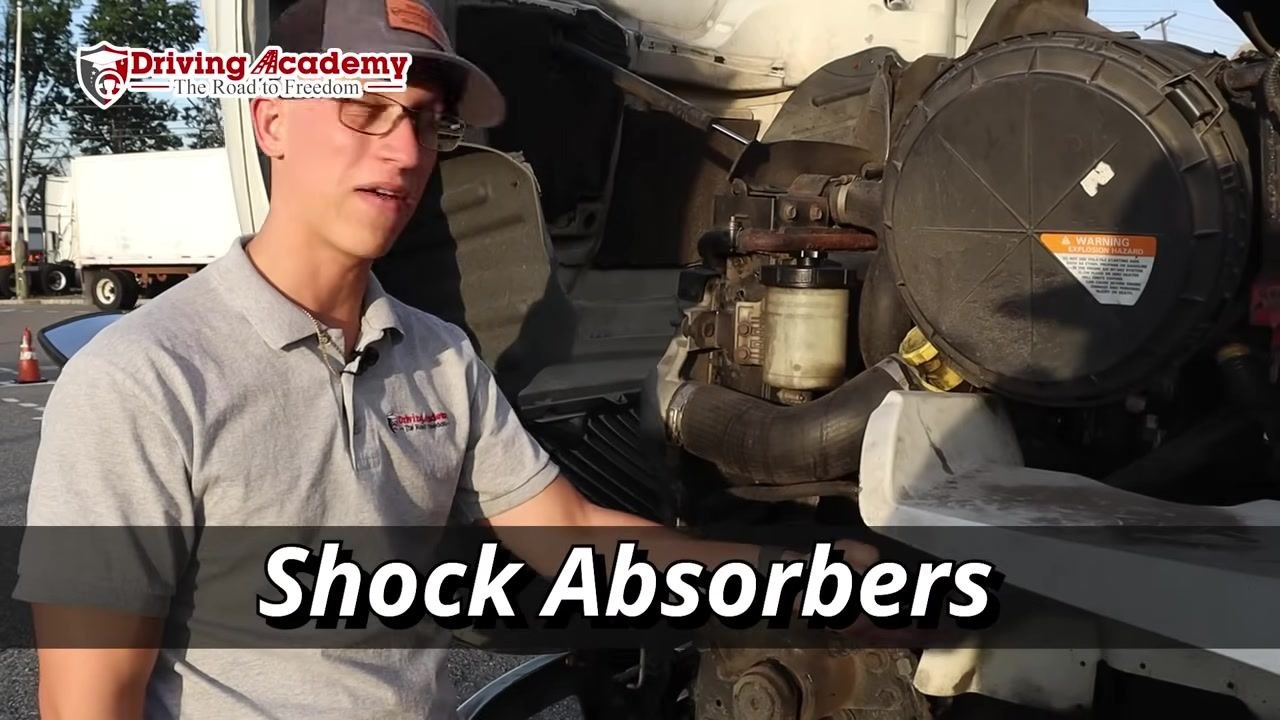
| Shock absorbers | Securely mounted, not damaged or leaking | |||
| Bushings | Present and in good condition, no excessive wear, cracks, or missing bushings |
Checking cab exterior lights, reflectors, and mirrors
| Item | Inspection criteria | Pass | Fail | N/A |
|---|---|---|---|---|
| Turn signal and other cab lights | Securely mounted, clean, not cracked, functioning properly | |||
| Reflectors | Present, clean, not cracked, securely mounted | |||
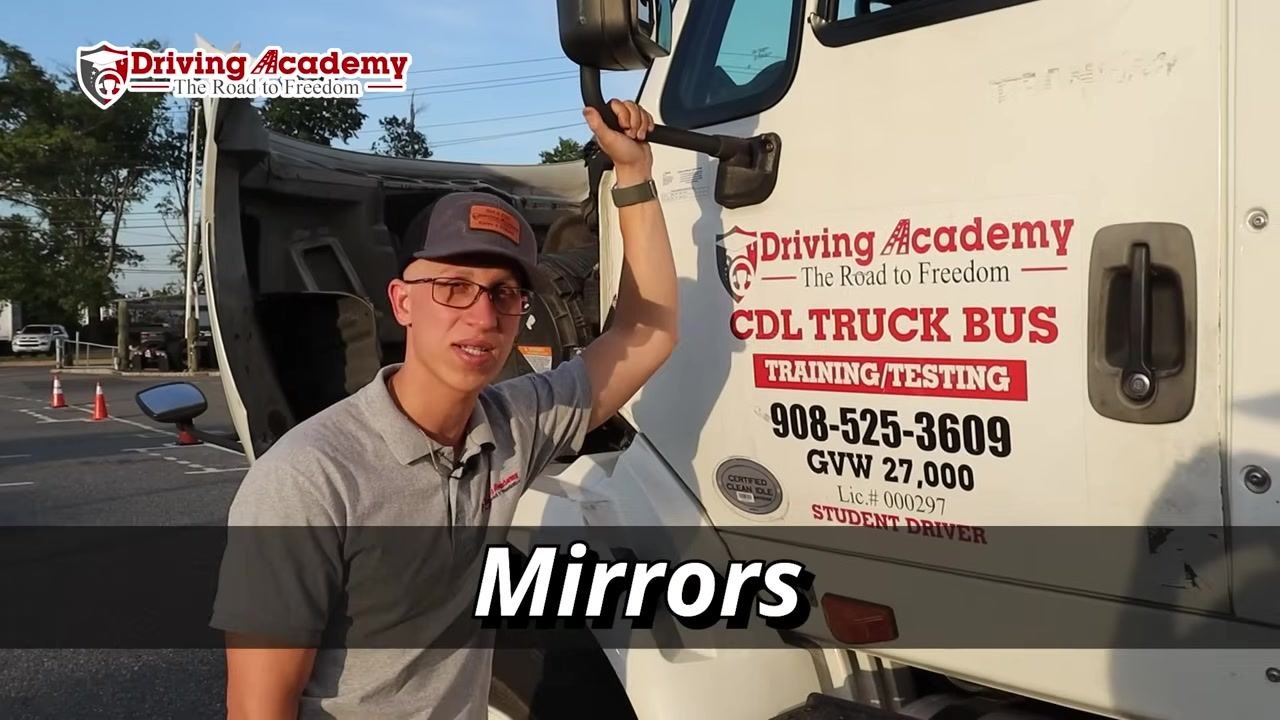
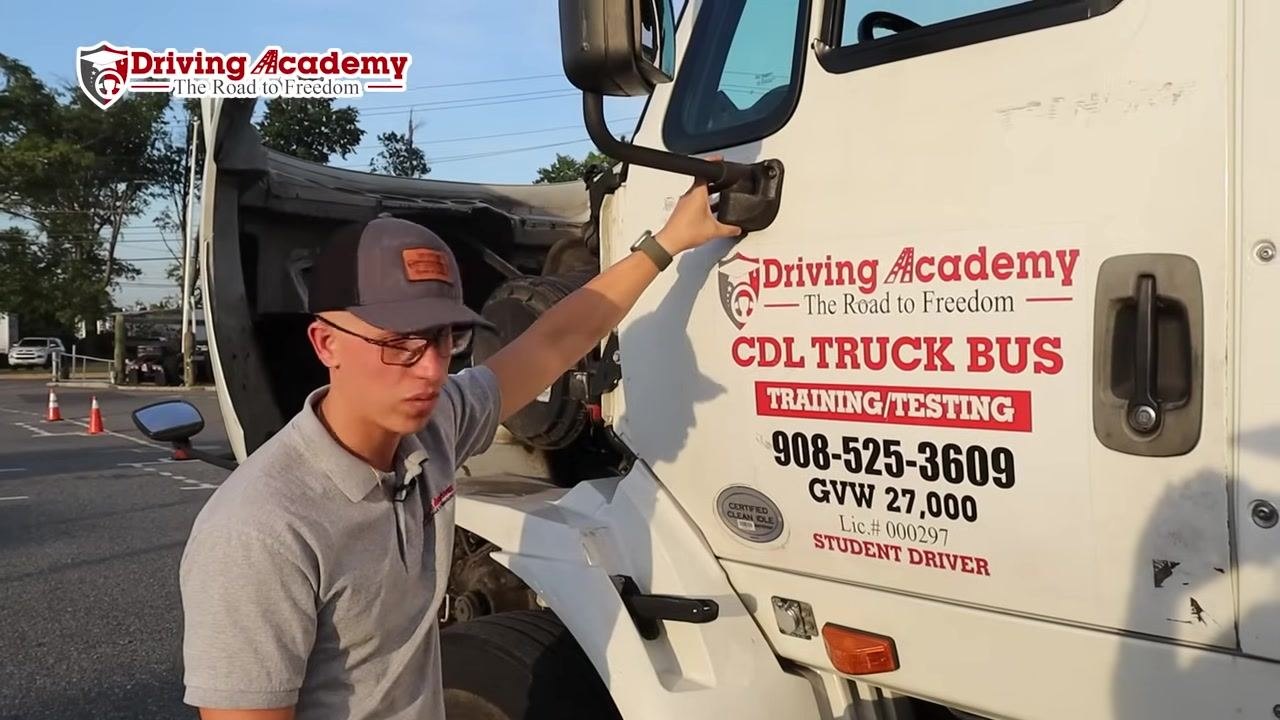
| Mirrors | Securely mounted, no loose or broken fittings, clean and not cracked |
Checking fuel tank and battery box
| Item | Inspection criteria | Pass | Fail | N/A |
|---|---|---|---|---|
| Fuel tank | Securely mounted, not leaking | |||
| Battery box | Securely mounted (no need to open the box, but check its condition) | |||
| Batteries and lines | Batteries secure inside the box, no excessive corrosion on the lines, lines properly connected and in good condition |
Checking the frame and coupling area between tractor and trailer
Move to the area between the tractor and trailer to inspect the frame and connection components.
| Item | Inspection criteria | Pass | Fail | N/A |
|---|---|---|---|---|
| Frame (between tractor and trailer) | No broken or cracked areas on the large metal frame component | |||
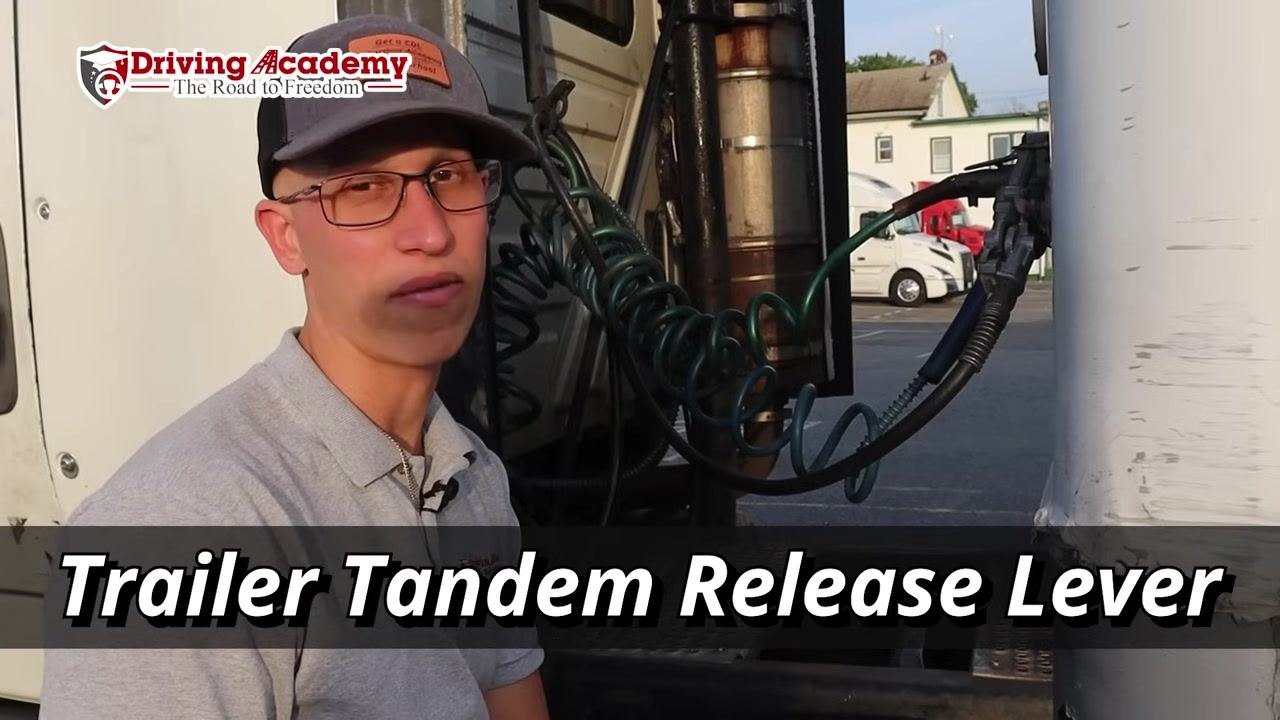
| Trailer tandem release lever | Securely mounted, not damaged | |||
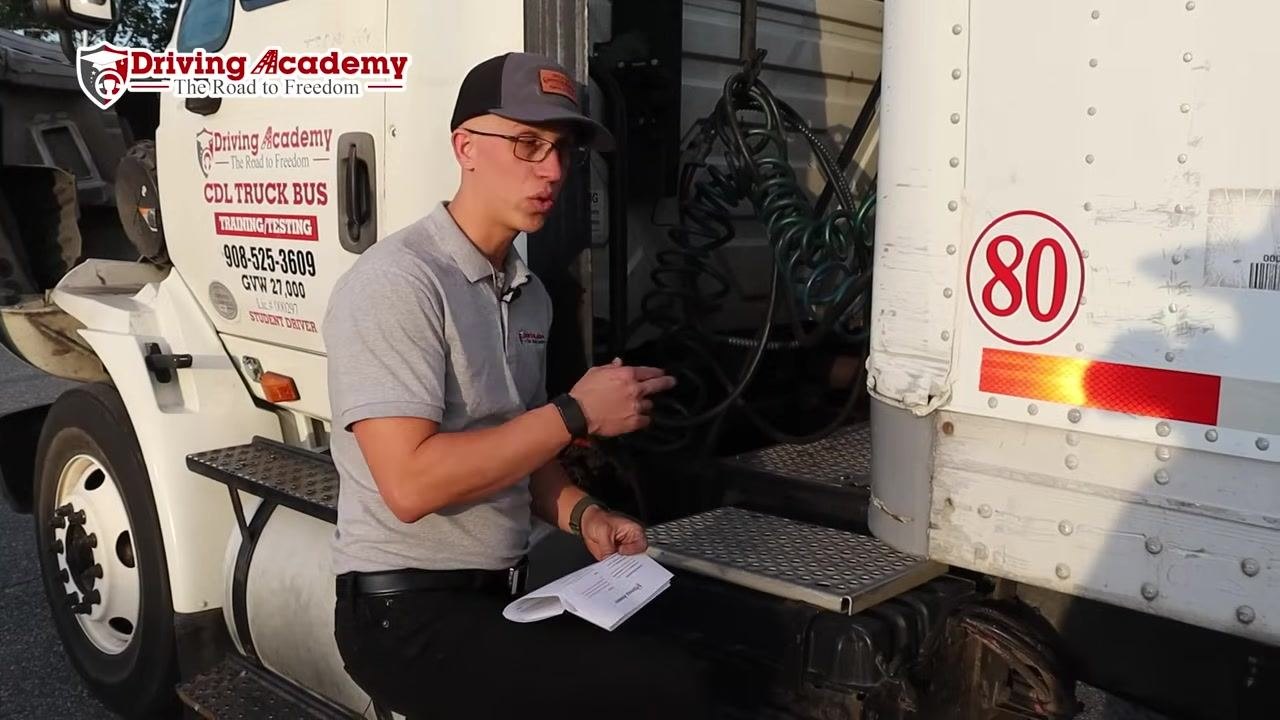
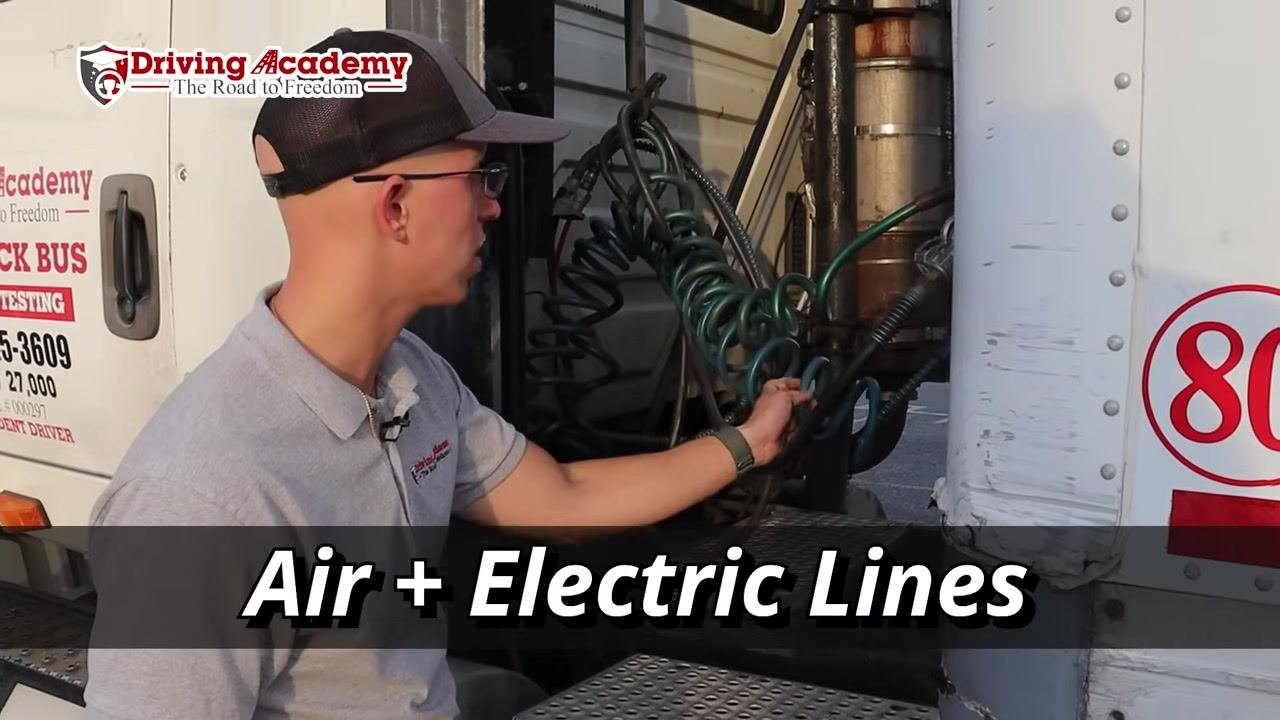
| Air and electric lines | Securely connected at both ends, not cut, chafed, spliced, or worn, no tape on the lines | |||
| Line connection points | Hard-wired or hard-plugged and secure | |||
| Line routing | Not tangled, pinched, or dragging against tractor parts; safely routed and free from obstructions |
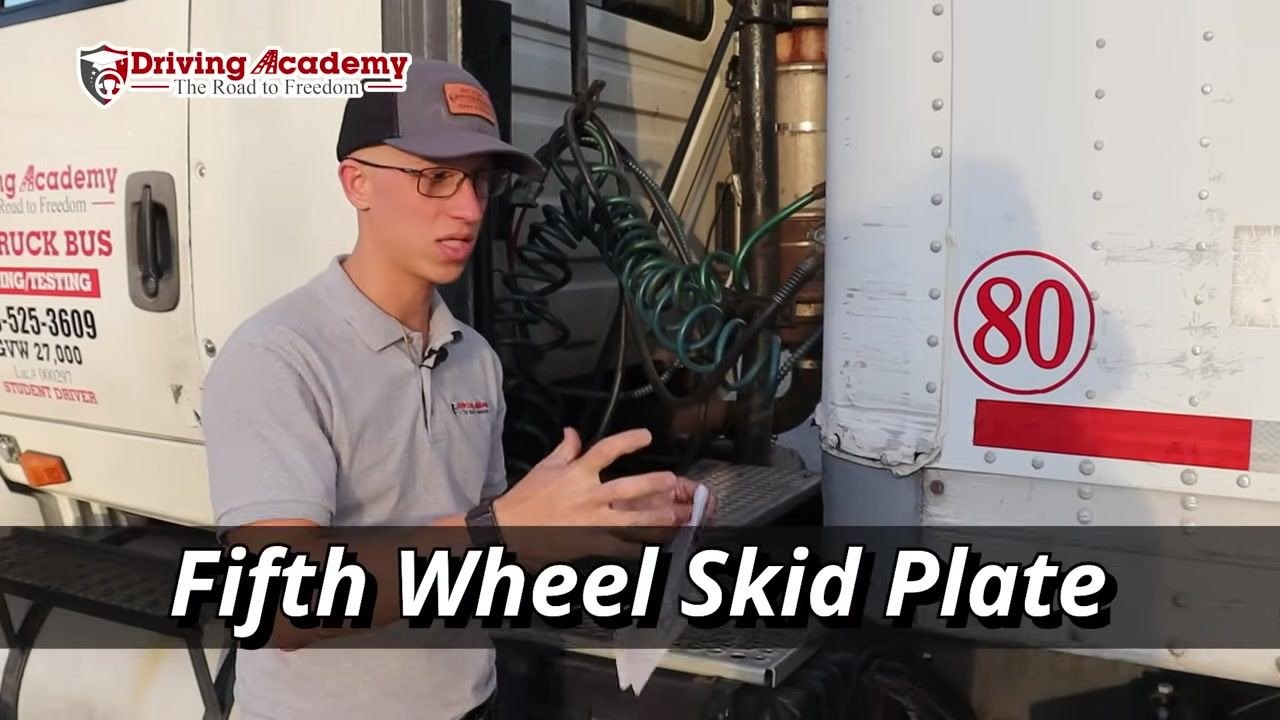
The fifth wheel skid plate is the main coupling surface between tractor and trailer, and it is critical for coupling; it must be inspected for damage or excessive wear as part of the coupling review. In real-world operation, thoroughly check every coupling and connection point for safety, beyond the specific items covered during a test.
Checking rear tires, rim, brakes, and rear suspension
Rear tires may encounter obstacles that the front tires do not, so give them the same thorough review.
| Item | Inspection criteria | Pass | Fail | N/A |
|---|---|---|---|---|
| Tread and sidewalls | Evenly worn, no cuts or damage on tread, no bulges, cuts, or bubbles on sidewalls | |||
| Tire inflation | Between 90 and 100 PSI, checked with a tire gauge | |||
| Valve stem and cap | Not leaking, securely mounted | |||
| Rim | Not welded, damaged, or bent; bolt holes not elongated; securely mounted to tire | |||
| Lug nuts and studs | All present, no looseness (rust trails or shiny threads), studs not distorted or damaged, bolt holes and studs in good condition | |||
| Brakes (behind tire) | Hoses and lines securely mounted, not leaking, free from damage, cuts, or frays; area free from contaminants between drum and shoes or disc brake components | |||
| Rear suspension | Leaf springs not missing, shifted, cracked, or broken; spring hangers or mounts securely mounted |
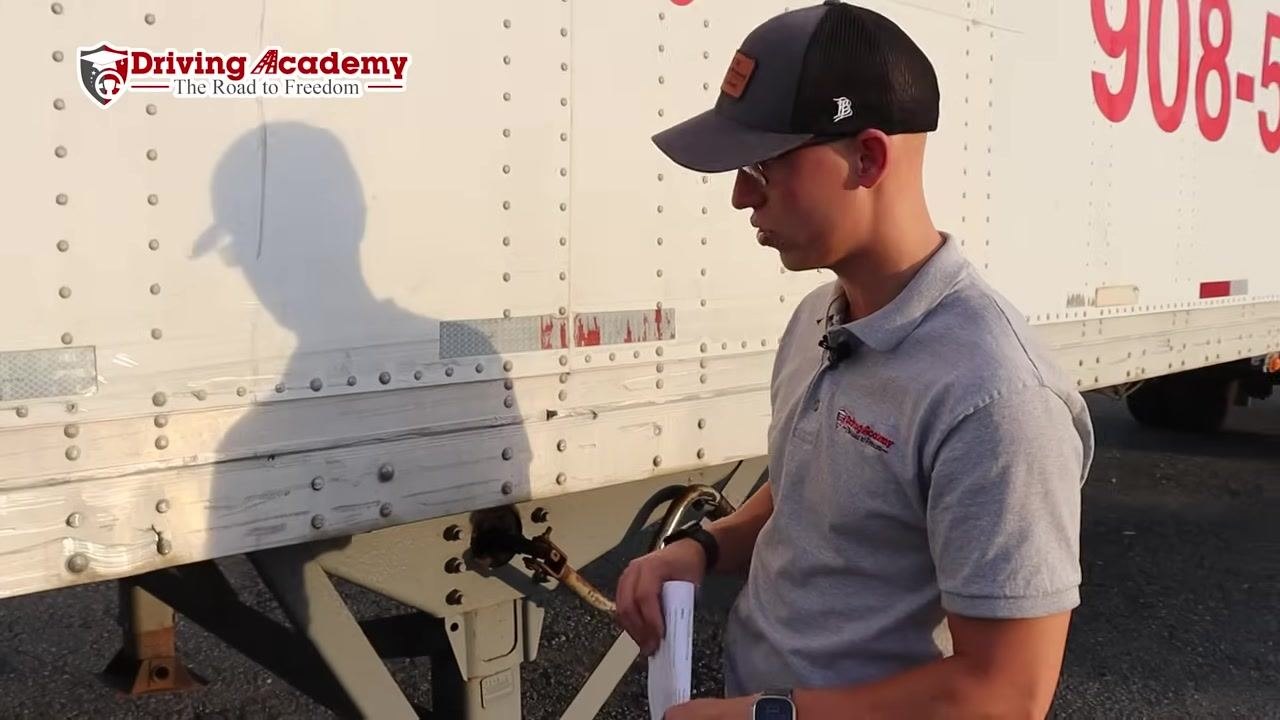
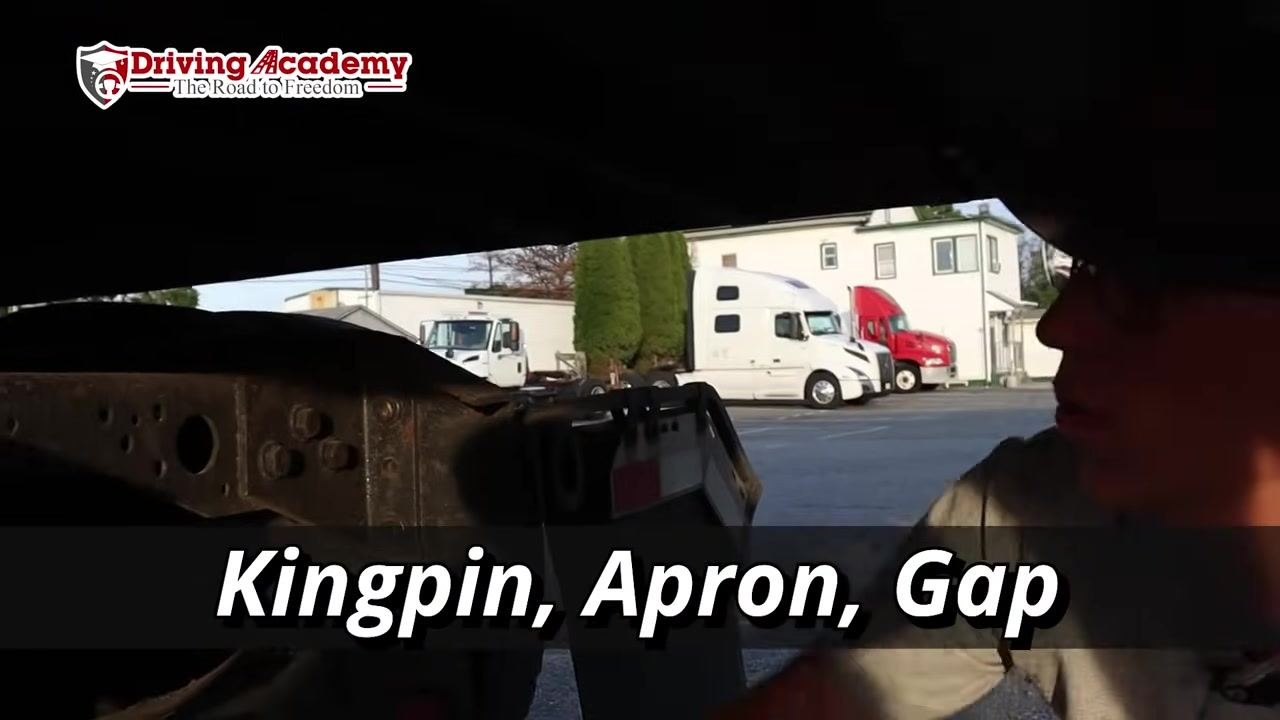
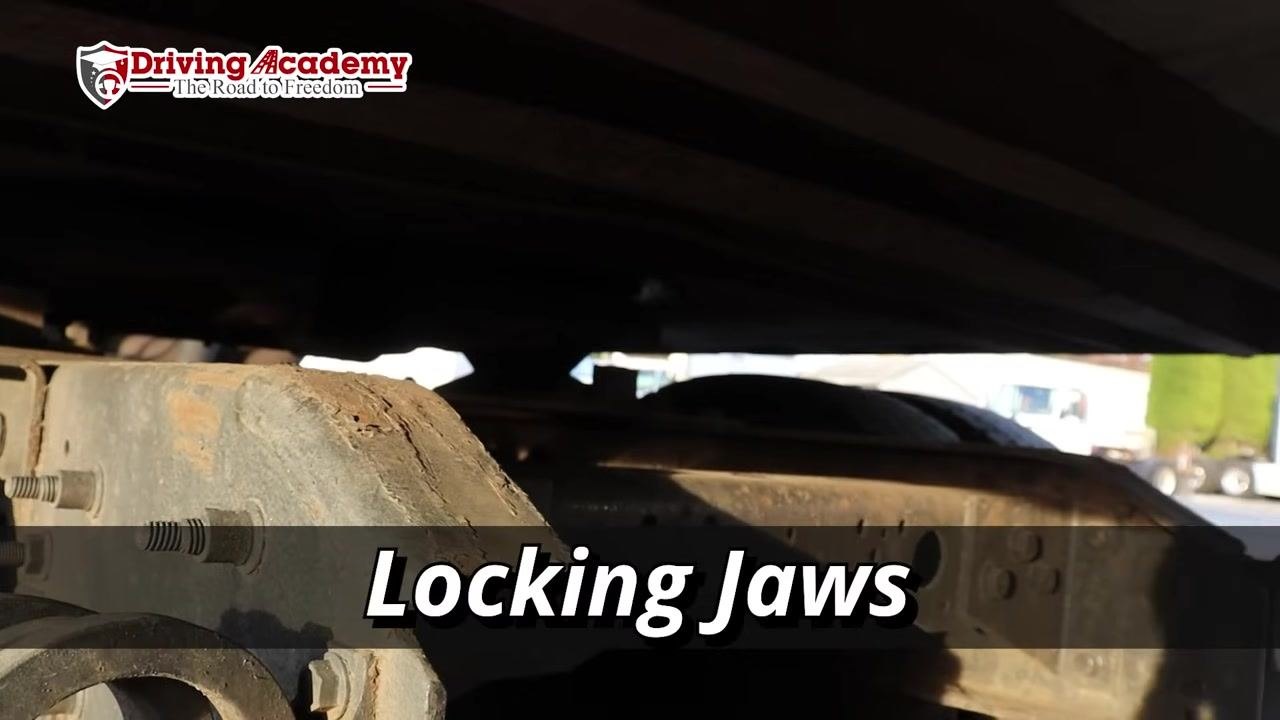
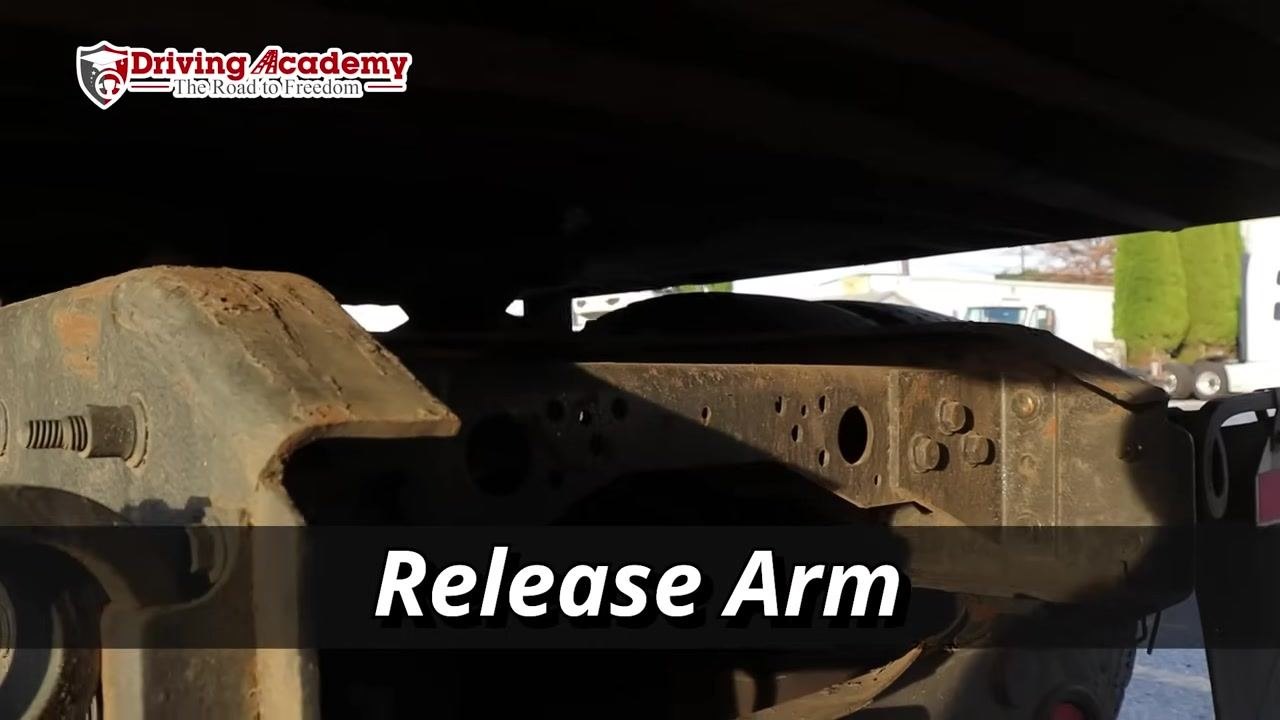
Checking the fifth wheel assembly
Move beneath the trailer, near the landing gear and fifth wheel assembly, to review the coupling mechanism in detail.
| Item | Inspection criteria | Pass | Fail | N/A |
|---|---|---|---|---|
| Fifth wheel skid plate | No damage, properly lubricated | |||
| Kingpin, apron, and gap | Present, undamaged, properly aligned | |||
| Apron | No cracks, bends, or other visible damage | |||
| Lubrication | All contact surfaces between skid plate, kingpin, and apron adequately lubricated | |||
| Locking jaws | Fully closed around the kingpin, no play or gap between jaws and kingpin | |||
| Release arm | In the engaged position with the safety latch in place |
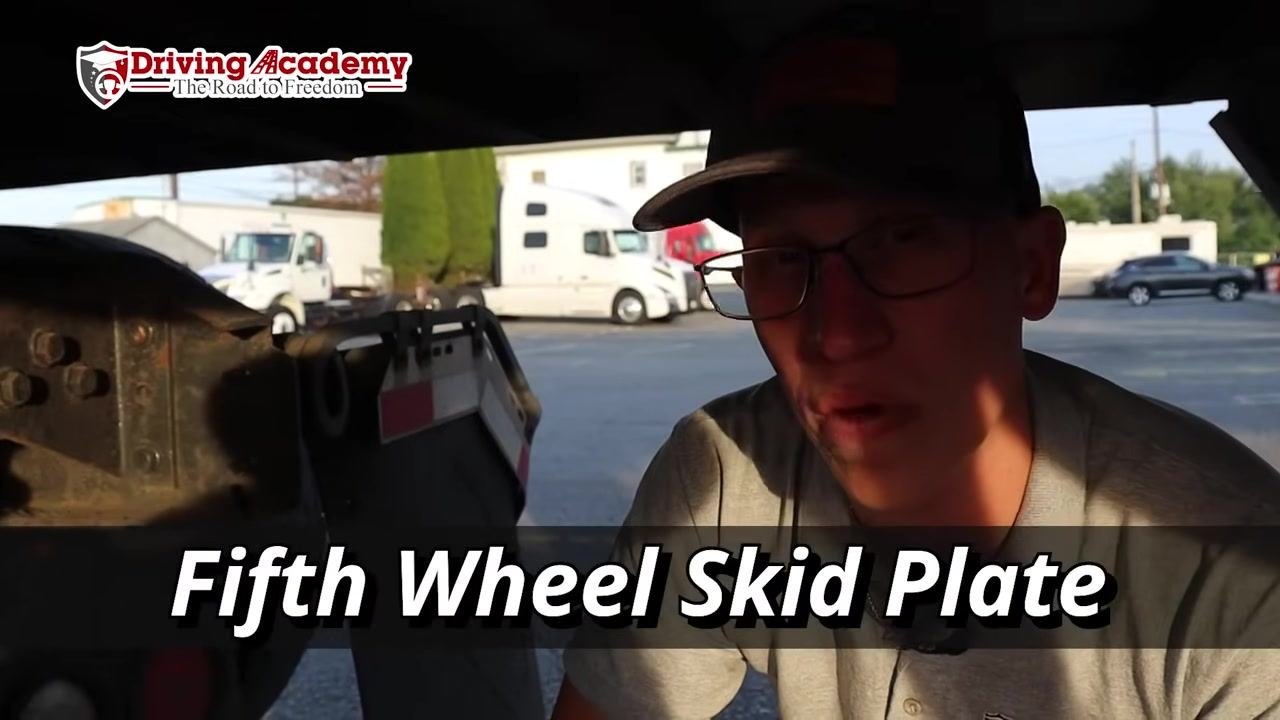
Discuss and check every component under the trailer during your review, and be thorough about mentioning each part you inspect.
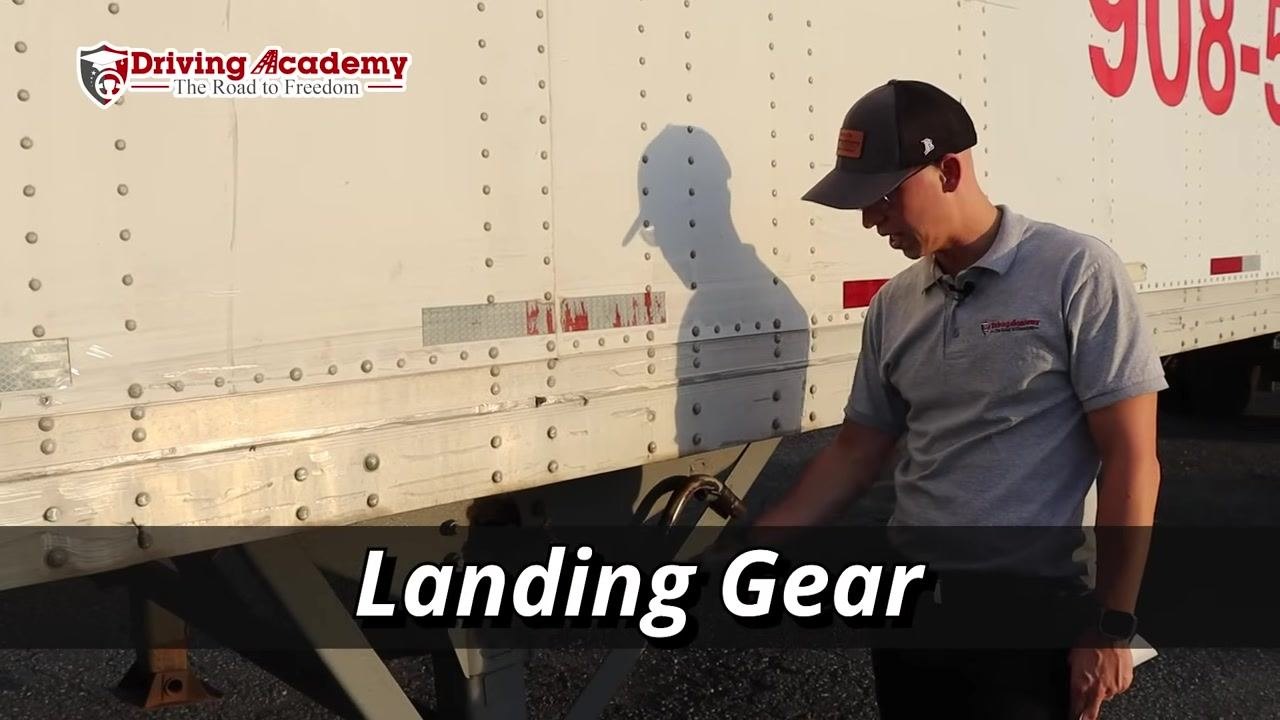
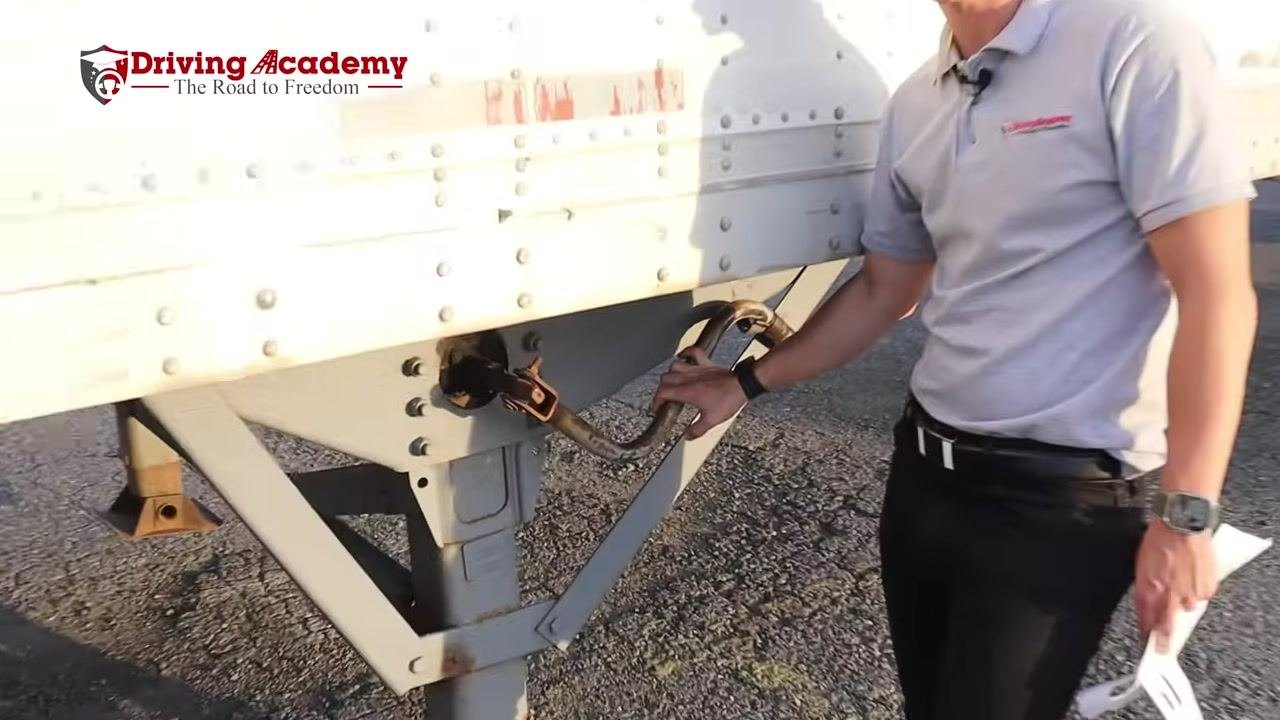
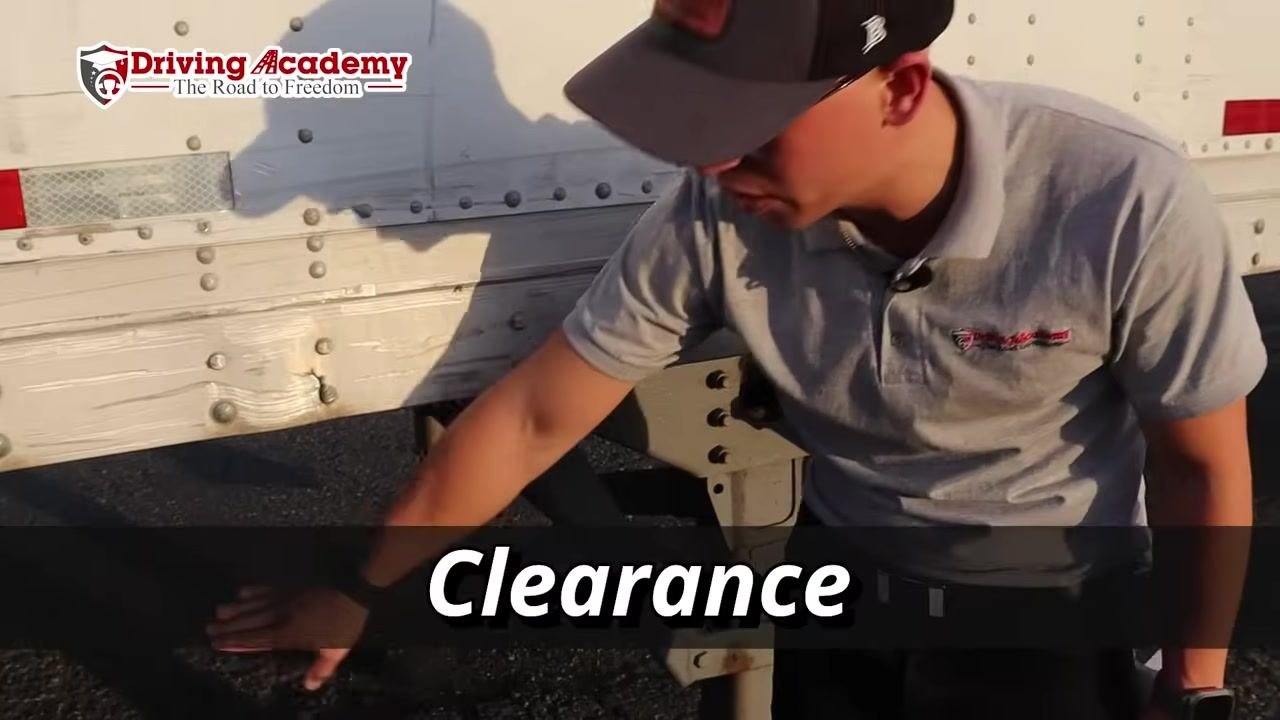
Checking landing gear and tandem axle
Do not skip these steps or make excuses to avoid a proper inspection of the landing gear and tandem components.
| Item | Inspection criteria | Pass | Fail | N/A |
|---|---|---|---|---|
| Landing gear | Not damaged, securely mounted, operates properly | |||
| Clearance (landing gear to axle) | Enough space between landing gear and axle to prevent contact during turns | |||
| Clearance under trailer | Sufficient clearance confirmed | |||
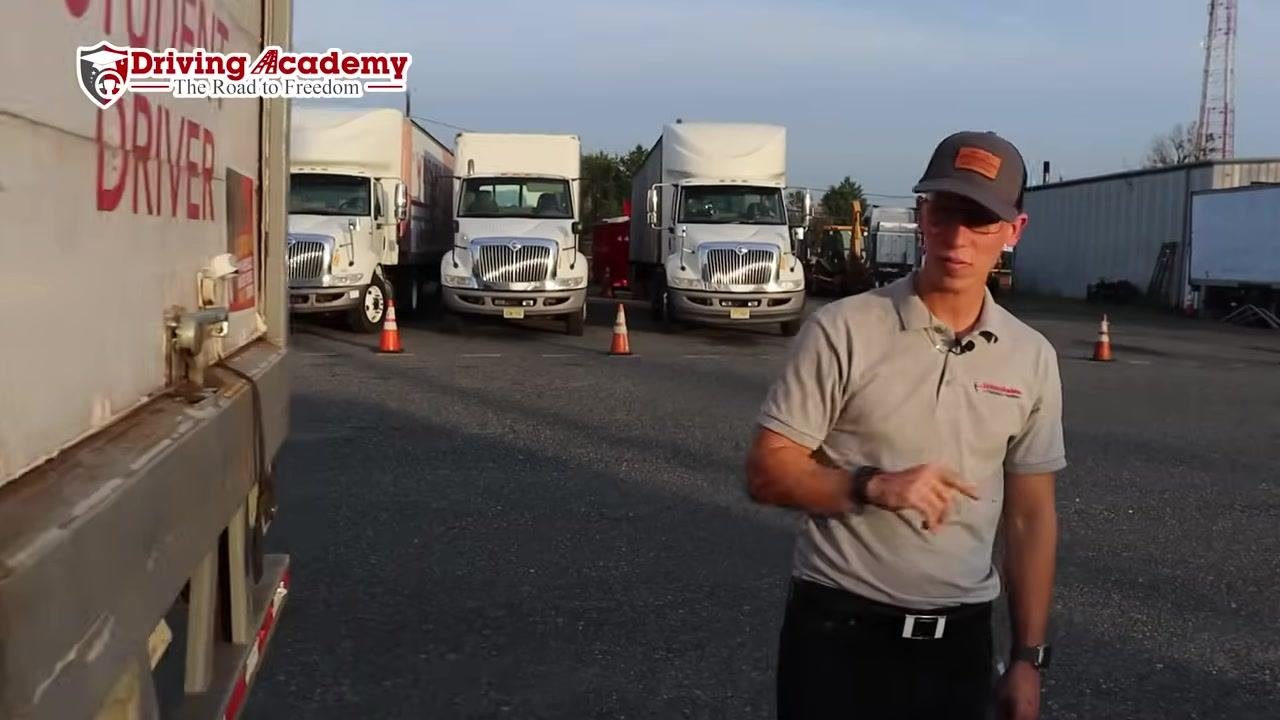
| Tandem release lever | Intact, secure, no missing parts | |||
| Tandem pins | Present, properly seated, securely mounted |
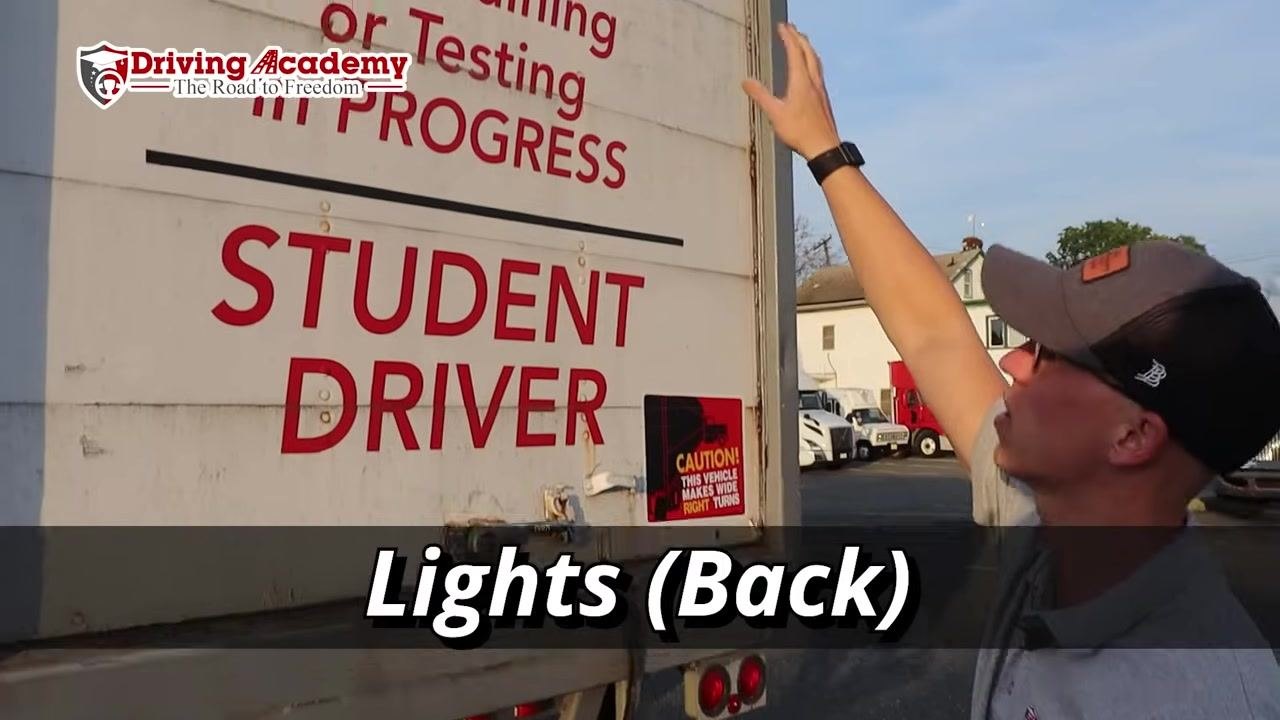
Checking rear lights
Move to the rear of the trailer to inspect all rear-facing lights.
| Item | Inspection criteria | Pass | Fail | N/A |
|---|---|---|---|---|
| Rear clearance and marker lights | Operational, proper condition, checked top and bottom |
Checking rear doors
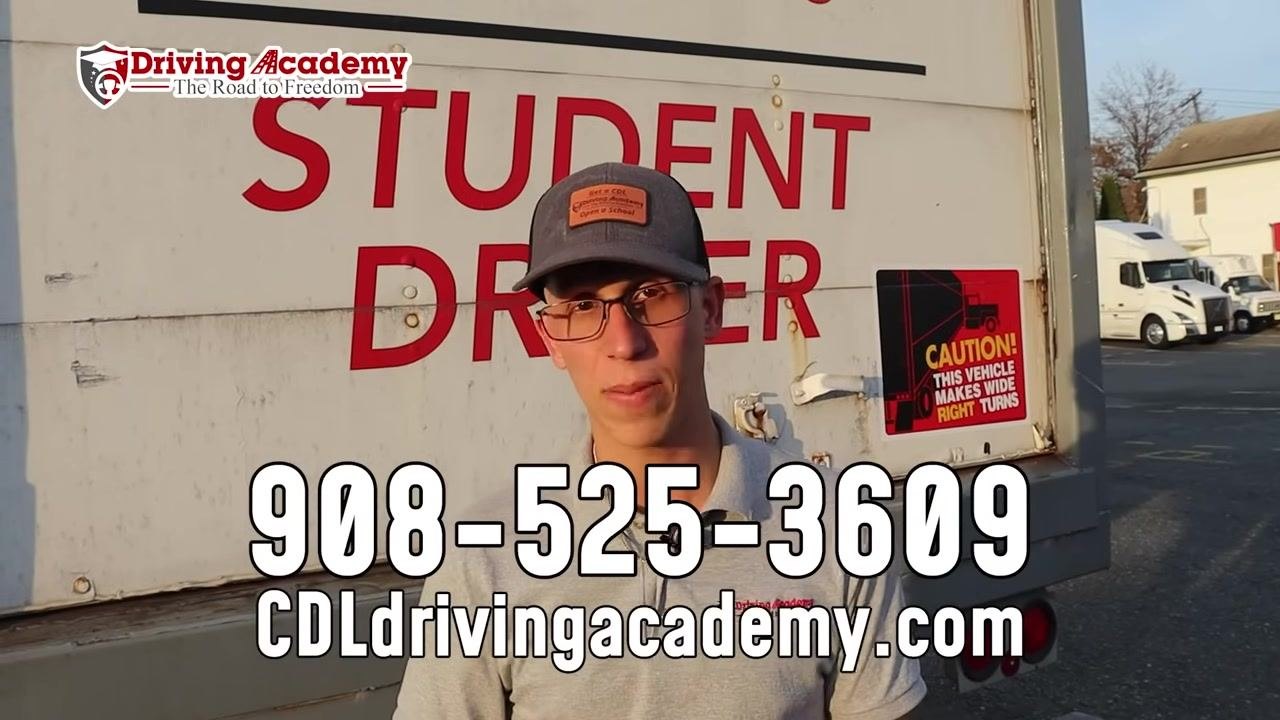
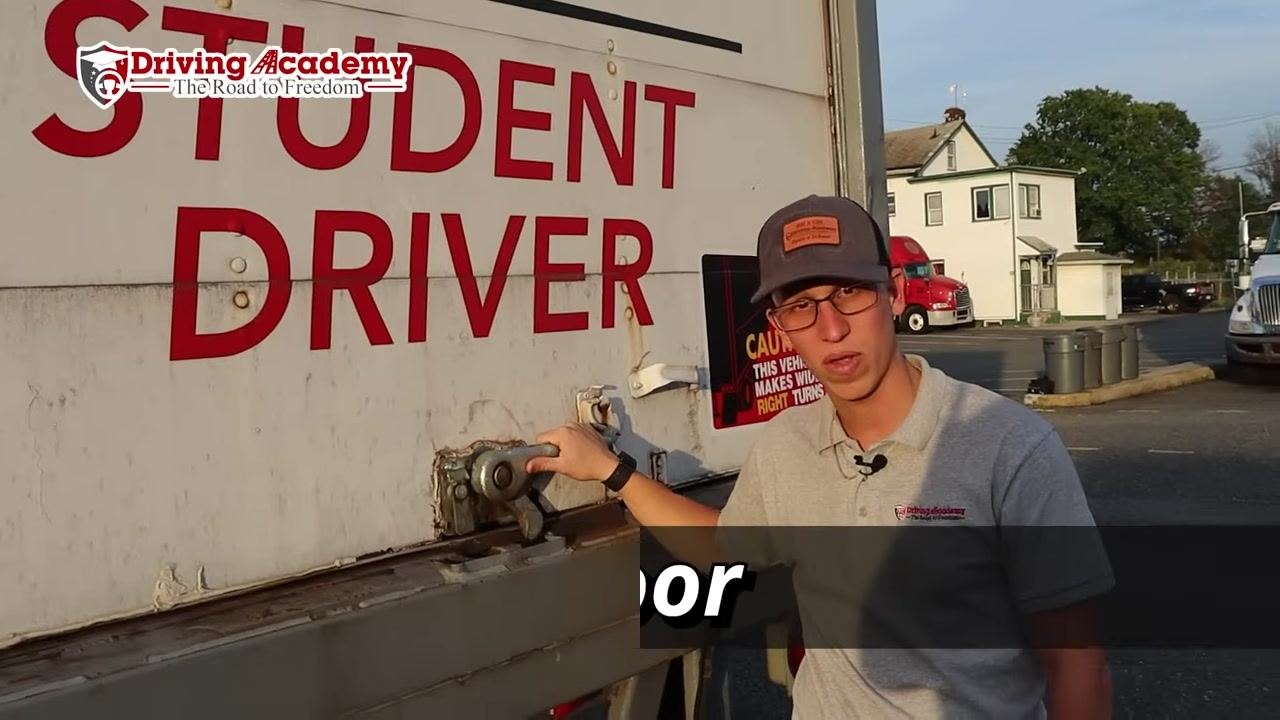
Stand at the rear of the trailer, confirm the door locking mechanism is engaged, and verify the door opens and closes properly from the outside.
| Item | Inspection criteria | Pass | Fail | N/A |
|---|---|---|---|---|
| Rear door lock | Locking mechanism engaged, door opens and closes properly |
Interior Checks
The walkthrough covers only the exterior of the tractor-trailer; it does not address interior items such as seats, flooring, handrails, HVAC, fare equipment, cameras, cleanliness, or accessibility equipment — record those checks according to your fleet's separate interior inspection procedure.
Safety Equipment
The walkthrough does not cover onboard safety equipment such as the fire extinguisher, first aid kit, warning triangles, radio, emergency exits, or alarms — verify these items against your fleet's dedicated safety-equipment checklist.
Defects and Restrictions
The walkthrough does not define formal defect-severity categories, a roadworthy determination, or an escalation process — establish these definitions in your fleet's maintenance policy. However, several items covered above are treated as critical to passing inspection and should be flagged immediately if they fail:
- Leaks anywhere under the vehicle, in the engine compartment, or around the brakes.
- A vehicle that is leaning to any side, indicating a possible suspension problem.
- Loose, cracked, or worn steering linkage, or a damaged power steering box.
- Tread depth below 4/32 inch, or tire inflation outside the 90–100 PSI range.
- Lug nuts showing rust trails or shiny threads, indicating looseness.
- Damage to the fifth wheel skid plate, kingpin, apron, locking jaws, or release arm.
- Missing or insecure tandem pins, or a damaged tandem release lever.
- Air or electric lines that are cut, chafed, spliced, worn, or improperly routed.
Any item marked "Fail" above should be documented and addressed before the vehicle is placed in service.
Operator and Maintenance Sign-Off
The walkthrough does not include a formal sign-off process with signatures, timestamps, or work order references — capture this information according to your fleet's documentation standard once the checklist above is complete. Confirm which exact inspection script or phrasing your local test site or company requires, since wording can vary by examiner or location.
Study every inspection step thoroughly using the required script for your location, since this preparation is what determines whether the pre-trip inspection portion is passed.
For hands-on training support in preparing for a CDL road test, Driving Academy is available at 908-525-3609 or cdldrivingacademy.com.
| Sign-off field | Entry |
|---|---|
| Operator signature | |
| Date/timestamp | |
| Maintenance sign-off | |
| Work order reference |
Generation details: cost, quality tiers, downloads
Docsie billed 7,500 credits ($5.25) to analyze this 15-minute video at standard quality. The rewrite, template fill and Word/PDF exports were included. The same video at each quality tier:
| Quality | Frames sampled | Credits | Approx. cost |
|---|---|---|---|
| Draft | every 16-30 s | 3,750 | $2.62 |
| Standard (this guide) | every 8-15 s | 7,500 | $5.25 |
| Detailed | every 4-7 s | 15,000 | $10.50 |
| Ultra | every 1-3 s | 30,000 | $21.00 |
Credits priced at $0.70 per 1,000; plans include a monthly allowance. Enterprise customers on on-premise or bring-your-own-model deployments run this on their own inference and pay no per-video credits.
Generated by Docsie Video-to-Docs on 2026-09-10 from a 14-minute video. It was generated straight into Docsie's Vehicle Inspection Checklist template, so every section of that template is filled from the video. Screenshots are frames from the source video and belong to their creator, Driving Academy | CDL Truck Driving School, whose original is embedded above. If you own this video and want the guide removed or credited differently, contact us and we will act within one business day.