
How to Do a Lockout Tagout Procedure
Before Lockout Tagout (LOTO) practices were standardized, equipment often remained powered during repairs, creating hazardous conditions for maintenance personnel. There was no reliable system to secure equipment or communicate its operational status, and workers commonly relied on verbal requests asking operators not to start machinery — a method prone to miscommunication and serious injury.
Video: Lockout Tagout Procedure - Control of Hazardous Energy by TRADESAFE (2025). All credit for the demonstration goes to the creator; watch the original on YouTube. The written guide below was generated from this video by Docsie. Creator? Request a change or removal.
Before Lockout Tagout (LOTO) practices were standardized, equipment often remained powered during repairs, creating hazardous conditions for maintenance personnel. There was no reliable system to secure equipment or communicate its operational status, and workers commonly relied on verbal requests asking operators not to start machinery — a method prone to miscommunication and serious injury.
This document explains how to do a lockout tagout procedure using the eight-step structured process designed to control hazardous energy and protect workers during equipment maintenance or repair.
Scope
A complete lockout tagout procedure should define the facility, the specific equipment tag being serviced, the job scope, the affected systems, and the boundaries of the work area before any isolation begins. This documentation covers the general eight-step LOTO process; your facility's specific equipment identifiers, job scope, and work boundaries should be recorded in your site-specific lockout permit or work order prior to starting the procedure.

Energy Sources
Before beginning any lockout, identify all energy sources connected to the equipment. Based on the standard LOTO process, these include:
- Electrical power
- Hydraulic systems
- Pressurized air (pneumatic)
- Stored or residual energy, including trapped pressure in pneumatic systems and residual hydraulic fluid
- Gravity-related hazards from moving parts that could shift once isolated
Consult the equipment manuals to fully understand the system and its energy sources, and carefully inspect the machine for any hidden or secondary energy sources that may not be immediately visible.
Your site should also assess chemical and thermal hazards specific to your equipment during the manual review and inspection stage described above, as these are not detailed in this general procedure.
Isolation Points
Isolation points must be identified for every energy source connected to the equipment. The table below summarizes the isolation point types referenced in the standard procedure. Specific tag numbers, valve identifiers, and breaker numbers for your equipment should be recorded in your facility's isolation point log.
| Isolation Point Type | Isolation Action | Locking Device | Tag Requirement | Responsible Authority |
|---|---|---|---|---|
| Circuit breaker | Flip breaker to off/isolated position | OSHA-standardized lock | Labeled tag showing who applied the lock and the reason for lockout | Employee performing the lockout |
| Valve | Close valve to isolate flow | OSHA-standardized lock | Labeled tag showing who applied the lock and the reason for lockout | Employee performing the lockout |
| Power supply connection | Disconnect power supply | OSHA-standardized lock | Labeled tag showing who applied the lock and the reason for lockout | Employee performing the lockout |
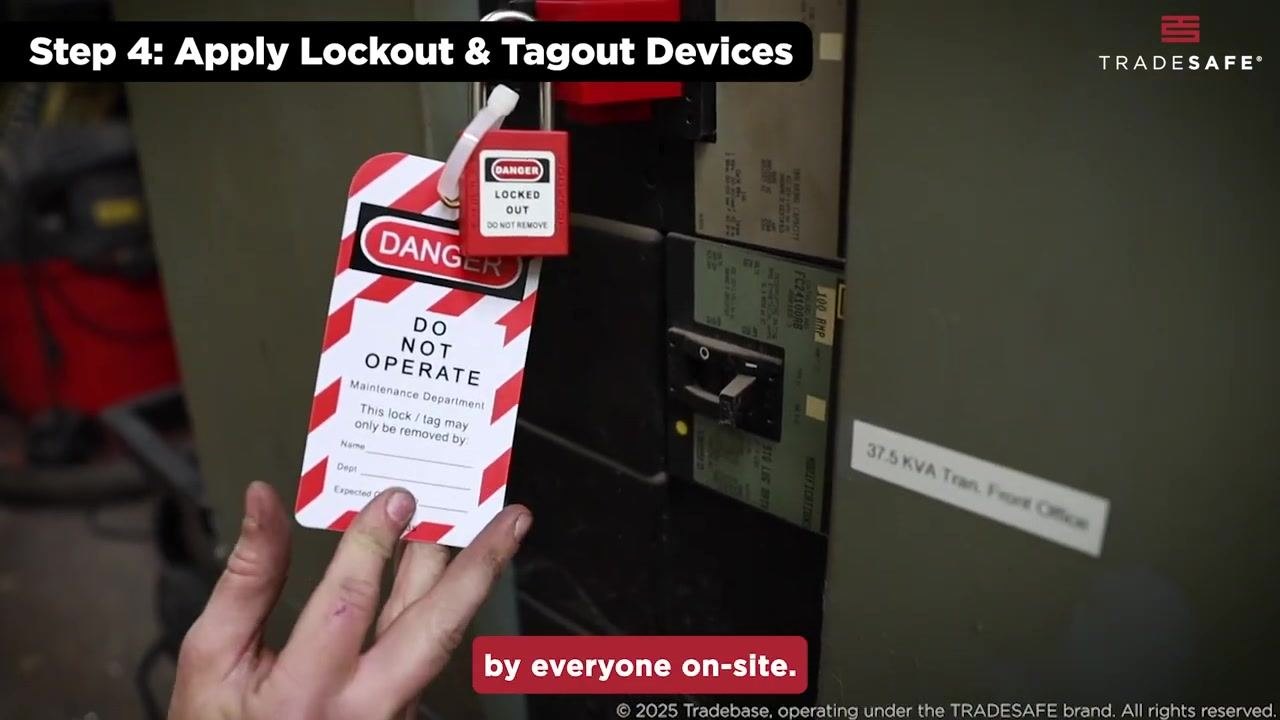
Use OSHA-standardized locks and tags at every isolation point so they are easily identifiable and universally understood by everyone on site.
Lockout Steps
Follow these numbered steps in sequence to shut down, isolate, depressurize, drain, lock, tag, and communicate the lockout status of the equipment.
Step 1: Prepare for lockout 1. Identify all energy sources connected to the equipment (electrical, hydraulic, pressurized air). 2. Consult equipment manuals to fully understand the system and its energy sources. 3. Inspect the machine for any hidden or secondary energy sources. 4. Communicate the lockout plan to all affected employees and ensure everyone understands the procedure.
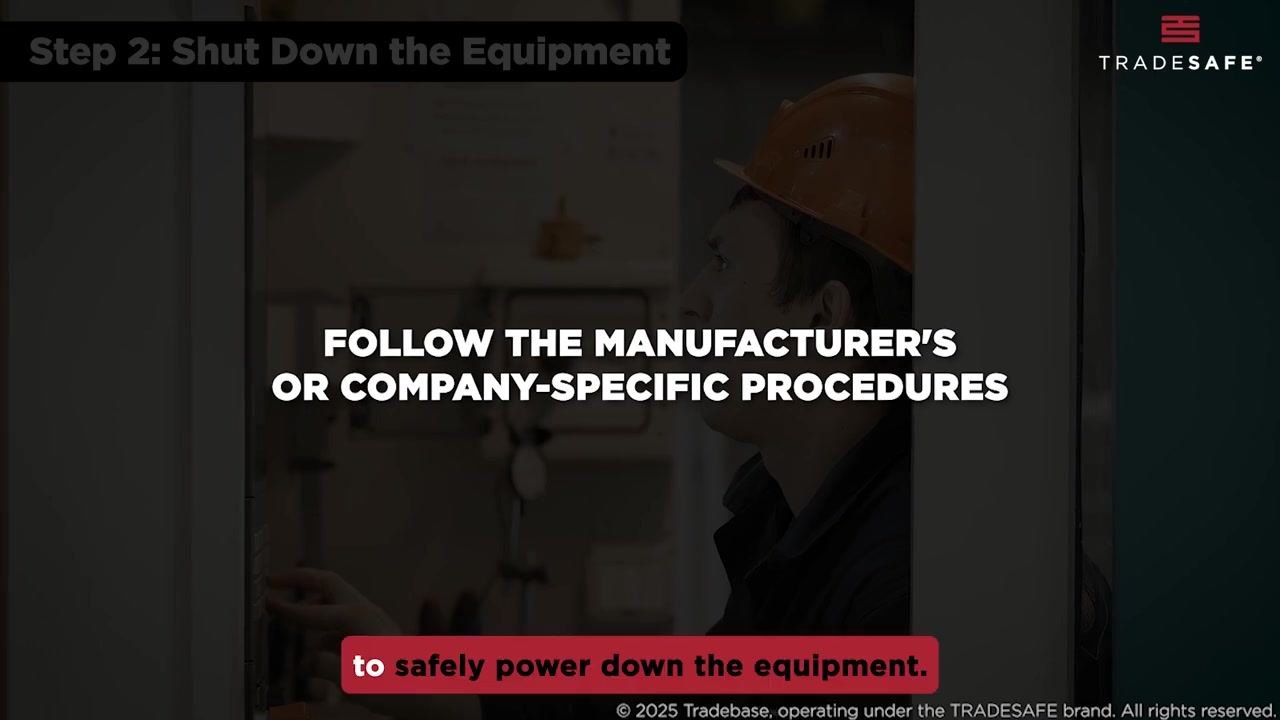
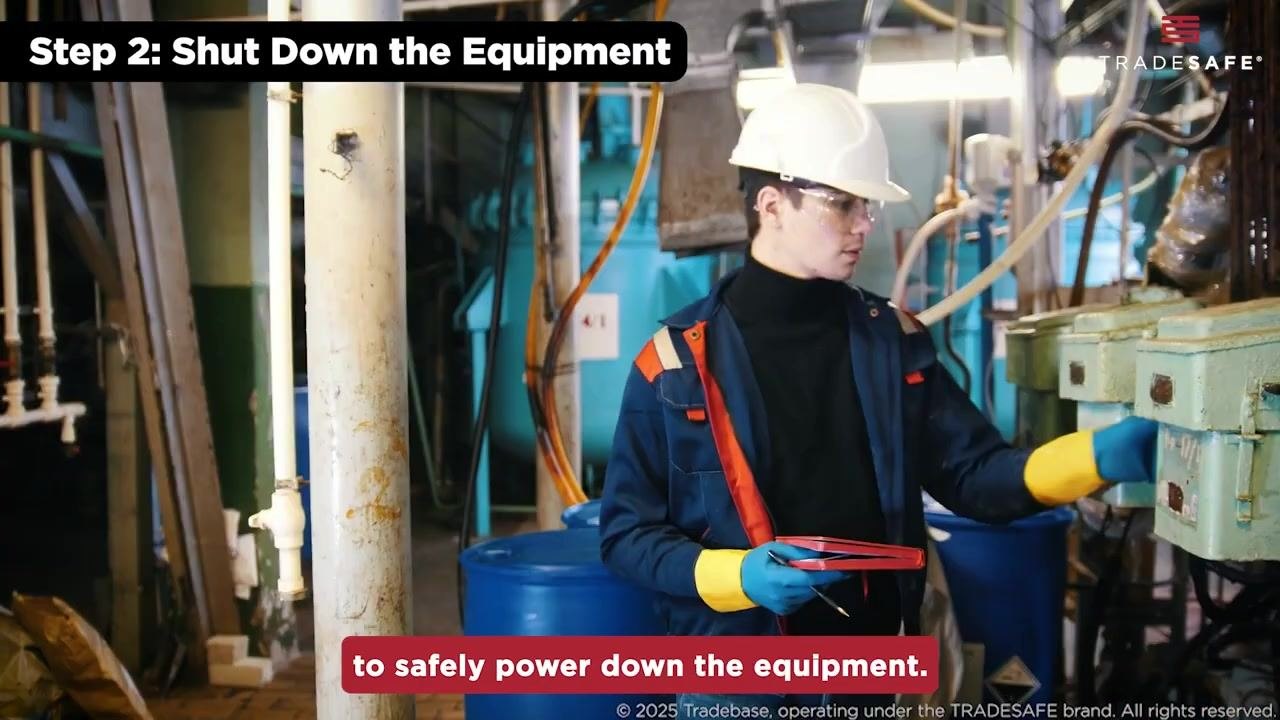
Step 2: Shut down the equipment 5. Follow the manufacturer's or company-specific procedures to safely power down the equipment. 6. Ensure the equipment is completely shut down to prevent accidental restarts during maintenance.
Step 3: Isolate energy sources 7. Isolate the equipment from all energy sources by flipping a circuit breaker, closing a valve, or disconnecting a power supply. 8. Confirm that all energy sources have been fully disconnected or isolated.
Step 4: Apply lockout and tagout devices 9. Secure each isolation point by applying lockout devices to prevent accidental reconnection. 10. Attach a clearly labeled tag indicating who applied the lock and the reason for the lockout. 11. Use OSHA-standardized locks and tags so they are easily identifiable to everyone on site.
Step 5: Release stored energy 12. Release any residual or stored energy from the equipment to ensure it is completely safe for maintenance. 13. Bleed off hydraulic fluid from hydraulic systems. 14. Release any trapped air or pressure from pneumatic systems. 15. Secure or block any moving parts that could shift due to gravity or stored energy.
Zero-Energy Verification
Step 6: Verify isolation
Before beginning any maintenance or service, test the equipment controls to confirm that all energy sources have been fully isolated and the equipment is completely de-energized:
- Attempt to restart the machine using its normal controls.
- Ensure the machine does not power on or operate in any way.
- Treat this verification step as essential before beginning any work — do not proceed if the equipment shows any sign of remaining energized.
Refer to your LOTO checklist during this verification step to ensure no steps are missed and the procedure is implemented accurately.
Shift Handover
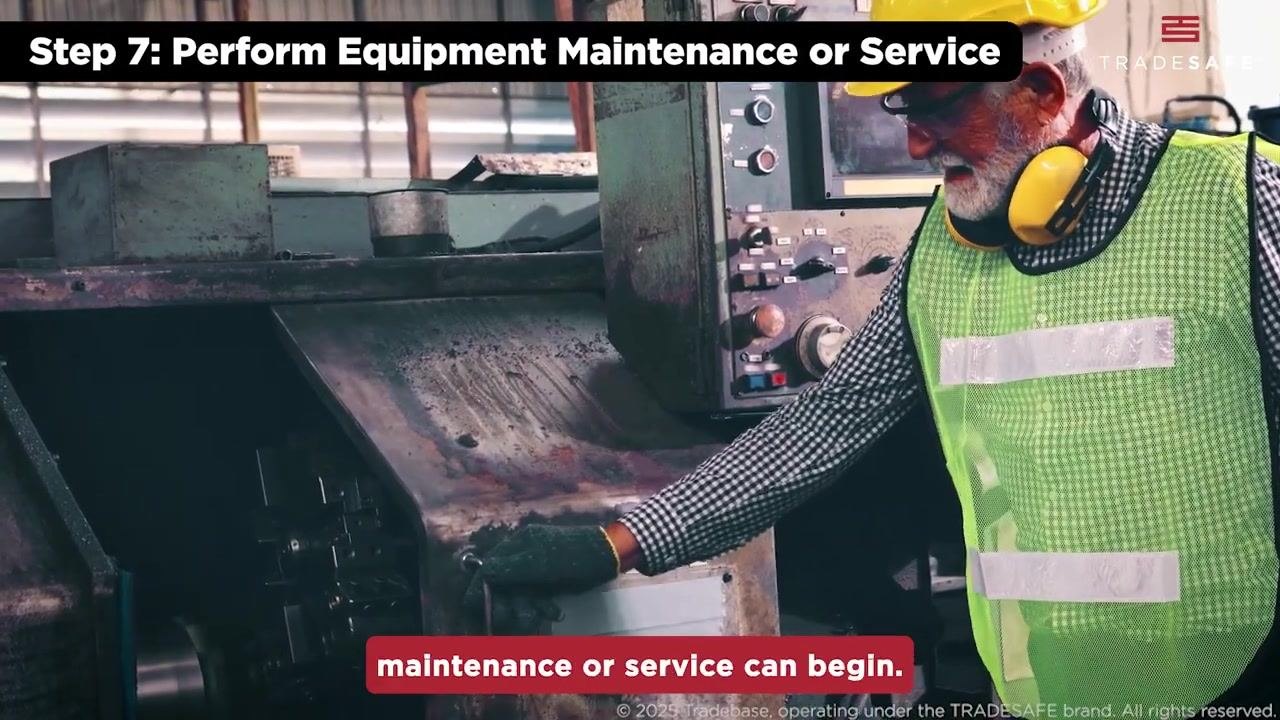
Step 7: Perform equipment maintenance or service
Begin maintenance or service work only after confirming the equipment is locked out and verified safe. Follow the outlined procedures for your specific maintenance or service task and use all required tools and materials correctly and safely.
Throughout the maintenance or service process, remain aware of the lockout status of the equipment and communicate any updates or changes in status with your team to ensure ongoing safety.
Personal lock transfer, group lock box use, permit continuity, and supervisor checks across shift changes should be documented according to your site's specific shift handover protocol.
Restoration
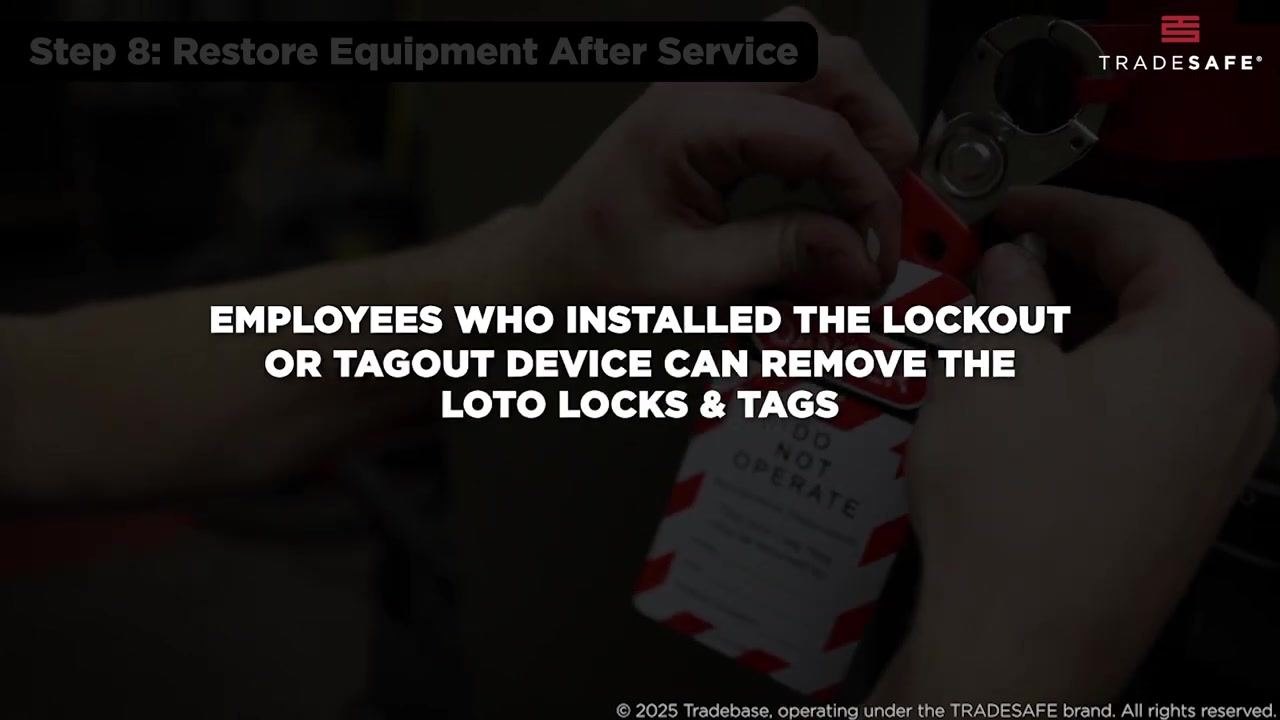
Step 8: Restore equipment after service
Once maintenance or service is complete, prepare to restore the equipment to operational status:
-
Only the employees who originally installed the lockout or tagout devices are authorized to remove them.
-
Remove all lockout and tagout devices from the equipment.
- Ensure all personnel are clear of the equipment before removing locks and tags.
- Reconnect all energy sources as per standard procedures.
- Test the equipment to confirm it is functioning properly and safely before returning it to service.
By following the complete LOTO procedure, you minimize risks and maintain a safer work environment for everyone involved.
Always follow your company's specific LOTO procedures and consult the official checklist for complete compliance and safety.

Generation details: cost, quality tiers, downloads
Docsie billed 2,000 credits ($1.40) to analyze this 4-minute video at standard quality. The rewrite, template fill and Word/PDF exports were included. The same video at each quality tier:
| Quality | Frames sampled | Credits | Approx. cost |
|---|---|---|---|
| Draft | every 16-30 s | 1,000 | $0.70 |
| Standard (this guide) | every 8-15 s | 2,000 | $1.40 |
| Detailed | every 4-7 s | 4,000 | $2.80 |
| Ultra | every 1-3 s | 8,000 | $5.60 |
Credits priced at $0.70 per 1,000; plans include a monthly allowance. Enterprise customers on on-premise or bring-your-own-model deployments run this on their own inference and pay no per-video credits.
Same video, other quality tiers
We ran this exact video through Docsie again at different frame-sampling rates. Compare the guides side by side:
| Quality | Frame every | Screenshots | Credits | Cost |
|---|---|---|---|---|
| Standard (this guide) | 8-15 s | 8 | 2,000 | $1.40 |
| Ultra | 1 s | 16 | 8,000 | $5.60 |
Generated by Docsie Video-to-Docs on 2026-09-10 from a 3-minute video. It was generated straight into Docsie's Lockout Tagout Procedure template, so every section of that template is filled from the video. Screenshots are frames from the source video and belong to their creator, TRADESAFE, whose original is embedded above. If you own this video and want the guide removed or credited differently, contact us and we will act within one business day.