
How to Clean Up an Oil Spill
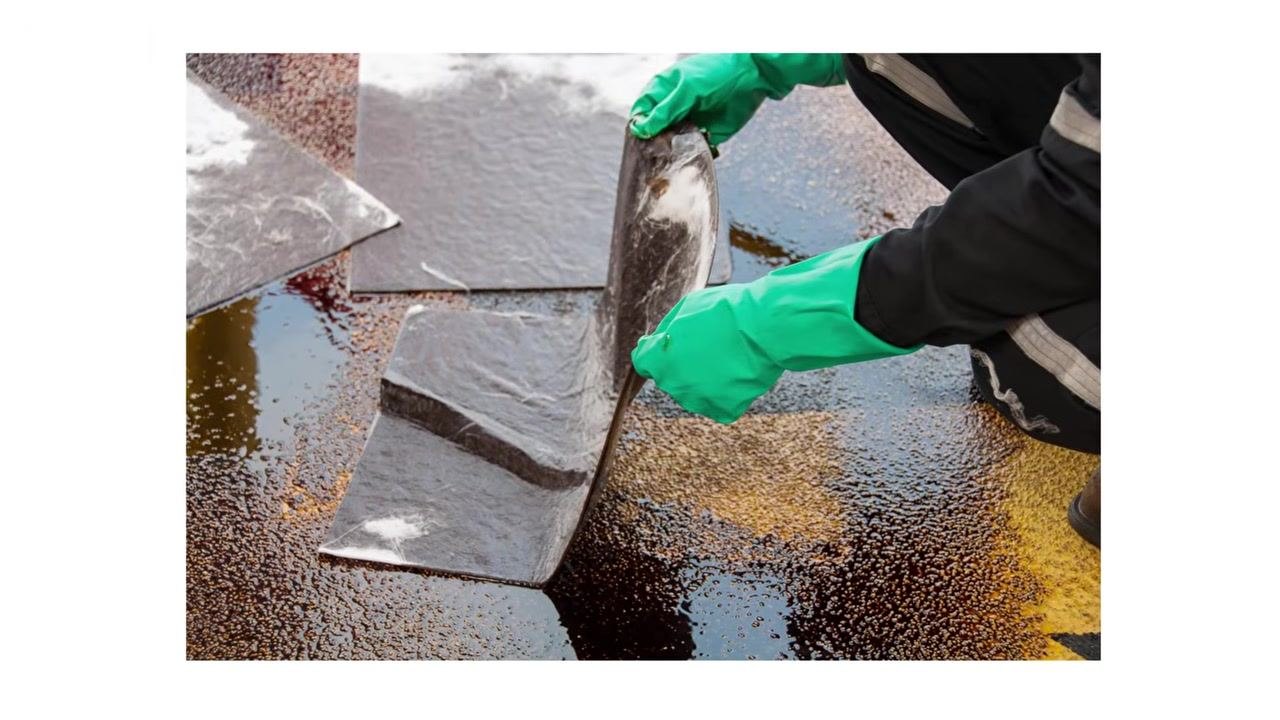
This procedure describes how to clean up an oil spill using the containment and recovery methods demonstrated during a Canadian Coast Guard marine environmental response exercise at Long Pond, Conception Bay. It covers vessel deployment, boom containment, oil recovery, equipment staging, and post-operation cleanup so that response teams can protect the marine environment safely and effectively.
Video: How to Clean up an Oil Spill by Canadian Coast Guard (2022). All credit for the demonstration goes to the creator; watch the original on YouTube. The written guide below was generated from this video by Docsie. Creator? Request a change or removal.
This procedure describes how to clean up an oil spill using the containment and recovery methods demonstrated during a Canadian Coast Guard marine environmental response exercise at Long Pond, Conception Bay. It covers vessel deployment, boom containment, oil recovery, equipment staging, and post-operation cleanup so that response teams can protect the marine environment safely and effectively.
Purpose
This procedure ensures that Coast Guard personnel and support teams respond to ship-source oil pollution incidents in a coordinated, safe, and effective manner. The Canadian Coast Guard Environmental Response is the lead agency for these incidents, and this SOP reflects the steps demonstrated during a live training exercise.

Scope
This procedure applies to Canadian Coast Guard environmental response teams, vessel crews, and support personnel involved in oil spill containment, recovery, equipment staging, and post-response cleanup operations, including both scheduled exercises and real incident responses.
Required equipment and PPE
- Canadian Coast Guard environmental response vessels (marked "Environmental Response / Intervention Environnementale" and "Fisheries and Oceans Canada / Pêches et Océans Canada")
- NOFI Current Buster II oil containment boom and fire boom
- Skimmer or equivalent oil recovery device
- Mobile Incident Command Post
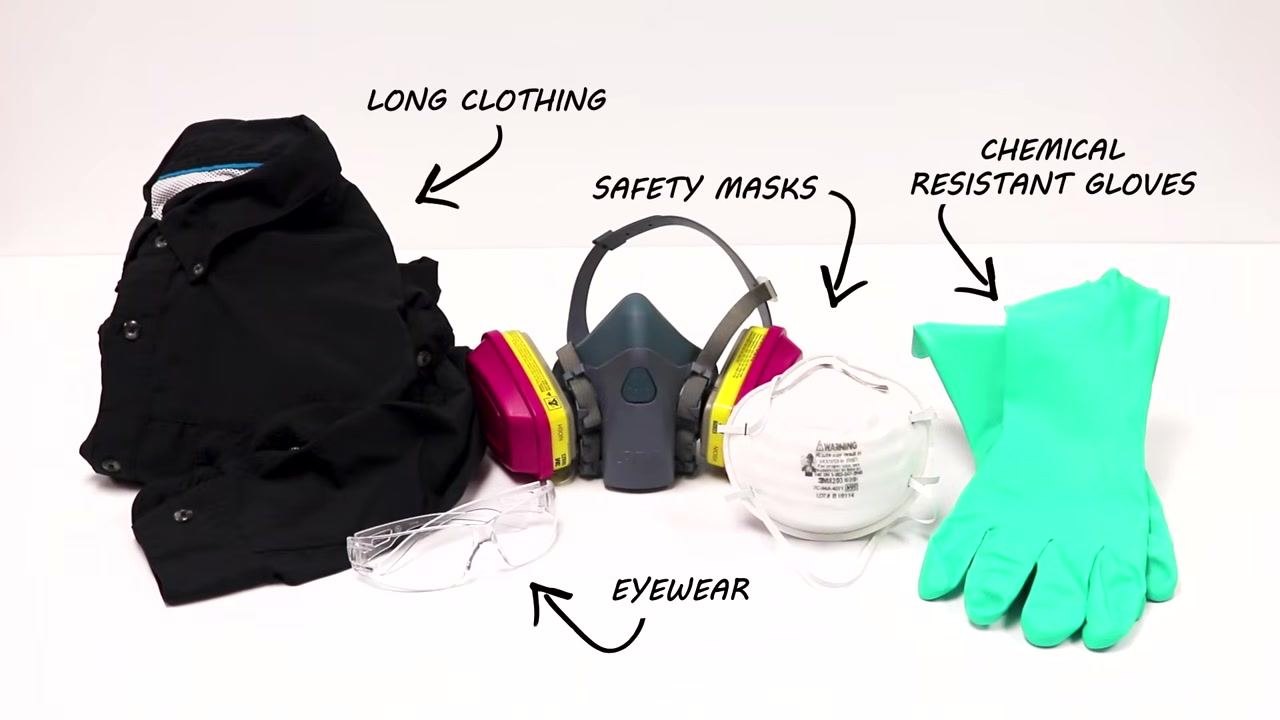
- Life jackets and other personal safety equipment for all personnel involved in recovery operations
- Coast Guard uniforms and safety gear for all team members
- Stored response equipment from a designated Environmental Response Depot (hoses, buoys, trailers, and related gear)
Procedure
Review the response mission and site conditions
- Recognize that protecting the marine environment is a critical responsibility of the response team.
- Confirm that the Canadian Coast Guard Environmental Response is acting as the lead agency for the incident.
- Prioritize safety and teamwork before beginning any on-water operations.
Identify and confirm response vessels
- Use Canadian Coast Guard vessels that are specifically equipped for environmental response.
- Check vessel markings for "Environmental Response / Intervention Environnementale" and "Fisheries and Oceans Canada / Pêches et Océans Canada."
- Verify the Canadian flag and vessel identification numbers (for example, CGE 220) before deployment.
Assemble and brief the response team
- Gather all personnel at the Incident Command Post (Poste de commandement d'intervention).
- Confirm that all team members are wearing appropriate uniforms and safety gear.
- Conduct a safety briefing that emphasizes both safety and teamwork before starting operations.
Deploy the oil containment booms
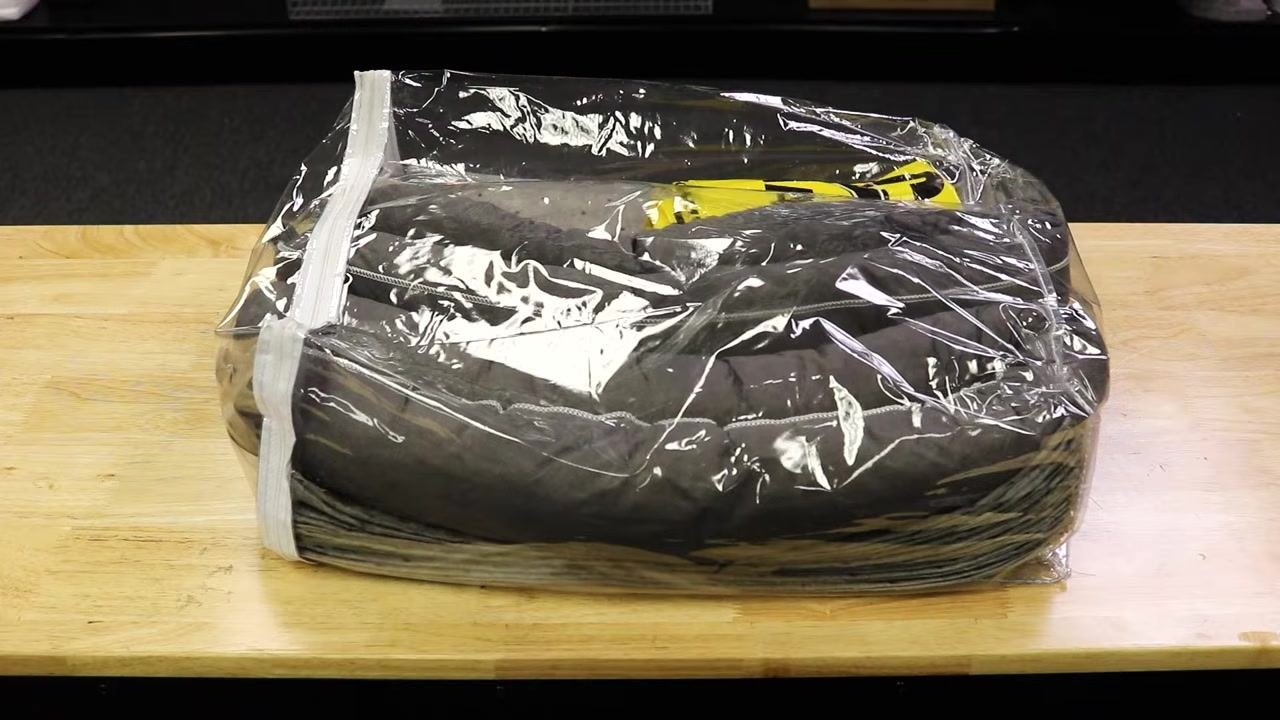
- Deploy a NOFI Current Buster II oil containment boom together with a fire boom to contain the spill.
- Use two Coast Guard vessels to tow the boom into position on the water.
- Confirm that the boom forms a closed containment area so that spilled oil can be collected.
Recover the collected oil
- Position a third vessel at the apex of the containment boom, where oil naturally accumulates.
- Deploy a skimmer or similar recovery device to remove the oil from the contained area.
- Confirm that all personnel involved in recovery operations are wearing life jackets and required safety equipment.
Confirm leadership oversight
- Ensure the exercise is overseen by senior Coast Guard officials, such as the Assistant Commissioner for the Atlantic Region.
- Rely on leadership presence to confirm adherence to protocols and to provide guidance throughout the operation.
Reinforce exercise planning
- Conduct regular exercise planning to maintain readiness for real incidents.
- Stay prepared to respond at any time, not only during regular working hours.
- Practice coordination between vessels, equipment deployment, and recovery operations during each exercise.
Foster regional collaboration and training
- Include participants from different regions, such as the Arctic and Atlantic regions, to share best practices and improve response capabilities.
- Incorporate new equipment from initiatives such as the EREM project to enhance preparedness.
- Encourage hands-on training and collaboration among all team members during joint exercises.
Deploy and monitor the containment boom
- Carefully deploy the NOFI Current Buster II boom from the shoreline or dock into the water.
- Monitor the boom's position and its effectiveness in containing the simulated oil.
- Adjust vessel positions as needed to maintain optimal containment throughout the exercise.
Supervise and direct on-water operations
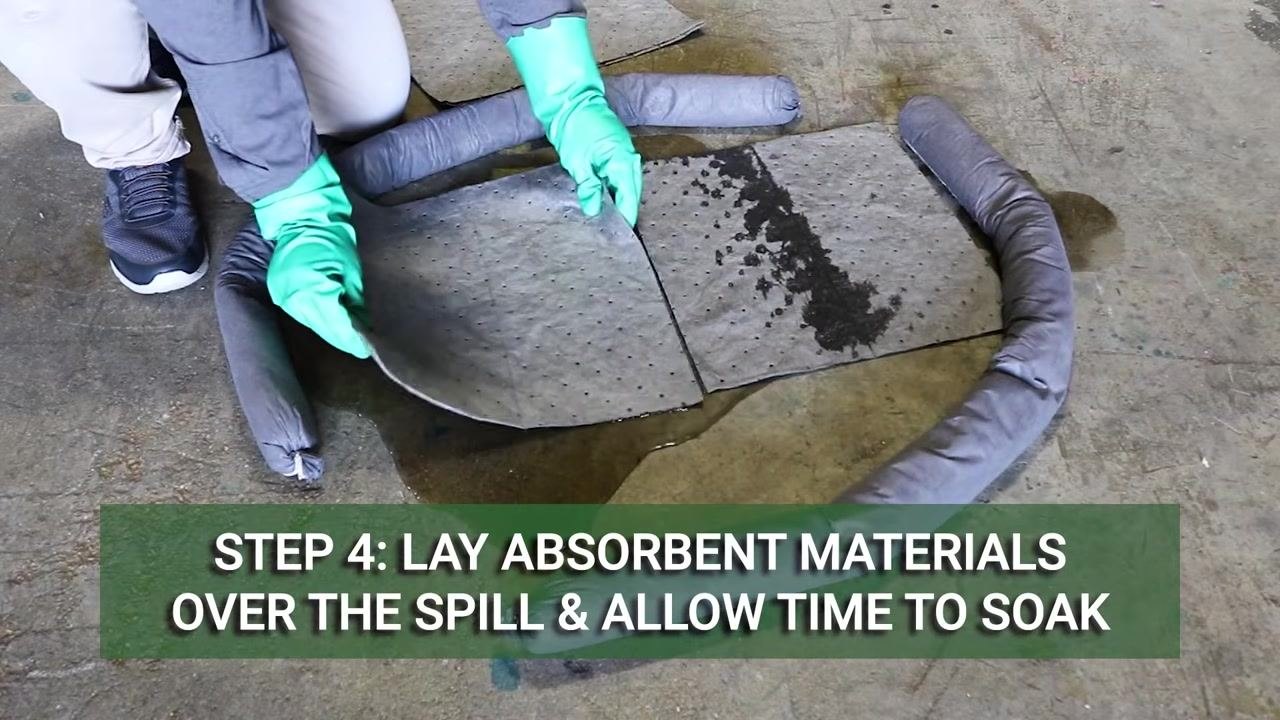
- Assign a supervisor to oversee boom deployment and to direct vessel crews.
- Confirm that all safety protocols are followed during both deployment and retrieval of equipment.
- Maintain clear communication between shore-based teams and vessel crews at all times.
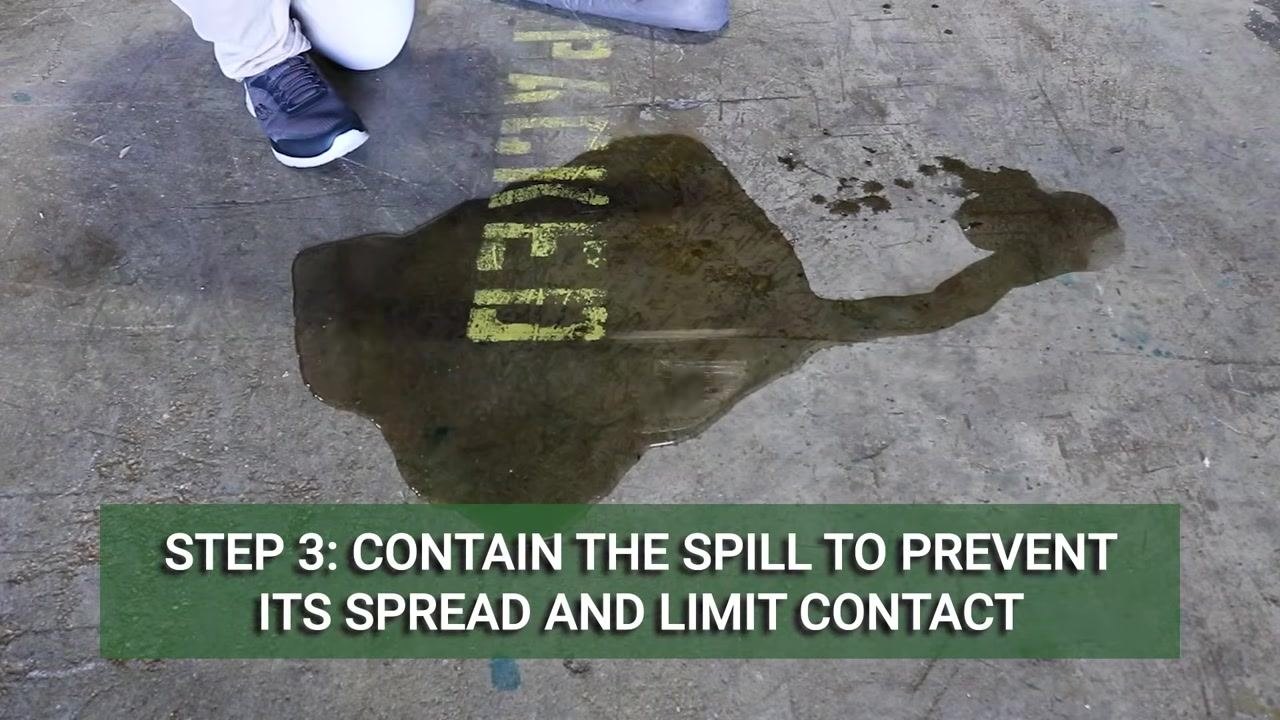
Maintain and stage response equipment strategically
- Store caches of environmental response equipment at locations with a search and rescue base or Coast Guard presence.
- When a spill report is received, load the necessary equipment onto Coast Guard assets for rapid deployment.
- Use the largest Environmental Response Depot in Canada, which houses a wide array of specialized equipment for different scenarios.
- Confirm that equipment is strategically located across regions to allow quick access during emergencies.
Set up a mobile Incident Command Post
- Deploy a mobile Incident Command Post when needed; this moving platform can be set up in remote locations to coordinate response operations.
- Assemble personnel and equipment at the incident site, confirming that all team members are accounted for and ready for action.
Conduct hands-on training exercises
- Regularly deploy both types of containment booms, including the Current Buster II and the fire boom, for training purposes.
- Provide crews with hands-on practice steering and operating vessels while towing booms.
- Use these exercises to confirm that all personnel remain proficient in deployment and recovery techniques.
Recover, clean, and prepare equipment for reuse
- After the exercise or a real deployment, bring all equipment and personnel back to the dock.
- Wash and inspect all equipment to confirm it is clean and ready for the next deployment.
- Store equipment properly to maintain readiness for future incidents.
Confirm ongoing readiness
- Verify that the Canadian Coast Guard remains prepared, capable, and ready to respond to major marine pollution events.
- Maintain a strong Ocean Protection Plan to safeguard the environment and mariners for generations to come.
- Recognize the Coast Guard's role in protecting Canada's waters as part of this ongoing readiness.
Monitor and evaluate containment effectiveness
- Use aerial and vessel-based monitoring to confirm that containment booms are deployed effectively and functioning as intended.
- Adjust boom positions and vessel coordination as needed to maximize oil recovery and minimize environmental impact.
- Reference the Oceans Protection Plan for ongoing improvements and best practices.
Close out the exercise with the response team
- Gather the response team for a group photo at the conclusion of the exercise or operation.
- Acknowledge the efforts and dedication of all personnel involved in the response.
- Foster a positive team environment and encourage continued training and collaboration.
Verification and summary
Confirm that all containment booms have been recovered, all skimmed oil has been properly collected, and all vessels have returned to dock. Verify that equipment has been washed, inspected, and returned to storage in a state of readiness. Confirm that all personnel are accounted for and that the safety briefing objectives were met throughout the operation.
By following these steps, response teams can effectively contain, recover, and clean up an oil spill while maintaining safety and coordination across all participating vessels and personnel.
What's next
Continue to schedule regular training exercises that combine crews from different regions, such as the Arctic and Atlantic, to share best practices and test new equipment. Keep response equipment staged at designated depots and search and rescue bases so that assets remain ready for rapid deployment in a real incident.
Generation details: cost, quality tiers
Docsie billed 2,000 credits ($1.40) to analyze this 4-minute video at standard quality. The rewrite, template fill and Word/PDF exports were included. The same video at each quality tier:
| Quality | Frames sampled | Credits | Approx. cost |
|---|---|---|---|
| Draft | every 16-30 s | 1,000 | $0.70 |
| Standard (this guide) | every 8-15 s | 2,000 | $1.40 |
| Detailed | every 4-7 s | 4,000 | $2.80 |
| Ultra | every 1-3 s | 8,000 | $5.60 |
Credits priced at $0.70 per 1,000; plans include a monthly allowance. Enterprise customers on on-premise or bring-your-own-model deployments run this on their own inference and pay no per-video credits.
Generated by Docsie Video-to-Docs on 2026-09-10 from a 3-minute video. Screenshots are frames from the source video and belong to their creator, Canadian Coast Guard, whose original is embedded above. If you own this video and want the guide removed or credited differently, contact us and we will act within one business day.