
How to Use a Torque Wrench
Auto-generated documentation — Language: English
Video: How to use a Torque Wrench PROPERLY by ChrisFix (2015). All credit for the demonstration goes to the creator; watch the original on YouTube. The written guide below was generated from this video by Docsie. Creator? Request a change or removal.
Auto-generated documentation — Language: English
Purpose
This SOP explains how to correctly use, adjust, care for, and select a torque wrench for automotive fastening tasks. Following these steps ensures nuts and bolts are tightened to the correct specification, which maximizes safety and prevents damage to threads, bolt heads, and studs.
Scope
This procedure applies to DIY users and technicians performing automotive tasks involving the suspension, wheels, brakes, and engine components, where torque wrenches are commonly used.
Required Equipment
- Torque wrench (half inch, 3/8 inch, or 1/4 inch drive, as appropriate for the task)
- Correct socket for the fastener being tightened
- Vehicle service manual or verified online torque specification source
- Protective storage case for the torque wrench
Section 1: Understanding Torque Wrench Fundamentals
Step 1: Understand the purpose of a torque wrench
- A torque wrench is used to tighten nuts and bolts to a specific torque value.
- Using a torque wrench prevents over-tightening, which can damage threads or snap bolt heads.
- Safety note: Under-tightening can cause nuts and bolts to come loose, which is dangerous.
Step 2: Know where torque wrenches are used
- Torque wrenches are commonly used on cars for tasks involving the suspension, wheels, brakes, and engine components.
Step 3: Recognize what torque is
- Torque is a rotational or twisting force applied to a nut or bolt.
- The formula for torque is τ = d × F, where:
- τ = torque
- d = distance from the pivot point (length of the wrench)
- F = force applied perpendicular to the wrench
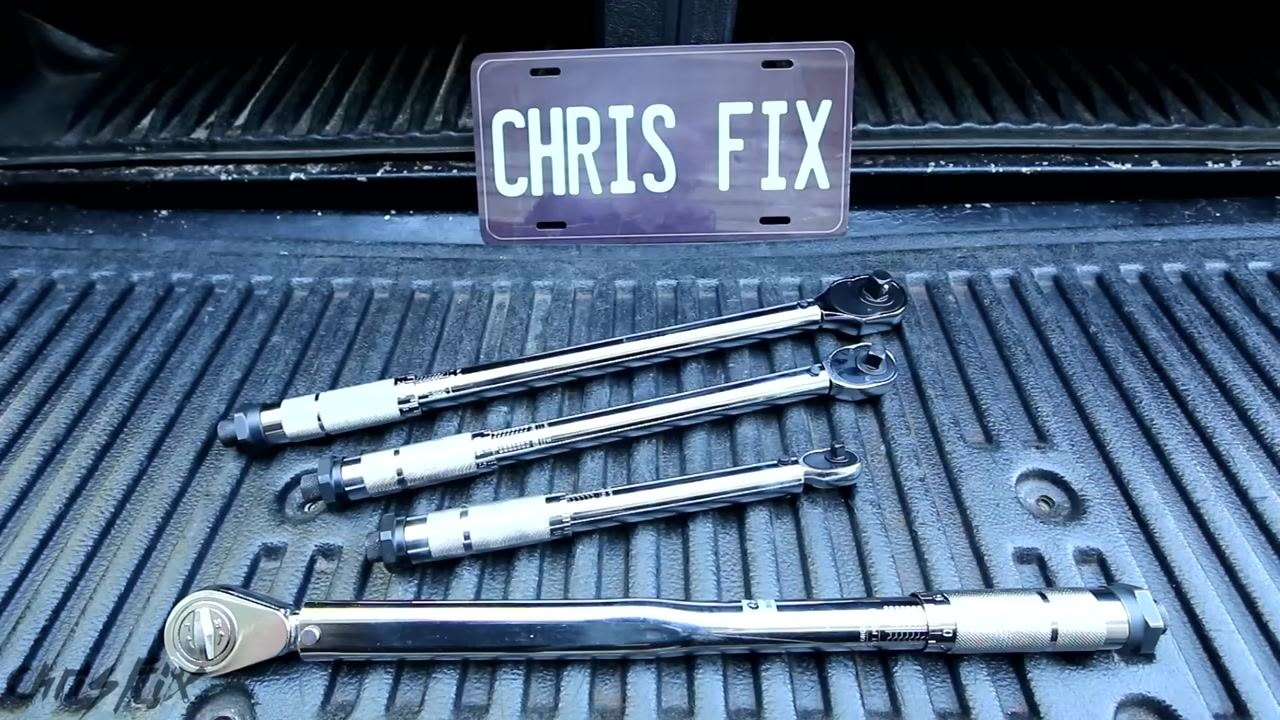
Step 4: Identify different types of torque wrenches
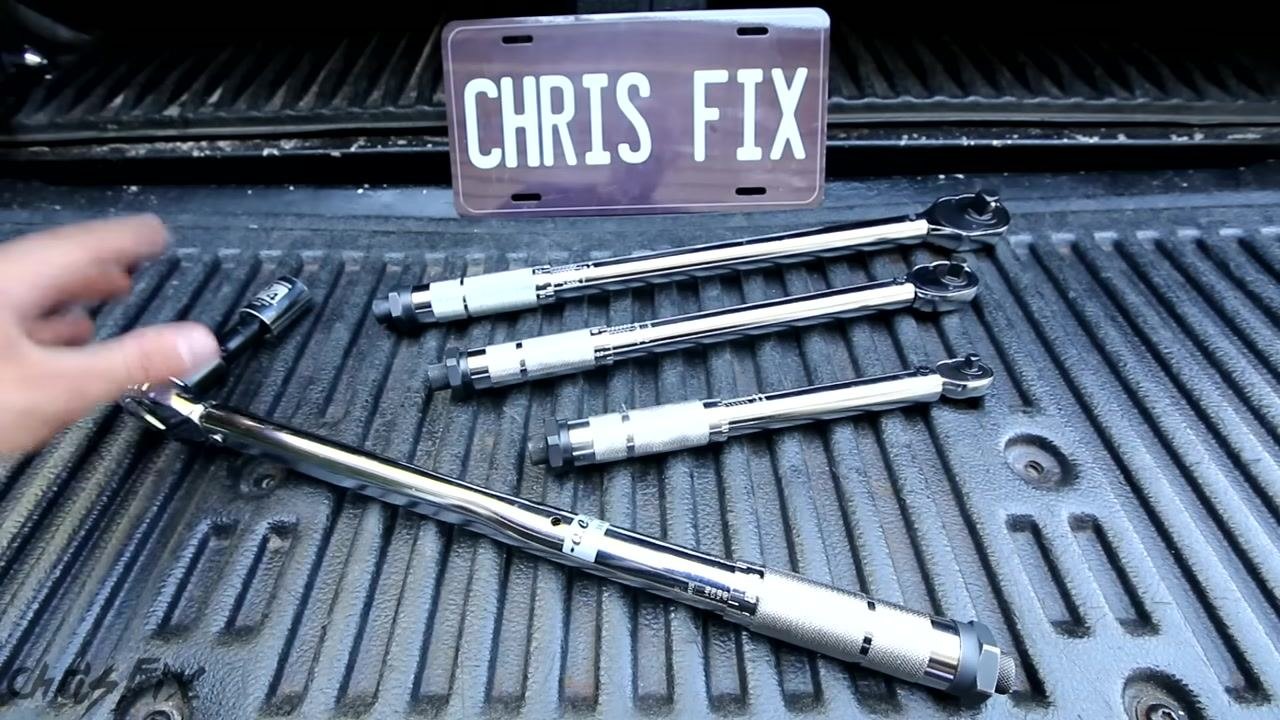
- There are several drive sizes for torque wrenches:
- Half inch drive
- 3/8 inch drive
- 1/4 inch drive
- The most commonly used drive size for automotive work is the half inch drive.
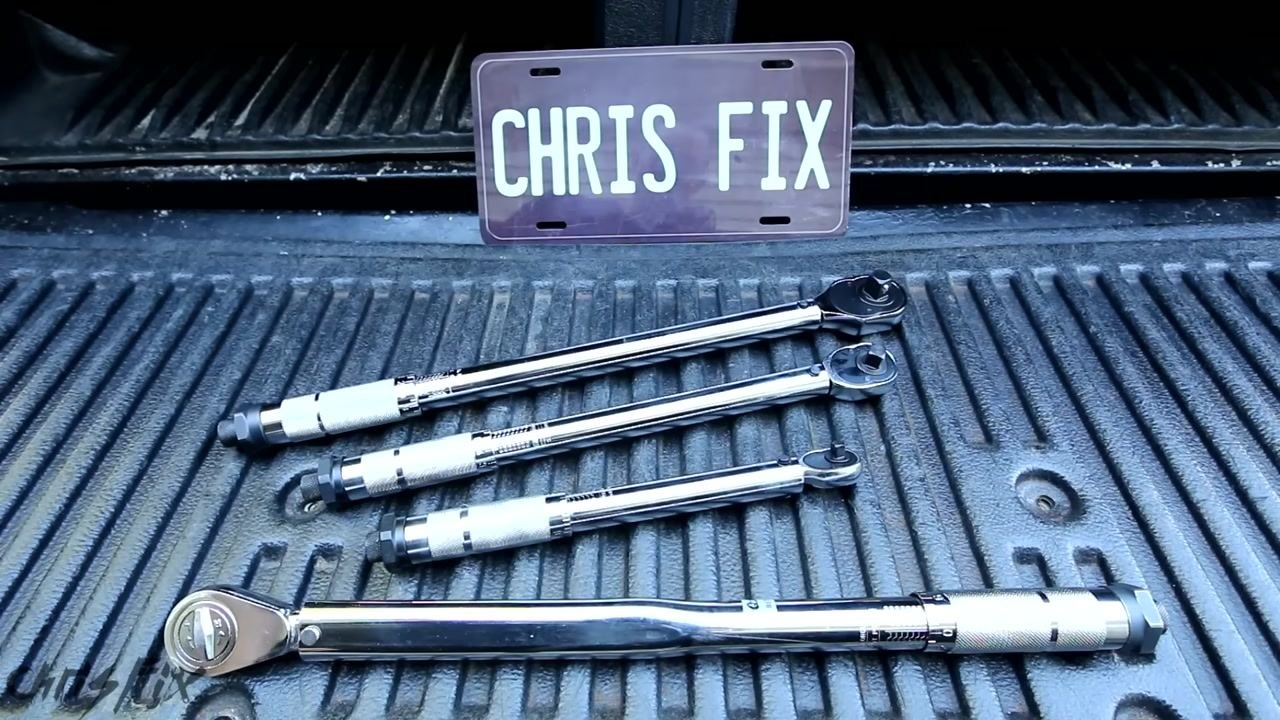
Step 5: Select the correct torque wrench for the job
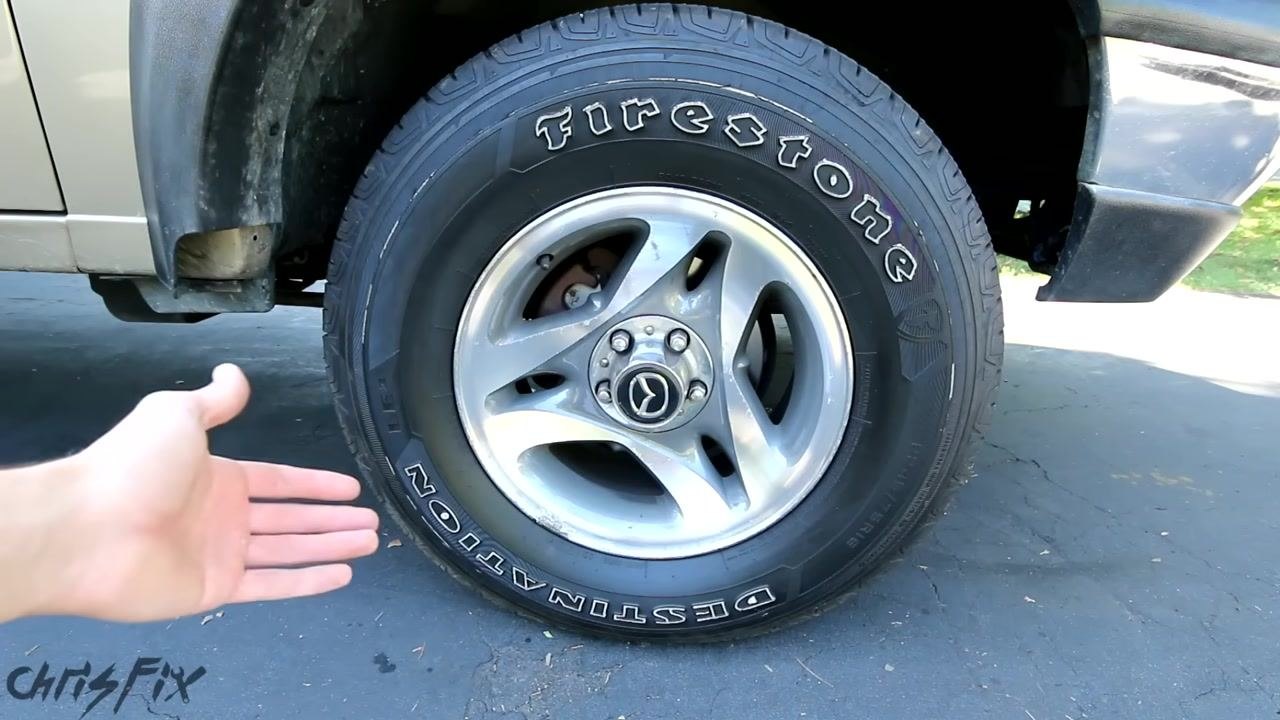
- For tightening lug nuts on most car wheels, use a half inch drive torque wrench.
- Most wheel lug nuts require tightening to 100 pound-feet (foot-pounds) of torque.
Step 6: Set the correct units on the torque wrench
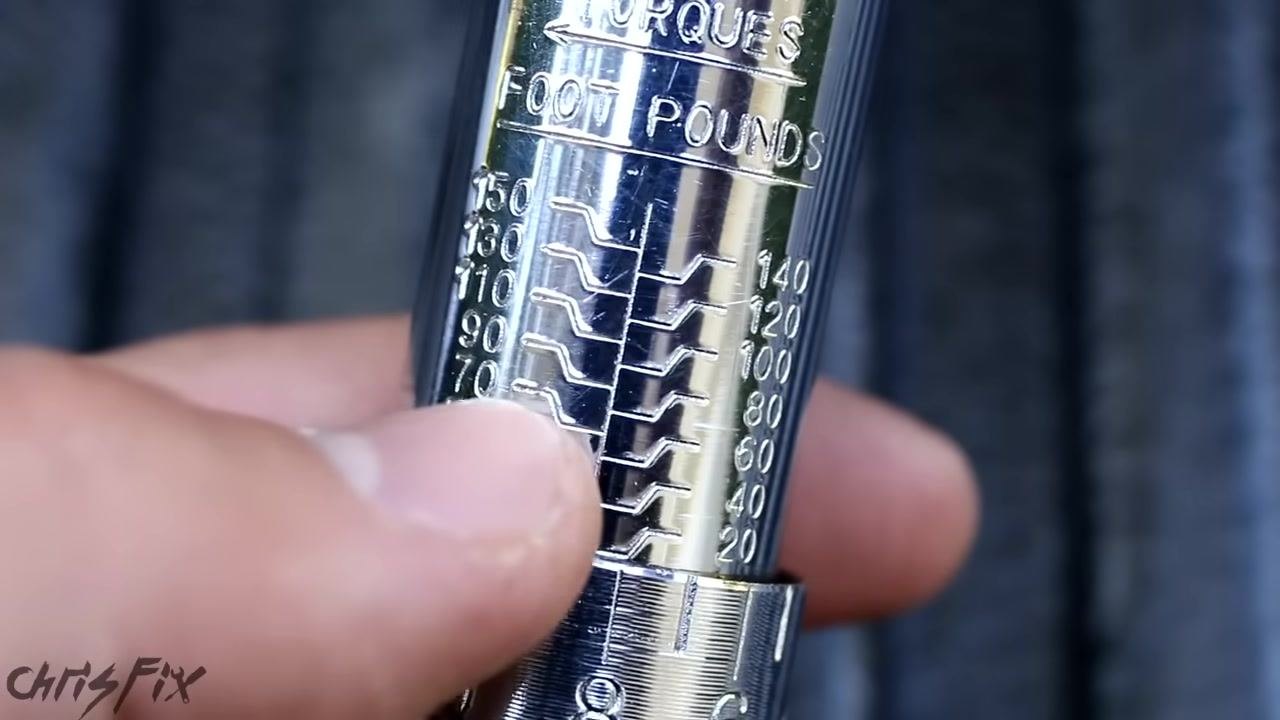
- Ensure the torque wrench is set to the correct units (foot-pounds in this example).
- Some wrenches have multiple units, so check both sides for the correct scale.
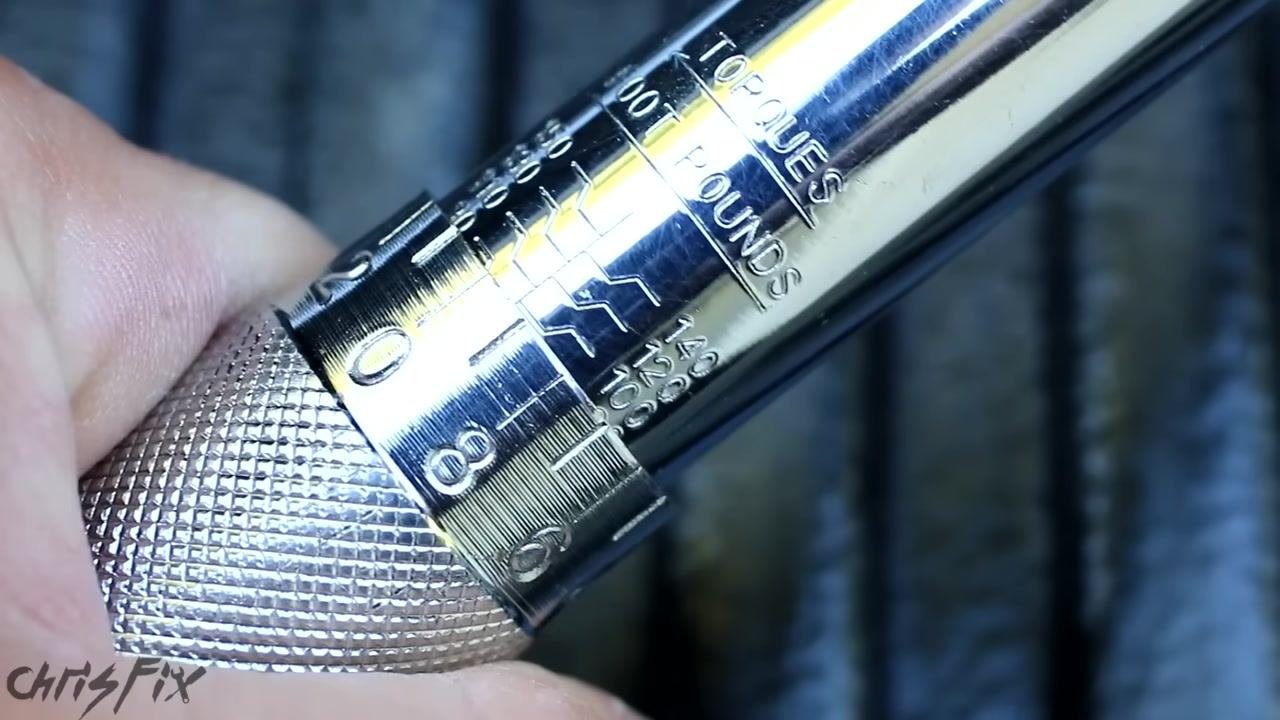
Step 7: Adjust the torque wrench to the desired value
- Loosen the locking knob at the end of the handle to allow adjustment.
- Rotate the handle until the "0" mark on the handle aligns with the "100" foot-pounds line on the scale.
- Confirm the setting is exactly at 100 foot-pounds for lug nuts.
Section 2: Using the Torque Wrench to Tighten Lug Nuts
Step 8: Fine-tune the torque setting
- Turn the handle of the torque wrench until the "0" mark on the handle lines up exactly with the "100" mark on the main scale.
- If the "0" is lined up with "1" on the main scale, the setting is 90 foot-pounds.
- Continue turning the handle, passing through 91, 92, 93, 96, 97, 98, and 99, until the "0" lines up with "100" for 100 foot-pounds.
- To set a different value:
- For 99 foot-pounds, move the handle one click down from 100.
- For 98 foot-pounds, move two clicks down.
- For 101 or 102 foot-pounds, move the handle up accordingly.
- Confirm the "0" mark is precisely aligned with your desired torque value.
Step 9: Lock the torque setting
- Once the desired torque value is set, locate the lock nut at the end of the handle.
- Turn the lock nut clockwise to secure the setting.
- Safety note: This prevents the torque value from changing while tightening.
Step 10: Attach the socket
- Select the correct socket for your lug nuts.
- Attach the socket securely to the head of the torque wrench.
Step 11: Tighten the lug nut
- Place the socket over the lug nut on the wheel.
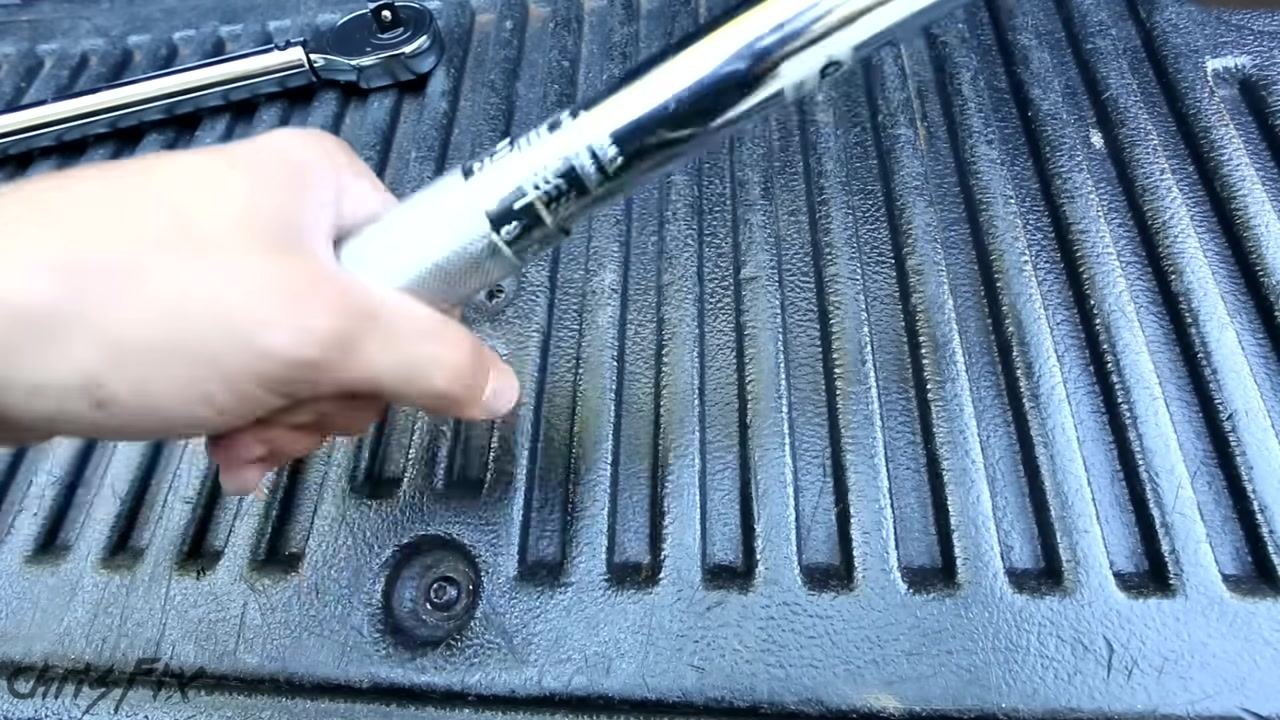
- Hold the torque wrench by the handle (the part you adjusted).
- Apply force smoothly and steadily until you hear or feel a "click."
- The click indicates you have reached the set torque value (e.g., 100 foot-pounds).
- Safety note: Do not continue tightening after the click.
Step 12: Repeat for all lug nuts
- Move to the next lug nut and repeat the tightening process.
- Ensure each lug nut is torqued to the specified value.
Step 13: Verify completion
- After all lug nuts are tightened, confirm they are at the correct tightness.
- This prevents damage to the studs and ensures the wheel is securely attached.
Summary: Using a torque wrench is straightforward: set the value, lock it, attach the socket, tighten until it clicks, and repeat for each lug nut.
Section 3: Torque Wrench Tips and FAQs
Common topics covered in this section include: locating torque specifications for your vehicle, proper care and storage of your torque wrench, calibration and use of extensions, and guidance on purchasing a quality torque wrench.
Step 14: Find accurate torque specifications
- Obtain a service manual for your specific vehicle. Service manuals provide step-by-step repair instructions and list the correct torque specifications for all nuts and bolts.
- Example: The manual will specify, for instance, "Tighten the generator rear mounting bolt to 37 lb ft."
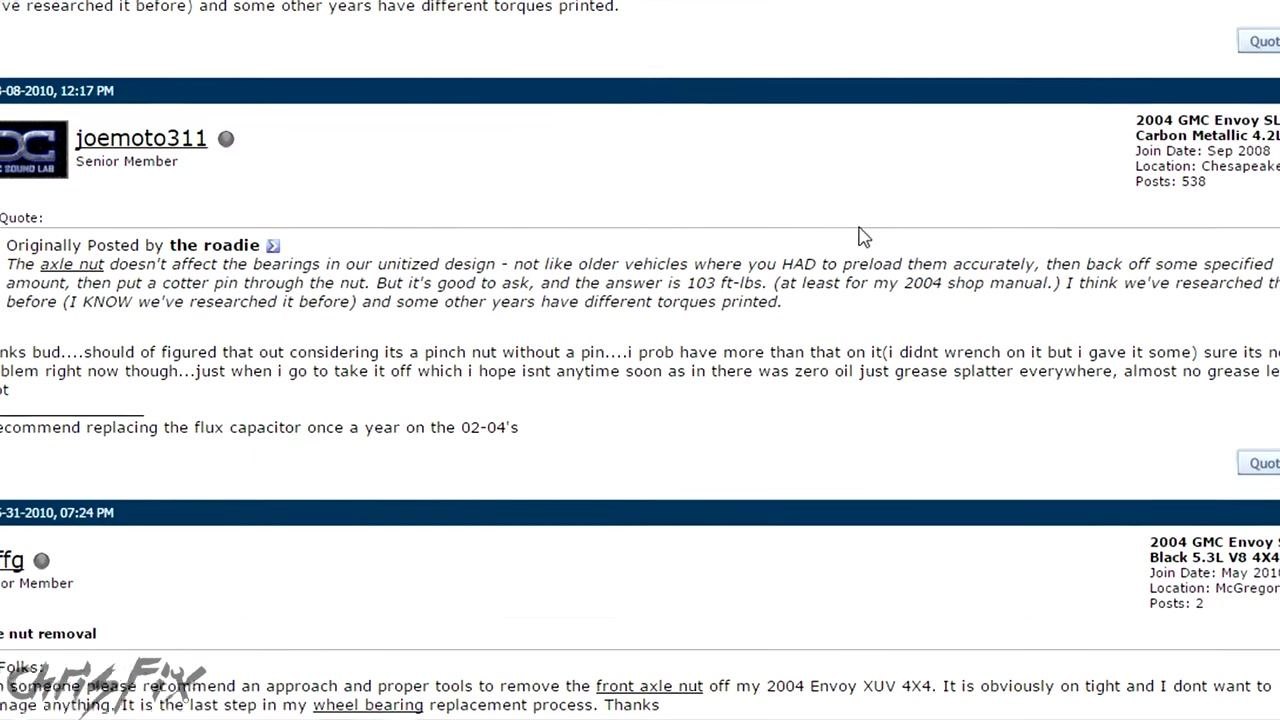
- Alternatively, search online for torque specs:
- Enter a search query such as "2004 Trailblazer axle nut torque."
- Review the search results for reliable sources, such as forums or websites quoting the service manual.
-
Example: "2004 Chevy Trailblazer 4wd front axle nut torque spec? This nut should be tightened to 103 ft lbs of torque."
-
Cross-reference multiple sources to confirm the correct value.
Step 15: Care for your torque wrench to ensure longevity
- Avoid dropping or impacting the torque wrench, especially during use. Repeated drops or hard impacts can throw off the calibration.
- Safety note: If dropped from a significant height, the calibration is likely to be affected.
- Keep the torque wrench dry and away from environments where it could rust.
- Store the torque wrench in its protective case when not in use. The case shields it from moisture and physical shocks.
Step 16: Store the wrench properly to maintain calibration
- Inside the torque wrench is a spring under tension. The tighter the handle, the more pressure on the spring.
- When storing the torque wrench, always set it to its lowest setting by loosening the handle all the way.
- After reaching the lowest setting, tighten it just slightly past the minimum to keep a small amount of tension on the spring. This prevents the spring from being fully compressed or fully relaxed, which helps maintain calibration.
Step 17: Understand the internal mechanism
- The torque wrench contains a precision spring mechanism. Treat the tool as a precision instrument.
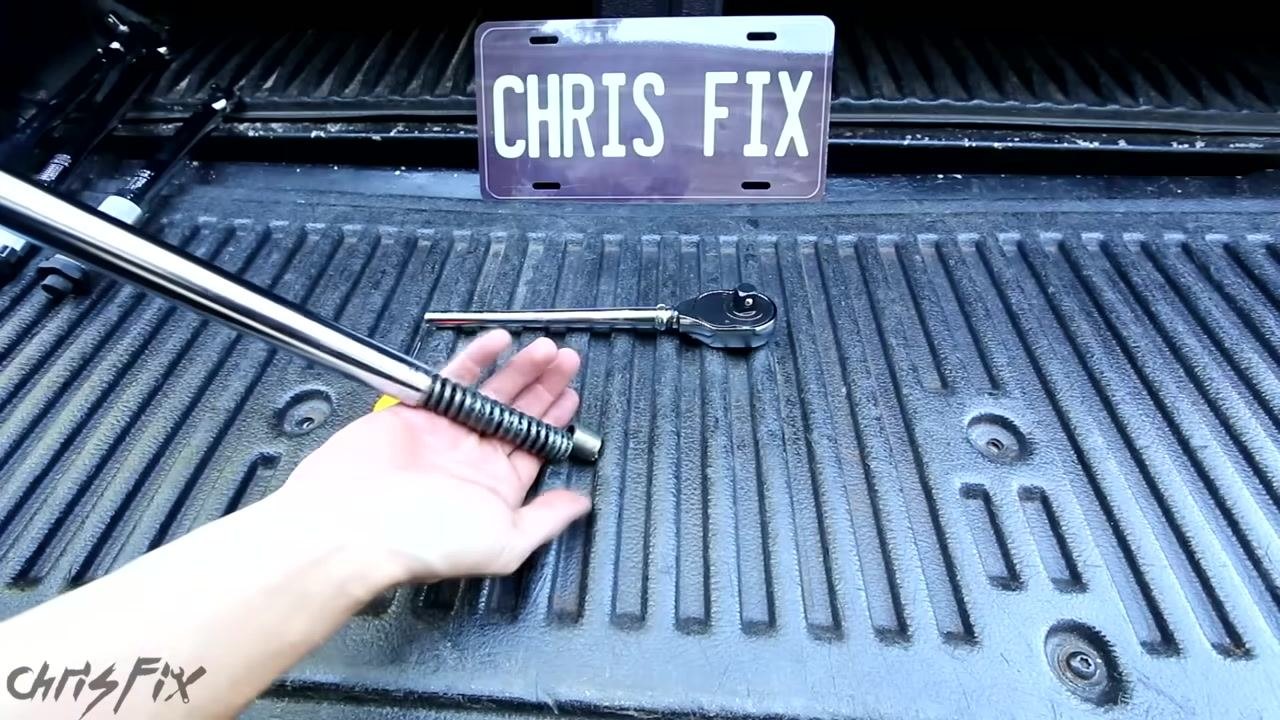
- Safety note: Do not use the torque wrench as a breaker bar or a standard ratchet, as this can damage the internal mechanism.
Summary of key points: - Use a service manual or reputable online sources to find torque specs. - Protect your torque wrench from drops, moisture, and improper use. - Store the wrench at its lowest setting, with slight tension on the spring. - Treat the tool as a precision instrument for best results and long life.
Section 4: Proper Tool Use and Maintenance
Step 18: Understand the purpose of each tool
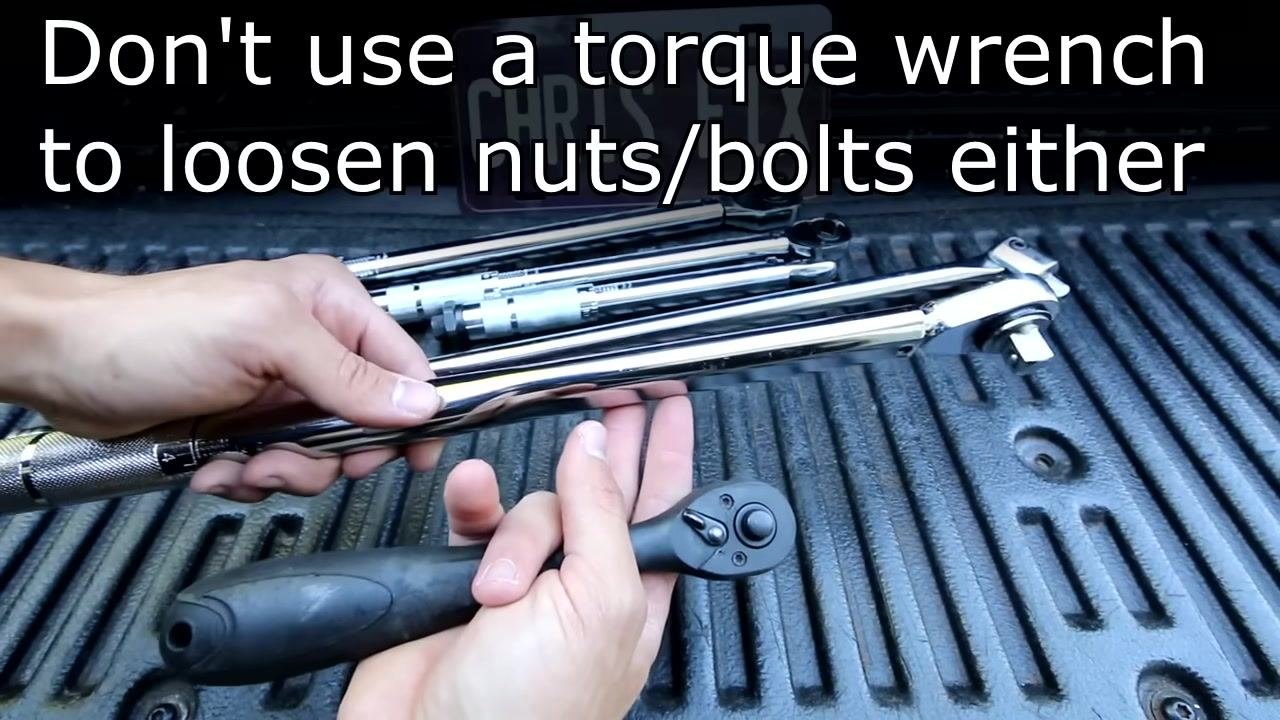
- Recognize that breaker bars and ratchets are designed to take the strain of loosening tight bolts, while torque wrenches are not meant for repeated heavy use.
- Safety note: Overusing a torque wrench for loosening or initial tightening can wear out its internal components.
Step 19: Follow the proper tightening sequence
- Tighten nuts or bolts most of the way using a ratchet.
- Once the fastener is snug, switch to a torque wrench to apply the final, precise torque.
- Safety note: Do not use a torque wrench to loosen nuts or bolts either.
Step 20: Consider torque wrench calibration
- Consider when to calibrate your torque wrenches.
- For most DIY users, calibrating once a year is sufficient.
Step 21: Budget for calibration cost
- Expect calibration to cost between $25 and $75, depending on the service provider.
- Factor in additional shipping costs if you need to send your torque wrench out for calibration.
Step 22: Use extensions with caution
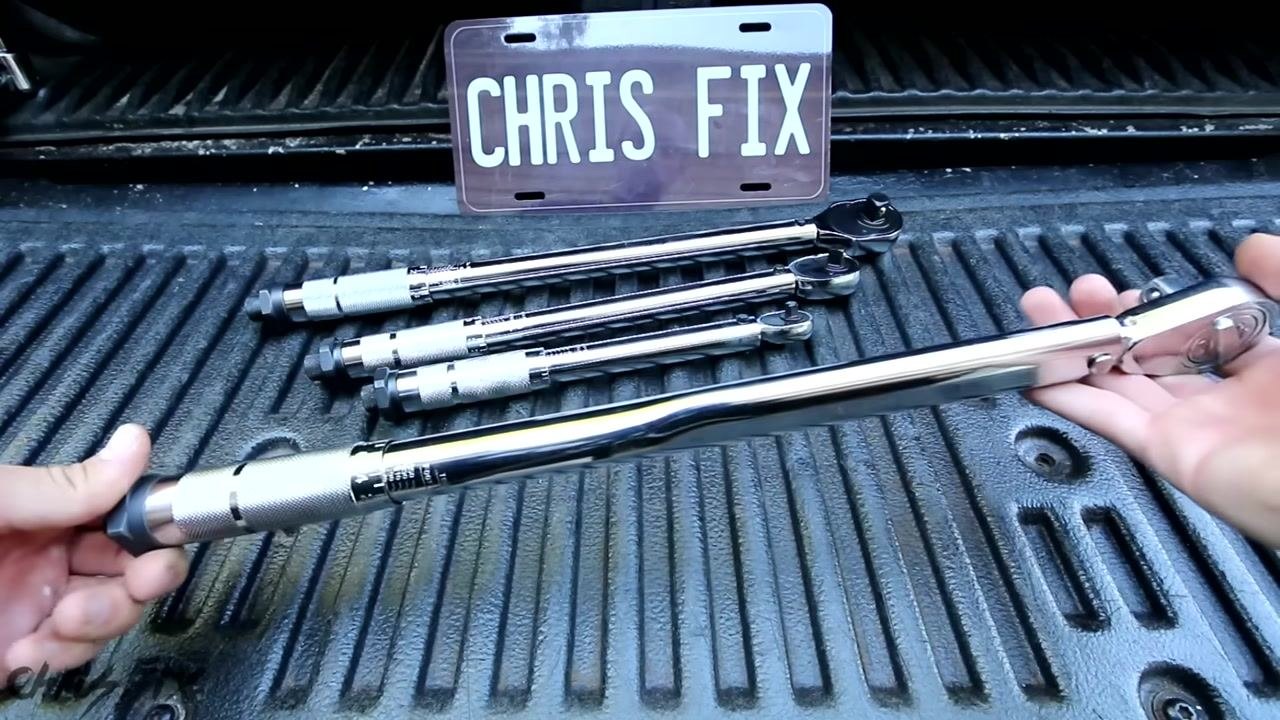
- Be aware that using extensions can affect the accuracy of the torque applied.
- Safety note: The torque value may not be exact when extensions are used.
Step 23: Select the appropriate type of extension
- Sometimes, using extensions is necessary to reach nuts or bolts in tight spaces.
- Safety note: Avoid using certain types of extensions (such as those that flex or twist) when applying final torque, as they can reduce accuracy.
Step 24: Consider key factors when choosing a torque wrench
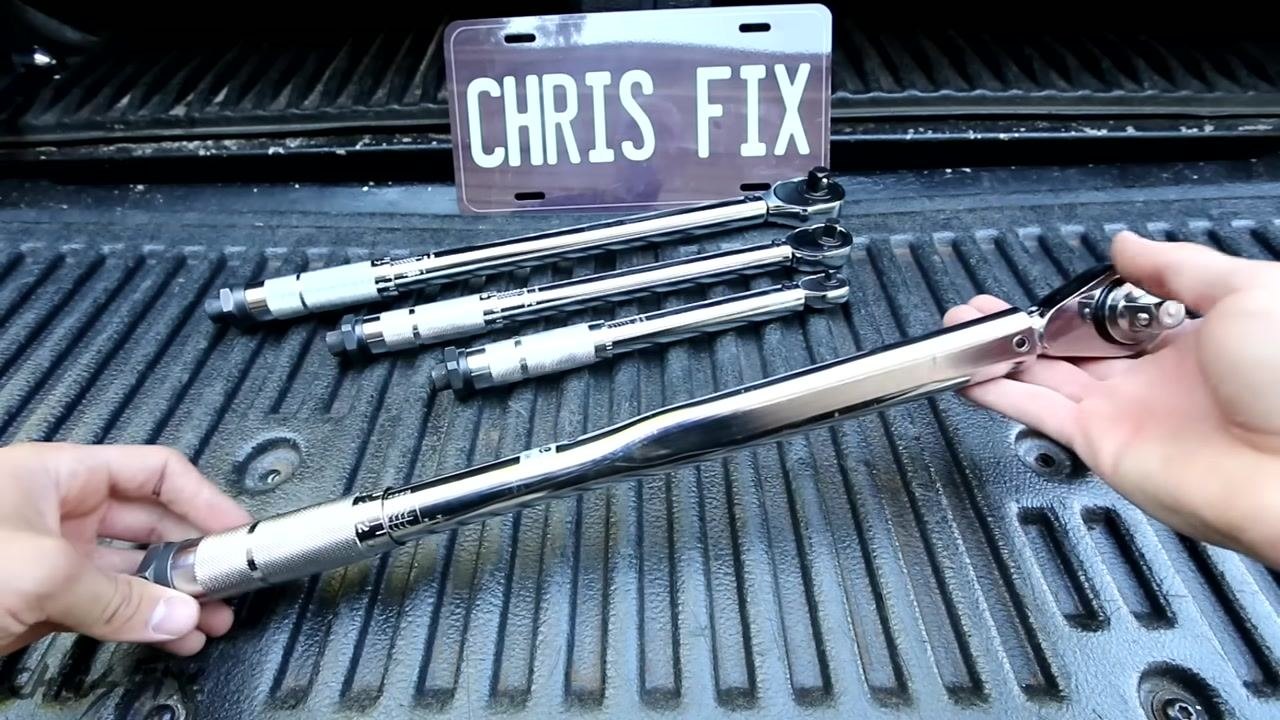
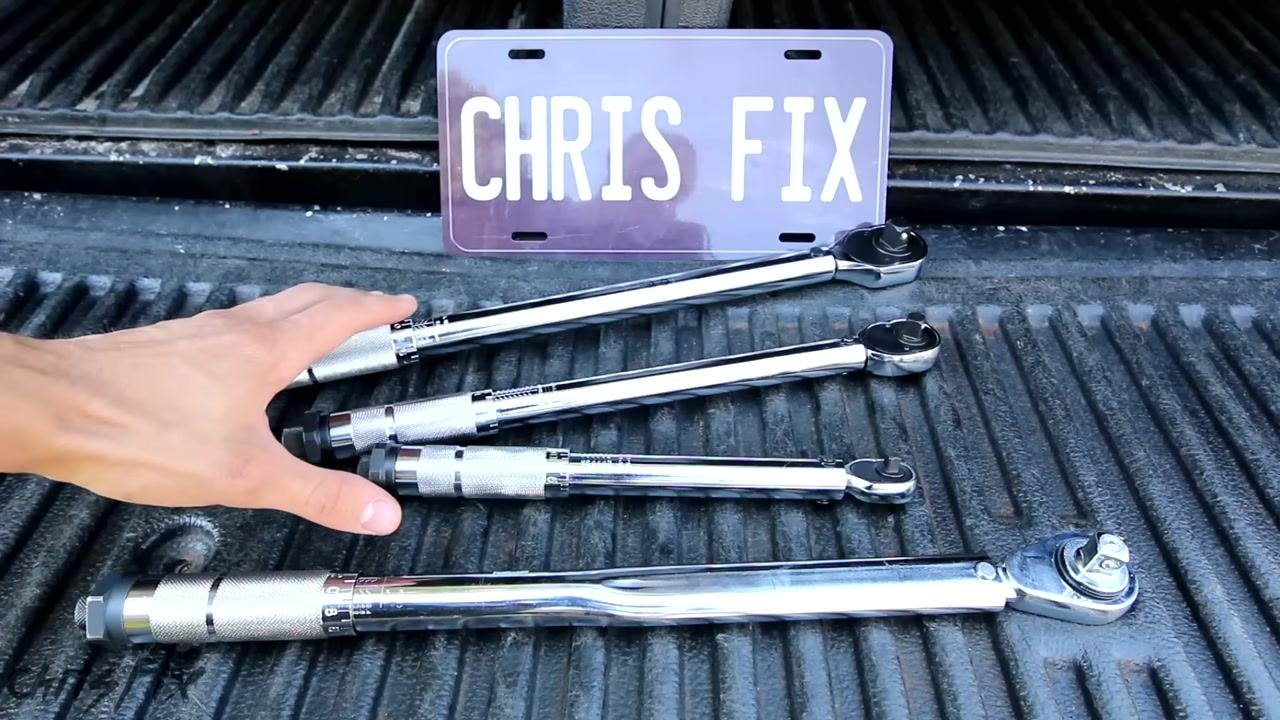
- When selecting a torque wrench, consider two main factors: the range of torque needed and the drive size appropriate for your tasks.
Section 5: Selecting the Right Torque Wrench
Step 25: Determine the appropriate drive size
- Identify the drive size you need based on the size of the studs or fasteners you will be working with.
- Note: The drive size refers to the square fitting at the end of the torque wrench where sockets attach.
- Example: If your socket set uses a 3/8" drive, select a 3/8" drive torque wrench.
Step 26: Understand common drive sizes
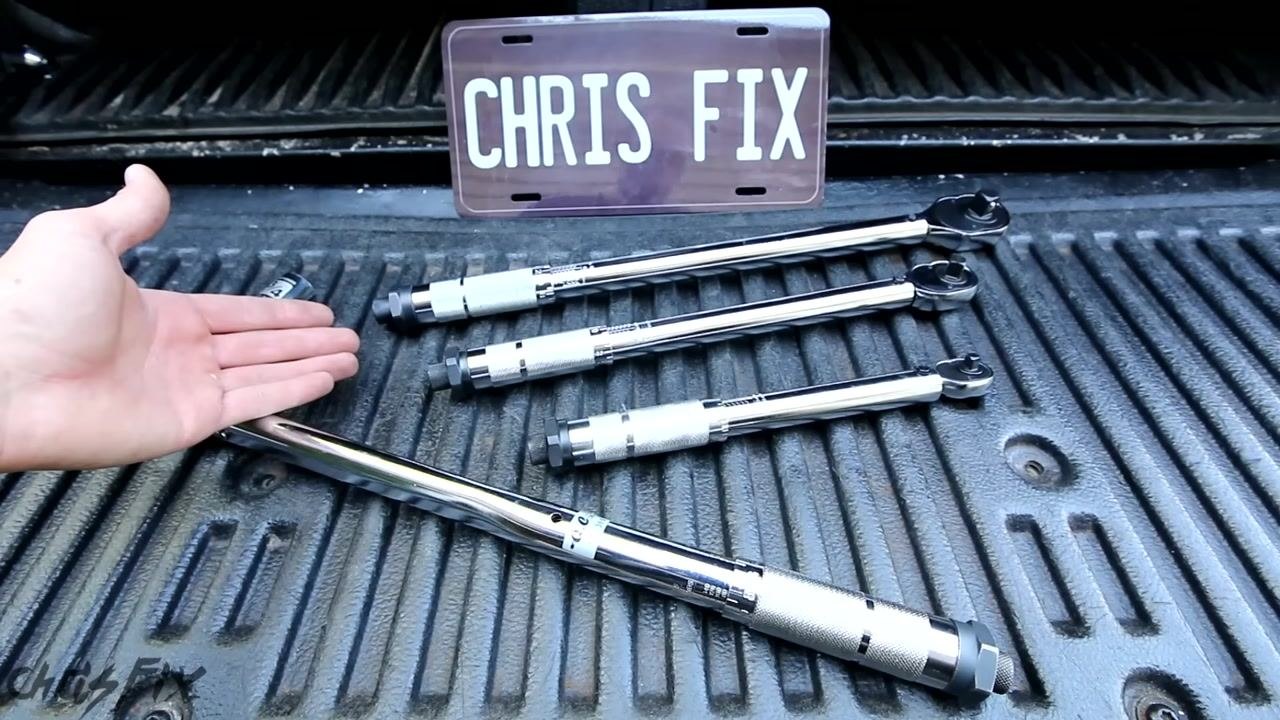
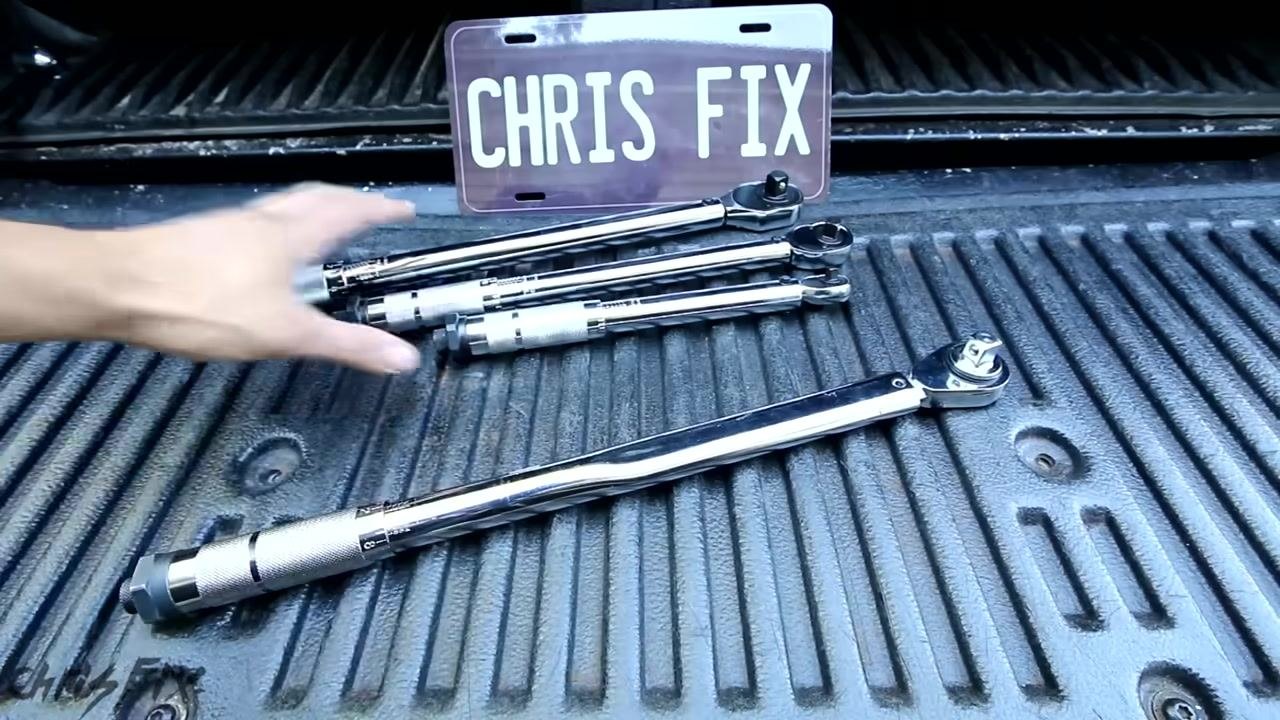
- Recognize the three most common drive sizes:
- 1/2 inch drive: Suitable for larger fasteners and higher torque applications.
- 3/8 inch drive: Versatile, commonly used for medium-sized fasteners.
- 1/4 inch drive: Used for small fasteners and lower torque requirements.
Step 27: Match drive size to application
- Use a 1/4 inch drive for tightening smaller nuts and bolts, but note that it is less commonly used for automotive work.
- Prefer 3/8 inch and 1/2 inch drives for most automotive tasks.
Step 28: Compare torque ranges
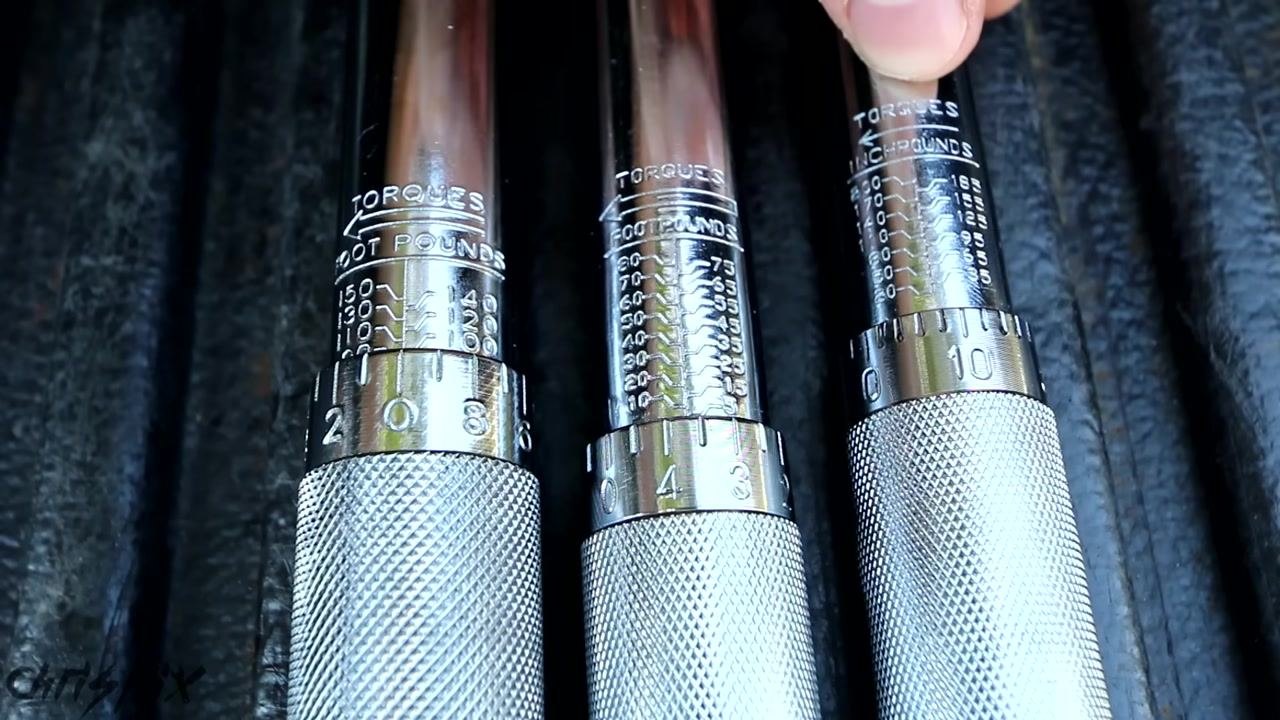
- Examine the torque range markings on each wrench to ensure it matches your needs.
- For example, a 3/8 inch drive may cover a range suitable for most medium-duty tasks, while a 1/2 inch drive covers higher torque values for tasks like tightening lug nuts.
Step 29: Select based on frequency of use
- Once you know the drive size and torque range you will use most often, choose a torque wrench that fits those requirements.
- Lay out your options and compare them side by side for clarity.
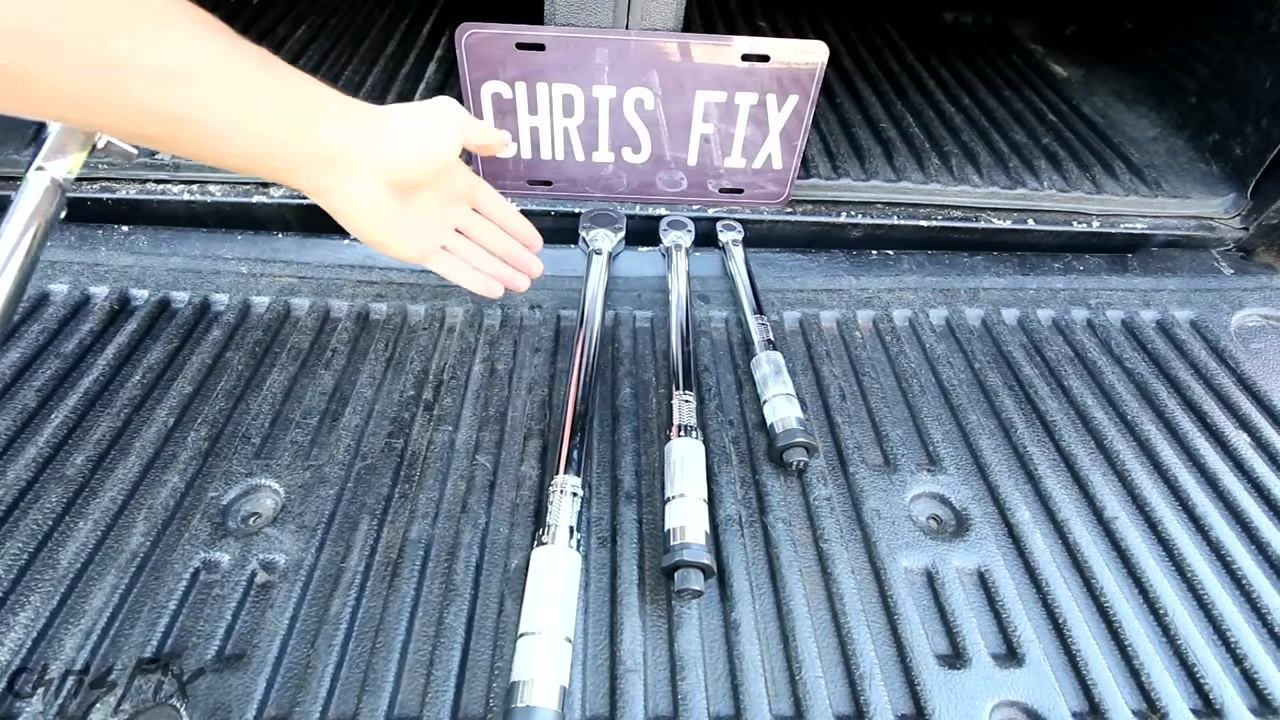
Step 30: Consider quality and budget
- High-end brands like Snap-on offer superior quality, but there are also reliable, budget-friendly torque wrenches available.
- Select a wrench that fits your budget and meets your needs for accuracy and durability.
Step 31: Purchase a cost-effective torque wrench
- Choose a torque wrench that is affordable and suitable for your DIY or professional needs.
Verification and Summary
By following this procedure, you will be able to confidently select, use, and maintain the correct torque wrench for your automotive or DIY projects, ensuring both accuracy and tool longevity. Key verification points include:
- Torque wrench is set to the correct units and value before use.
- The setting is locked before applying torque to a fastener.
- Each fastener is tightened only until the click is felt or heard.
- The torque wrench is stored at its lowest setting, with slight tension on the spring, in its protective case.
- Torque specifications are confirmed via a service manual or cross-referenced online sources.
What's Next
For further learning, explore related topics such as: - How to Check Torque Wrench Calibration - How to Use a Torque Wrench - OBDII Scanner Review
Generation details: cost, quality tiers
Docsie billed 4,500 credits ($3.15) to analyze this 9-minute video at standard quality. The rewrite, template fill and Word/PDF exports were included. The same video at each quality tier:
| Quality | Frames sampled | Credits | Approx. cost |
|---|---|---|---|
| Draft | every 16-30 s | 2,250 | $1.57 |
| Standard (this guide) | every 8-15 s | 4,500 | $3.15 |
| Detailed | every 4-7 s | 9,000 | $6.30 |
| Ultra | every 1-3 s | 18,000 | $12.60 |
Credits priced at $0.70 per 1,000; plans include a monthly allowance. Enterprise customers on on-premise or bring-your-own-model deployments run this on their own inference and pay no per-video credits.
Generated by Docsie Video-to-Docs on 2026-09-08 from a 8-minute video. Screenshots are frames from the source video and belong to their creator, ChrisFix, whose original is embedded above. If you own this video and want the guide removed or credited differently, contact us and we will act within one business day.