
How to Use a Drill Press
This guide explains how to use a drill press for common woodworking tasks, from understanding its basic mechanics to performing advanced operations such as sanding curves, drilling through-holes, and cutting perfectly circular openings. Follow the steps below in order to set up your machine correctly, work safely, and achieve accurate, repeatable results.
Video: Drill Press Basics - WOOD by WOOD magazine (2019). All credit for the demonstration goes to the creator; watch the original on YouTube. The written guide below was generated from this video by Docsie. Creator? Request a change or removal.
This guide explains how to use a drill press for common woodworking tasks, from understanding its basic mechanics to performing advanced operations such as sanding curves, drilling through-holes, and cutting perfectly circular openings. Follow the steps below in order to set up your machine correctly, work safely, and achieve accurate, repeatable results.
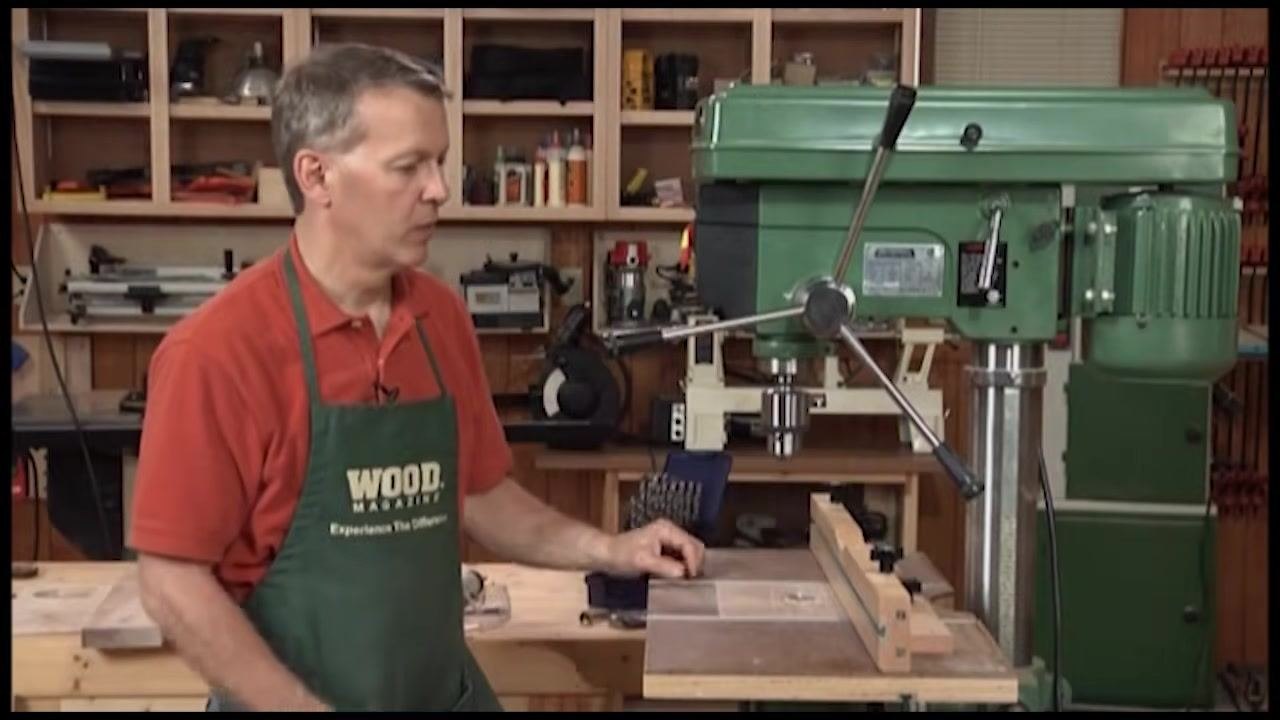
Purpose
This document provides step-by-step instructions for operating a drill press, including adjusting speed and depth, securing workpieces, using accessories such as fences and drum sanders, and applying safety practices for different drilling and cutting attachments.
Scope
This procedure applies to both floor-standing and benchtop drill presses used in woodworking. It covers standard drilling operations, table and fence adjustments, drum sanding, hole saw use, and circle cutting.
Required equipment
- Drill press (floor-standing or benchtop)
- Drill bits appropriate to your material
- Chuck key (if your model uses a keyed chuck)
- Woodworking drill press table with adjustable fence (optional upgrade)
- Stop blocks and clamps
- Scrap wood (backer board)
- Drum sander attachment
- Circle cutter attachment
- Hole saw attachment

Understand the purpose and components of the drill press
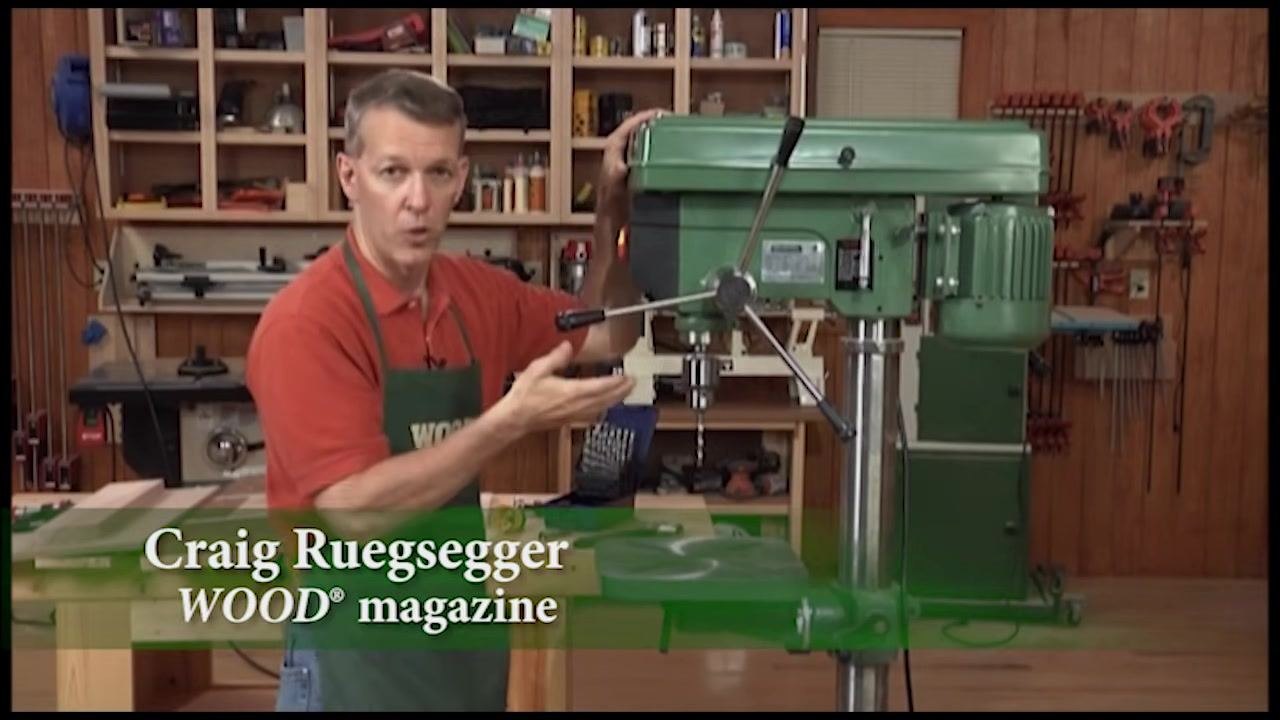
A drill press is a machine primarily used for drilling precise holes in various materials. Before operating it, take time to identify its main parts and how they work together.
- Locate the motor at the back of the machine, which powers the drill press.
- Note that the motor connects to a series of pulleys and belts.
- Understand that changing the belt arrangement on the pulleys adjusts the speed of the drill bit.
Consult the speed chart
Use the speed chart, typically located inside the drill press cover, to determine the correct belt and pulley arrangement for your desired spindle speed.
- Speed range example: 340 RPM to 2800 RPM.
- 340 RPM corresponds to belt position A-1.
- 2800 RPM corresponds to belt position A-3.
Insert and secure the drill bit in the chuck
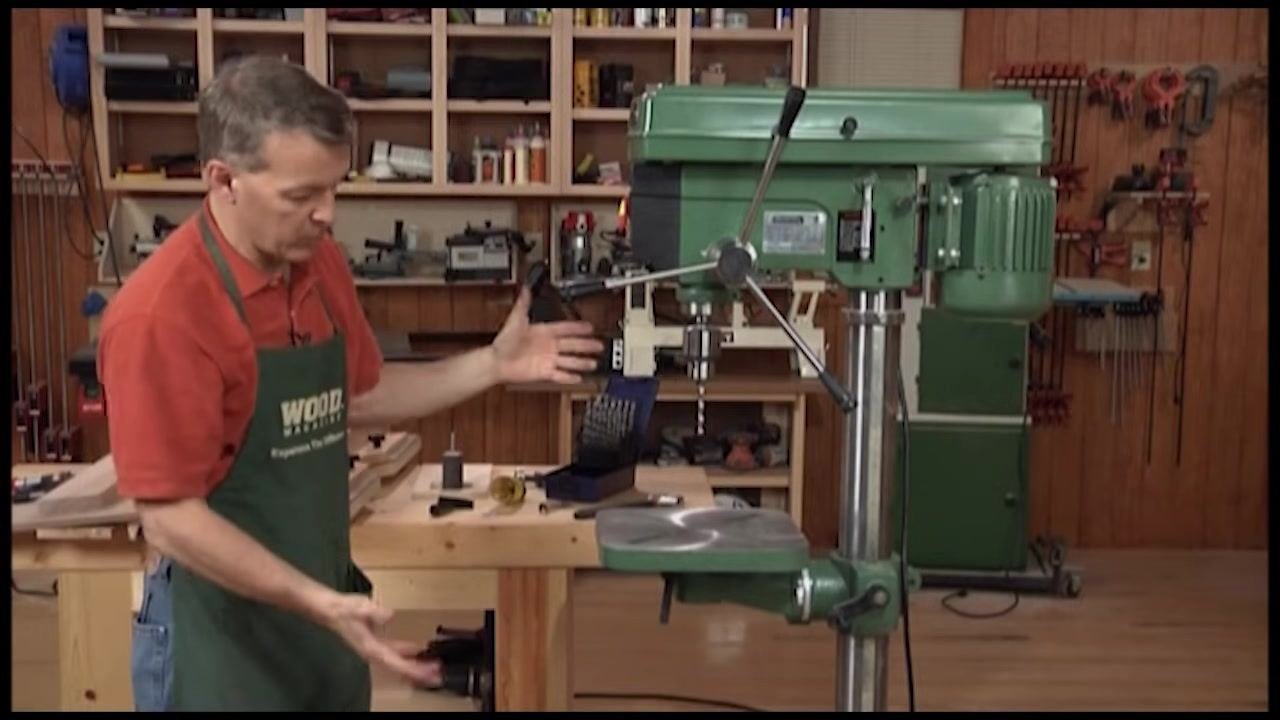
Locate the chuck below the spindle; this component holds the drill bit.
- If your model uses a keyed chuck, insert the drill bit and tighten it with the key until it is snug and secure.
- If your model uses a keyless chuck, tighten it by hand instead.
Raise and lower the quill assembly
Use the handle on the side of the drill press to raise and lower the quill assembly. This moves the drill bit vertically so you can drive it straight down into your workpiece.
Set the depth stop
Locate the screw-type depth stop on the column to the left of the drill press. Adjust it to set a specific drilling depth, which prevents the bit from passing all the way through the material. This feature is useful for creating counterbores or holes of limited depth.
Identify your drill press type
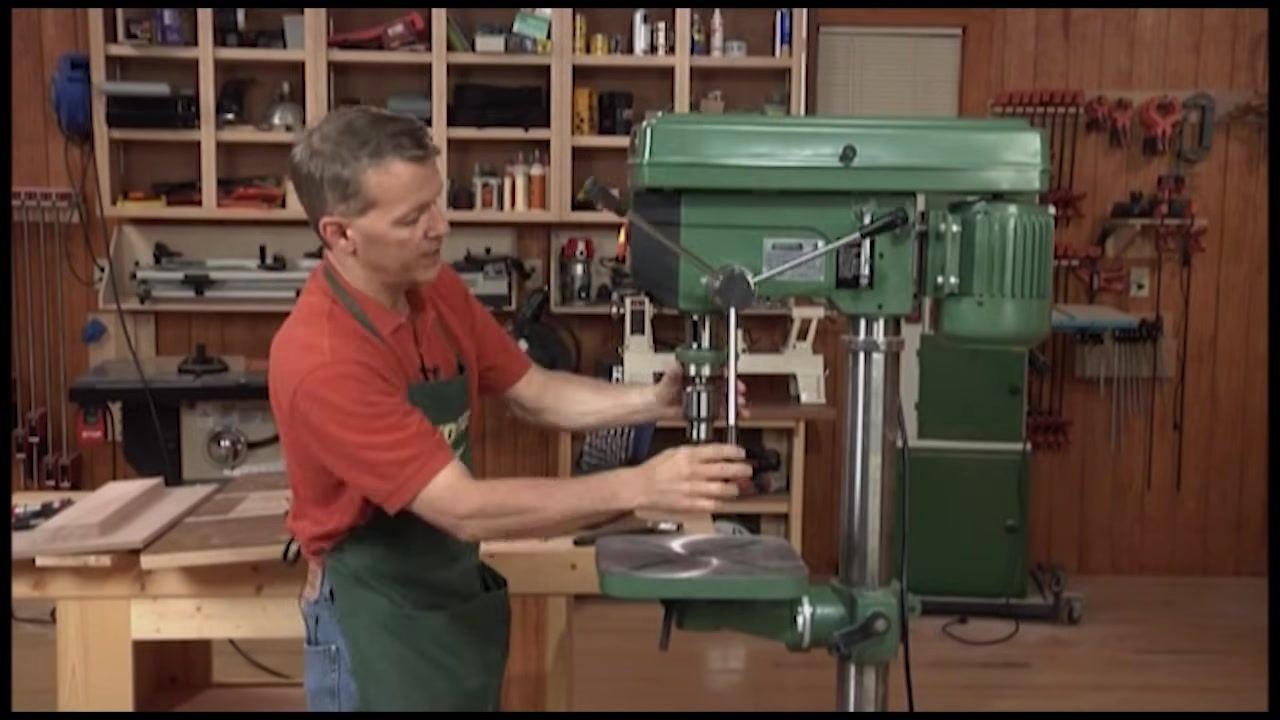
There are two main types of drill presses:
- Floor-standing drill press: Sits directly on the floor and offers greater capacity for larger workpieces.
- Benchtop drill press: Has a shorter column and sits on a workbench, making it more affordable and suitable for most woodworking tasks.
Choose a benchtop model if you primarily do woodworking with limited space or budget, or a floor-standing model if you need more capacity between the table and the drill bit.
Adjust the table height
Locate the geared assembly and handle on the side of the drill press column.
- Spin the handle to raise or lower the table to the desired height.
- Tighten the handle to lock the table securely in place.
Pivot, tilt, and rotate the table
- Loosen the locking bolt beneath the table to pivot it horizontally out of the way if needed.
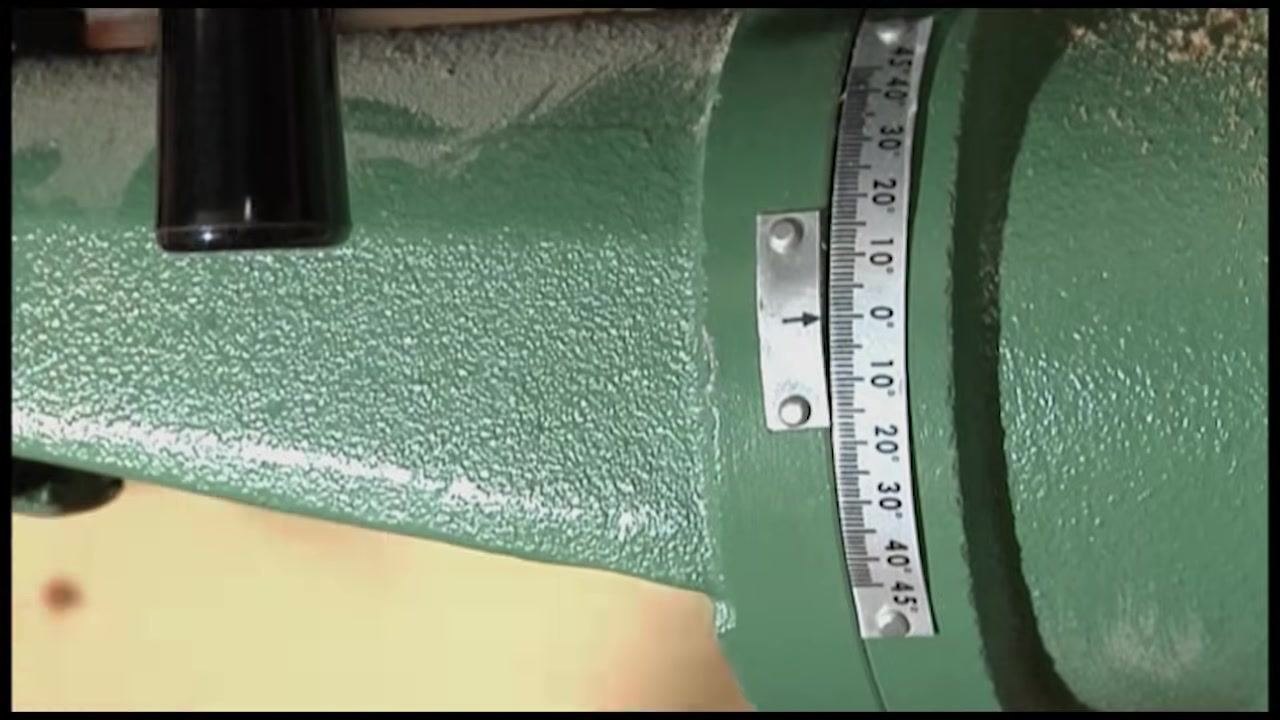
- Loosen the appropriate bolt to tilt the table for angled drilling operations, referencing the built-in gauge (typically marked from 0° to 45°) to set the angle accurately.
- Use the pinch bolt or knob located under the table to rotate the table around the column, then tighten it to secure the position.
The table can be raised or lowered for different workpiece thicknesses, pivoted out of the way, tilted for angled drilling, and rotated for optimal positioning. Keep in mind that the standard metal table is a legacy from metalworking; for improved woodworking performance, consider upgrading it with woodworking-specific accessories.
Install a woodworking drill press table
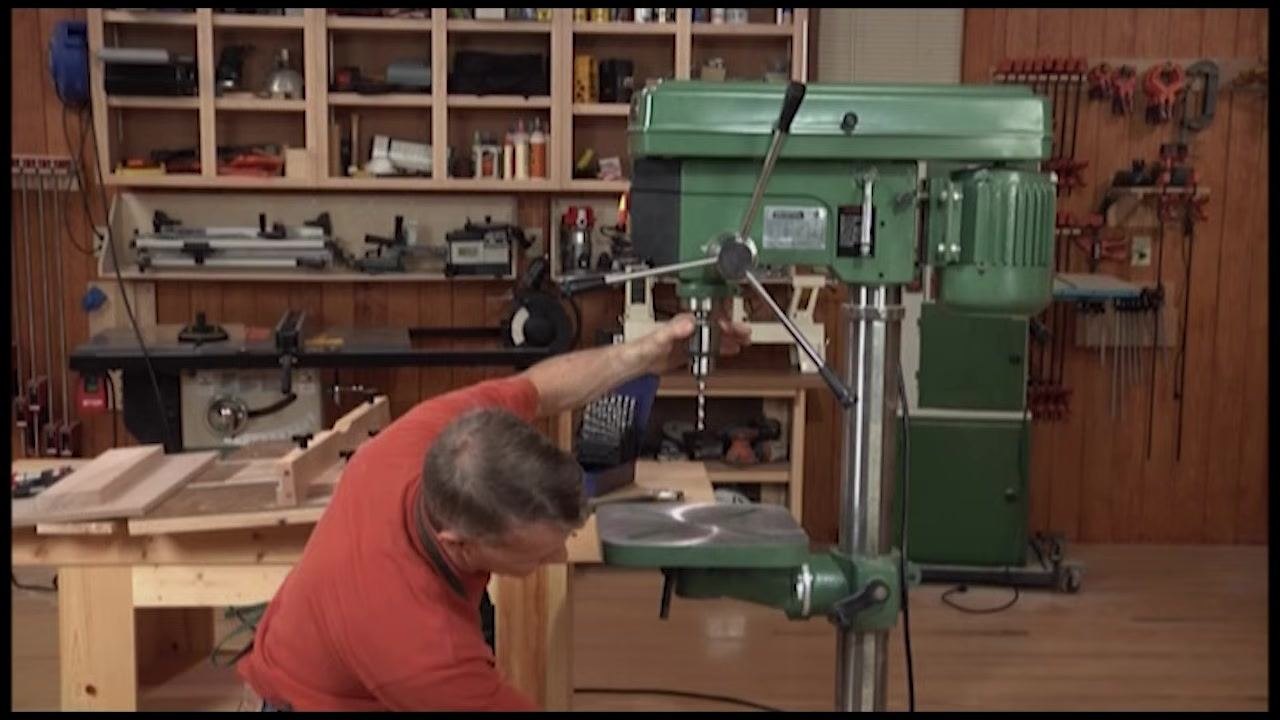
Install a woodworking-specific drill press table onto your machine and ensure it is securely fastened and level. This upgrade provides a much larger work surface, making it easier to support large workpieces such as cabinet sides, and improves stability and control during drilling.
Use the adjustable fence for consistent drilling
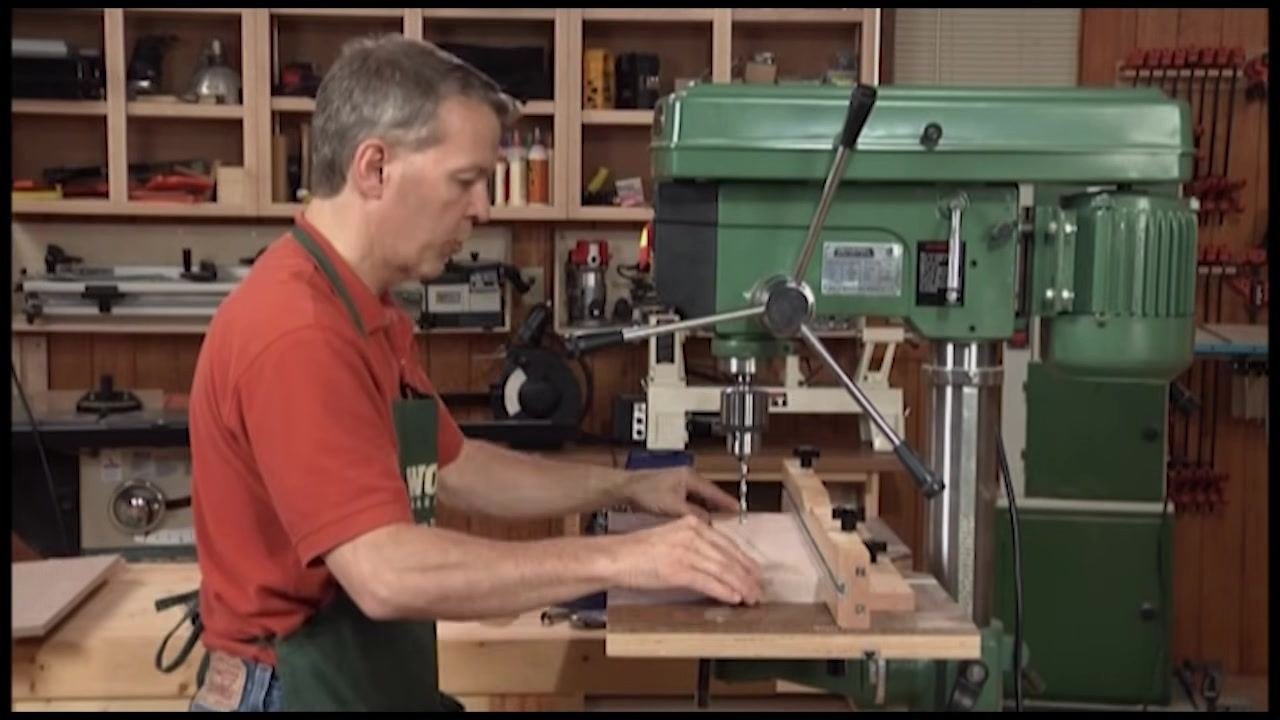
- Attach the included fence to the table.
- Clamp the fence in position as needed.
- Move your workpiece along the fence to drill holes that are consistently spaced from the edge.
This setup lets you drill multiple holes at the same distance from the edge, improving accuracy and repeatability.
Safety note: Press the workpiece firmly against the fence while drilling. If the drill bit catches the workpiece, the fence prevents it from spinning, reducing the risk of injury.
Extend the table wings and add stop blocks
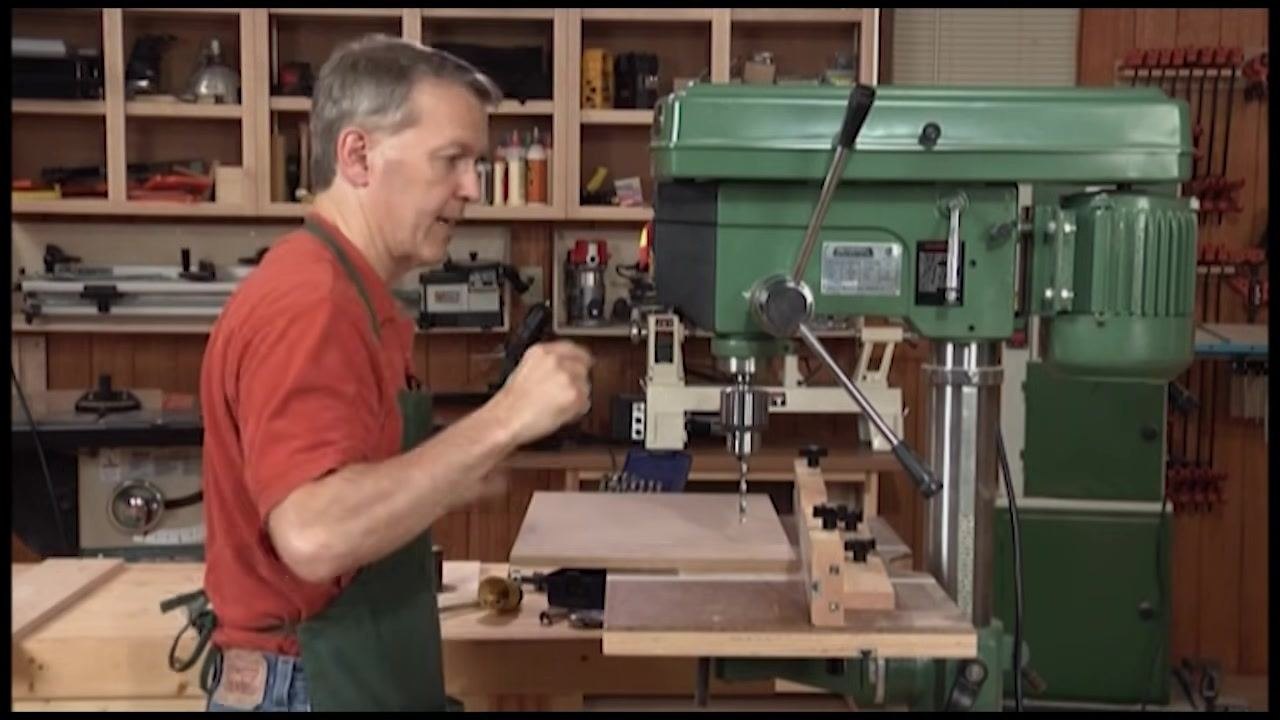
Extend the table wings to increase support for very large workpieces. Clamp stop blocks to the fence or table so you can repeatedly position workpieces for drilling holes in the same location on multiple pieces.
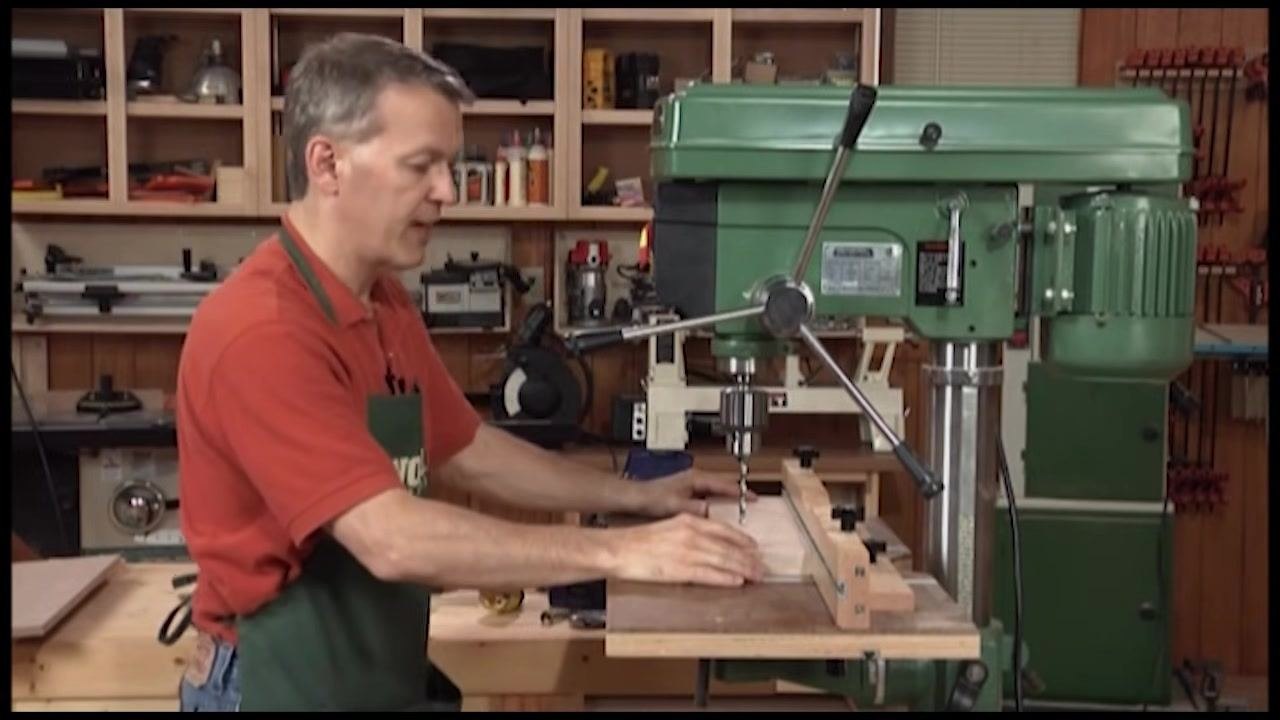
Position the workpiece for drilling
Place your workpiece (for example, a cabinet side) on the table, aligning it with your measured marks for shelf pins or other features. Position the first mark under the drill bit, using the fence and stop blocks for alignment.
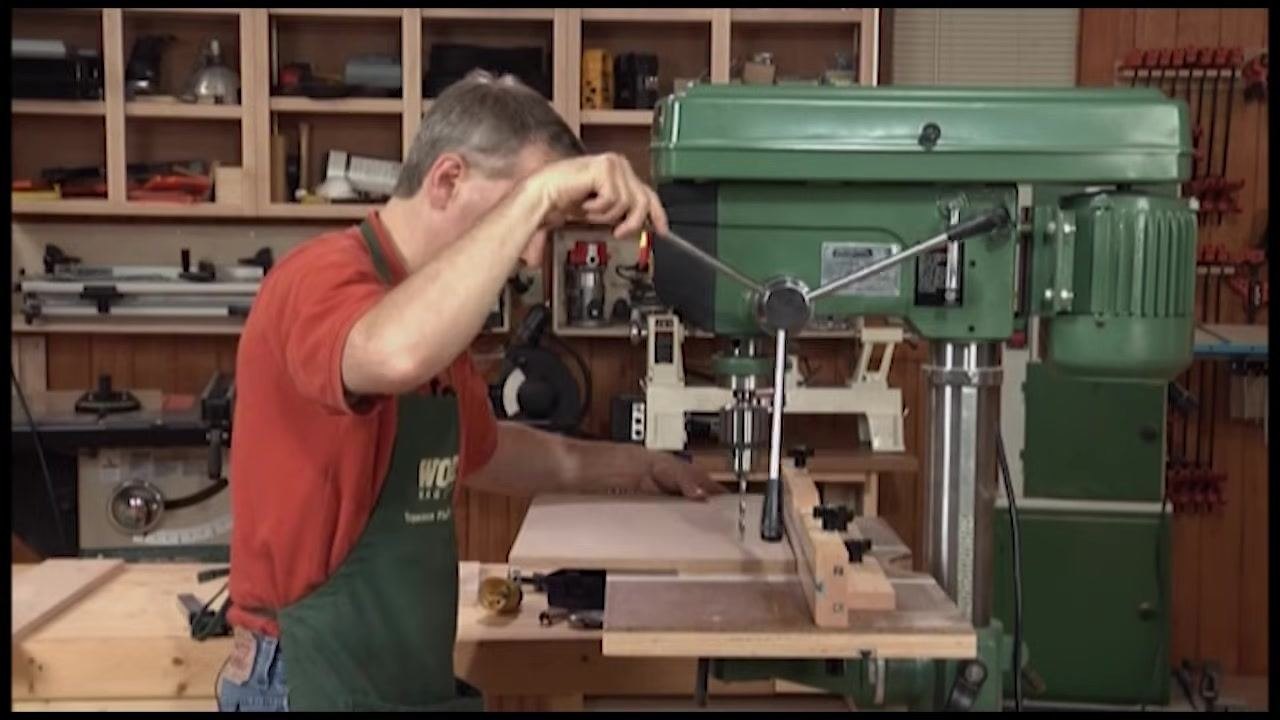
Resolve handle clearance issues
If the drill press handle interferes with the fence or table during operation, unscrew and remove the handle as needed. Set it aside and continue with your drilling operation, ensuring you have the necessary travel for the drill bit.
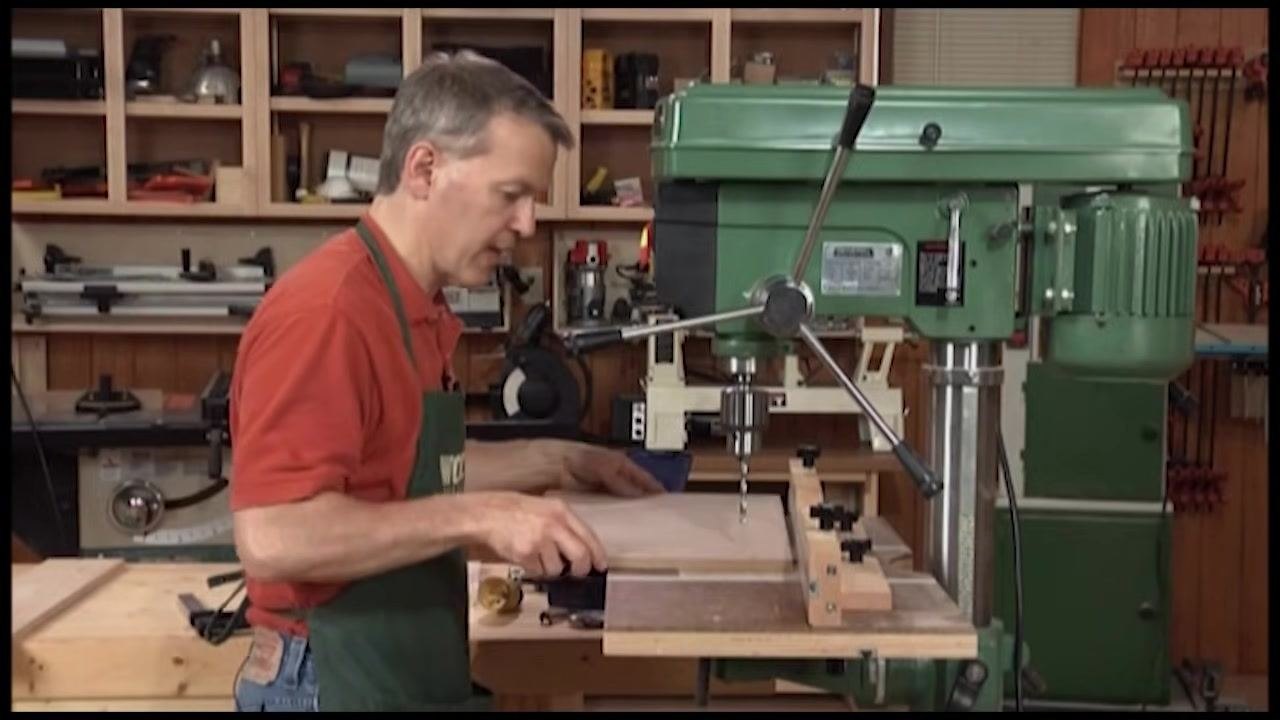
Resume drilling after resolving handle clearance
With the handle removed, confirm that you now have the necessary travel for the drill bit to reach your workpiece. Position your workpiece so the first marked drilling location sits directly under the drill bit, keeping it aligned with the fence and any stop blocks for accuracy and repeatability.
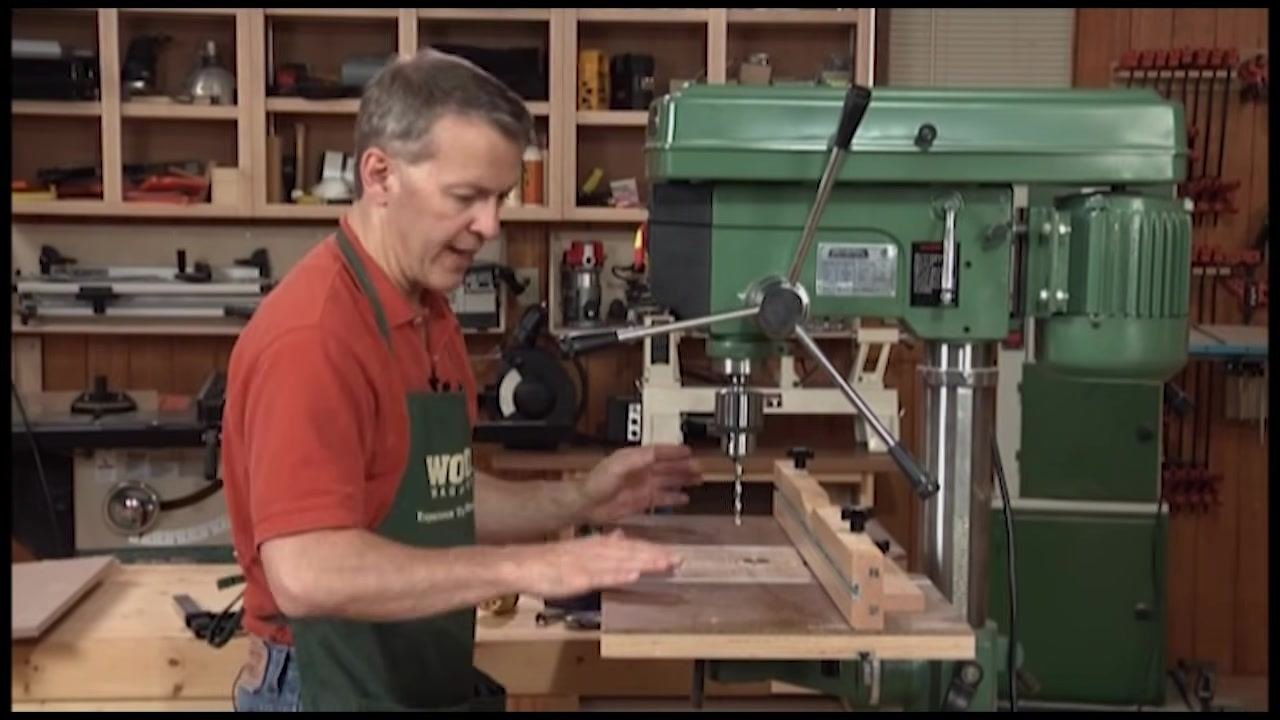
Set up and lock the fence
Position the fence on the drill press table so your workpiece will be properly aligned for drilling, then lock it in place using the locking knobs or clamps on the fence assembly. Confirm the fence is secure and will not move during drilling.
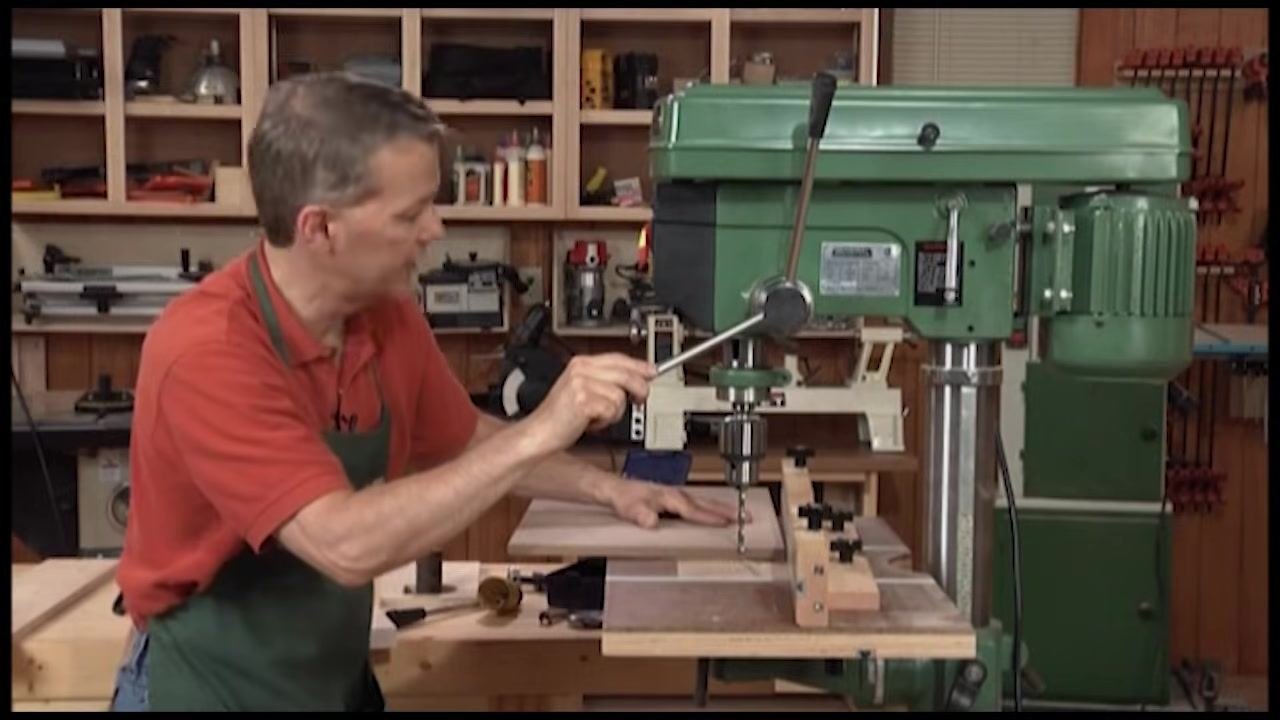
Begin drilling holes
Place your workpiece against the locked fence. Lower the drill press handle to bring the drill bit into contact with the workpiece, then start drilling holes at the desired locations along your workpiece.
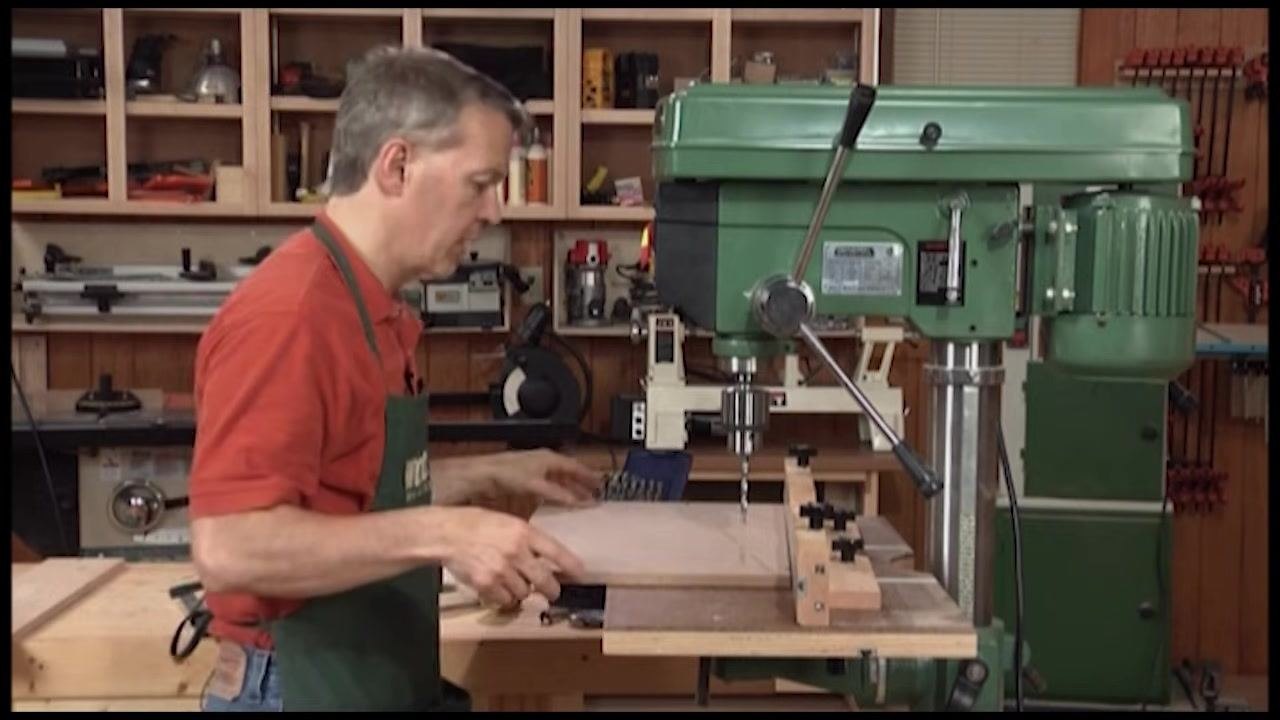
Maintain consistent hole depth
Use the drill press depth stop to control how deep the drill bit goes into the workpiece. Drill each hole to the same depth for uniformity, observing the depth stop mechanism and adjusting it if necessary.
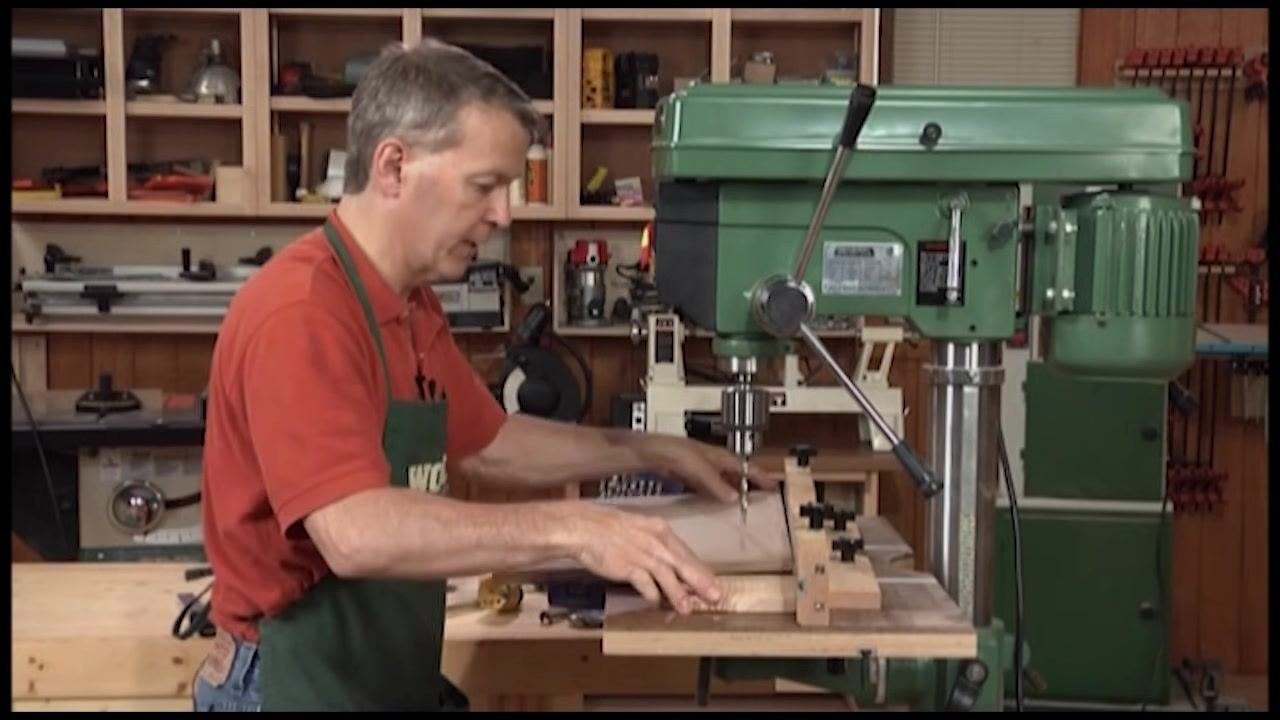
Observe the drilling process
Watch as the drill bit creates clean holes in the workpiece, noting the wood shavings produced as the bit penetrates the material.
Continue drilling along the marked line
Move the workpiece along the fence to the next marked position and drill additional holes, maintaining alignment and depth. Repeat this process for all required holes.
Prepare for through-holes
If you need to drill completely through the workpiece, raise the depth stop so it is out of play, and place a piece of scrap wood underneath your workpiece to protect the drill press table from damage.
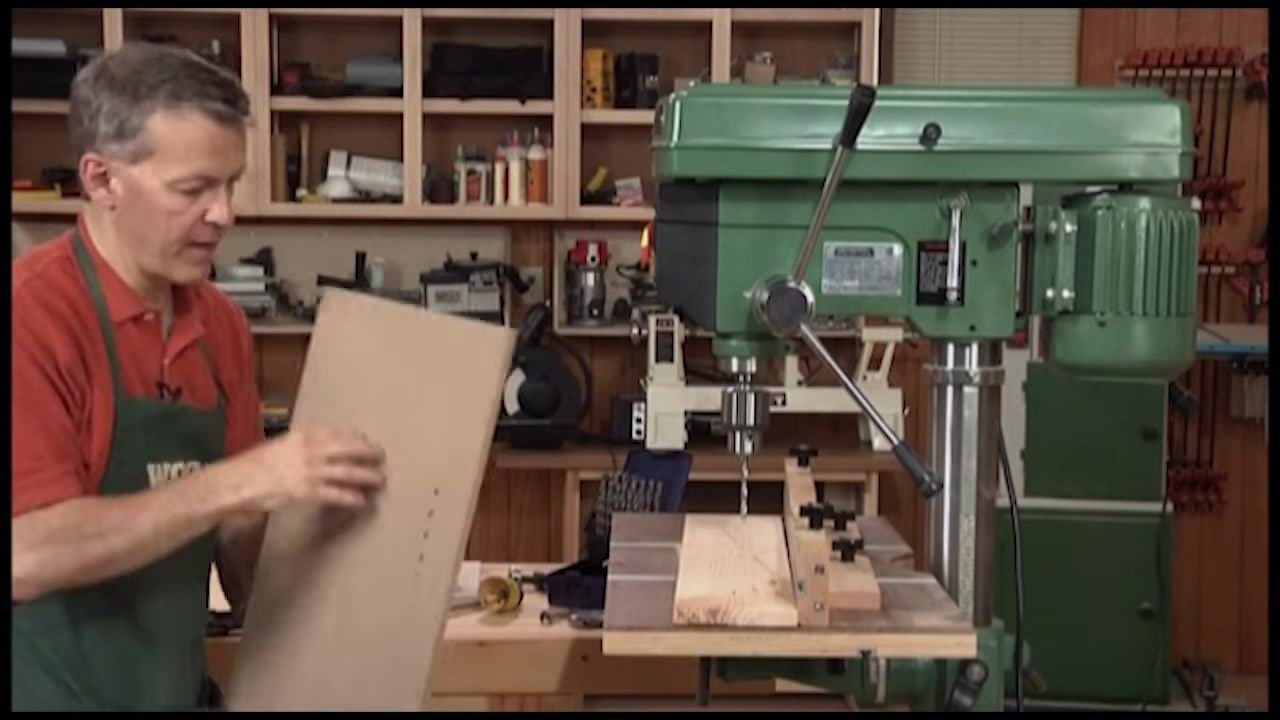
Drill through the workpiece
Drill through the workpiece, allowing the bit to pass into the scrap wood below. This prevents damage to the drill press table and ensures a clean exit hole.
Note: The scrap wood (backer board) also helps produce a clean back on your workpiece by minimizing tear-out as the bit exits. Ensure the backer board is properly positioned under the drilling area.
Inspect your work
Remove the workpiece and examine the line of holes for consistency and cleanliness before moving on to the next operation.
Install a drum sander attachment for sanding curves
Install a drum sander—a cylindrical sanding accessory designed for smoothing and shaping curved edges—into the drill press chuck.
Prepare the workpiece for sanding
Place the workpiece with a curved cutout near the drum sander on the drill press table. Ensure the drum sander is securely installed and the drill press is set to an appropriate speed for sanding.
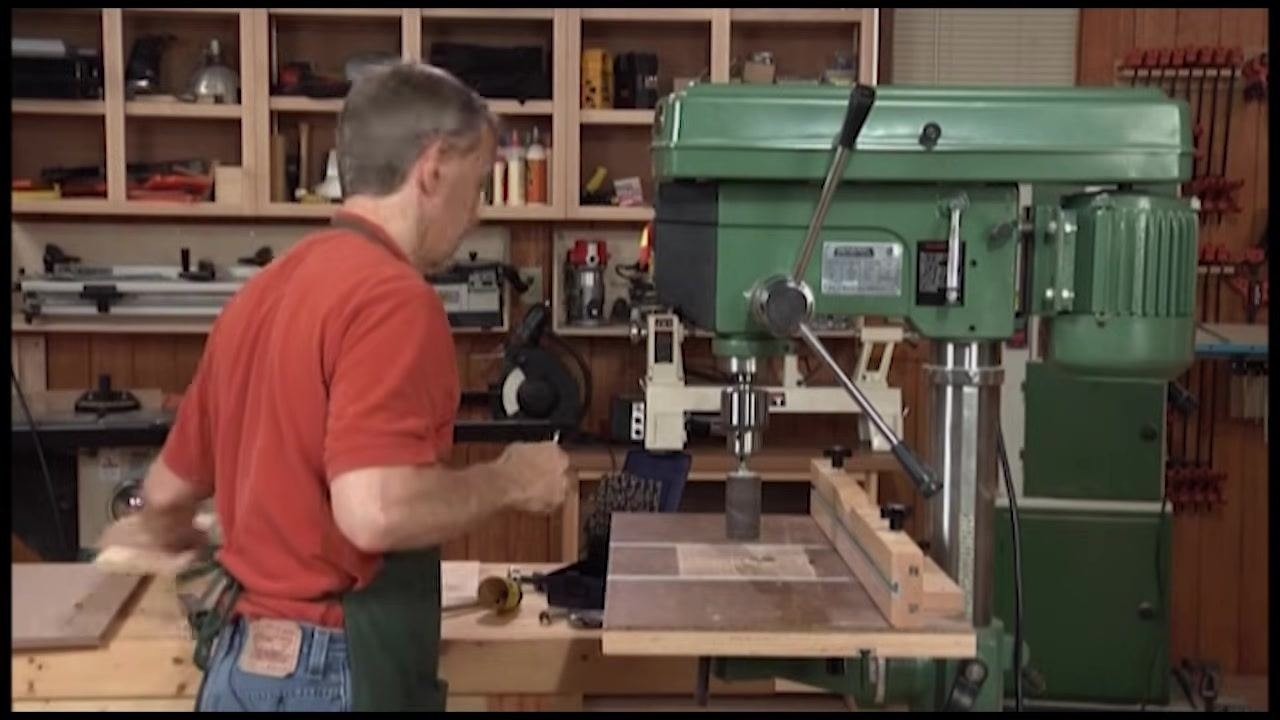
Align the workpiece with the sanding drum
Hold the workpiece so the curved edge to be sanded is adjacent to the drum sander, using the pencil line marking the desired curve to guide the sanding process.
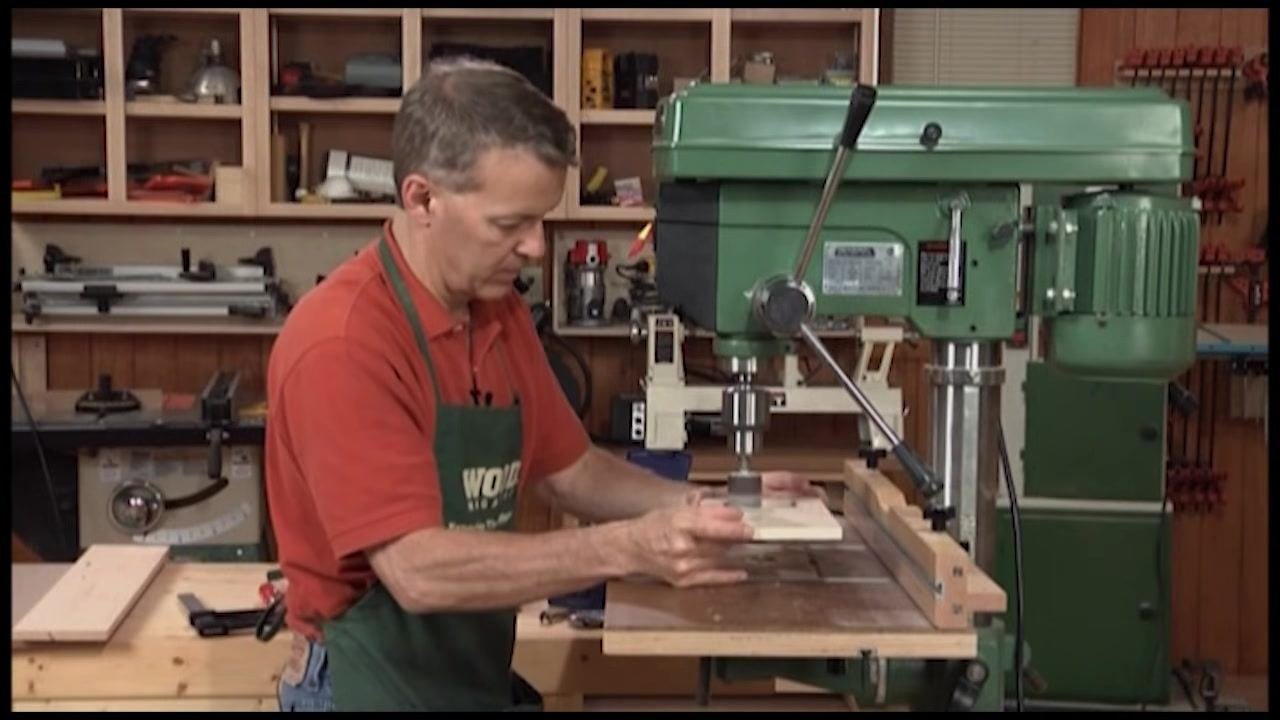
Check the layout before sanding
Examine the workpiece closely to confirm the pencil line is visible and the cutout is ready for sanding.
Begin sanding the curve
Turn on the drill press and gently bring the workpiece into contact with the spinning drum sander. Move the workpiece along the drum, following the pencil line to achieve a smooth, even curve. Use a freehand motion to utilize the full surface of the sanding drum for even wear.
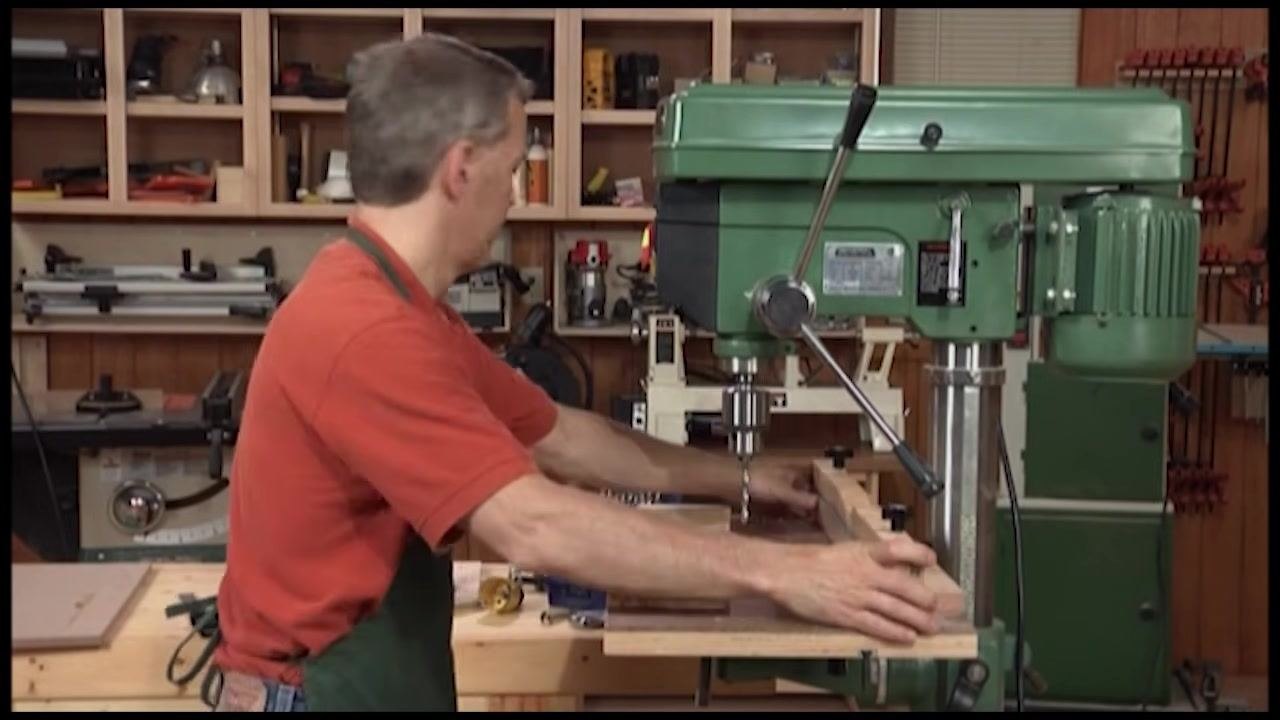
Refine the curve near the layout lines
Continue sanding until you are very close to the pencil layout lines, freehanding the workpiece to use the entire surface of the sanding drum for even sanding.
Prepare to control sanding depth
To avoid sanding past the layout line, plan to clamp a scrap block just in front of the sanding drum. This will act as a stop, preventing the workpiece from being pushed too far into the drum.
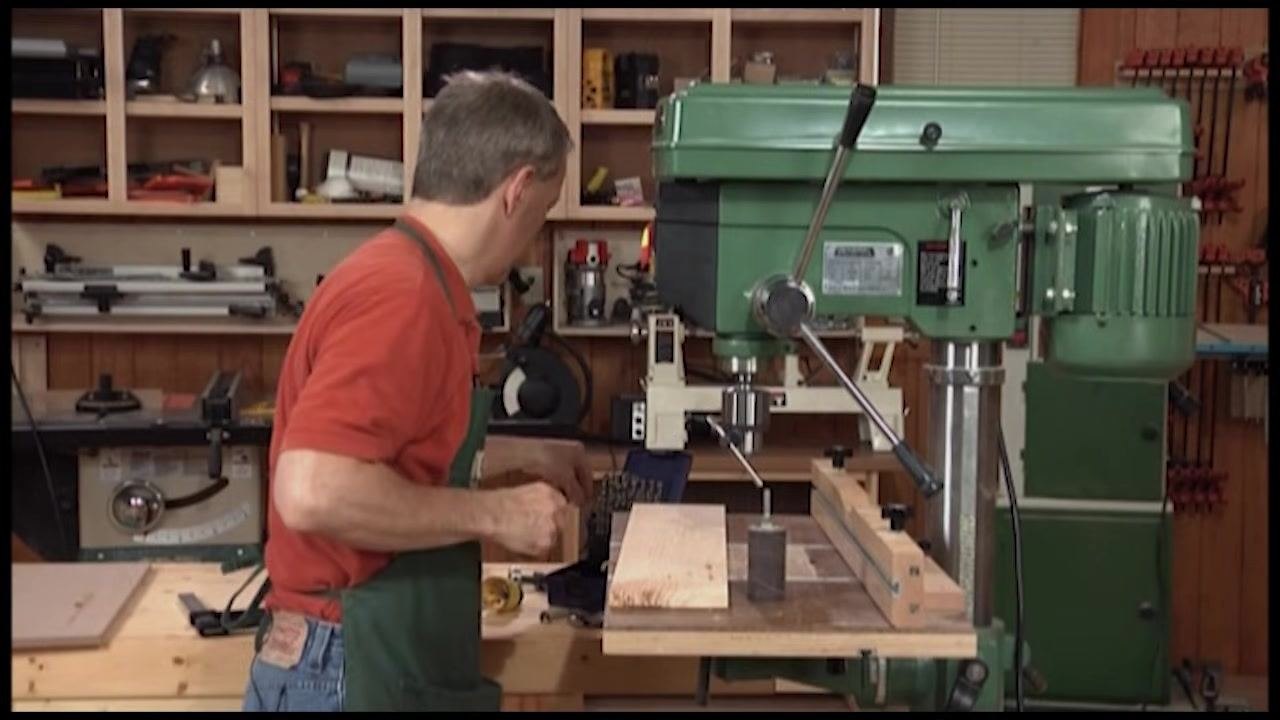
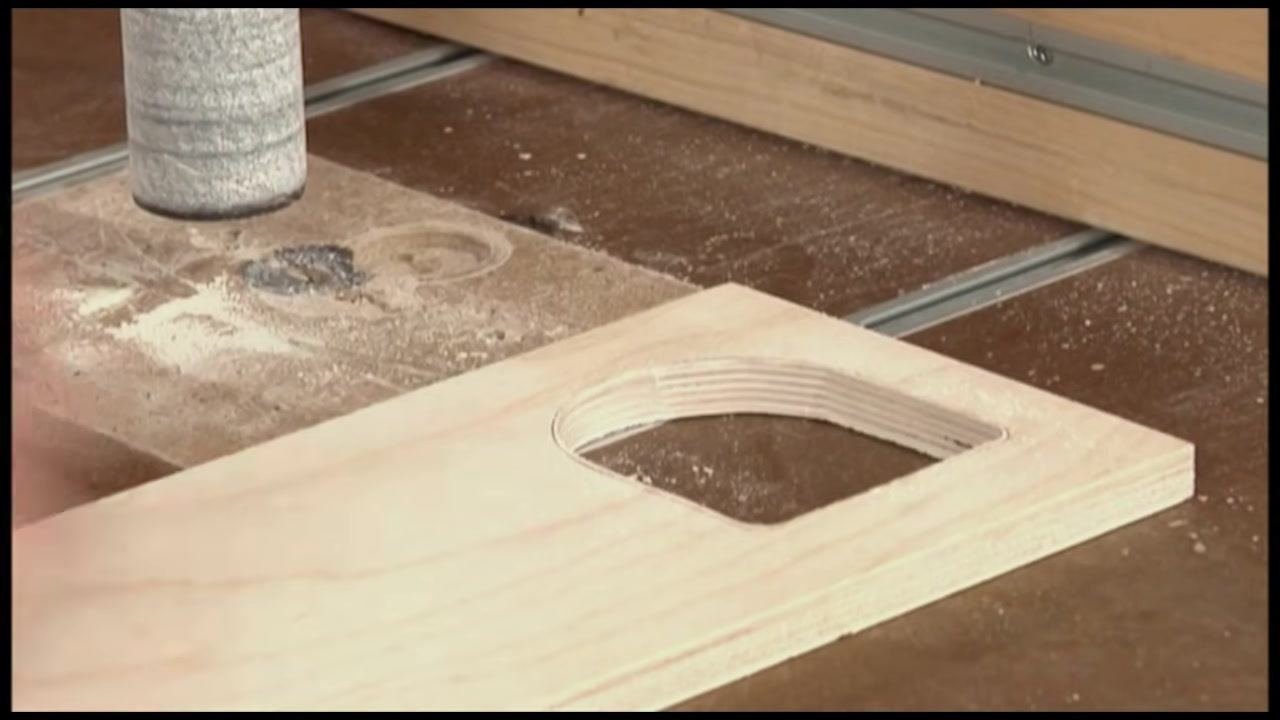
Clamp a scrap block as a stop
Place a scrap block on the drill press table directly in front of the sanding drum and secure it with a clamp. This acts as a physical stop, ensuring precise sanding up to the layout line without over-sanding.
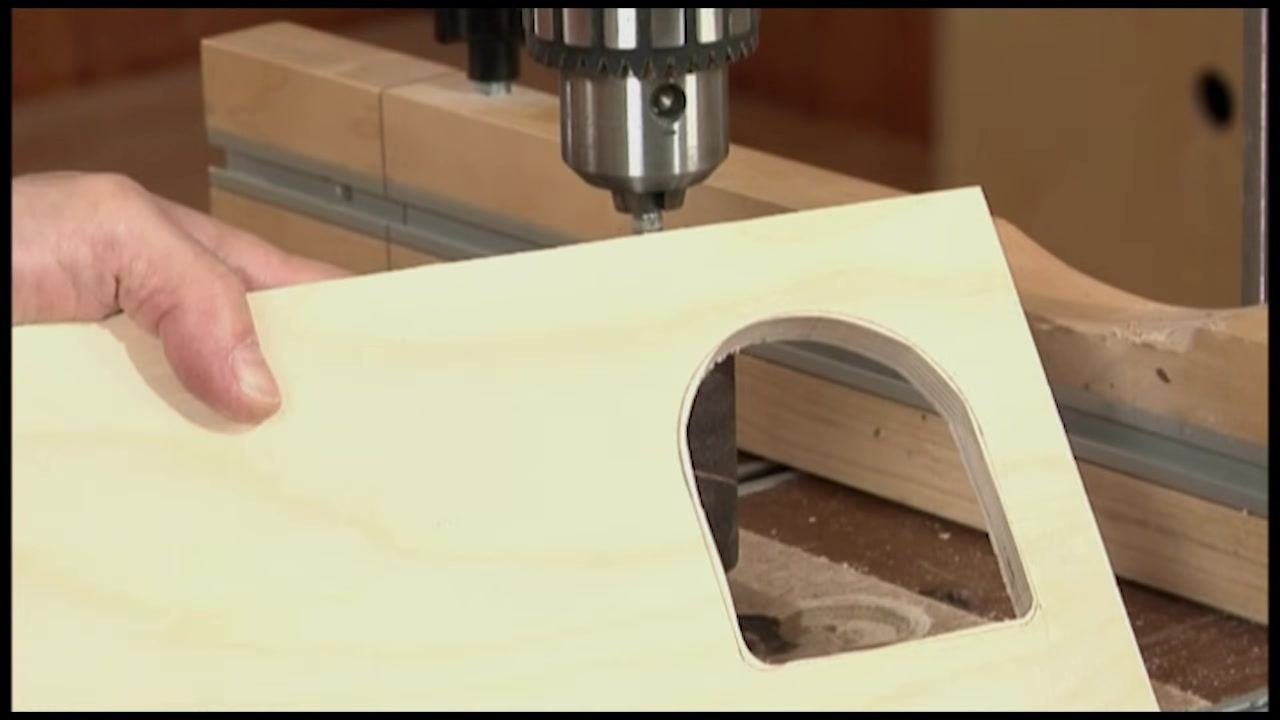
Position the workpiece and adjust the table height
Slide the wooden workpiece into position on the drill press table, aligning it with the sanding drum or drill bit as needed. Begin raising the table so the workpiece just makes contact with the drum or bit, ensuring it remains flat and stable on the table surface.
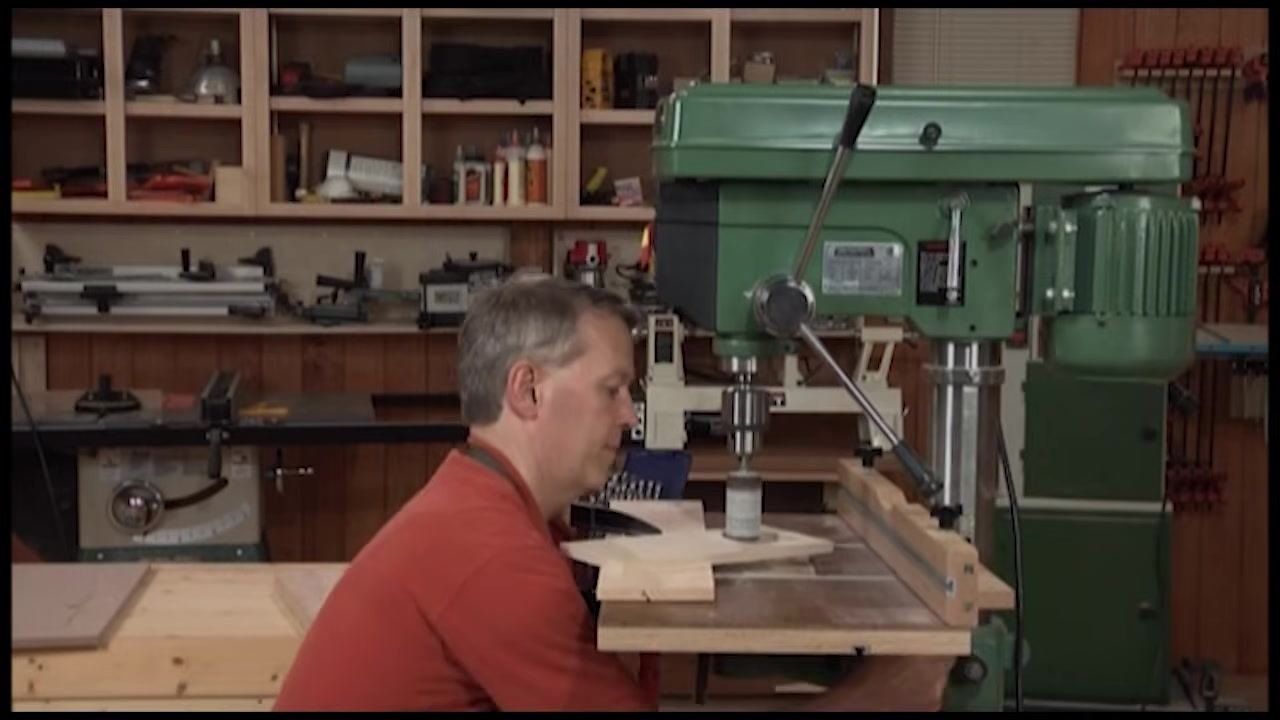
Fine-tune the table height for precise contact
Use the table adjustment handle to carefully raise the table until the workpiece just touches the sanding drum or bit, confirming that it is properly aligned and supported.
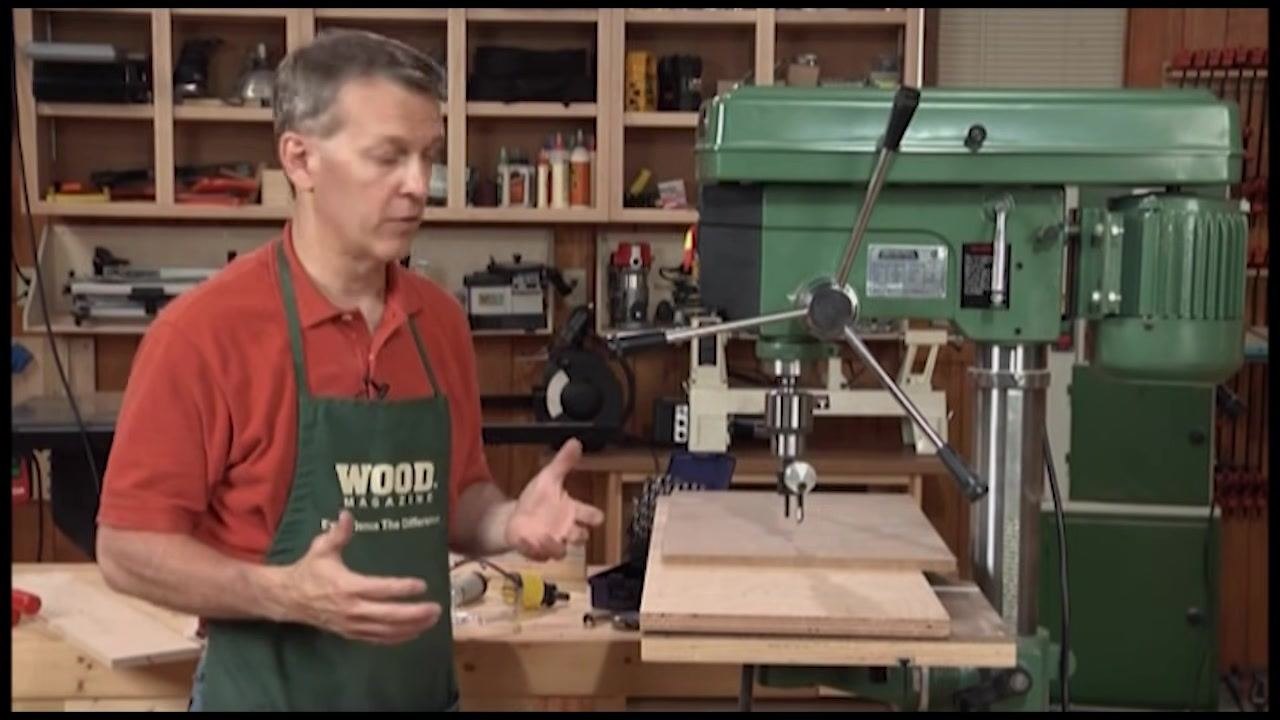
Begin sanding or drilling the workpiece
Hold the workpiece securely and bring it into contact with the spinning drum sander or drill bit. Move the workpiece as needed to sand or drill, maintaining control and following any layout lines.
Safety note: Keep your hands clear of the spinning drum or bit at all times.
Handle workpieces too large for the fence
If a workpiece extends too far back on the table, the fence cannot be used to brace it. In this case, position the workpiece on the table so it remains stable even without the fence.
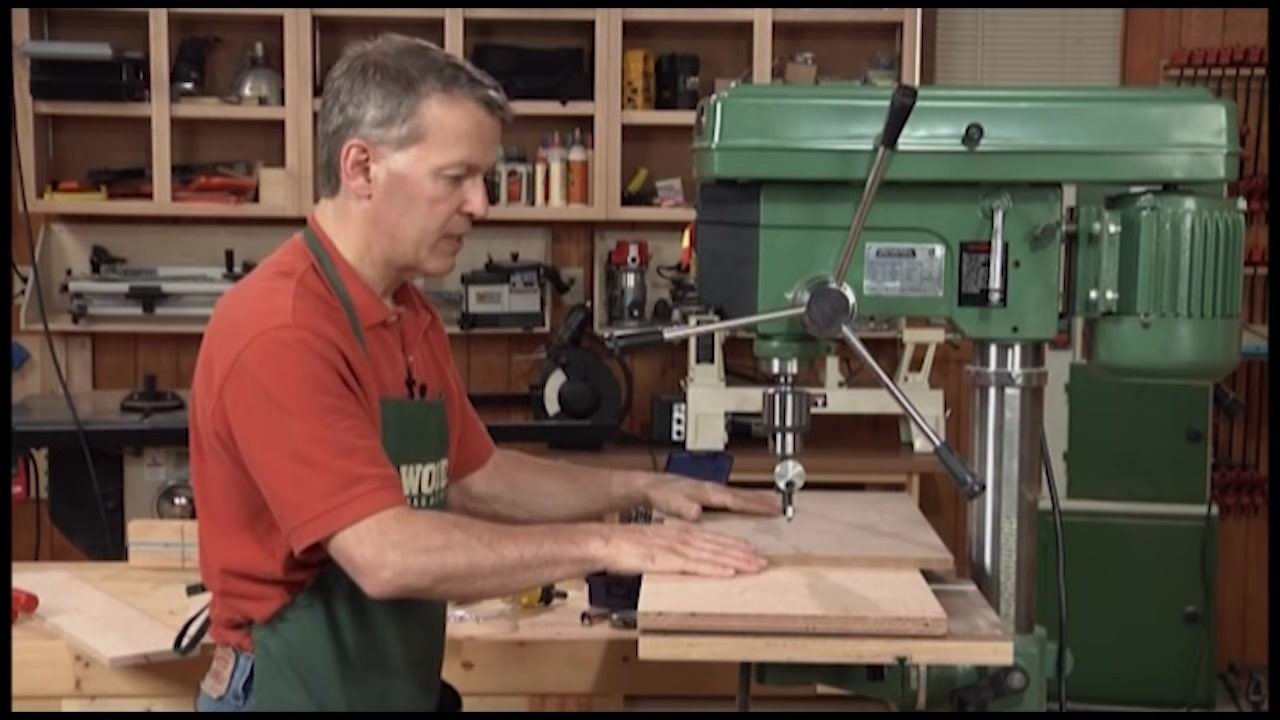
Keep hands away from the spinning bit
Ensure the workpiece is held securely in place, especially when the fence cannot be used, and avoid placing your hands near the spinning bit or drum to prevent injury.
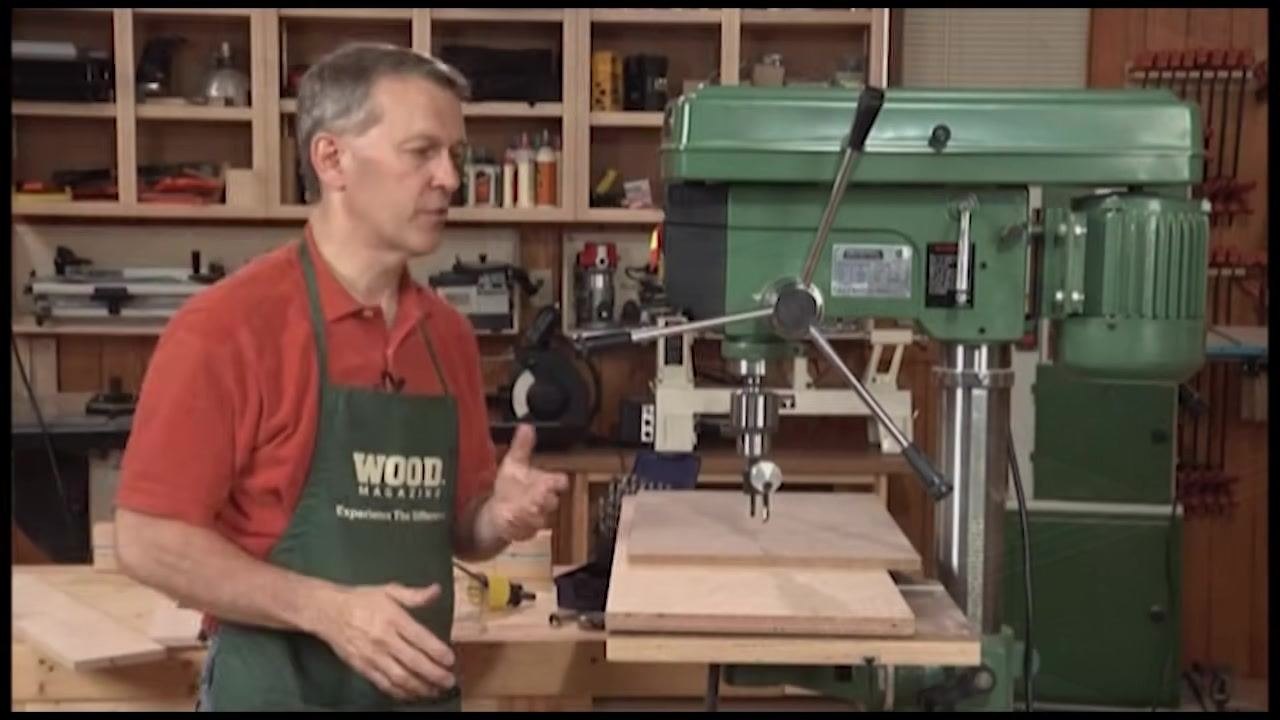
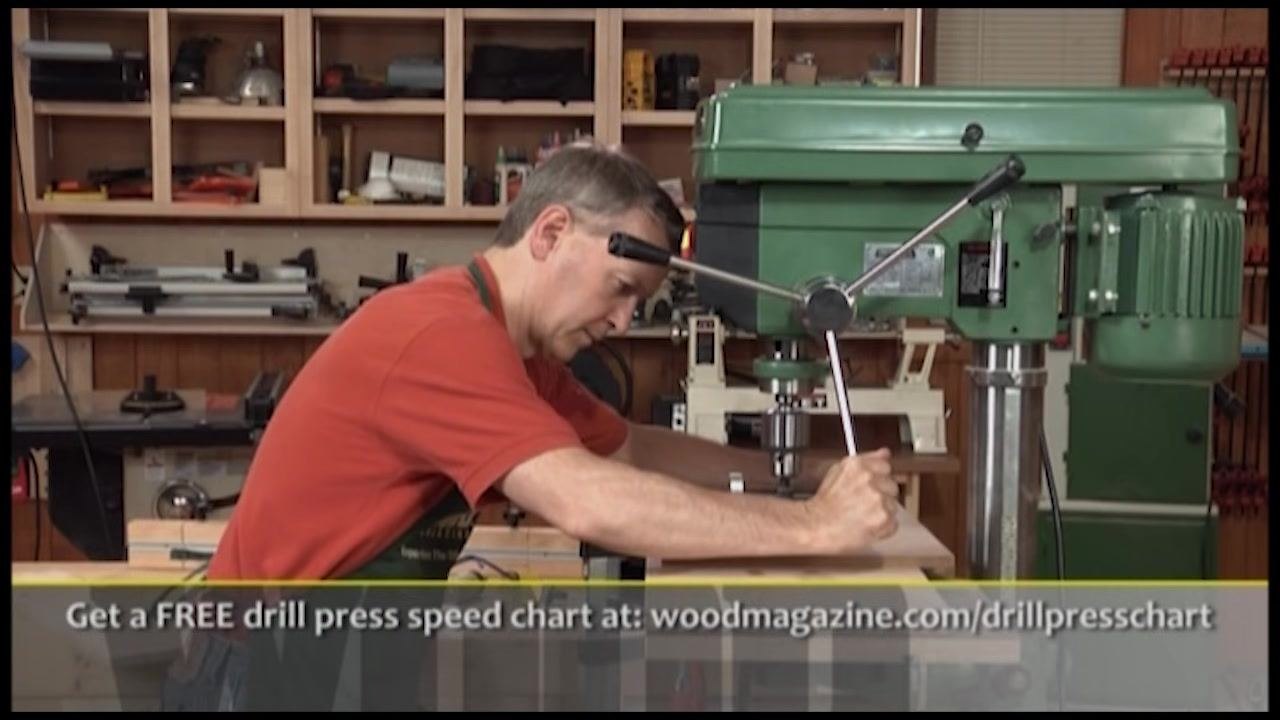
Use a backer board to protect the table
Place a backer board between the drill press table and the workpiece. This prevents damage to the table when the drill bit pokes through the workpiece.
Clamp the workpiece and lock the table
Secure the workpiece in place using clamps to prevent movement during drilling or sanding, and double-check that the drill press table is locked in position to avoid accidental shifting.
Lock the fence for controlled drilling
Adjust the fence on the drill press table so it is aligned with your drilling layout, then lock it securely in place to ensure consistent hole placement and prevent movement during drilling.
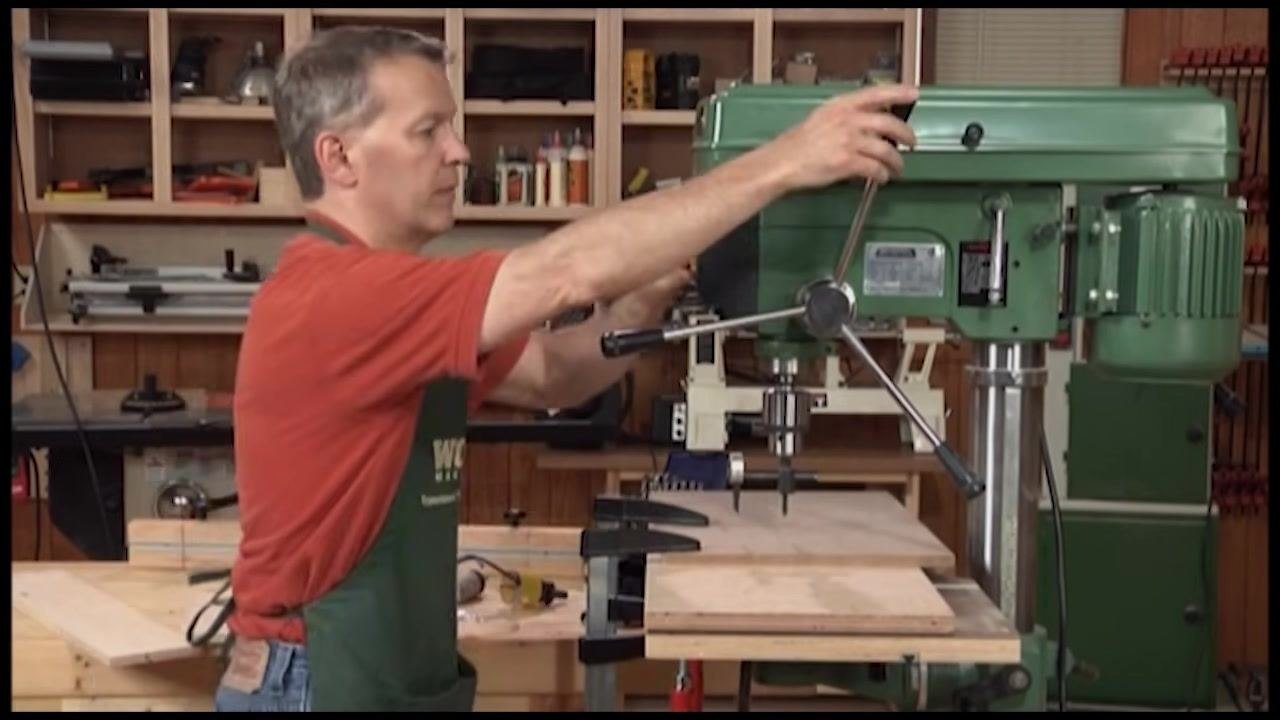
Set the depth stop for consistent hole depth
Decide how deep you want your holes to be (for example, 1/4 inch deep) and adjust the depth stop mechanism on the drill press to limit the downward travel of the drill bit. Lower the drill bit to visually confirm the maximum drilling depth, then ensure the stop is firmly tightened so all holes will be drilled to the same depth.
Drill holes with the depth stop engaged
Start drilling holes along your marked line, using the locked fence as a guide. Lower the drill bit until it contacts the depth stop, ensuring each hole is exactly the depth you set. Move the workpiece as needed to drill additional holes, maintaining alignment with the fence for accuracy.
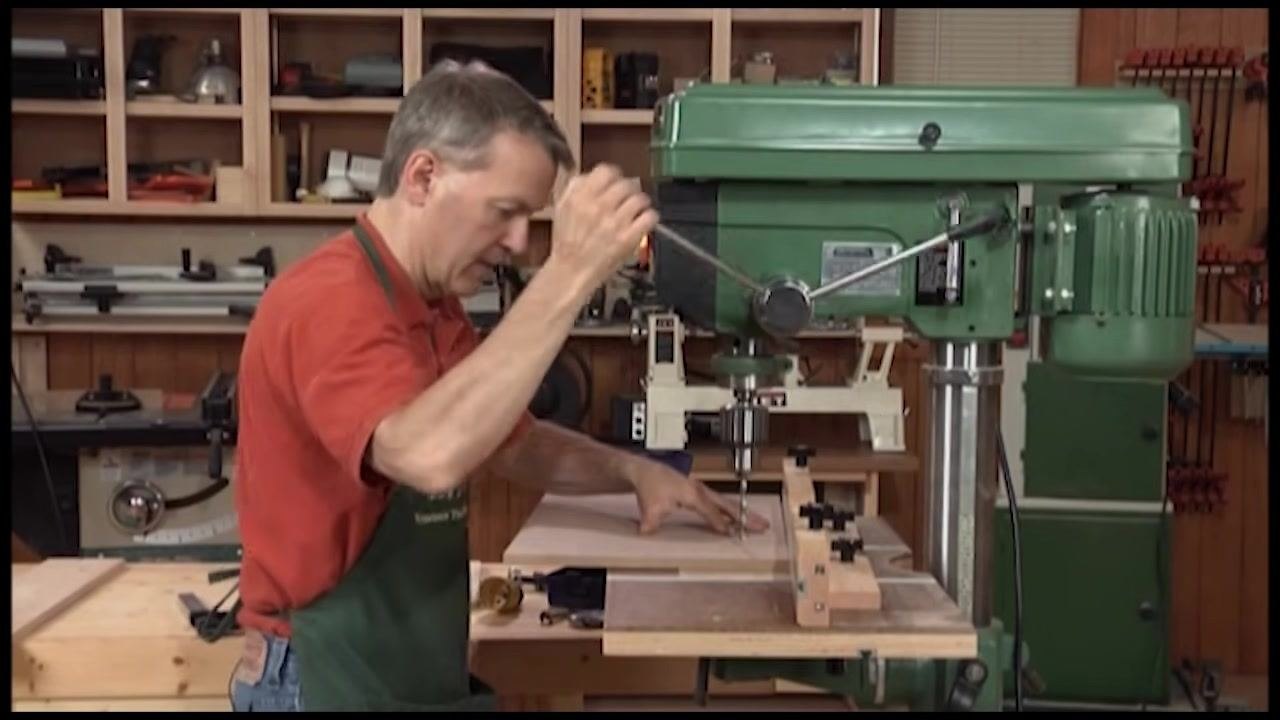
Adjust for through-holes if needed
If you need to drill holes all the way through the workpiece, raise or remove the depth stop so it does not limit the drill bit's travel. Place a piece of scrap wood (backer board) underneath your workpiece to protect the table from damage when the bit breaks through, ensuring the backer board is flat and fully supports the drilling area.
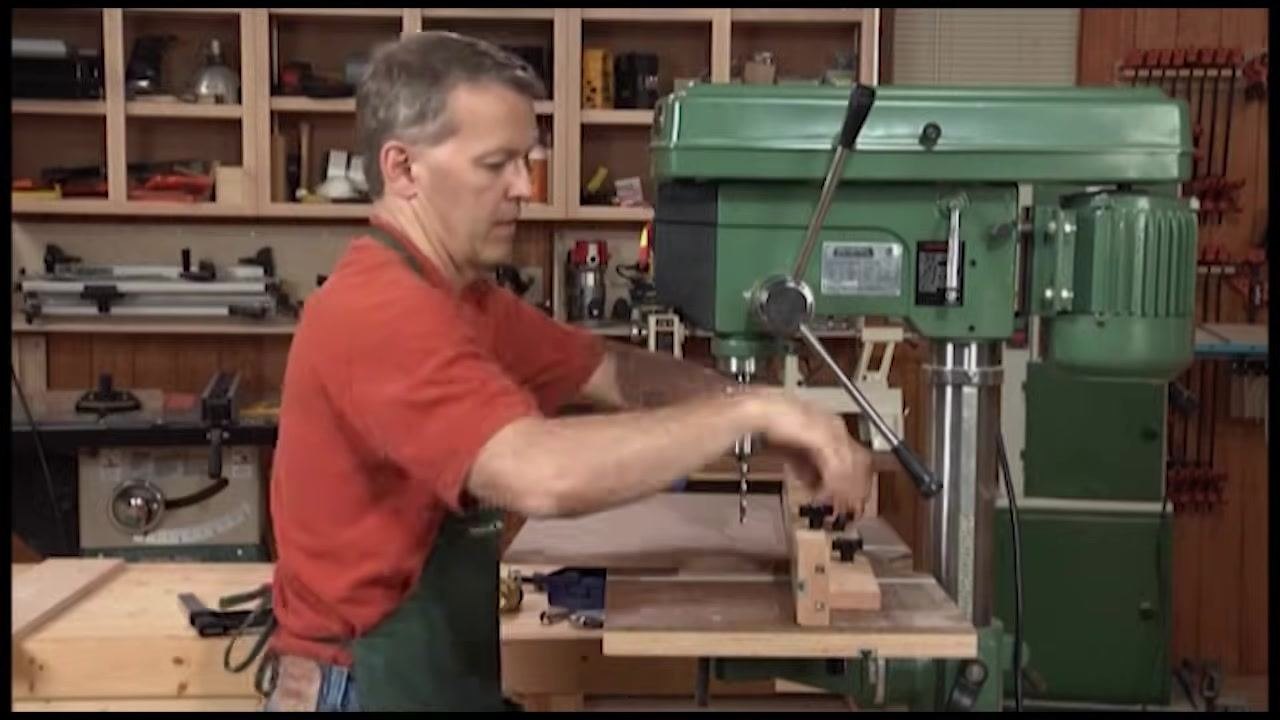
Drill through-holes safely
Drill through the workpiece, allowing the bit to pass into the scrap wood below. The backer board prevents splintering on the back side of your workpiece and protects the table surface. Always use a backer board when drilling through-holes to maintain workpiece quality and prolong the life of your equipment.
Cut a circular opening
Secure a piece of wood on the drill press table and attach a circle cutter to the drill press. Lower the spinning cutter into the wood to start cutting a circular groove, observing the cutter as it rotates and removes material to form a circle.
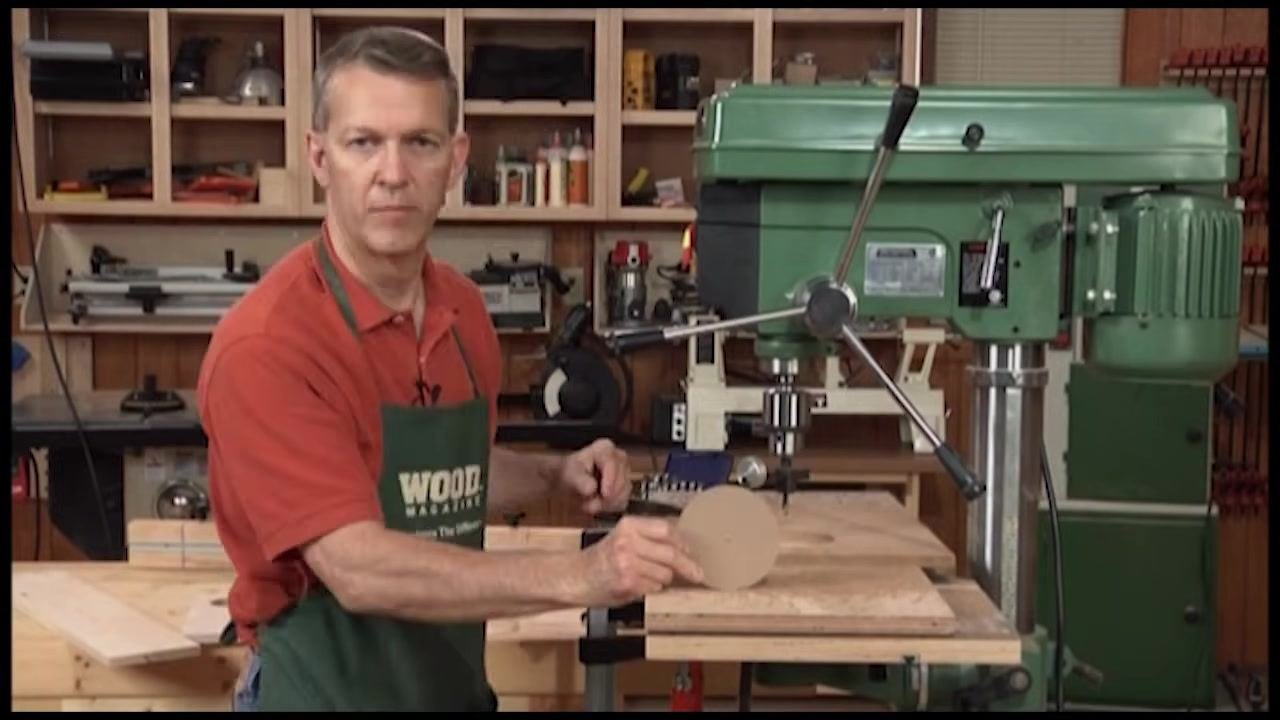
Remove the cut circle
Once the cut is complete, stop the drill press. Carefully lift the circular wooden cutout from the opening by hand and inspect the result to confirm both the opening and the cutout are perfectly circular. This method is ideal for making wheels or circular cutouts for toy projects.
Verify the finished cutout
Hold up the circular cutout to confirm the result is a perfectly circular piece suitable for your woodworking project.
Understand hole saw limitations
Hole saws are not adjustable; they only cut at fixed diameters. Keep this in mind when selecting the appropriate attachment for your project.
Safety note: The aggressive teeth on a hole saw can grab the workpiece, creating a risk of the workpiece spinning if it is not clamped down securely.
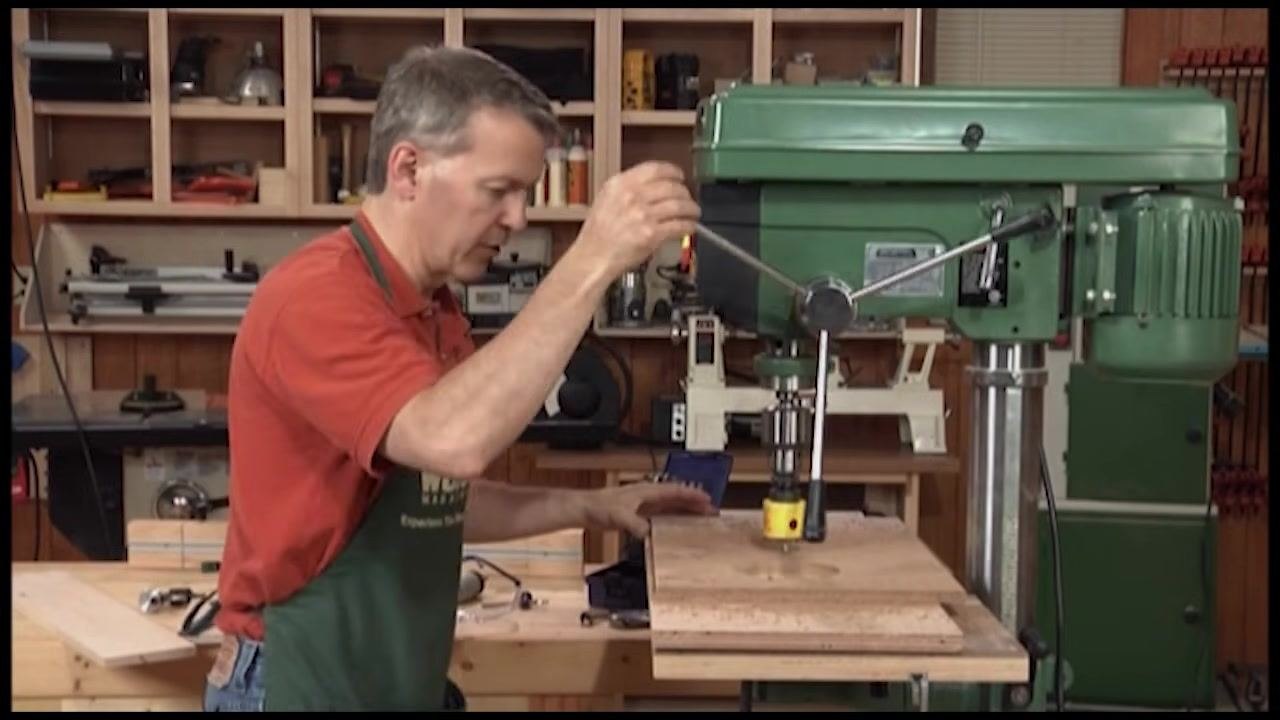
Clamp the workpiece securely for hole saw use
Use a clamp to secure the wooden workpiece to the drill press table, ensuring it cannot move or spin during drilling. Lower the drill press handle to position the hole saw above the clamped workpiece.
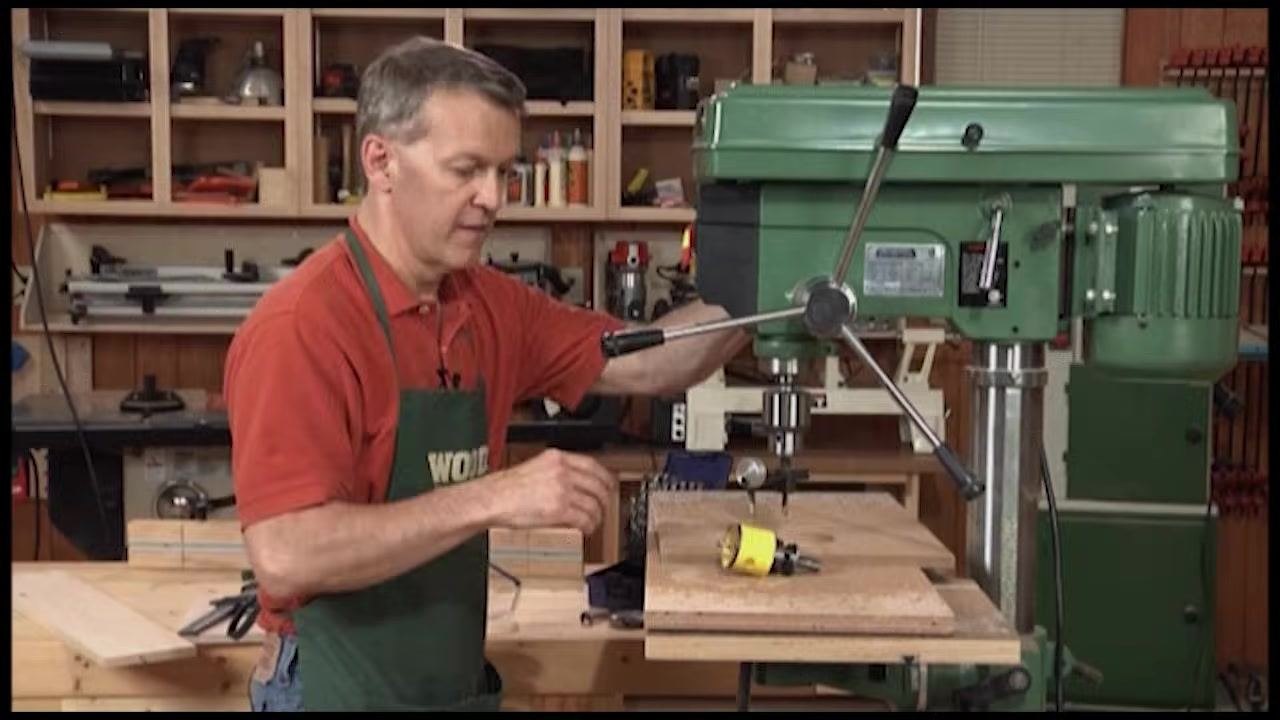
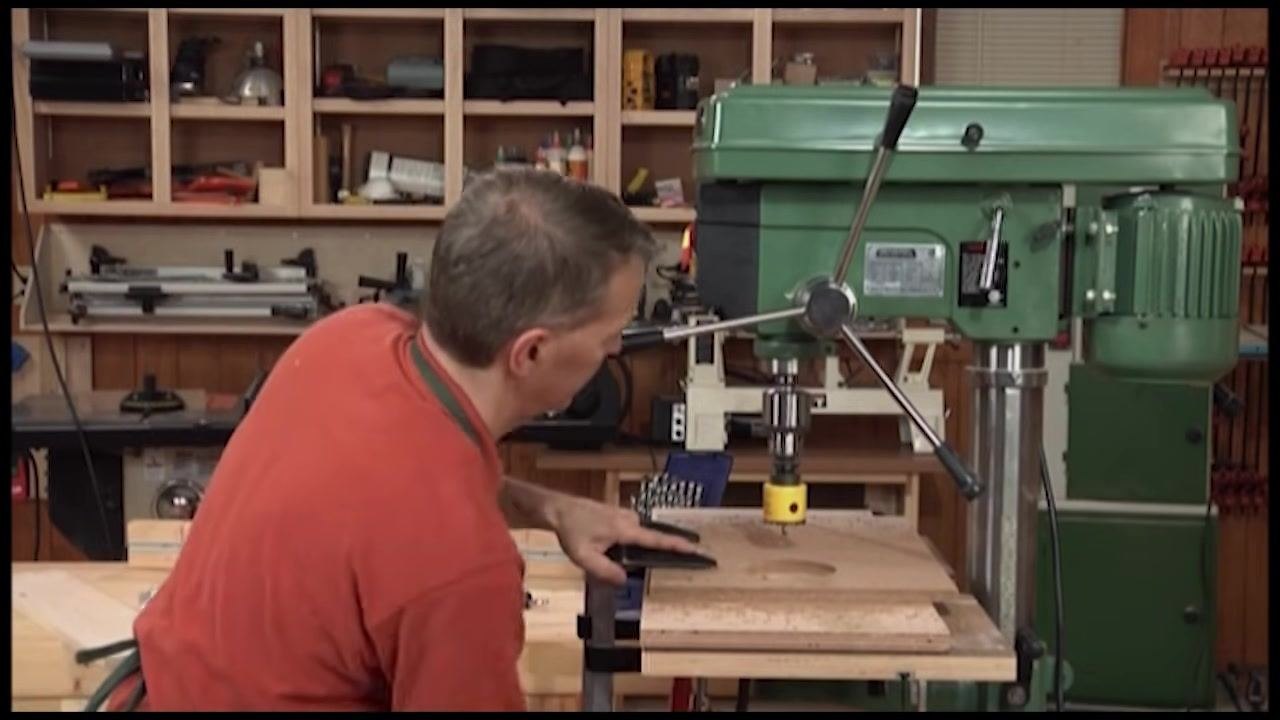
Double-check the clamping and setup
Inspect the setup from different angles to confirm the workpiece is firmly clamped, making any necessary adjustments to the clamp or workpiece position.
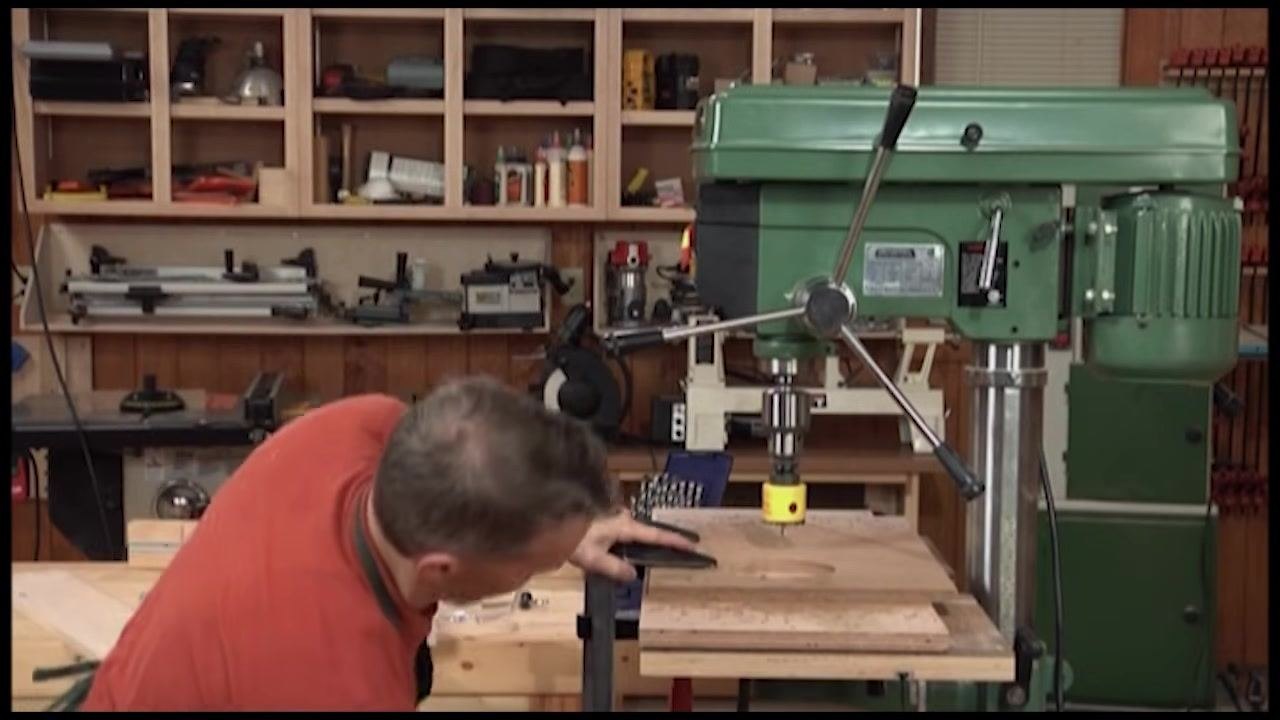
Operate the hole saw at slow speed
When using a hole saw, always run the drill press at a slow speed to prevent grabbing and ensure safety. Begin drilling only after confirming all safety precautions are in place.
Summary
By following this procedure, you have learned how to use a drill press for a full range of woodworking tasks:
- Adjusting spindle speed using the belt and pulley arrangement and the speed chart.
- Securing drill bits in the chuck and controlling drilling depth with the depth stop.
- Adjusting the table height, tilt, pivot, and rotation for different operations.
- Installing and using a woodworking table with a fence, stop blocks, and extendable wings for consistent, repeatable, and safe drilling.
- Using a backer board to protect the table and produce clean through-holes.
- Installing and using a drum sander to shape curved edges, including clamping a stop block to control sanding depth.
- Cutting perfectly circular openings with a circle cutter.
- Understanding the fixed-diameter limitation of hole saws and clamping workpieces securely to prevent them from spinning during use.
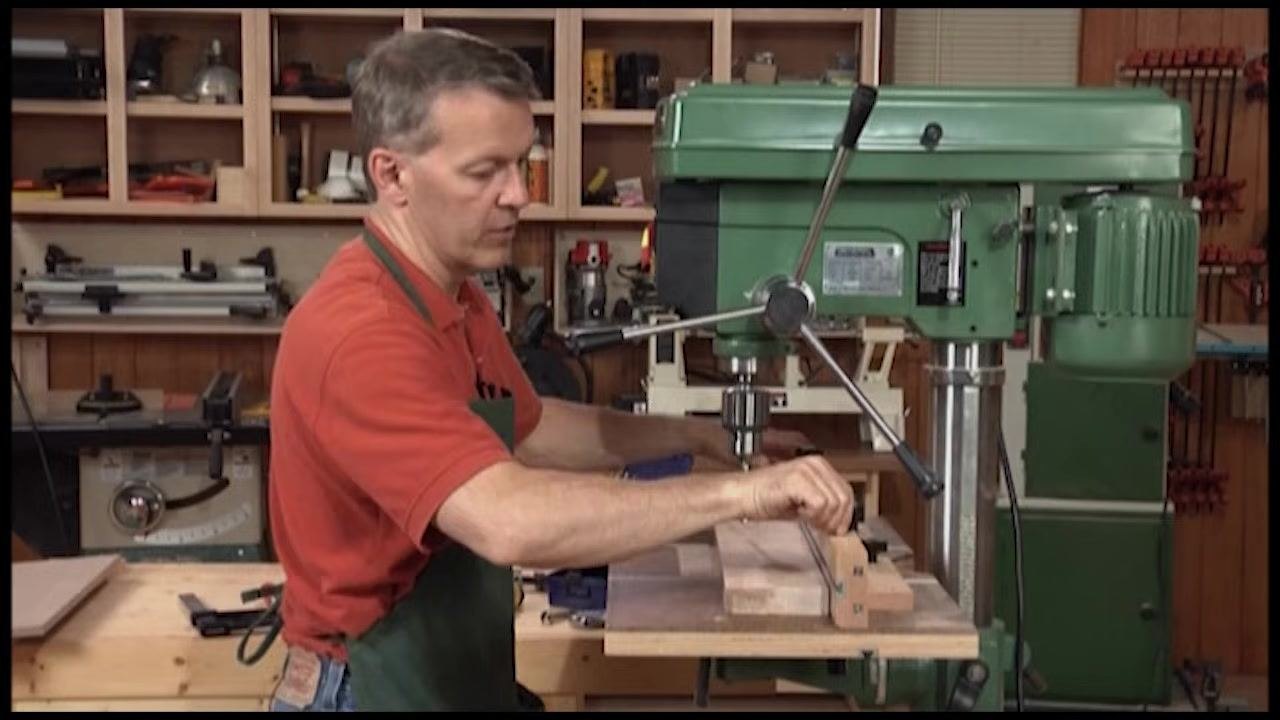
A drill press offers greater precision, safety, and control than a hand-held drill, particularly for circular cuts, repetitive tasks, and operations involving bits and accessories—such as drum sanders and circle cutters—that would be unsafe or impractical with a hand-held tool. Its robust construction and adjustable features make it well suited for accurate, repeatable woodworking operations.

Generation details: cost, quality tiers
Docsie billed 6,500 credits ($4.55) to analyze this 13-minute video at standard quality. The rewrite, template fill and Word/PDF exports were included. The same video at each quality tier:
| Quality | Frames sampled | Credits | Approx. cost |
|---|---|---|---|
| Draft | every 16-30 s | 3,250 | $2.27 |
| Standard (this guide) | every 8-15 s | 6,500 | $4.55 |
| Detailed | every 4-7 s | 13,000 | $9.10 |
| Ultra | every 1-3 s | 26,000 | $18.20 |
Credits priced at $0.70 per 1,000; plans include a monthly allowance. Enterprise customers on on-premise or bring-your-own-model deployments run this on their own inference and pay no per-video credits.
Generated by Docsie Video-to-Docs on 2026-09-09 from a 12-minute video. Screenshots are frames from the source video and belong to their creator, WOOD magazine, whose original is embedded above. If you own this video and want the guide removed or credited differently, contact us and we will act within one business day.