
How to Use a Bench Grinder
This procedure explains how to use a bench grinder safely, covering the machine's components, the safety adjustments you must check before starting, and the correct techniques for grinding and shutting down the tool. Bench grinders (also called pedestal grinders) are used to grind, sharpen, or polish metal surfaces with rapidly spinning abrasive wheels, and understanding how to use a bench grinder correctly is essential to avoid serious injury from flying debris or entanglement.
Video: How to use a Bench Grinder by ASC Process Systems (2019). All credit for the demonstration goes to the creator; watch the original on YouTube. The written guide below was generated from this video by Docsie. Creator? Request a change or removal.
This procedure explains how to use a bench grinder safely, covering the machine's components, the safety adjustments you must check before starting, and the correct techniques for grinding and shutting down the tool. Bench grinders (also called pedestal grinders) are used to grind, sharpen, or polish metal surfaces with rapidly spinning abrasive wheels, and understanding how to use a bench grinder correctly is essential to avoid serious injury from flying debris or entanglement.

Purpose
This SOP provides the steps required to inspect, adjust, and operate a bench grinder safely, and to stop and dress a grinding wheel when it becomes dull or grooved.
Scope
This procedure applies to anyone operating a bench grinder to sharpen or polish metal tools, including chisels, scissors, knives, drill bits, punches, and screwdrivers. Grinding wheels on these machines typically spin at 3,000 to 3,600 rpm.
Required equipment and PPE
Before operating a bench grinder, gather and confirm the following:
- Safety glasses and a face shield
- Hard hat
- Hearing protection
- Gap gauge (often attached to the grinder pedestal)
- Allen wrench (often attached to the grinder pedestal)
- Wheel dresser or a suitable piece of metal
- Locking pliers or clamps for holding small material
- A cup of water for cooling material during grinding
- Fitted clothing with no loose or dangling parts, hair tied back, and no jewelry
Procedure
Understand the bench grinder's components
Most bench grinders have two wheels mounted on either side of a central motor housing. One wheel is typically hard for grinding, and the other is soft for polishing. Most of each wheel is covered by a guard, with about one quarter of the wheel exposed for use. An eye shield sits at the top of the exposed section, and a work rest sits at the bottom.
Identify tasks suited to a bench grinder
A bench grinder can sharpen any metal tool that needs an edge restored, including chisels, scissors, knives, drill bits, punches, and screwdrivers.
Set the correct work rest gap
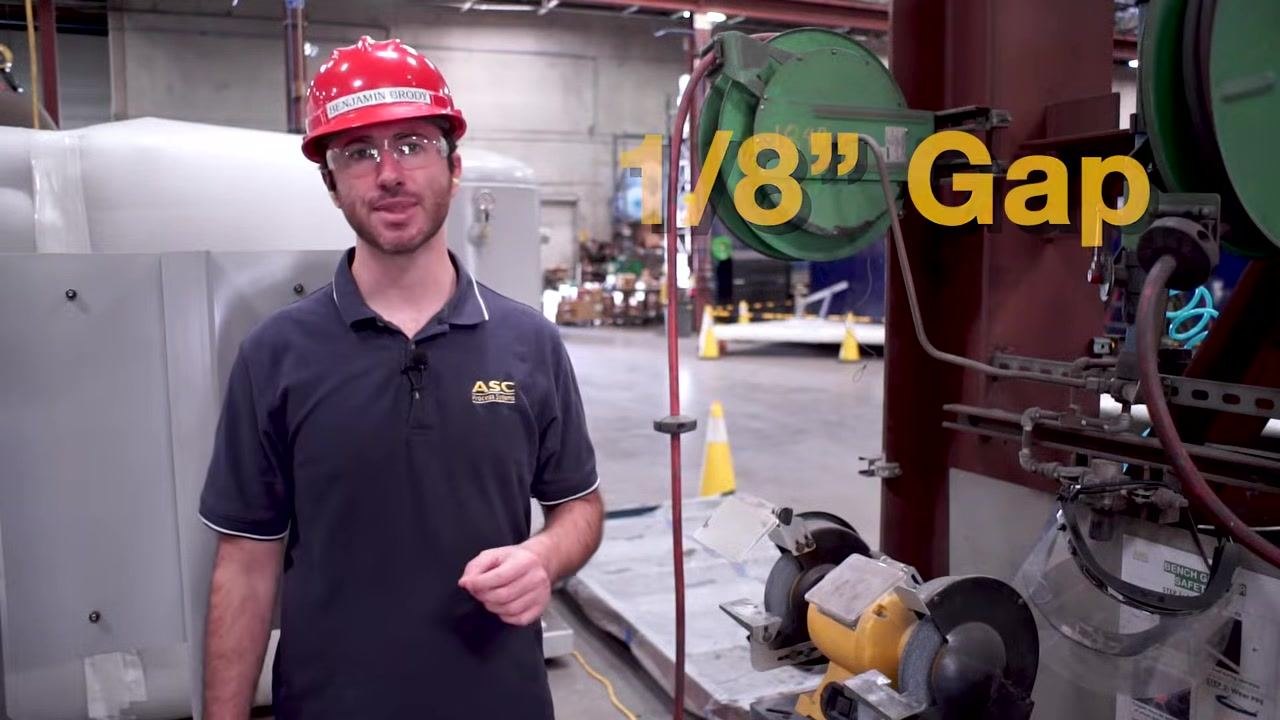
The work rest is the most important safety feature on the machine. It anchors your material and keeps it level and steady while grinding. Adjust the work rest so there is a gap of exactly 1/8 inch between the rest and the wheel. Never operate the grinder if this gap is greater than 1/8 inch, as a larger gap increases the risk of material or fingers getting caught between the rest and the wheel.

Inspect the wheel guard
Confirm that most of the grinding wheel is covered by its guard, with only about one quarter of the wheel exposed for grinding. This exposed section should be protected by the eye shield above and the work rest below.
Set the tongue guard gap
The tongue guard sits at the top of the wheel and blocks debris from being carried over and ejected toward the user. Adjust the tongue guard so it is spaced exactly 1/4 inch from the wheel. Never operate the grinder if the gap between the tongue guard and the wheel exceeds 1/4 inch, or if the work rest gap exceeds 1/8 inch, since injuries from material caught in the wheel can be severe.
Measure gaps with a gap gauge
Use a gap gauge made for bench grinders to check both the work rest and the tongue guard before starting the machine. If a gap is too large, loosen the mounting bolts with an Allen wrench, adjust the guard or rest to the correct distance, and retighten the bolts. Gap gauges and Allen wrenches are often kept attached to the grinder's pedestal for convenient access.
Before making any adjustment, confirm the machine is switched off and the wheels have come to a complete stop. If the work rest or tongue guard cannot be adjusted to the required gap, the grinding wheel has worn down too far and must be replaced.
Position the spark shield
Locate the spark shield above the tongue guard. It blocks sparks and debris from flying toward your face during grinding. Angle the spark shield so it fully covers the wheel.
Confirm safety tools are accessible
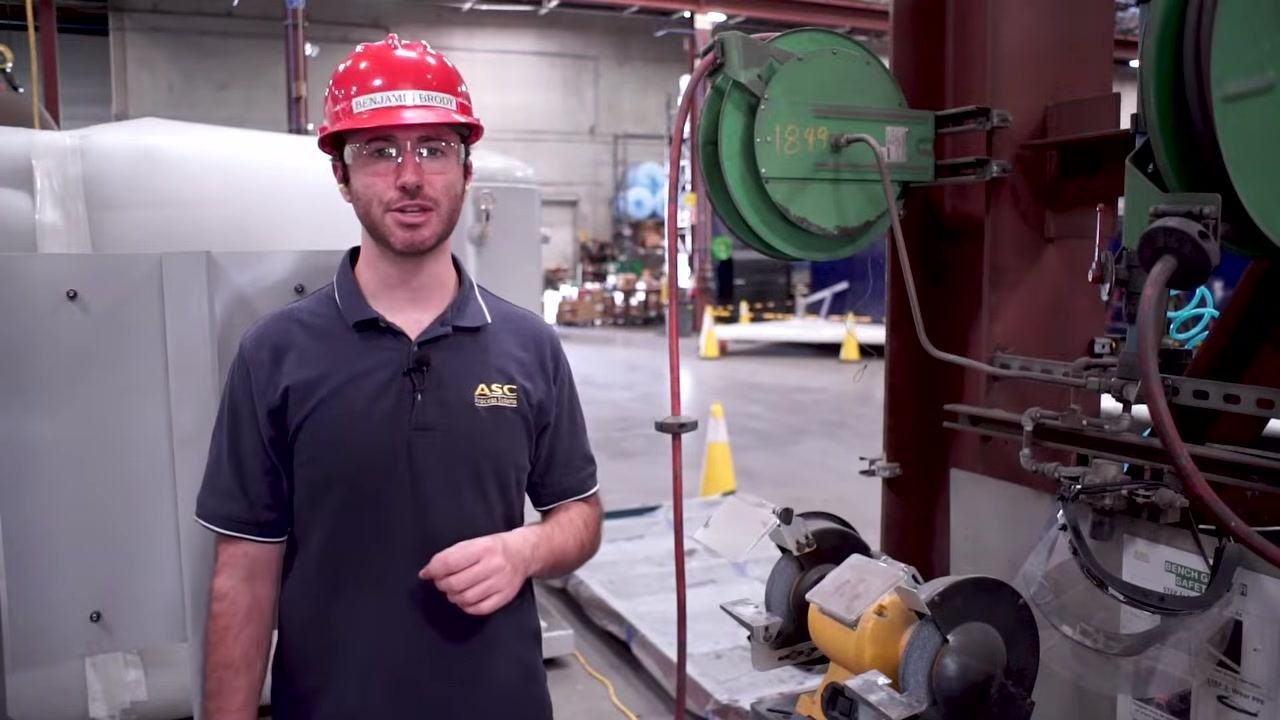
Verify that both the gap gauge and the Allen wrench are attached to the grinder's pedestal and easy to reach before you begin work.
Inspect and clean the spark shield before each task
Check the spark shield before starting your task, as it may loosen or shift out of position over time. Make sure it is tight and properly angled to cover the wheel. If it becomes difficult to see through, wipe it with a wet cloth or rag. If cleaning does not restore visibility, contact maintenance for a replacement.

Prepare your clothing and remove hazards
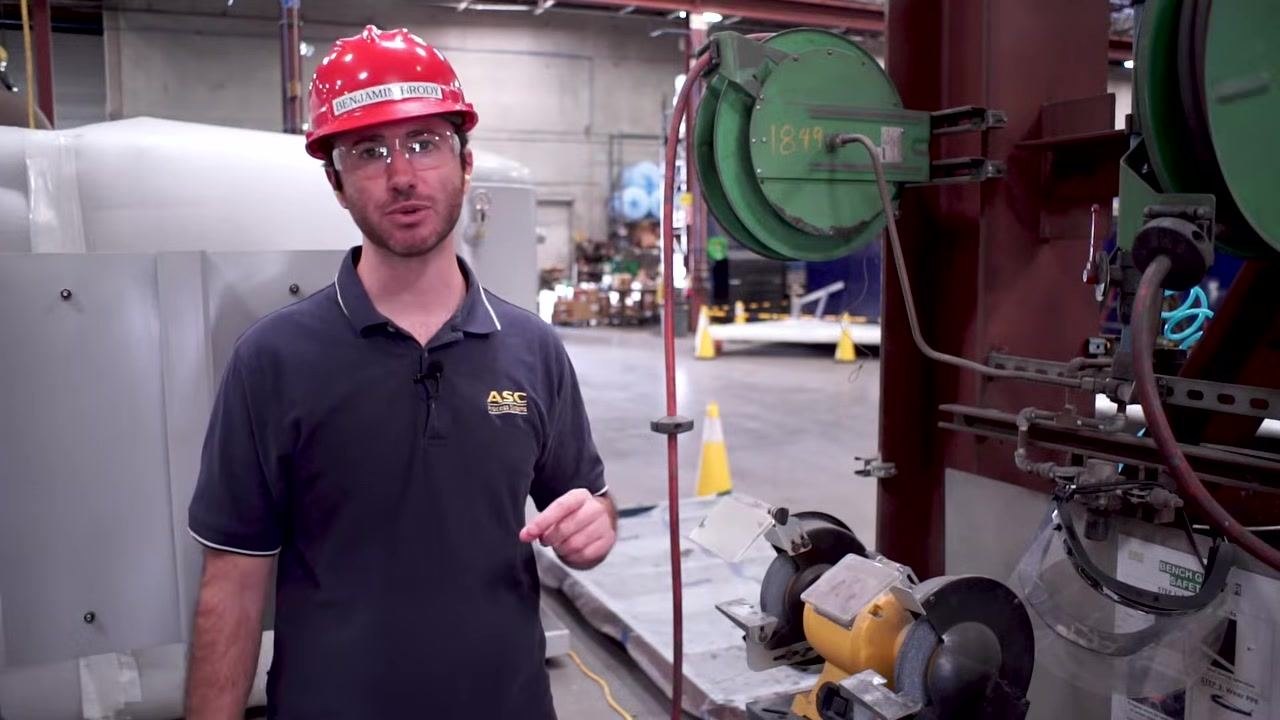
Do not wear loose or dangling clothing while operating a bench grinder. Remove loose welding gloves, tie back long hair, and take off any jewelry before you begin.
Wear required PPE
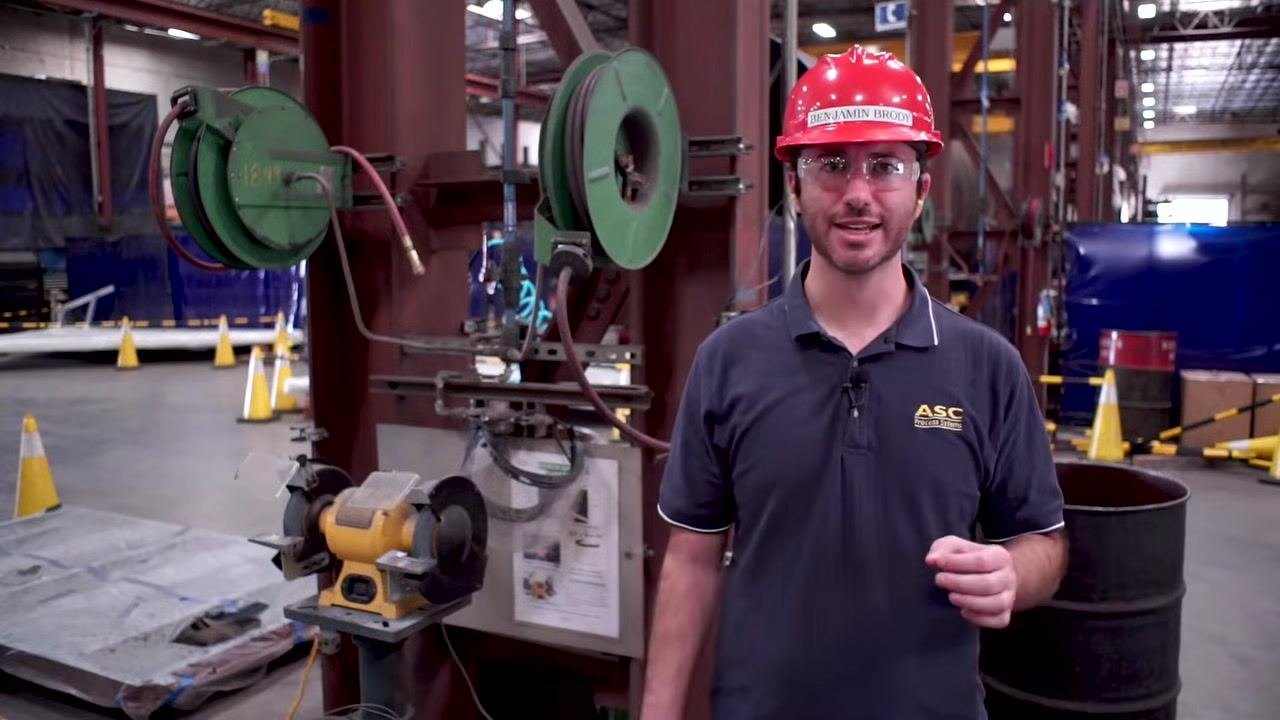
Always wear safety glasses and a face shield to protect your eyes and face from sparks and flying debris. In a shop environment, also wear a hard hat and hearing protection. Confirm that all PPE is properly fitted before you start work.
Handle material safely while grinding
When grinding small material, do not hold it directly with your hand. Use locking pliers or clamps to hold small pieces securely and keep your hands away from the wheel. Never grind on the side of the wheel, as this can damage the wheel and cause it to break apart, sending debris flying — only grind on the square or front face of the wheel.
Keep a cup of water near the grinder to cool the material as you work. If the steel begins to turn bluish-black, it is overheating. Dip the material in water every 10 to 15 seconds during grinding to prevent overheating and preserve the tool's edge.
Power down and monitor the wheel after use
After finishing your grinding task, turn off the wheel. The wheel will continue to spin for a period after being switched off, and a spinning wheel can be a hazard to others walking by. Remain vigilant and monitor the area until the wheel comes to a complete stop.
Stop the wheel using a wheel dresser
To bring the wheel to a stop for dressing, wear appropriate PPE, including safety glasses and a hard hat. Approach the grinding wheel carefully, then lightly press a wheel dresser or a suitable piece of metal against the spinning wheel until it comes to a complete stop.
Dress a dull or grooved wheel
Over time, the grit on a grinding wheel can become dull, and the wheel may develop grooves from repeated use — these are signs that the wheel needs dressing. To dress the wheel, obtain a wheel dresser and hold it firmly in both hands. With the grinder running, press the dresser against the spinning wheel, holding it perpendicular (at a 90-degree angle) to the wheel's face. Apply steady, even pressure as you move the dresser across the surface until the grooves are removed and the surface appears even.
This process exposes fresh, sharp grit and squares the face of the wheel, restoring its effectiveness and safety for future use.
Exercise caution around powerful tools
Stay alert and focused whenever you work near a bench grinder. Keep your hands and any loose clothing away from moving parts, and follow all safety protocols in your workspace.
Verification and summary
Before every use, confirm that:
- The work rest gap is no more than 1/8 inch from the wheel.
- The tongue guard gap is no more than 1/4 inch from the wheel.
- The spark shield is clean, tight, and correctly angled.
- The gap gauge and Allen wrench are accessible for adjustments.
- You are wearing safety glasses, a face shield, a hard hat, and hearing protection, with no loose clothing or jewelry.
During operation, use clamps or locking pliers for small material, grind only on the front face of the wheel, and cool material in water every 10 to 15 seconds to prevent overheating. After grinding, switch off the machine and monitor the wheel until it stops completely. If the wheel becomes dull or grooved, dress it with a wheel dresser held perpendicular to the wheel's face until the surface is even. Following these steps every time ensures you know how to use a bench grinder safely and reduces the risk of injury from debris or improper operation.
Generation details: cost, quality tiers
Docsie billed 3,500 credits ($2.45) to analyze this 7-minute video at standard quality. The rewrite, template fill and Word/PDF exports were included. The same video at each quality tier:
| Quality | Frames sampled | Credits | Approx. cost |
|---|---|---|---|
| Draft | every 16-30 s | 1,750 | $1.22 |
| Standard (this guide) | every 8-15 s | 3,500 | $2.45 |
| Detailed | every 4-7 s | 7,000 | $4.90 |
| Ultra | every 1-3 s | 14,000 | $9.80 |
Credits priced at $0.70 per 1,000; plans include a monthly allowance. Enterprise customers on on-premise or bring-your-own-model deployments run this on their own inference and pay no per-video credits.
Generated by Docsie Video-to-Docs on 2026-09-09 from a 6-minute video. Screenshots are frames from the source video and belong to their creator, ASC Process Systems, whose original is embedded above. If you own this video and want the guide removed or credited differently, contact us and we will act within one business day.