
How to Solder
This SOP provides a step-by-step guide for beginners to learn and practice proper electronic soldering technique. It breaks the soldering process down into five easy-to-follow steps, with safety considerations and best practices highlighted throughout.
Video: Soldering Tutorial for Beginners: Five Easy Steps by oneTesla (2014). All credit for the demonstration goes to the creator; watch the original on YouTube. The written guide below was generated from this video by Docsie. Creator? Request a change or removal.
Purpose
This SOP provides a step-by-step guide for beginners to learn and practice proper electronic soldering technique. It breaks the soldering process down into five easy-to-follow steps, with safety considerations and best practices highlighted throughout.
Scope
This procedure applies to beginners performing basic through-hole soldering on circuit boards, including component connections and wire-to-wire or wire-to-terminal joints.
Required equipment and PPE
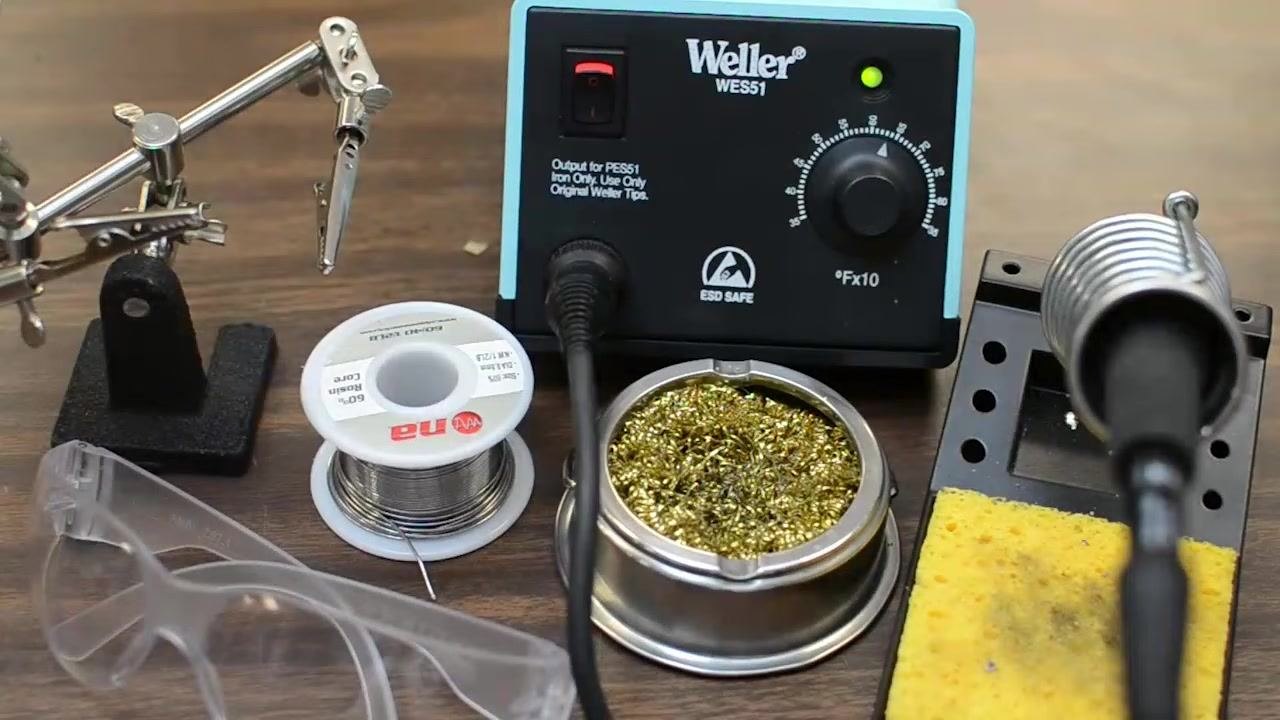
Before beginning, gather the following tools and materials:
- Soldering iron (preferably temperature-adjustable)
- Cleaning tool for the iron tip (wet sponge or brass sponge)
- Solder (e.g., 60/40 rosin core)
- Helping hands tool for holding components (optional)
- Safety goggles (especially important for beginners)
- Sticky tape for holding components (optional)
Safety precautions:
- Soldering irons and molten solder are extremely hot—solder melts at nearly twice the temperature of boiling water.
- Hot metal looks identical to cold metal, so always handle tools and joints with care.
- Always wear safety goggles to protect your eyes from accidental splashes or debris.
Heat up your iron
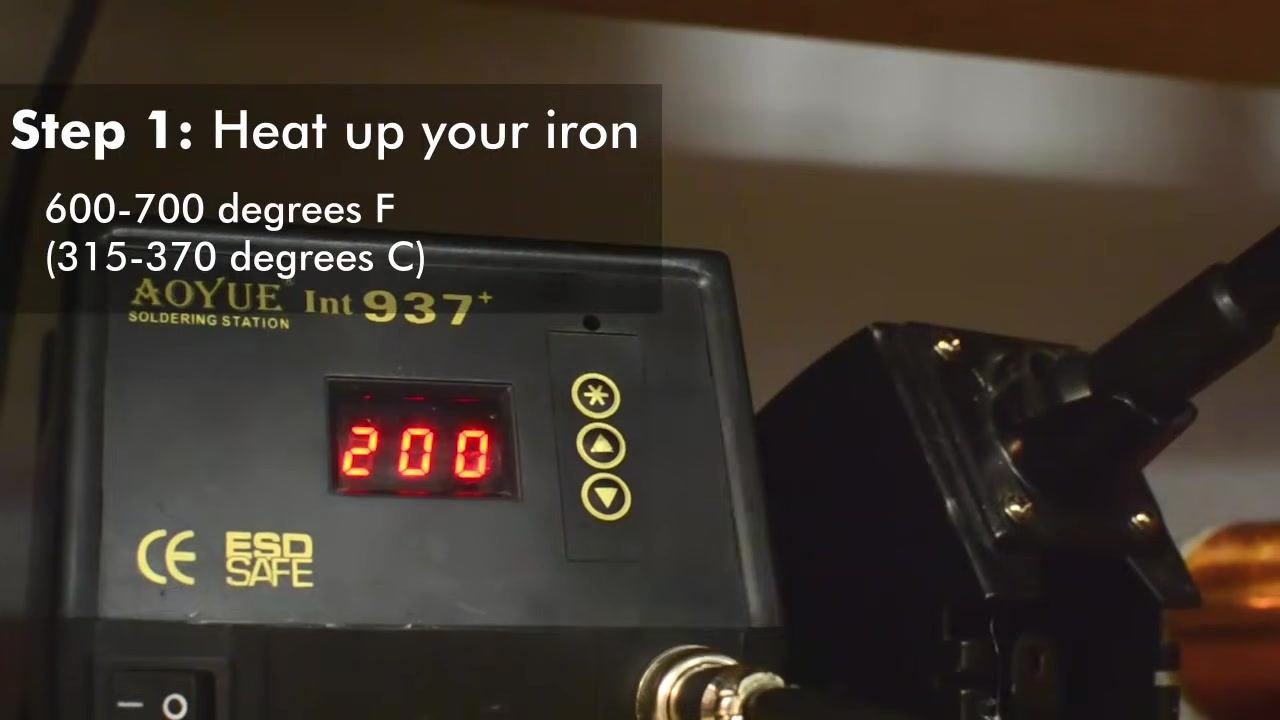
- Set your soldering iron to the correct temperature:
- For through-hole components on a circuit board, set the iron between 600 and 700 degrees Fahrenheit (315–370 degrees Celsius).
- For larger connections or those with more copper (which dissipate heat), you may need a slightly higher temperature.
- If using a temperature-adjustable iron, start within the recommended range and adjust as needed for your specific task.
- Example setting: On an AOYUE Int 937+ soldering station, set the temperature to 352°C for typical through-hole work.
Make your connection mechanically stable
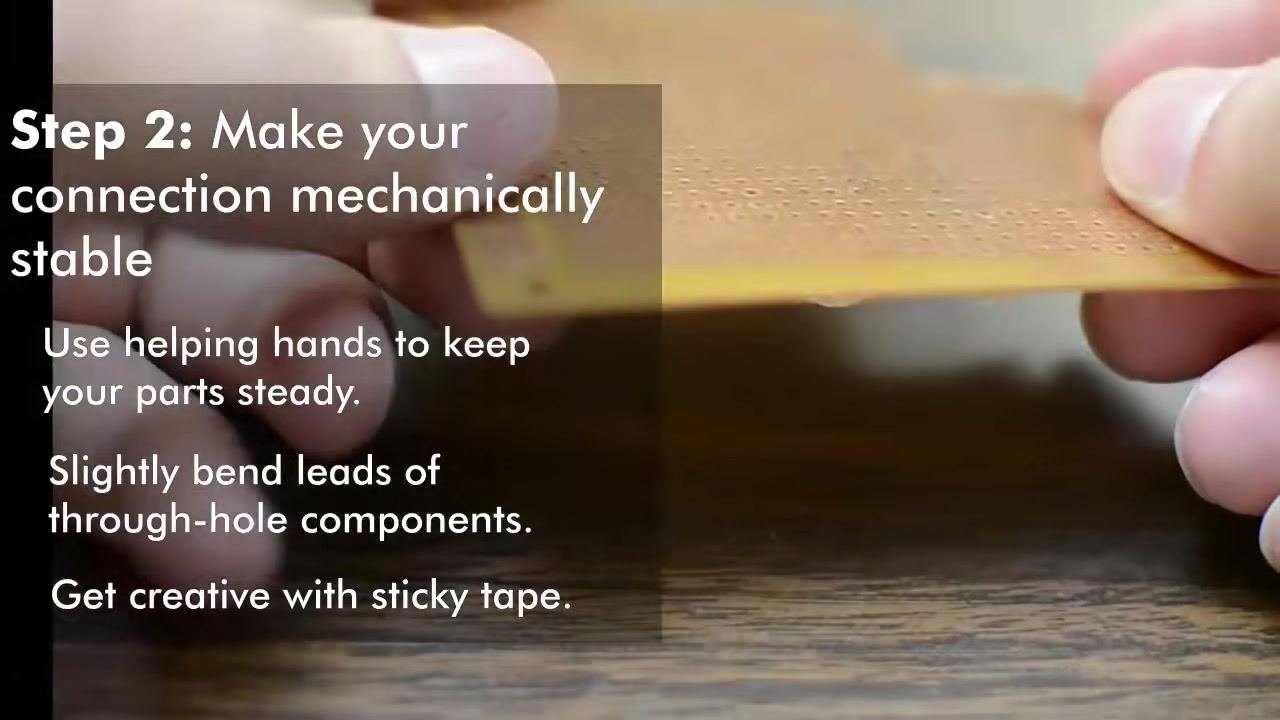
- Secure your components before soldering:
- Use helping hands to hold parts steady.
- For through-hole components, slightly bend the leads into a V-shape so the component stays flush against the board.
- For components without long leads, use sticky tape to hold them in place.
- Any method that keeps your parts stable during soldering is acceptable.
Clean your iron
- Clean the tip of your soldering iron before use:
- Use a brass sponge or a wet sponge to remove oxidation and excess solder from the tip.
- A dirty tip is covered in metal oxides, which inhibit heat transfer and can result in poor solder joints.
- Always remove excess solder to ensure reliable connections with fresh solder.
Note: Continue practicing these steps to develop your soldering skills. Always prioritize safety and cleanliness for the best results.
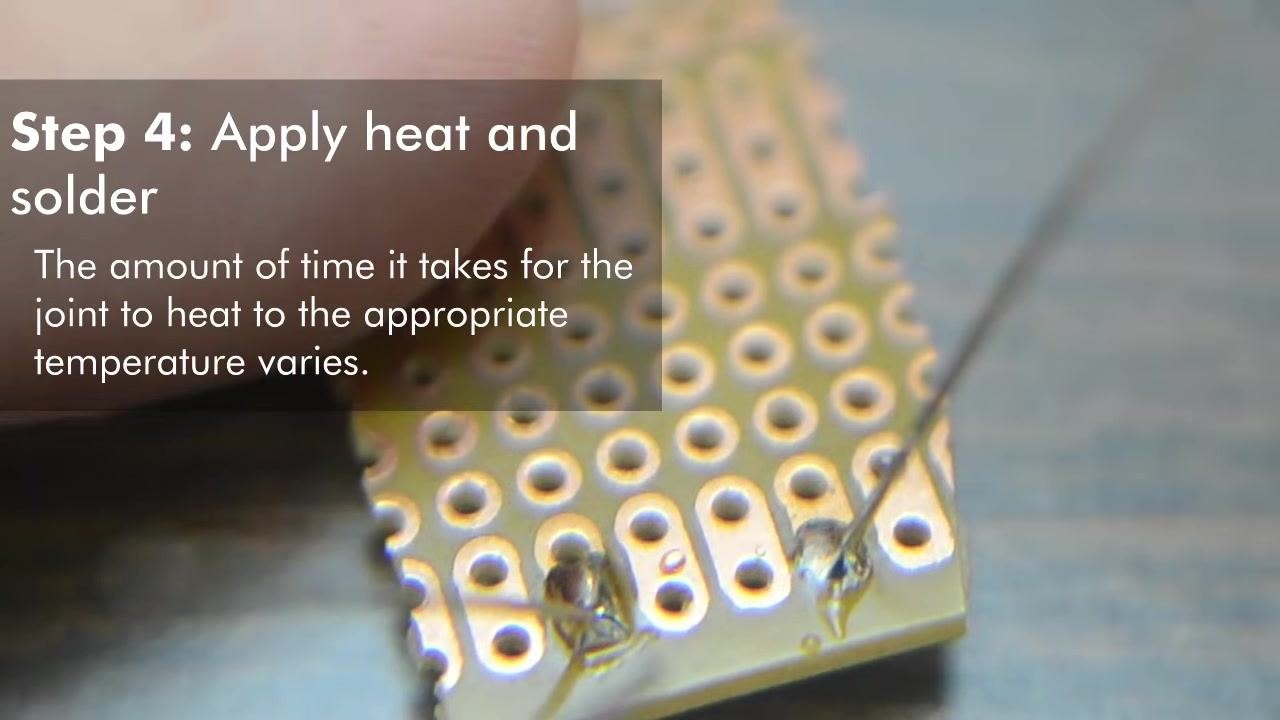
Apply heat and solder
- Use rosin core solder for best results:
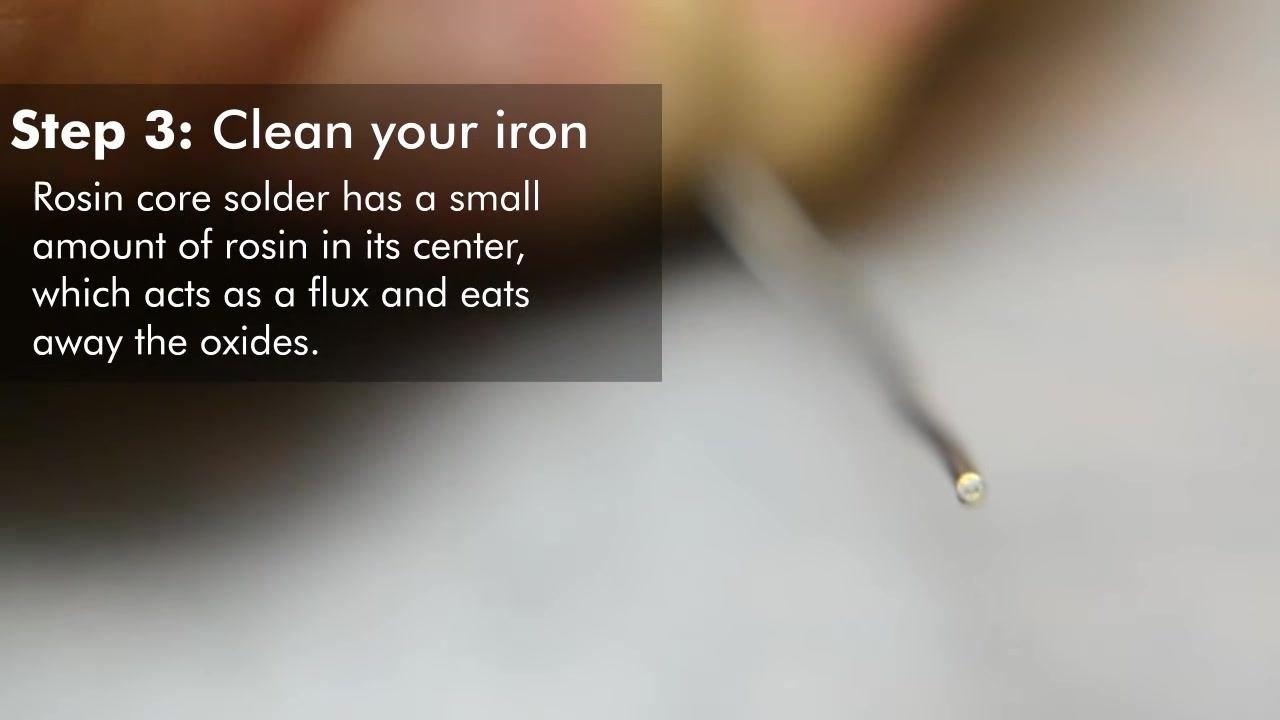
- Select solder that has rosin in the core. Rosin acts as a flux, which removes oxide layers from metal surfaces and helps solder adhere.
- The smoke produced during soldering is the flux burning away, not the solder itself vaporizing.
- Without flux, solder will not wet the surfaces properly, making it difficult to form a good joint.
-
Heat the joint and feed the solder:
- Heat the joint evenly by applying the soldering iron to one side of the components you want to join.
- Feed solder from the opposite side of the joint, not directly onto the iron tip.
- The time required to heat the joint depends on its size, the iron's temperature, and its power. Tiny connections may take only a few seconds; larger connections dissipate more heat and take longer.
- Ensure maximum contact between the flat edge of the iron's tip and the joint, not just the point.
-
Improve heat transfer if needed:
- Tin the iron by adding a small amount of solder to the tip. This bridges the air gap between the iron and the components, improving heat transfer.
- Always ensure good contact between the iron and the joint.
-
Complete the soldering process:
- When finished, remove the solder first, then the iron.
- Allow the joint to cool for a few seconds without disturbing it.
-
Solder wire connections as needed:
- For wire-to-wire or wire-to-terminal joints, ensure good contact between the tip and the joint.
Safety note: Never touch or grab a solder joint while it is still hot. Even if you do not burn yourself immediately, it is easy to get injured by hot components.

Inspect the joint
-
Inspect your solder joint:
- Check if the solder has wetted both surfaces.
- Ensure the joint is smooth and shiny.
- Verify there is not too much or too little solder.
- On a printed circuit board, a good joint should have a "volcano" shape, adhering smoothly to both the pad and the component lead.
-
Trim excess leads:
- If necessary, use flush cutters to trim the leads of your components after soldering.
Note: Continue practicing these steps to master soldering. Always use rosin core solder, apply heat correctly, and inspect every joint for quality and reliability.
Common mistakes to avoid
- Improper transfer technique: Do not melt solder on the iron tip and then try to transfer it to the joint. This method fails because the flux burns away before reaching the joint, and the workpieces do not get hot enough for the solder to adhere properly.
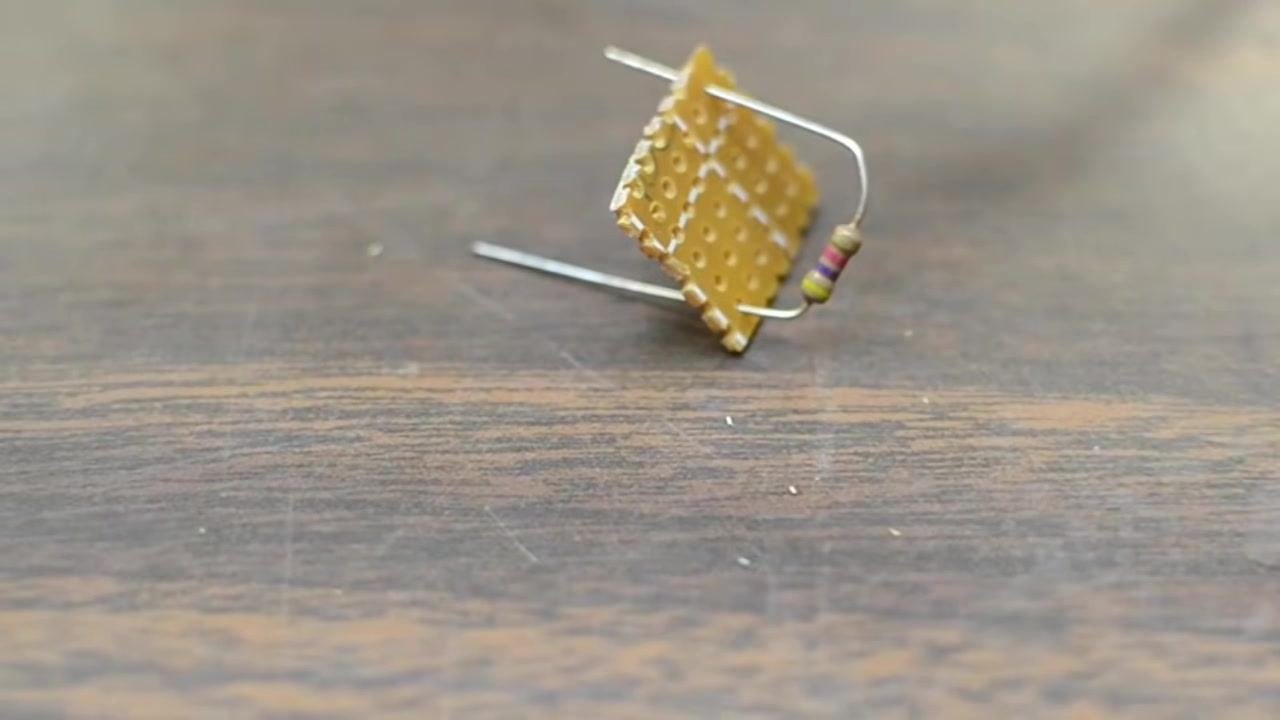
- Poor component alignment: Before soldering, make sure all components are mounted flush and properly aligned on the board. Misaligned or poorly seated components can result in unreliable or unprofessional-looking assemblies.

- Incomplete seating: Beginners often forget to push parts fully into the board before soldering. Always verify that each component is seated flat against the board before applying solder.
Verification and summary
To achieve reliable, professional-quality solder joints, verify the following before and after each connection:
- The iron is set to the correct temperature range for the task.
- Components are mechanically stable and fully seated flush against the board before soldering.
- The iron tip is clean and free of oxidation before use.
- Rosin core solder is used, and heat is applied to the joint (not the solder) before feeding solder from the opposite side.
- The finished joint is smooth, shiny, and shaped like a "volcano," with neither excess nor insufficient solder.
- No hot joints or components are touched until fully cooled.
Additional resources and community
For further information and support:
- Visit the official website: www.oneTesla.com
- Join the community on Facebook: facebook.com/onetesla
- Watch more tutorials on YouTube: youtube.com/onetesla
- Follow on Twitter: twitter.com/onetesla1
Final note: Continue practicing these techniques to improve your soldering skills. Always use proper methods, prioritize safety, and check your work for quality. For further questions or to connect with other learners, use the resources listed above.
Generation details: cost, quality tiers
Docsie billed 2,000 credits ($1.40) to analyze this 4-minute video at standard quality. The rewrite, template fill and Word/PDF exports were included. The same video at each quality tier:
| Quality | Frames sampled | Credits | Approx. cost |
|---|---|---|---|
| Draft | every 16-30 s | 1,000 | $0.70 |
| Standard (this guide) | every 8-15 s | 2,000 | $1.40 |
| Detailed | every 4-7 s | 4,000 | $2.80 |
| Ultra | every 1-3 s | 8,000 | $5.60 |
Credits priced at $0.70 per 1,000; plans include a monthly allowance. Enterprise customers on on-premise or bring-your-own-model deployments run this on their own inference and pay no per-video credits.
Generated by Docsie Video-to-Docs on 2026-09-08 from a 3-minute video. Screenshots are frames from the source video and belong to their creator, oneTesla, whose original is embedded above. If you own this video and want the guide removed or credited differently, contact us and we will act within one business day.