
How to Operate an Injection Molding Machine
This SOP documents the fundamental operating principles of an injection molding machine, based on training material from the Orange Plastics Academy. It covers the machine's core components, the sequential steps of the injection molding cycle, and the key calculations used to determine required clamping pressure. This documentation also explains how material properties and production volume affect project planning.
Video: How Does an Injection Molding Machine Work? by Orange Plastics Academy (2022). All credit for the demonstration goes to the creator; watch the original on YouTube. The written guide below was generated from this video by Docsie. Creator? Request a change or removal.
Purpose
This SOP documents the fundamental operating principles of an injection molding machine, based on training material from the Orange Plastics Academy. It covers the machine's core components, the sequential steps of the injection molding cycle, and the key calculations used to determine required clamping pressure. This documentation also explains how material properties and production volume affect project planning.
Scope
This procedure applies to anyone seeking to understand how injection molding machines function, including the injection cycle sequence, clamping pressure requirements, and considerations for planning a production run. It is intended as foundational training content rather than a hands-on operating manual for a specific machine model.
Prerequisites
- Access to the Orange Plastics Academy training material as the reference source.
- Basic familiarity with plastic manufacturing terminology (mold, sprue, cavity, hopper).
Step-by-step instructions
Understand the basic function of the injection molding machine
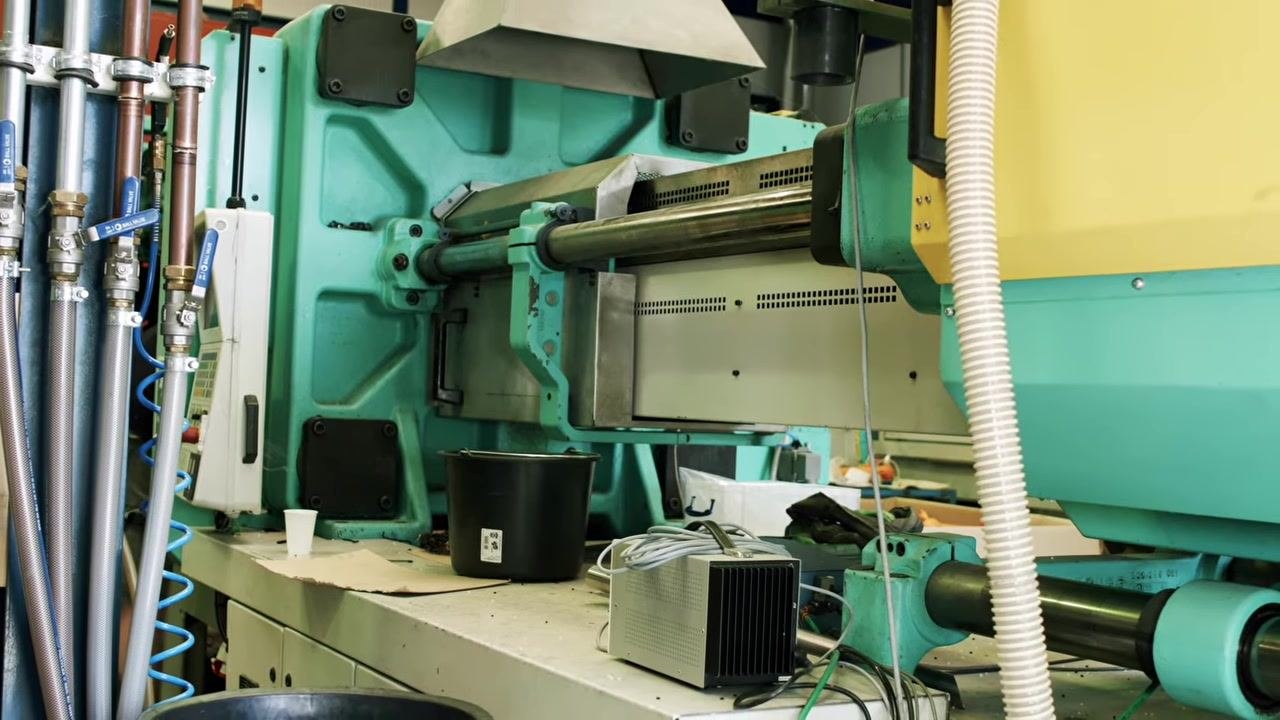
An injection molding machine functions as a large-scale press. Its primary role is to hold the mold shut while injecting liquid plastic into the sprue.
Identify the main components of the machine
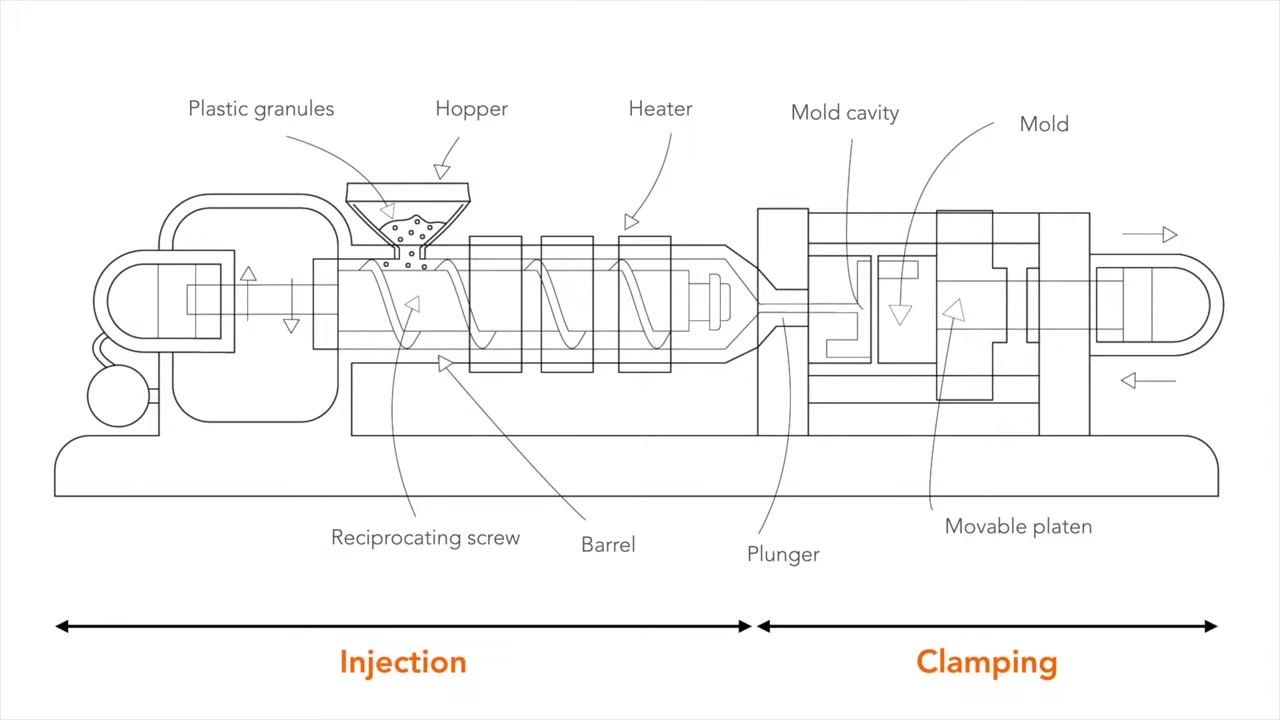
The machine consists of three general parts:
- Material hopper
- Heating unit
- Injection ram or screw-type plunger
A labeled diagram further identifies the plastic granules, hopper, heater, reciprocating screw, barrel, plunger, mold cavity, mold, and movable platen. The overall process is divided into two phases: Injection and Clamping.
Follow the injection molding cycle
Execute the following sequence to produce a plastic part:
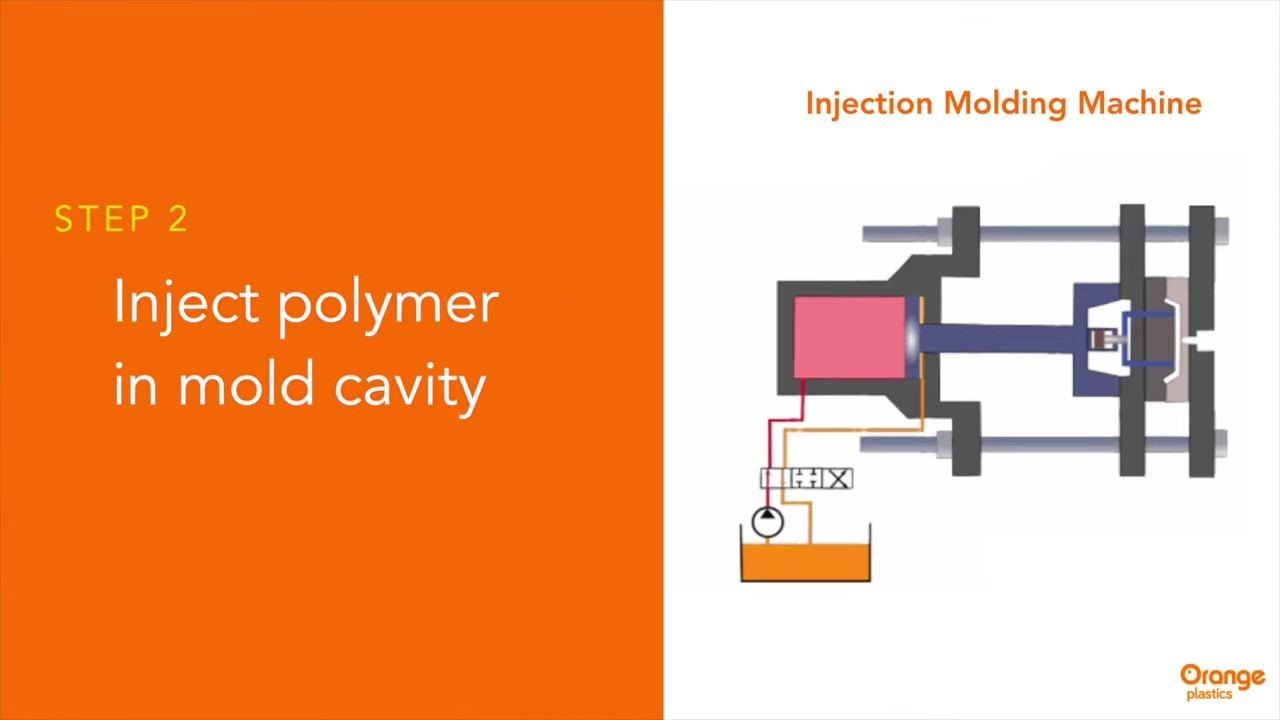
Step 1 — Close the mold. The cycle begins when the machine closes the mold.
Step 2 — Inject the liquid polymer into the mold cavity.
Step 3 — Maintain holding pressure after the cavity is filled. This step is essential to compensate for material shrinkage.
Note: Sufficient holding pressure must be maintained at this stage; inadequate pressure can lead to defects caused by material shrinkage.
Step 4 — Prepare the next shot. The screw turns and retracts as the next shot is prepared. (This step is described in the source narration but is not visually depicted in the available frames.)
Step 5 — Open the mold and repeat. Once cooling is complete, the mold opens and the ejector rod pushes the ejector plate up to prepare for the next shot. The cycle then repeats.
Understand differences between injection molding machines
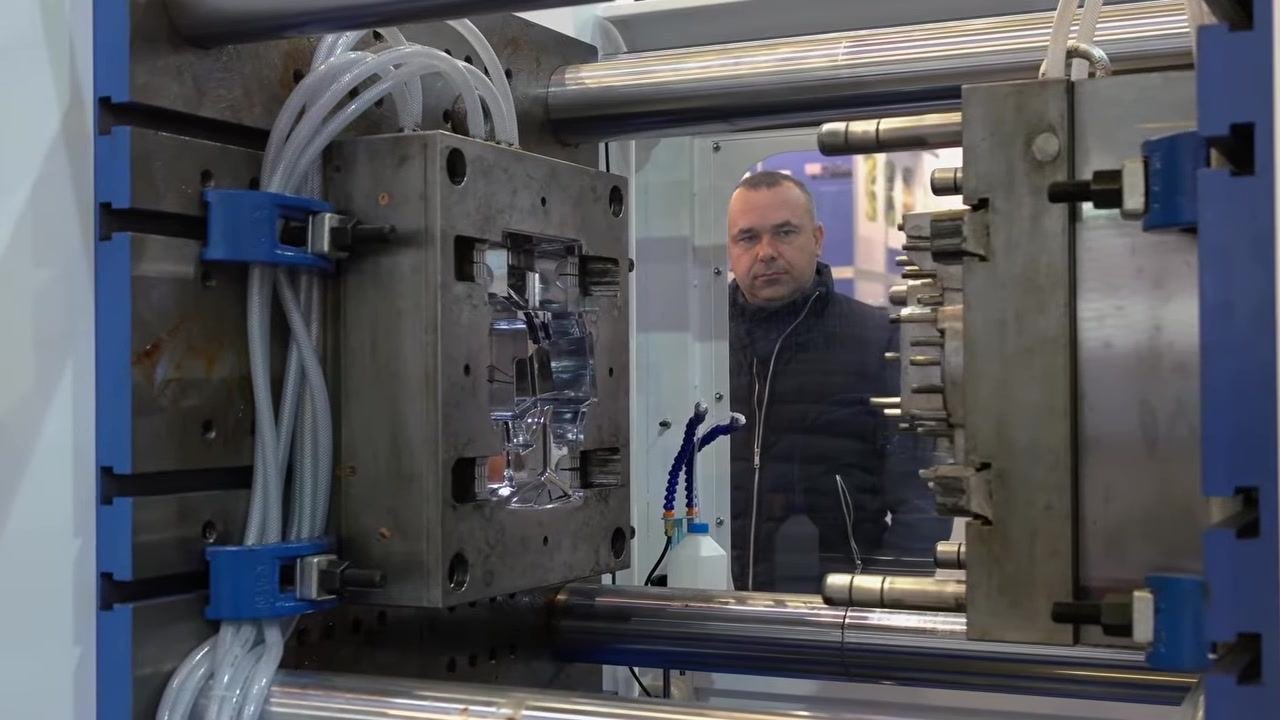
The main difference between machines lies in the amount of clamping pressure they can apply. Clamping pressure keeps the mold closed during injection.
Safety/Quality Note: Machines range from 5 tons to over 3,000 tons of clamping pressure. The clamping pressure must always be sufficient to keep the mold closed; insufficient pressure will result in production problems.
Determine the required clamping pressure
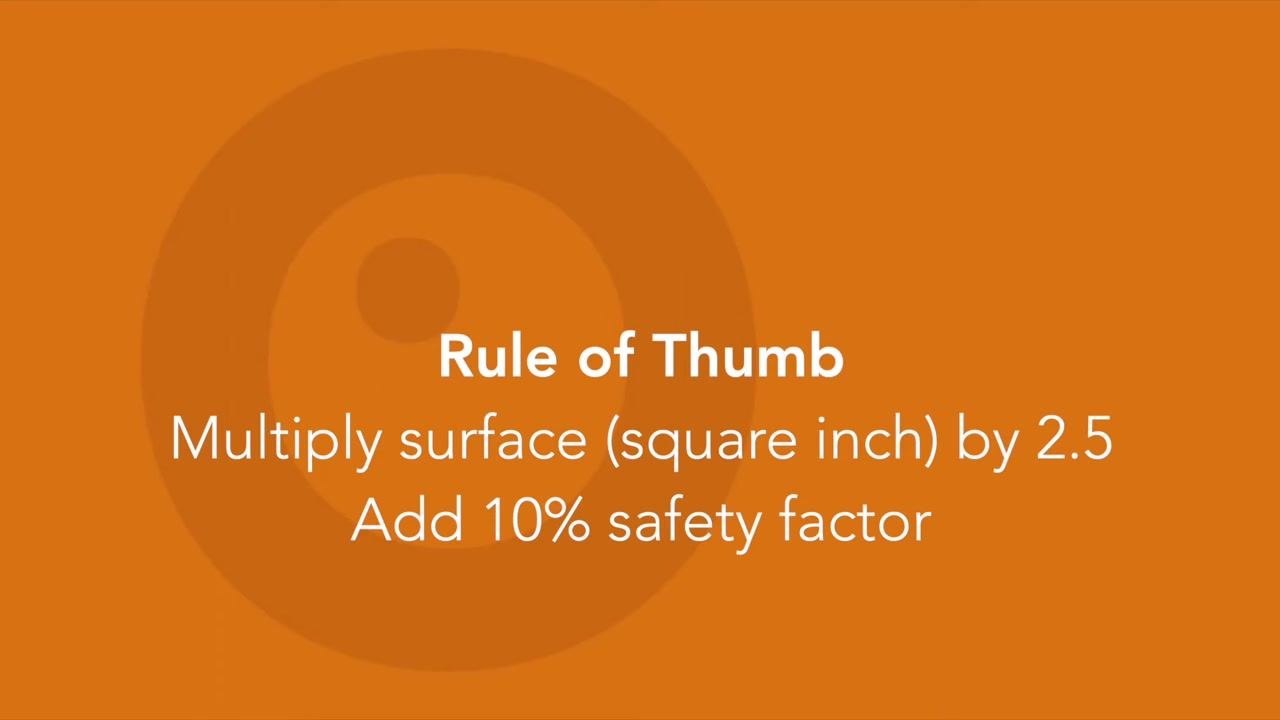
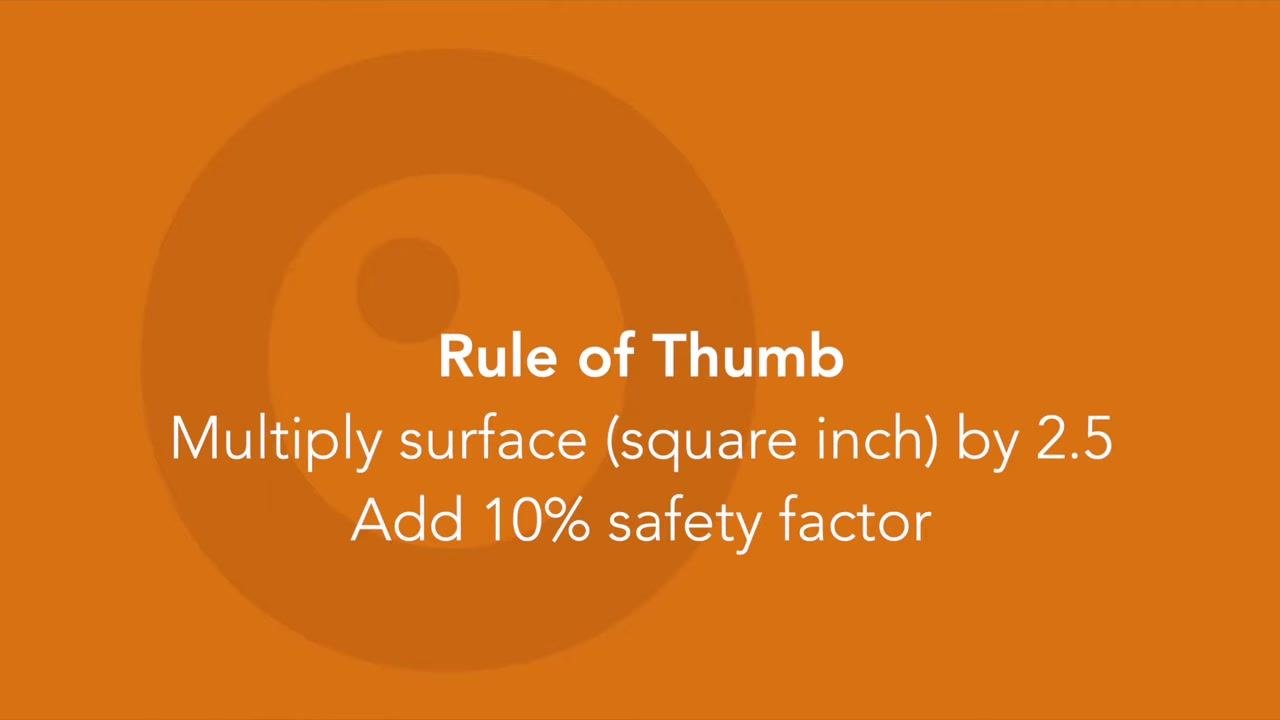
Calculate the required clamping pressure using the projected area of the custom part:
- Multiply the surface area of the part (in square inches) by 2.5.
- Add a 10% safety factor to the result.
Example: For a part with a projected area of 20 square inches: - 20 × 2.5 = 50 - 50 + (10% of 50) = 55 tons of required clamping pressure.
Consider raw material properties
The type of plastic material significantly affects the required injection pressure. Materials that are very stiff or highly viscous require more injection pressure to fill the mold successfully.
Understand the economics of production volume
Injection molding is best suited for manufacturing large volumes of identical products at high speed. While the initial mold investment is substantial, the average cost per product decreases as production volume increases.
Modern injection molding companies can now efficiently handle low-volume production runs. It is possible to start a project with as few as 1,000 units, rather than requiring millions of units to break even. Your injection molding partner will help select the optimal mold, design, and material for your required production volume.
Leverage expert support
Rely on your injection molding partner to help select the proper mold, design, and material tailored to your production needs.
Verification and summary
By following this procedure, you will understand:
- The structure and main components of an injection molding machine.
- The five-step sequence of the injection molding cycle (close mold, inject, hold pressure, prepare next shot, open and repeat).
- How to calculate the required clamping pressure using the surface area rule of thumb, including the 10% safety factor.
- How material viscosity affects required injection pressure.
- How production volume and mold investment relate to per-unit cost, and how a molding partner supports mold, design, and material selection.
What's next
Consult your injection molding partner to apply these principles to your specific part design, target production volume, and material selection.
Generation details: cost, quality tiers
Docsie billed 2,000 credits ($1.40) to analyze this 4-minute video at standard quality. The rewrite, template fill and Word/PDF exports were included. The same video at each quality tier:
| Quality | Frames sampled | Credits | Approx. cost |
|---|---|---|---|
| Draft | every 16-30 s | 1,000 | $0.70 |
| Standard (this guide) | every 8-15 s | 2,000 | $1.40 |
| Detailed | every 4-7 s | 4,000 | $2.80 |
| Ultra | every 1-3 s | 8,000 | $5.60 |
Credits priced at $0.70 per 1,000; plans include a monthly allowance. Enterprise customers on on-premise or bring-your-own-model deployments run this on their own inference and pay no per-video credits.
Generated by Docsie Video-to-Docs on 2026-09-08 from a 3-minute video. Screenshots are frames from the source video and belong to their creator, Orange Plastics Academy, whose original is embedded above. If you own this video and want the guide removed or credited differently, contact us and we will act within one business day.