
How to Calibrate a Torque Wrench
This procedure explains how to calibrate a torque wrench at home without specialist equipment. It covers both metric (Newton meter) and imperial (foot-pound) torque wrenches, using simple household items and basic hand tools to verify and adjust the click point.
Video: CALIBRATE YOUR TORQUE WRENCH IN UNDER 5 MINUTES (NO SPECIAL TOOLS REQUIRED!) by Vintage Engine Repairs (2023). All credit for the demonstration goes to the creator; watch the original on YouTube. The written guide below was generated from this video by Docsie. Creator? Request a change or removal.
Purpose
This procedure explains how to calibrate a torque wrench at home without specialist equipment. It covers both metric (Newton meter) and imperial (foot-pound) torque wrenches, using simple household items and basic hand tools to verify and adjust the click point.
Scope
This SOP applies to click-type torque wrenches. It describes calibration using a bench vise (or a horizontal bolt if no vice is available), a weight of known mass, a length of rope, and an Allen key. The procedure includes initial setup, calculation of the required force, testing, fine adjustment, and final verification across the wrench's usable range.
Required equipment and materials
- Allen key
- A length of rope
- The torque wrench to be calibrated (metric or imperial)
- A weight of known mass — for example, a 1 kg weight plate, a bottle of water, a bag of rice, or a bag of sugar
- A bench vice (recommended, but not essential)
- A tape measure
- A scale, to confirm the actual mass of your chosen weight
No specific personal protective equipment is required for this procedure.
Gather your tools and materials
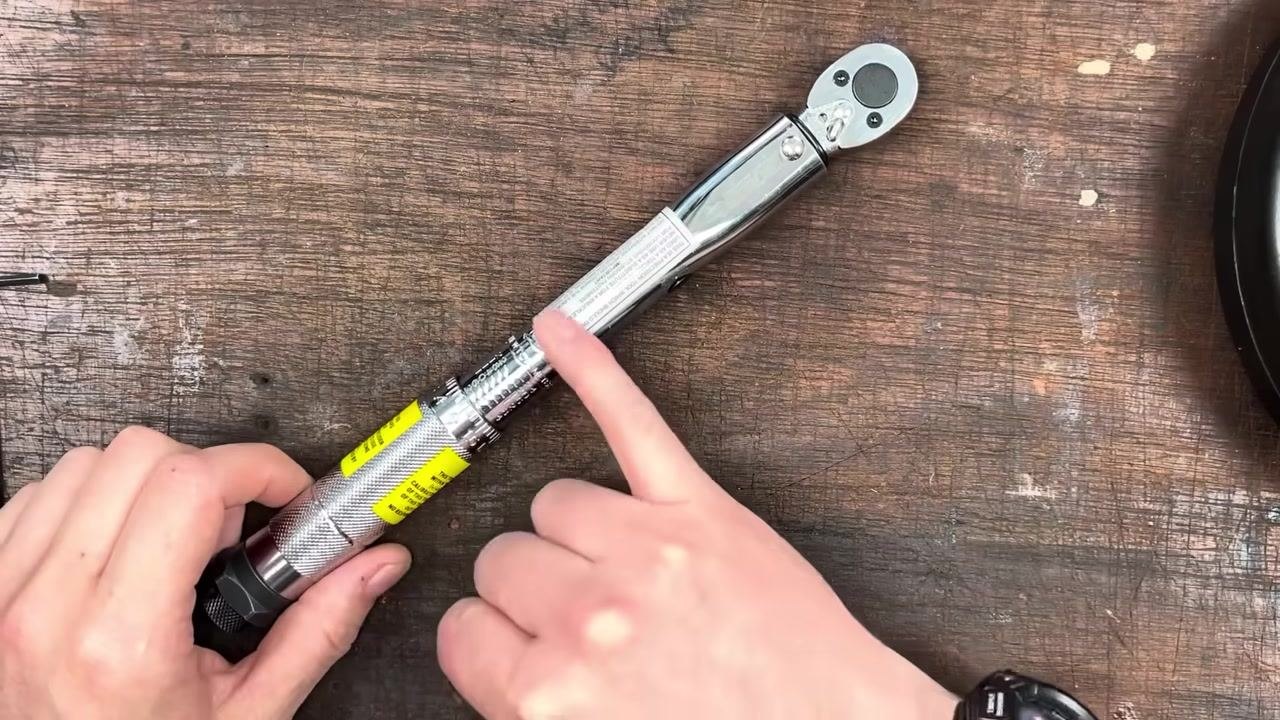
Lay out all required items before you begin: an Allen key, a length of rope, your torque wrench, and a weight with a known or verifiable mass.
If you have a bench vice, prepare it for use. If you do not, locate a horizontal bolt from which you can hang the torque wrench instead.
Understand the torque calculation equations
Before you calibrate, identify which equation applies to your torque wrench's unit of measurement:
- For metric wrenches (Newton meters): Newton Meters = Weight (kg) × 9.81 × Length (m)
- For imperial wrenches (foot-pounds): Foot Pounds = Weight (lb) ÷ 12 × Length (in)
Secure the torque wrench
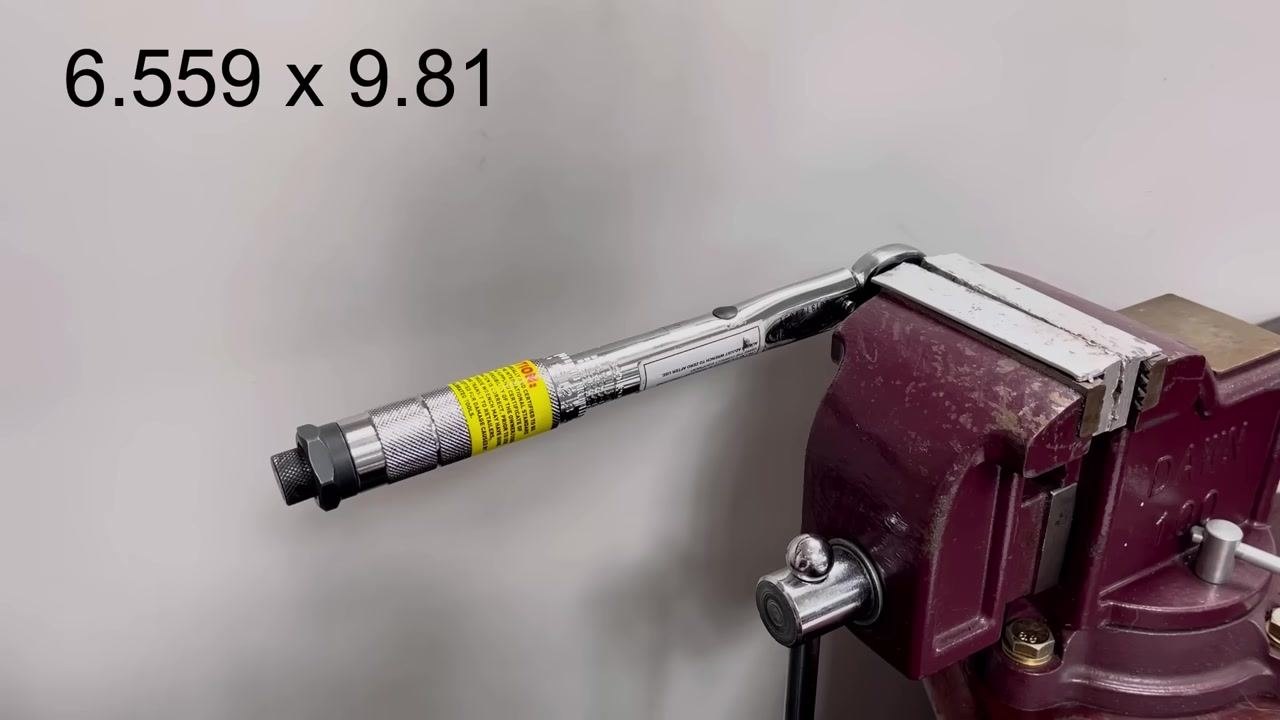
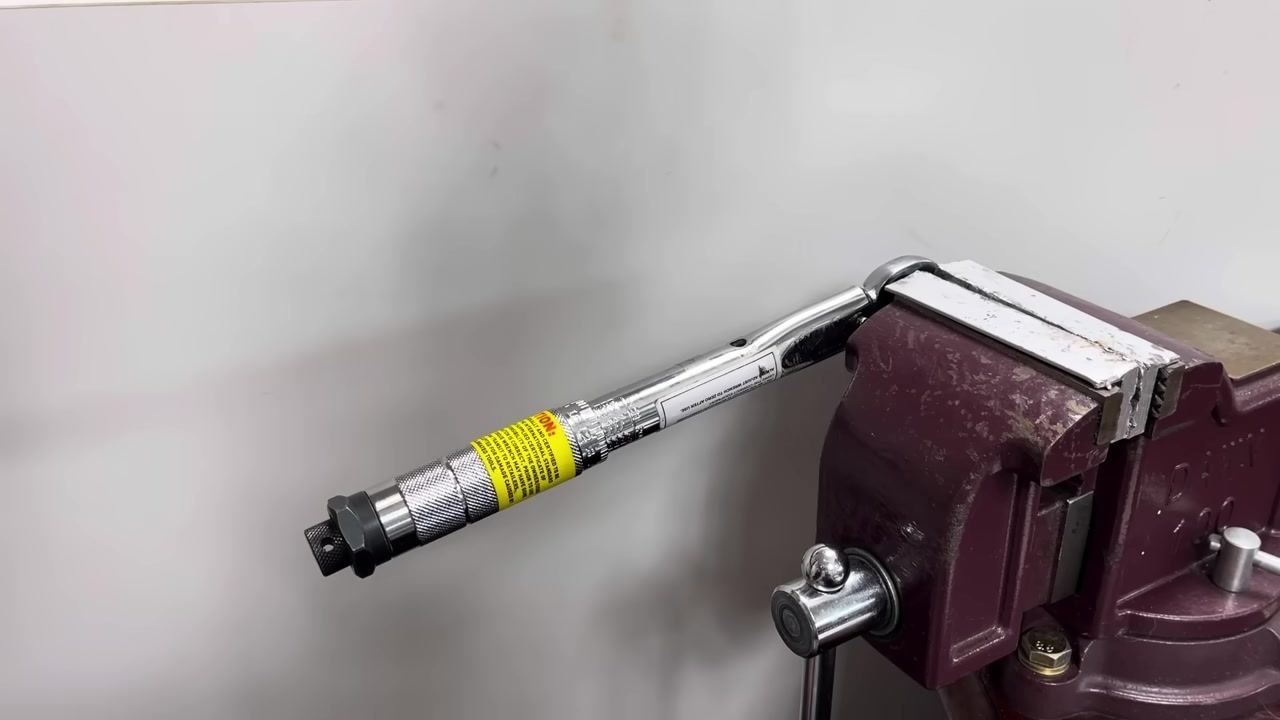
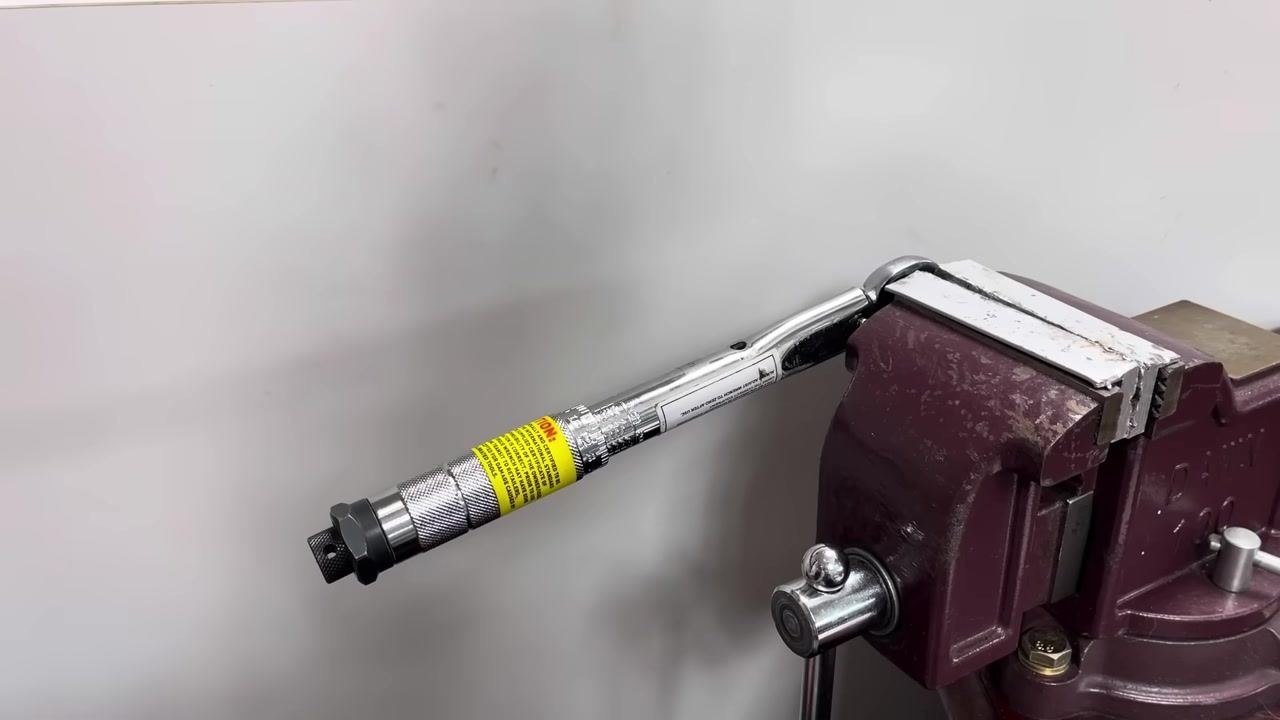
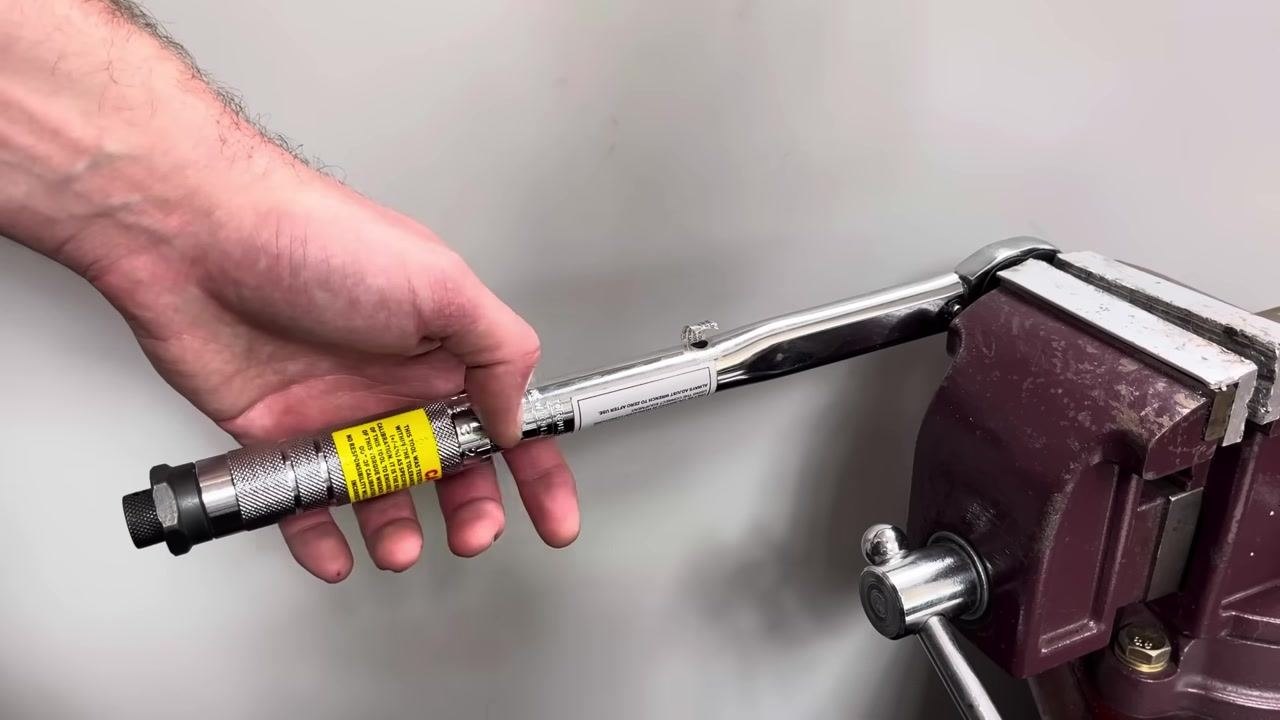
Place the torque wrench in the vice so it is held horizontally at a 90-degree angle. If you do not have a vice, hang the wrench from a horizontal bolt using the correct socket. Confirm the wrench is secure and level before continuing.

Select your weight
Choose a weight with a known mass. If you have calibrated weights, such as a 1 kg or 2.2 lb weight, use those. Otherwise, use a household item with a known weight, such as a bottle of water, a bag of rice, or a bag of sugar.
Weigh and record the actual mass
Use a scale to measure the actual mass of your weight rather than relying on its label, since labeled weights are not always accurate. In this example, a weight labeled 7.5 kg was actually measured at 6.559 kg. Record the exact measured value for your calculations.
Calculate the required force
Multiply the measured mass by the acceleration due to gravity (9.81 m/s²). In this example, the calculation is 6.559 × 9.81.
Determine the hanging point
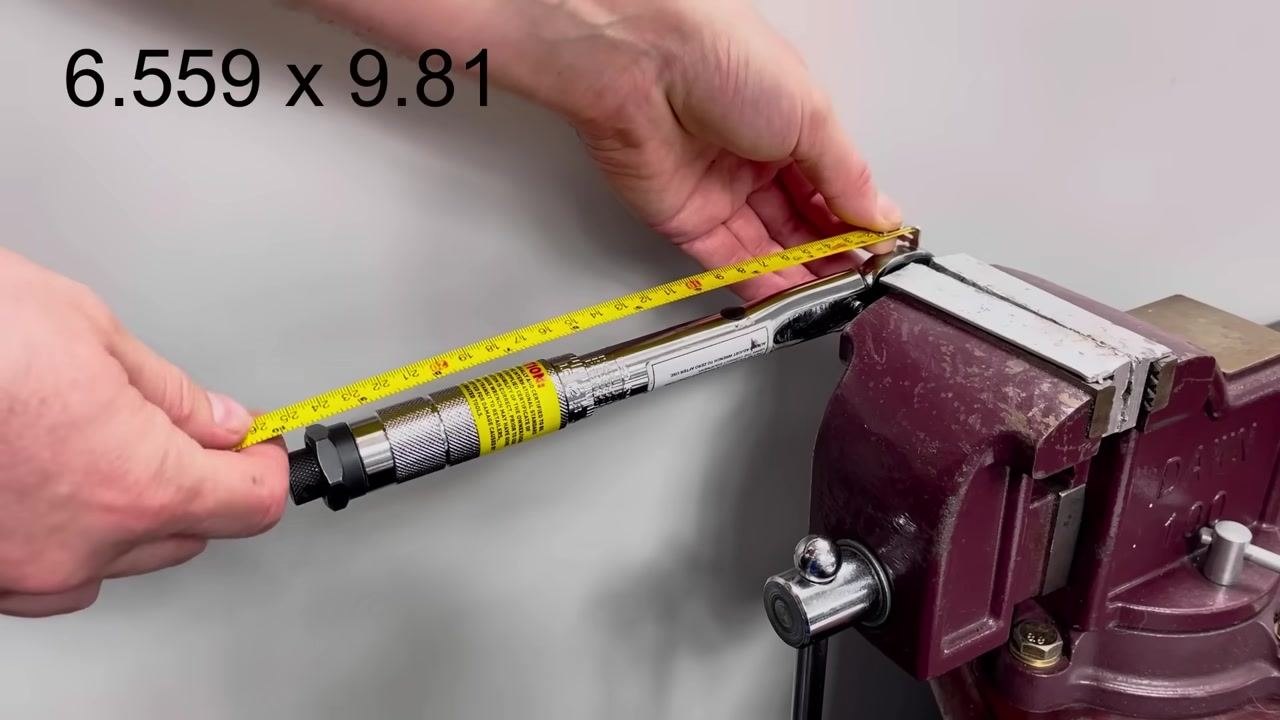
Identify the point on the handle where you will hang the weight — the midpoint of the section you grip, between the yellow warning label and the first smooth section without knurling. Measure the distance from the center of the square drive (the pivot point) to this hanging point. In this example, the distance is 20 cm, which converts to 0.2 m.
Remove the wrench for adjustment
Remove the torque wrench from the vice so you can adjust the setting more easily.
Set the torque wrench to the calculated value
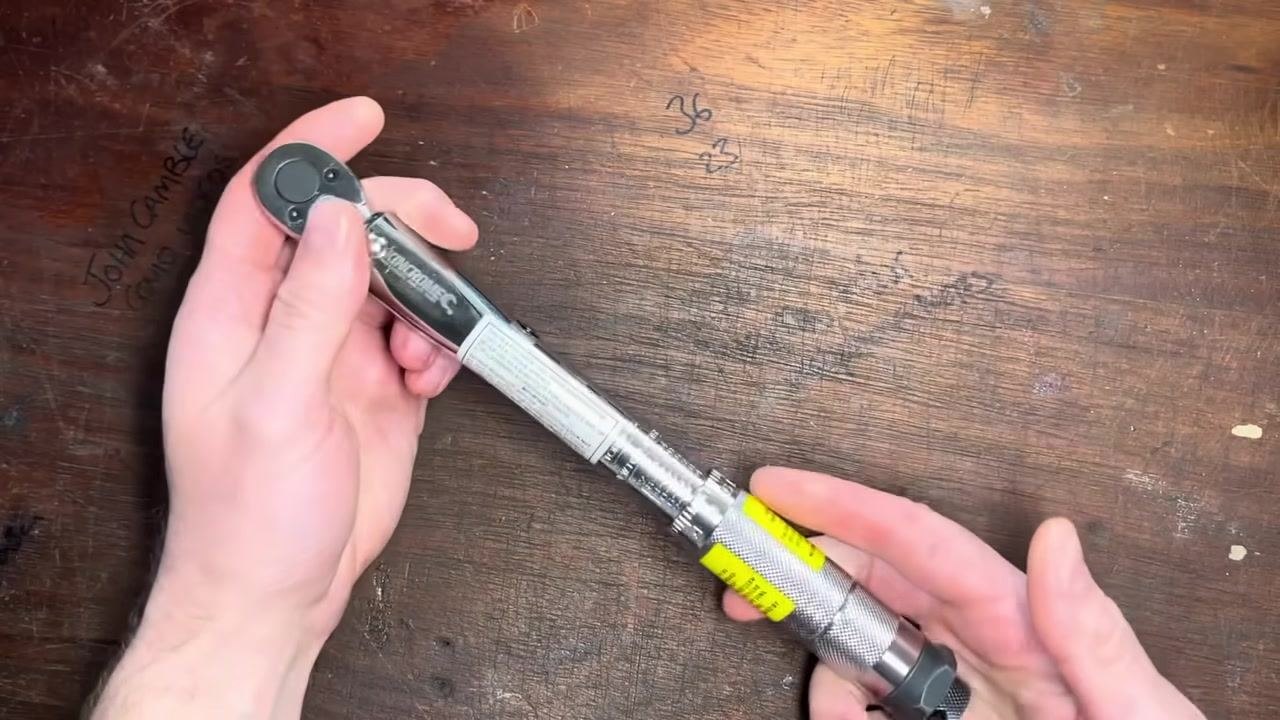
Loosen the lock nut on the handle, then set the torque wrench to your calculated value. In this example, the target value is 12.88 Nm.
Re-secure the wrench
Place the torque wrench back into the vice, ensuring it is horizontal and secure before testing.
Hang the weight
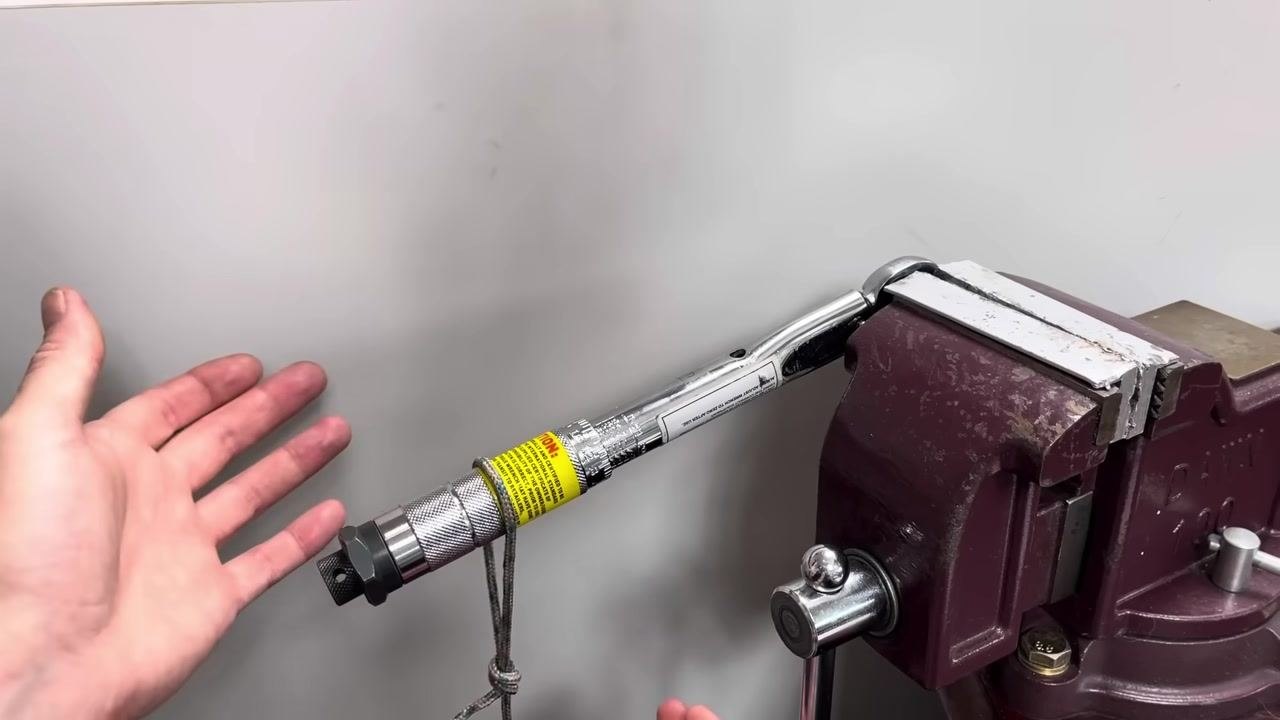
Attach the rope and weight to the hanging point you measured earlier on the handle. The wrench should "click" just as the full weight is applied.
Check the click point
Slowly apply the weight and listen for the click.
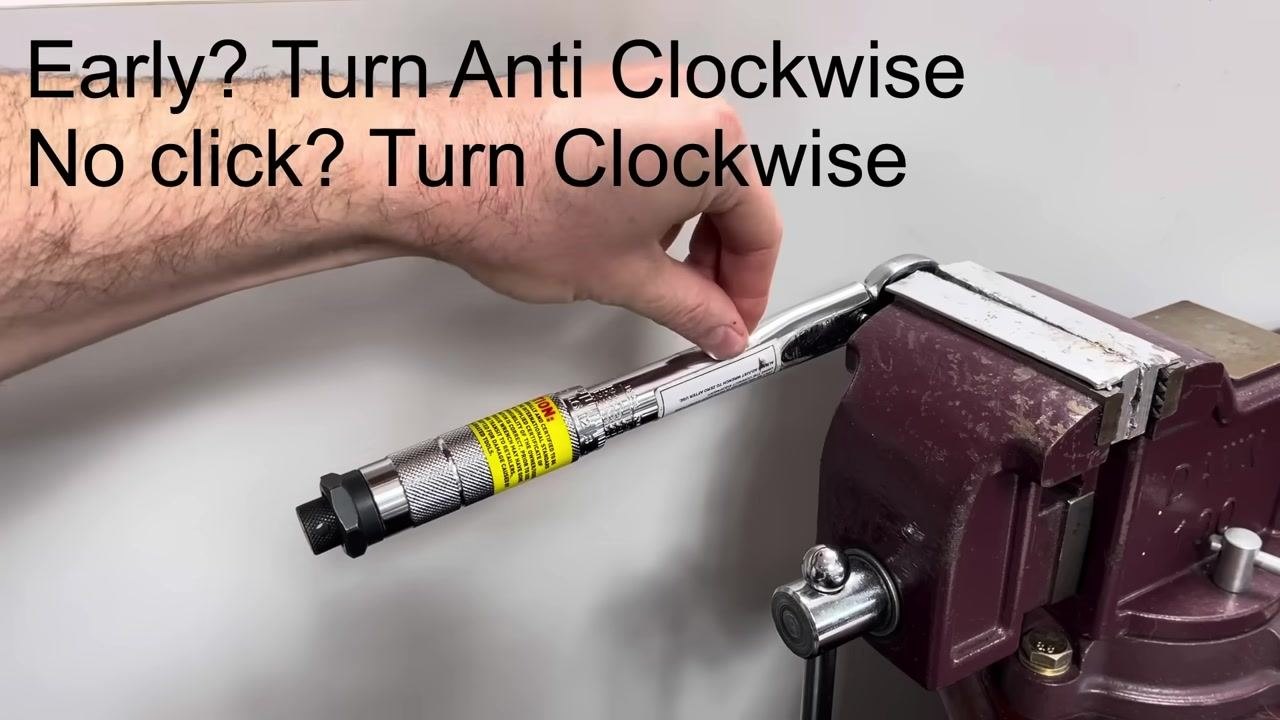
- If the wrench clicks before the full weight is applied, it is set too sensitively.
- If the wrench does not click when the full weight is applied, it is set too stiffly.
Adjust the calibration screw
Turn the calibration screw anti-clockwise if the wrench clicks early, or clockwise if it does not click at all. Repeat the test until the wrench clicks exactly as the full weight is applied.
Fine-tune the calibration screw
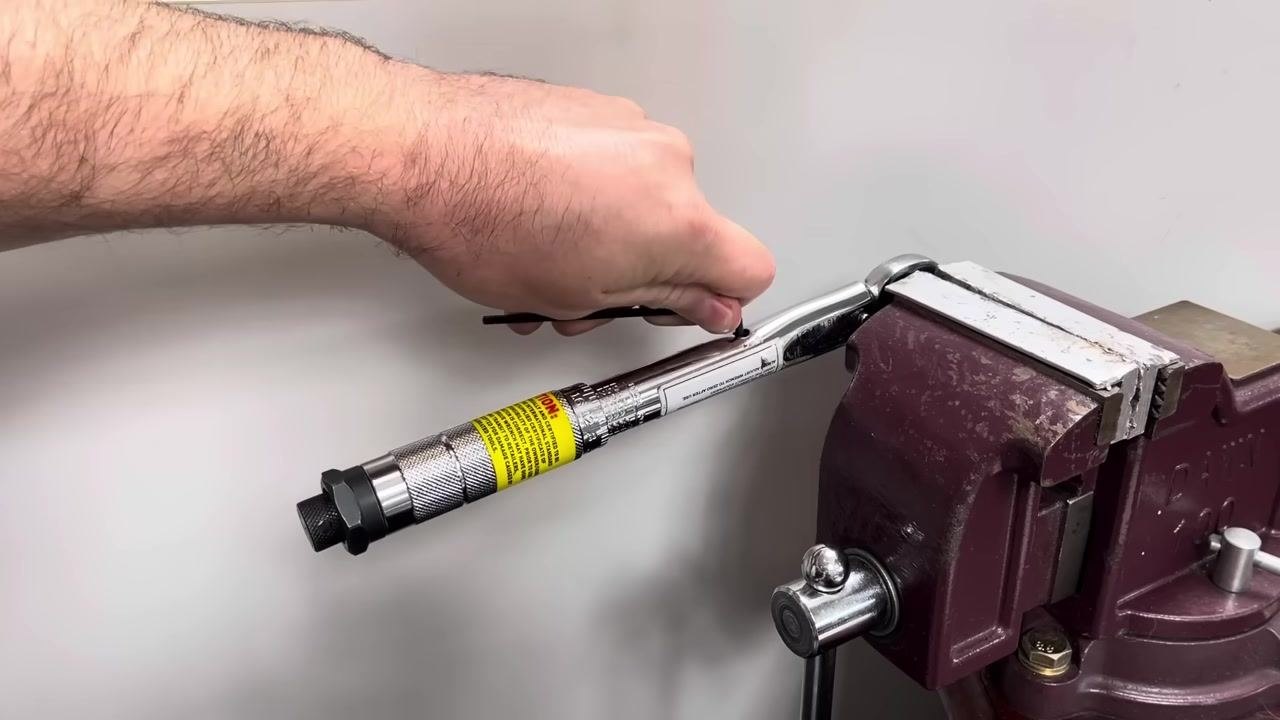
Turn the calibration screw about a quarter turn in the required direction — anti-clockwise if the wrench clicks early, clockwise if it does not click — then prepare to retest.
Retest the click point
Hang the weight again at the same measured position on the handle. Lower it gently, without adding extra force, and observe when the wrench clicks. Repeat this test to confirm consistency.
Test for accuracy
Slightly increase the weight or applied force and check whether the wrench still clicks. If it does not click when the force is slightly above target, return to the previous setting. The wrench should click exactly as the correct weight is applied, not before or after.
Repeat at multiple points in the range
For best results, repeat the calibration test at different points within the wrench's range, such as lower and higher torque settings, to confirm accuracy across its usable range.
Replace the rubber bung
Once calibration is complete and accuracy is confirmed, replace any protective covers or rubber bungs on the wrench.
Calibrating an imperial torque wrench
If your torque wrench measures in foot-pounds, follow this variation of the procedure.
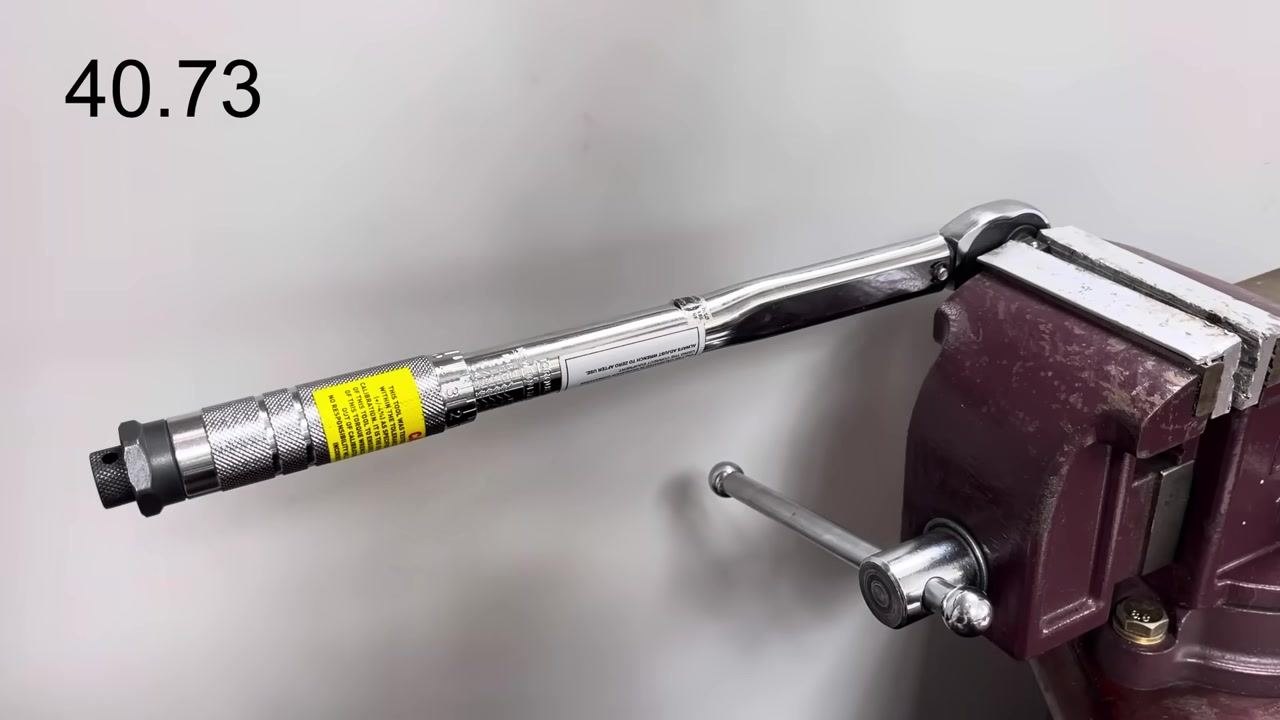
Step 19: Prepare the imperial torque wrench
Clamp the imperial torque wrench securely in the vice. Use a weight of known mass — in this example, 40.73 lb, chosen to sit roughly in the middle of the wrench's 5 to 80 ft-lb range.
Step 20: Convert weight to force
Divide the weight by 12 to convert pounds into foot-pounds, since 12 inches equals 1 foot. In this example, the calculation is 40.73 ÷ 12.
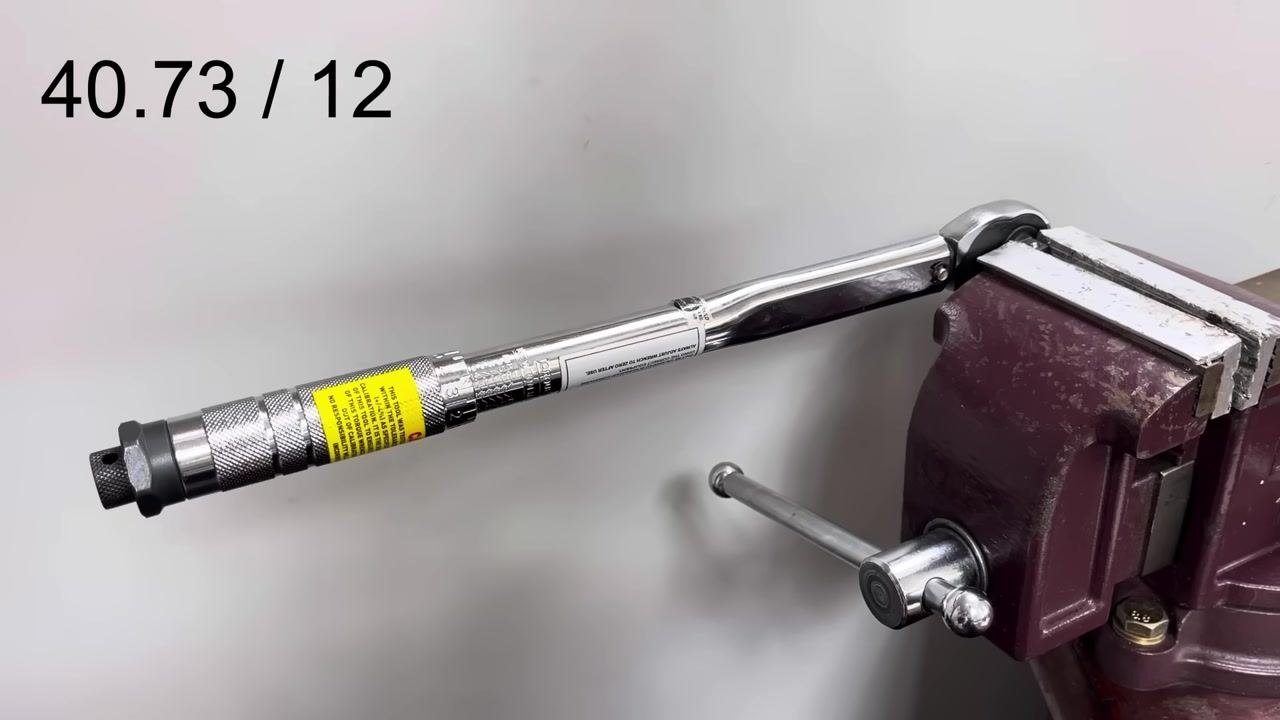
Step 21: Measure the lever length
Measure the distance from the center of the square drive (pivot point) to the point where the weight will be hung. Use this measurement in your force calculation to set the correct torque value.
Adjusting and calibrating using a bench vise (imperial wrench)
Step 22: Measure the length from the drive to the handle
Secure the torque wrench in the bench vise at the head. Use a tape measure to determine the distance from the center of the drive to the middle of the handle. In this example, the measurement is 11 inches, giving the calculation 40.73 ÷ 12.
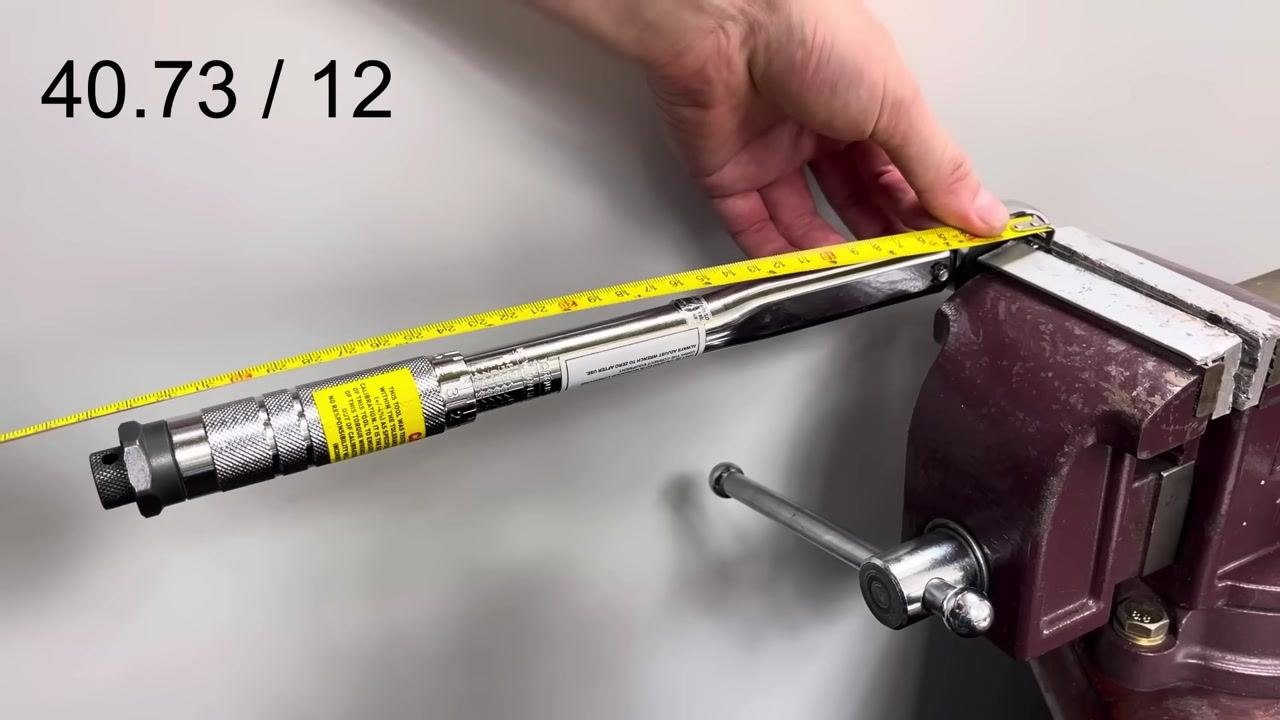
Step 23: Identify the correct point for applying force
Locate the area between the yellow warning label and the smooth section of the handle without knurling — this is the correct application point for calibration. The calculation updates to 40.73 ÷ 12 × 11.
Step 24: Calculate the required weight
Complete the calculation: 40.73 ÷ 12 × 11 = 37.34. This result, 37.34 lb, is the weight to apply at the measured point for proper calibration.
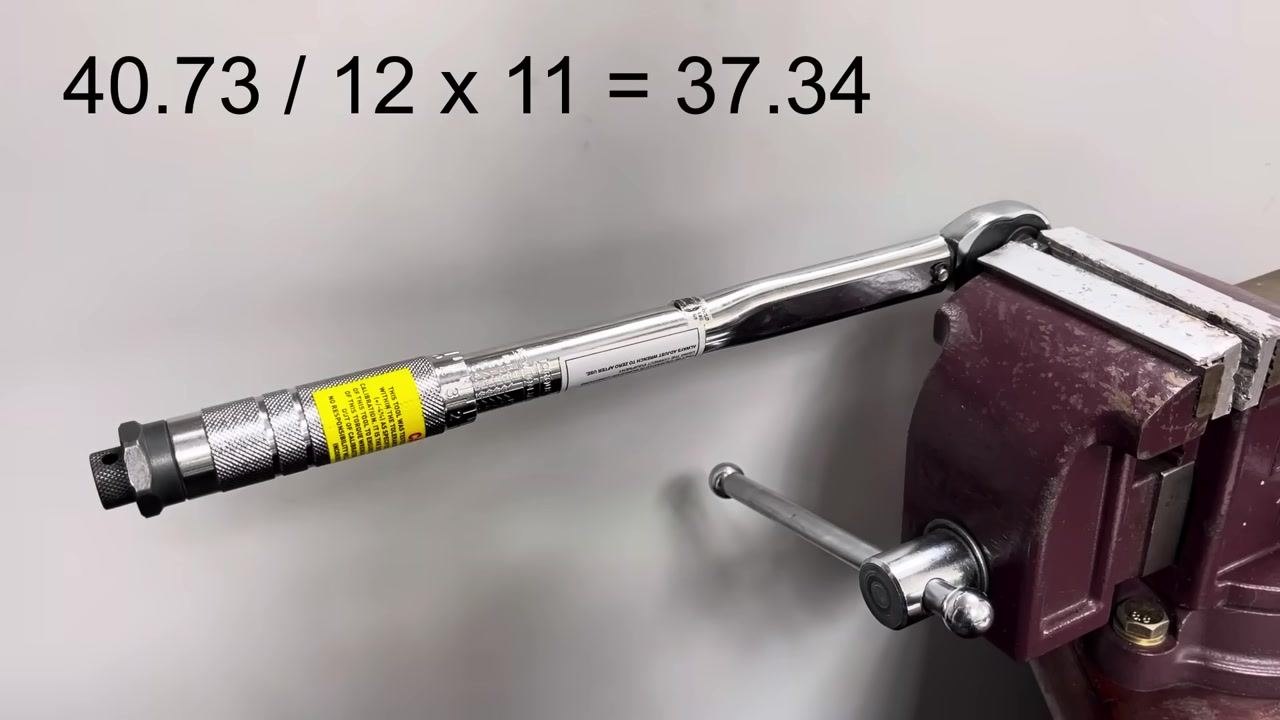
Step 25: Remove the torque wrench from the vice
Loosen the vise and remove the torque wrench to prepare for any needed adjustments.
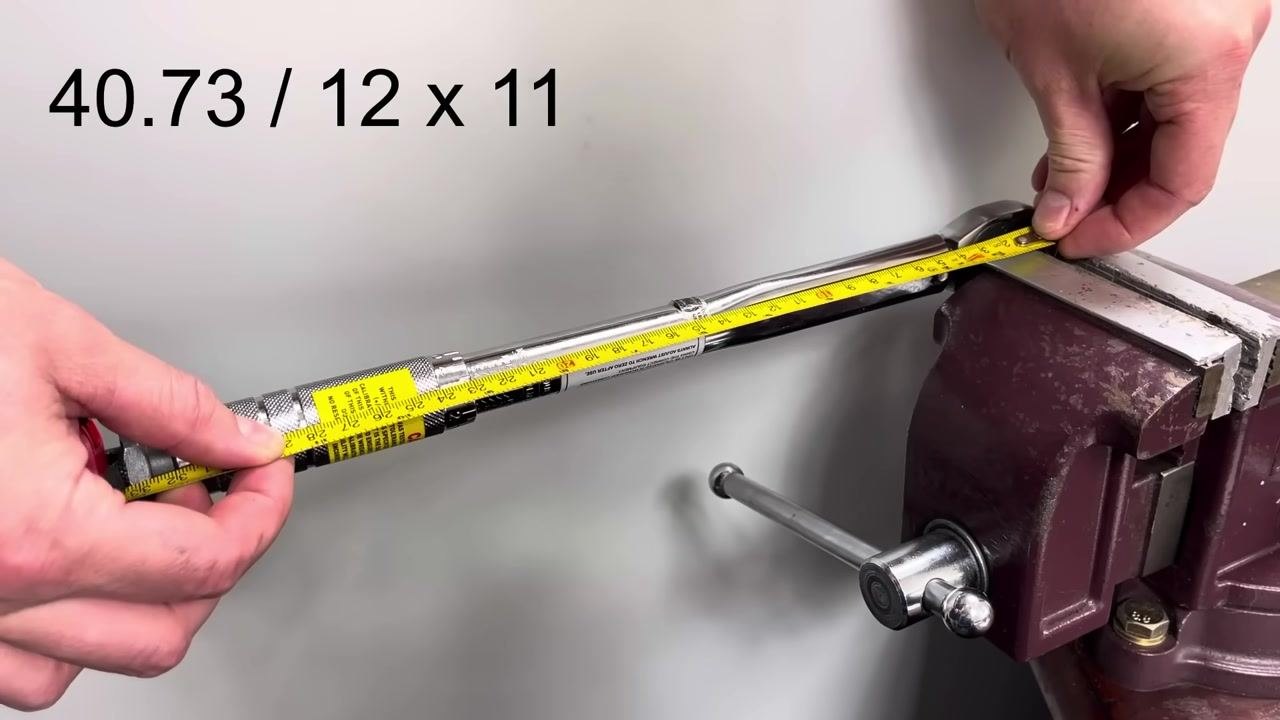
Step 26: Prepare to check and adjust the calibration
If the wrench clicks too early or too late when the calculated weight is applied, adjustment is needed. Hold the wrench securely before making fine adjustments.
Step 27: Test the click point before applying full weight
Place the torque wrench back in the vise. Before applying the full calculated weight, gently test whether it clicks at the correct force. If it clicks prematurely, further adjustment is required.
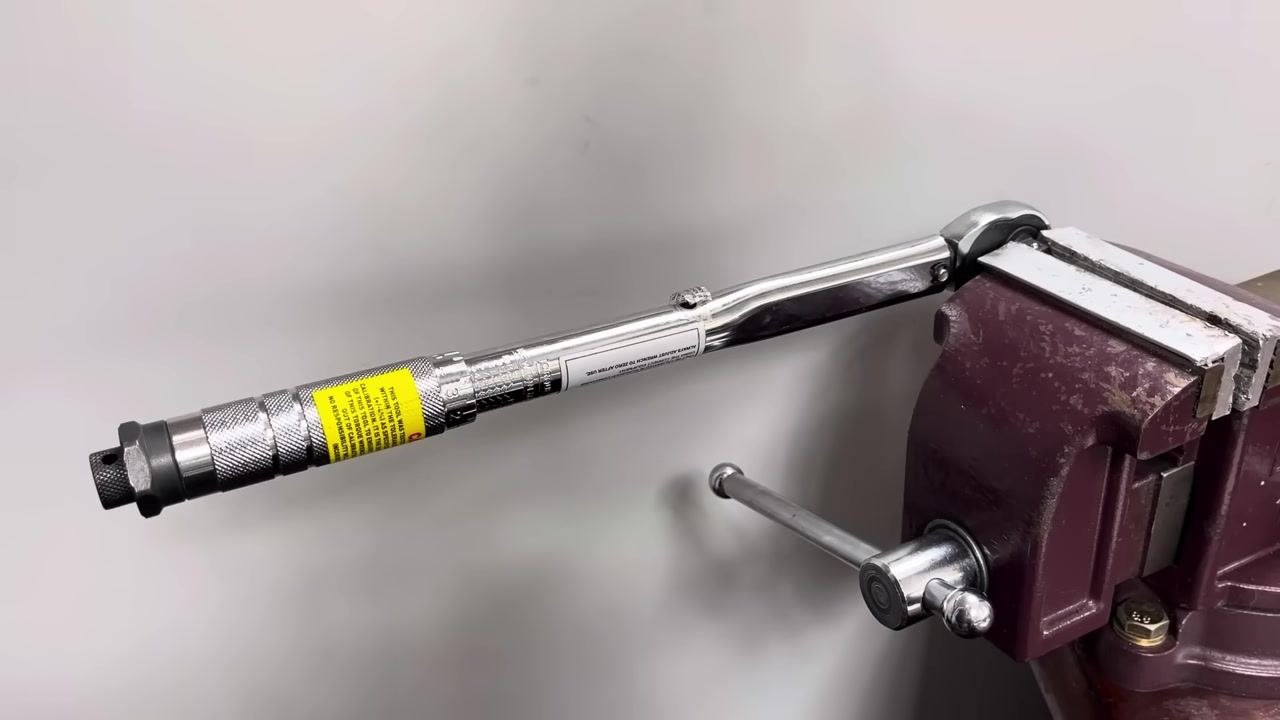
Step 28: Prepare for fine adjustment
Ensure the setup is stable and ready for fine-tuning, especially if the wrench is difficult to adjust or the weight feels heavy.
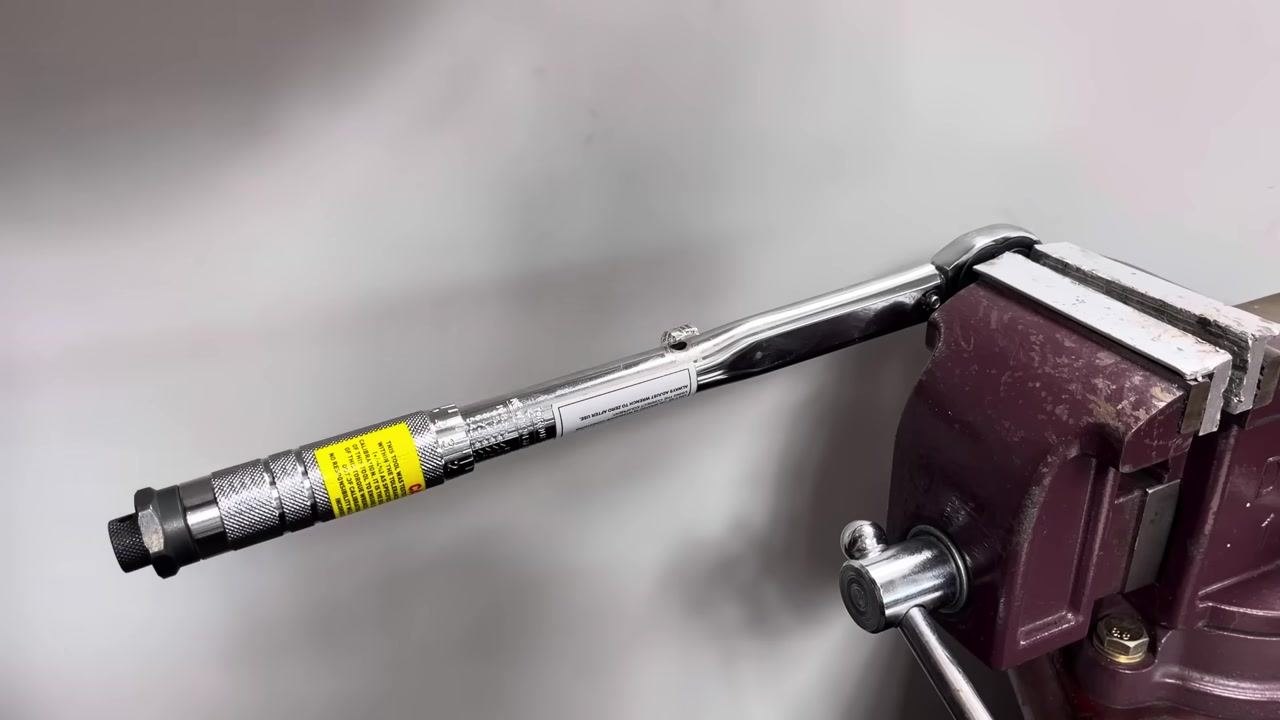
Step 29: Adjust the calibration screw
Use the Allen key to turn the calibration screw clockwise. Make a small adjustment, such as an eighth of a turn, to fine-tune the click point.
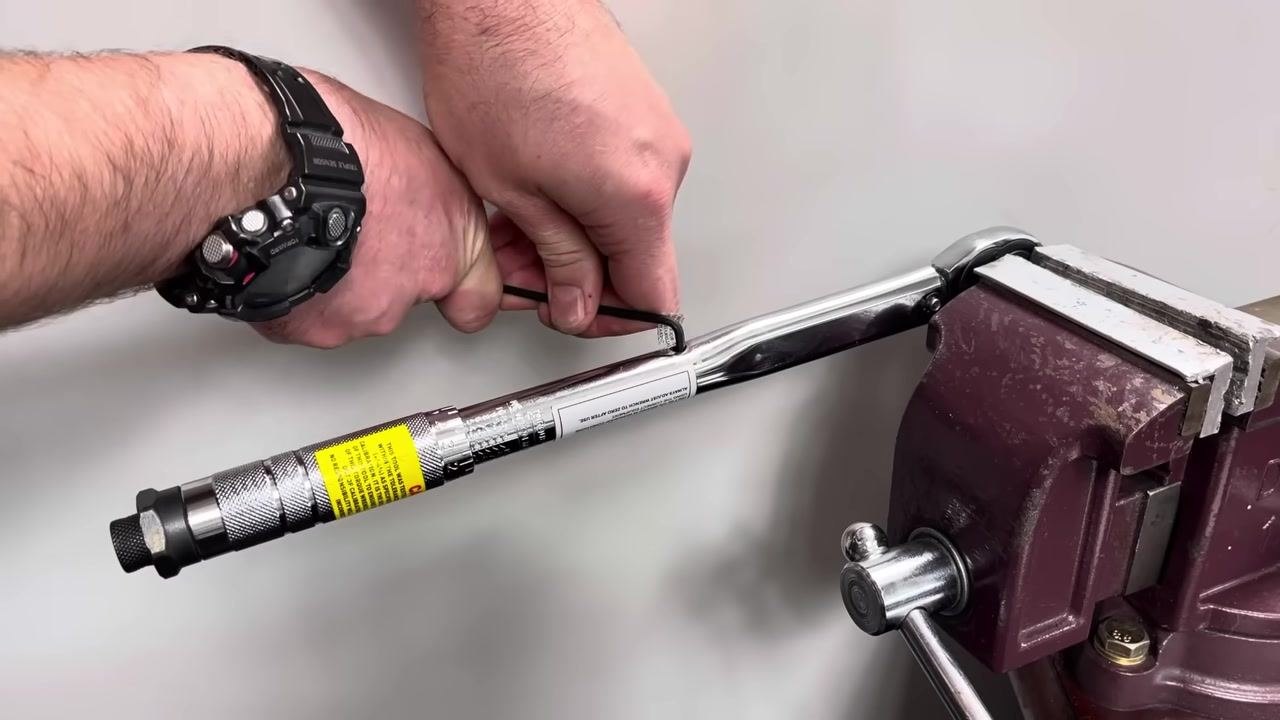
Note: Repeat the process of applying the calculated weight and adjusting the calibration screw as needed until the torque wrench clicks at the correct force. Always make small adjustments and re-test after each change.
Finalizing calibration and verifying accuracy
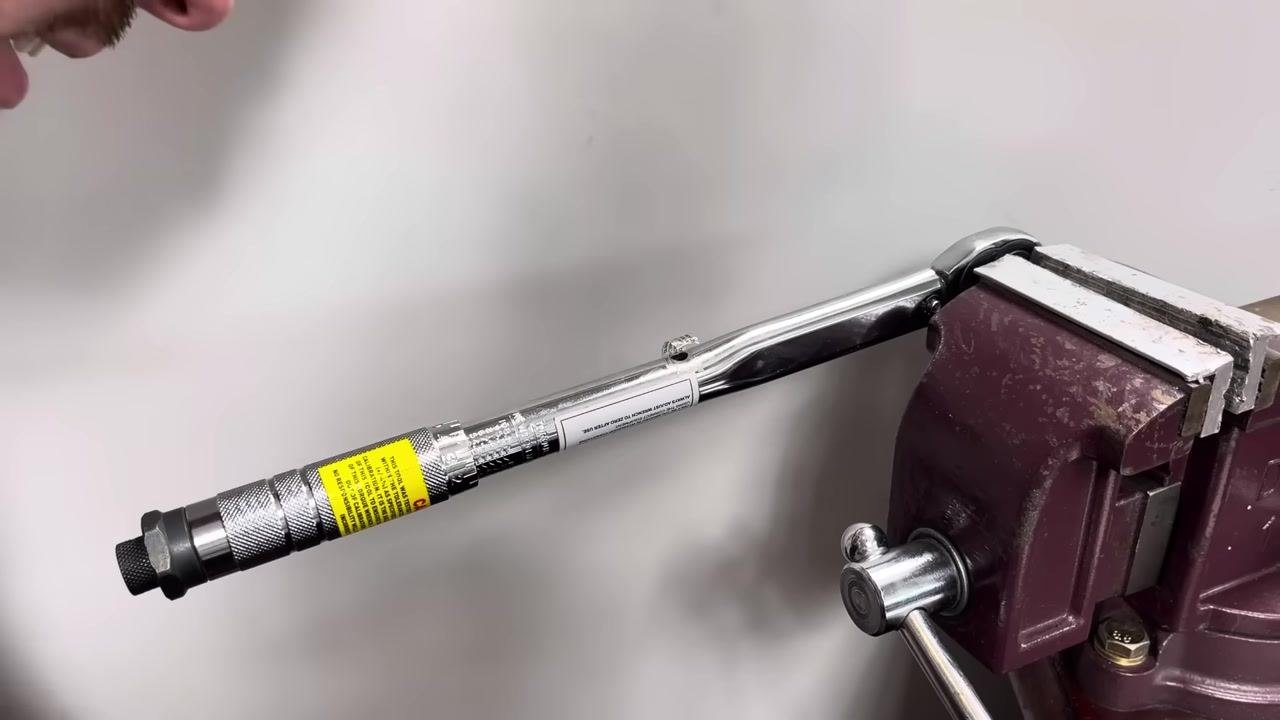
Step 30: Continue fine adjustments if the wrench does not click
If the torque wrench still does not click at the calculated weight, turn the calibration screw clockwise by another eighth turn using the Allen key. Repeat this process with small incremental adjustments until the wrench clicks at the correct force. Keep the wrench securely clamped in the vice throughout.
Step 31: Test the click point multiple times
Once the wrench clicks at the correct force, test it several more times to confirm consistency. Apply the calculated weight and listen for the click, repeating the process to verify reliable operation.
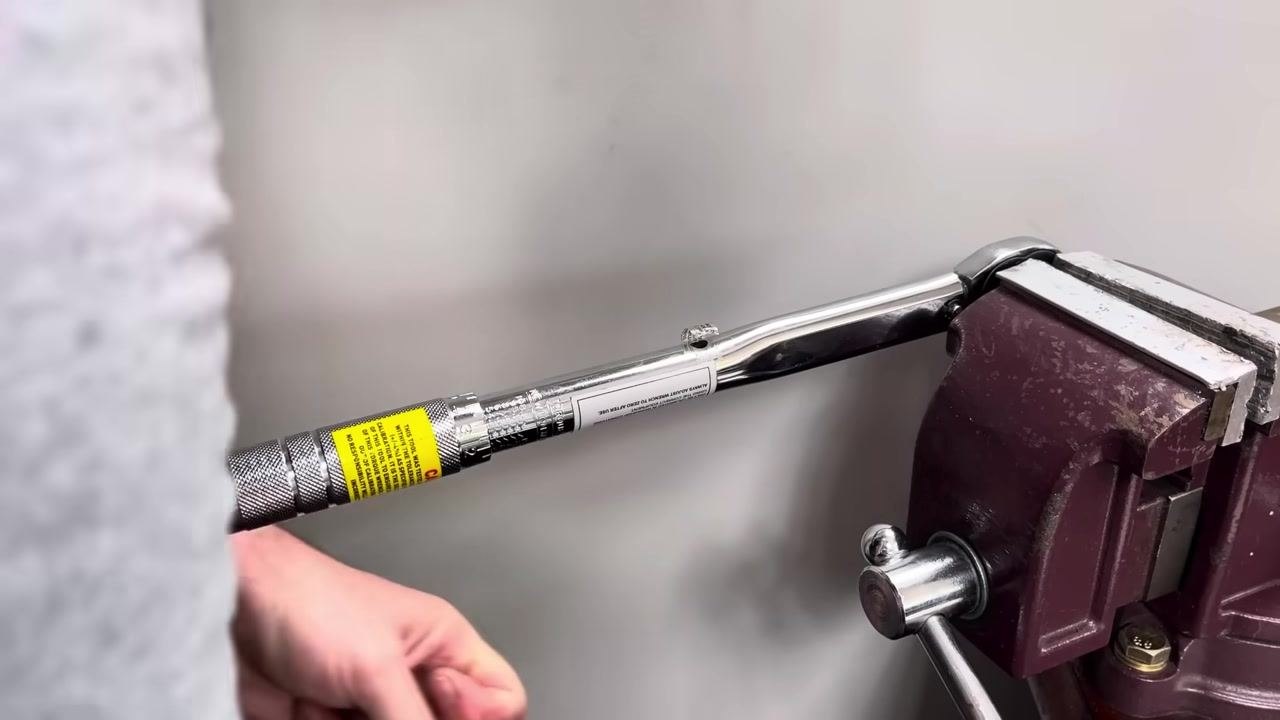
Step 32: Verify calibration in different positions and with varying weights
Test the torque wrench in several positions along the handle to confirm accuracy across its range. Change the applied weight slightly, both lighter and heavier, and check that the wrench clicks close to the expected force. This confirms the wrench is calibrated within its tolerance range.
Step 33: Check for consistency and tolerance
Observe the wrench's performance at different weights and positions. Confirm it reads very close to the target value, keeping in mind that all torque wrenches have a specified tolerance.
Step 34: Average the results for best accuracy
If the wrench reads slightly high or low across different positions, average the results to determine the most accurate calibration. Adjust as needed until the wrench clicks consistently near the target value.
Troubleshooting
- If the torque wrench does not click at the correct value after about a full turn of the calibration screw, return the screw to its original position and repeat the calibration process from the beginning.
- Apply the same principles described in this procedure to any similar click-type torque wrench.
- If you do not have the correct Allen key for your wrench's calibration screw, obtain the correct size before attempting adjustment.
- Always make small, incremental adjustments and re-test after each change rather than making large adjustments at once.
Summary and verification
Calibration is complete once the torque wrench clicks consistently at the correct force across multiple tests and at different points and weights within its range. This procedure can be performed at home without specialist equipment, using only a vice or bolt, a weight of known mass, a tape measure, an Allen key, and rope.
Always follow the manufacturer's guidelines for your specific torque wrench model, and calibrate regularly to ensure accurate and safe operation.


Generation details: cost, quality tiers
Docsie billed 4,500 credits ($3.15) to analyze this 9-minute video at standard quality. The rewrite, template fill and Word/PDF exports were included. The same video at each quality tier:
| Quality | Frames sampled | Credits | Approx. cost |
|---|---|---|---|
| Draft | every 16-30 s | 2,250 | $1.57 |
| Standard (this guide) | every 8-15 s | 4,500 | $3.15 |
| Detailed | every 4-7 s | 9,000 | $6.30 |
| Ultra | every 1-3 s | 18,000 | $12.60 |
Credits priced at $0.70 per 1,000; plans include a monthly allowance. Enterprise customers on on-premise or bring-your-own-model deployments run this on their own inference and pay no per-video credits.
Generated by Docsie Video-to-Docs on 2026-09-08 from a 8-minute video. Screenshots are frames from the source video and belong to their creator, Vintage Engine Repairs, whose original is embedded above. If you own this video and want the guide removed or credited differently, contact us and we will act within one business day.