
How to Use a Spectrophotometer
This document explains how to use a spectrophotometer to measure the transmittance and absorbance of a solution. It walks through identifying the instrument's key parts, preparing your cuvettes and solutions, calibrating the device at a chosen wavelength, taking measurements, and recalibrating whenever you switch wavelengths.
Video: How To Use A Spectrophotometer by Prof. Lui (2014). All credit for the demonstration goes to the creator; watch the original on YouTube. The written guide below was generated from this video by Docsie. Creator? Request a change or removal.
This document explains how to use a spectrophotometer to measure the transmittance and absorbance of a solution. It walks through identifying the instrument's key parts, preparing your cuvettes and solutions, calibrating the device at a chosen wavelength, taking measurements, and recalibrating whenever you switch wavelengths.
Purpose
This procedure ensures that spectrophotometric readings are taken accurately and consistently. Following these steps helps you avoid common errors such as skipping calibration or misreading the display.
Scope
This procedure applies to any laboratory setting where a spectrophotometer is used to measure transmittance or absorbance of a solution at a set wavelength. It covers initial setup, solution preparation, calibration, measurement, and recalibration for a new wavelength.
Required equipment and materials
- Spectrophotometer with a sample compartment, wavelength control knob, transmittance/absorbance control knob, mode select button, and zero control knob
- Cuvettes (at least two: one for the blank solution, one for the sample solution)
- Blank solution (containing all components except the molecule or compound you wish to measure)
- Sample solution (containing the molecule or compound you wish to measure)
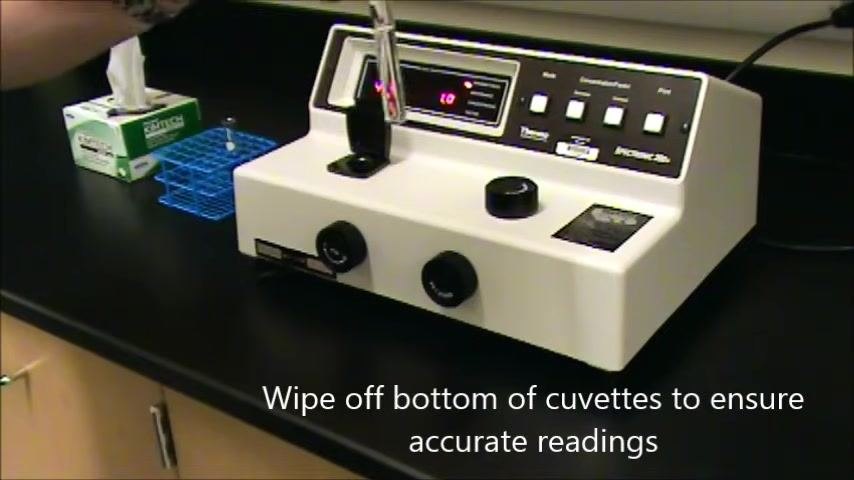
- Lint-free wipes (e.g., Kimtech wipes) for cleaning cuvettes
- A stable laboratory bench for the instrument
Identify the spectrophotometer parts
-
Locate the sample compartment. This is where you place your cuvette for measurement, and the lid opens and closes to allow access. On a typical setup, the spectrophotometer sits on a lab bench near a box of lint-free wipes and a cuvette rack.
-
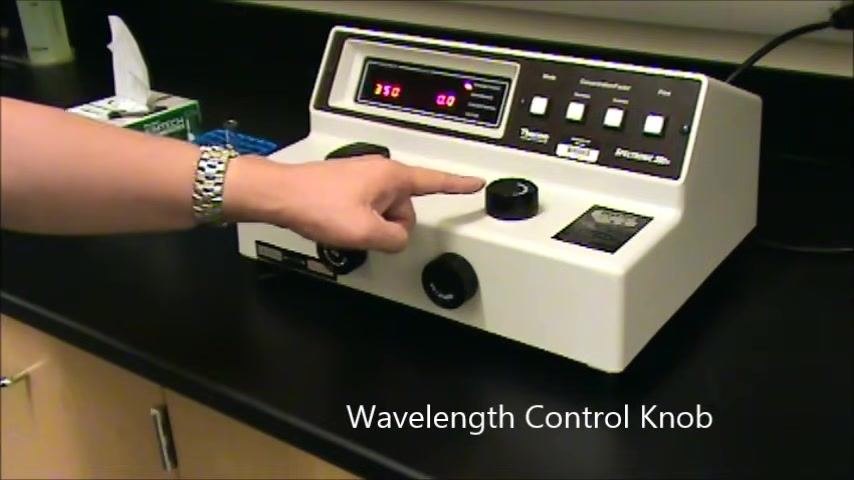
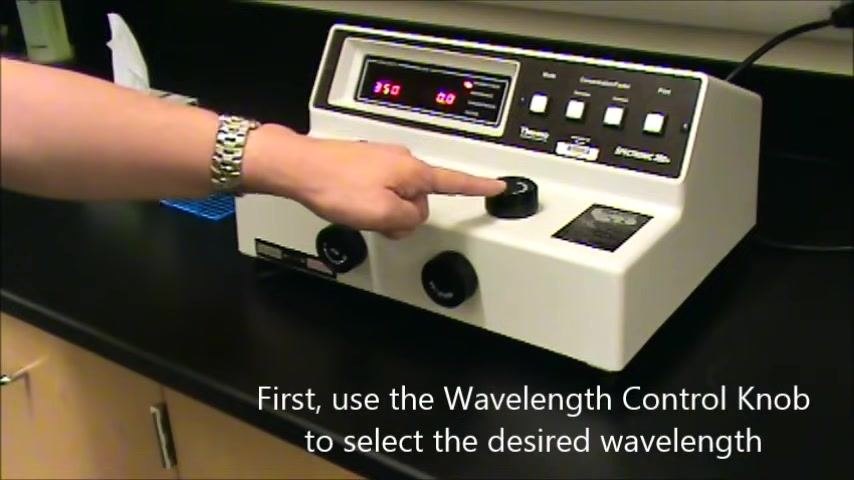
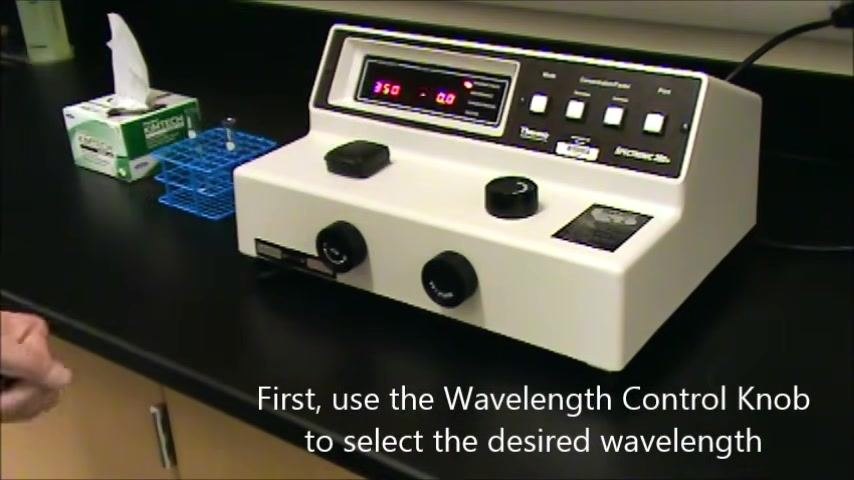
Locate the Wavelength Control Knob, positioned on the top surface of the device to the right of the sample compartment. You use this knob to change the wavelength setting.
-
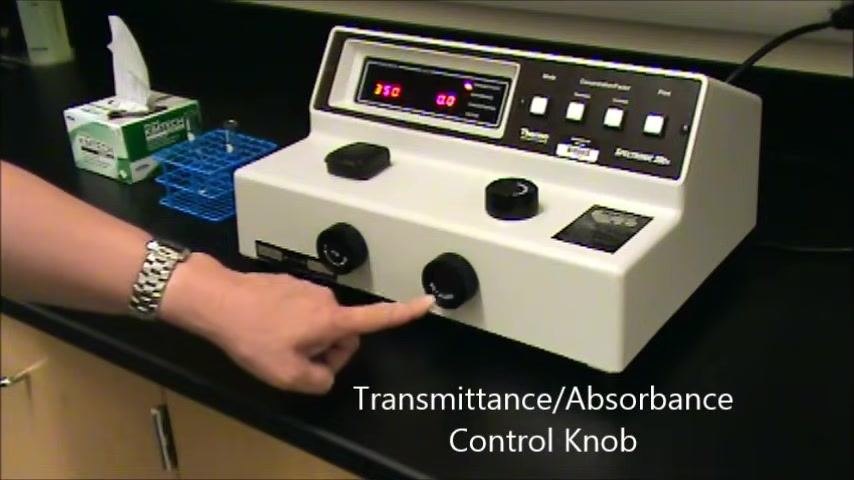
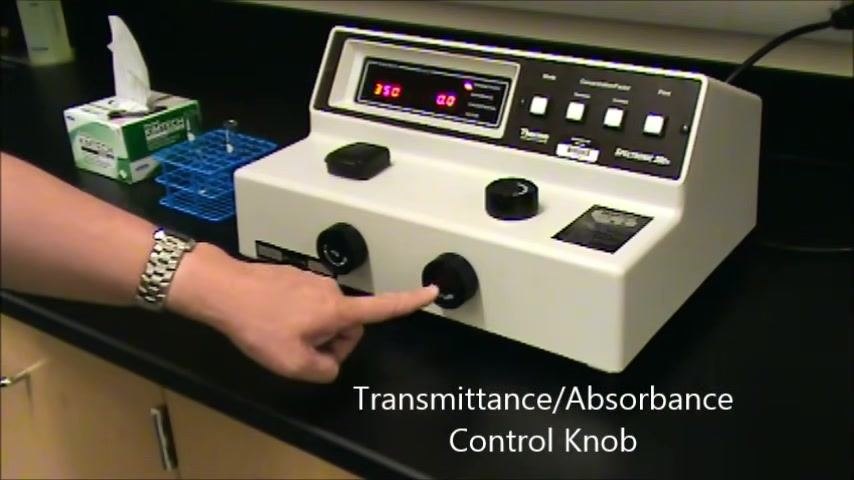
Locate the Transmittance/Absorbance Control Knob on the right-hand side of the front panel. You use this knob to adjust the transmittance or absorbance readings.
- Locate the Mode Select button on the top panel, above the control knobs. Pressing this button switches between measurement modes (such as transmittance and absorbance), and the display updates to reflect the mode you select.
Prepare your cuvettes and solutions
- Before using the spectrophotometer, prepare both a blank solution and your sample solution. The blank solution must contain all components except the molecule or compound you intend to measure.
- Fill one cuvette with the blank solution and fill a separate cuvette with the sample solution containing the compound you wish to measure. Keep the two cuvettes clearly distinguished so you do not mix them up later in the procedure.
Set the spectrophotometer to transmittance mode
-
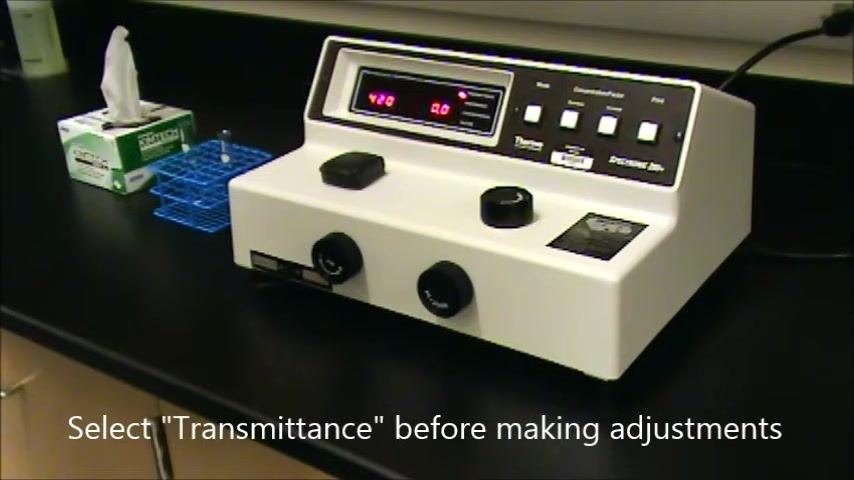
Select Transmittance mode before making any adjustments. The transmittance scale is linear, which makes it easier to set the zero and 100% values accurately. Confirm the spectrophotometer is set to Transmittance before you calibrate or take readings.
-
Press the Mode Select button repeatedly until the transmittance value is highlighted on the display.
Calibrate the spectrophotometer and insert the blank
-
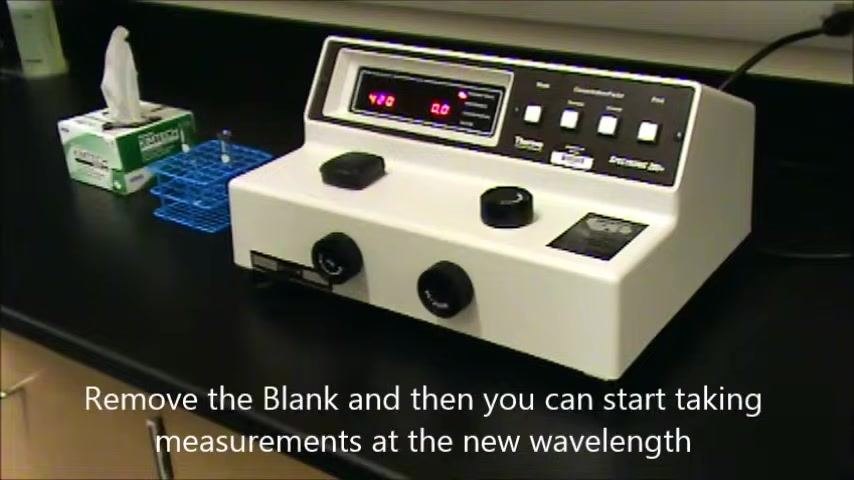
Turn the Wavelength Control Knob until the display shows the wavelength you want to measure. For this procedure, set the wavelength to 420 nanometers.
-
Confirm the display now reads 420 for the wavelength. The spectrophotometer is now ready for zeroing at this wavelength.
-
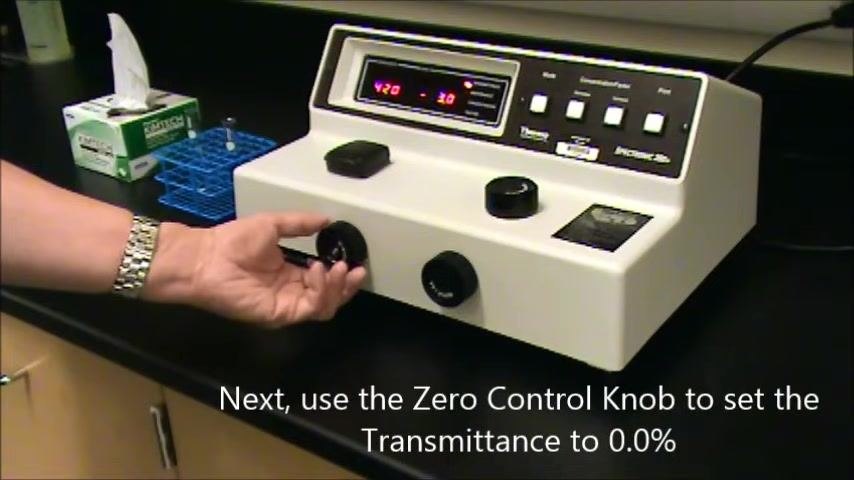
Turn the zero control knob, located on the front left of the device, until the display reads 0.0% for transmittance. This step ensures the instrument is properly zeroed before you insert any cuvette.
-
Continue adjusting the zero control knob until the display reads exactly 0.0.
-
Lift the lid of the sample compartment to prepare it for cuvette insertion.
-
Wipe the bottom of the blank cuvette with a lint-free wipe. This step prevents residue or fingerprints from interfering with the reading.
-
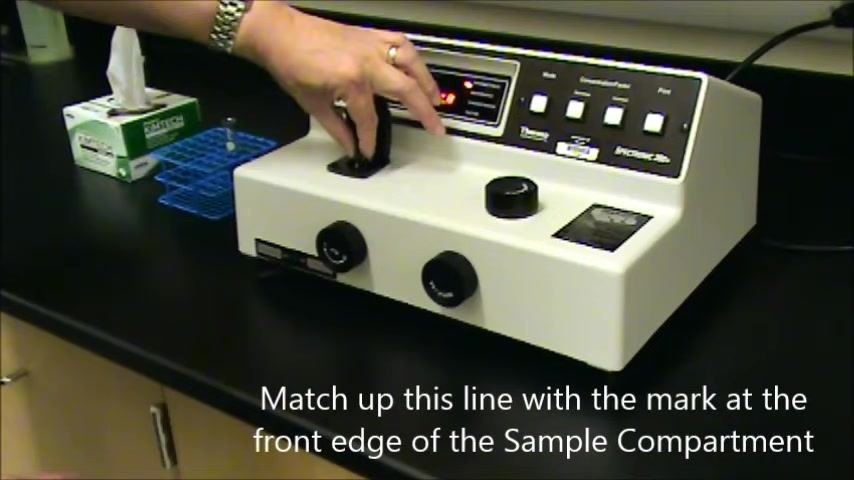
Align the line on the cuvette with the dash at the front edge of the sample compartment, insert the blank cuvette fully, and close the lid.
-
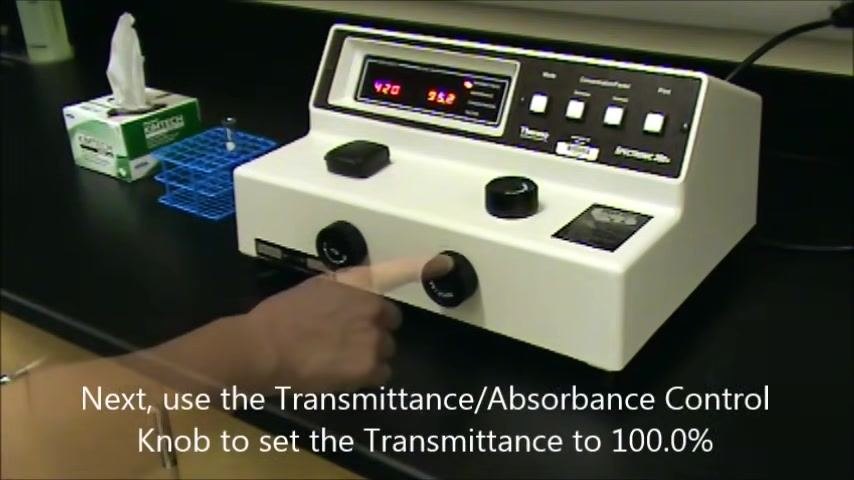
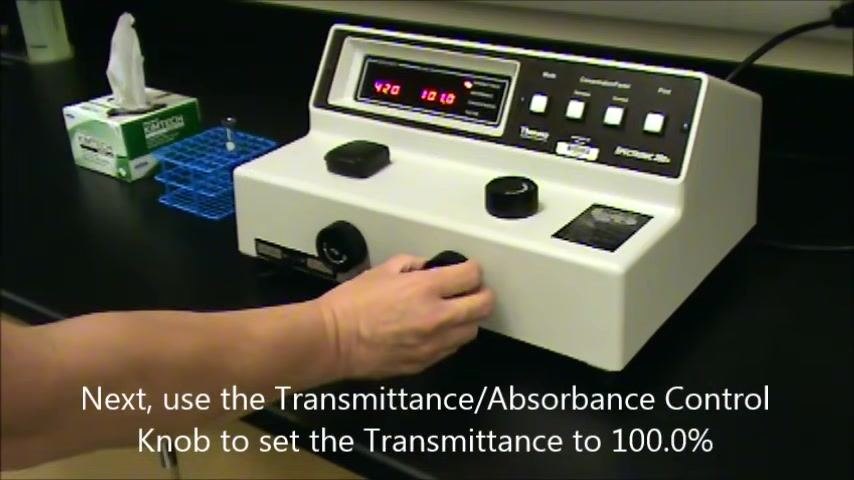
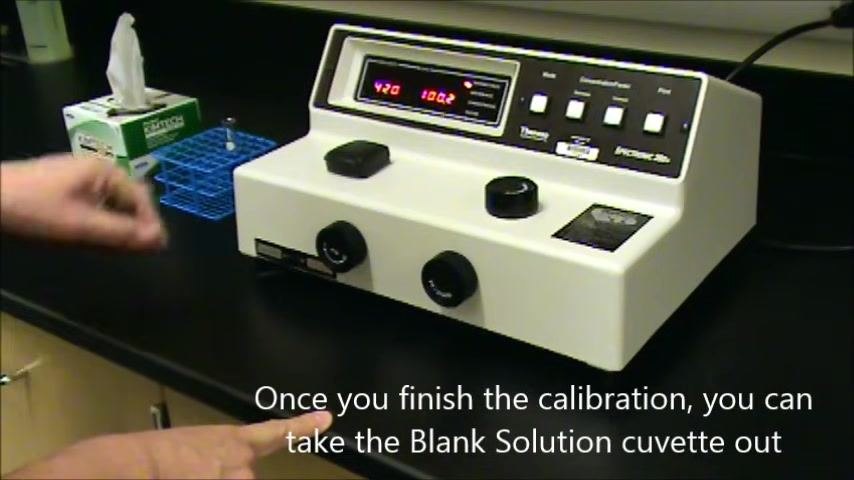
Turn the Transmittance/Absorbance Control Knob, located on the front right of the device, until the display reads 100.0% for transmittance.
-
Continue adjusting the knob until the display reads exactly 100.0.
-
Once the display reads 100.0%, open the sample compartment and remove the blank cuvette. The spectrophotometer is now calibrated and ready for sample measurement.
Measure sample solutions and interpret readings
-
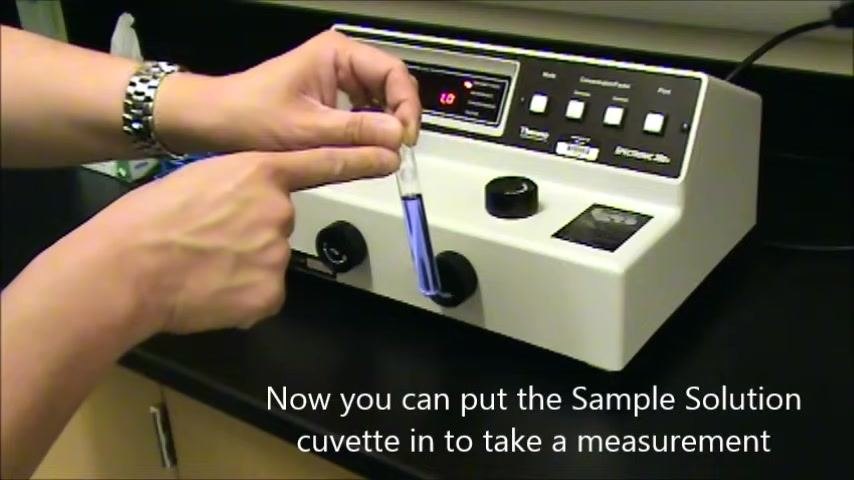
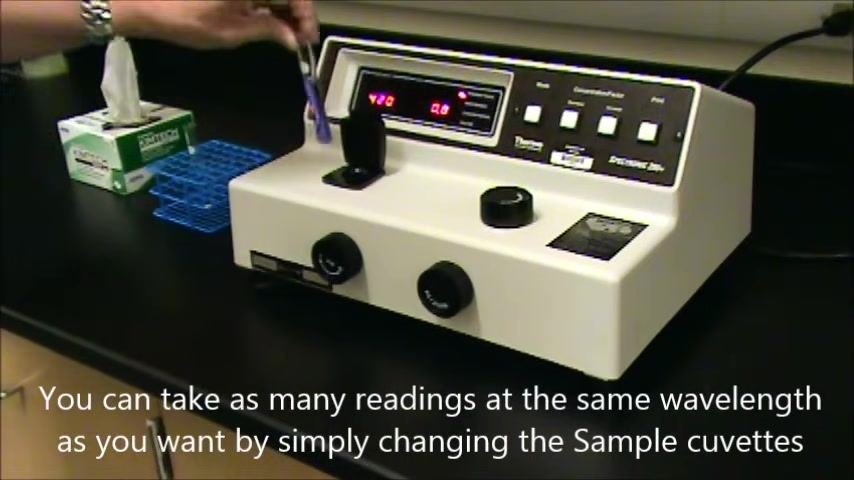
Hold the sample cuvette so its clear sides align with the light path, line up the mark on the cuvette with the mark on the sample compartment, and gently insert it.
-
Read the transmittance value on the digital display, shown as a percentage. For example, the display may read 93.0% transmittance at 420 nm.
-
If you need the absorbance value instead, press the Mode button to toggle to Absorbance. When the Absorbance LED is lit, the display shows the absorbance value for the same wavelength — for example, 0.032 at 420 nm.
-
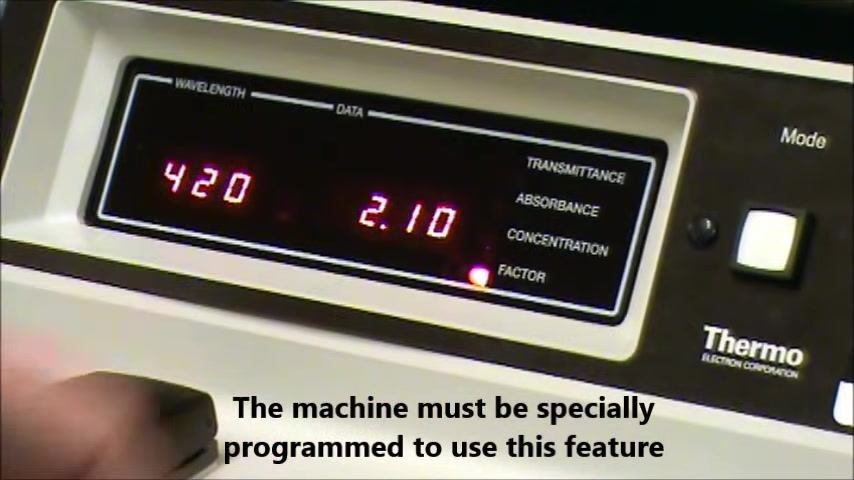
Important: Do not record the concentration value unless the machine has been specifically programmed with the correct factor for your compound. The concentration and factor features require special programming and calibration, so only use the transmittance and absorbance values for your measurements.
- Open the sample compartment and carefully remove the cuvette. The transmittance display should return to 0.0% once the compartment is empty.
-
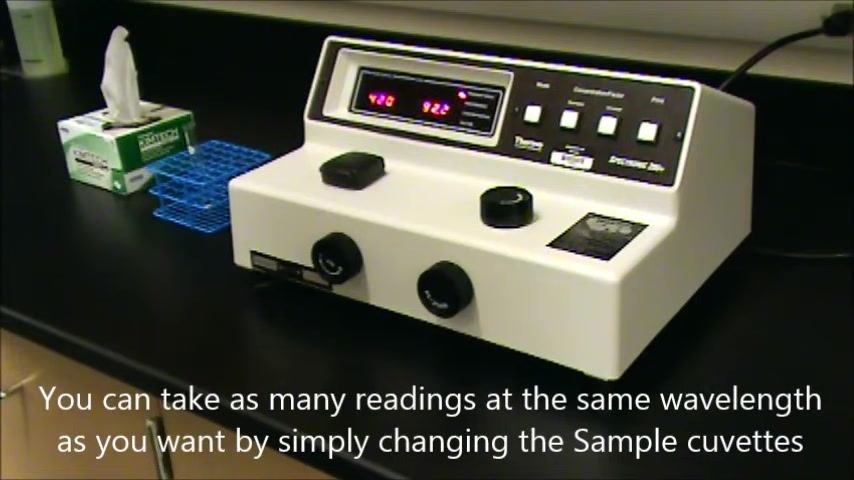
To measure additional samples at the same wavelength, insert each new sample cuvette one at a time, aligning the marks as before, and record the transmittance and/or absorbance value shown for each.
-
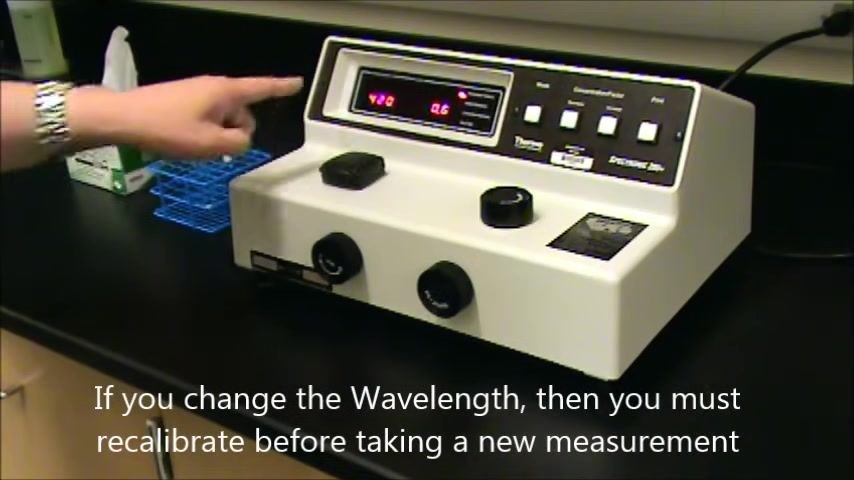
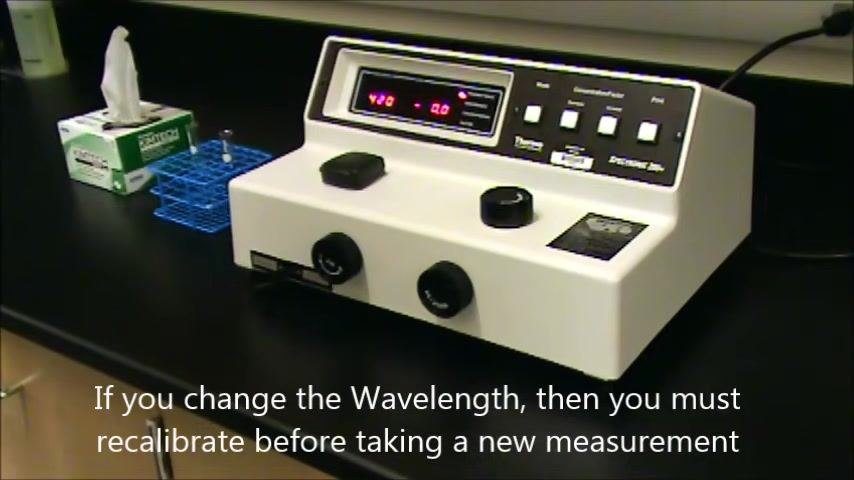
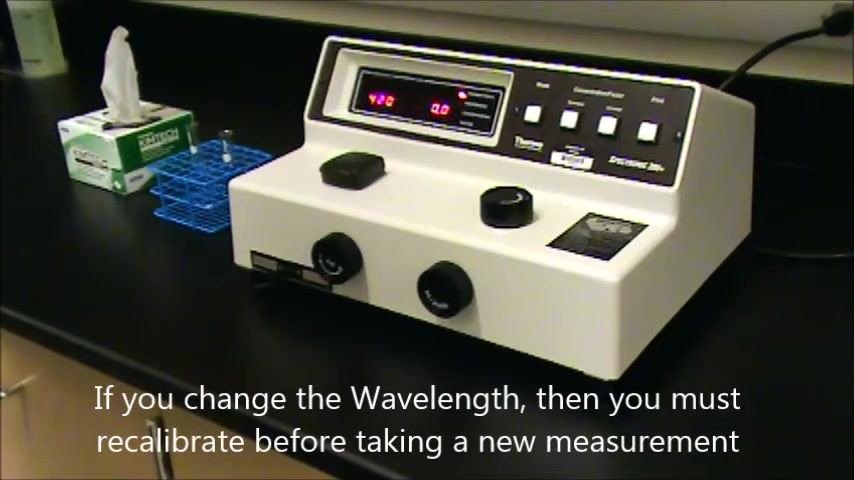
Note: If you need to measure at a different wavelength, you must recalibrate the spectrophotometer before taking any new readings.
Recalibrate for a new wavelength
-
Turn the Wavelength Control Knob until the display shows the new desired wavelength — for example, 480 nm.
-
With the sample compartment empty, turn the zero control knob on the left side of the device until the transmittance display reads 0.0%.
-
Insert the blank cuvette (containing only the solvent) into the sample compartment, aligning the marks as before.
-
Turn the Transmittance/Absorbance Control Knob on the right side of the device until the display reads 100.0%.
-
Open the sample compartment and carefully remove the blank cuvette.
-
Insert your sample cuvette, aligning the marks, and read and record the absorbance or transmittance value at the new wavelength.
Verification and summary
- Confirm that the sample compartment is empty and the transmittance display reads 0.0% before starting any new zeroing step.
- Confirm the blank cuvette produces a 100.0% transmittance reading before you remove it and begin measuring samples.
- Record only the transmittance and absorbance values from the display; do not use the concentration or factor readings unless the machine is specifically programmed and calibrated for those features.
- Always recalibrate the spectrophotometer whenever you change the measurement wavelength, before taking any new readings.
By following this procedure, you can identify the key parts of the spectrophotometer, prepare your solutions correctly, calibrate the instrument at any wavelength, and take accurate, reliable transmittance and absorbance measurements for your samples.
Generation details: cost, quality tiers
Docsie billed 3,000 credits ($2.10) to analyze this 6-minute video at standard quality. The rewrite, template fill and Word/PDF exports were included. The same video at each quality tier:
| Quality | Frames sampled | Credits | Approx. cost |
|---|---|---|---|
| Draft | every 16-30 s | 1,500 | $1.05 |
| Standard (this guide) | every 8-15 s | 3,000 | $2.10 |
| Detailed | every 4-7 s | 6,000 | $4.20 |
| Ultra | every 1-3 s | 12,000 | $8.40 |
Credits priced at $0.70 per 1,000; plans include a monthly allowance. Enterprise customers on on-premise or bring-your-own-model deployments run this on their own inference and pay no per-video credits.
Generated by Docsie Video-to-Docs on 2026-09-08 from a 5-minute video. Screenshots are frames from the source video and belong to their creator, Prof. Lui, whose original is embedded above. If you own this video and want the guide removed or credited differently, contact us and we will act within one business day.