
How to Use a Compound Microscope
This document explains how to use a compound microscope, covering setup, power, lighting, focusing, lens identification, magnification calculations, and safe storage. Following this procedure ensures you can bring specimens into clear focus while protecting the instrument's lenses from damage.
Video: How To Use a Compound Light Microscope: Biology Lab Tutorial by Tami Guy, MS, CPPS (2013). All credit for the demonstration goes to the creator; watch the original on YouTube. The written guide below was generated from this video by Docsie. Creator? Request a change or removal.
This document explains how to use a compound microscope, covering setup, power, lighting, focusing, lens identification, magnification calculations, and safe storage. Following this procedure ensures you can bring specimens into clear focus while protecting the instrument's lenses from damage.
Purpose
This procedure guides you through the correct operation of a compound light microscope, from initial setup through observation at multiple magnification levels, and concludes with proper storage.
Scope
This procedure applies to standard compound light microscopes equipped with a mechanical stage, illuminator, iris diaphragm, coarse and fine focus knobs, and a rotating nosepiece with multiple objective lenses. It covers both monocular and binocular microscope models.
Required equipment
- Compound light microscope with power cord
- Prepared specimen slide
- Access to an electrical outlet
- Immersion oil (only if your microscope includes an oil immersion objective lens)
Procedure
Prepare the microscope for use
After transporting your microscope to your station, remove the dust cover. Fold the dust cover and place it in an out-of-the-way location to keep your workspace uncluttered.
Transport the microscope safely
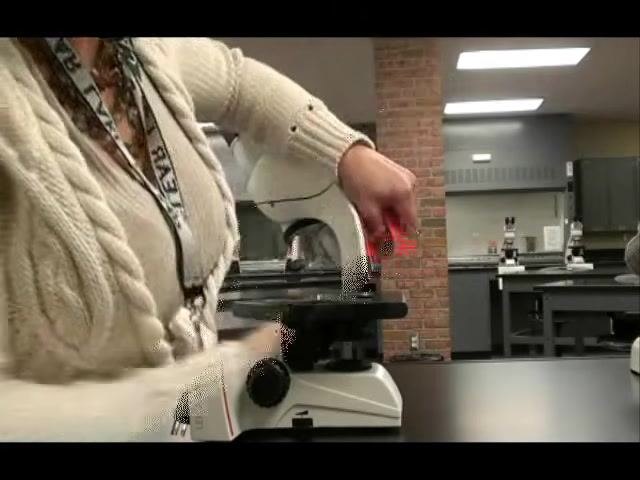
Always hold the microscope by both the neck and the base when transporting it. Use the handle located in the neck for one hand, and place your other hand beneath the base for support.
Connect the microscope to power
If your microscope has a detachable power cord, plug one end into the microscope and the other into an electrical outlet. If your microscope has an attached cord, simply unwind it and plug it into an outlet.
Turn on the microscope
Locate the on-off switch, typically found in the base of the microscope, and switch it to the "on" position. The switch may light up to indicate the microscope is powered.
Adjust the light level for optimal viewing
Adjusting the amount of light shining through your specimen is crucial for clear observation. Too much light can wash out the specimen, while too little light makes it hard to see. Adjusting the light helps manipulate contrast, which is the difference in visibility between your specimen and the background. There are two places to adjust the light level: the illuminator and the iris diaphragm.
Use the light adjustment dial
Most compound light microscopes have a dial to adjust the light level. Turn the dial to increase or decrease the amount of light passing through the specimen.
Adjust the light using the illuminator
Locate the illuminator in the base of the microscope. This is the primary light source that shines upward through the specimen. Use the dial or switch on the base to control the intensity of the light from the illuminator, ensuring it is bright enough to view your specimen clearly but not so bright that it washes out the image.
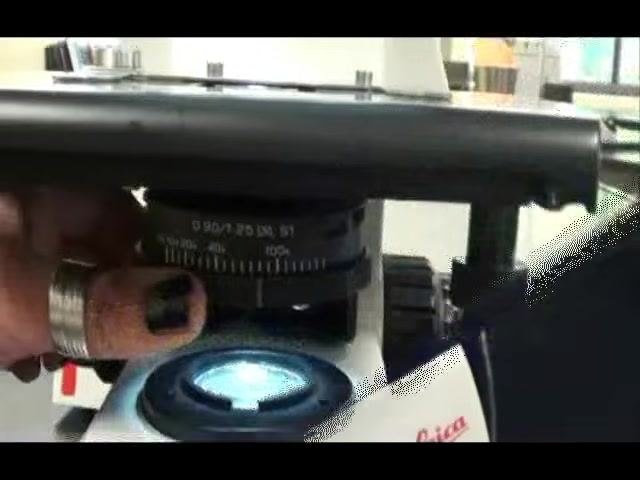
Adjust the light using the iris diaphragm
Find the iris diaphragm, which is located directly beneath the stage. Twist the iris diaphragm to open or close it, increasing or decreasing the amount of light passing through the specimen. This adjustment helps control contrast and clarity.
Place the slide in the mechanical stage
Open the slide holder on the mechanical stage. Carefully place your prepared slide into the holder, ensuring it is secure and centered over the light source.
Center the specimen using the coaxial adjustment knobs
Locate the coaxial adjustment knobs, usually found on the side of the stage. Turn these knobs to move the slide left, right, forward, or backward until your specimen is centered in the field of view.
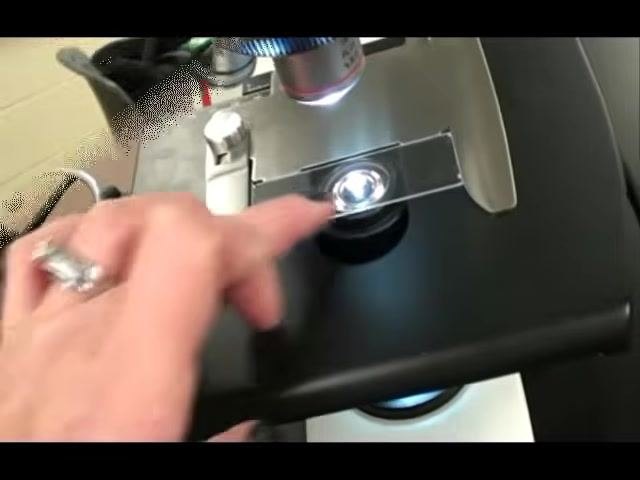
Raise or lower the stage using the focus knobs
Identify the focus knobs on the side of the microscope. Turn the focus knobs to raise or lower the stage, adjusting the vertical position of your specimen. The correct vertical position is crucial for bringing your specimen into sharp focus.
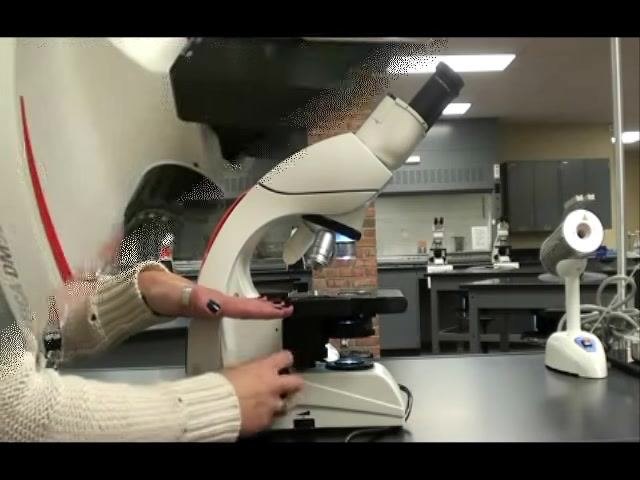
Use the coarse and fine focus knobs for precise focusing
On most microscopes, the coarse focus knob is the larger, inner knob closest to the body of the microscope. Use the coarse focus knob for large adjustments to bring the specimen roughly into focus. Use the fine focus knob (the smaller, outer knob) for small, precise adjustments to achieve a sharp image.
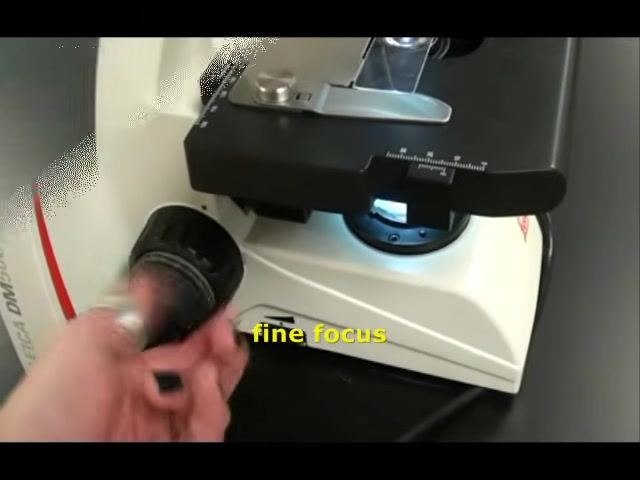
Fine-tune the image using the fine focus knob
Locate the fine focus knob, typically the smaller knob on the side of the microscope. Gently turn it to make small adjustments and sharpen the image of your specimen. Fine focusing is essential for achieving a clear, detailed view, especially at higher magnifications.
Identify the ocular lens(es)
Determine whether your microscope has a single ocular lens (monocular) or a set of binocular lenses (two eyepieces). The ocular lens is the lens you look through at the top of the microscope, and it magnifies the specimen 10 times (10x).
Observe the binocular lenses
If your microscope is binocular, use both eyepieces for comfortable, stereoscopic viewing. The binocular lenses are positioned at the top of the microscope and are labeled as "Bi-nocular lenses (two eyepieces)".
Locate the objective lenses on the rotating nosepiece
Find the objective lenses attached to the rotating nosepiece just above the stage. The nosepiece allows you to switch between different objective lenses by rotating and clicking each one into position. Objective lenses are typically labeled by their magnification power: scanning, low-power, high-dry, and oil immersion.
Switch and position the objective lenses
Rotate the nosepiece to select the desired objective lens. Ensure the lens clicks into place directly above the specimen for proper alignment.
Use the scanning power objective lens
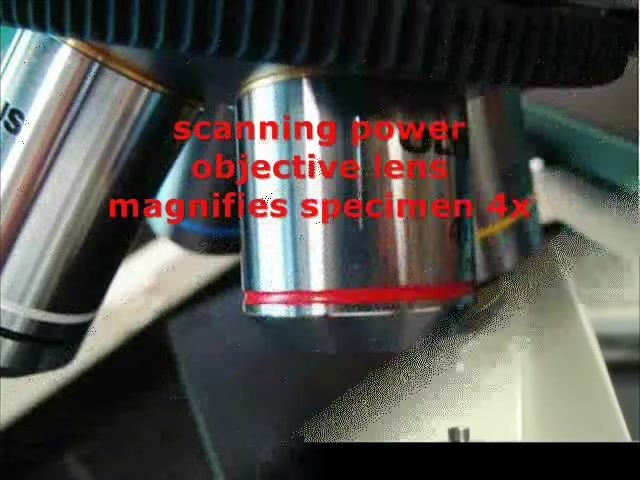
Identify the scanning power objective lens by its red band. This lens magnifies the specimen 4 times (4x) and is ideal for initially locating your specimen on the slide.
Total magnification is the product of the ocular lens and the objective lens. At scanning power: Ocular lens (10x) × Scanning objective lens (4x) = 40x total magnification.
Identify and use the low power objective lens
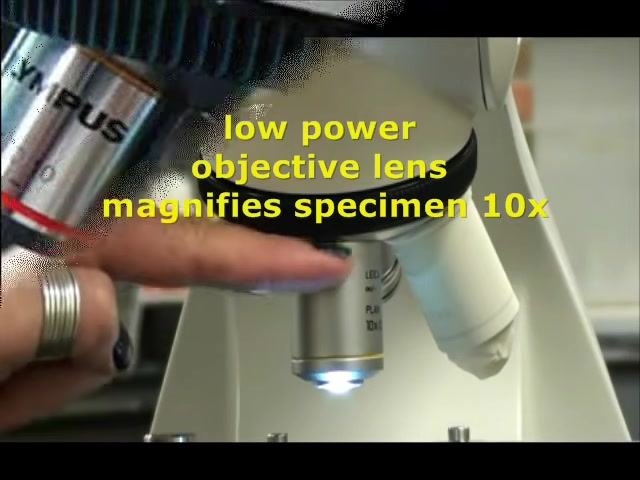
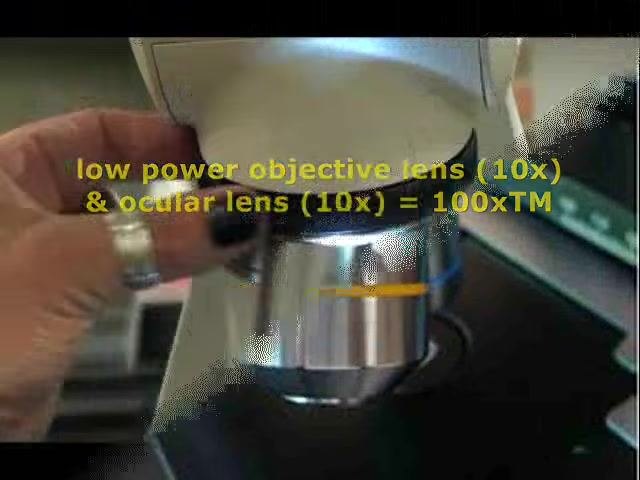
Locate the low power objective lens, which has a yellow band. It magnifies the specimen 10 times (10x) and is useful for viewing more detail after initially locating the specimen. Combined with the ocular lens (10x), the total magnification is 100x actual size (10x × 10x = 100xTM).
Switch to the next objective lens
Rotate the nosepiece to the next objective lens. You may notice this lens is covered with a protective cap or "finger cut." This is a safety measure, especially in teaching labs, to prevent accidental use or contamination. In many teaching laboratories, microscopes are primarily used for microbiology classes, and covering a lens is a common practice to protect sensitive or specialized objectives.
Protect the high dry power lens from oil
Oil used with the oil immersion lens can damage the high dry power lens if not handled properly. Always ensure the high dry lens is not exposed to immersion oil.
Safety note: Cover the high dry power lens when not in use to protect it from accidental oil exposure.
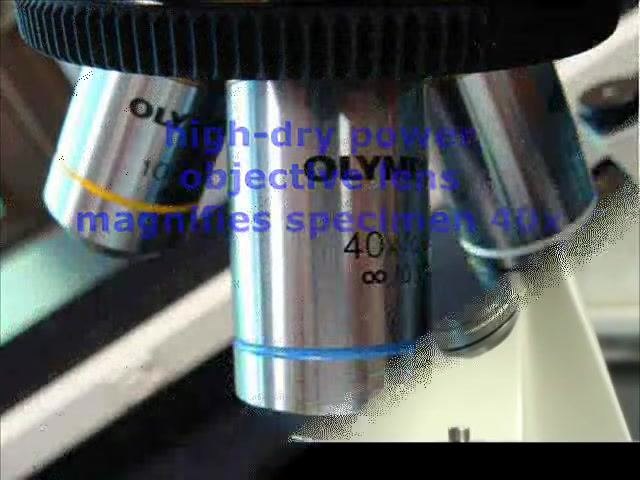
Locate and calculate magnification for the high-dry power lens
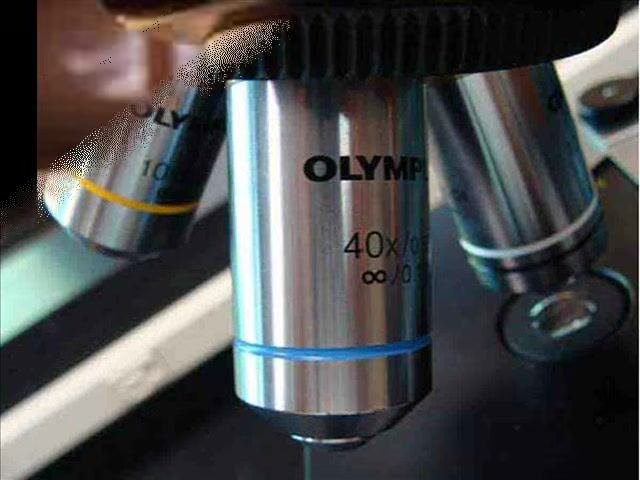
Locate the high-dry power objective lens (40x) on your microscope. This lens magnifies the specimen 40 times, and when combined with the ocular lens (10x), the total magnification is 400xTM (40x × 10x = 400xTM).
Identify the oil immersion lens
Compound microscopes typically have three or four objective lenses. If your microscope has a fourth lens, it is usually the oil immersion lens, often marked with a black and white band.
Locate and calculate magnification for the oil immersion lens
Identify the oil immersion objective lens (100x) on your microscope, labeled accordingly (for example, "LEICA PLAN 100x/1.25"). This lens is used for very high magnification and magnifies the specimen 100 times. Combined with the ocular lens (10x), the total magnification is 1000xTM (100x × 10x = 1000xTM).
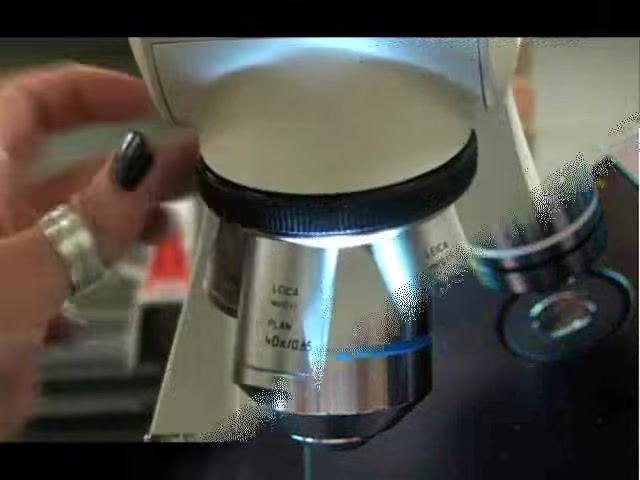
Identify the two longest objective lenses
Identify the high-dry power lens (typically 40x, blue band) and the oil immersion objective (typically 100x, white or black/white band). These lenses are physically longer and extend closer to the stage than lower power objectives.
Never use coarse focus with high-power objectives
Never use the coarse focus knob when either the high-dry (40x) or oil immersion (100x) objective lens is in position. Using coarse focus at high magnification can cause the lens to crash into the slide, risking damage to both the lens and the specimen.
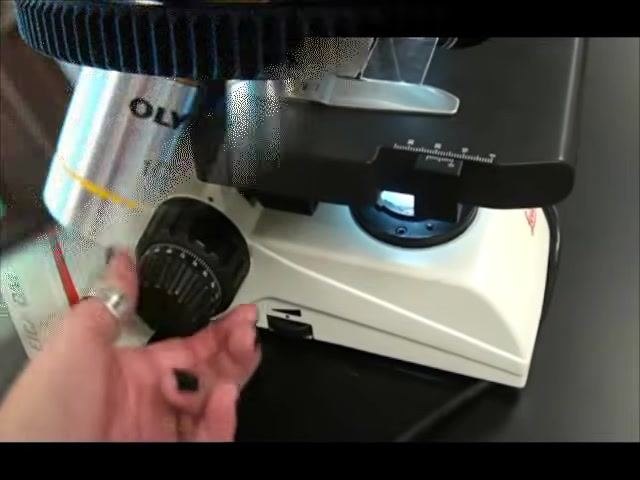
Use only fine focus with high-power objectives
Only use the fine focus knob when working with the high-dry or oil immersion objectives. Manipulating the coarse focus knob at this stage can immediately throw your specimen out of focus or cause physical damage.
Adjusting the coarse focus with long objectives will, at minimum, take your specimen out of focus immediately, and at worst, damage the slide or lens.
Return to scanning power for storage
When finished, rotate the nosepiece so that the shortest objective lens (scanning power, usually 4x or 10x) is pointing down. This is the safest position for storage and transport.
Lower the stage completely
Lower the stage completely by turning the coarse focus knob down as far as it will go. This ensures that the objective lenses are as far from the stage as possible, preventing accidental contact.
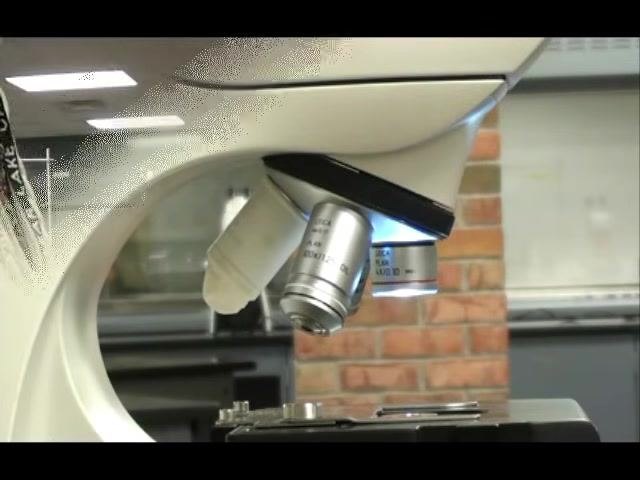
Confirm safe storage position
Confirm that the lens is not in danger of hitting the stage. This step is critical for protecting both the lenses and the stage from accidental damage.
Verification and summary
Before concluding your session, confirm the following:
- Total magnification has been correctly calculated by multiplying the objective lens magnification by the ocular lens magnification (for example, 10x ocular × 40x objective = 400xTM).
- The high dry power lens has been protected from oil exposure using a cover when not in use.
- Each lens has been identified by its label and color band for correct usage.
- Oil immersion has been used only with the designated lens to achieve the highest magnification (1000xTM).
- The coarse focus knob was never used while the high-dry (40x) or oil immersion (100x) objective was in position — only fine focus was used at these magnifications.
- The microscope has been stored with the shortest objective lens down and the stage fully lowered.
Following this procedure ensures you can properly set up, operate, and store a compound microscope while achieving clear, sharply focused images at every magnification level.
Generation details: cost, quality tiers
Docsie billed 4,000 credits ($2.80) to analyze this 8-minute video at standard quality. The rewrite, template fill and Word/PDF exports were included. The same video at each quality tier:
| Quality | Frames sampled | Credits | Approx. cost |
|---|---|---|---|
| Draft | every 16-30 s | 2,000 | $1.40 |
| Standard (this guide) | every 8-15 s | 4,000 | $2.80 |
| Detailed | every 4-7 s | 8,000 | $5.60 |
| Ultra | every 1-3 s | 16,000 | $11.20 |
Credits priced at $0.70 per 1,000; plans include a monthly allowance. Enterprise customers on on-premise or bring-your-own-model deployments run this on their own inference and pay no per-video credits.
Generated by Docsie Video-to-Docs on 2026-09-08 from a 7-minute video. Screenshots are frames from the source video and belong to their creator, Tami Guy, MS, CPPS, whose original is embedded above. If you own this video and want the guide removed or credited differently, contact us and we will act within one business day.