
How to Use a Biosafety Cabinet
This SOP describes how to use a biosafety cabinet safely and effectively when working with biohazardous materials in a laboratory setting. It covers cabinet components, airflow principles, pre-use preparation, disinfection, safe operating technique, spill response, and end-of-use cleaning for a Class II Biosafety Cabinet (BSC). The intended outcome is a contamination-free work environment that protects personnel, product, and the surrounding environment during routine laboratory operations.
Video: How to Safely Operate Your Biosafety Cabinet by Labconco Corporation (2021). All credit for the demonstration goes to the creator; watch the original on YouTube. The written guide below was generated from this video by Docsie. Creator? Request a change or removal.
Purpose
This SOP describes how to use a biosafety cabinet safely and effectively when working with biohazardous materials in a laboratory setting. It covers cabinet components, airflow principles, pre-use preparation, disinfection, safe operating technique, spill response, and end-of-use cleaning for a Class II Biosafety Cabinet (BSC). The intended outcome is a contamination-free work environment that protects personnel, product, and the surrounding environment during routine laboratory operations.
Scope
This procedure applies to Class II Biosafety Cabinets used for handling biohazardous samples, reagents, and equipment. It is intended for laboratory personnel who have been trained in aseptic technique and cabinet operation, including analysts performing pipetting, sample transfer, and general bench work inside the cabinet.
- Sample types/materials: Biohazardous liquids, reagents, tubes, pipette tips, and other consumables handled within the cabinet.
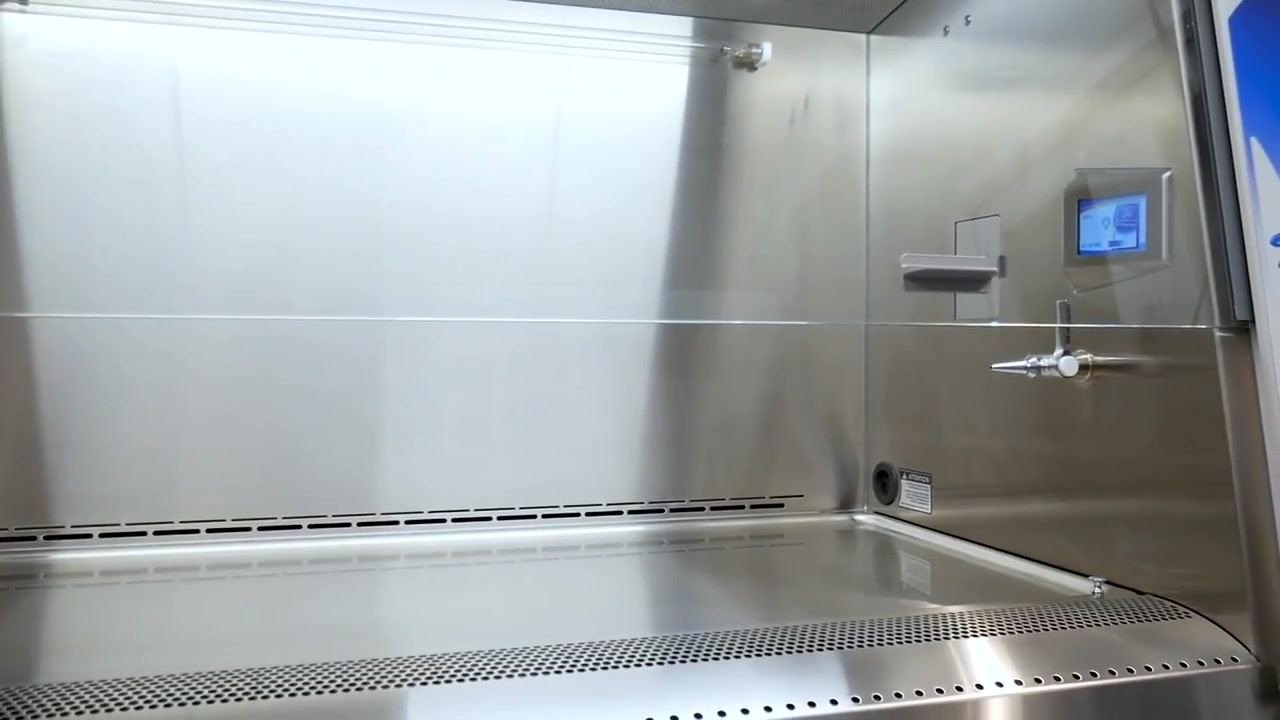
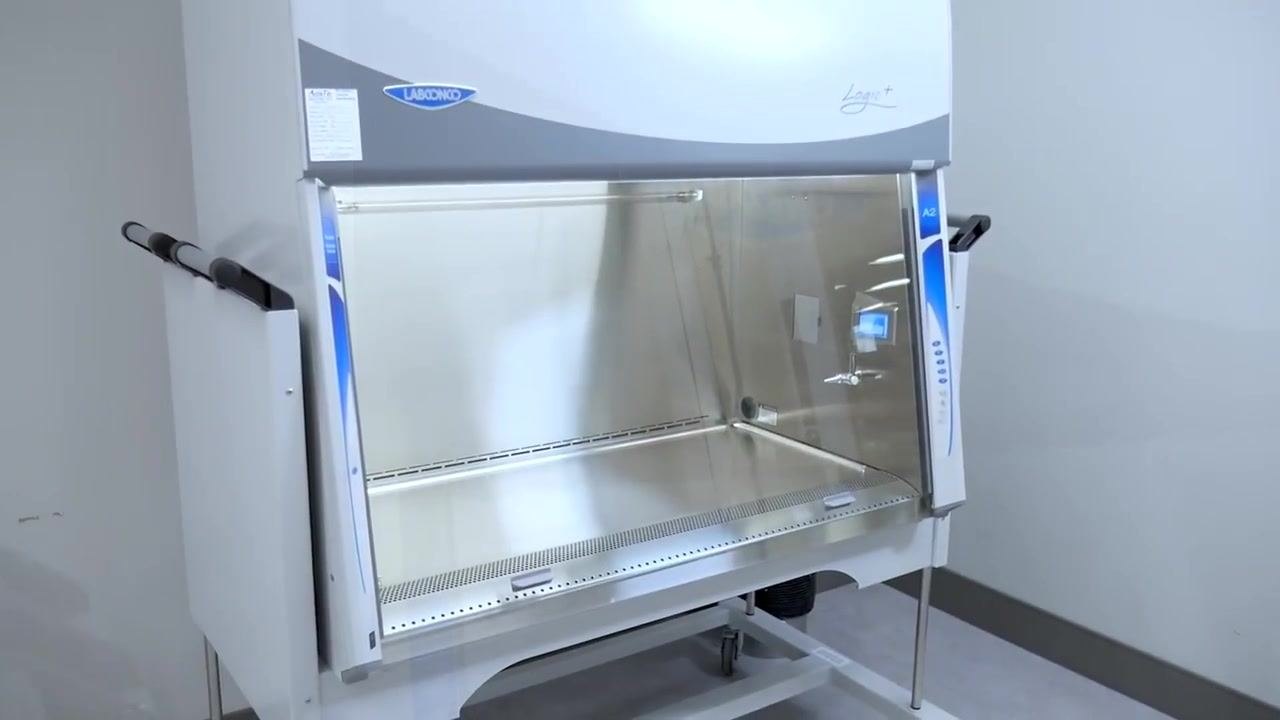
- Instruments: Labconco Class II Biosafety Cabinet equipped with the MyLogic control system, internal blower, dual HEPA filtration, and optional NightSmart energy-saving mode.
- Analysts: Laboratory personnel wearing appropriate personal protective equipment (PPE) and familiar with institutional biosafety protocols.
- Exclusions: This SOP addresses Class II Biosafety Cabinet operation only; it does not cover other BSC classes or chemical fume hood procedures.
Principle
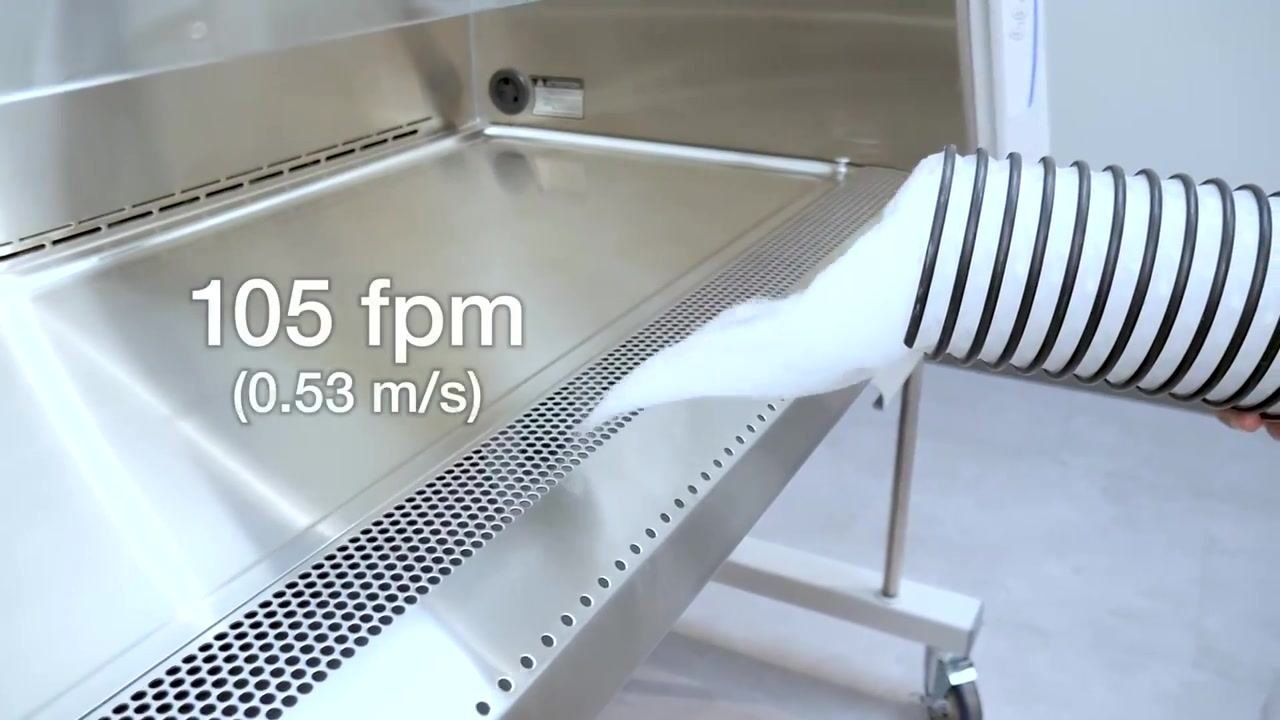
A Class II Biosafety Cabinet provides three types of protection: personnel protection, product protection, and environmental protection. Room air is drawn into the front inlet of the cabinet as inflow air, which meets contaminated air from within the cabinet interior. Inflow air is drawn under the work surface and is either recirculated or exhausted from the cabinet. Inflow air typically moves at approximately 105 feet per minute (0.53 m/s).
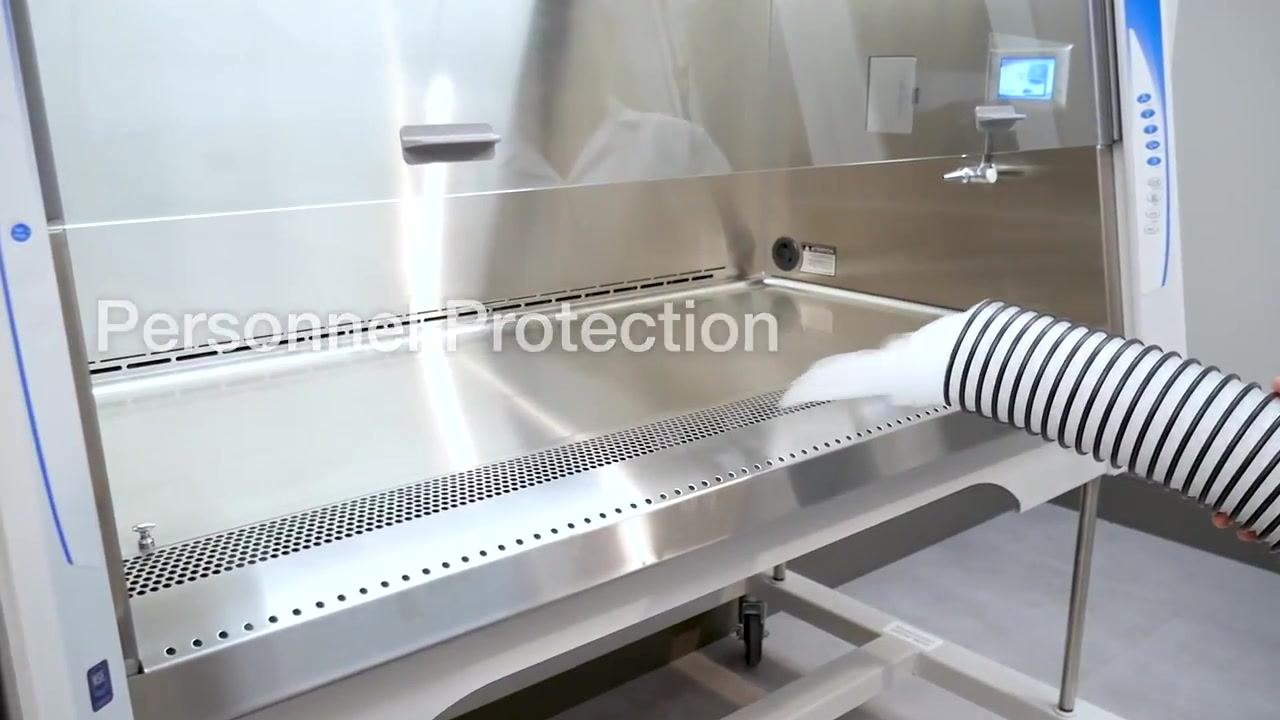
HEPA-filtered air flows downward through the cabinet in a laminar, unidirectional pattern (downflow air) that meets ISO 5 or better air quality standards. Downflow velocity varies by cabinet model but is typically between 50 and 60 feet per minute. As downflow air approaches the work surface, it splits: some air flows to the rear air slots and the rest flows to the front inlet grill — a phenomenon known as the "smoke split." For maximum containment, higher-risk activities should be performed behind the smoke split line.
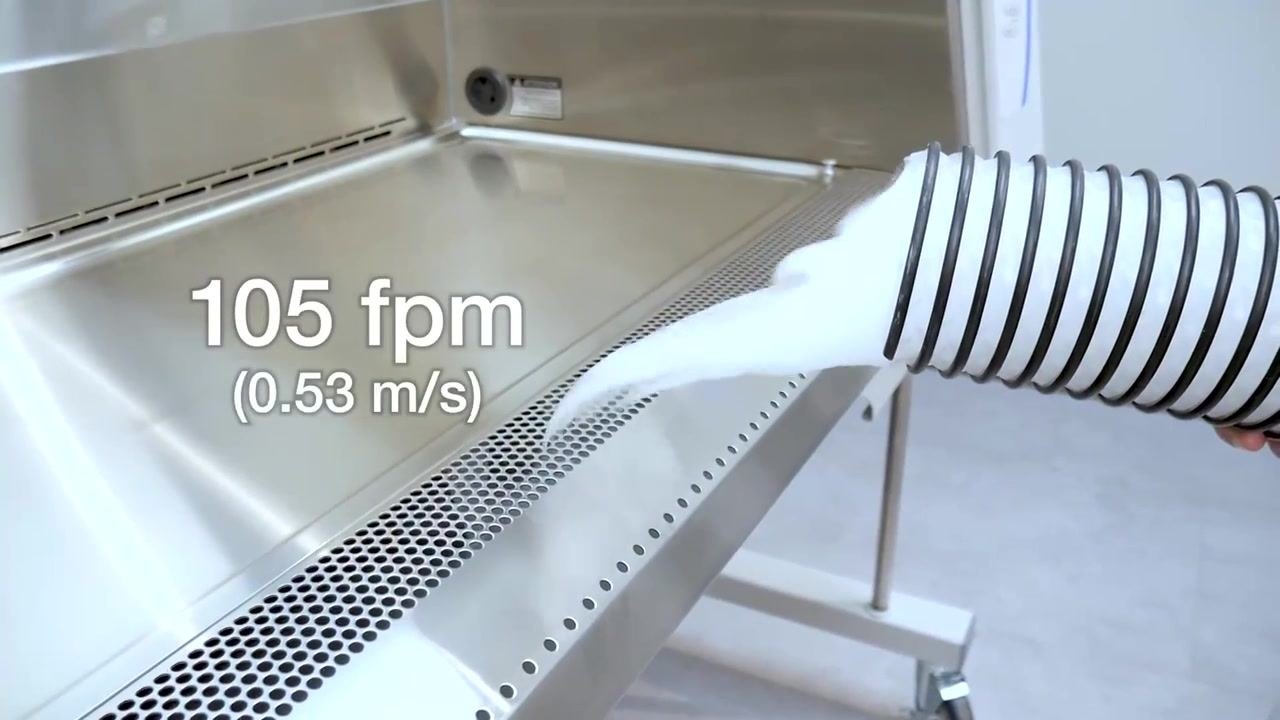
Contaminated air from the cabinet interior and room is filtered through two HEPA filters before being recirculated or exhausted: one filter provides product protection, and the second provides environmental protection. This combination of directional airflow and dual filtration is the scientific basis for the cabinet's ability to maintain a sterile, contamination-free work zone.
Materials and Reagents
| Item | Specification | Purpose |
|---|---|---|
| Lab coat | Fully donned, secure fit | Minimum PPE for personnel protection |
| Safety glasses | Worn at all times during operation | Eye protection |
| Nitrile gloves | Single pair minimum; double gloving optional | Hand protection; double gloving reduces exposure during and after work |
| Primary disinfectant | 70% isopropyl alcohol (IPA) | Standard disinfection of interior cabinet surfaces |
| Alternate disinfectant | Facility-approved disinfectant capable of decontaminating the specific materials used | Used when IPA is insufficient for the contaminant; must be followed by a secondary 70% IPA wipe-down |
| Laboratory wipes | Disposable, lint-free wipes | Surface disinfection and spill cleanup |
| Disinfectant spray bottle | Filled with approved disinfectant | Application to surfaces, gloves, and exteriors of materials/waste bags |
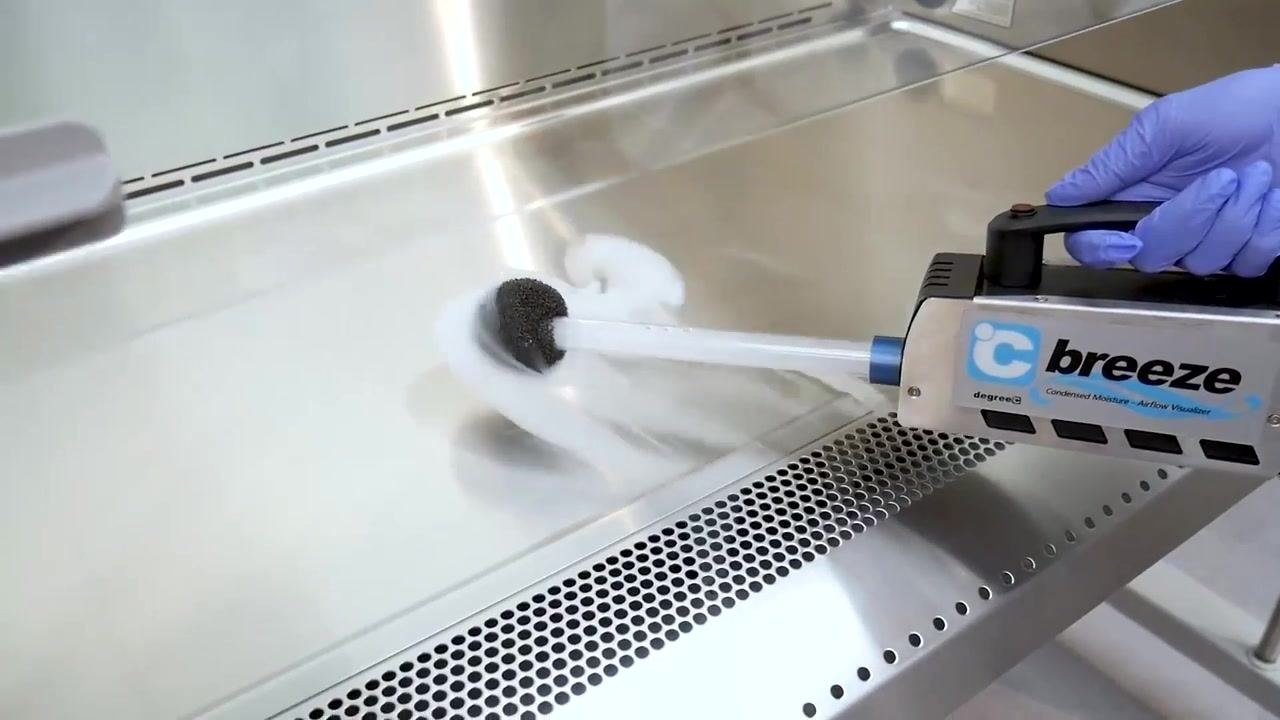
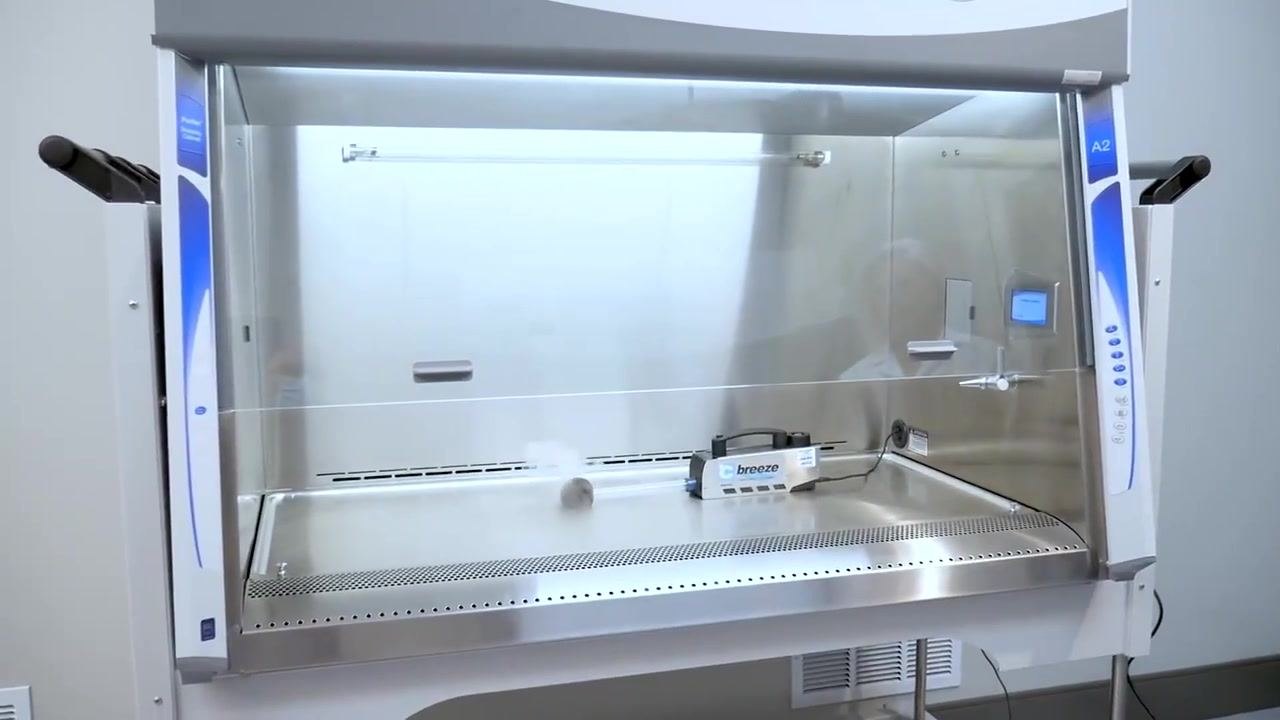
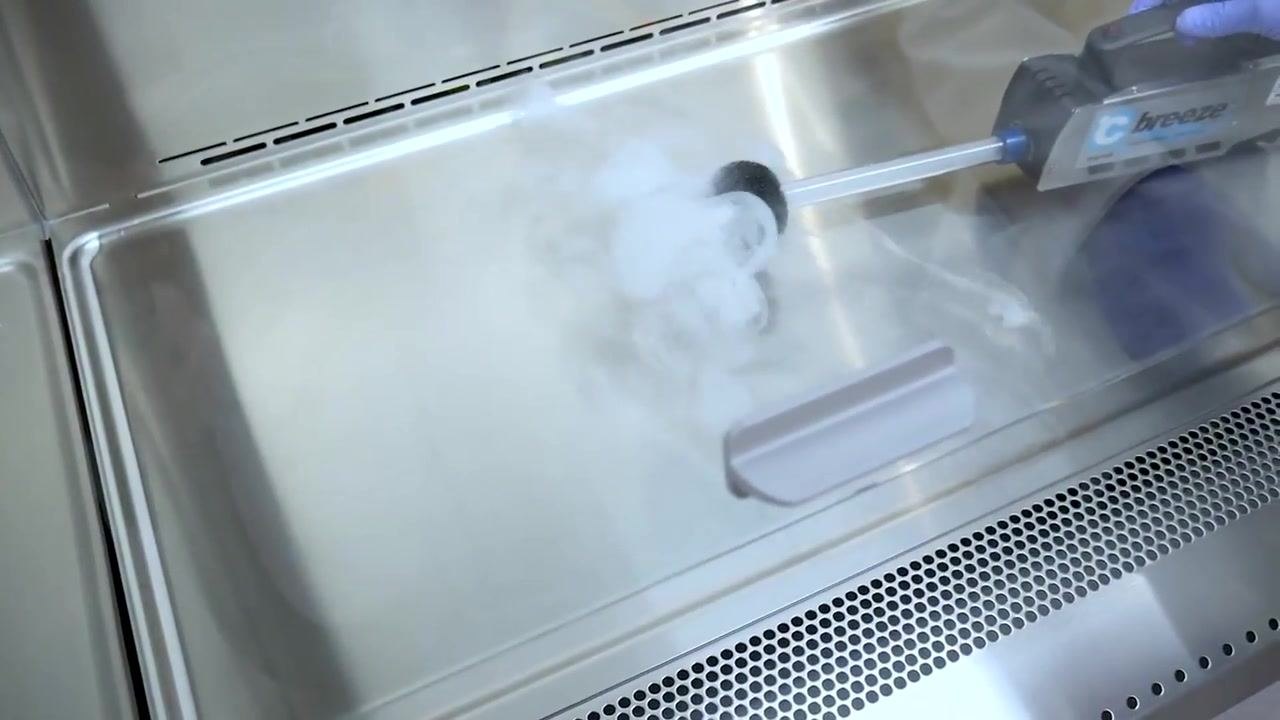
| Airflow visualizer ("breeze" device) | Condensed moisture visualizer | Demonstrates and verifies airflow patterns during checks |
| Biohazard waste bag/container | Red bag or rigid container | Waste containment; positioned toward the rear of the cabinet |
| Pipette and tip boxes | Standard laboratory pipette and consumables | Sample handling inside the cabinet |
| Certification documentation | Current, up-to-date certification label/record | Confirms correct cabinet airflow and HEPA filter integrity |
| MyLogic control system | Integrated cabinet monitoring/control platform | Displays airflow speed, alerts, and alarms |
| NSF-approved negative pressure pass-through | Includes sealing plug | Allows tubing/cable routing without breaching containment |
| NightSmart / UV light mode | Optional energy-efficient mode | Purges cabinet air between uses; supplemental only, not a primary disinfection method |
Procedure
Understanding cabinet components before use
-
Identify the three main types of protection provided by the cabinet: personnel protection, product protection, and environmental protection.
-
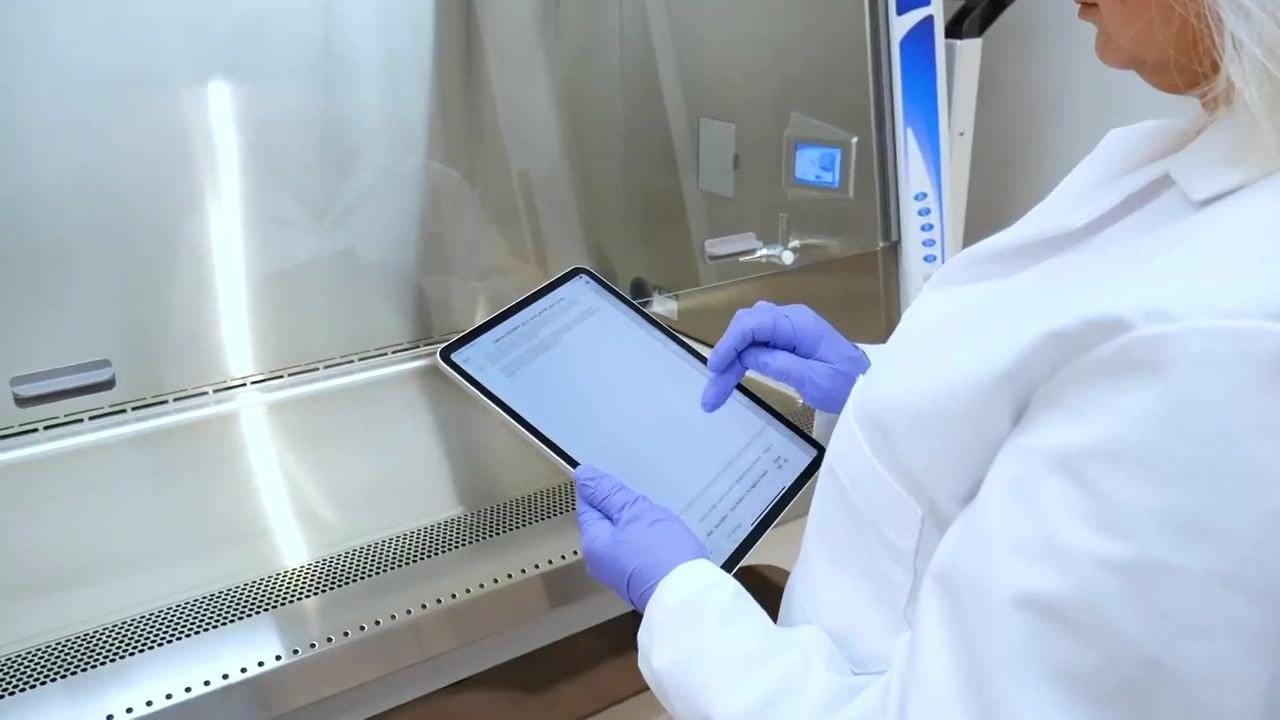
Review relevant documentation and procedures before operating the cabinet to ensure you understand the equipment and safe work practices.
-
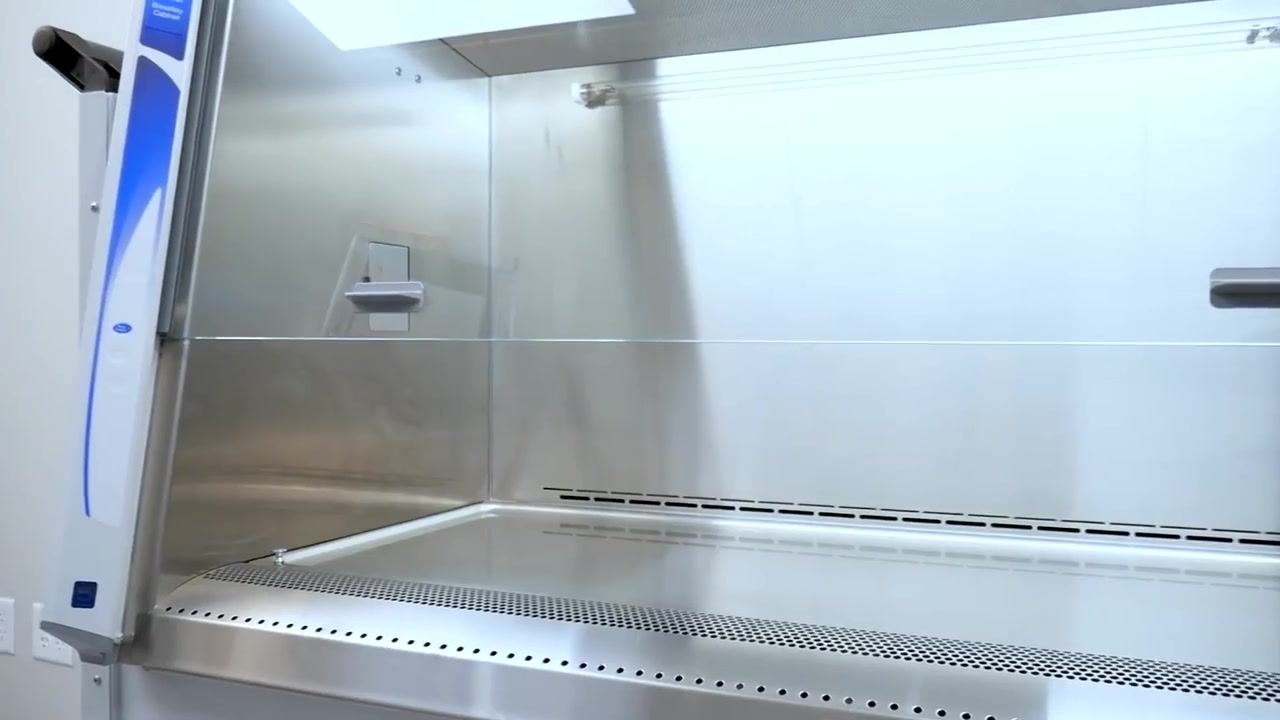
Note that the cabinet has a solid negative pressure hull and seamless stainless steel work surface with coved corners, which facilitate easy cleaning and decontamination.
-
Confirm the work surface is clear and unobstructed before starting, and note the location of the control panel.
-
Understand that an internal blower moves air efficiently and quietly through the cabinet, and that two HEPA filters — one for product protection and one for environmental protection — are located in the upper section.
-
Become familiar with the MyLogic operating system, which monitors and controls cabinet functions including airflow speed, alerts, and alarms.
-
Recognize that the airflow and filtration system are designed to protect users from exposure to hazardous materials during operation.
Verifying airflow and product protection
- Understand that room air is drawn into the front inlet as inflow air, which meets contaminated air from within the cabinet interior before being recirculated or exhausted.
-
Note that inflow air generally moves at approximately 105 feet per minute (0.53 m/s).
-
Recognize that HEPA-filtered air flows downward through the cabinet to provide a clean environment for samples and products.
-
Confirm that downflow air is laminar and unidirectional, typically moving between 50 and 60 feet per minute depending on the cabinet model.
-
Locate the smoke split line, where downflow air divides between the rear air slots and the front inlet grill, and perform higher-risk activities behind this line for maximum containment.
-
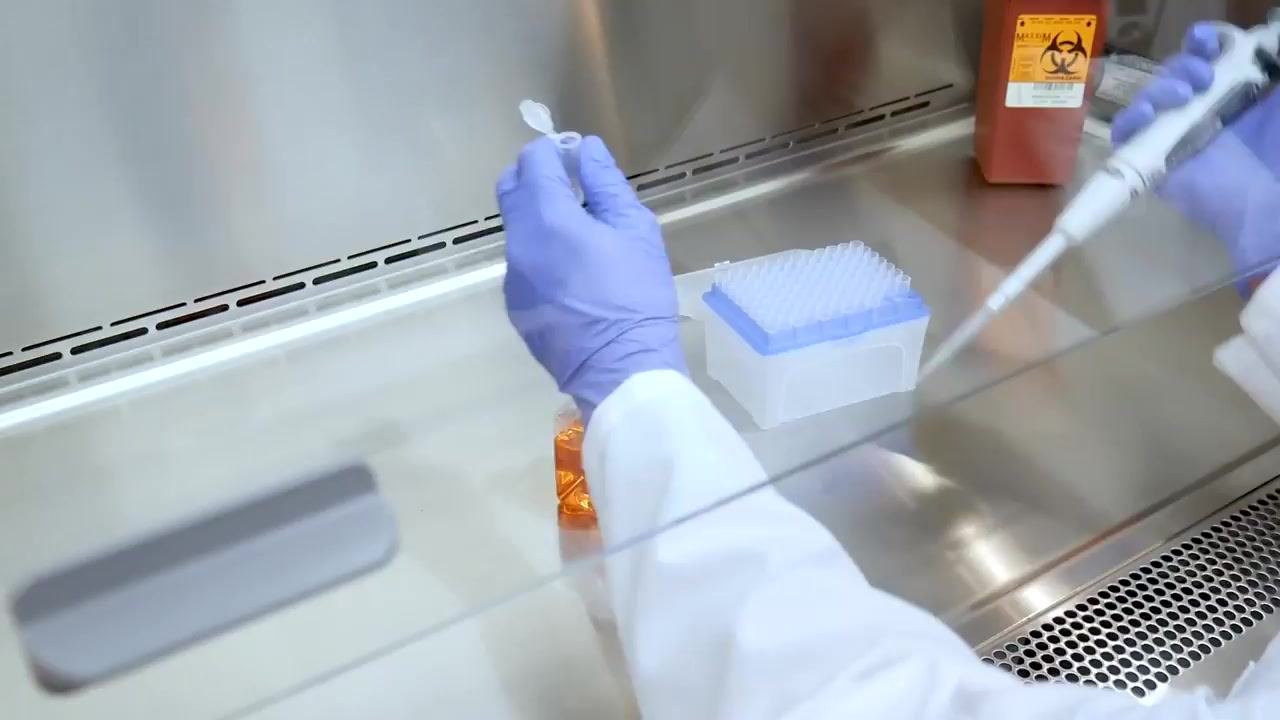
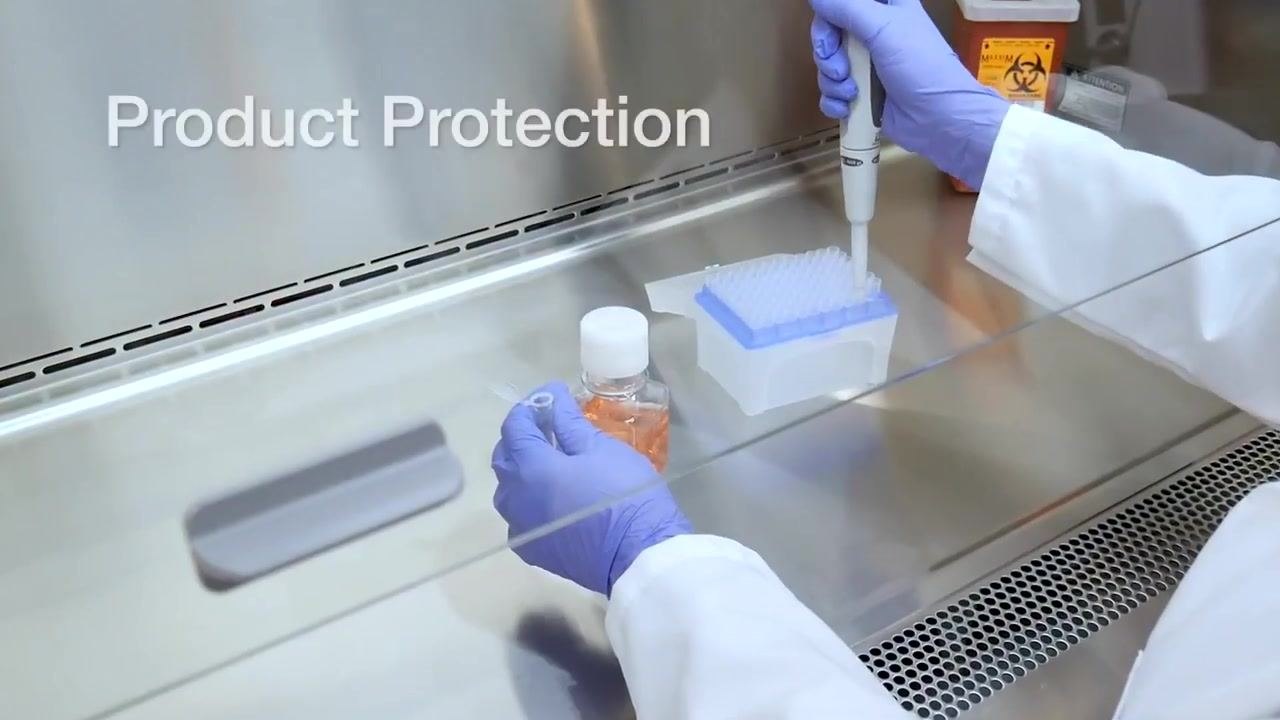
Perform routine sample handling, such as pipetting, within the protected airflow zone.
-
Confirm that proper airflow and filtration keep products inside the cabinet free from contamination throughout the procedure.
Confirming proper installation
-
Verify that the cabinet is installed away from areas of high turbulence, such as doorways, hallways, or return air registers, and that at least 6 inches of clearance is maintained around the top, sides, and back of the cabinet.
-
Ensure no objects or equipment restrict airflow entering or exiting the cabinet, and keep clear space around the exterior for cleaning access.
Preparing yourself and confirming certification
-
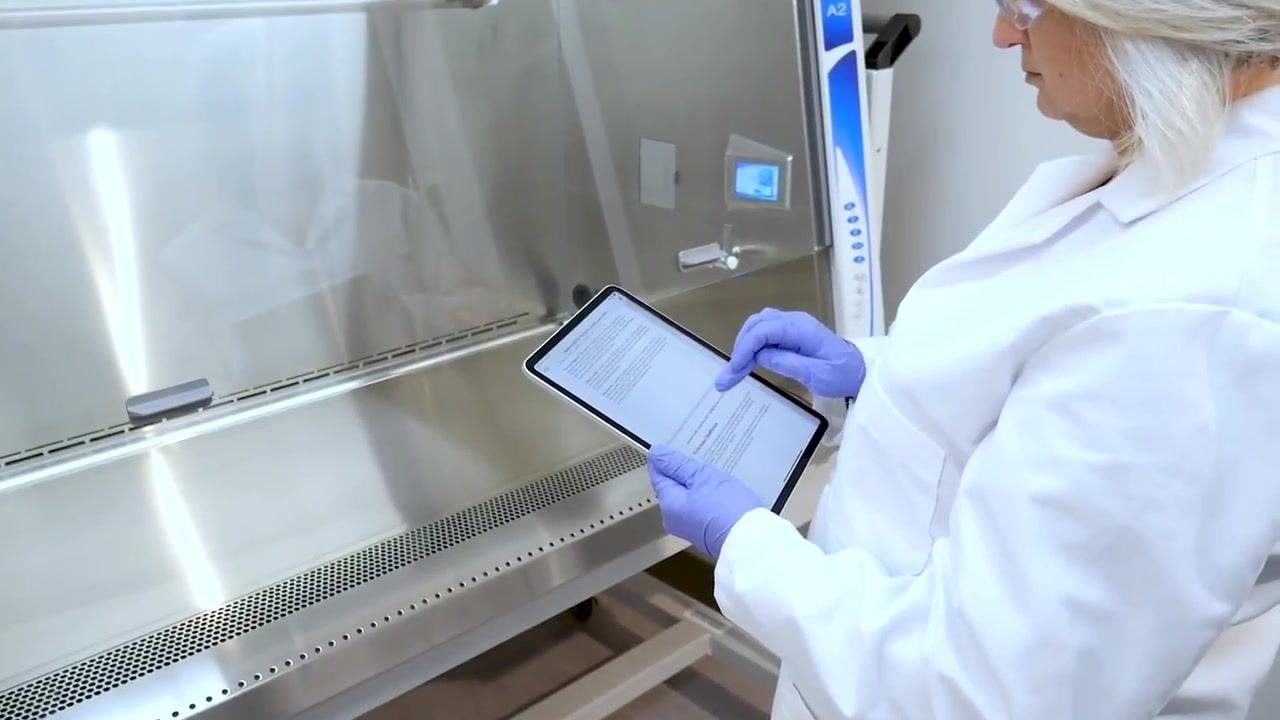
Follow your organization's biosafety cabinet guidance documents and confirm that the cabinet has a valid, up-to-date certification label or record. Certification confirms correct cabinet airflows and that the internal HEPA filters are free of leaks.
-
Certify the cabinet after installation, recertify at least once per year, and recertify after the cabinet has been moved or has undergone major service. Contact your lab manager or biosafety officer if certification has lapsed.
-
Before starting work, secure loose garments and long hair, and remove jewelry that could compromise safety or contaminate the work area.
-
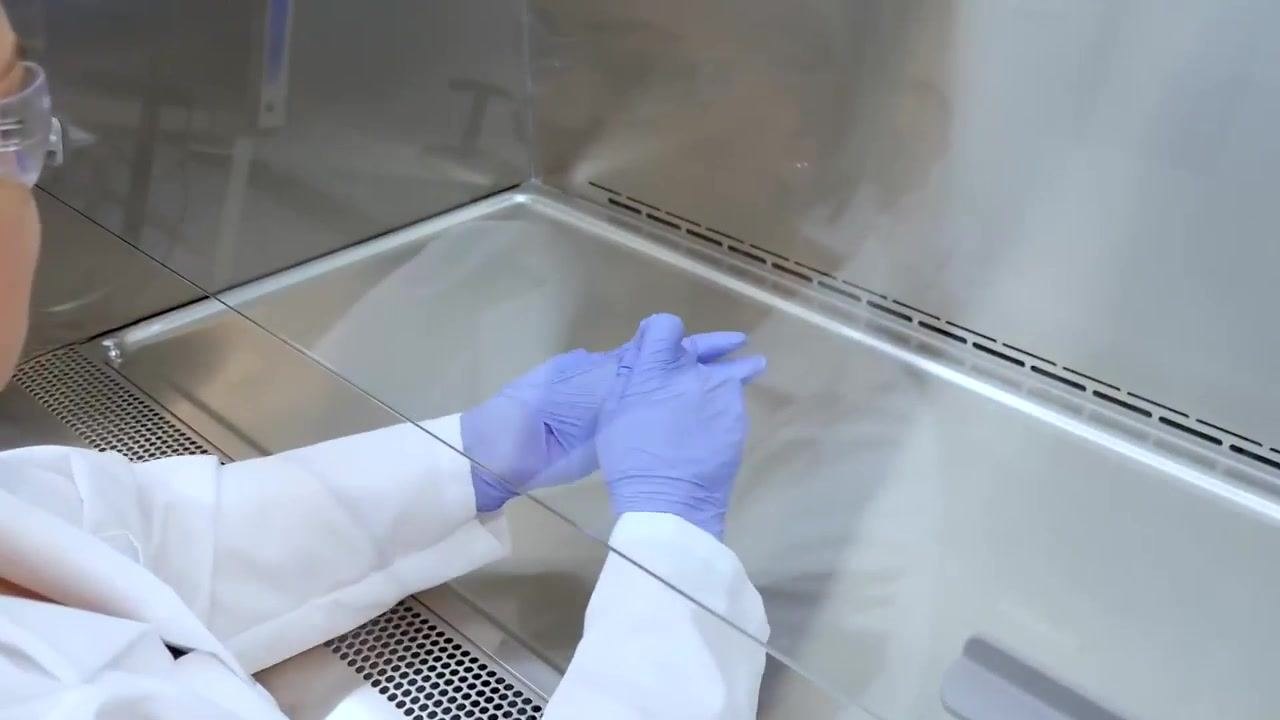
Don a lab coat, safety glasses, and nitrile gloves as minimum PPE. Consult your biosafety officer if additional PPE is required for your procedure.
-
Confirm that your lab coat is fully donned and fits securely, and that safety glasses and gloves are worn correctly before proceeding.
-
For additional protection, put on a second pair of nitrile gloves over the first pair (double gloving).
-
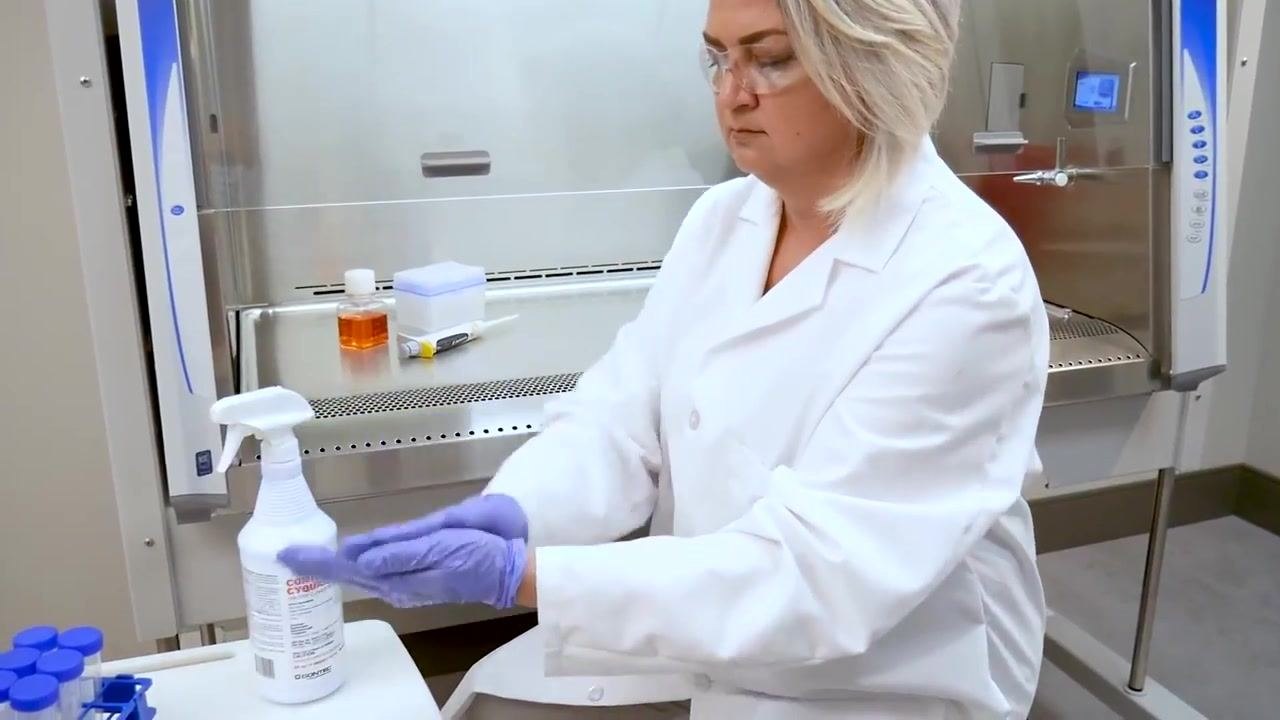
Confirm your work area is organized and that cleaning supplies, such as disinfectant spray, are readily available before raising the sash to the manufacturer-recommended working height.
Purging and disinfecting the cabinet
-
Turn on the cabinet and allow it to equilibrate and purge out any contaminants for a minimum of five minutes. Do not proceed until the purge is complete.
-
If the cabinet is equipped with a smart system, wait for the "please wait" screen to clear while the blower equilibrates, and confirm the cabinet interior is empty before disinfection.
-
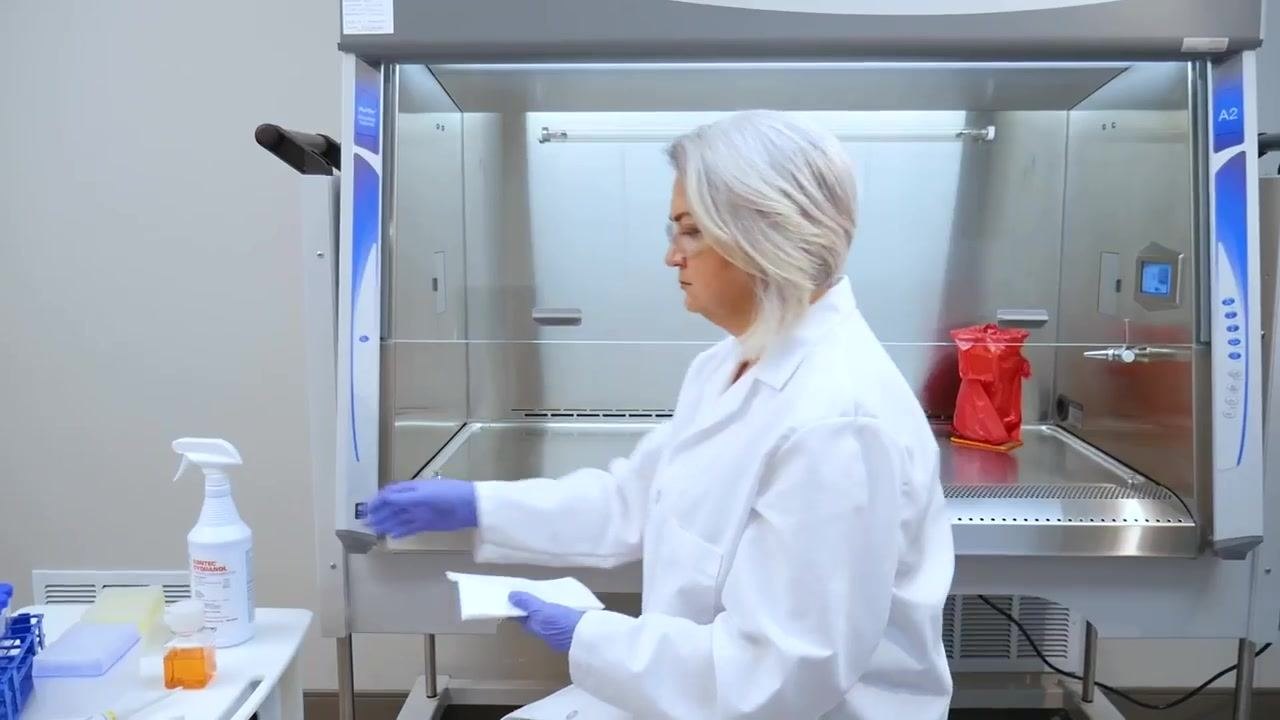
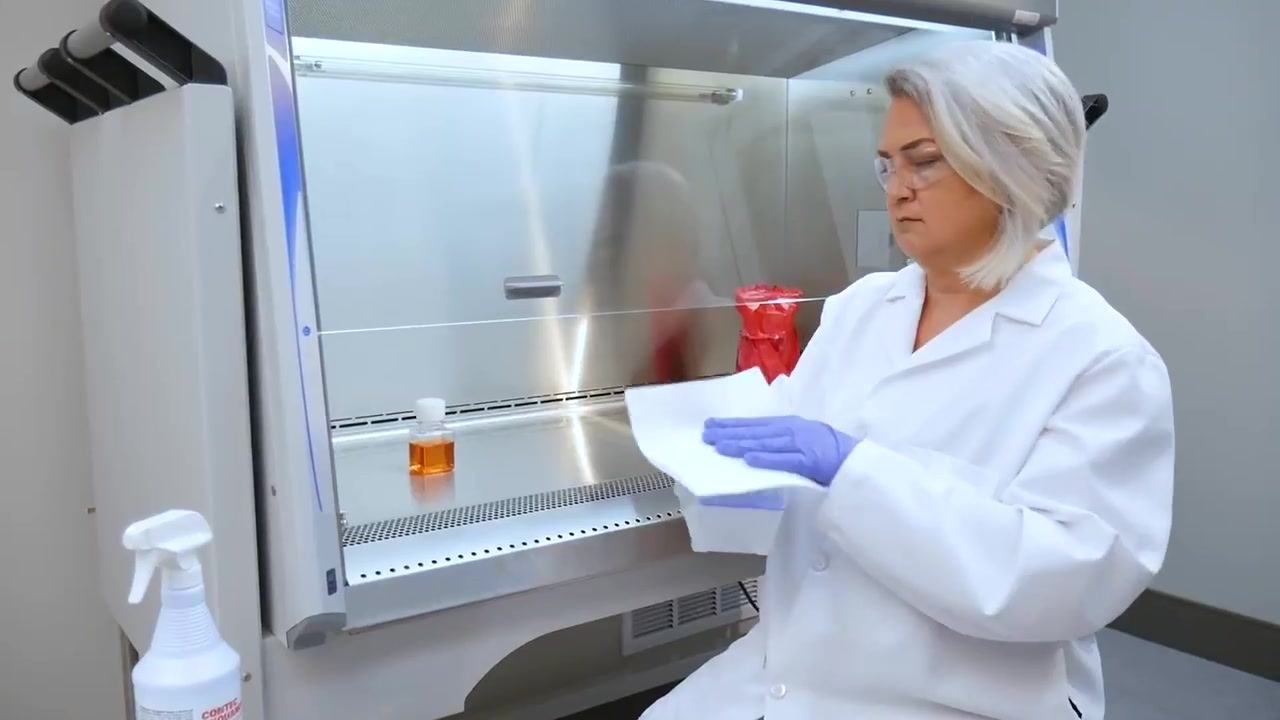
Use a suitable disinfectant, such as 70% isopropyl alcohol (IPA), to disinfect all interior surfaces. If using a different disinfectant, confirm it is capable of decontaminating the materials you will use inside the cabinet.
-
Prepare disinfectant wipes or spray and allow the manufacturer's recommended contact time for effective decontamination.
-
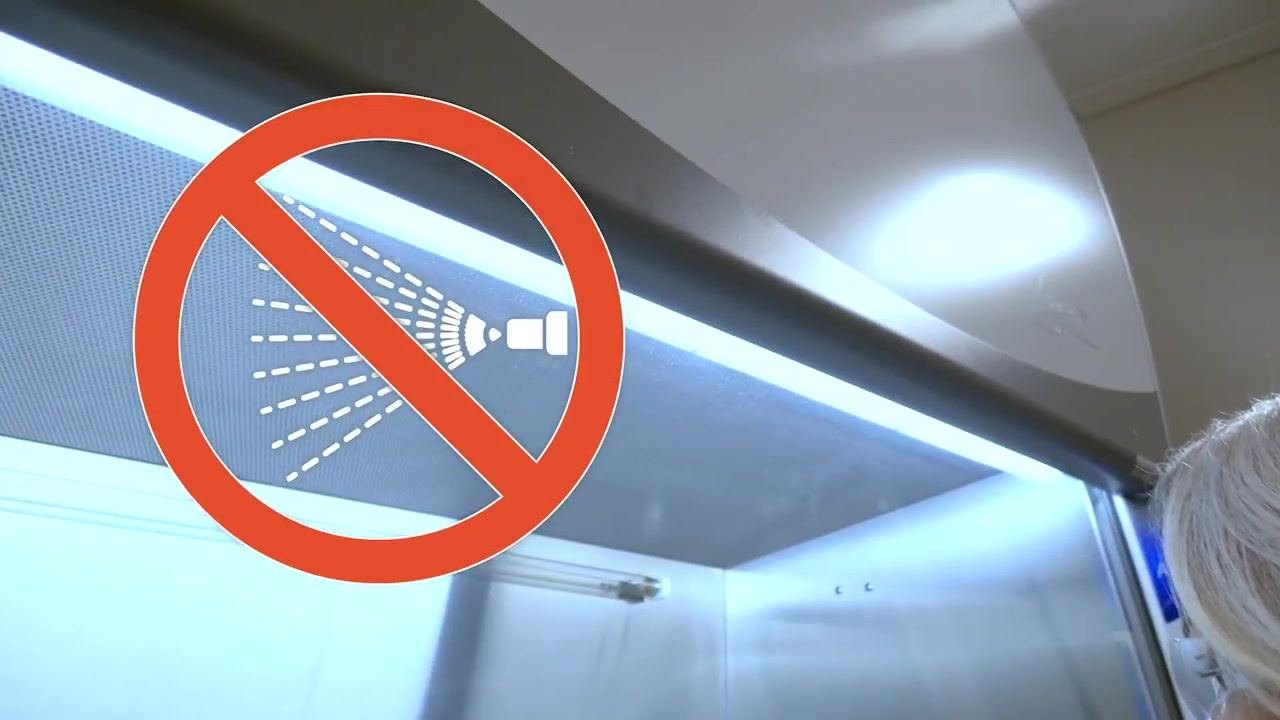
Do not spray disinfectant directly onto the supply HEPA filter, as this may cause damage and require filter replacement.
-
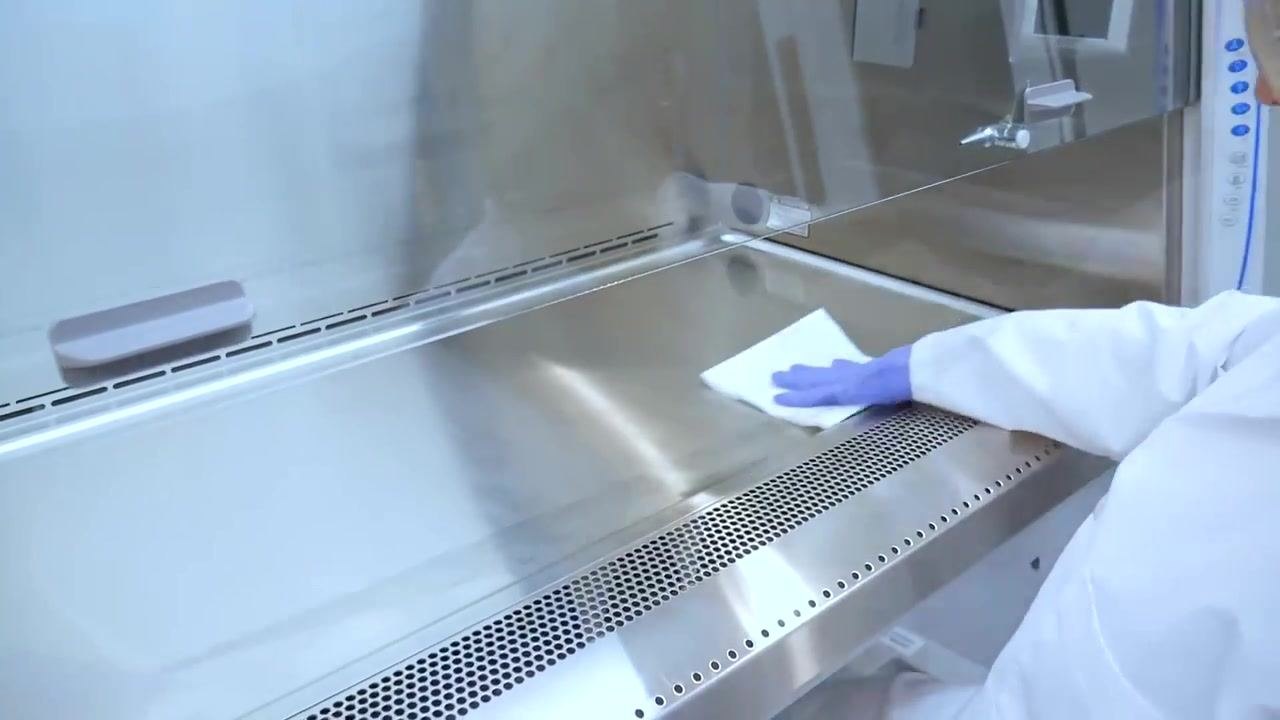
Wipe all surfaces from top to bottom and back to front, overlapping each pass to ensure complete coverage.
-
If you used a disinfectant other than 70% IPA, follow up with a secondary cleaning using 70% IPA to remove any residues, ensuring all surfaces are wiped thoroughly.
-
Once the cabinet is disinfected, wipe down all materials with a suitable disinfectant before placing them inside, and arrange your workspace in an aseptic flow from clean to dirty.
-
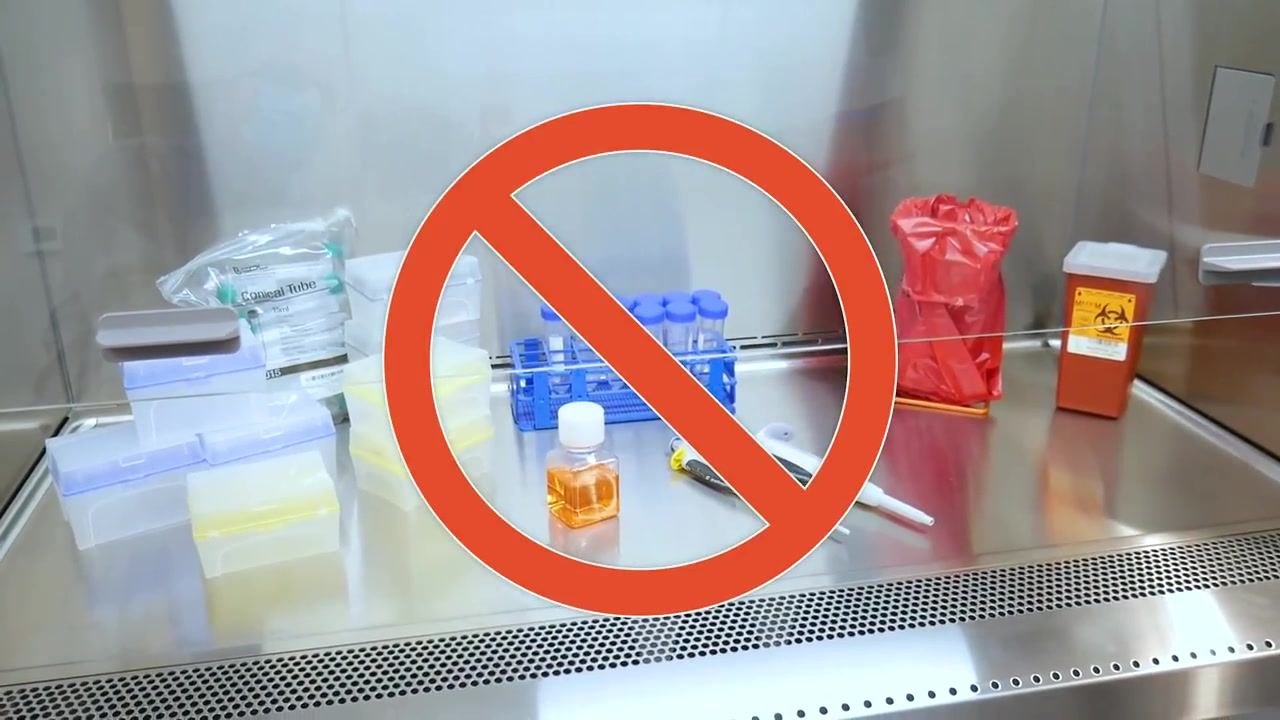
Place only the materials required for your work inside the cabinet to avoid overcrowding and maintain proper airflow.
Arranging materials to maintain airflow
-
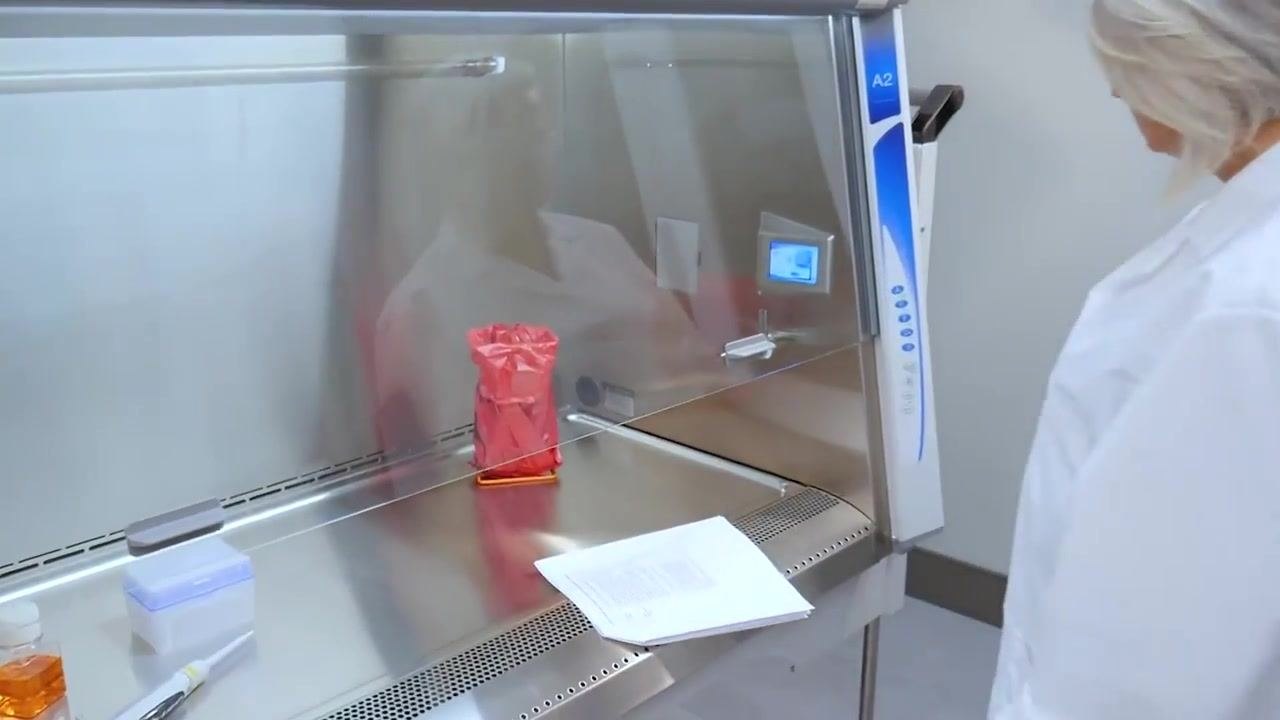
Do not overcrowd the work surface or place materials directly over the front or rear airflow grills.
-
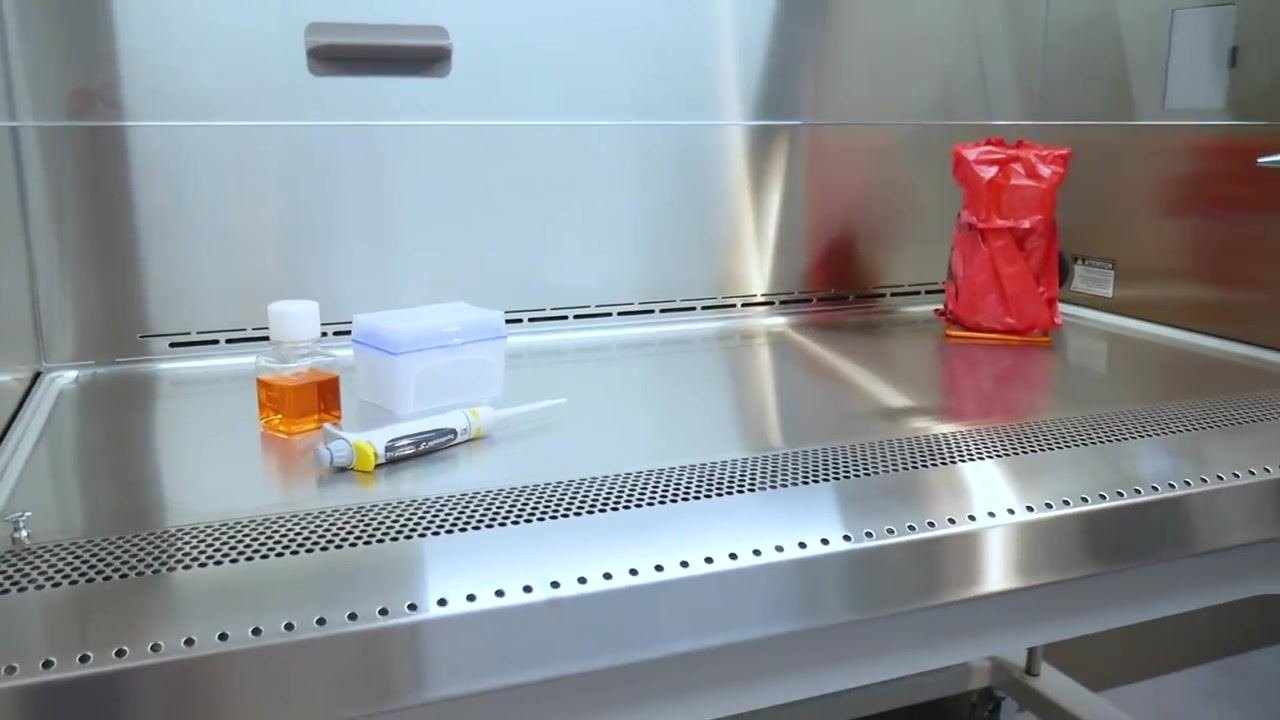
Position only essential materials in the cabinet, spaced apart and away from the front and rear grills, keeping the center of the work surface clear for active work.
-
Do not place papers or other flat objects over the grills; be aware the cabinet may alert you or automatically compensate for minor blockages, but clear grills should always be maintained.
-
If your cabinet has soft-close doors or pass-through ports, ensure they are fully disinfected after use, and close the flush cover when not in use to maintain cabinet integrity.
-
If additional tubing or cables are required, route them through the optional NSF-approved negative pressure pass-through, and keep the sealing plug in place when not in use. Never use the cabinet without a sealing plug in the pass-through; decontaminate any materials traversing the port prior to moving or removal.
Entering and working inside the cabinet
-
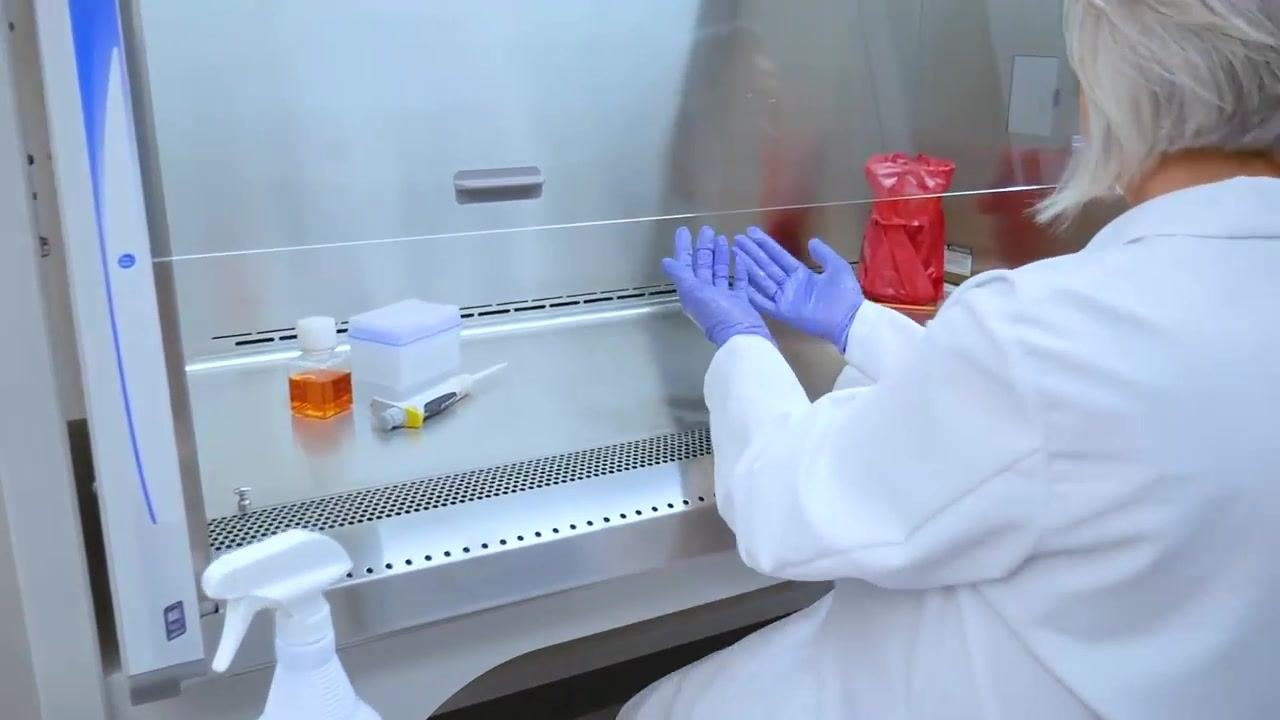
Use aseptic technique at all times, wearing appropriate PPE and keeping hands and materials within the protected work area.
-
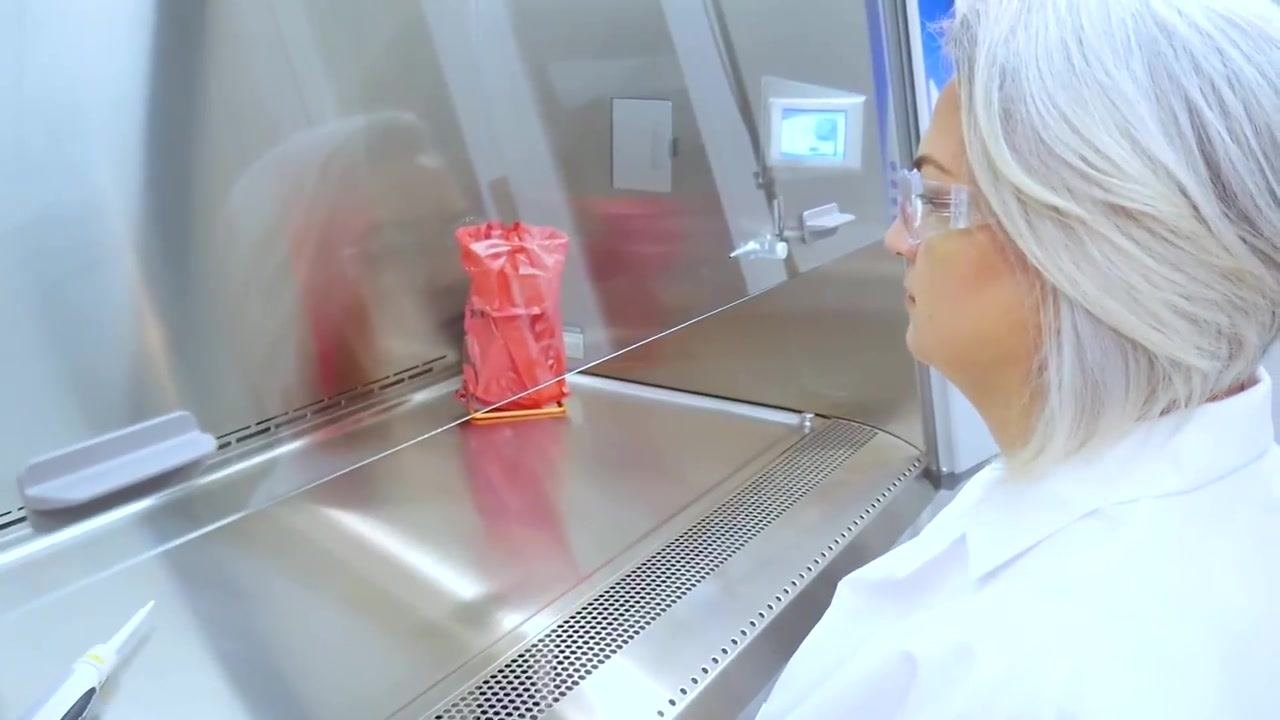
Adjust your chair to a comfortable height so your nose and mouth are above the front grill, and sit upright and close to the cabinet to minimize airflow disruption.
-
Enter the cabinet slowly to minimize turbulence, and prepare your materials while reviewing your procedure.
-
Wait at least one minute after placing your hands and arms inside the cabinet to allow it to purge its interior and stabilize airflow before starting work.
-
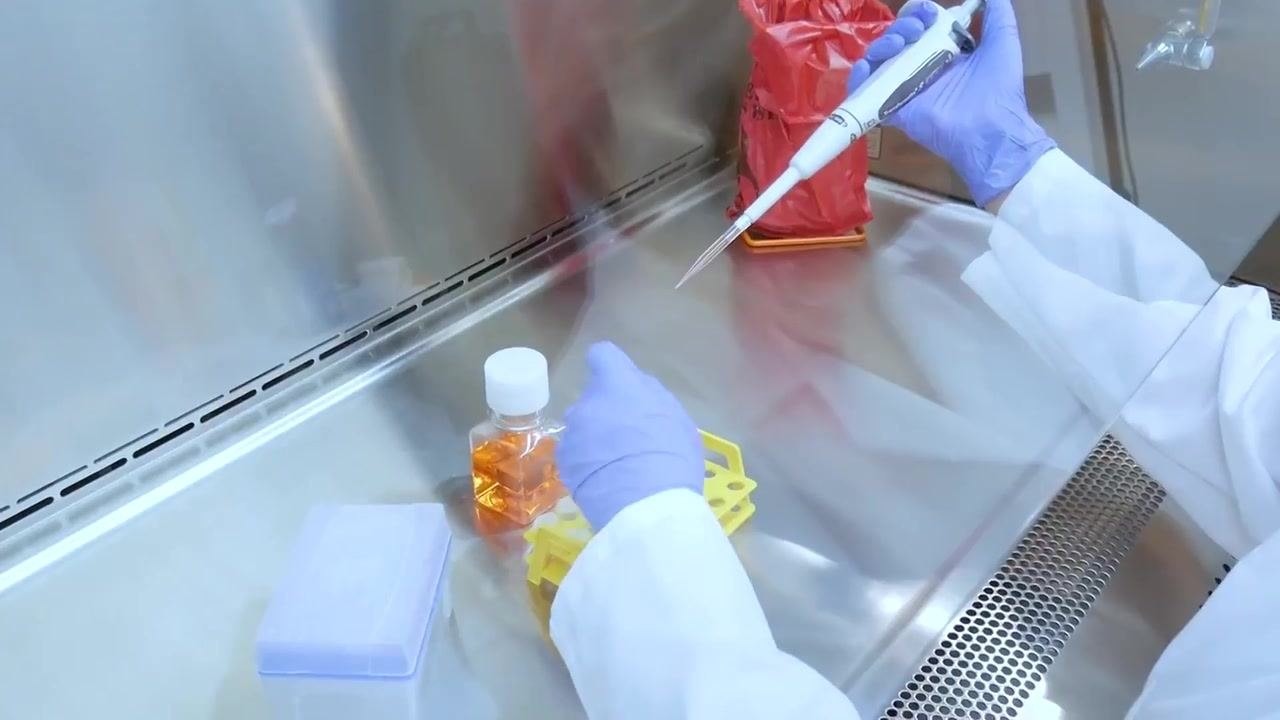
Move your hands and tools slowly and deliberately throughout the procedure. Avoid rapid or jerky movements that can disrupt airflow and compromise the sterile environment.
-
Open only one container, tube, or reagent at a time to limit cross-contamination, keeping all other items closed and securely fastened when not in use.
-
Place all waste containers, such as biohazard bags, toward the rear of the cabinet to keep the main work area clear and avoid obstructing the rear airflow grills.
-
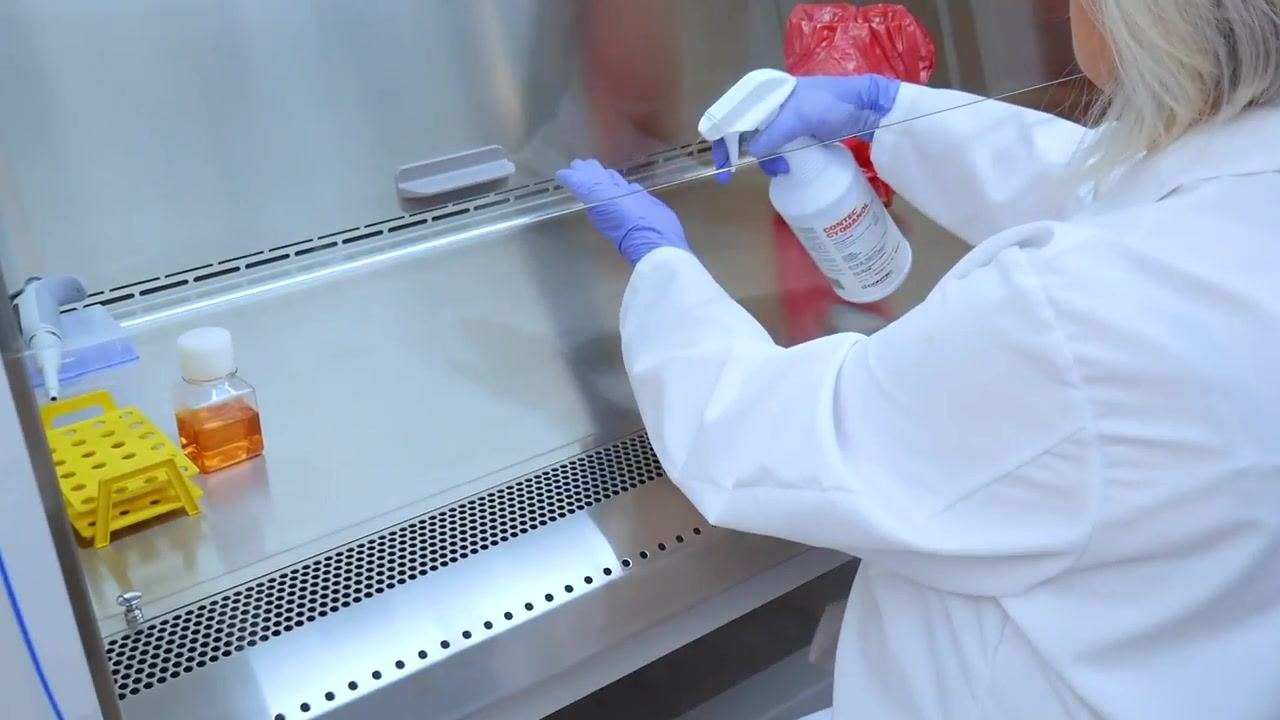
Before removing your hands or any items from the cabinet, fully disinfect gloves and surfaces using an appropriate disinfectant spray or wipe to prevent spreading contaminants outside the cabinet.
-
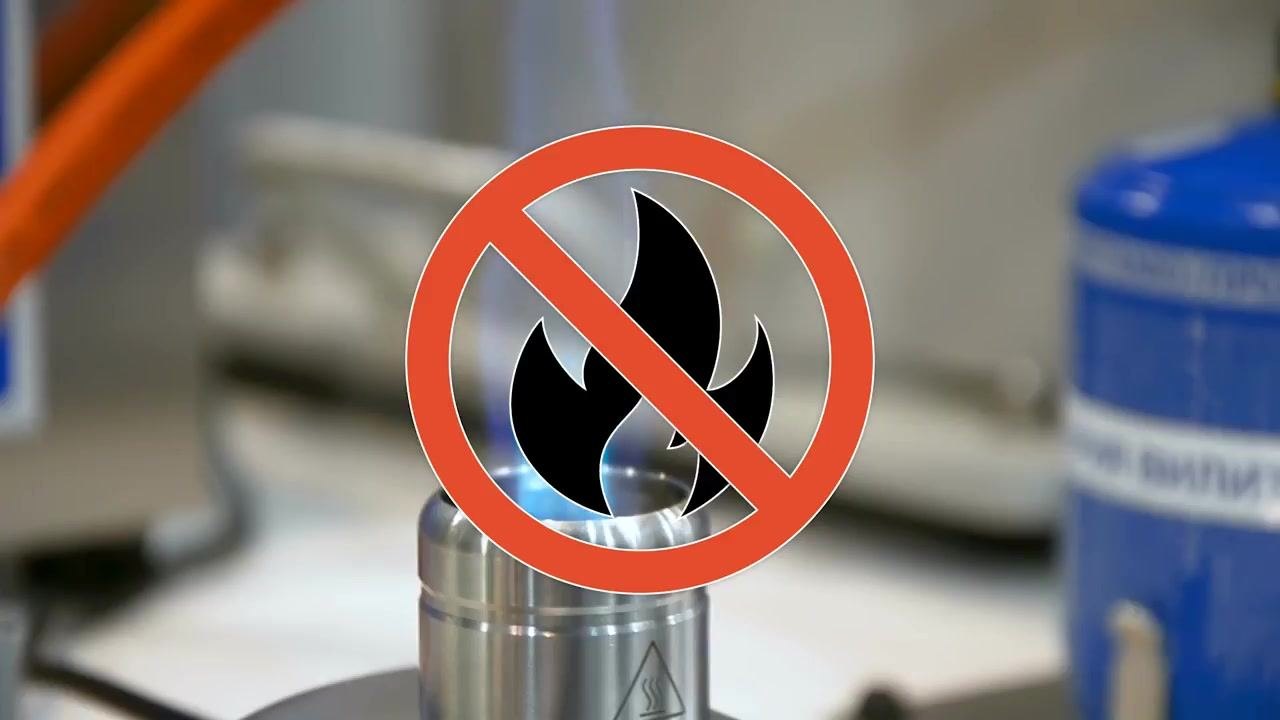
Never use Bunsen burners or other open-flame devices inside the cabinet, as flames disrupt airflow, risk cross-contamination, and present a fire hazard in the enclosed space.
-
Use single-use inoculation loops or other low-heat sterilization devices instead of open flames to maintain airflow integrity and reduce contamination risk.
Responding to a spill inside the cabinet
-
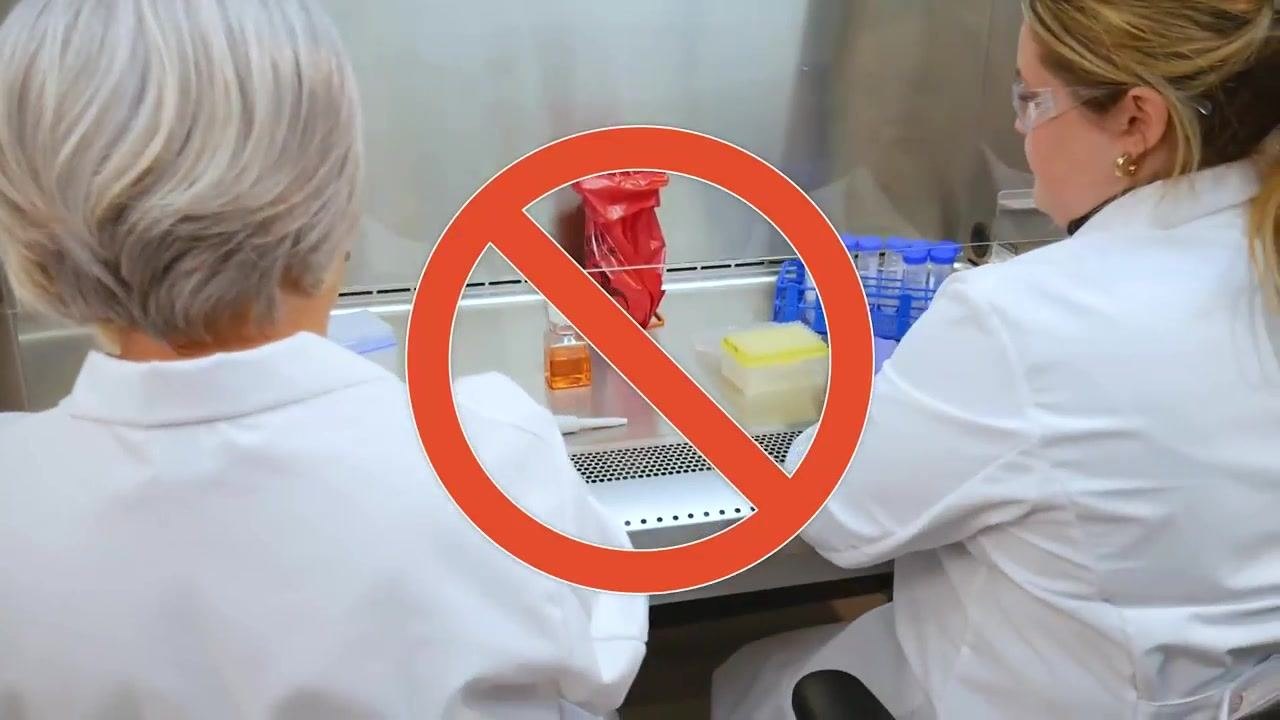
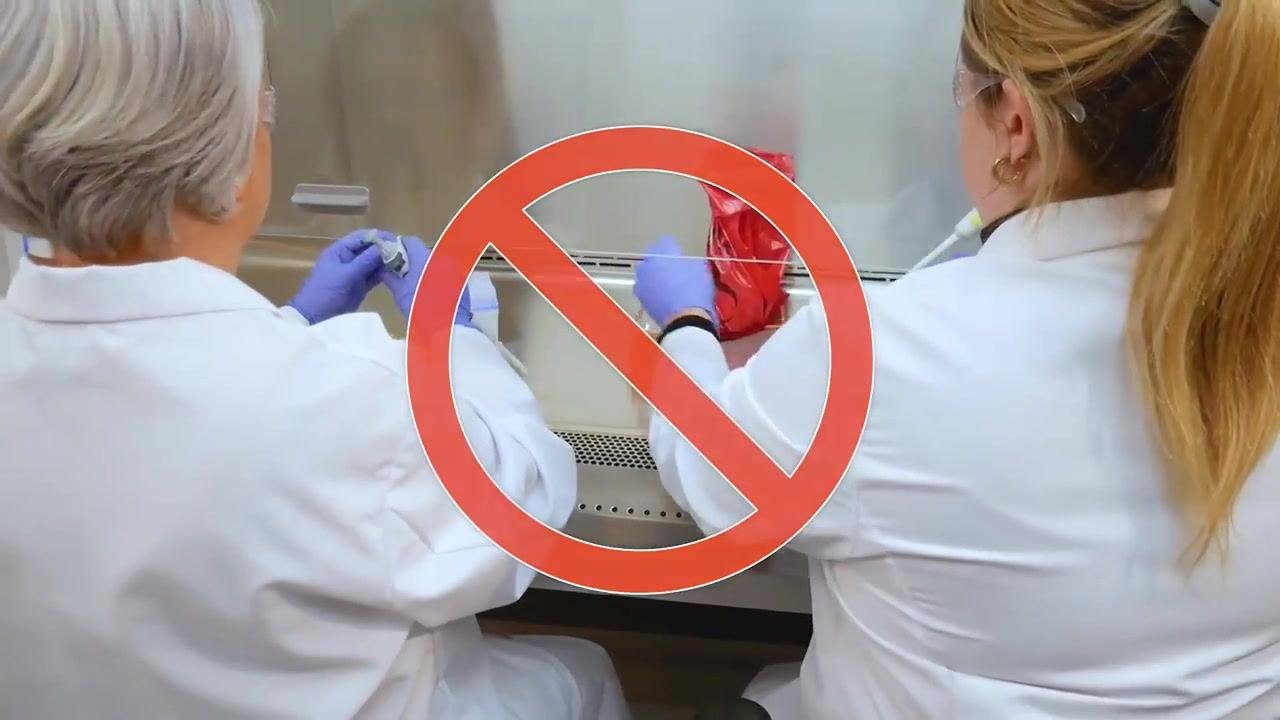
If a spill occurs, stop all work immediately. Do not continue normal laboratory activities or keep handling materials as usual.
-
Cover the spill immediately with a laboratory wipe to limit its spread. Do not attempt to clean or move the spill before covering it, and ensure the wipe fully covers the affected area.
-
Select a suitable disinfectant for the spilled material and generously apply it over the area covered by the wipe. Allow the disinfectant to sit for the manufacturer's recommended contact time.
-
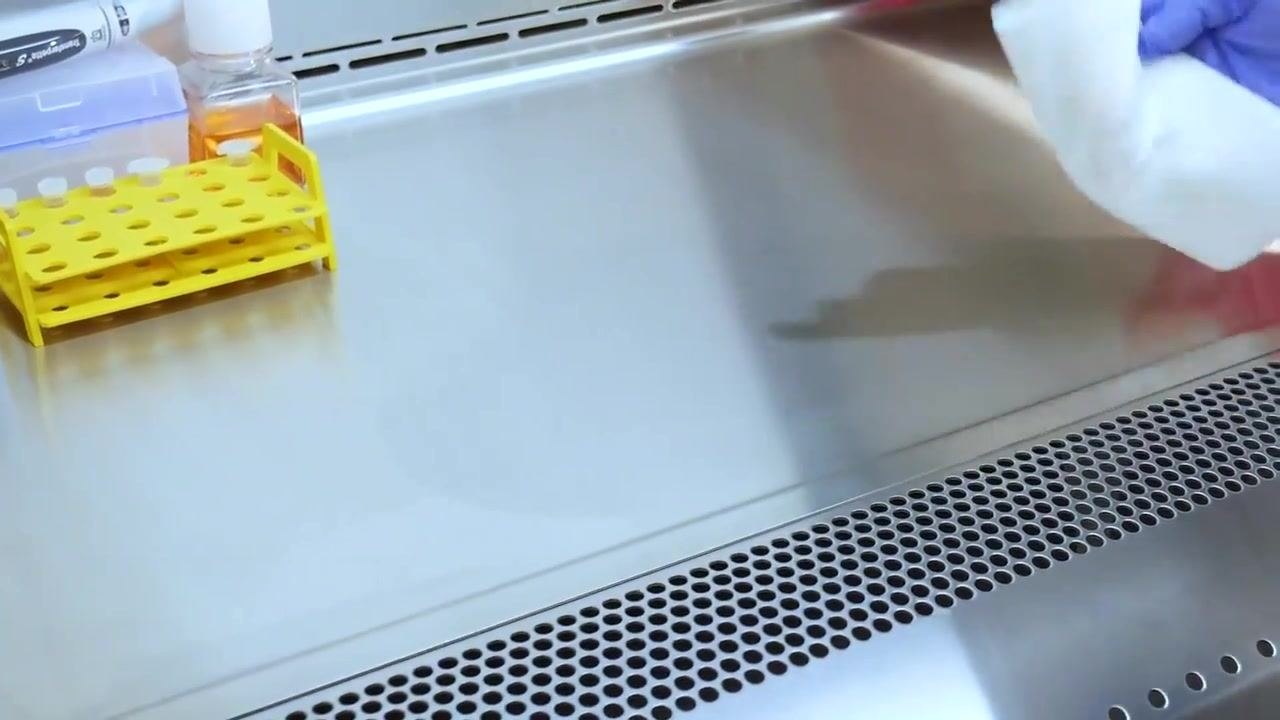
After the contact time has elapsed, use a new laboratory wipe to clean up the spill area thoroughly, including any impacted surfaces, and dispose of used wipes in the appropriate biohazard waste container.
-
After cleaning up a major spill, let the cabinet run for at least five minutes to remove any remaining aerosols or contaminants from the work area.
Finishing work
-
Carefully close all open containers or vessels inside the cabinet; do not remove open containers from the cabinet.
-
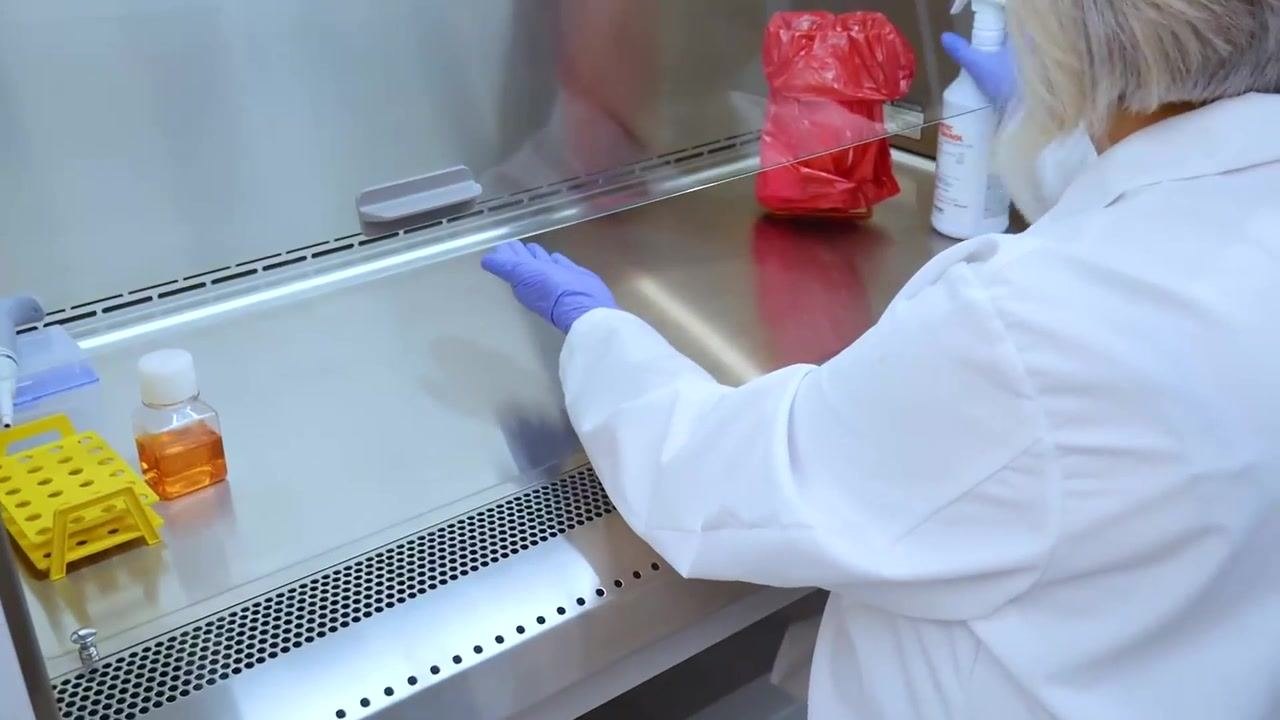
Use a laboratory wipe and disinfectant to thoroughly clean the outside of all materials, containers, and equipment before removing them from the cabinet.
-
Clean the entire work surface with a laboratory wipe and disinfectant, ensuring all areas — including those not directly impacted by a spill — are disinfected.
-
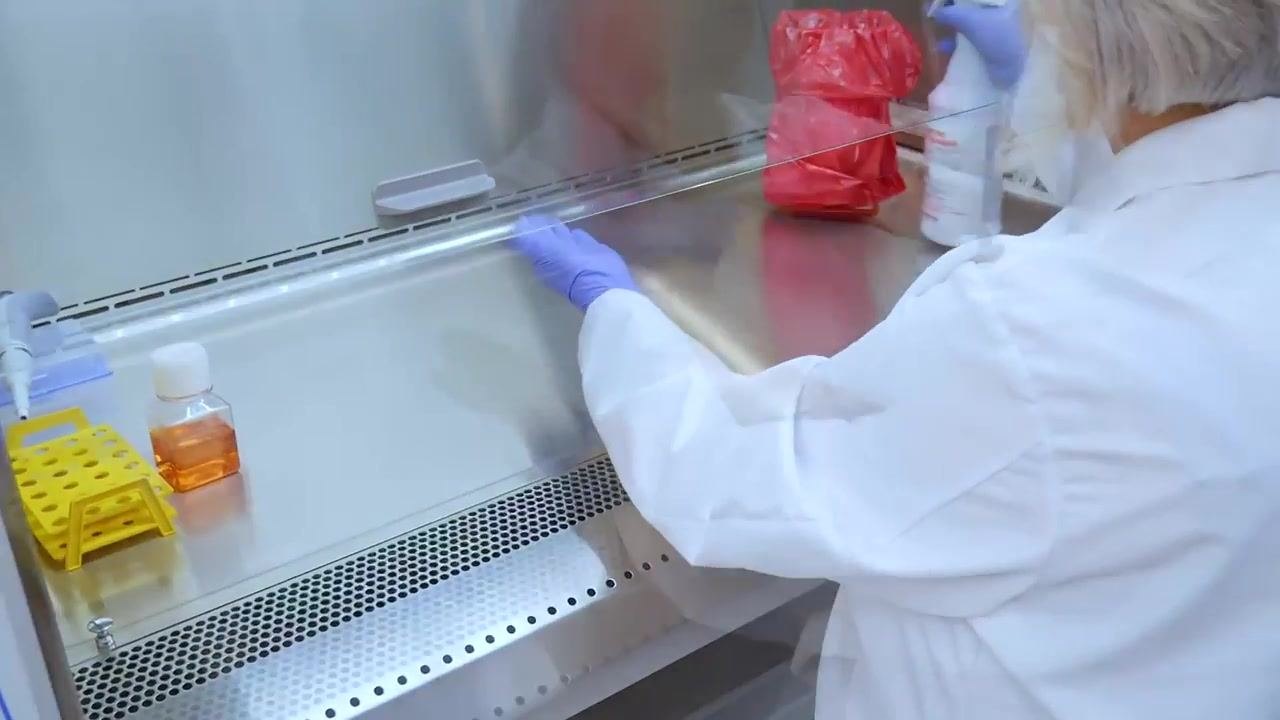
Before removing any waste bags or containers from the cabinet, spray and wipe down their exteriors with disinfectant to prevent contamination outside the cabinet.
Final disinfection and extended cleaning
-
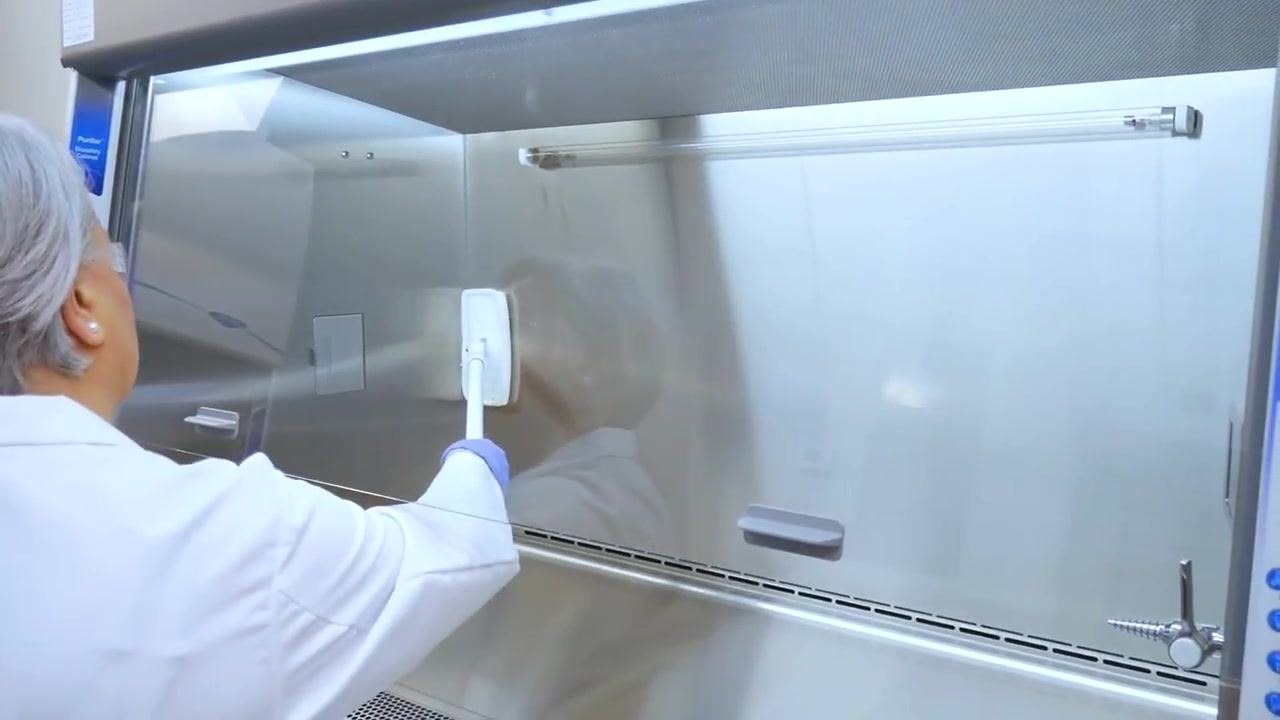
Use a suitable disinfectant and cleaning tool to thoroughly clean all interior surfaces, including the back and side walls, reaching all corners to guarantee full disinfection. Wear appropriate PPE throughout this process.
-
Visually inspect the cabinet to confirm all materials, waste, and equipment have been removed, and that the work area is completely clear with clean, dry surfaces.
-
If your cabinet is equipped with an energy-saving mode, such as NightSmart, activate it to purge the work area with clean air between uses and conserve energy.
-
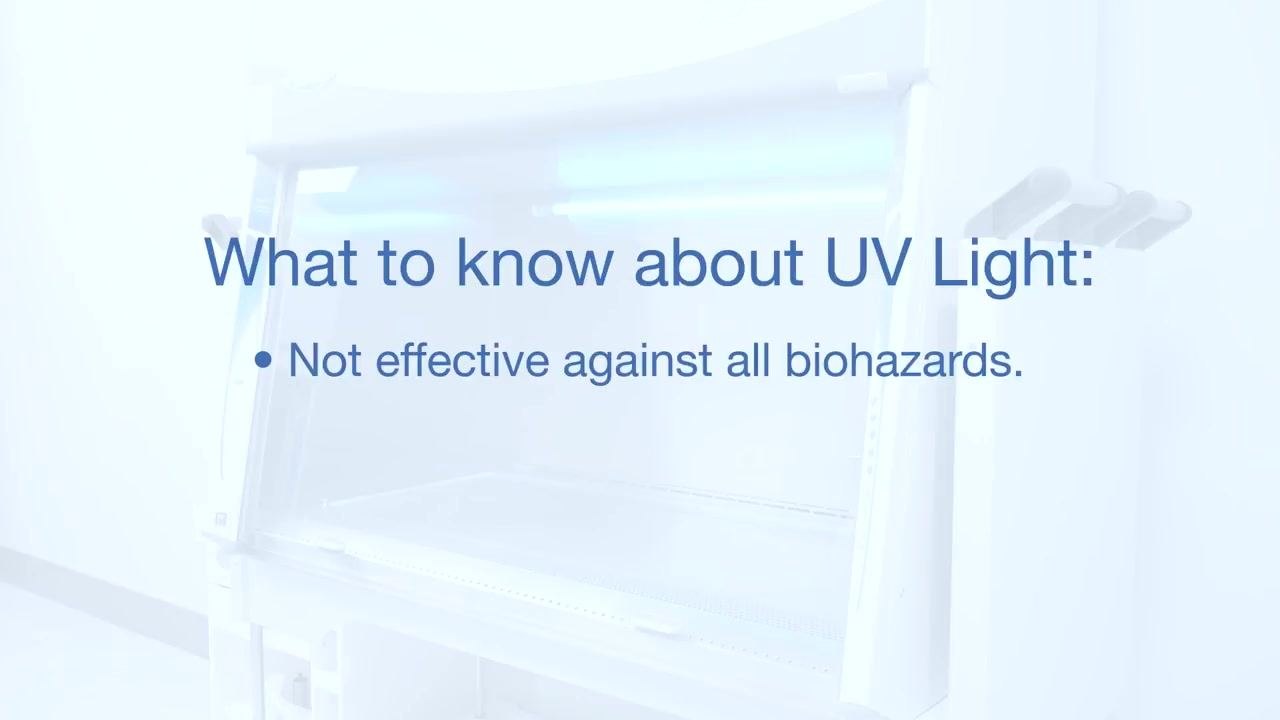
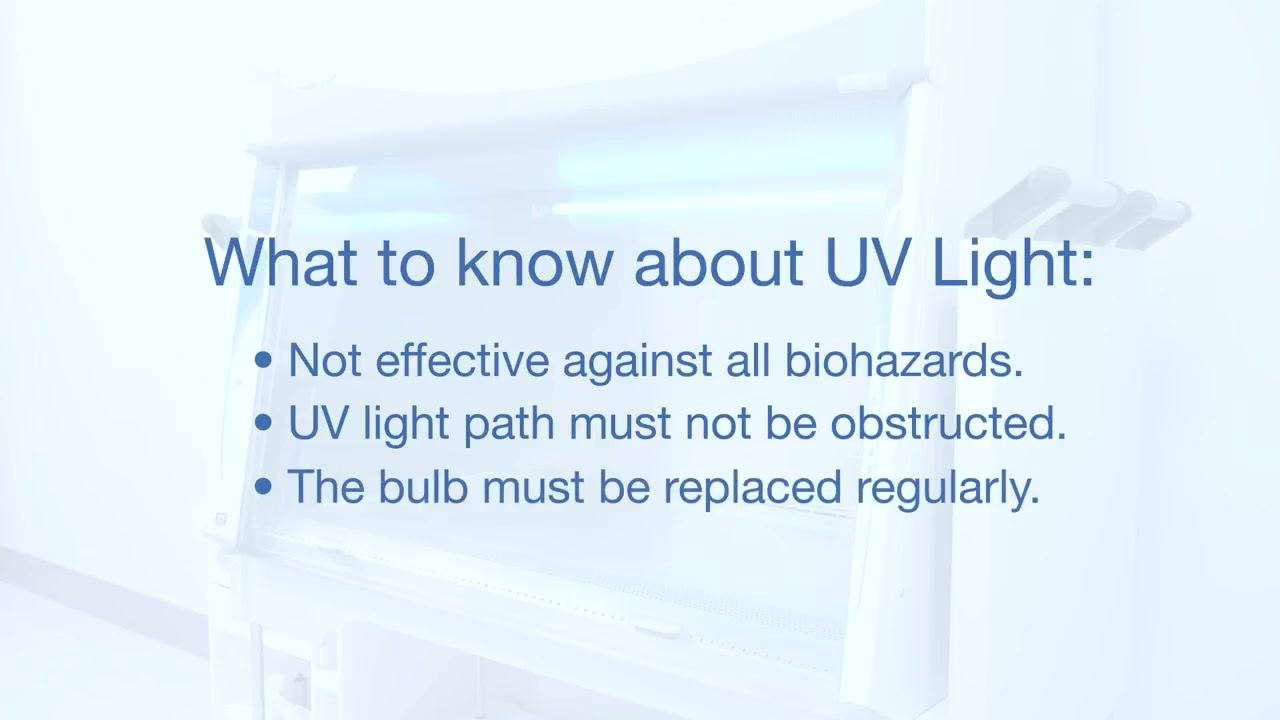
Do not rely on UV light as the primary method of disinfection: it is not effective against all biohazards, the light path must not be obstructed, and the bulb must be replaced regularly to maintain effectiveness.
-
Perform extended cleaning periodically or as required by your facility's protocols, which may involve disassembling certain parts of the cabinet for thorough cleaning.
-
Carefully lift the work surface and use a laboratory wipe and disinfectant to clean the underside before removing it, ensuring surfaces not normally exposed are also disinfected.
-
Spray the airfoil (front grill/vent area) with disinfectant, wipe it thoroughly, and remove it for additional cleaning if necessary.
-
Once all cleaning steps are finished and all removable parts are cleaned and replaced, carefully lower the sash to secure the cabinet and indicate it is ready for future safe use.
Calculations
This procedure is qualitative and observational; it does not involve numeric formulas, dilution factors, or reported analytical results. Where quantitative calculations apply to a specific laboratory assay performed inside the cabinet, they should be documented in that assay's own method SOP rather than in this cabinet-use procedure.
Quality Controls
- Certification status: Confirm the cabinet displays a valid, up-to-date certification label before use. Certification must be performed after installation, at least once per year thereafter, and again after the cabinet has been moved or has undergone major service. Contact your lab manager or biosafety officer if certification has lapsed before proceeding.
- Airflow verification: Use the airflow visualizer to confirm inflow air moves at approximately 105 fpm (0.53 m/s) and that downflow air is laminar, typically between 50–60 fpm depending on model, meeting ISO 5 or better air quality.
- Blockage monitoring: Watch for cabinet alerts indicating blocked airflow; while the blower may automatically compensate for minor blockages, grills must always be kept clear of papers, flat objects, or overcrowded materials.
- Purge timing: Do not proceed with work until the cabinet has completed a minimum five-minute equilibration/purge cycle at startup, and allow at least one minute of stabilization after hands and arms enter the cabinet before beginning active work.
- Disinfection contact time: Apply disinfectant and allow the manufacturer's recommended contact time before wiping; if a non-IPA disinfectant is used, a secondary 70% IPA wipe-down is required.
- UV light limitations: Do not treat UV light as a primary disinfection control. Confirm the UV light path is unobstructed and that the bulb is replaced on a regular schedule.
- Spill response acceptance criteria: A spill is not considered resolved until the area has been covered, disinfected for the full contact time, wiped clean, and the cabinet has run for at least five additional minutes to clear residual aerosols.
- Failed or lapsed run handling: If certification has lapsed, if HEPA filter integrity is in question, or if a spill response cannot be completed per this procedure, stop work, do not resume cabinet use, and contact your lab manager or biosafety officer for resolution before further operation.

Generation details: cost, quality tiers, downloads
Docsie billed 7,000 credits ($4.90) to analyze this 14-minute video at standard quality. The rewrite, template fill and Word/PDF exports were included. The same video at each quality tier:
| Quality | Frames sampled | Credits | Approx. cost |
|---|---|---|---|
| Draft | every 16-30 s | 3,500 | $2.45 |
| Standard (this guide) | every 8-15 s | 7,000 | $4.90 |
| Detailed | every 4-7 s | 14,000 | $9.80 |
| Ultra | every 1-3 s | 28,000 | $19.60 |
Credits priced at $0.70 per 1,000; plans include a monthly allowance. Enterprise customers on on-premise or bring-your-own-model deployments run this on their own inference and pay no per-video credits.
Generated by Docsie Video-to-Docs on 2026-09-14 from a 13-minute video. It was generated straight into Docsie's Lab Method SOP template, so every section of that template is filled from the video. Screenshots are frames from the source video and belong to their creator, Labconco Corporation, whose original is embedded above. If you own this video and want the guide removed or credited differently, contact us and we will act within one business day.