
How to Calibrate a Pipette (Ultra quality)
This calibration log documents how to calibrate a pipette using the gravimetric method, in which distilled water is aspirated and dispensed onto a precision balance to verify accuracy and precision. Calibrating a pipette correctly guarantees maximum reliability and confidence in your laboratory results, and depends on three key factors: the equipment used, the procedures followed, and the environment in which calibration is performed. Use this log to record instrument details, the calibration procedure, reference standards, measured results, maintenance activity, and final approval for release to use.
Video: Mastering Pipette Calibration: Ensuring Accuracy and Precision by Sartorius (2014). All credit for the demonstration goes to the creator; watch the original on YouTube. The written guide below was generated from this video by Docsie. Creator? Request a change or removal.
This calibration log documents how to calibrate a pipette using the gravimetric method, in which distilled water is aspirated and dispensed onto a precision balance to verify accuracy and precision. Calibrating a pipette correctly guarantees maximum reliability and confidence in your laboratory results, and depends on three key factors: the equipment used, the procedures followed, and the environment in which calibration is performed. Use this log to record instrument details, the calibration procedure, reference standards, measured results, maintenance activity, and final approval for release to use.
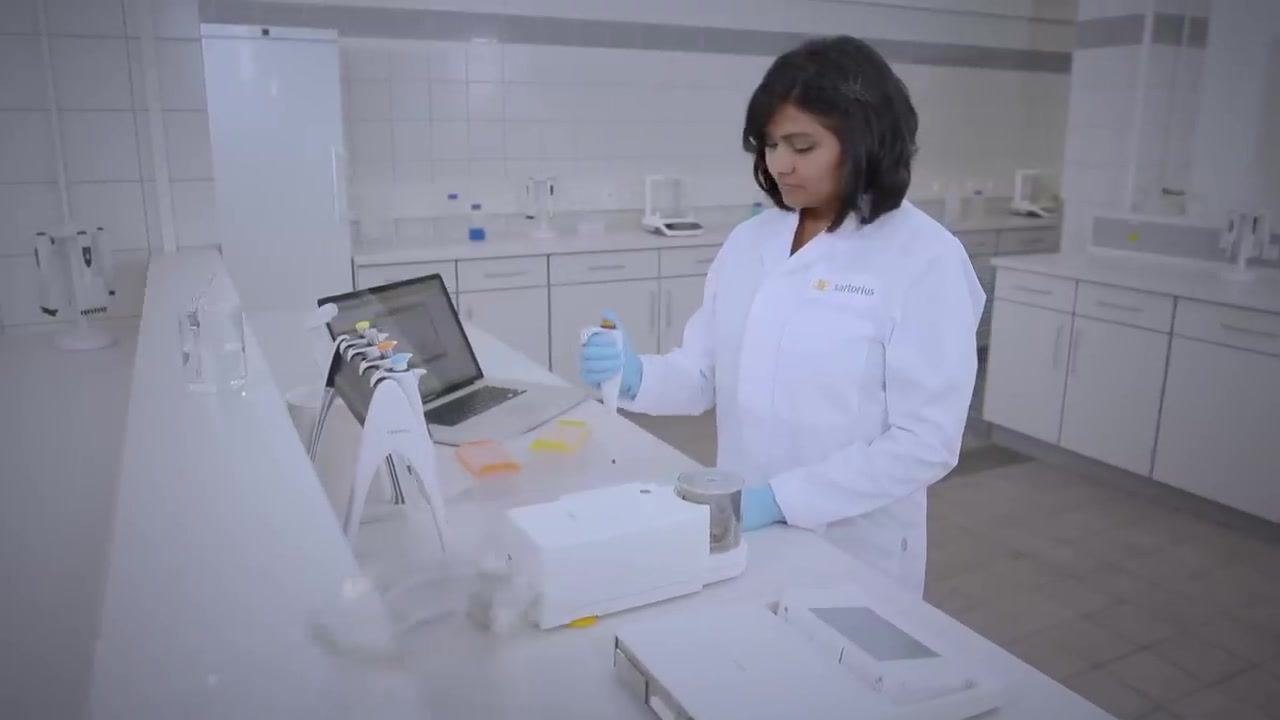
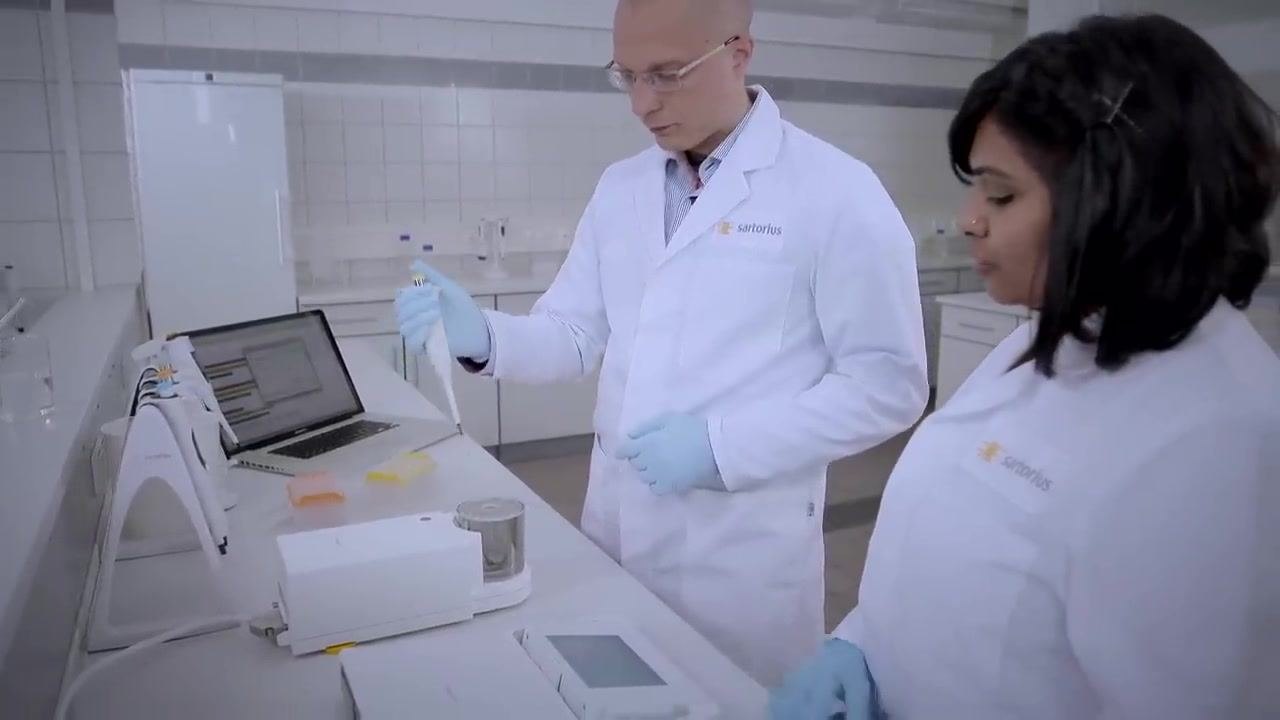
Instrument details
| Field | Details |
|---|---|
| Instrument ID | Not specified in this session; assign the pipette's unique asset tag before logging results. |
| Model | Single-channel pipette |
| Serial Number | Not specified in this session; record the serial number from the pipette body before starting. |
| Location | Laboratory calibration station |
| Owner/Custodian | Laboratory technician assigned to operate and maintain the pipette |
| Intended Use | Precise aspiration and dispensing of liquid volumes, verified using distilled water on a gravimetric balance |
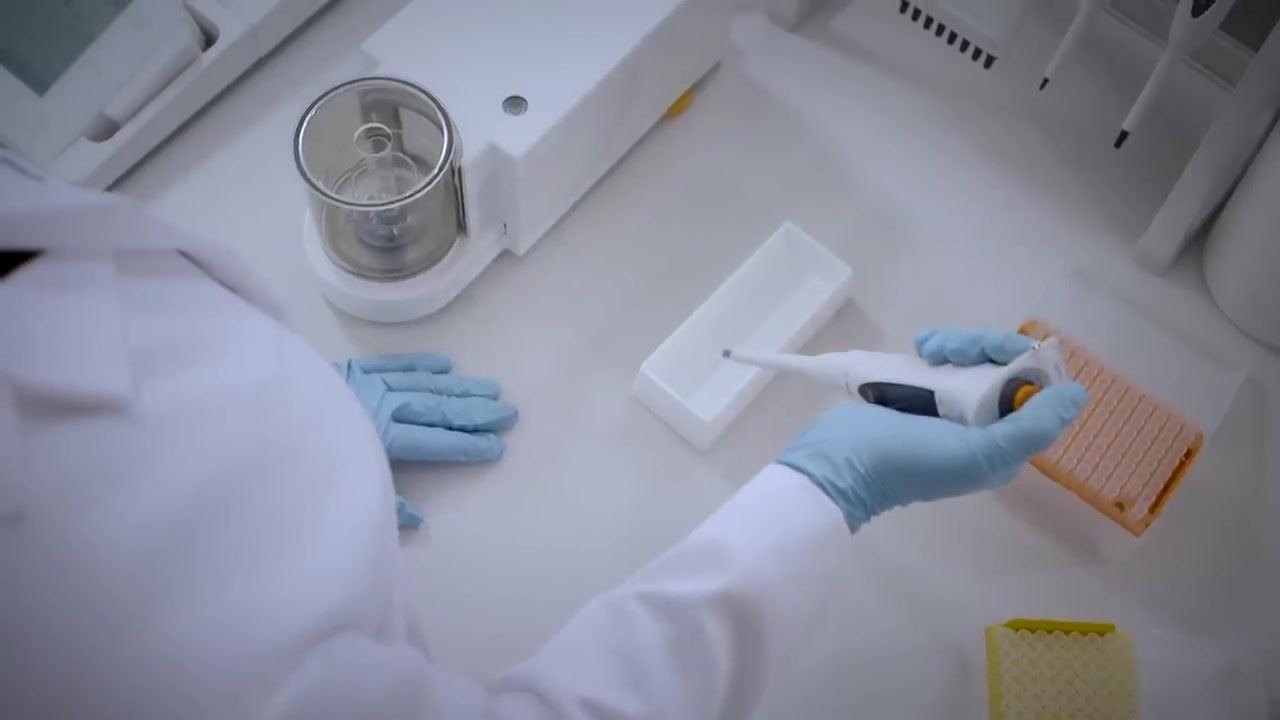
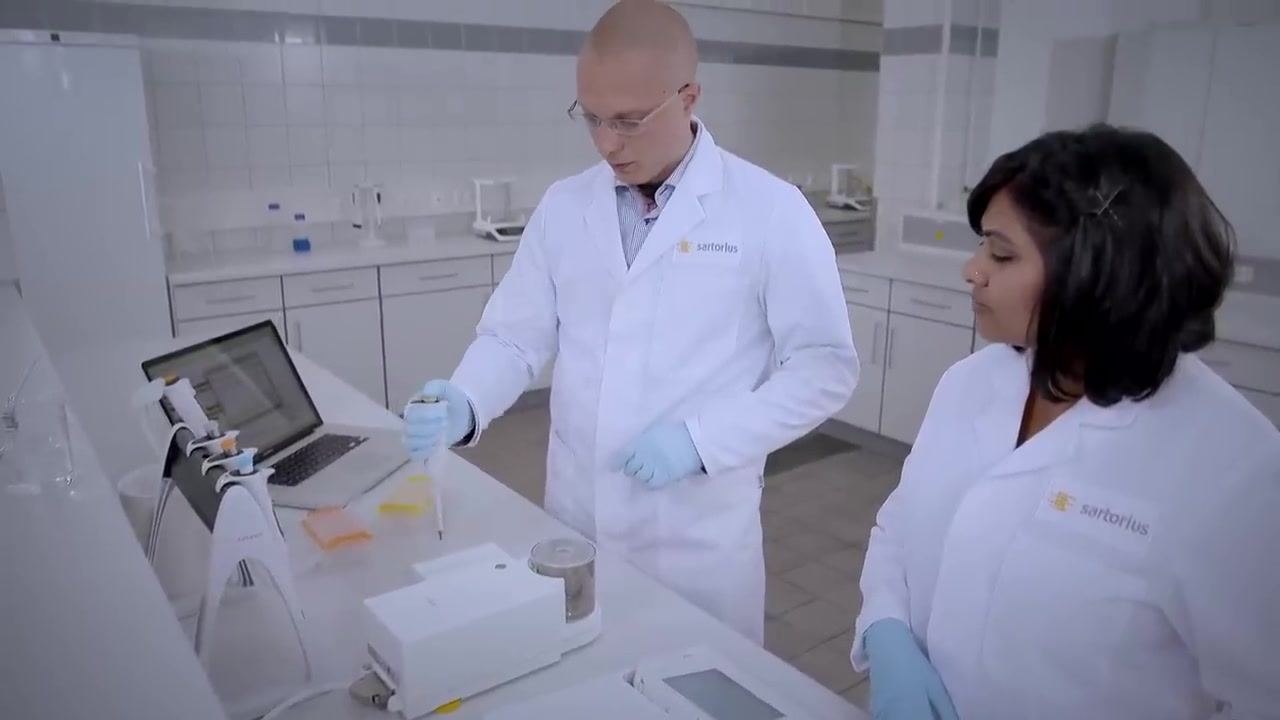
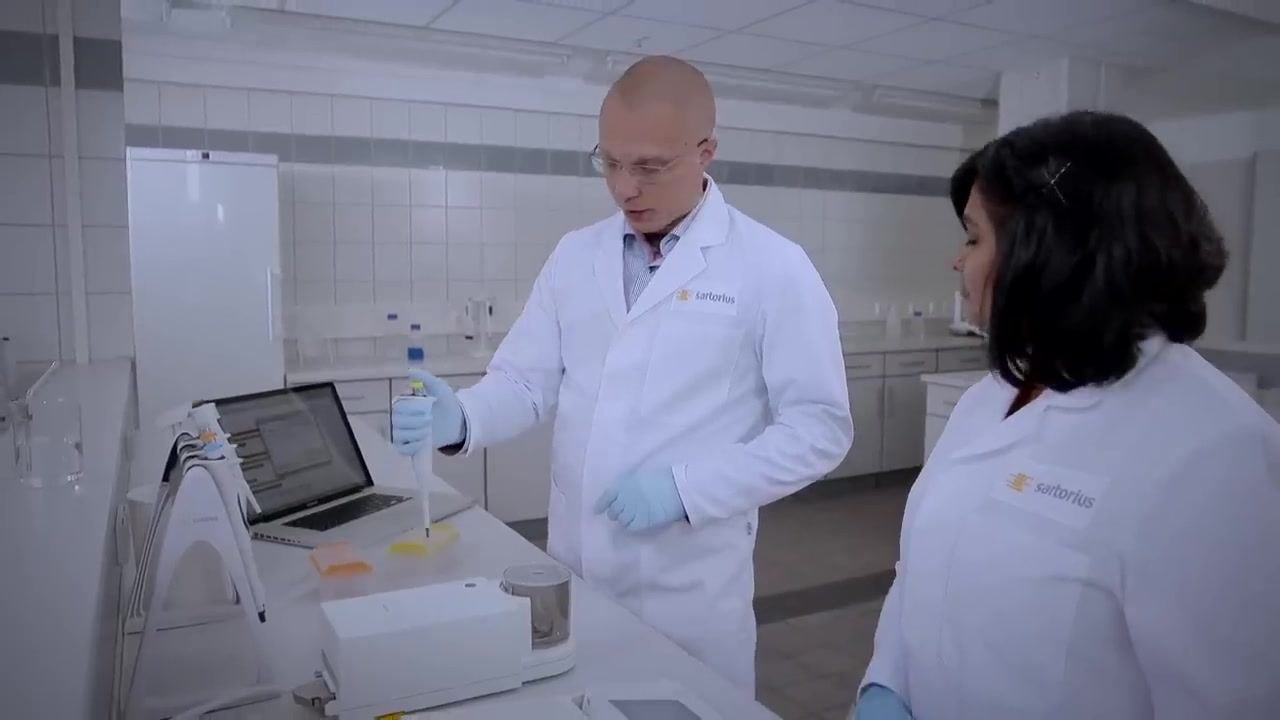
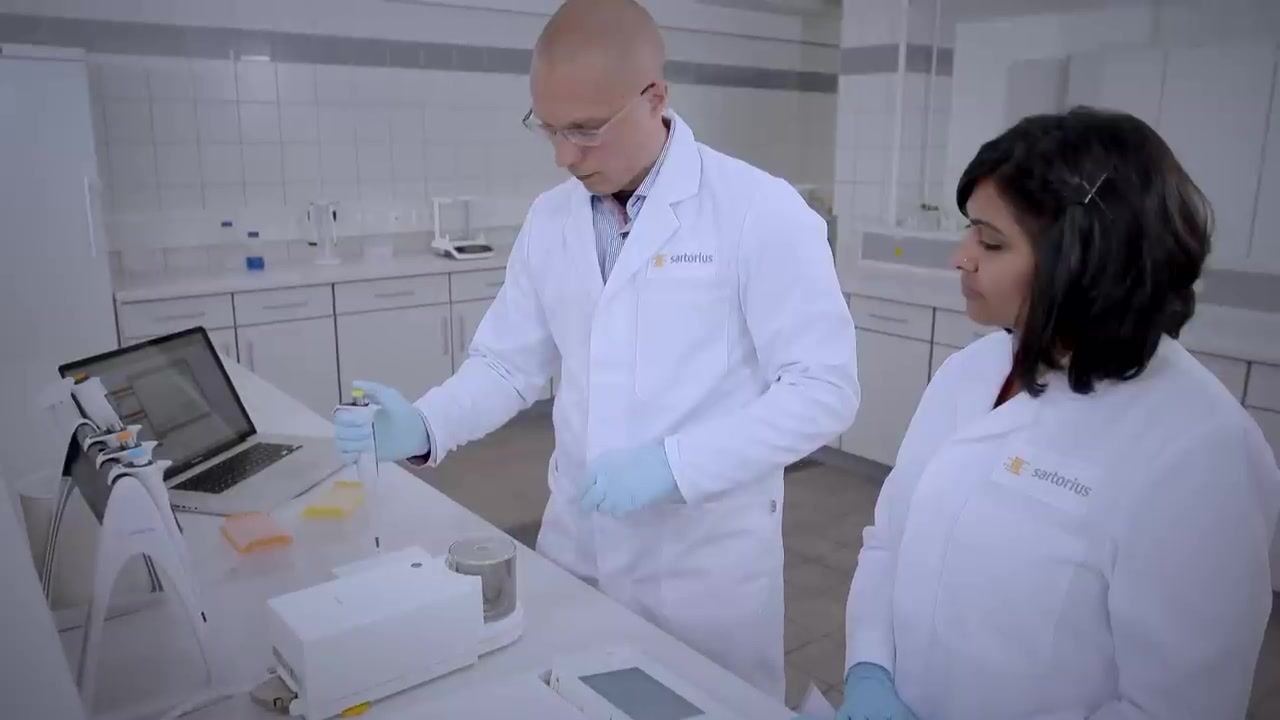
The calibration station is set up on a stable, vibration-free surface, with distilled water and disposable tips kept within easy reach. The calibration software runs on a nearby laptop or PC for data entry and analysis, and pipettes are organized on a stand to keep them accessible and free of contamination.
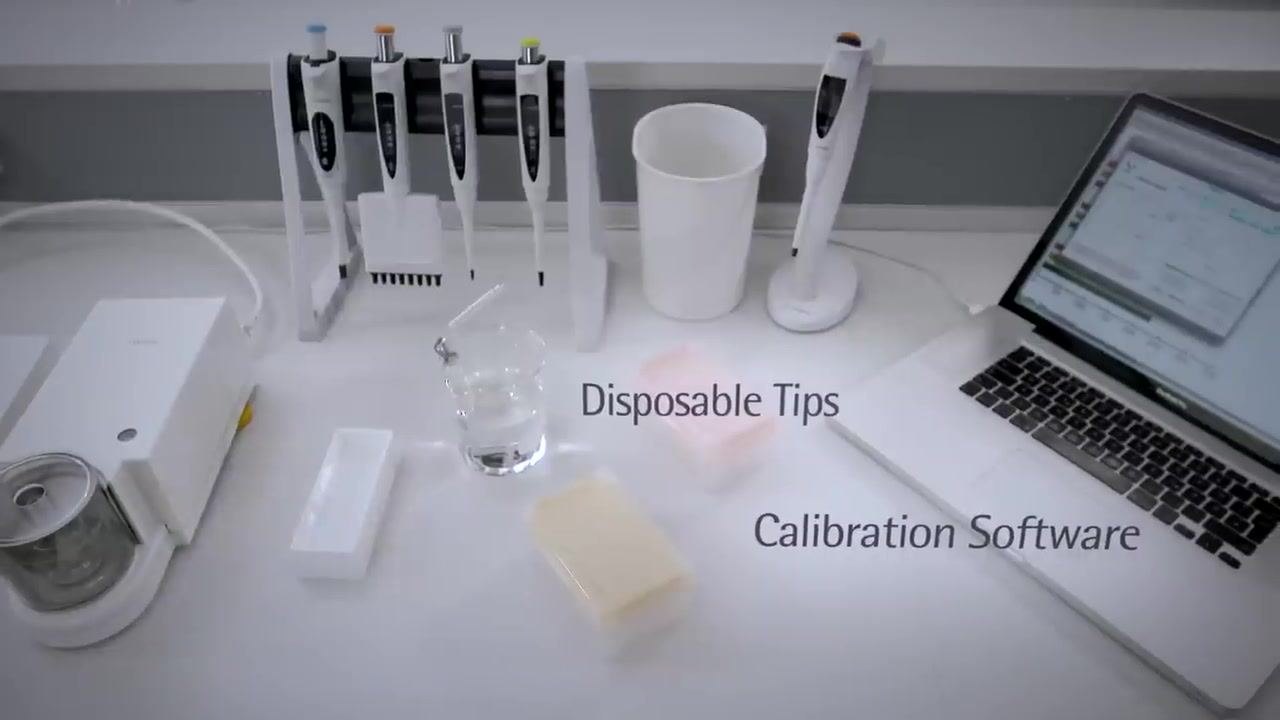
Calibration schedule
| Field | Details |
|---|---|
| Frequency | Not specified in this session; follow your laboratory's SOP or the manufacturer's recommended interval. |
| Due Date | Not specified in this session; record the next due date after completing this calibration. |
| Procedure | Gravimetric calibration: pre-wet the tip, aspirate vertically, tare the balance, dispense at a 45-degree angle, record the mass, and repeat for 3–5 replicates |
| Responsible Role | Laboratory technician performing the calibration, with a second technician available to review documentation |
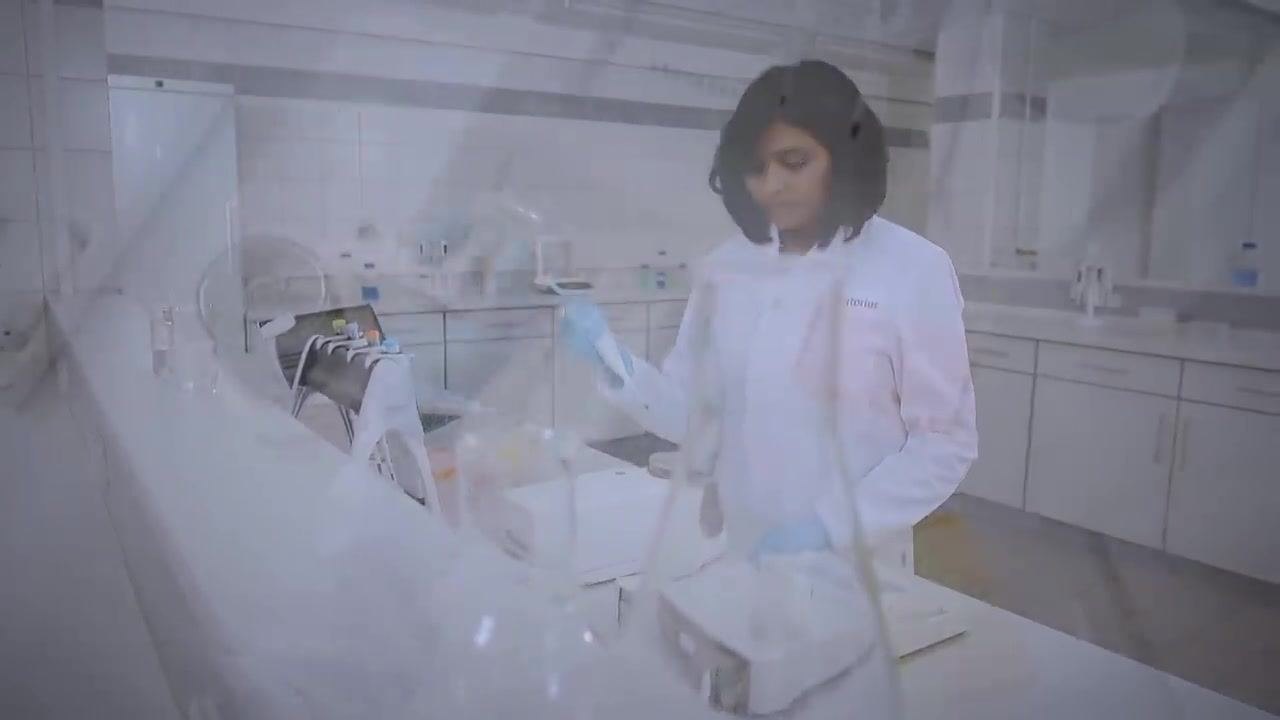
Before you begin, power on the balance and confirm it is tared (zeroed), and open the calibration software to prepare it for data entry. Wear appropriate personal protective equipment, such as lab gloves and a lab coat, and pre-wet the pipette tips to improve the reliability of your results.

Standards used
| Field | Details |
|---|---|
| Reference Standard | Distilled water, used as the calibration liquid for gravimetric verification |
| Lot Number | Not specified in this session; record the batch or lot of distilled water used. |
| Certificate | An accredited calibration certificate must be generated on completion, including the uncertainty of measurement for the instrument |
| Expiration Date | Not specified in this session; verify certificate validity per your accreditation body's requirements. |
| Traceability | The certificate documents the results, the equipment used, and the personnel involved, providing full traceability of the calibration |
Review the certificate details after calibration to confirm that all required information, including the measurement uncertainty, is present before accepting the pipette back into service.
Calibration results
Steps to calibrate a pipette using the gravimetric method
-
Pre-wet the pipette tip. Aspirate and dispense distilled water three to five times before starting calibration. This eliminates evaporation of water inside the pipette and improves the accuracy of your results.
-
Aspirate the water correctly. Hold the pipette vertically, depress the plunger to the first stop, immerse the tip in the water, and slowly release the plunger to draw up the sample. Avoid tilting the pipette during aspiration.
-
Confirm the balance is tared. Before dispensing, verify that the balance display reads zero. Taring is often performed automatically by the calibration software, but you should still check it.
-
Dispense the sample onto the balance. Hold the pipette at a 45-degree angle, position the tip against the wall of the receiving vessel, and press the plunger to the second stop to expel the entire sample.
-
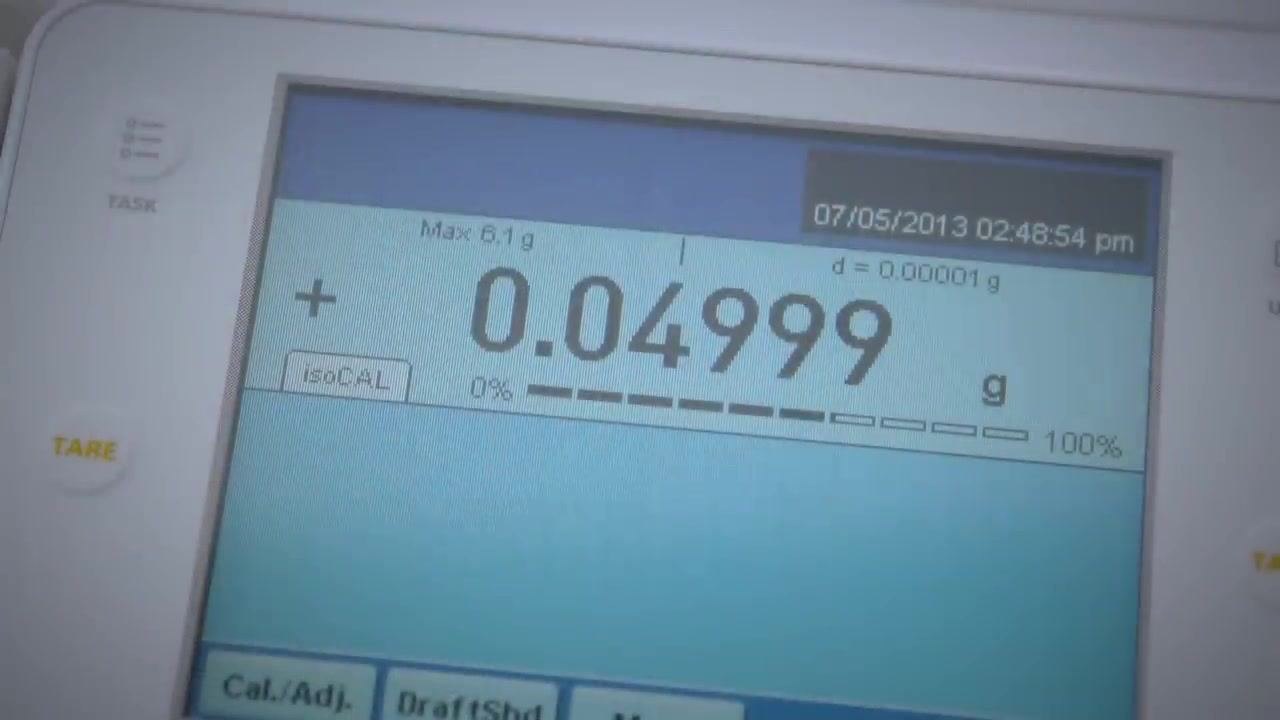
Record the measurement. Read the stable balance display and log the measured mass, for example 0.04831 g.
-
Repeat for statistical reliability. Repeat aspiration and dispensing for the required number of replicates, typically 3–5 times. The smaller the sample volume, the more important it is to expel the entire sample and avoid residual droplets.
-
Maintain consistent technique. Keep an even rhythm and timing for each pipetting cycle to reduce variability and improve the reliability of your results.
-
Document the results. Enter all results into the calibration software or your laboratory notebook, and generate a calibration certificate recording the results, equipment, and personnel involved.
-
Verify and finalize. Double-check that all measurements and documentation are complete and accurate, then save or print the calibration certificate for your records.
Technique and environmental checks during calibration
-
Attach tips without contamination. Press the pipette straight down onto the tip without twisting. Use tip racks and avoid touching tips with your hands to maintain sterility.
-
Control the calibration environment. Keep the calibration area draft-free and maintain constant temperature and humidity, since environmental changes can affect accuracy. Use environmental monitoring equipment where available.
-
Apply consistent handling for every replicate. Hold the pipette vertically when aspirating and at a 45-degree angle when dispensing into a vessel on the balance, following the same procedure each time.
-
Follow the best-practice sequence. Pre-wet the tip, aspirate vertically, dispense at a 45-degree angle, and repeat each step consistently for every calibration cycle.
-
Dispense with care. Maintain the 45-degree angle and position the pipette tip correctly inside the vessel to avoid splashing or loss of sample.
-
Avoid contact with the vessel walls. Dispense carefully without touching the sides of the vessel with the pipette tip, to prevent contamination or measurement errors.
Post-adjustment verification results
-
Verify the set volume. Check the pipette's display to confirm the desired volume is set, for example 50.0 µL, before dispensing for verification.
-
Dispense and assess precision. Dispense the set volume into the calibration vessel on the balance and observe the reading. Repeat dispensing multiple times to evaluate the distribution of dispensed volumes.
-
Record and compare results. Log the measured mass for each cycle, for example 0.04965 g, and compare results to expected values to assess accuracy and precision.
-
Confirm final reliability. Review the final balance reading, for example 0.04999 g, to confirm consistent and reliable performance before releasing the pipette for use.
Result summary table
| Replicate | Set Volume | Measured Mass | Acceptance Limit | Pass/Fail | Analyst Initials |
|---|---|---|---|---|---|
| Initial run | Not specified in this session | 0.04831 g | Not specified in this session; define per your SOP | Not specified in this session | Not specified in this session |
| Post-adjustment | 50.0 µL | 0.04965 g | Not specified in this session | Not specified in this session | Not specified in this session |
| Final verification | 50.0 µL | 0.04999 g | Not specified in this session | Not specified in this session | Not specified in this session |
Maintenance
| Field | Details |
|---|---|
| Preventive Maintenance | Inspect the pipette body and tip for damage, wear, and proper sealing during each calibration |
| Repairs | Not specified in this session |
| Parts Replaced | Not specified beyond disposable tips used for each calibration cycle |
| Service Provider | Not specified; adjustments follow the manufacturer's instructions using the designated calibration tool |
Adjust the pipette volume as needed. Hold the pipette securely with one hand and use the calibration tool to turn the adjustment mechanism with the other. Turn clockwise to increase the dispensed volume and counterclockwise to decrease it, making adjustments gently and precisely.
Inspect the pipette for leakage or mechanical faults. Examine the pipette body and tip for visible damage or wear, check for proper sealing and smooth plunger operation, and use the calibration tool to inspect internal components if needed.
Out-of-tolerance actions
Impact assessment, affected data review, and quarantine. Not specified in this session; record the assessment of data generated since the last valid calibration, note any affected results, and quarantine the pipette from use until the issue is resolved.
If results indicate inaccuracy, use special calibration tools to adjust the pipette, following the manufacturer's instructions, then recalibrate and verify accuracy after the adjustment.
If accuracy cannot be corrected by adjustment, attempt further adjustments if necessary; if the pipette still cannot achieve accurate results, proceed to check for mechanical issues.
Reiterate the calibration factors. Confirm that every step was performed with the correct equipment, following standardized procedures, and in a controlled environment, since the technician's technique and consistency are critical for reliable results.
Approval
| Field | Details |
|---|---|
| Reviewer | A second laboratory technician reviews the calibration results and documentation |
| Date | Not specified in this session; record the date of final review |
| Release-to-Use Decision | Confirm the pipette meets laboratory standards based on the final balance readings before returning it to service |
Collaborate and review documentation. Work with a colleague to review the calibration results and documentation, and discuss any uncertainties or questions regarding the process or certificate, while maintaining a professional, organized laboratory environment.
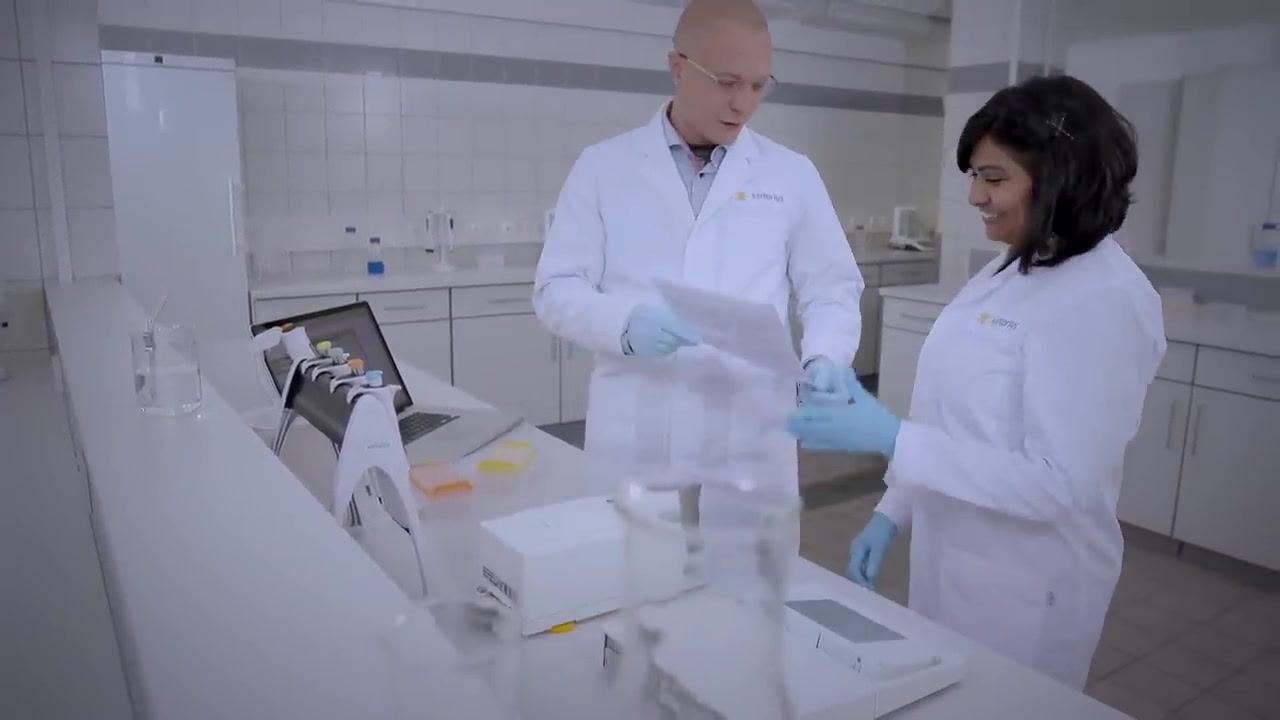
Complete the calibration process. Save all data and update the calibration certificate, then return the pipette and calibration tools to their designated storage locations, maintaining a clean and organized laboratory environment.