
How to Use a Food Thermometer
Knowing how to use a food thermometer correctly is one of the most important food safety skills in any commercial kitchen. All foods must be cooked and held at correct temperatures to prevent foodborne illness, and a metal stem (dial) or digital thermometer is the most reliable tool for confirming that meat, poultry, seafood, and other cooked foods reach safe internal temperatures. This procedure explains how to select, calibrate, and use both thermometer types correctly, and how to keep them clean between uses.
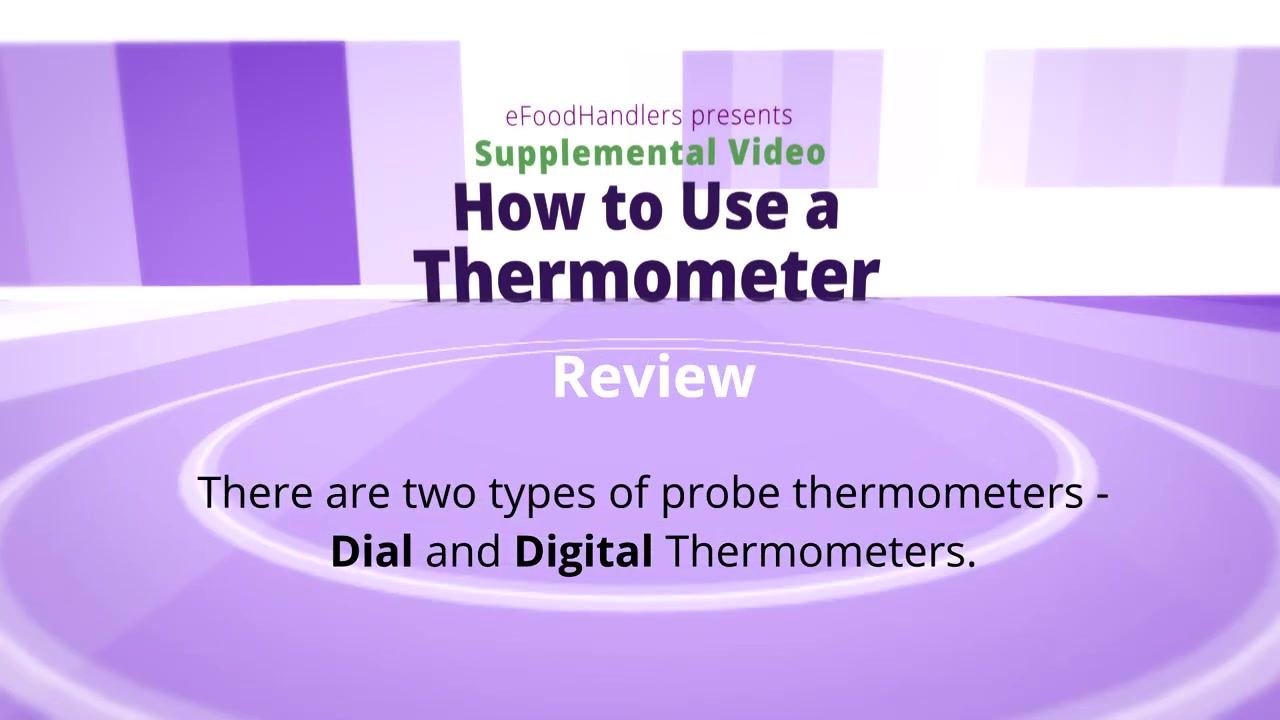
Video: eFoodHandlers presents: How to Use a Thermometer by eFoodhandlers Inc. (2014). All credit for the demonstration goes to the creator; watch the original on YouTube. The written guide below was generated from this video by Docsie. Creator? Request a change or removal.
Knowing how to use a food thermometer correctly is one of the most important food safety skills in any commercial kitchen. All foods must be cooked and held at correct temperatures to prevent foodborne illness, and a metal stem (dial) or digital thermometer is the most reliable tool for confirming that meat, poultry, seafood, and other cooked foods reach safe internal temperatures. This procedure explains how to select, calibrate, and use both thermometer types correctly, and how to keep them clean between uses.

Purpose
This procedure ensures that all foods are cooked and held at safe temperatures, minimizing the risk of foodborne illness and maintaining high food safety standards in the kitchen.
Scope
This procedure applies to any food service staff member responsible for preparing or checking the temperature of:
- Hamburgers
- Poultry
- Roasts
- Chops
- Egg casseroles
- Meatloaves
- Other combination dishes
Required equipment
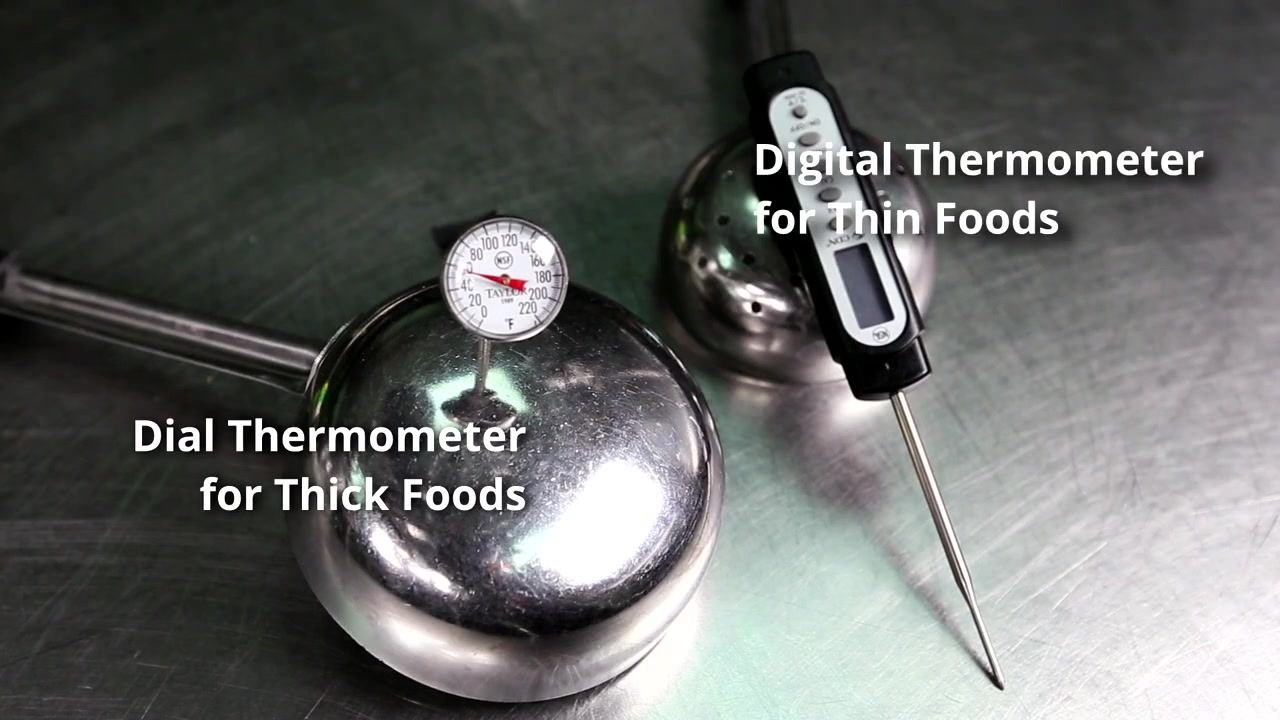
- A metal stem (dial) thermometer, best suited for thick foods
- A digital thermometer, best suited for thin foods
- A cup of crushed ice and water, for calibration checks
- Sanitizing supplies for cleaning the thermometer probe between uses
Cooks must always use the correct thermometer for the food being prepared.
Procedure
Step 1: Understand the temperature danger zone
Food must not remain in the "Danger Zone"—between 41°F and 135°F—for longer than 2 hours. This range is where bacteria multiply rapidly, increasing the risk of foodborne illness. Keep this limit in mind whenever you are cooking, holding, or cooling food.
Step 2: Choose the right thermometer for the food
Match the thermometer to the thickness of the food you are checking:
- Use a dial (metal stem) thermometer for thick foods. Insert the stem several inches into the thickest part and leave it in place for at least 20 seconds for an accurate reading.
- Use a digital thermometer for thin foods, such as hamburger patties. Digital displays are easy to read and give a quick result.
Do not use a dial thermometer on thin foods, since it needs more depth than thin items provide for an accurate reading.
Step 3: Confirm which foods require a thermometer check
Always use a food thermometer when preparing hamburgers, poultry, roasts, chops, egg casseroles, meatloaves, or other combination dishes.
Step 4: Confirm your thermometer's measurement range
Before use, make sure your thermometer can measure temperatures from 0°F to 220°F. Only thermometers covering this full range guarantee accurate readings across all food types.
Step 5: Calibrate the thermometer
Check accuracy regularly before relying on a reading:
- Place the thermometer sensor in a cup filled with crushed ice and water.
- The thermometer should read exactly 32°F.
- If it does not read 32°F, adjust it according to the manufacturer's instructions or replace it.
- Calibrate all thermometers periodically as directed by the manufacturer.
Step 6: Clean and sanitize the thermometer
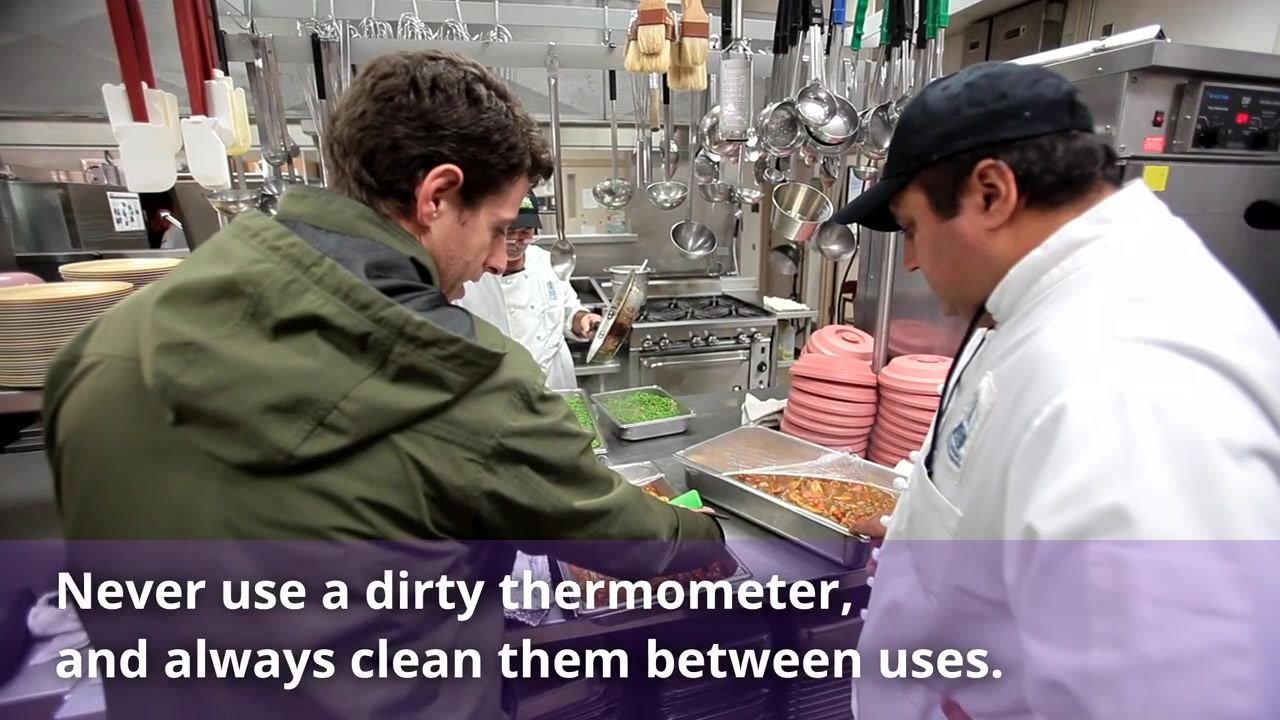
Always clean and sanitize the thermometer probe after each use, after it has touched an unsanitized surface, or if it becomes contaminated in any way. Never use a dirty thermometer, as it can transfer harmful bacteria to food.
Step 7: Insert the thermometer correctly
When checking the temperature of a poultry breast, insert the thermometer from the side rather than from the top. This method is easier to read and gives a more accurate measurement.
Step 8: Take a reading with a dial thermometer
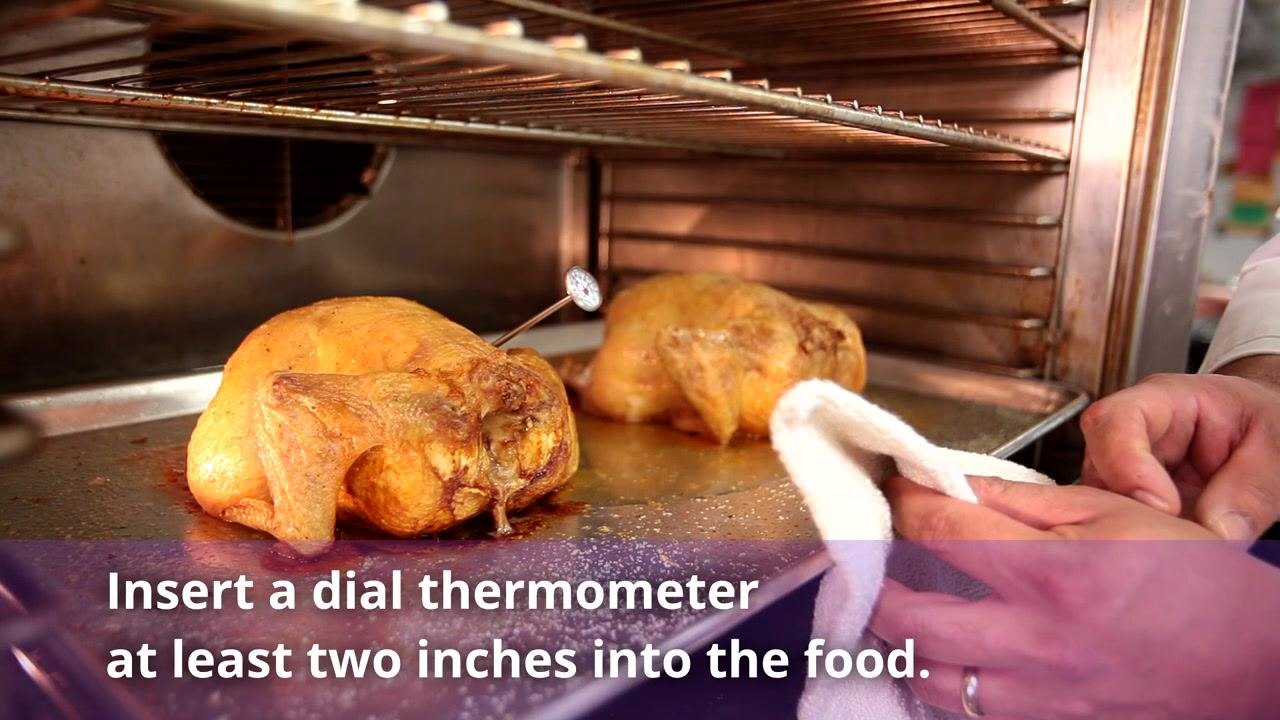
For thick foods, insert the stem straight in or at an angle, about two inches into the thickest part of the food. Avoid touching bone or fat with the stem, and leave the thermometer in place for at least 20 seconds to get an accurate reading.
Step 9: Take a reading with a digital thermometer
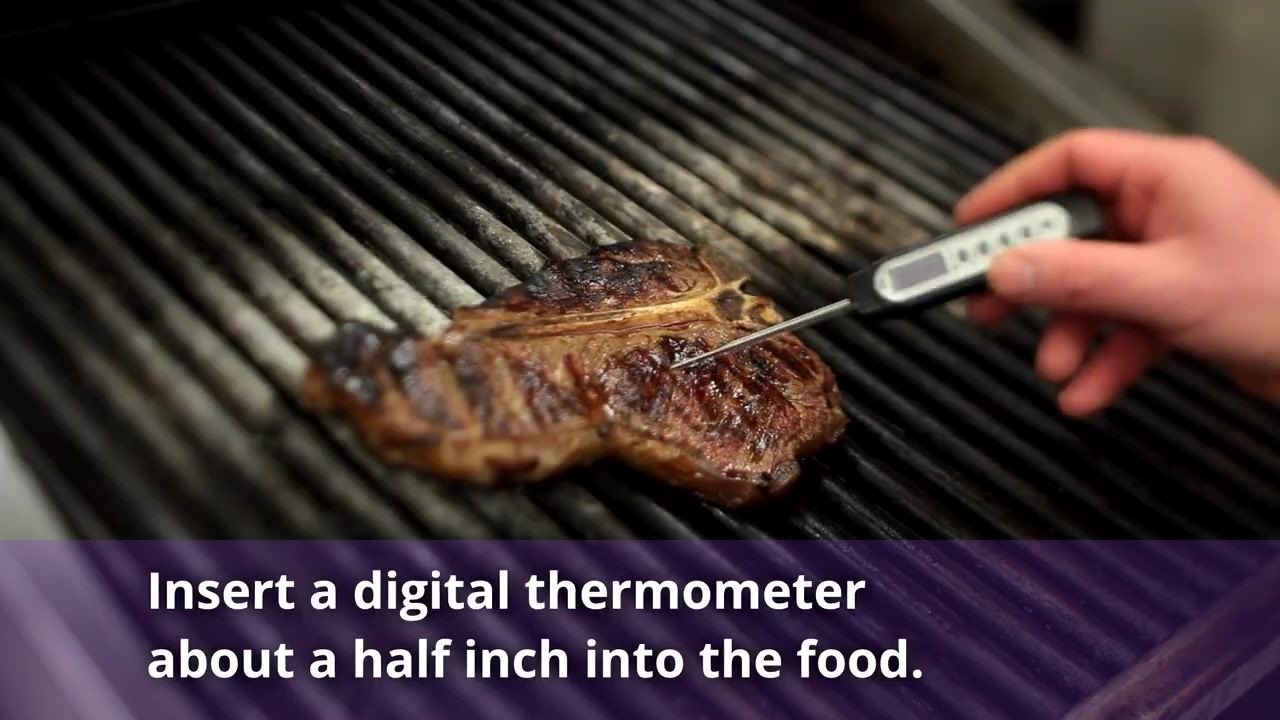
For thin foods, insert the digital stem about a half inch or less into the center of the thickest part, straight in or at an angle. Avoid touching bone or fat with the probe, and wait approximately five seconds for the temperature to display.
Verification and summary
Before serving any food, confirm it has reached the proper internal temperature using your thermometer—this remains the best way to tell if food is safe to eat.
Use this checklist to confirm the procedure was followed correctly:
-
Verify the recommended internal cooking temperature for the food type against official food safety guidelines.
-
Confirm you selected the correct thermometer type: dial (metal stem) for thick foods, digital for thin foods, each with its own insertion depth and wait time.
- Confirm the thermometer has been calibrated according to the manufacturer's directions.
- Confirm the thermometer was washed and sanitized between uses, and never used while dirty.
Practicing safe thermometer use protects the safety of everyone who eats the food you prepare, so treat every one of these checks as a required part of your routine.
What's next
For more information on food safety, refer to the six-part series on basic food safety and other supplemental videos for comprehensive guidance on maintaining safe practices throughout your kitchen.

Generation details: cost, quality tiers
Docsie billed 2,500 credits ($1.75) to analyze this 5-minute video at standard quality. The rewrite, template fill and Word/PDF exports were included. The same video at each quality tier:
| Quality | Frames sampled | Credits | Approx. cost |
|---|---|---|---|
| Draft | every 16-30 s | 1,250 | $0.88 |
| Standard (this guide) | every 8-15 s | 2,500 | $1.75 |
| Detailed | every 4-7 s | 5,000 | $3.50 |
| Ultra | every 1-3 s | 10,000 | $7.00 |
Credits priced at $0.70 per 1,000; plans include a monthly allowance. Enterprise customers on on-premise or bring-your-own-model deployments run this on their own inference and pay no per-video credits.
Generated by Docsie Video-to-Docs on 2026-09-10 from a 4-minute video. Screenshots are frames from the source video and belong to their creator, eFoodhandlers Inc., whose original is embedded above. If you own this video and want the guide removed or credited differently, contact us and we will act within one business day.