
How to Clean an Ice Machine
This SOP provides step-by-step instructions for properly cleaning and sanitizing a commercial ice machine. Following this procedure ensures the machine operates safely, produces clean ice, and complies with Federal labeling requirements for cleaning and sanitizing chemicals.
Video: How to Clean a Commercial Ice Machine by Parts Town (2020). All credit for the demonstration goes to the creator; watch the original on YouTube. The written guide below was generated from this video by Docsie. Creator? Request a change or removal.
Purpose
This SOP provides step-by-step instructions for properly cleaning and sanitizing a commercial ice machine. Following this procedure ensures the machine operates safely, produces clean ice, and complies with Federal labeling requirements for cleaning and sanitizing chemicals.
Scope
This procedure applies to anyone responsible for the routine cleaning and sanitizing of a commercial ice machine, including the removal of ice, cleaning of interior components, sanitizing of all machine surfaces, and reassembly prior to returning the unit to service.
Required equipment and PPE
- Gloves
- Safety goggles
- OEM-approved ice machine cleaner
- OEM-approved ice machine sanitizer
- Nylon brush
- Soft cloths
- Sink or basin for washing removable parts
- Measuring bowl for preparing solutions
- Owner's manual for the specific machine model
Important safety and legal notice
Before beginning, read all safety warnings associated with the cleaning and sanitizing chemicals.
- Handling ice cleaning and sanitizing solutions in a manner inconsistent with their labeling violates Federal law.
- Carefully read all labels printed on the bottles before use.
- Do not mix cleaning and sanitizing solutions together. This also violates Federal law.
- Refer to your owner's manual for further instructions, or contact an authorized technician for assistance.
Procedure
Step 1: Prepare the machine
Ensure the machine is turned off and remove all ice from the machine before beginning the cleaning process.
Step 2: Remove access panels
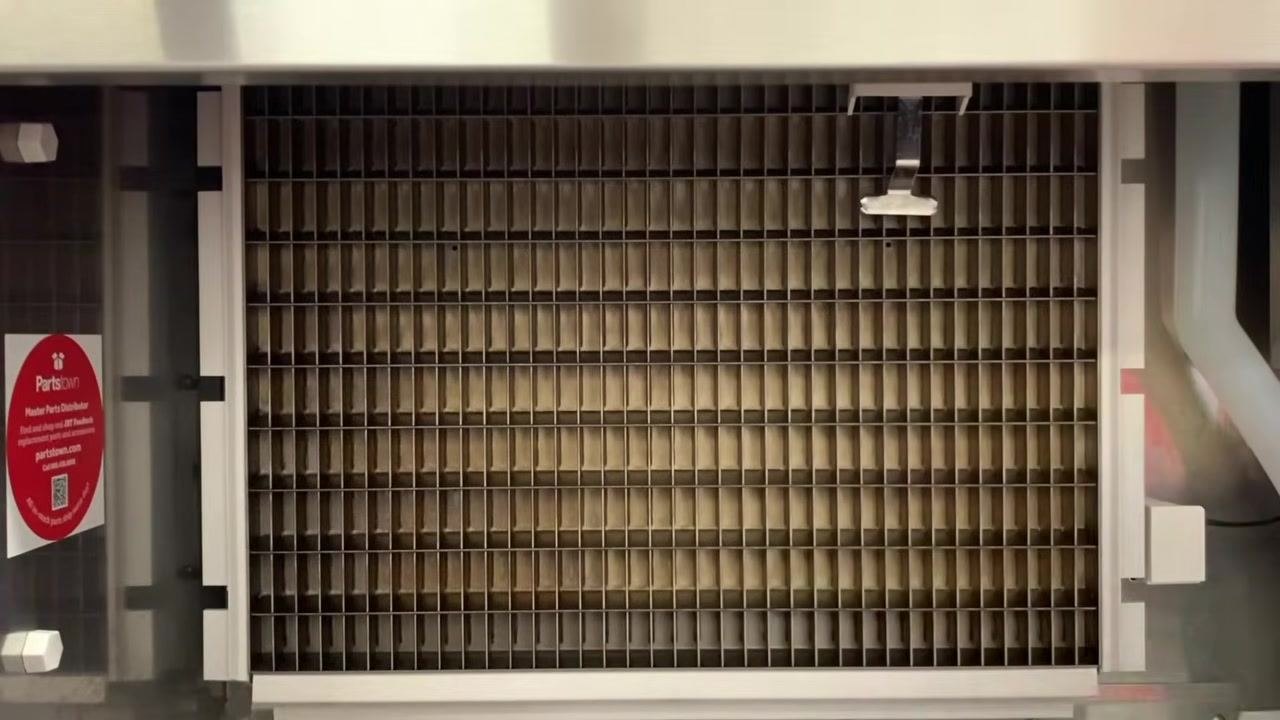
Take off the front panel of the ice machine, then remove the evaporator cover to access the evaporator grid.
Step 3: Inspect and empty the bin
Inspect the evaporator grid for any remaining ice and remove it. If your machine has a bin, dispose of all ice inside it. If ice at the bottom is frozen together, leave the bin open to allow it to thaw.
Step 4: Start the cleaning cycle
Activate the machine's cleaning cycle using the control switch. Cleaning time and controls vary depending on the type and model of the machine. A full cleaning cycle may take 20 to 45 minutes.
Step 5: Add cleaner to the machine
Safety note: Put on gloves and goggles before handling cleaning chemicals.
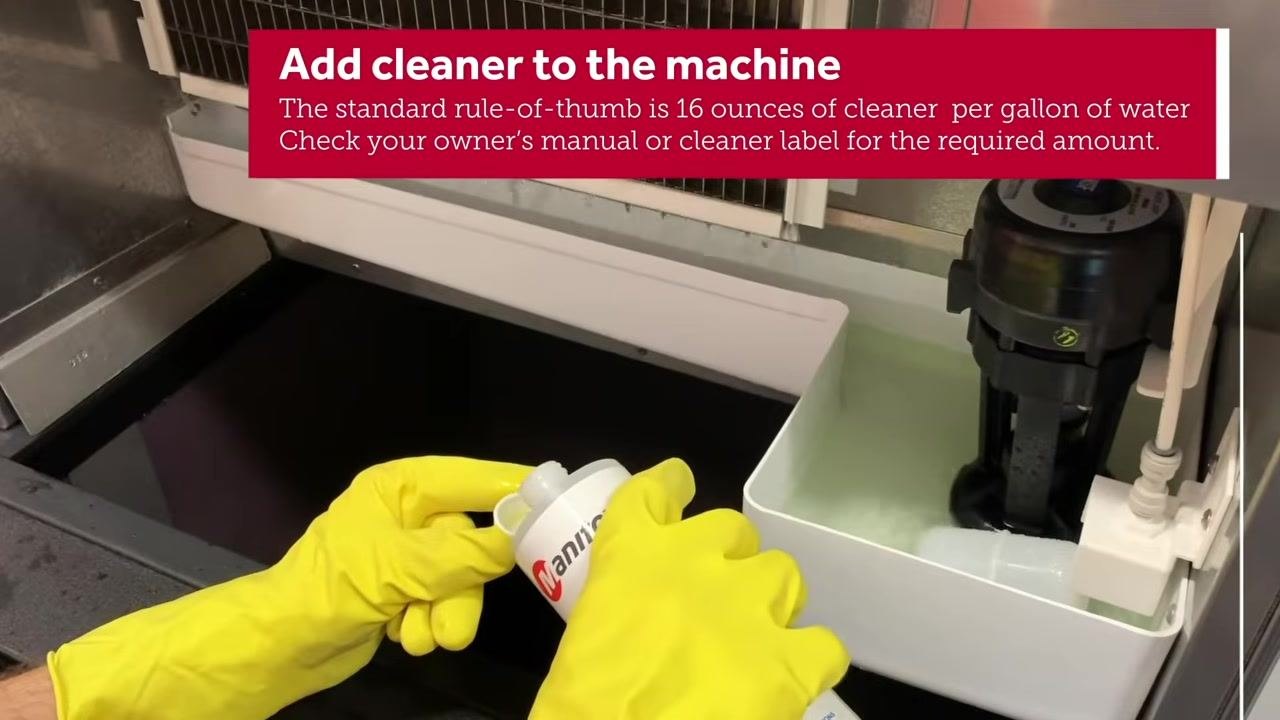
Add the appropriate amount of cleaner into the water trough. The standard rule of thumb is 16 ounces of cleaner per gallon of water, but always check your owner's manual or the cleaner label for the required amount.
Step 6: Prepare a separate cleaning solution
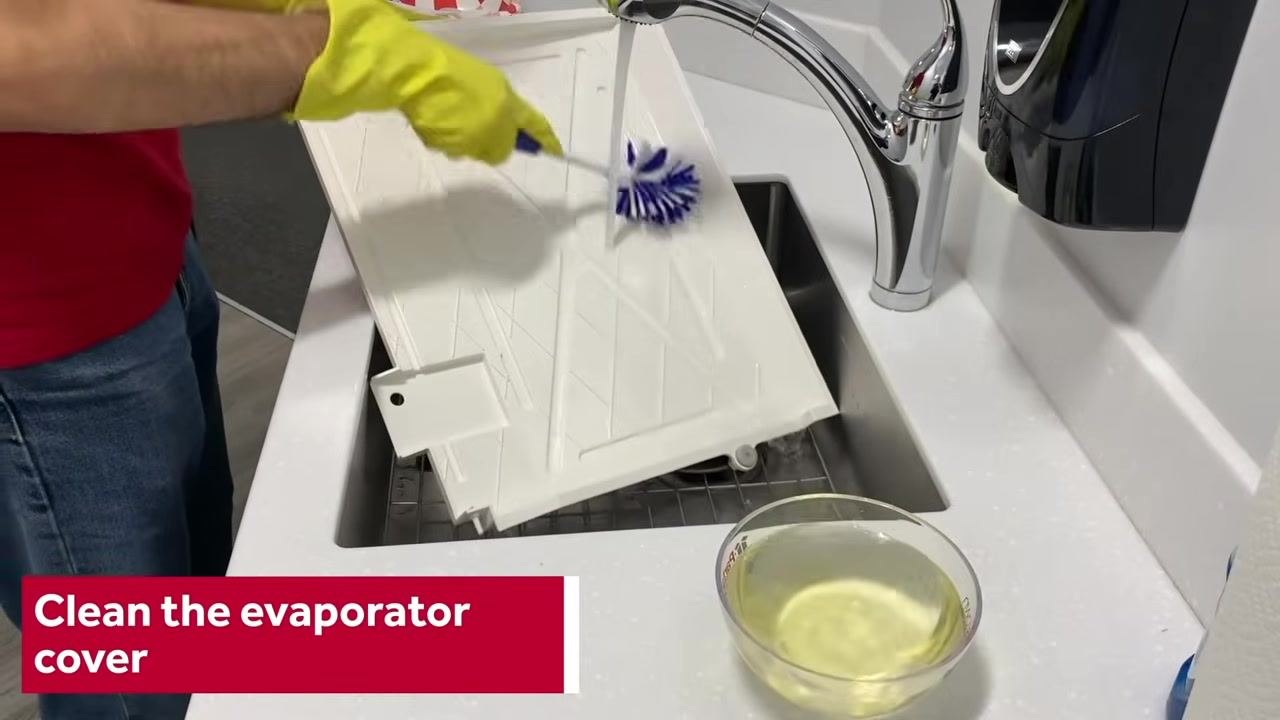
During the cleaning cycle, mix a solution of OEM cleaner and warm water using the ratio suggested by the manufacturer. Use this solution to clean removable parts, such as the evaporator cover, in a sink.
Step 7: Clean the evaporator cover
Place the evaporator cover in a sink. Using a nylon brush and the prepared cleaning solution, scrub the cover thoroughly. Wear protective gloves throughout this process.
Step 8: Clean the evaporator grid and ice thickness probe
Using a cloth soaked in the cleaning solution, wipe down the evaporator grid and the ice thickness probe inside the machine. Ensure all surfaces are thoroughly cleaned.
Step 9: Scrub the water trough and bin
Using a nylon brush and cleaning solution, scrub the water trough thoroughly. Clean the bin carefully, scrubbing the top, bottom, and all interior walls.
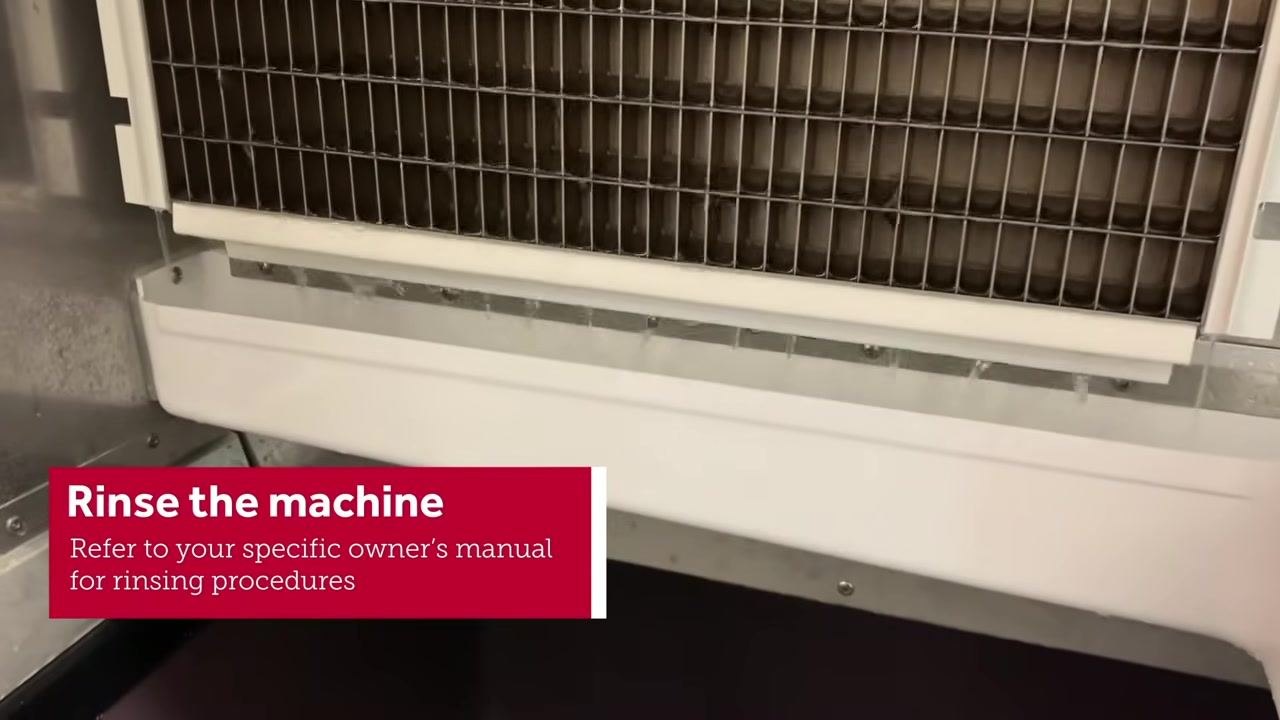
Step 10: Rinse the machine
After cleaning, run another cleaning cycle to remove any residue left from the cleaning solution. Repeat this process, if needed, until all residue is gone. Refer to your specific owner's manual for detailed rinsing procedures.
Step 11: Prepare for sanitizing
Activate a new cycle on the machine and prepare to add sanitizer. Always check your owner's manual or the sanitizer label for the correct mixing ratio and procedure.
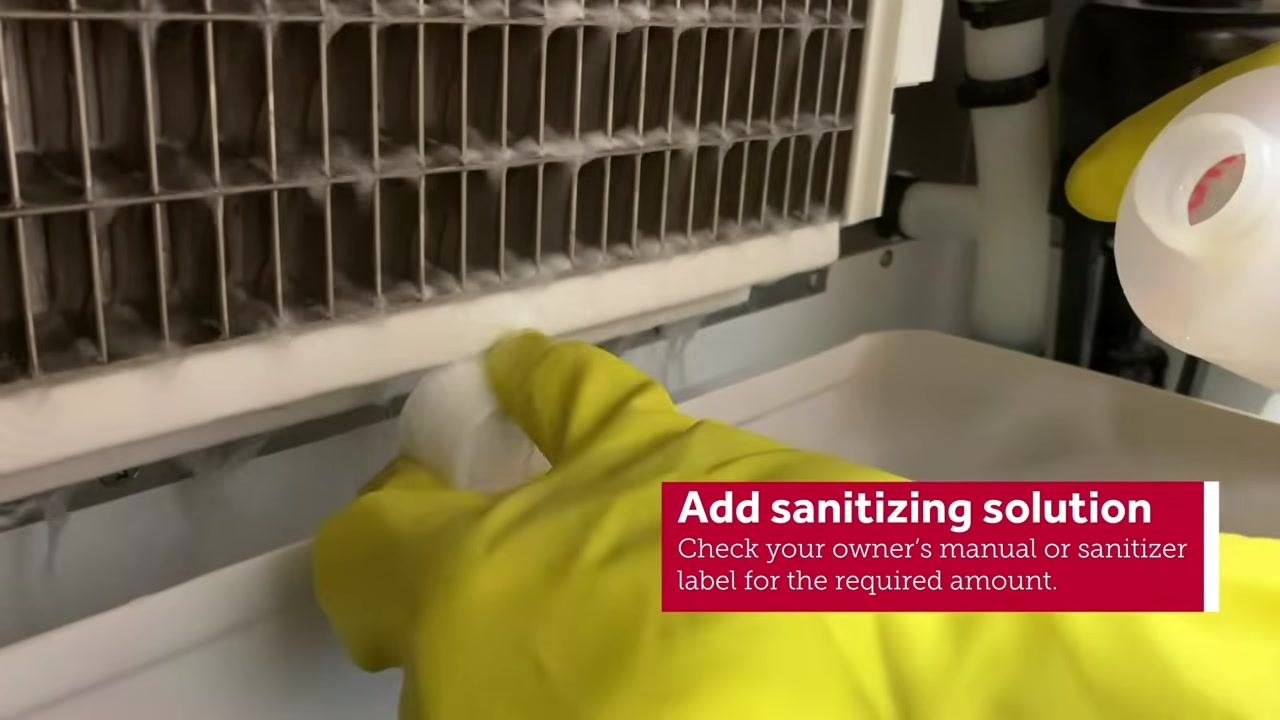
Step 12: Add sanitizing solution
Pour the required amount of sanitizing solution into the machine as specified by your owner's manual or the sanitizer label.
Step 13: Run the sanitizing cycle
Allow the sanitizing cycle to run. This cycle typically takes 20 to 45 minutes, depending on the size and model of your machine.
Step 14: Prepare a separate sanitizing solution
While the sanitizing cycle runs, mix a separate solution of OEM sanitizer and warm water using the manufacturer's recommended ratio.
Step 15: Sanitize removable parts
Using the prepared sanitizing solution and a soft cloth, wipe down the evaporator cover in the sink. Ensure the cover is thoroughly sanitized.
Step 16: Sanitize interior machine parts
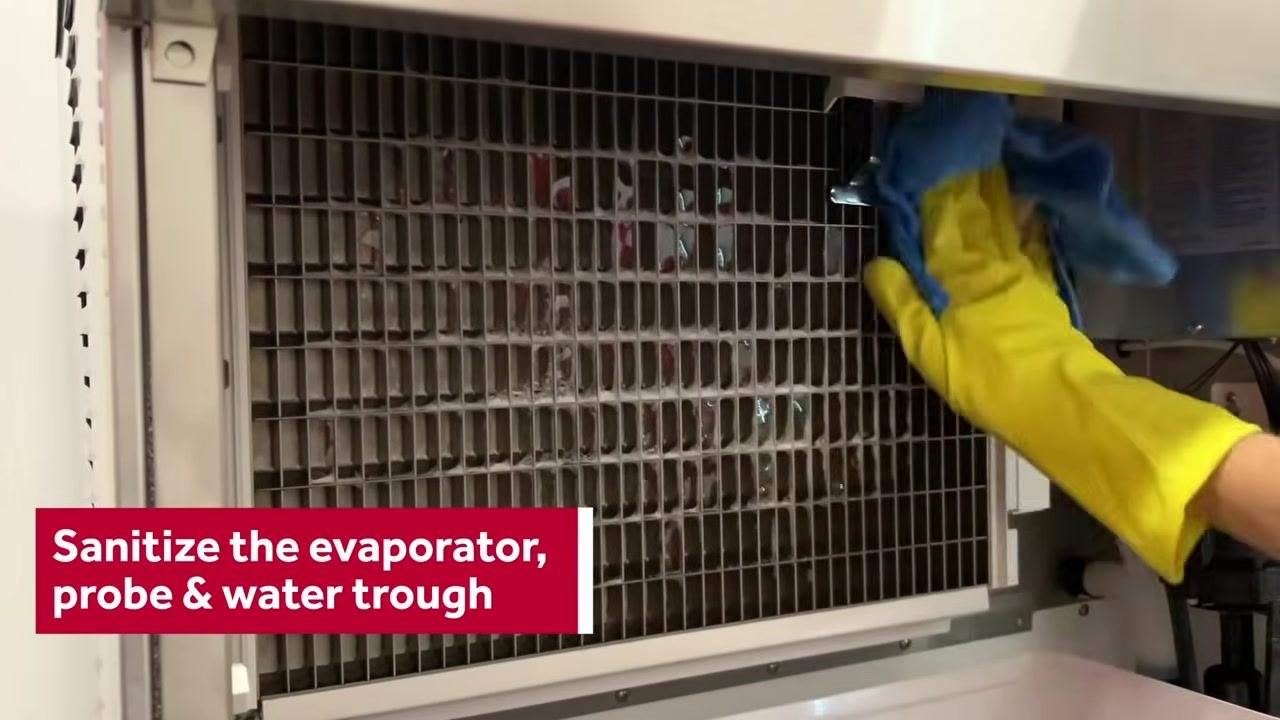
After the sanitizing cycle finishes, turn the machine off. Using a soft cloth soaked in sanitizing solution, wipe down the evaporator grid, ice thickness probe, and water trough. Ensure each part is thoroughly wiped to achieve complete sanitization.
Step 17: Sanitize the ice bin
Using a separate cloth soaked in sanitizing solution, wipe down the ice bin. Thoroughly clean the top, bottom, and all interior walls to ensure complete sanitization.
Step 18: Rinse the machine to remove sanitizer residue
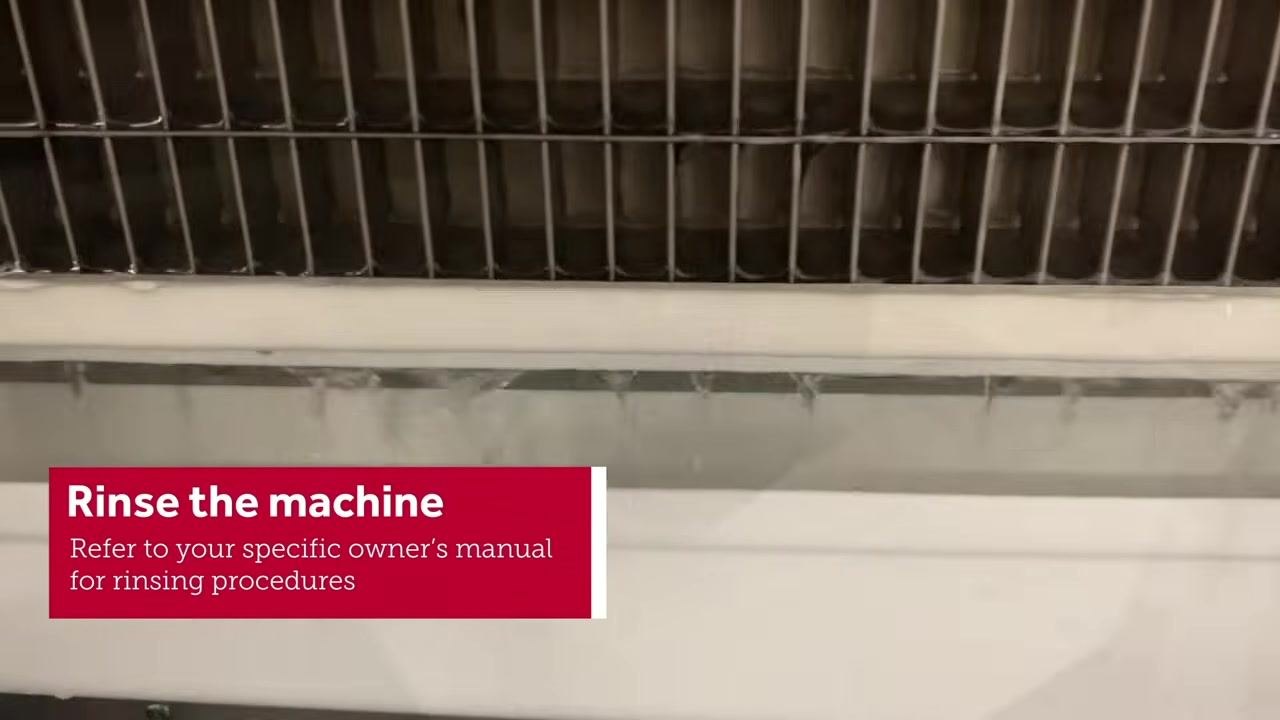
Run another rinse cycle on the machine to flush out any remaining sanitizer. Repeat the rinse cycle as needed until all sanitizer residue is completely gone. Refer to your specific owner's manual for detailed rinsing procedures.
Step 19: Reattach the evaporator cover and front panel
Once rinsing is complete, carefully reattach the evaporator cover. Secure the front panel back onto the machine, ensuring all parts are properly aligned and fastened.
Step 20: Turn the machine on and monitor initial cycles
Power the machine back on to resume normal operation. Observe the first couple of ice-making cycles to confirm the ice appears normal and free of any sanitizer residue.

Safety note: If you feel uncomfortable performing any of these steps or encounter issues, contact an authorized technician for assistance.
Verification and completion
- Confirm all parts are dry and properly reinstalled before returning the machine to service.
- Confirm the first ice-making cycles produce clear ice free of sanitizer residue.
- If you have completed all steps successfully, your commercial ice machine has been properly cleaned and sanitized.
For further assistance, visit partstown.com or consult your owner's manual.
Generation details: cost, quality tiers
Docsie billed 2,500 credits ($1.75) to analyze this 5-minute video at standard quality. The rewrite, template fill and Word/PDF exports were included. The same video at each quality tier:
| Quality | Frames sampled | Credits | Approx. cost |
|---|---|---|---|
| Draft | every 16-30 s | 1,250 | $0.88 |
| Standard (this guide) | every 8-15 s | 2,500 | $1.75 |
| Detailed | every 4-7 s | 5,000 | $3.50 |
| Ultra | every 1-3 s | 10,000 | $7.00 |
Credits priced at $0.70 per 1,000; plans include a monthly allowance. Enterprise customers on on-premise or bring-your-own-model deployments run this on their own inference and pay no per-video credits.
Generated by Docsie Video-to-Docs on 2026-09-08 from a 4-minute video. Screenshots are frames from the source video and belong to their creator, Parts Town, whose original is embedded above. If you own this video and want the guide removed or credited differently, contact us and we will act within one business day.