
How to Clean a Walk in Cooler
This standard operating procedure explains how to clean a walk-in cooler evaporator, related HVAC coils, and heat exchanger tubes so that airflow, temperature control, and equipment life are protected. It walks through inspection, vacuuming, chemical application, brushing, rinsing, and final checks, based on a hands-on field demonstration of a three-year-old evaporator unit that had become dirty from nearby cardboard debris.
Video: This is How You Clean a Walk-in Cooler Evaporator. by OcRefrigeration,Hvac,Electrical & other Video's. (2016). All credit for the demonstration goes to the creator; watch the original on YouTube. The written guide below was generated from this video by Docsie. Creator? Request a change or removal.
This standard operating procedure explains how to clean a walk-in cooler evaporator, related HVAC coils, and heat exchanger tubes so that airflow, temperature control, and equipment life are protected. It walks through inspection, vacuuming, chemical application, brushing, rinsing, and final checks, based on a hands-on field demonstration of a three-year-old evaporator unit that had become dirty from nearby cardboard debris.
Purpose
The objective of this procedure is to remove dirt, dust, cardboard debris, and chemical residue from a walk-in cooler evaporator, its coils and fins, and connected HVAC coils and heat exchanger tubes. Regular cleaning controls the risk of restricted airflow, coil corrosion, compressor failure, and inconsistent cooler temperatures. Clean evaporators and clean condensers directly support system reliability and reduce the likelihood of premature compressor replacement.
Scope
This SOP covers the following areas and equipment:
- Walk-in cooler evaporator unit, typically mounted near the ceiling, including its fins and coils
- Temperature sensor and copper tubing mounted on or near the evaporator coil
- HVAC coils located in mechanical or utility rooms, including surrounding metal frames, mounting screws, and adjacent piping
- Heat exchanger tubes requiring periodic inspection and cleaning
- Drain line and drain pan connected to the evaporator, including fittings such as unions and slip couplings
The procedure applies to routine field maintenance visits and does not cover electrical repairs beyond powering the unit down and back up, or refrigerant-circuit servicing.
Supplies
Gather the following before starting:
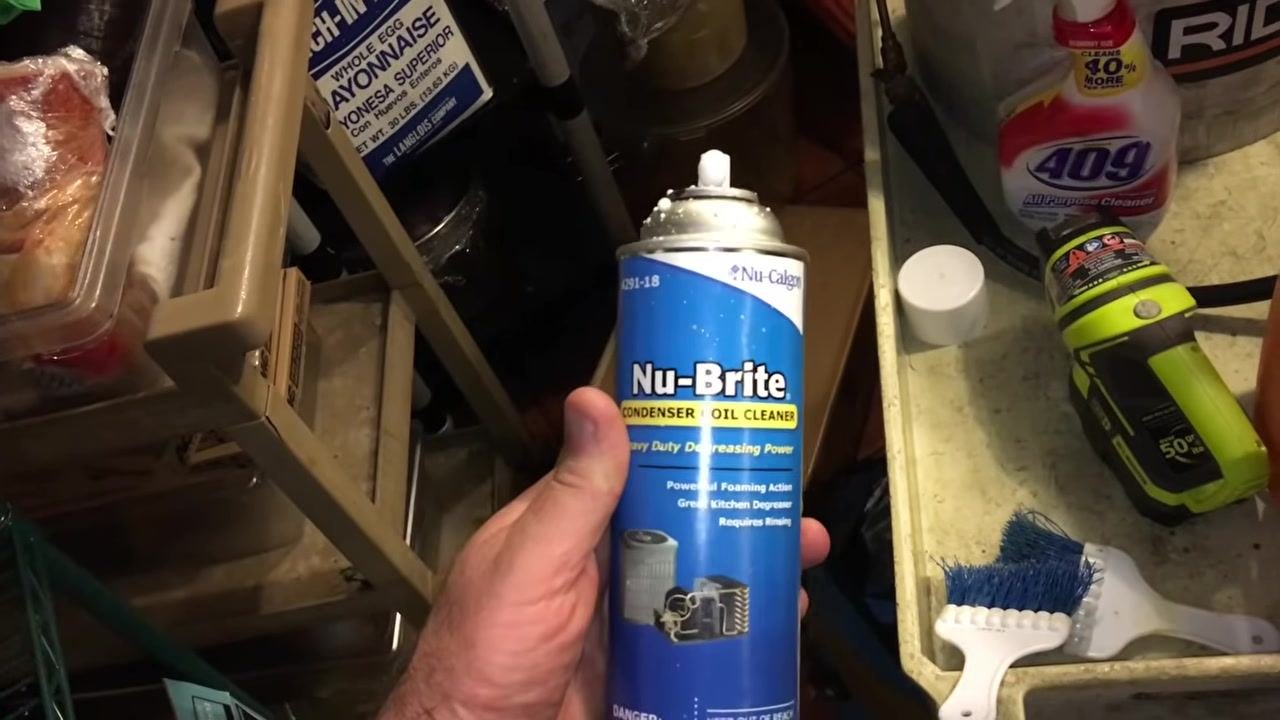
- [ ] Foaming coil cleaner designed for refrigeration equipment (Nu-Brite Condenser Coil Cleaner by Nu-Calgon), which provides heavy-duty degreasing power and requires rinsing after use
- [ ] Vacuum cleaner fitted with a soft, furry head attachment (a RIDGID unit was used in this demonstration)
- [ ] Plastic brush with soft bristles — never a wire brush
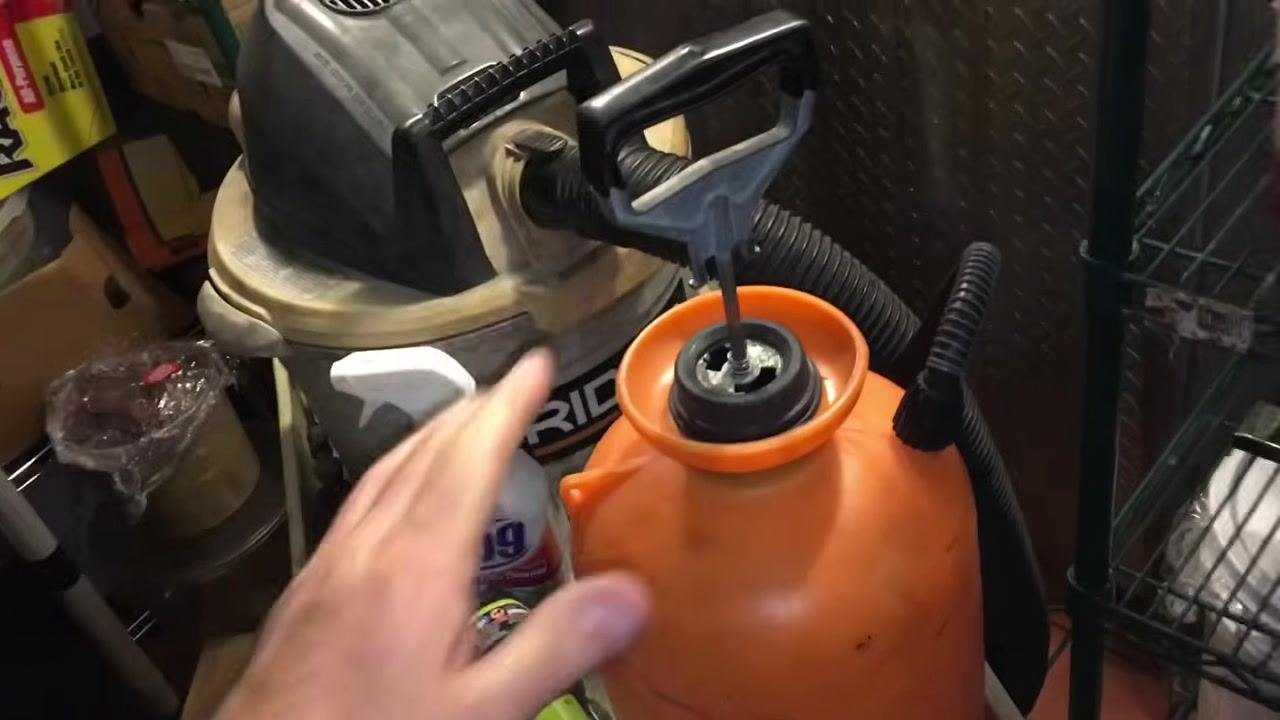
- [ ] 5-gallon pump sprayer bottle for hot water rinsing
- [ ] Hot water source, ideally a heavy-duty garden hose rated for hot water (heavy black hoses, such as those available from Granger's, are recommended over standard hoses)
- [ ] Timer to track chemical dwell time
- [ ] Protective gloves, especially for anyone with sensitive skin
- [ ] Bucket and general cleaning cart for organizing supplies on site
Store the foaming coil cleaner according to its label instructions, and keep it separated from standard garden hoses, since it is an aggressive chemical that requires careful handling.
Safety Precautions
Follow these precautions before and during the cleaning process:
- [ ] Locate the breaker for the walk-in cooler and switch it off before starting work
- [ ] Find the power switch near the evaporator unit and turn it off as well
- [ ] Double-check outside the unit to confirm it is not running before you begin
- [ ] Never use a wire brush on coil fins or tubes, as it can puncture the coil and cause leaks
- [ ] Use only hot water for rinsing — never a torch or other heating device
- [ ] Do not let the foaming coil cleaner sit on the coil for more than 10 minutes, as prolonged exposure can damage the coil or leave residue
- [ ] Wear gloves when handling coil cleaner if you have sensitive skin, since the chemical can be harsh and cause irritation
- [ ] Use only hoses specifically rated for hot water; regular garden hoses can bubble and fail under hot water pressure
- [ ] Stay aware of copper pipes, brackets, and other fixed obstacles in tight mechanical rooms to avoid injury
- [ ] Use proper ergonomics and take breaks as needed when working in awkward or confined spaces
- [ ] Keep phones or cameras protected from water spray if documenting the process, or use water-resistant devices
Wet-floor signage and ventilation controls for the work area are not addressed in this demonstration; apply your site's standard wet-floor and ventilation protocols in addition to the steps above. Allergen controls are also not covered here and should follow your facility's food-safety policy for areas near stored product.
Cleaning Steps
Step 1: Prepare the work area and identify the evaporator
Locate the evaporator unit inside the walk-in cooler, typically mounted near the ceiling with visible fins and coils. Inspect the unit for buildup of dirt, dust, and debris, paying attention to fins and coils where dirt accumulates most, especially near frequently opened cardboard boxes.
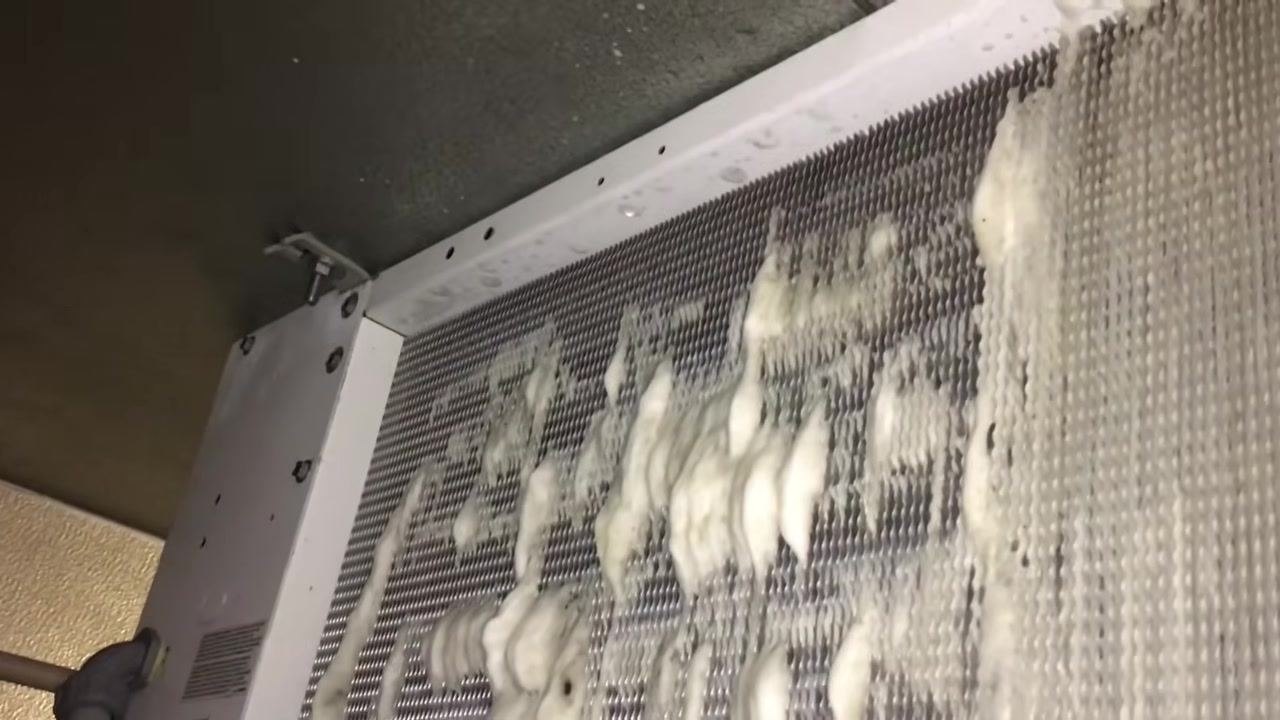
Identify the temperature sensor attached to the evaporator, which controls the cooler's internal temperature and is typically connected by a thin copper tube.
Step 2: Shut off power to the unit
Turn off the breaker for the walk-in cooler, then switch off the power near the evaporator unit itself. Confirm from outside the cooler that the unit has fully stopped running before continuing.
Step 3: Select and stage your coil cleaner
Choose a foaming coil cleaner designed for refrigeration equipment, such as Nu-Brite Condenser Coil Cleaner. Set a timer for five minutes in advance, since the cleaner needs adequate contact time on the coil once applied.
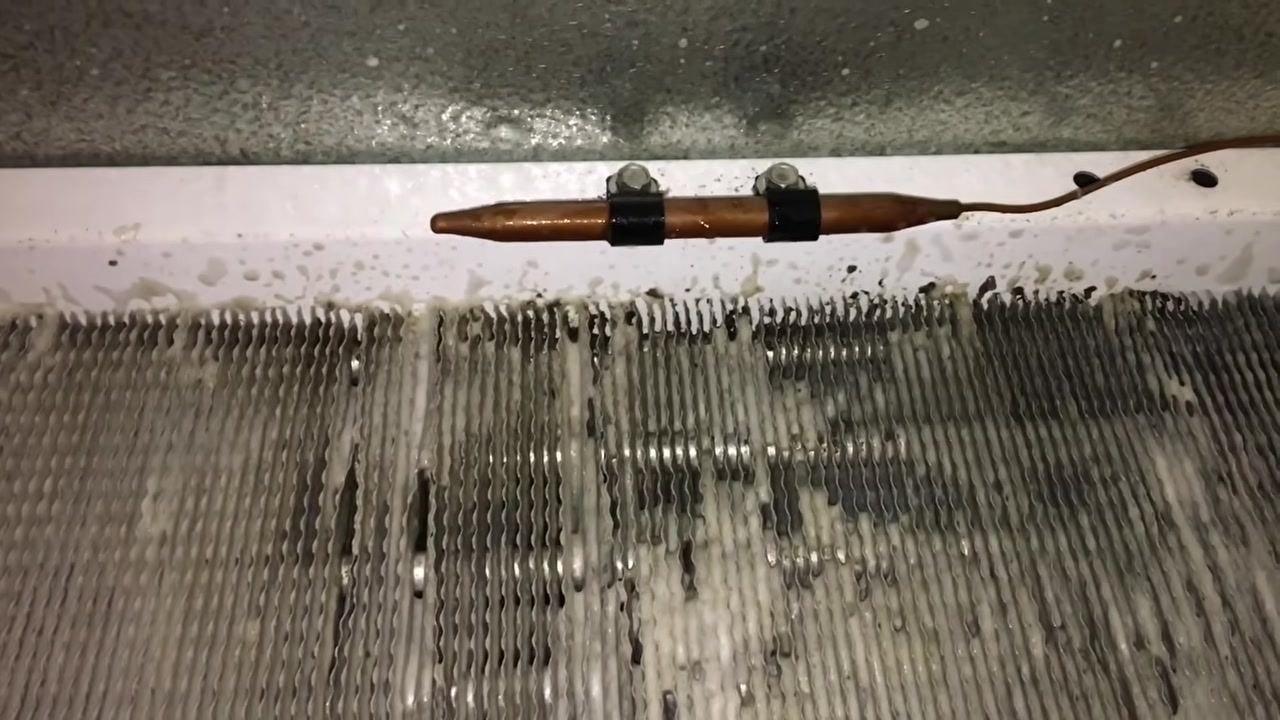
Step 4: Vacuum the coil before applying any chemical
Attach a soft, furry head to your vacuum and remove all loose dust and debris from the evaporator coil before spraying any cleaner. This step prevents loose dirt from turning into sludge once the foaming cleaner is applied.
Fill a 5-gallon pump sprayer with hot water in advance so it is ready for the rinse step later.
Step 5: Rinse loose debris with hot water
Before applying the chemical cleaner, use the hot-water-filled sprayer to rinse away any remaining loose debris from the coil surface.
Step 6: Apply the foaming coil cleaner
Spray the coil cleaner evenly across the evaporator coil, making sure all visibly dirty areas are covered. Let the cleaner foam and penetrate the buildup for at least five minutes, as tracked by your timer, and no more than 10 minutes total.
Step 7: Brush the coil fins in the correct direction
Use a plastic brush — never a wire brush — to push loosened debris into the coil and through the fin spaces, which run approximately 8 to 10 fins per inch on this type of unit. Move the brush up and down in the direction of the fins, since the internal tubes run horizontally; this dislodges dirt without bending the fins.
Inspect the fins as you go to confirm debris is being loosened and removed effectively by the combination of foam and brushing.
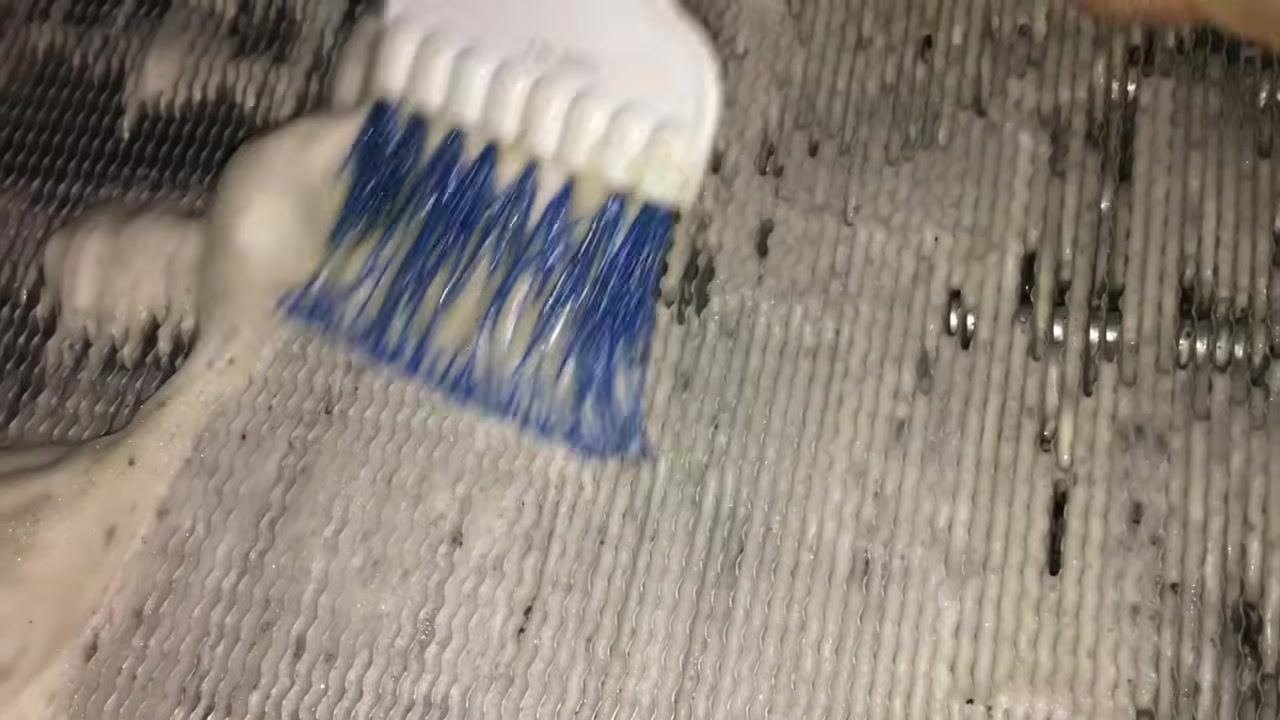
Step 8: Continue brushing stubborn areas
Repeat brushing on areas where dirt or foam remains, using light pressure to avoid bending or damaging the fins.
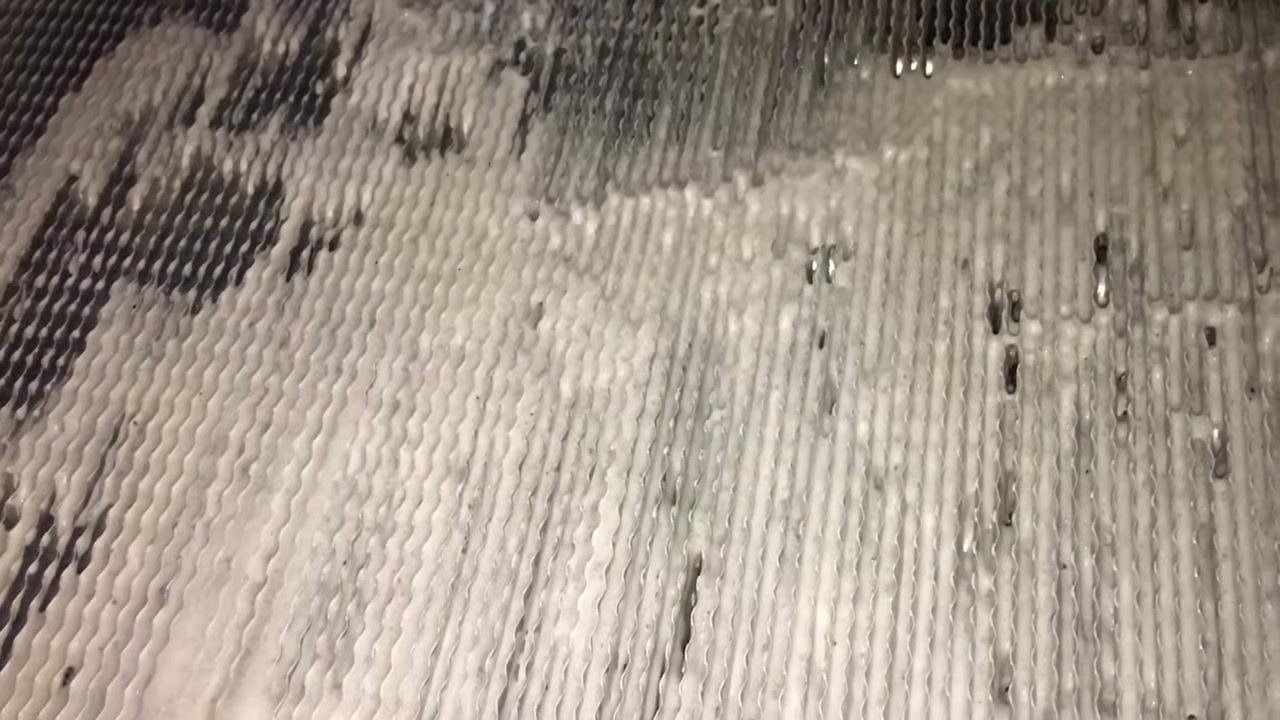
Check the coil after this pass; fins should look clean and intact, with some remaining foam still visible before the final rinse.
Step 9: Work the brush vertically along all fin sections
Continue brushing in vertical strokes along the fins to address texture and buildup that the foam is breaking down.
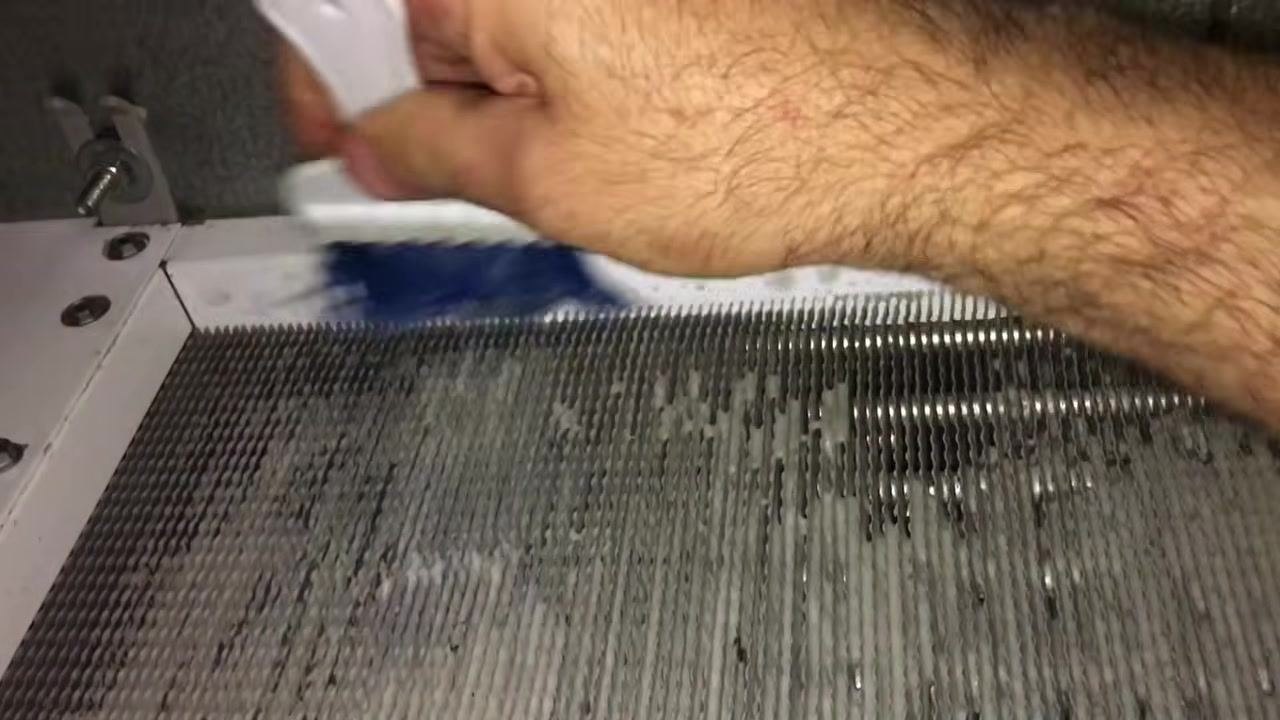
Maintain the up-and-down brushing motion across the full coil face, since this technique dislodges dirt from the tubes and between the fins without bending them.
Step 10: Monitor cleaner activity and dwell time
After about five minutes, the foaming cleaner should visibly break down and dissolve grime. Because this chemical is aggressive, do not let it sit on the coil beyond the recommended window.
Step 11: Protect your hands during chemical handling
Wear protective gloves when handling coil cleaner, particularly if you have sensitive skin, since the chemical can be harsh.
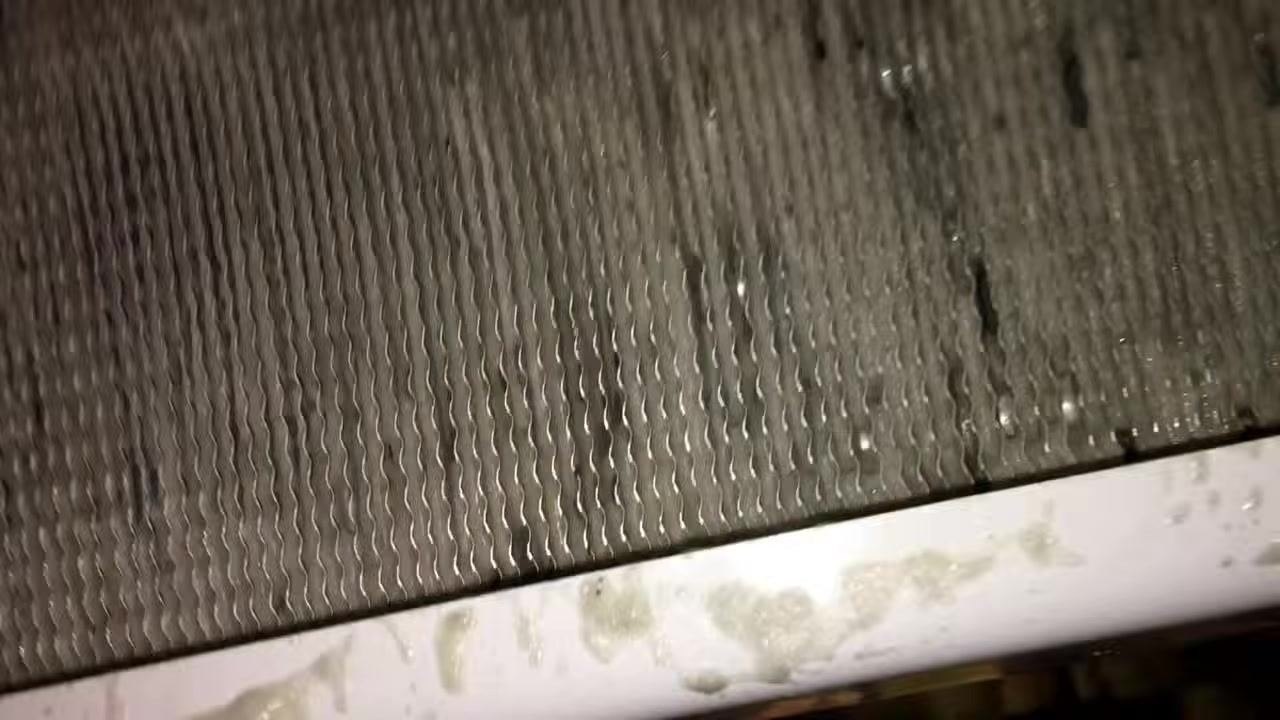
Step 12: Inspect fins for cleanliness and damage before rinsing
Check the coil fins and tubes for remaining debris and look for any bent fins or punctures.
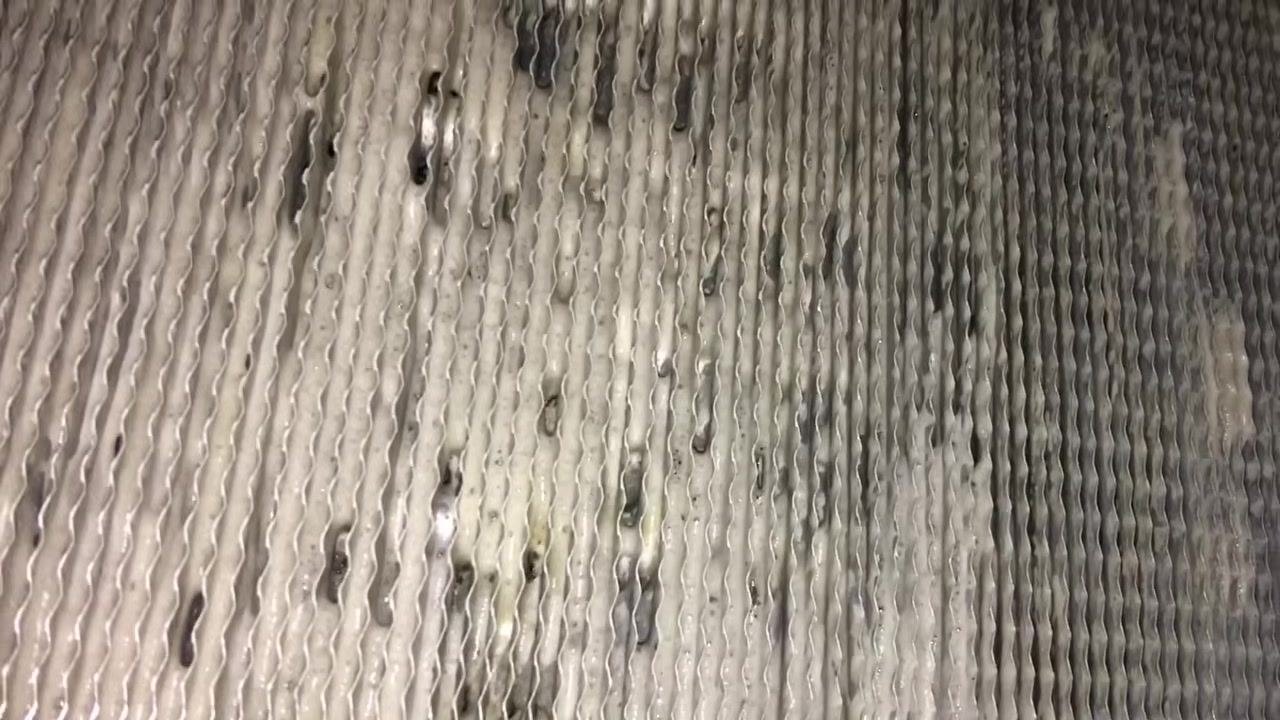
Confirm the foaming cleaner has broken down the grime as expected before moving to the rinse.
Step 13: Stage the rinse equipment
Place your hot-water pump sprayer on a cart for easy access, or connect a hot-water-rated garden hose if one is available, so it is ready for a thorough rinse.
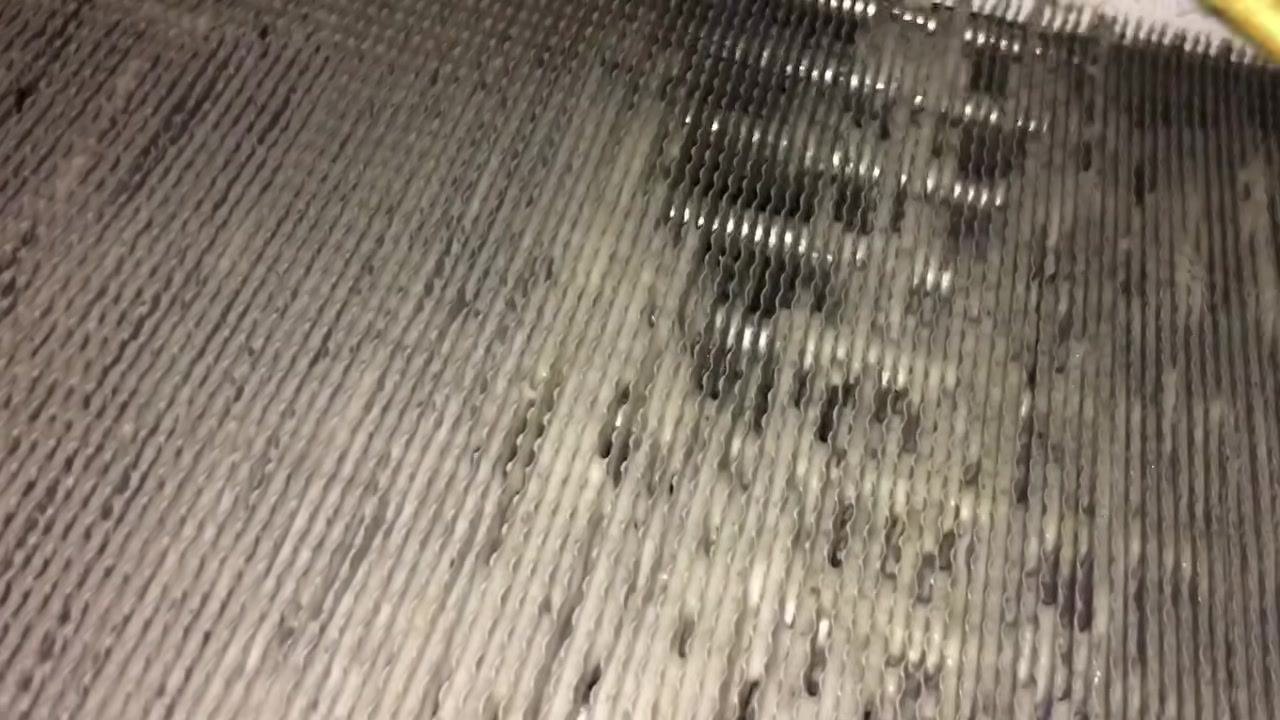
Step 14: Rinse the evaporator coil thoroughly
Direct a steady stream of hot water vertically along the fins to flush out all remaining coil cleaner, loosened grime, and debris. Continue rinsing until the water runs clear and no foam or cleaner residue remains visible on the coil surface.
Step 15: Inspect the connected HVAC coil before cleaning
Observe the HVAC coil and surrounding metal frame for visible dirt, debris, water spots, or residue, and confirm the area is accessible and safe to work in.
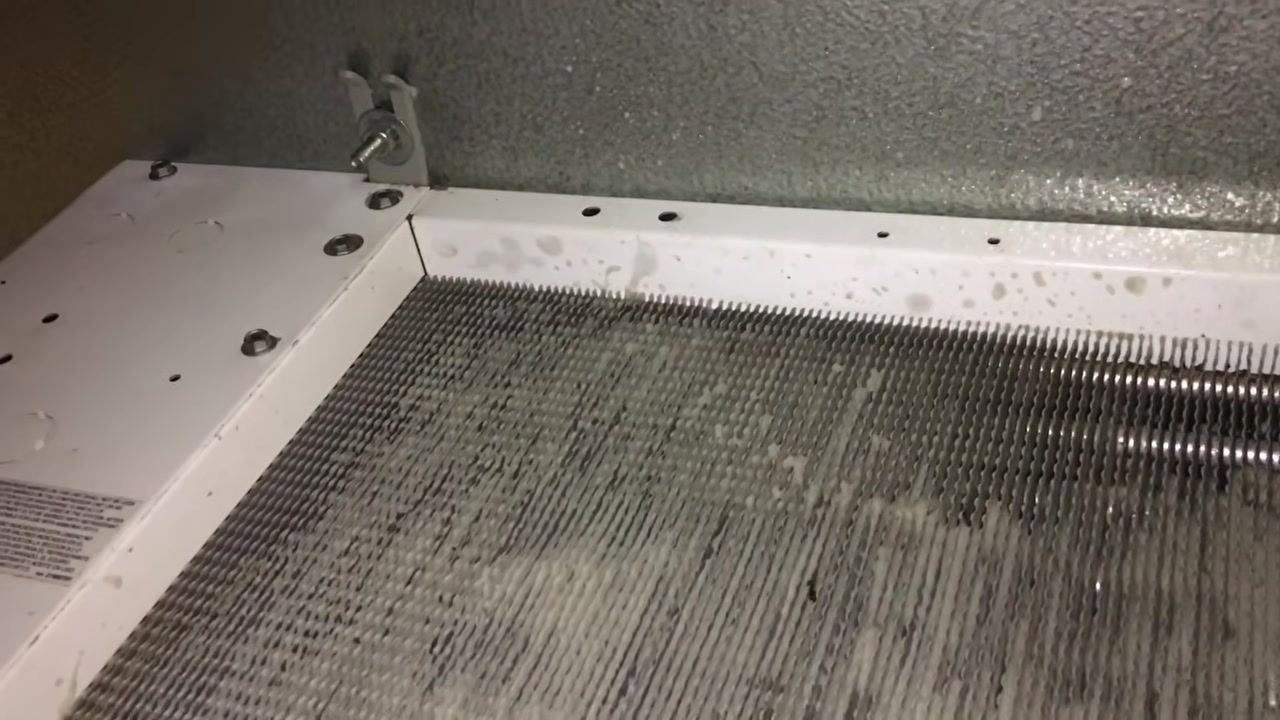
Step 16: Begin washing the HVAC coil with the hottest available water
Direct the water spray onto the coil surface, focusing on areas with visible dirt or buildup, using a wand or nozzle to control the spray.
Move the nozzle close to the coil surface for a thorough wash, ensuring even coverage across stubborn spots.
Step 17: Check the coil from multiple angles
Step back periodically to view the coil from a wider perspective and confirm all areas are receiving coverage, noting nearby pipes and walls typical of a mechanical room setting.
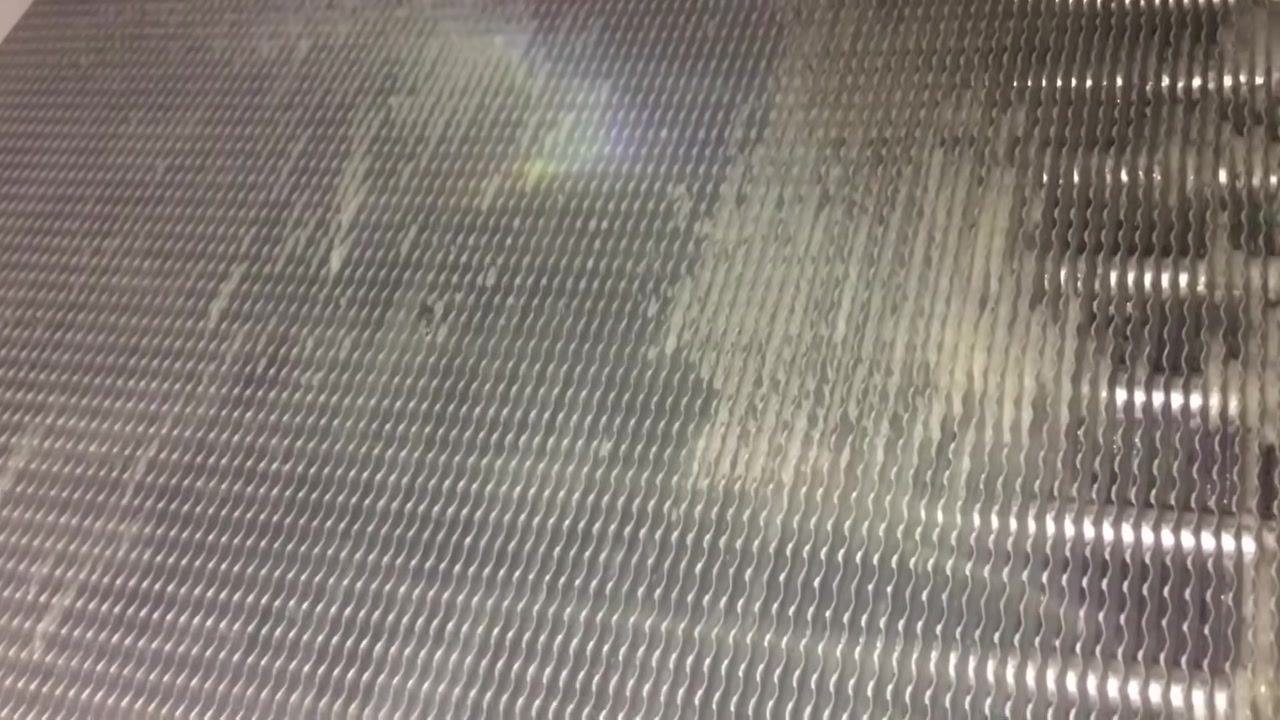
Step 18: Continue washing until dirt and residue are fully removed
Repeat the washing motion with a consistent spray pattern so no section of the coil is missed.
Step 19: Focus on stubborn buildup
Direct the water spray on persistent dirt or residue, moving the nozzle slowly and methodically for maximum effect until the coil is thoroughly washed.
Confirm the coil looks clean once the washing pass is complete.
Step 20: Work carefully around fixed piping
Take care not to bump copper pipes mounted on the wall and secured with brackets while you move around the mechanical room.
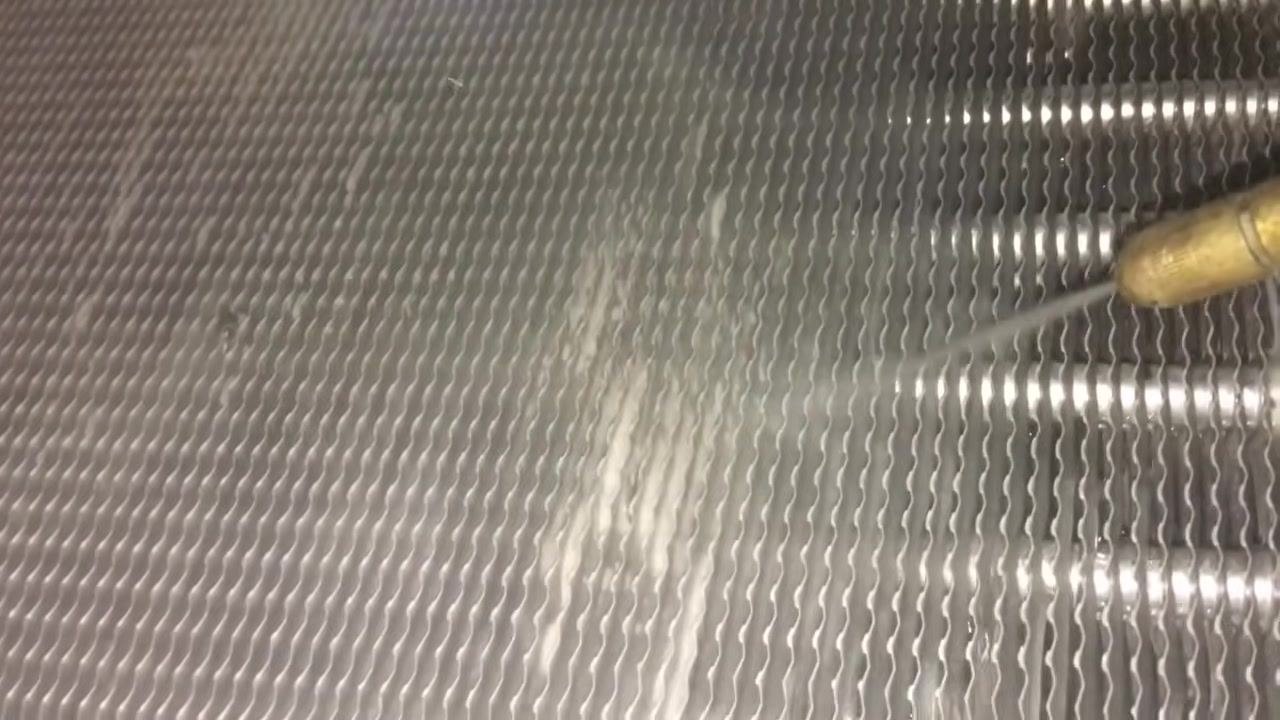
Be mindful of tight clearances between piping and walls, which can make the cleaning process physically demanding.
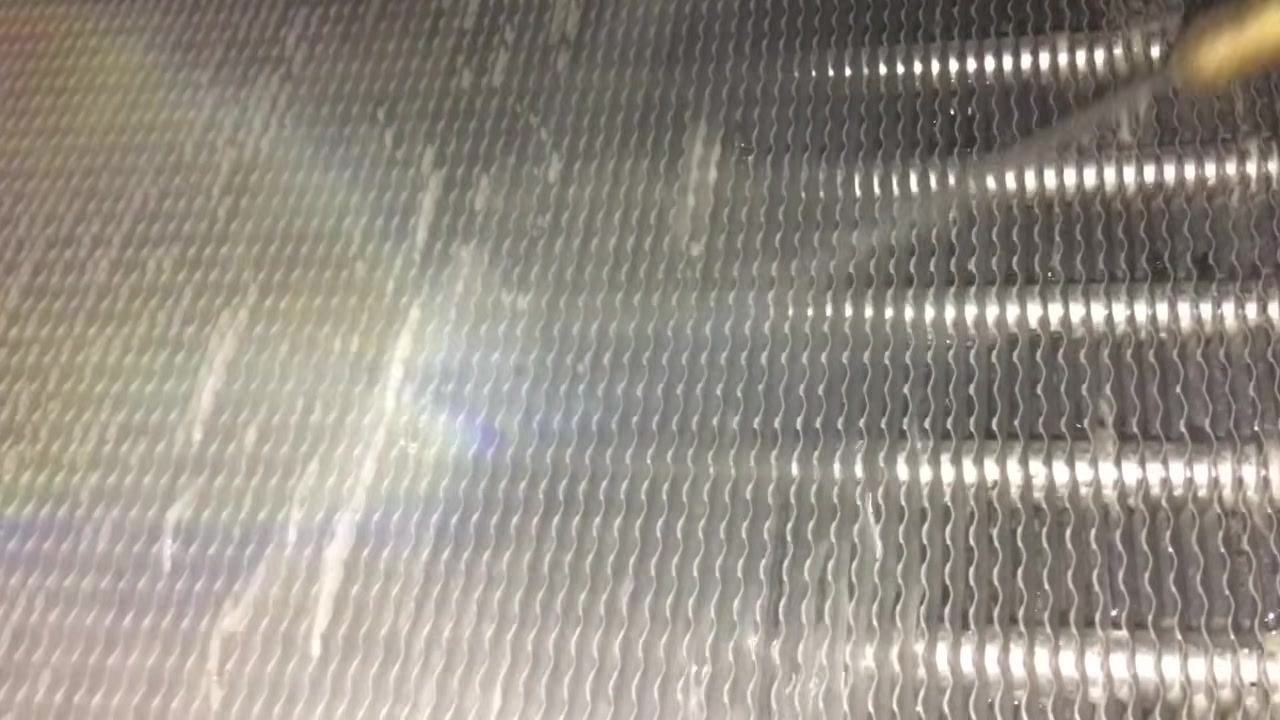
Use proper posture and take breaks as needed if the confined space causes strain.
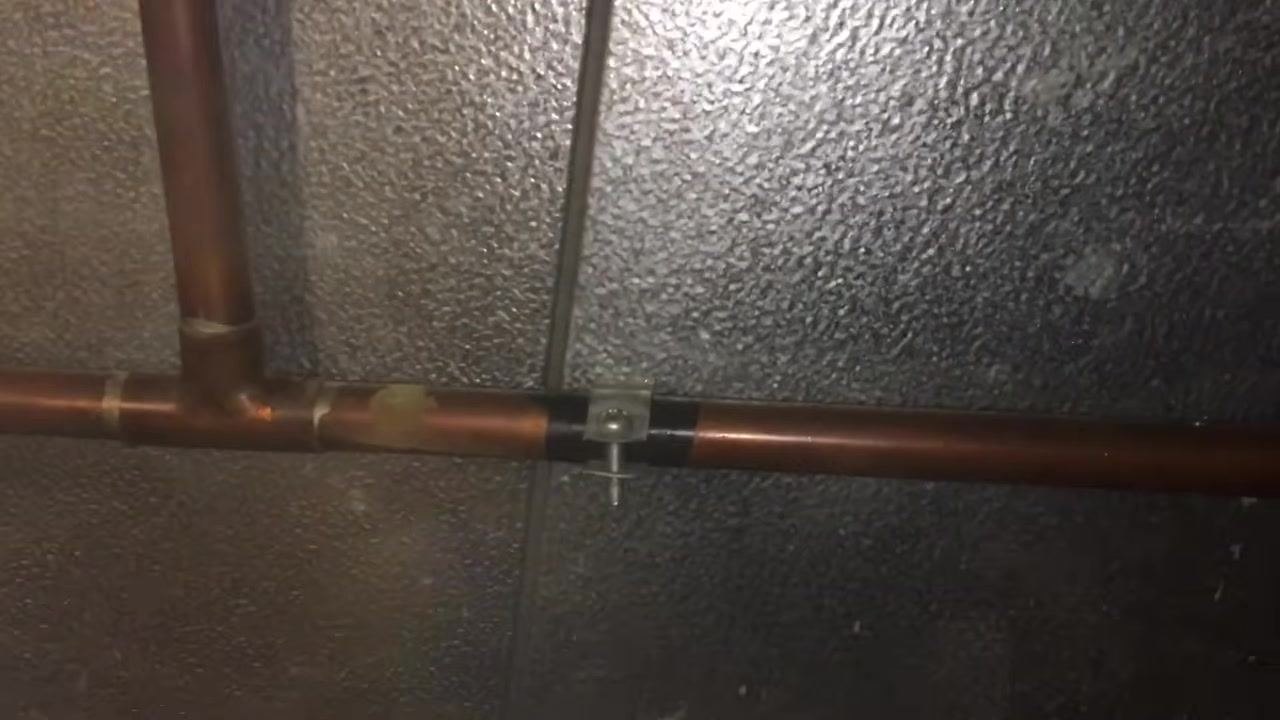
Step 21: Repump the sprayer as pressure drops
Monitor sprayer pressure during cleaning, and repump as soon as the spray weakens to keep adequate pressure for rinsing.
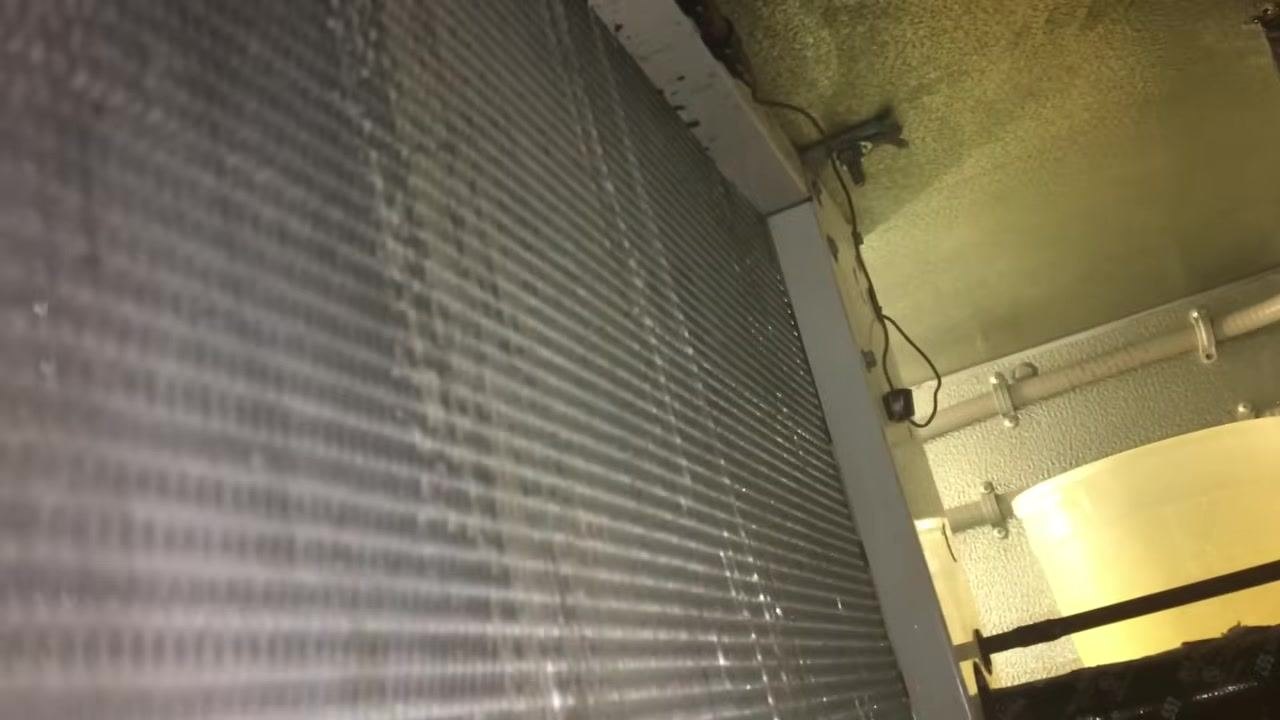
Step 22: Use hot-water-rated equipment for best results
Where available, use a hot water garden hose rather than relying solely on a hand sprayer for improved cleaning power.
Inspect the coil after washing with hot water to check for remaining dirt or residue.
Apply hot water directly from the source whenever possible for the most effective cleaning.
Step 23: Use heavy-duty, hot-water-rated hoses
Use heavy black garden hoses built for hot water rather than standard hoses, which can bubble or burst under heat and pressure.
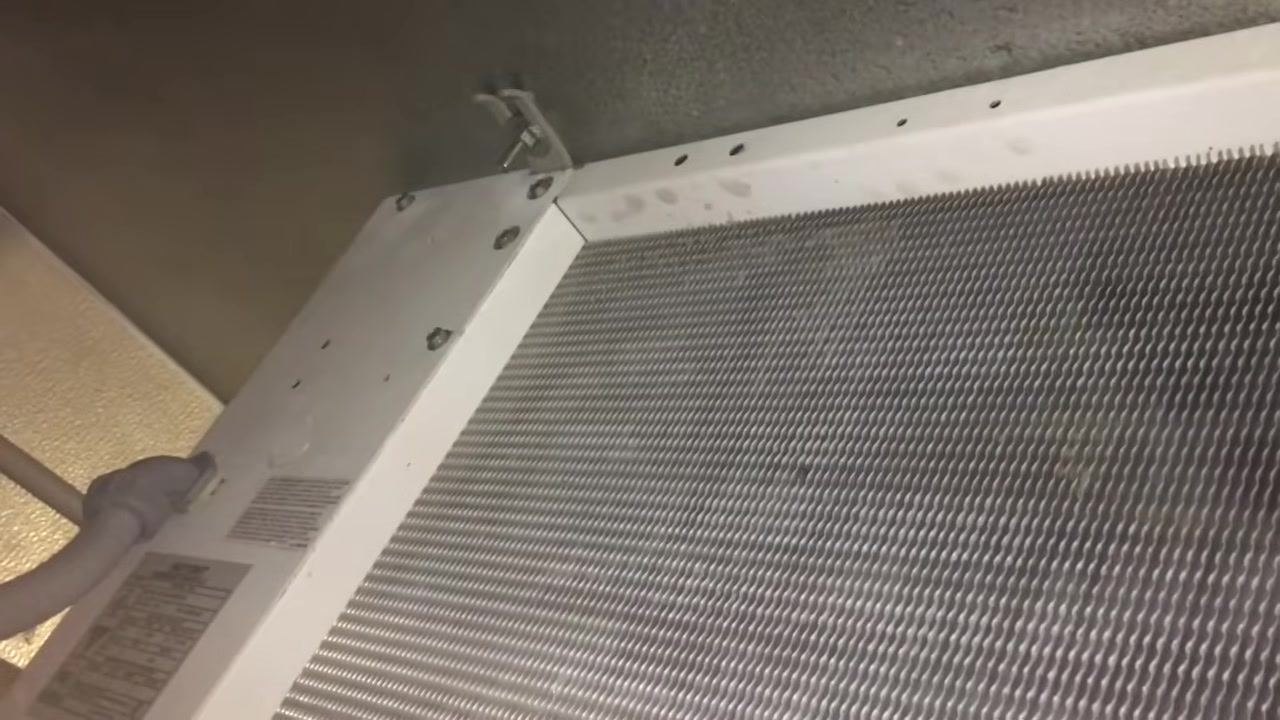
Step 24: Inspect the coil and hardware after washing
Check the coil from a different angle, focusing on the white metal frame, mounting screws, and attached pipes, and confirm there are no leaks at hoses or fittings.
Step 25: Rinse off all coil cleaner residue
Use plenty of hot water to completely rinse away the aggressive coil cleaner from the surface, since leftover chemical residue can affect the coil over time.
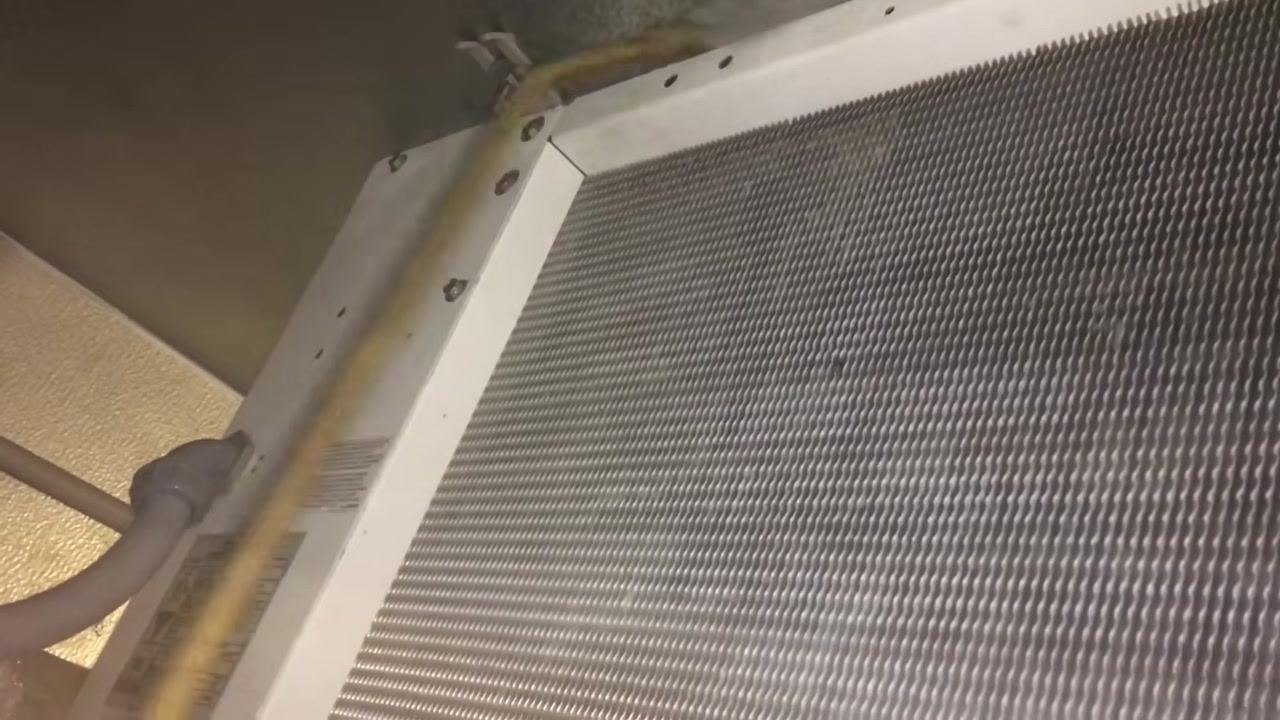
Visually confirm all dirt, debris, and cleaner have been removed from the coil surface.
Aim for a spotless coil surface with no visible debris or residue, especially in settings where the client expects a high standard of cleanliness.
Step 26: Confirm the coil's condition supports system reliability
Examine the clean, wavy metal fins and white frame closely, understanding that clean evaporators and condensers help prevent compressor failures and temperature control issues.
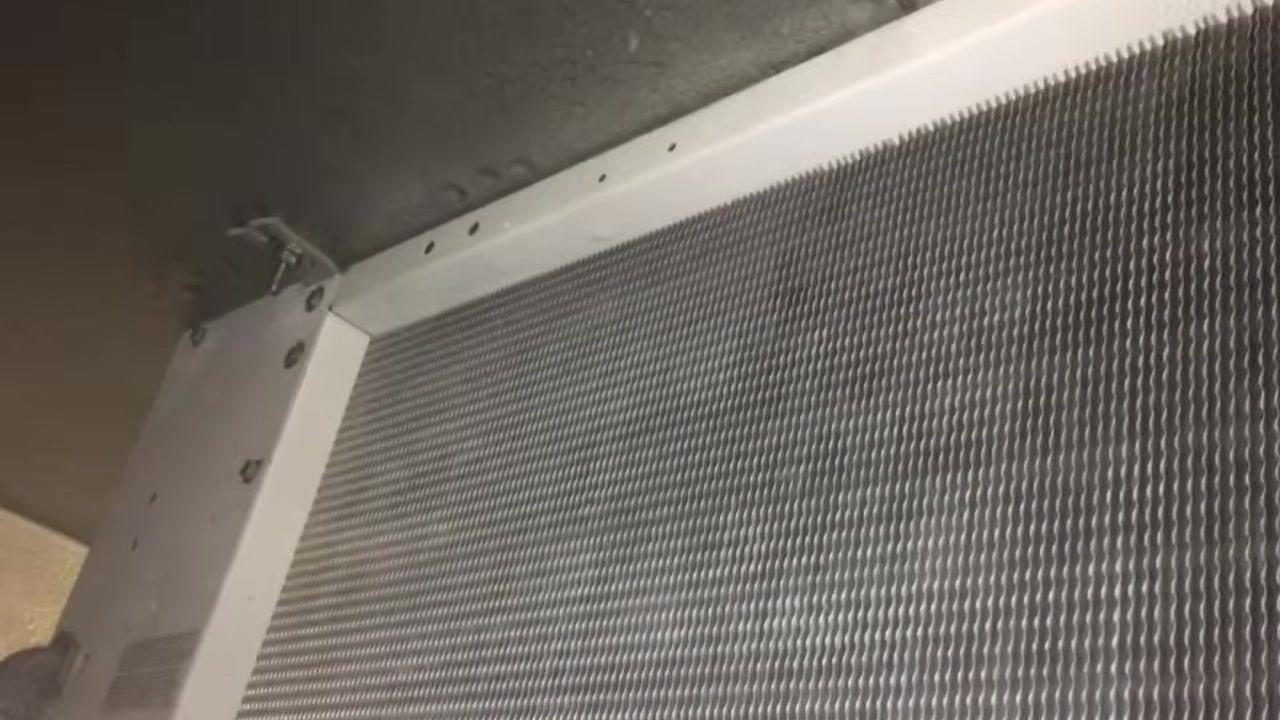
Step 27: Complete a final visual pass on the HVAC coil
Check the coil and frame from a slightly different angle to confirm the entire surface is clean.
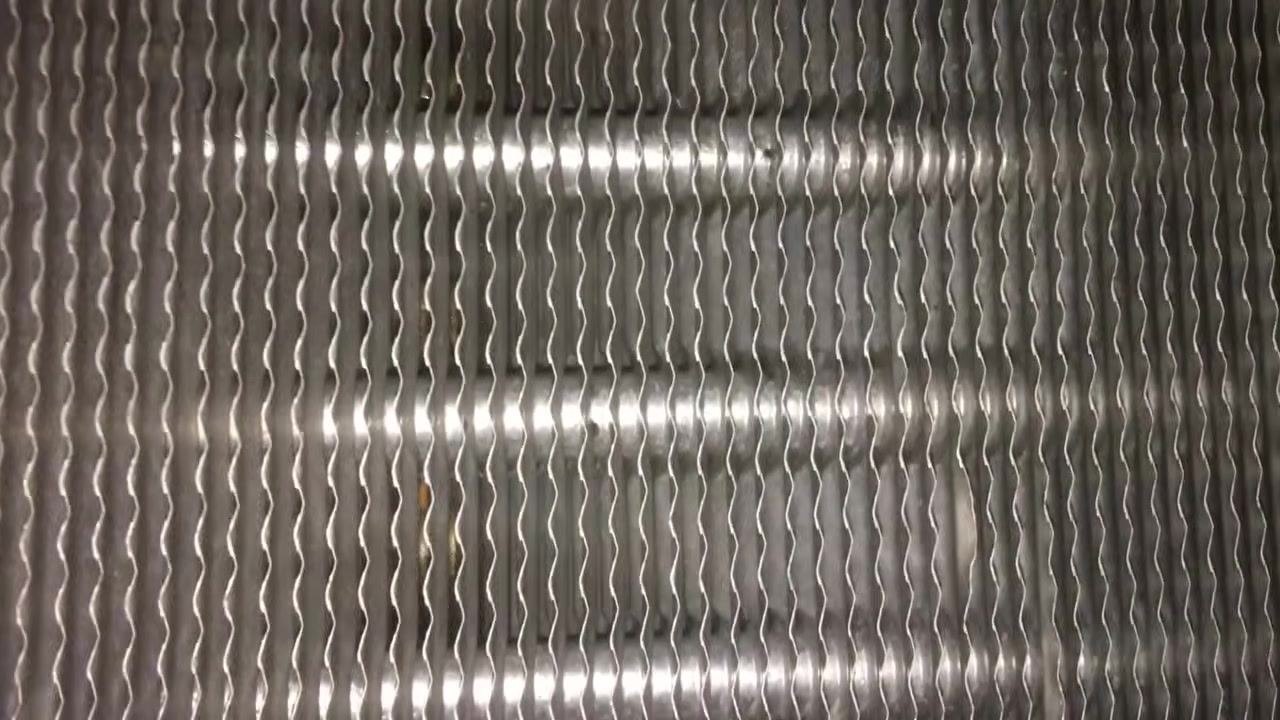
Step 28: Inspect the heat exchanger tubes
After cleaning, confirm that all visible dirt and debris have been removed from the heat exchanger tubes and that they appear metallic and free of buildup.
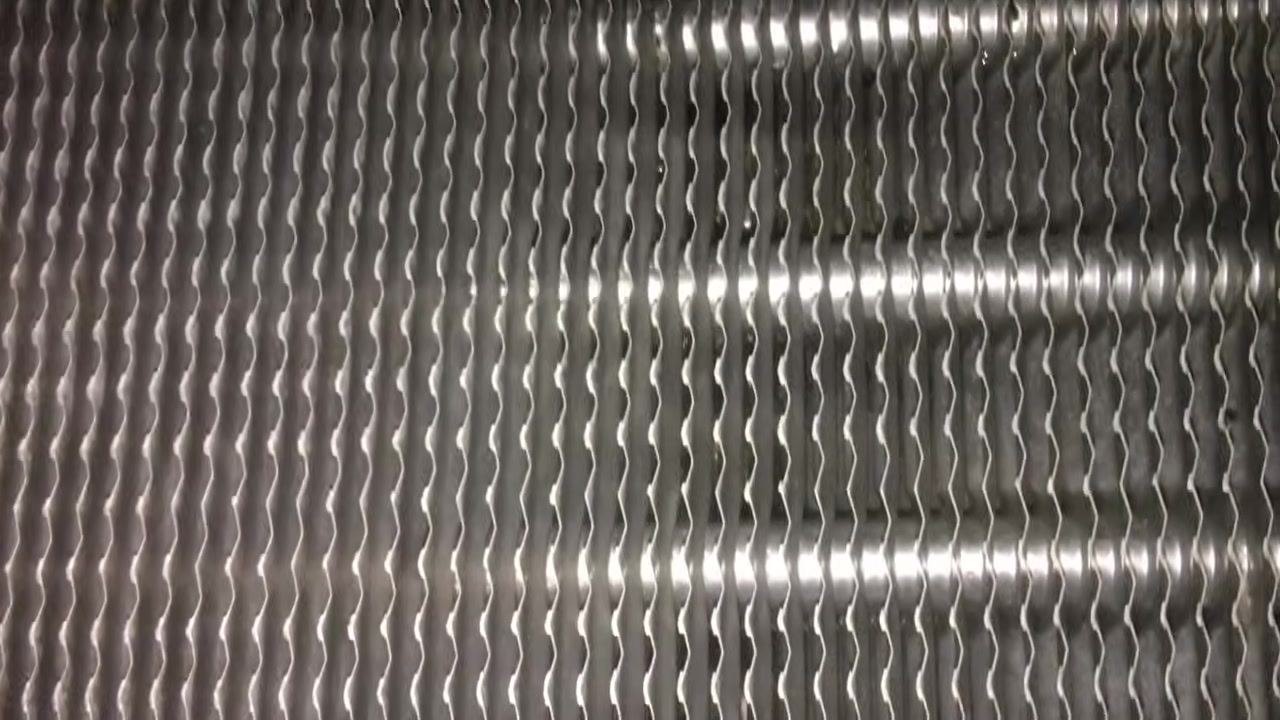
Check the tubes from different angles for any remaining spots or residue.
Step 29: Maintain the routine and watch for leftover material
Continue to vacuum and hose the tubes with water regularly to prevent buildup.
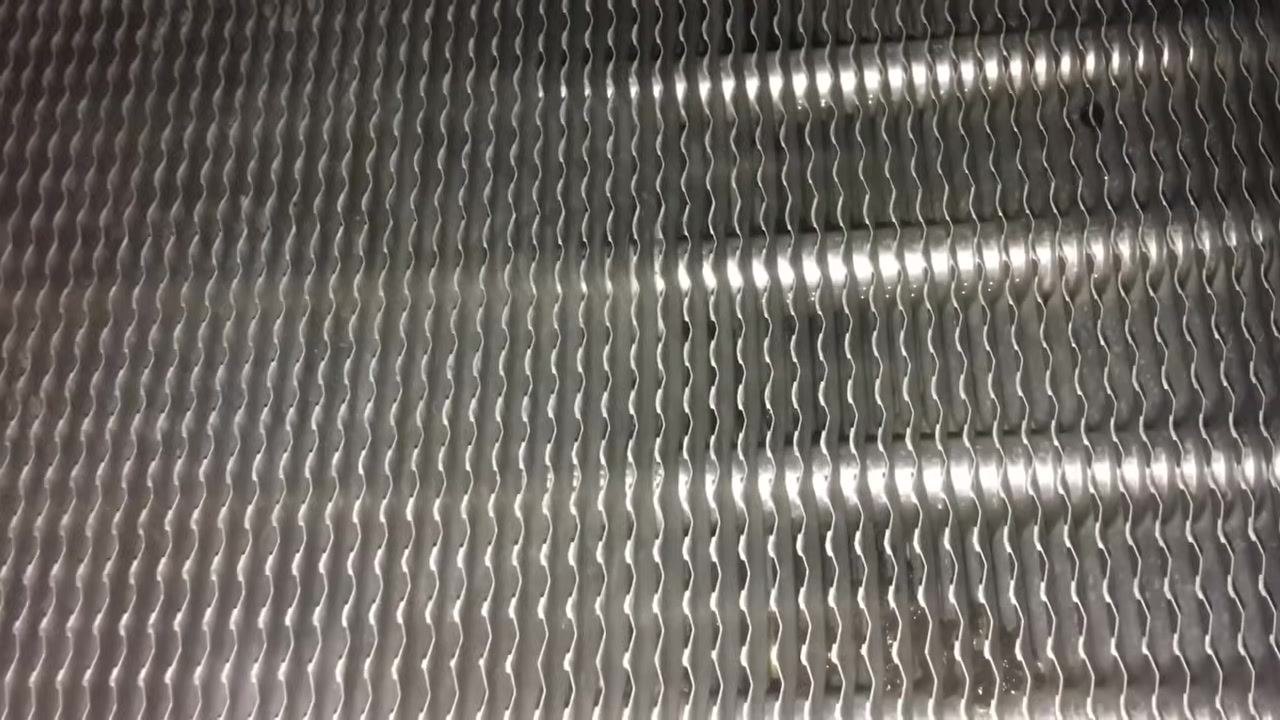
Check for foam or residue that may remain trapped in the fins or tubes even after cleaning, and remove it if found.
Note that water spray during rinsing can reach nearby equipment, including phones or cameras used for documentation; keep such devices protected.
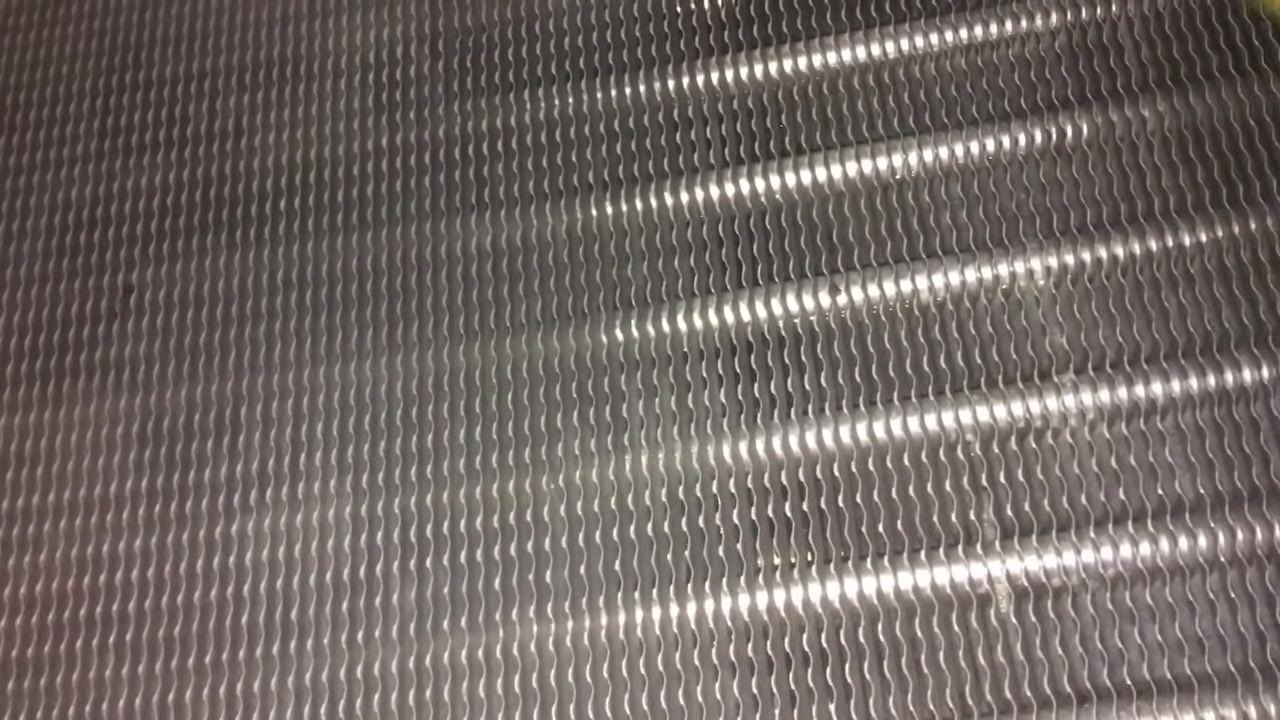
Step 30: Inspect the evaporator coil corner to corner
Scan the evaporator coil from the upper right corner all the way down the side, checking that the metallic, wavy fin structure is free of debris.
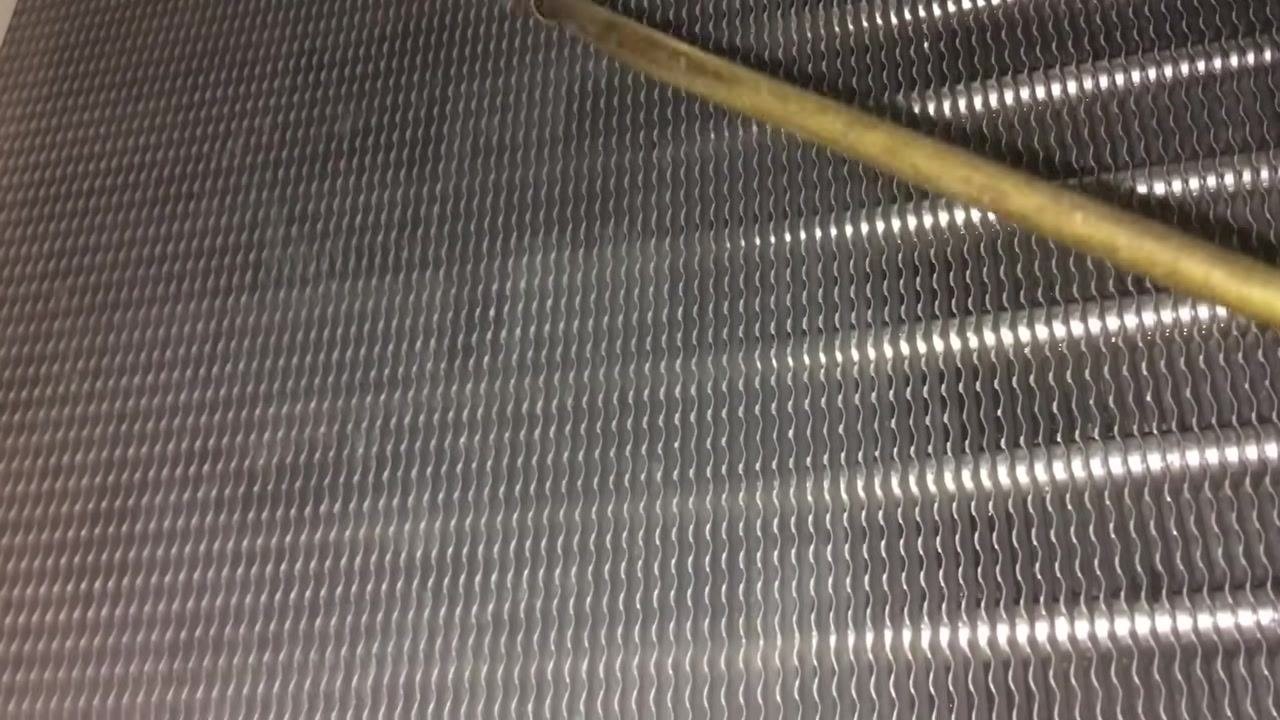
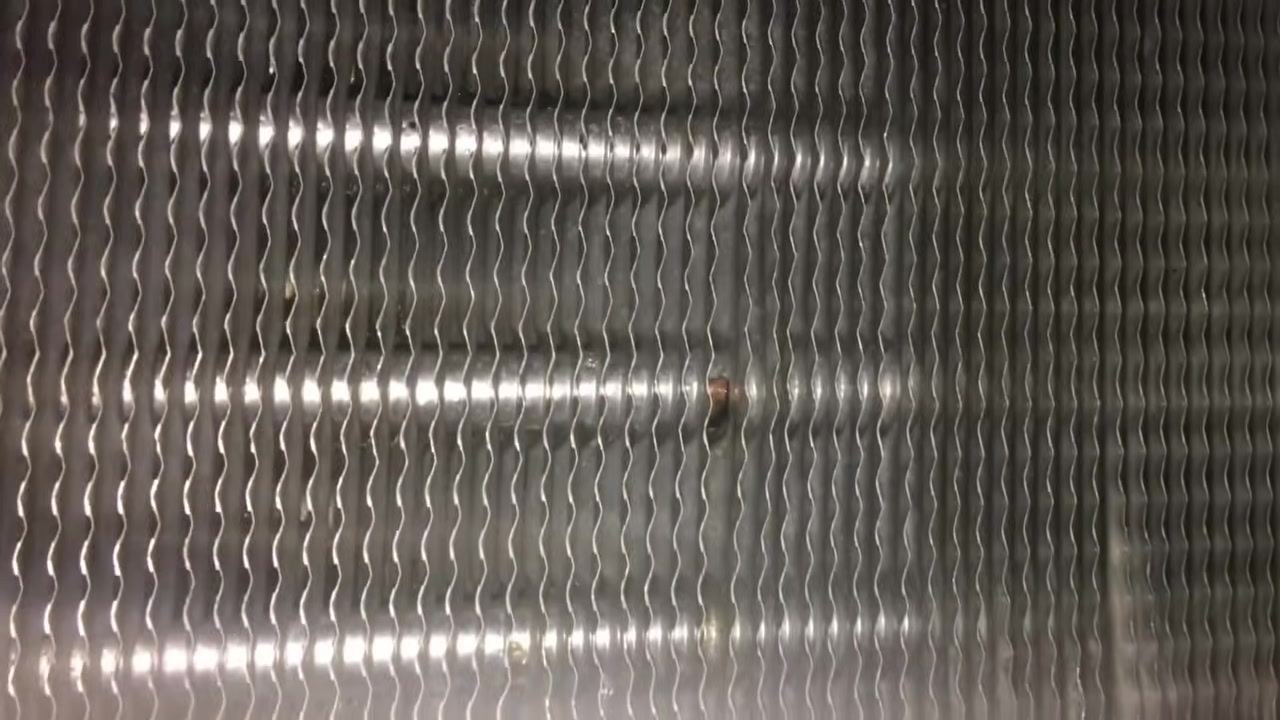
Step 31: Account for tight installation clearances
Recognize when the evaporator is installed close to a wall with limited working space, and be prepared to use appropriate tools or techniques to reach all surfaces around insulated pipes and nearby storage containers.
Step 32: Confirm the coil is free of spots or discoloration
Examine the coil for any remaining spots, discoloration, or buildup, confirming the surface is clean and metallic overall.
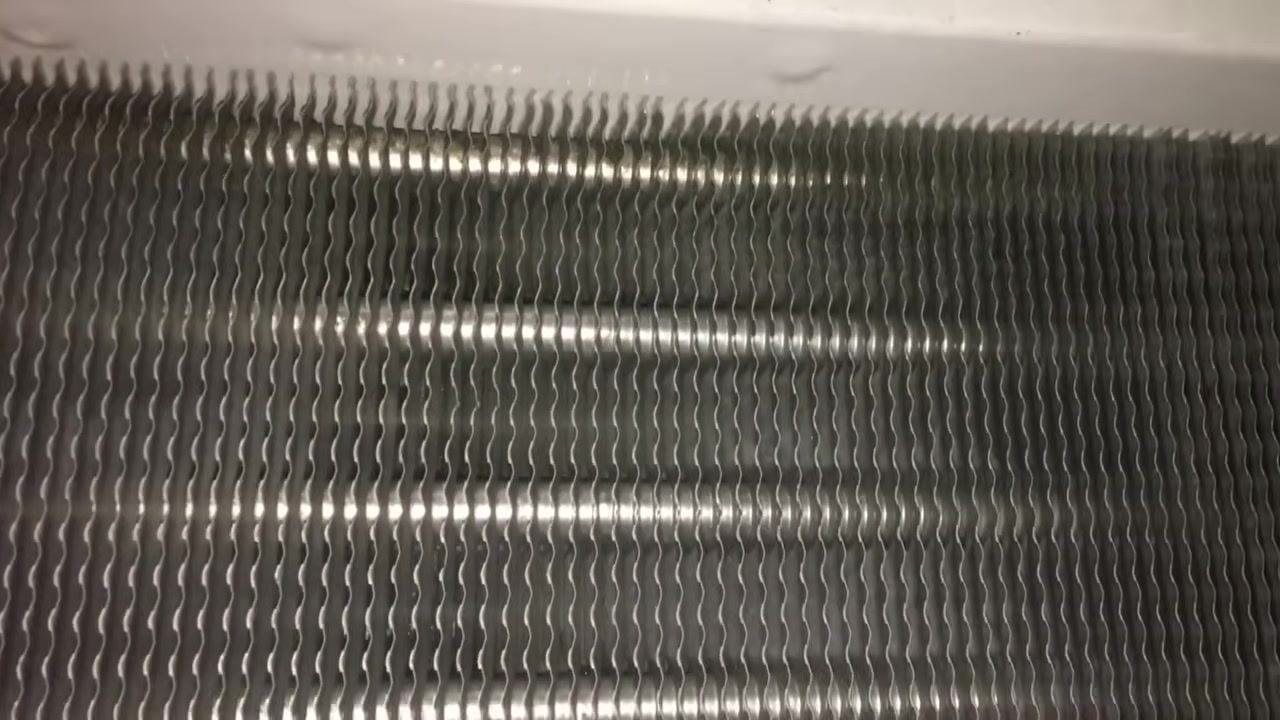
Step 33: Check corners and edges for integrity
Inspect all visible areas, including corners and edges near mounting screws, for cleanliness and signs of corrosion or damage.
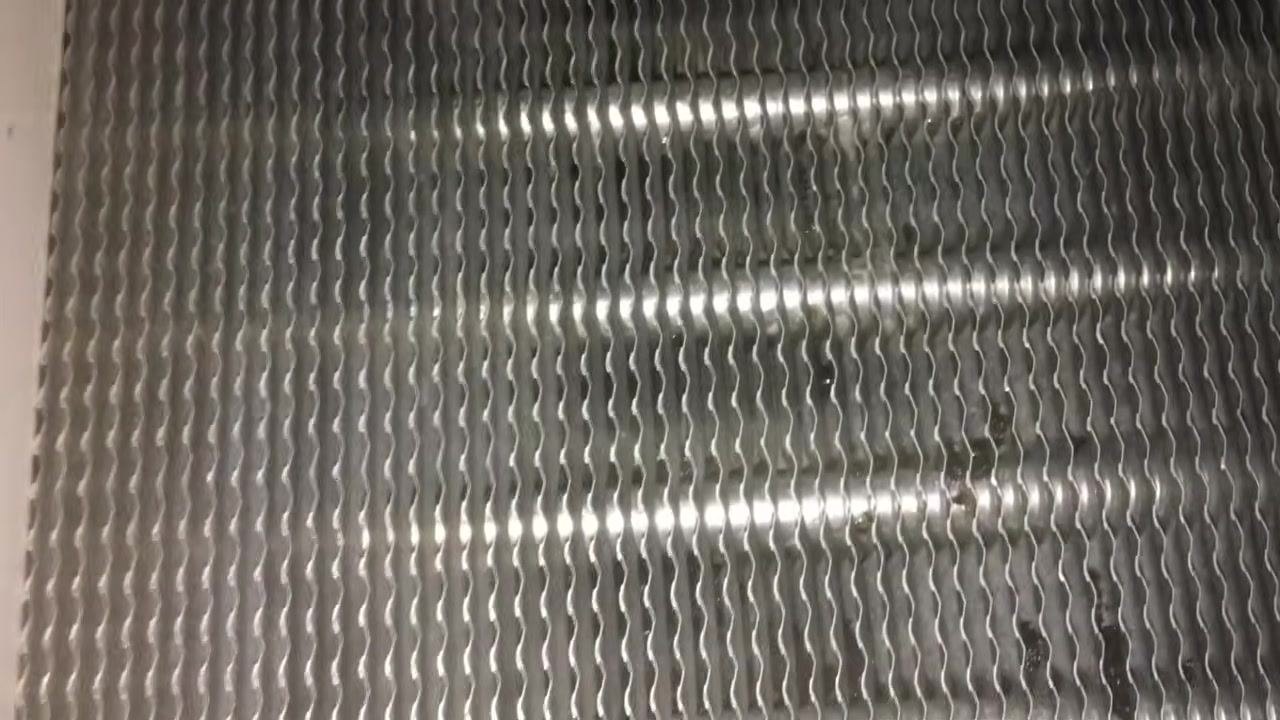
Step 34: Verify the final rinse result
Examine the coil surface closely for any remaining debris or buildup; it should appear metallic and clean, with uniform wavy fins and visible light reflections.
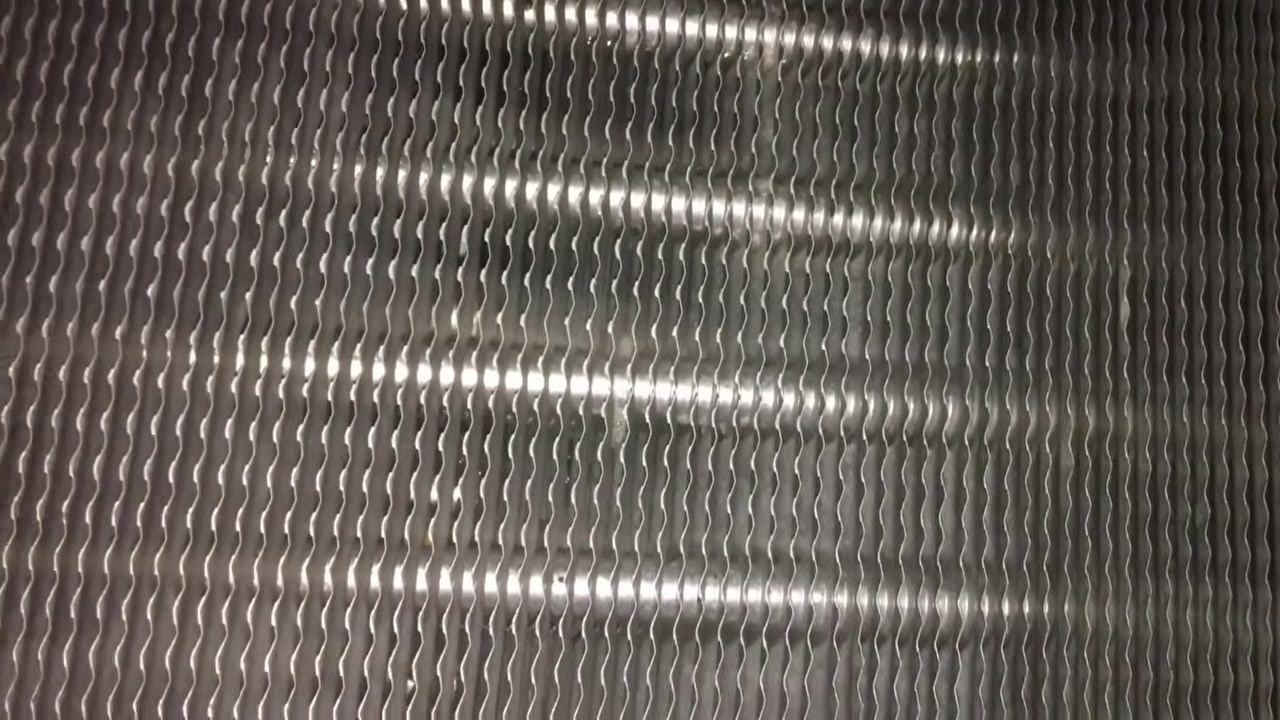
Step 35: Identify and re-treat any leftover residue
Look for dark spots of leftover residue between the fins after the initial rinse, and plan to rinse or clean those areas again if found.
Assess the overall effectiveness of the coil cleaner, and apply additional hot water or cleaner to any stubborn areas as needed.
Step 36: Check the drain line for a union fitting
Locate the drain line connected to the evaporator pan and identify whether a union fitting is present. If the pan ever needs to be removed for service, plan the cut location and installation of a union fitting to make future servicing easier.
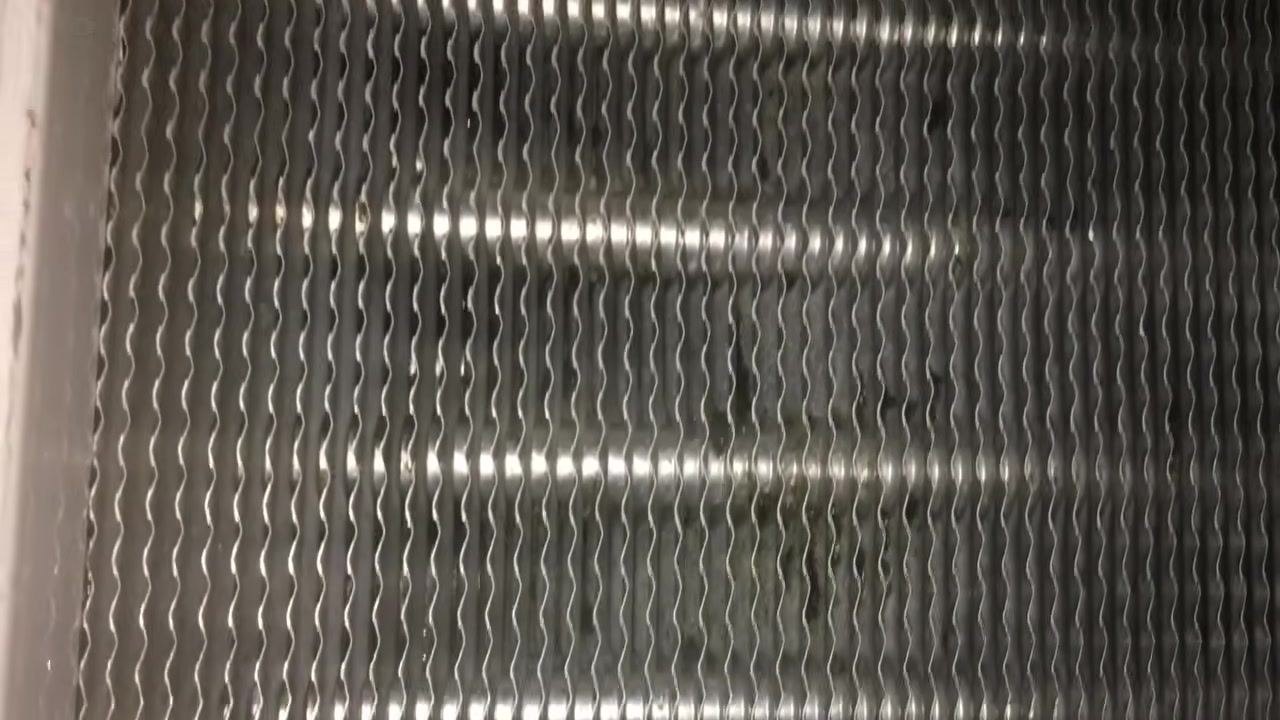
Note that a slip coupling, unlike a union, does not allow for easy removal or servicing of the drain pan.
Step 37: Review the drain line routing and workspace access
Observe the routing of the copper drain line and its connections, and confirm there is adequate access for future maintenance around any food storage containers or piping.
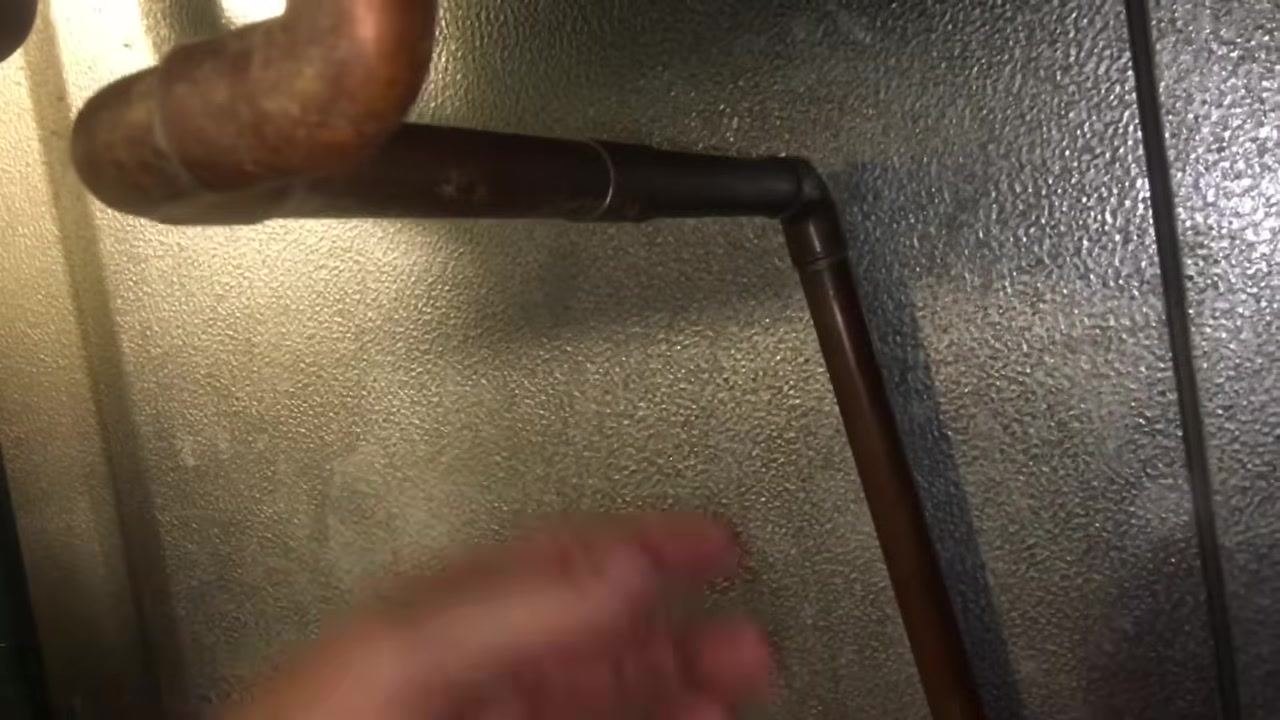
Confirm at the evaporator pan connection whether a union fitting is present; if only a slip coupling exists, plan to upgrade it during a future service visit.
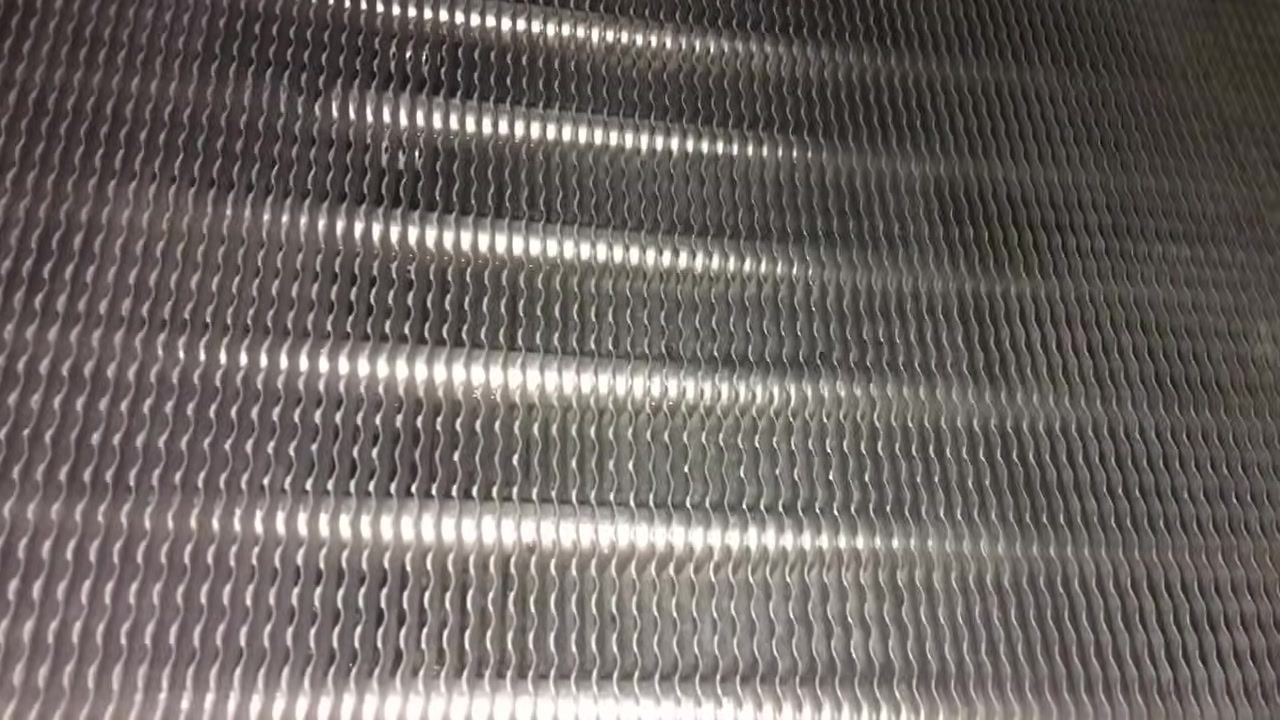
Step 38: Perform the final reset
Reassemble any covers or panels removed during cleaning, restore power to the unit at the breaker and local switch, and verify normal operation before leaving the site.
Inspection
Use the following acceptance criteria to confirm the job is complete:
- [ ] Evaporator and HVAC coil surfaces appear metallic, uniform, and free of foam, dirt, or debris
- [ ] No dark spots or residue remain between the fins after rinsing
- [ ] Fins show no signs of bending, punctures, or damage from brushing
- [ ] All coil cleaner has been rinsed away with no chemical smell or foam remaining
- [ ] Drain line connections are reviewed, with a union fitting installed or planned where only a slip coupling exists
- [ ] Power has been restored and the unit is confirmed running normally
If the coil still shows dark spots, residue, or "scudge" after the rinse, reapply hot water or additional coil cleaner to the affected areas and repeat the brushing and rinsing steps until the surface is uniformly clean. Supervisor sign-off criteria and formal failed-inspection escalation are not addressed in this demonstration; apply your facility's standard supervisor review process in addition to the visual checks above.
Frequency
This cleaning process has been performed on the demonstrated evaporator every six months for the last three years, and this interval is recommended for optimal performance. Between full cleanings, maintain the coil by regularly vacuuming and hosing the tubes with water to prevent buildup from accumulating. Daily, weekly, and monthly cleaning intervals for this equipment are not specified in this demonstration; set those cadences according to your facility's broader maintenance schedule.
Generation details: cost, quality tiers, downloads
Docsie billed 7,500 credits ($5.25) to analyze this 15-minute video at standard quality. The rewrite, template fill and Word/PDF exports were included. The same video at each quality tier:
| Quality | Frames sampled | Credits | Approx. cost |
|---|---|---|---|
| Draft | every 16-30 s | 3,750 | $2.62 |
| Standard (this guide) | every 8-15 s | 7,500 | $5.25 |
| Detailed | every 4-7 s | 15,000 | $10.50 |
| Ultra | every 1-3 s | 30,000 | $21.00 |
Credits priced at $0.70 per 1,000; plans include a monthly allowance. Enterprise customers on on-premise or bring-your-own-model deployments run this on their own inference and pay no per-video credits.
Generated by Docsie Video-to-Docs on 2026-09-14 from a 14-minute video. It was generated straight into Docsie's Facility Cleaning SOP template, so every section of that template is filled from the video. Screenshots are frames from the source video and belong to their creator, OcRefrigeration,Hvac,Electrical & other Video's., whose original is embedded above. If you own this video and want the guide removed or credited differently, contact us and we will act within one business day.