
How to Clean a Soft Serve Machine
This standard operating procedure explains how to clean a soft serve machine safely and effectively, covering full disassembly, washing, sanitizing, lubrication, and reassembly. Follow every step in sequence to keep the machine sanitary, protect product quality, and meet local and state health requirements.
Video: How to clean a Stoelting F231 Soft Serve Machine by Stoelting Frozen Treat Equipment (2022). All credit for the demonstration goes to the creator; watch the original on YouTube. The written guide below was generated from this video by Docsie. Creator? Request a change or removal.
This standard operating procedure explains how to clean a soft serve machine safely and effectively, covering full disassembly, washing, sanitizing, lubrication, and reassembly. Follow every step in sequence to keep the machine sanitary, protect product quality, and meet local and state health requirements.
Purpose
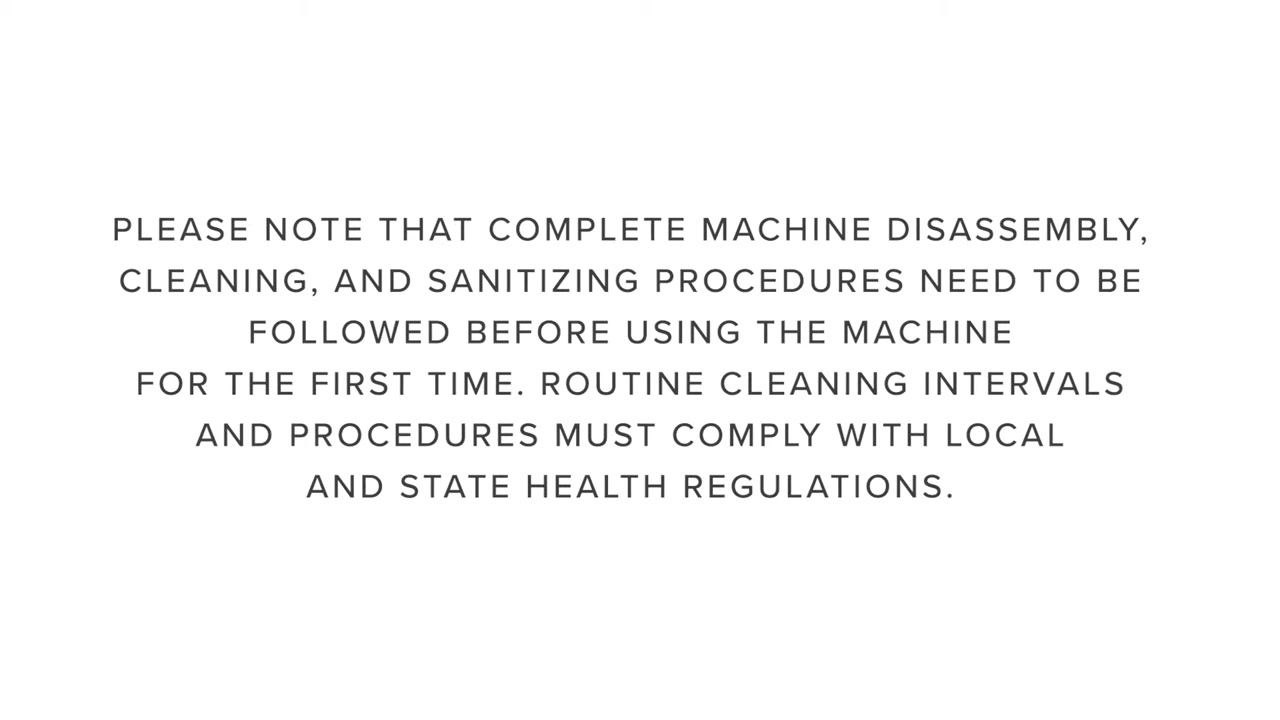
The objective of this procedure is to ensure the soft serve machine is completely disassembled, cleaned, and sanitized before its first use, and cleaned on a routine basis afterward. This controls the risk of product contamination, protects operators and customers from injury caused by worn or broken parts, and preserves consistent product quality. Complete machine disassembly, cleaning, and sanitizing procedures must be performed before using the machine for the first time, and all routine cleaning intervals and procedures must comply with local and state health regulations.
Scope
This procedure applies to the following machine components and surfaces:
- Freezing cylinders and augers
- Hoppers and mix inlet regulators
- Front door assembly, spigots, rosette caps, and spigot extensions
- Auger flights, springs, rear seal assemblies, and O-rings
- Auger support bushings
- Drip trays and drain trays
- Exterior stainless steel surfaces
- Control panel operation related to cleaning cycles
The source procedure does not specify particular rooms, shifts, or exclusions; facilities should define these details separately in line with their own health code requirements.
Supplies
Gather the following items before starting:
- [ ] Buckets
- [ ] Detergent solution
- [ ] Hopper cleaning brush
- [ ] Clean towel or paper towel
- [ ] Provided cleaning brushes
- [ ] Sanitizing solution
- [ ] Clean dry cloth
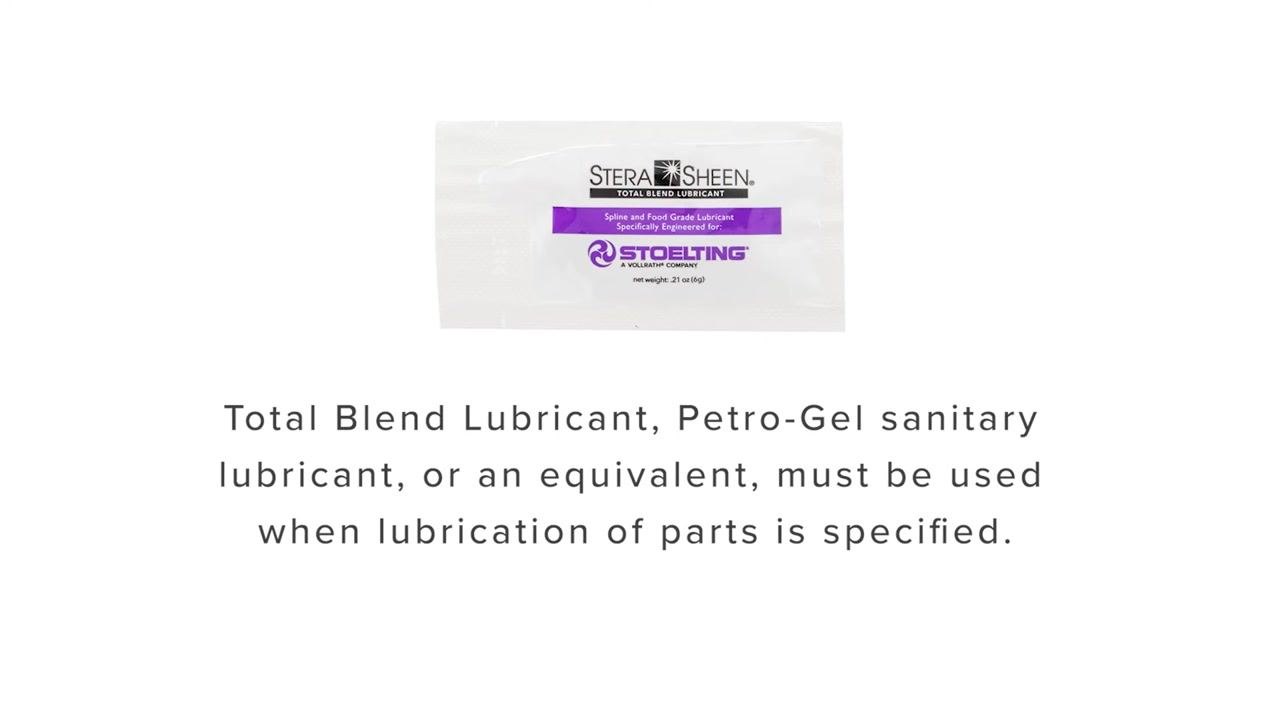
- [ ] Total Blend lubricant or equivalent
Approved lubricants only:
- [ ] Total Blend Lubricant
- [ ] Petro-Gel sanitary lubricant
- [ ] An equivalent product specified for food equipment
Total Blend Lubricant can be used in place of two separate products, simplifying the lubrication process.
Dilution and temperature requirements:
- Wash water and rinse water: mild detergent water heated to 90–110°F (32–43°C)
- Sanitizing solution: submerge parts for at least one minute
- Hopper fill for cleaning cycle: 2 gallons of cool tap water per hopper, or a detergent solution instead of tap water
The source procedure does not specify chemical storage requirements; facilities should store all cleaning chemicals according to manufacturer labeling and local health code requirements.
Safety Precautions
-
Complete machine disassembly, cleaning, and sanitizing procedures must be followed before using the machine for the first time.
-
Routine cleaning intervals and procedures must comply with local and state health regulations.
- Turn off both freezing cylinders at the control panel before beginning disassembly.
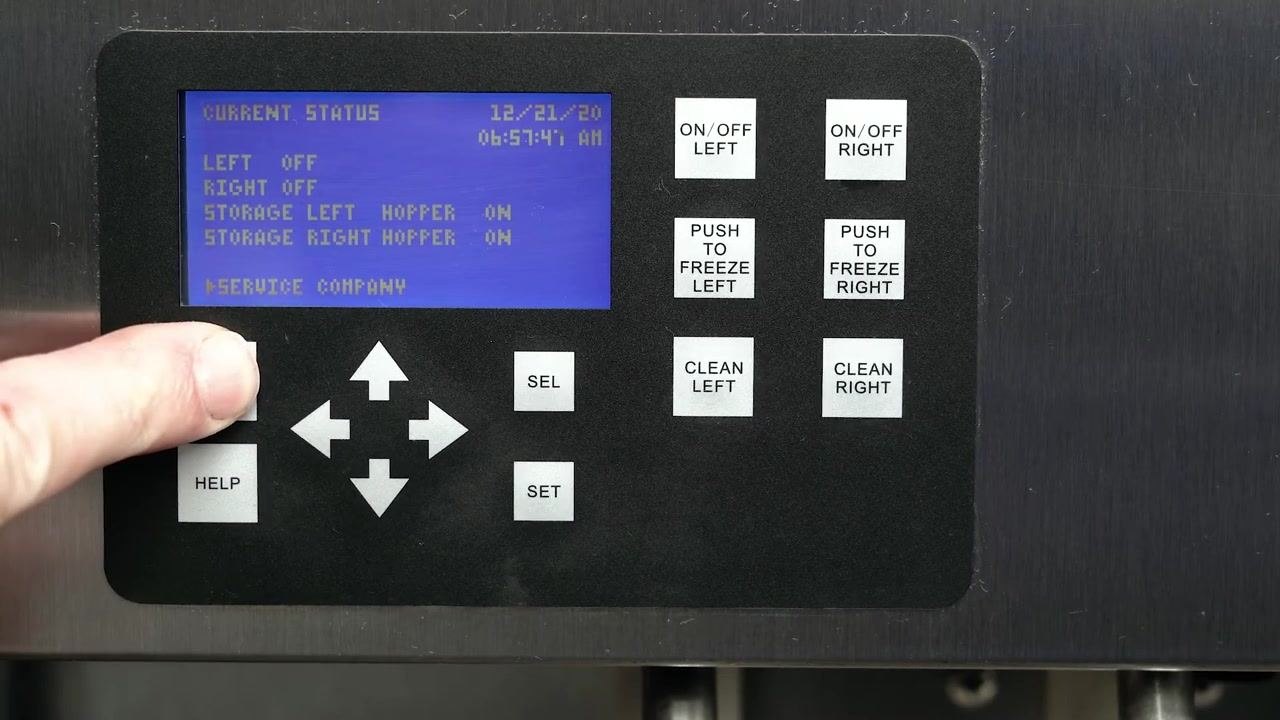
- Turn off main power at the control panel (press and hold MAIN POWER ON/OFF for 3 seconds) before removing the front door.
- Inspect all parts for wear or damage during disassembly and replace worn or broken parts immediately to protect operator and customer safety and maintain product quality. Pay special attention to the wear line on the auger flights; replace augers if the wear line is reached.
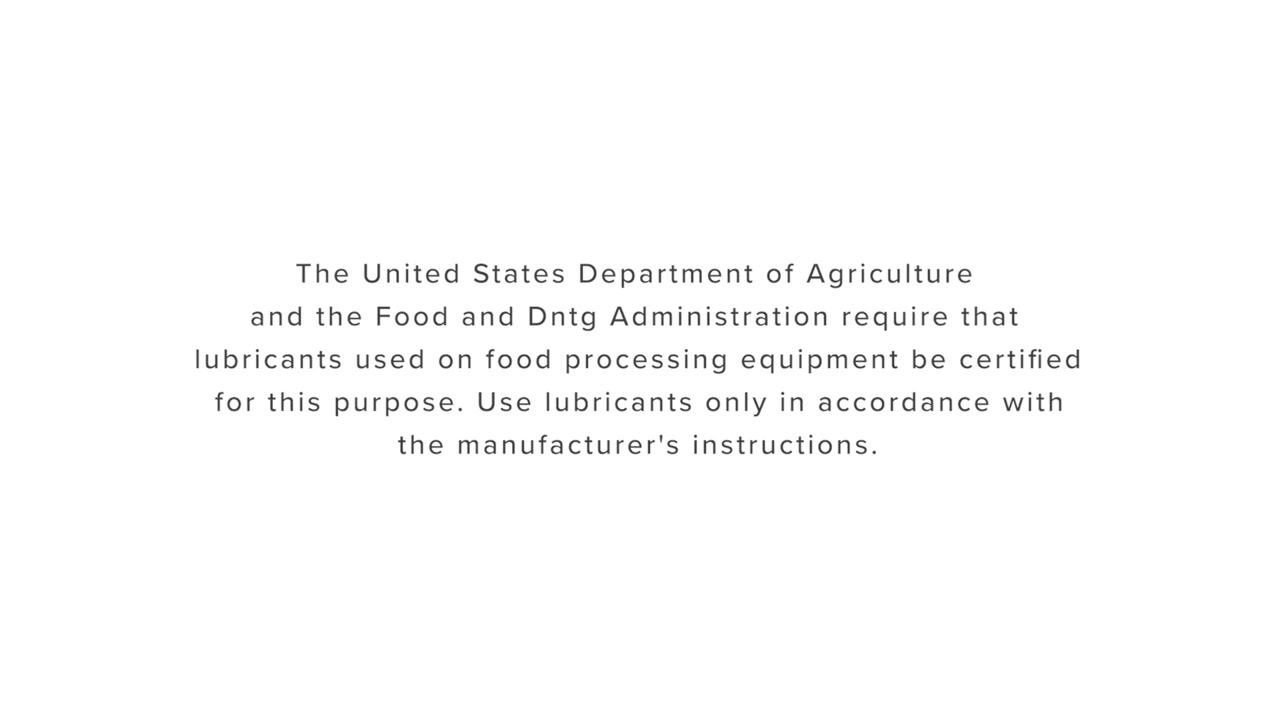
- Use only lubricants certified for food processing equipment as required by the United States Department of Agriculture (USDA) and the Food and Drug Administration (FDA).
- Use lubricants strictly in accordance with the manufacturer's instructions.
- Do not use highly abrasive materials on stainless steel exterior surfaces, as they will mar the finish.
- Do not over-tighten front door knobs; excessive force can damage plastic components.
The source procedure does not address lockout/tagout, wet-floor signage, ventilation requirements, or allergen controls; facilities should apply their own site-specific controls for these hazards in addition to the steps above.
Cleaning Steps
Step 1: Prepare for cleaning the soft serve machine
- Gather all required cleaning supplies listed above before starting.
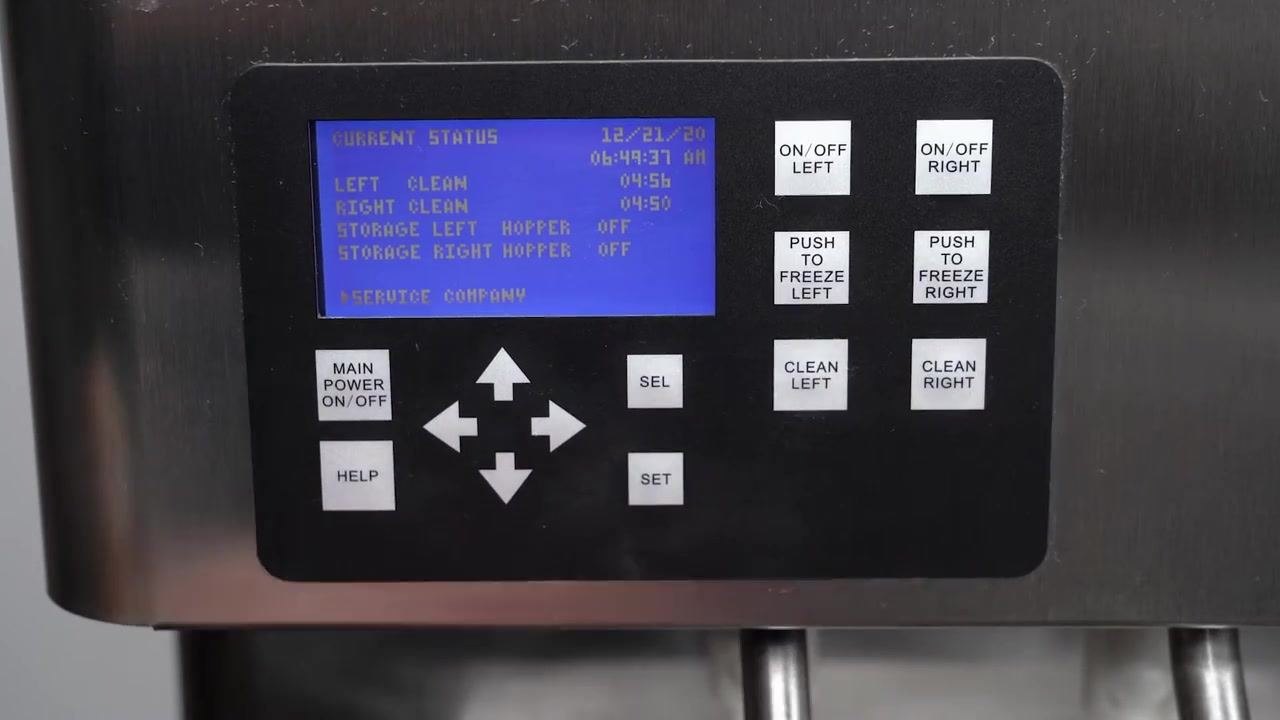
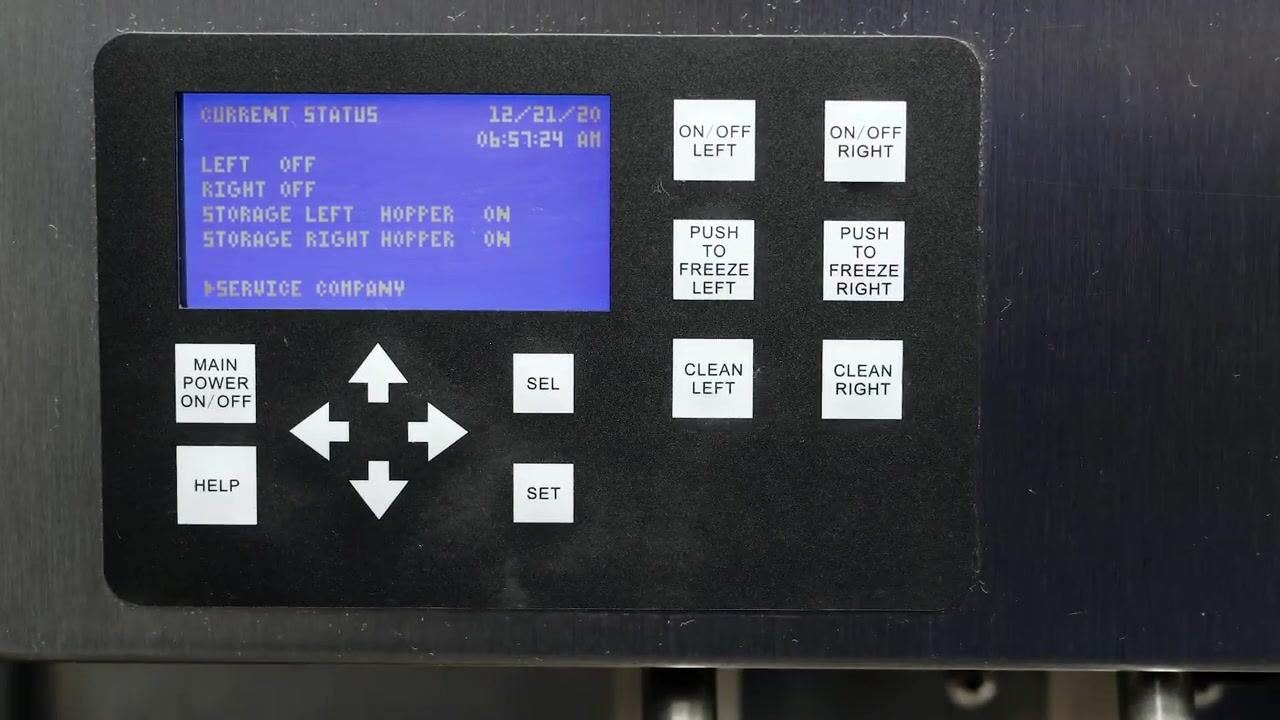
- Verify that the main freezer power is switched on and that the Intellitech 2 display shows the current status screen.
- At the control panel, press ON/OFF LEFT and ON/OFF RIGHT to turn off both freezing cylinders. The display should show both cylinders as "OFF".
Step 2: Run the initial cleaning cycle
-
Press CLEAN LEFT and CLEAN RIGHT to start the cleaning cycle for both sides. The display will show "LEFT CLEAN" and "RIGHT CLEAN" with a timer.
-
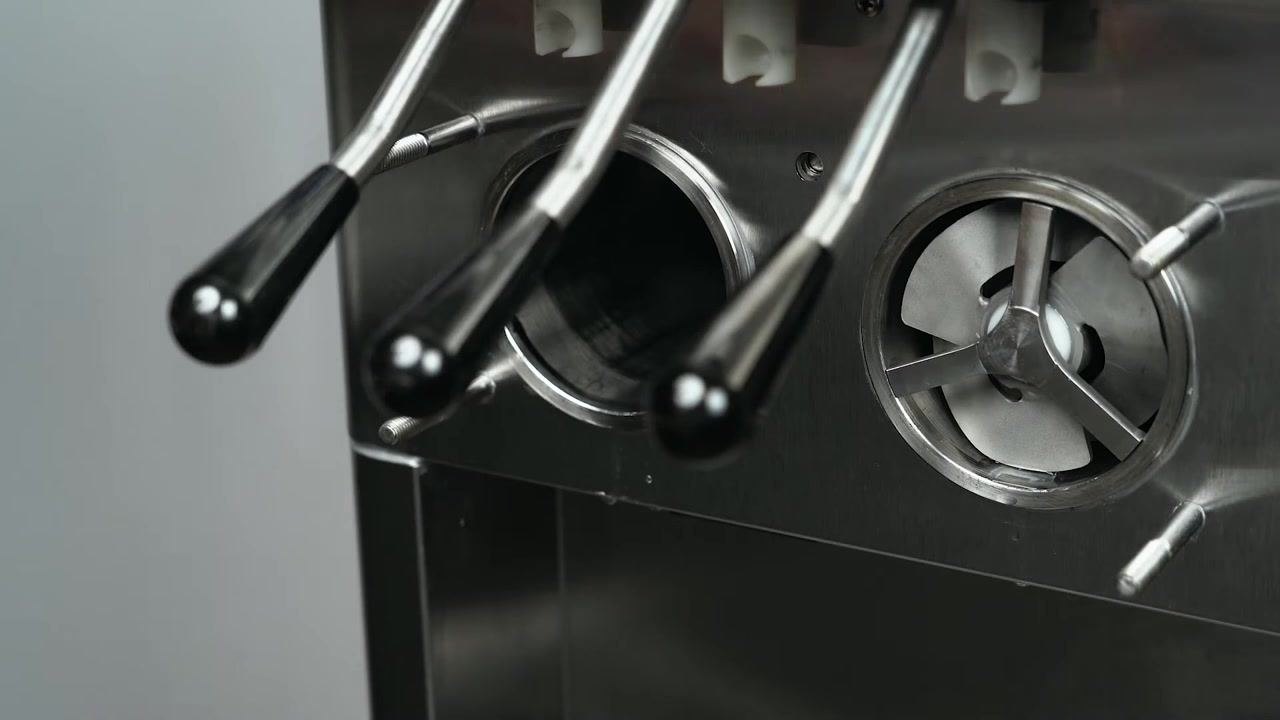
Remove the hopper covers from the top of the machine and remove the mix inlet regulators from the hoppers.
- Wait approximately 5 minutes after starting the cleaning cycle, then open the spigots to drain the mix from the machine.
- Press CLEAN LEFT and CLEAN RIGHT again to stop the augers after draining.
- Pour 2 gallons of cool tap water into each hopper, or use a detergent solution instead of tap water to facilitate cleaning after disassembly.
-
Press CLEAN LEFT and CLEAN RIGHT to start the augers again and allow them to rotate for at least 30 seconds. While the augers rotate, scrub the hoppers thoroughly with a clean brush.
-
Drain the water or cleaning solution. If the drained water is not clear, refill the hoppers with fresh tap water or detergent solution and repeat this cycle.
Step 3: Disassemble the machine
-
Press CLEAN LEFT and CLEAN RIGHT to stop the augers and confirm the display shows both as "OFF".
-
As you disassemble the machine, inspect all parts for wear or damage. Replace worn or broken parts immediately.
-
Use the compartments in the hopper covers to store all freezing cylinder parts after disassembly; this aids identification and prevents loss during transport to the washing station.
-
Press and hold MAIN POWER ON/OFF for 3 seconds to turn off the machine. Confirm the display powers down.
-
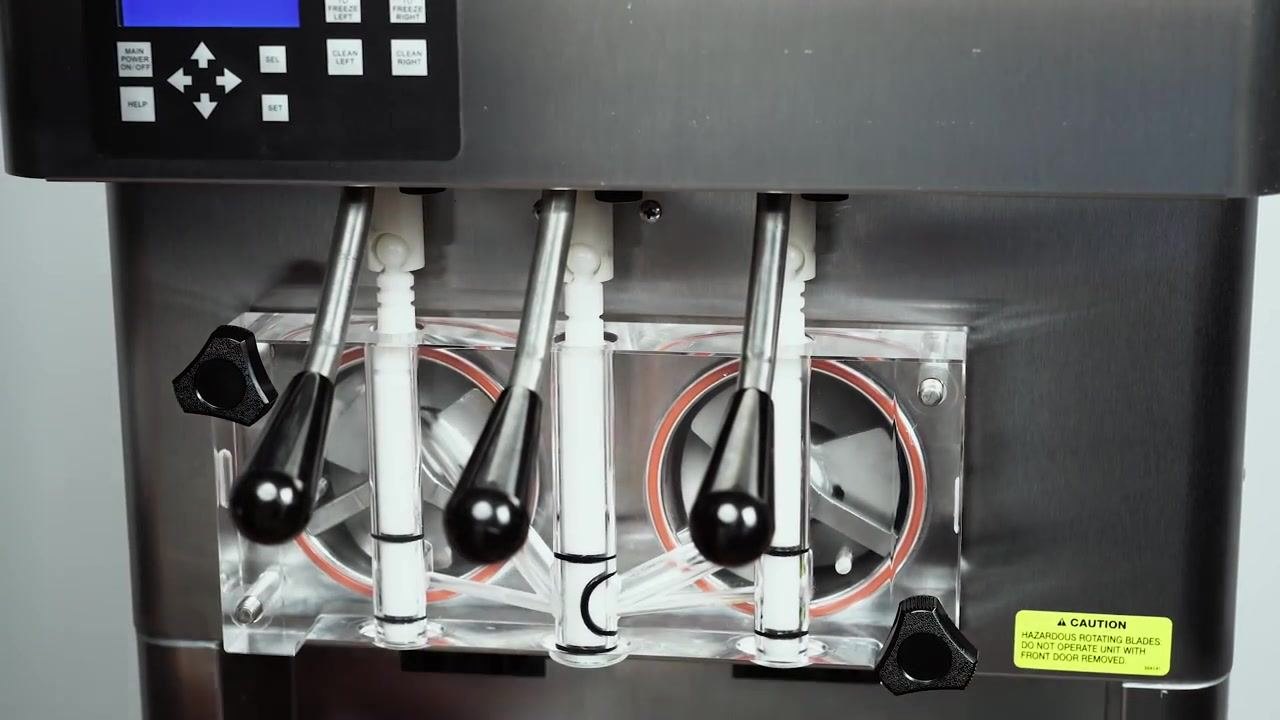
Remove the rosette caps and spigot extensions if installed, unscrew the front door knobs, and carefully pull the front door off the studs to remove it.
-
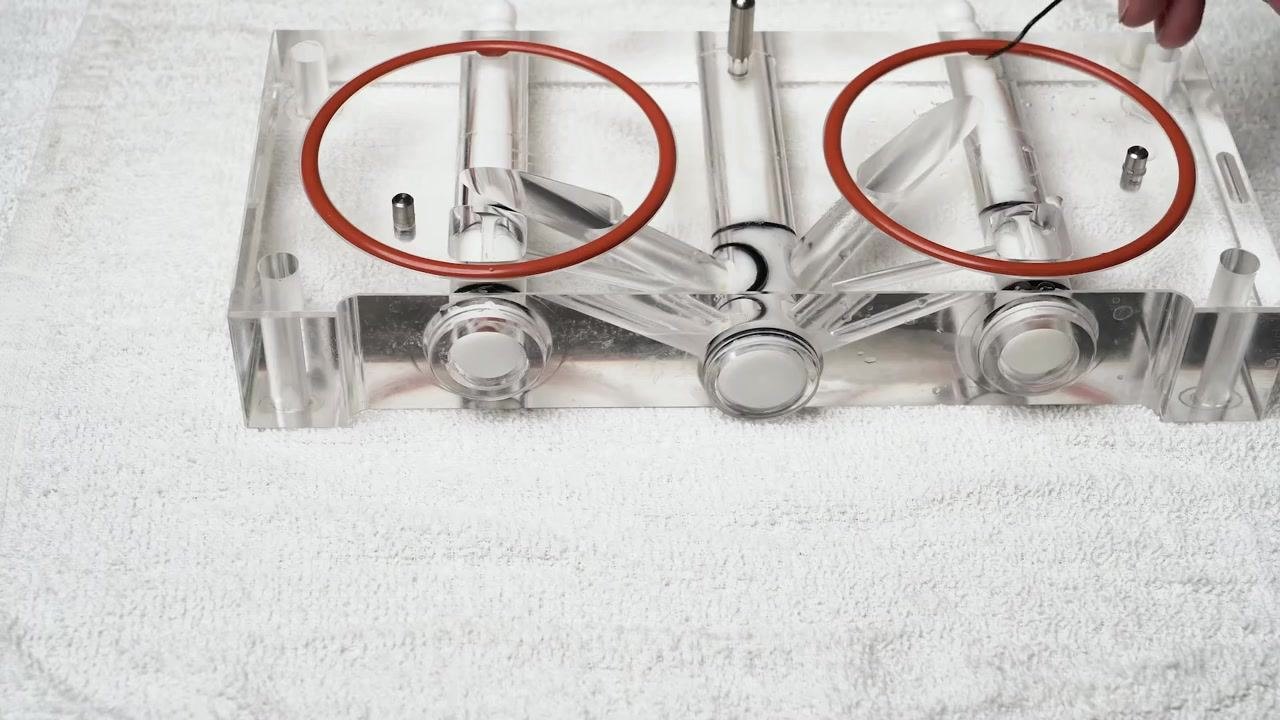
Place the front door assembly on a clean towel and remove the large red O-rings from the front door by gently pulling them out of their grooves.
-
Wipe off any lubricant from O-rings with a clean towel. Squeeze each O-ring upward to form a loop, then roll it out of its groove to remove it.
-
Remove the front auger supports and bushings, then carefully pull the auger assemblies out of the freezing cylinders, supporting their weight as you remove them.
-
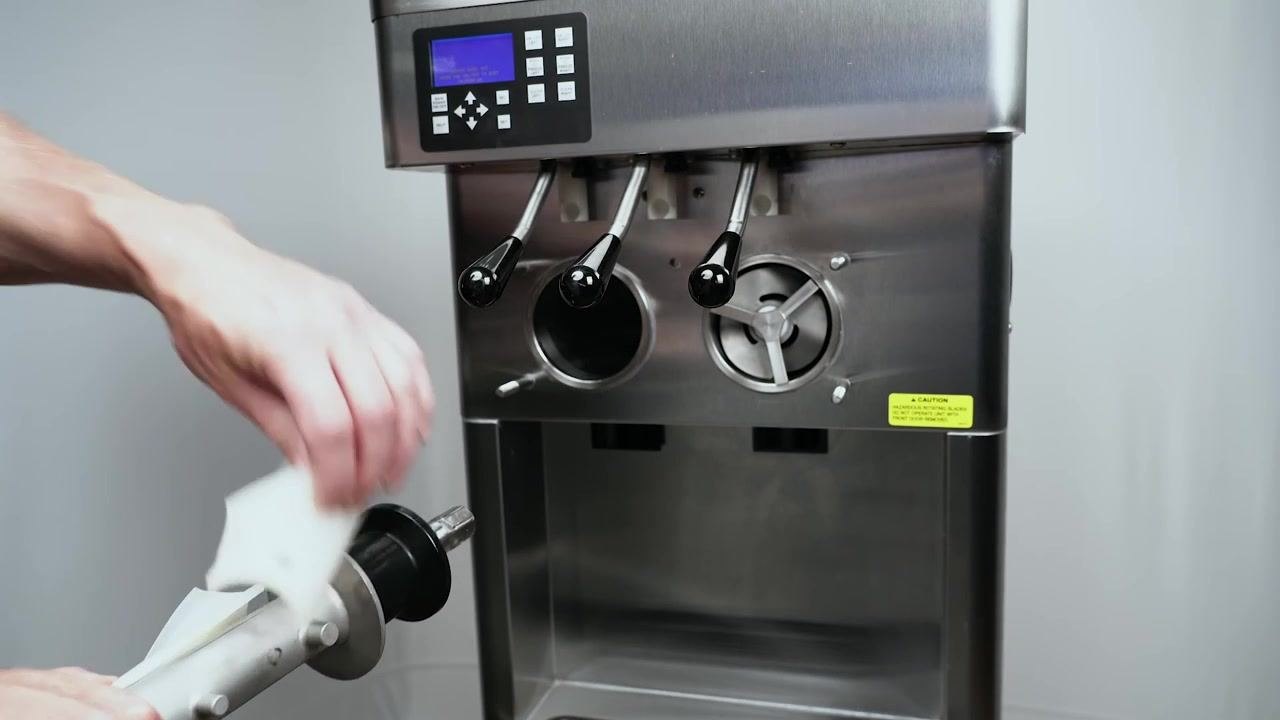
As you pull each auger out, remove the plastic flights and springs. Keep the rear of the auger tipped up once clear of the cylinder to prevent the rear seal assembly from dropping. Wipe lubricant off the hex ends with a clean cloth, remove the rear seal assemblies, and unscrew the springs from the flights.
-
Confirm all machine parts are fully disassembled and separated, with all O-rings, seals, flights, springs, and other components removed and ready for cleaning.
Step 4: Wash, rinse, and sanitize parts
- Each part must be completely cleaned, sanitized, and air dried before reassembly. Local and state health codes dictate the required procedure; some require a four-sink process (pre-wash, wash, rinse, sanitize, air dry), while others require a three-sink process without the pre-wash step. Consult your local and state health codes for the procedure required in your area.
-
Place all disassembled parts in mild detergent water heated to 90–110°F (32–43°C). Use the brushes provided with the machine to clean all holes in the front door, flights, mix pickup assembly, and other components.
-
Rinse all parts with clean water heated to 90–110°F (32–43°C) to remove detergent residue.
-
Place all parts in a sanitizing solution for at least one minute.
Step 5: Air dry all parts
-
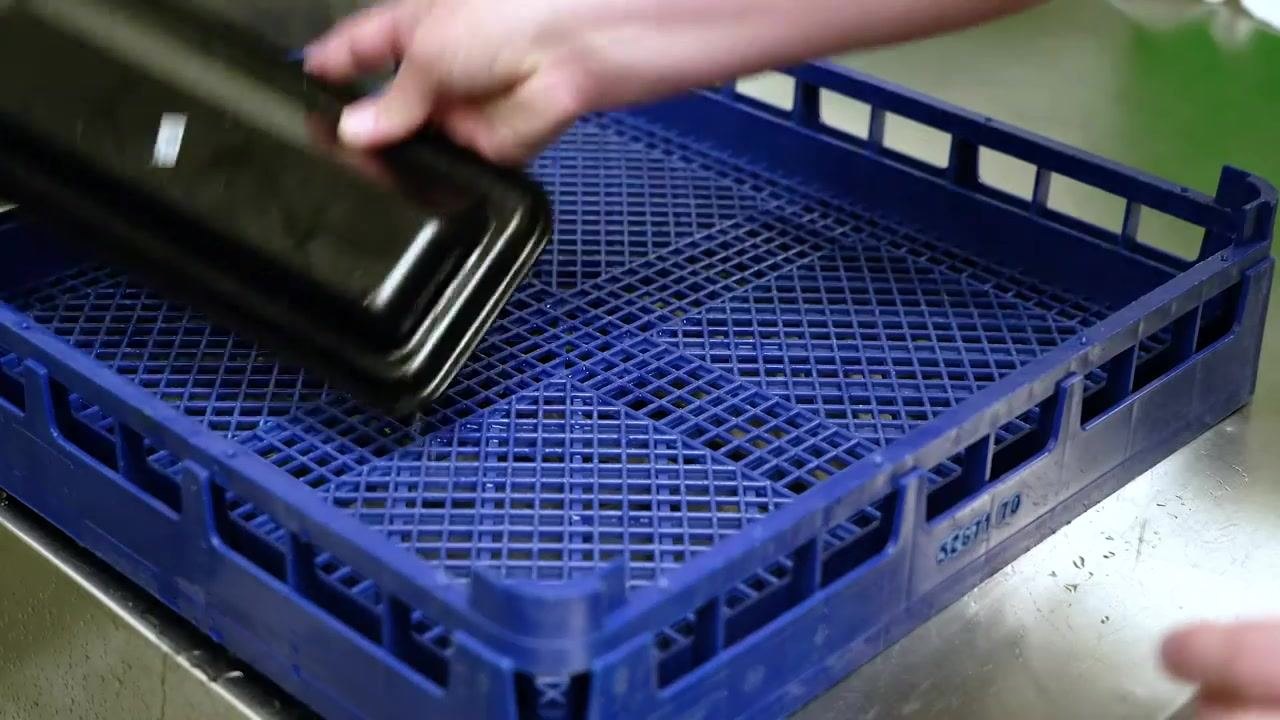
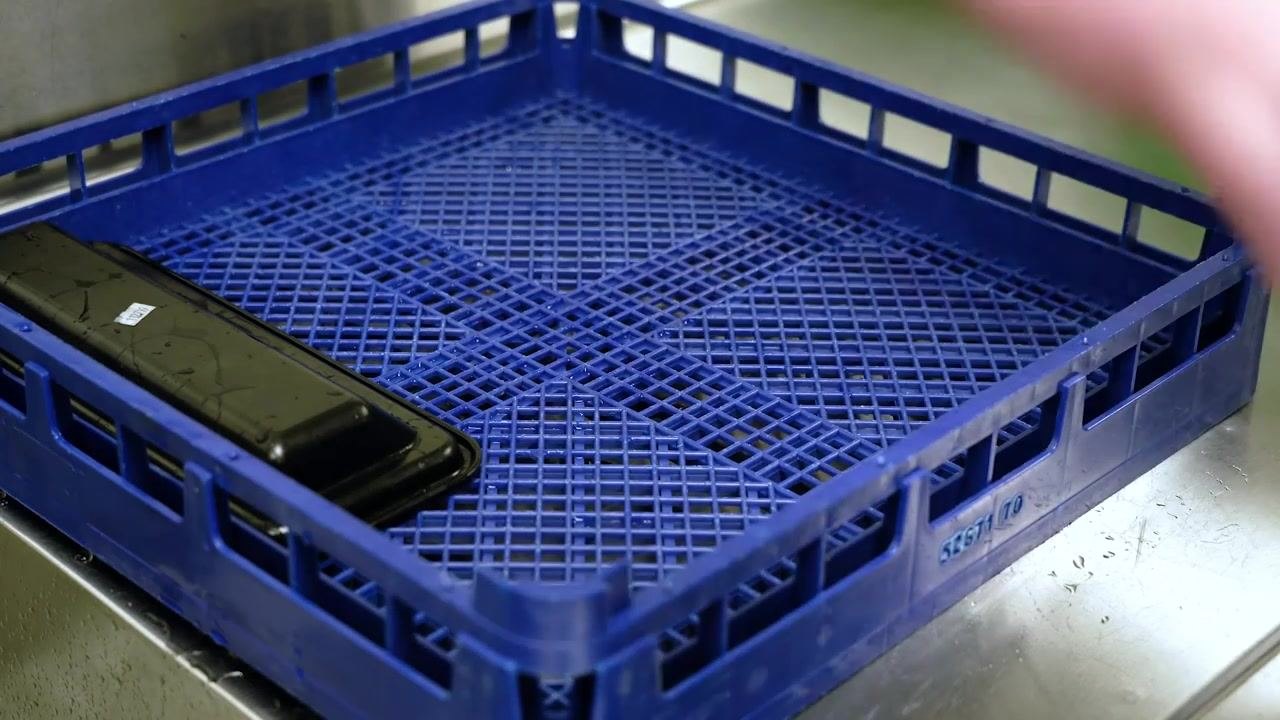
Remove parts from the sanitizing solution and place each one onto a clean, food-safe drying rack or tray.
-
Arrange the parts so air can circulate freely around each item, ensuring thorough drying.
- Do not towel dry; allow all parts to air dry completely before reassembly to prevent contamination.
- Inspect the drying rack and surrounding area to confirm cleanliness and the absence of debris or contaminants.
- Only proceed to reassembly once all parts are fully dry.
Step 6: Clean the hoppers, trays, and exterior
- Wrap a cleaning brush in a clean cloth and thoroughly dry the hoppers and freezing cylinders to ensure all moisture is removed.
-
Remove the drip tray and drain trays from the machine, clean them thoroughly, then replace them in their original positions.
-
Note that the machine is constructed from high-grade stainless steel to facilitate easy cleanup.
-
To remove spilled or dried mix from the exterior, wash it with mild detergent water heated to 90–110°F and wipe it dry with a clean cloth.
-
Do not use highly abrasive materials, as they will mar the finish. Use a soft cloth or sponge to apply the cleaning solution, and for best results wipe with the grain of the steel.
Step 7: Lubricate and reassemble the auger and rear seals
- Lubricate the outside of the O-ring on the rear seal with a generous amount of Total Blend lubricant, and lubricate the inside metal surface of the rear seal thoroughly. Install the lubricated rear seals onto the auger shafts.
-
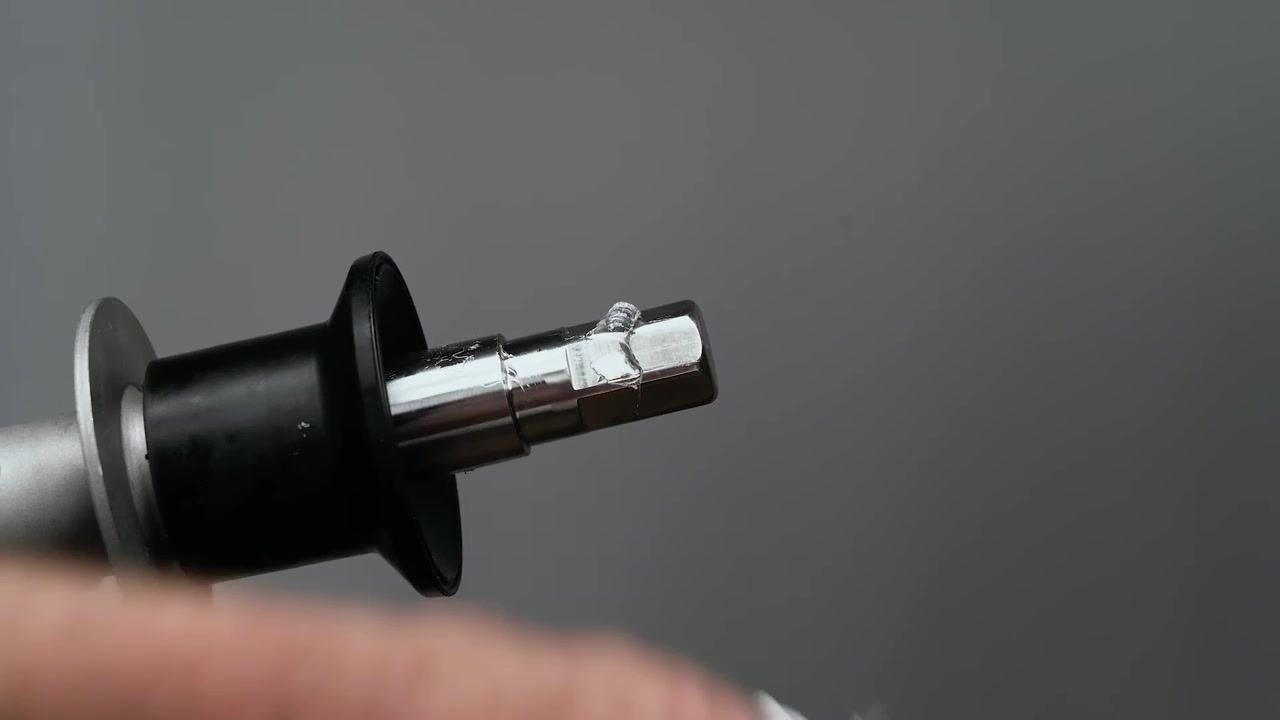
Apply a small amount of Total Blend lubricant to the hex drive ends of the augers.
-
Screw the springs completely into the plastic flights to ensure proper compression.
-
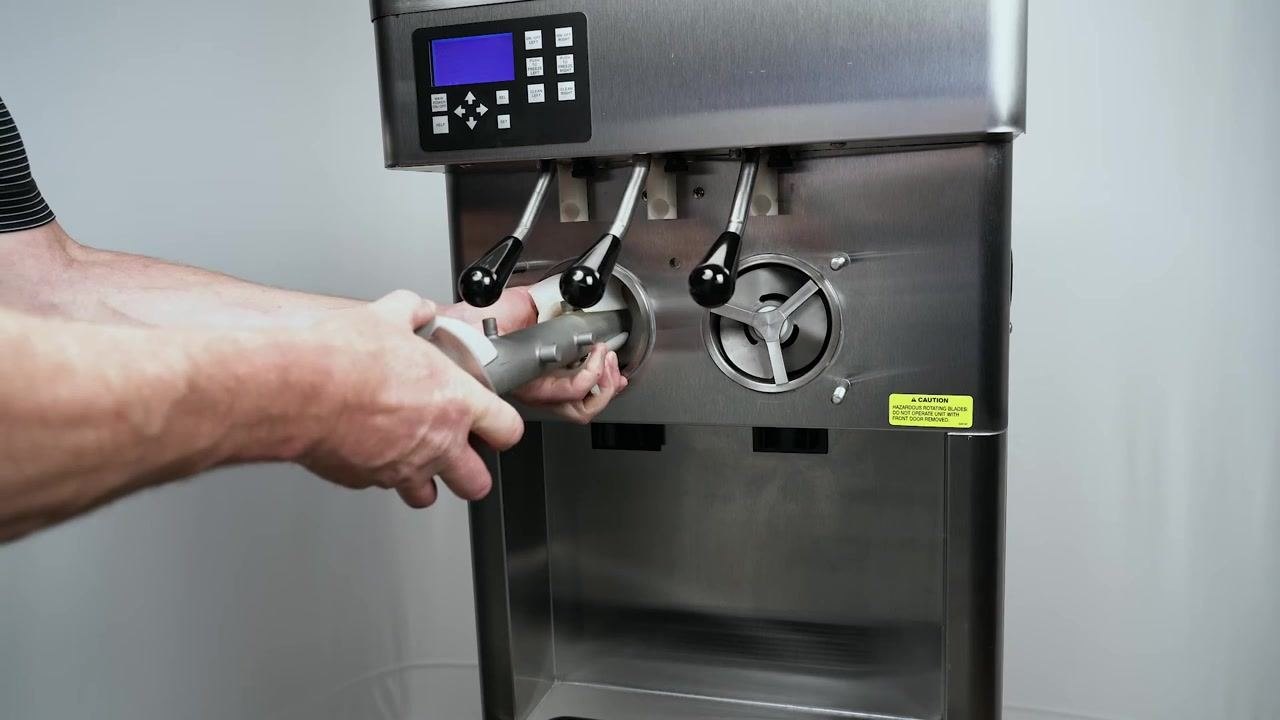
Install two plastic flights onto the auger shaft and insert the shaft partway into the freezing cylinder.
-
Install the remaining plastic flights onto the auger shaft and push the auger fully into the freezing cylinder.
-
Apply a thin layer of sanitary lubricant to both the inside and outside surfaces of the auger support bushings.
Step 8: Assemble the front door
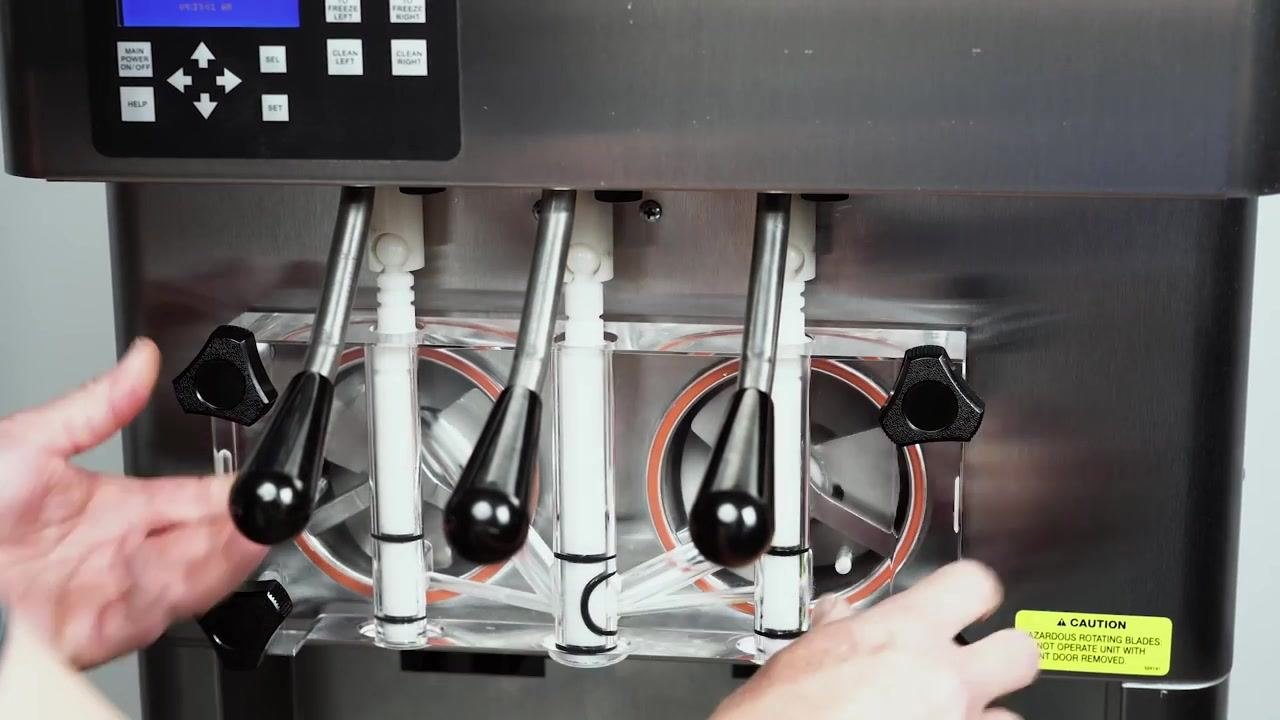
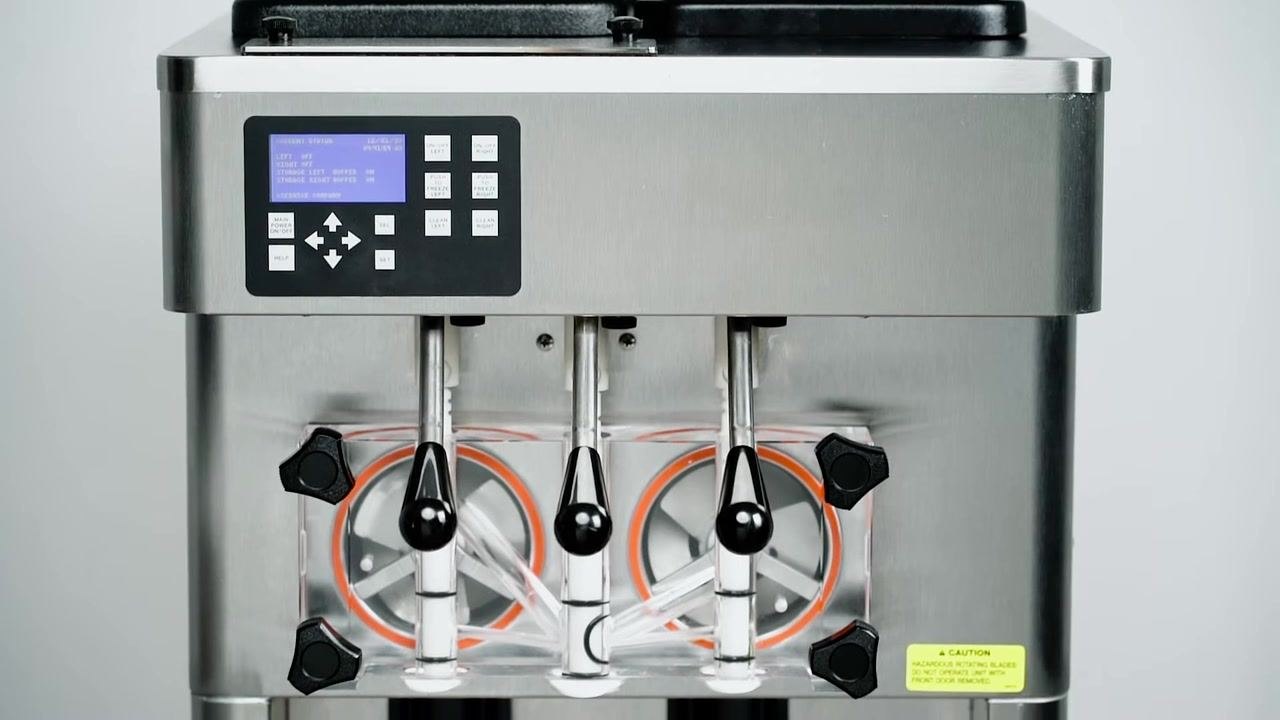
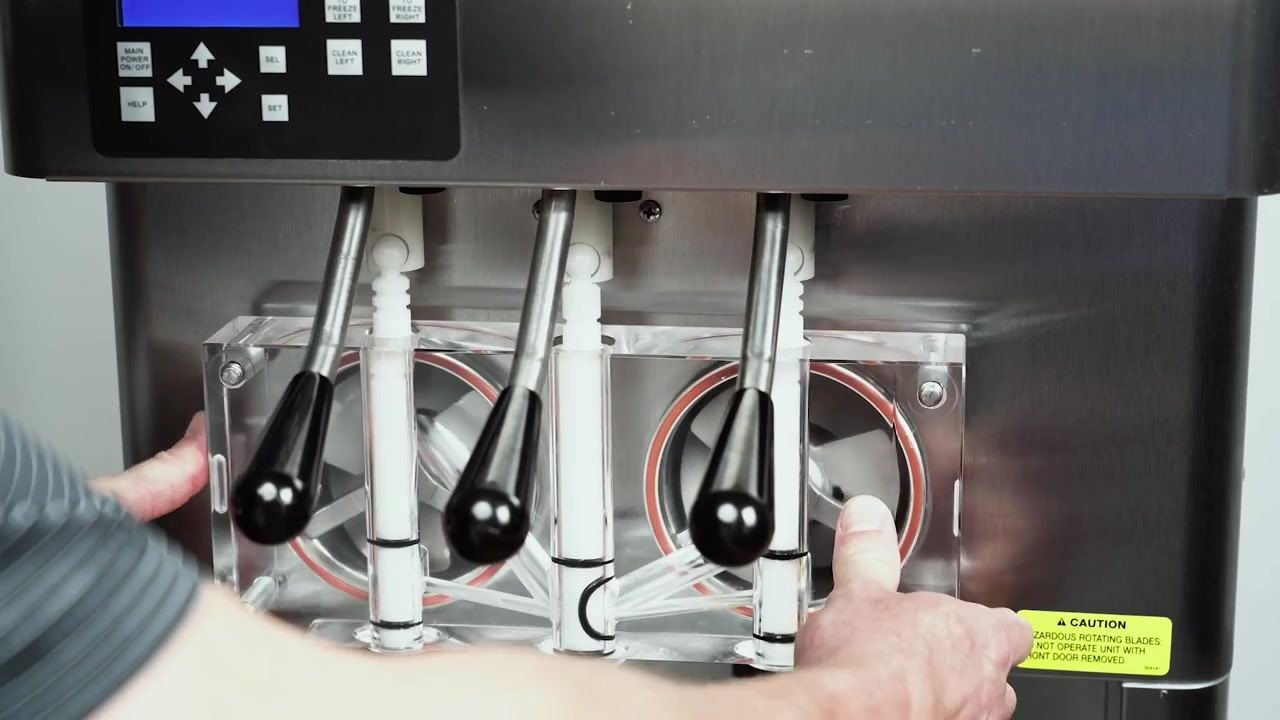
- Install the spigot bodies by inserting them through the bottom openings of the clear front door assembly.
-
Place the assembled front door onto the mounting studs of the machine and carefully push it against the machine, ensuring it is flush and properly aligned.
-
Visually confirm the metal pins extending from the front door are not in contact with the white auger support legs inside the machine; this prevents mechanical interference and ensures proper operation.
-
Hand-tighten the black plastic knobs at the corners of the front door assembly, alternating between opposite corners in a criss-cross pattern for even pressure and a proper seal. Do not over-tighten.
-
Install rosette caps or spigot extensions, if desired, onto the ends of the spigots on the front door assembly, ensuring each cap or extension is securely fitted.
Step 9: Final reset
- Confirm the assembly is complete and all parts are properly installed and secured.
- Review all steps to ensure proper installation and safety before operating the machine.
Inspection
Confirm the following acceptance criteria before the machine returns to service:
- [ ] Drained rinse water runs clear; if not, refill and repeat the cleaning cycle.
- [ ] All parts are completely cleaned, sanitized, and fully air dried before reassembly.
- [ ] The drying rack and surrounding area are clean and free of debris or contaminants.
- [ ] No parts show wear beyond the auger flight wear line; any worn or broken parts have been replaced.
- [ ] Only certified, food-equipment-approved lubricants have been used, applied per manufacturer instructions.
- [ ] Front door pins do not contact the auger support legs.
- [ ] Front door knobs are tightened evenly in a criss-cross pattern, without over-tightening.
- [ ] Exterior stainless steel surfaces are clean, wiped with the grain, and free of abrasive damage.
- [ ] Drip tray and drain trays are clean and correctly reinstalled.
The source procedure does not describe a formal supervisor sign-off step or a specific failed-inspection escalation path beyond repeating the wash cycle when water is not clear and replacing worn parts immediately; facilities should define supervisor verification and escalation steps according to their own health code requirements.
Frequency
Complete machine disassembly, cleaning, and sanitizing must be performed before the machine is used for the first time. After that, routine cleaning intervals and procedures must comply with local and state health regulations. The source procedure does not specify exact daily, weekly, or monthly intervals; each facility must set its cleaning schedule according to the health codes applicable in its jurisdiction (three-sink or four-sink process, as required locally).
Generation details: cost, quality tiers, downloads
Docsie billed 5,000 credits ($3.50) to analyze this 10-minute video at standard quality. The rewrite, template fill and Word/PDF exports were included. The same video at each quality tier:
| Quality | Frames sampled | Credits | Approx. cost |
|---|---|---|---|
| Draft | every 16-30 s | 2,500 | $1.75 |
| Standard (this guide) | every 8-15 s | 5,000 | $3.50 |
| Detailed | every 4-7 s | 10,000 | $7.00 |
| Ultra | every 1-3 s | 20,000 | $14.00 |
Credits priced at $0.70 per 1,000; plans include a monthly allowance. Enterprise customers on on-premise or bring-your-own-model deployments run this on their own inference and pay no per-video credits.
Generated by Docsie Video-to-Docs on 2026-09-14 from a 9-minute video. It was generated straight into Docsie's Facility Cleaning SOP template, so every section of that template is filled from the video. Screenshots are frames from the source video and belong to their creator, Stoelting Frozen Treat Equipment, whose original is embedded above. If you own this video and want the guide removed or credited differently, contact us and we will act within one business day.