
How to Clean a Commercial Deep Fryer
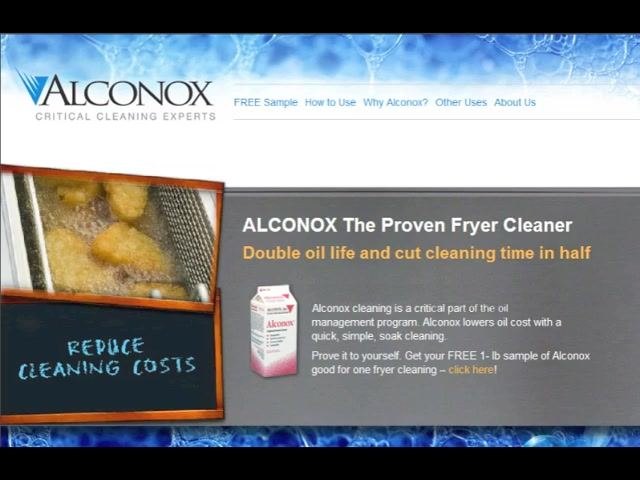
Keeping a commercial fryer clean is essential for extending oil shelf life and delivering excellent product quality to customers. This procedure explains how to clean a deep fryer commercial that has heavy carbon buildup using Alconox detergent powder, from initial preparation through final reassembly checks.
Video: How to clean a commercial deep fryer & baskets by Alconox, LLC (2011). All credit for the demonstration goes to the creator; watch the original on YouTube. The written guide below was generated from this video by Docsie. Creator? Request a change or removal.
Purpose
Keeping a commercial fryer clean is essential for extending oil shelf life and delivering excellent product quality to customers. This procedure explains how to clean a deep fryer commercial that has heavy carbon buildup using Alconox detergent powder, from initial preparation through final reassembly checks.
Scope
This procedure applies to fryers showing heavy carbon buildup that require Alconox detergent powder rather than standard cleaning methods. Confirm suitability by checking the product packaging before beginning.
Required equipment and PPE
Use only tools dedicated to Alconox detergent cleaning. Do not use any small wares or utensils that come into contact with food for this process.
Dedicated tools: - Red cleaning buckets - Measuring cup - Long-handled brush - Scraper - Scrubbing pad - Blue sanitizer towels - Heat-resistant gloves
Personal protective equipment: - Apron - Goggles - Heat-resistant gloves
Put on your apron, goggles, and heat-resistant gloves before starting any cleaning steps.
Step-by-step cleaning instructions
Step 1: Discard the used oil
Discard the oil in the fryer vat according to your facility's standard procedures. Do not slide the filter pan back into the cabinet until cleaning is complete.
Step 2: Fill the vat with hot tap water
Using hot tap water, fill the fryer vat to the normal fill level.
Step 3: Prepare the Alconox detergent solution
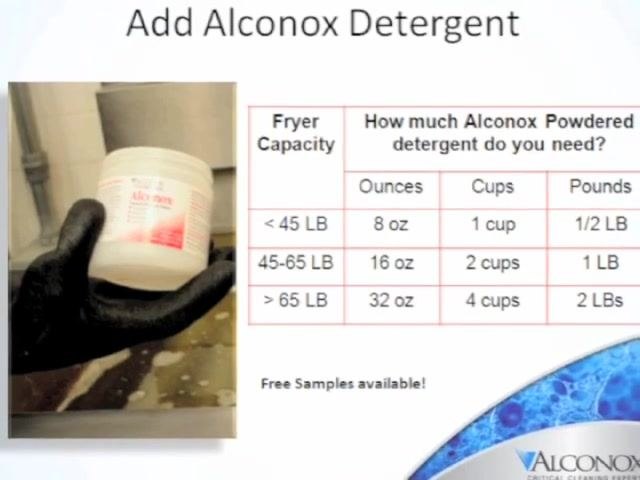
Fill a red bucket half full with warm tap water. Add Alconox detergent powder according to your fryer's capacity:
- Fryers under 45 LB: 8 oz (1 cup, ½ LB)
- Fryers 45–65 LB: 16 oz (2 cups, 1 LB)
- Fryers over 65 LB: 32 oz (4 cups, 2 LB)
Mix the solution with the long-handled brush until the detergent is fully dissolved.
Step 4: Pour and rinse the solution into the vat
Pour the dissolved Alconox solution into the fryer vat. Rinse the red bucket with a small amount of water to remove any remaining powder, then add that rinse water to the vat.
Step 5: Mix the solution in the vat
Gently mix the water in the vat using the long-handled brush. Be careful not to disturb the fryer's probes and heating elements. Add hot tap water until the water level is within one inch of the top.
Step 6: Scrub the vat and exterior surfaces
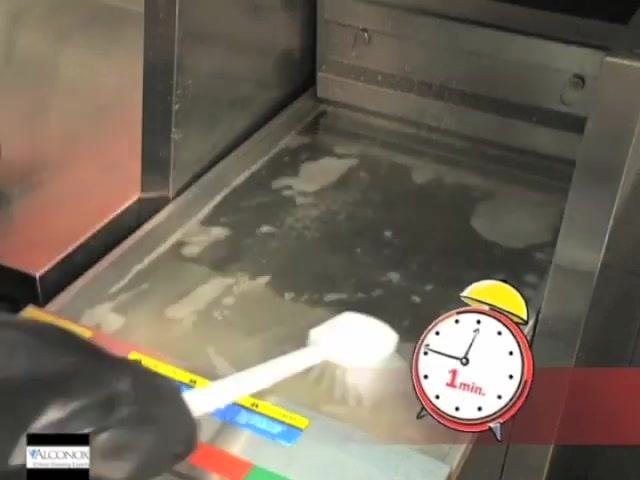
Using the long-handled brush, scrub the vat surfaces, heating elements, and exterior surfaces for two minutes each.
Step 7: Remove and submerge removable parts
Remove fry basket hangers, fryer grids, and all removable parts, including fryer baskets. Submerge these parts in the cleaning solution inside the vat.
Step 8: Sanitize the vat sides with towels
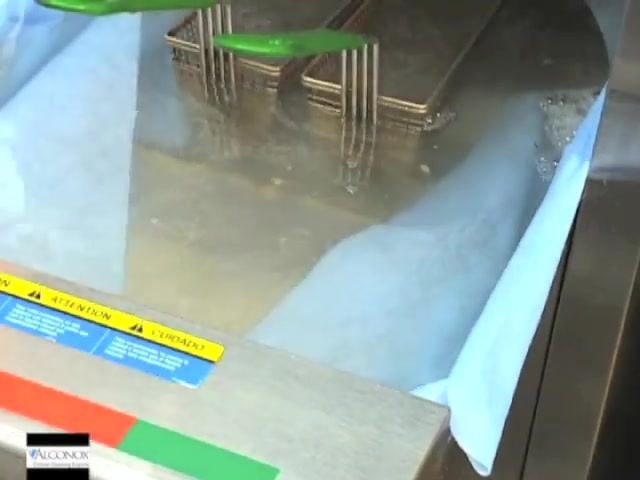
Dip blue sanitizer towels in the cleaning solution and hang them over the sides of the vat, ensuring they touch the sides rather than float in the solution. Add more water and press the towels down if needed to keep them in contact with the vat sides.
Safety note: Always follow safety protocols and use only the specified tools and PPE when handling Alconox detergent and cleaning fryers.
Step 9: Soak the solution and maintain moisture
Leave the Alconox solution and blue sanitizer towels soaking in the fryer vat for two hours. Ensure the towels remain moist throughout the soaking period.
Step 10: Drain half the solution
After two hours, partially drain half of the solution from the vat into the red bucket. Carefully pour that solution into a mop sink or floor drain.
Important: Do not pump the solution through the fryer's filter pump, as this can cause internal corrosion.
Step 11: Discard the used towels
Immediately discard the blue sanitizer towels used during soaking. Do not reuse them.
Step 12: Remove and rinse the fryer baskets
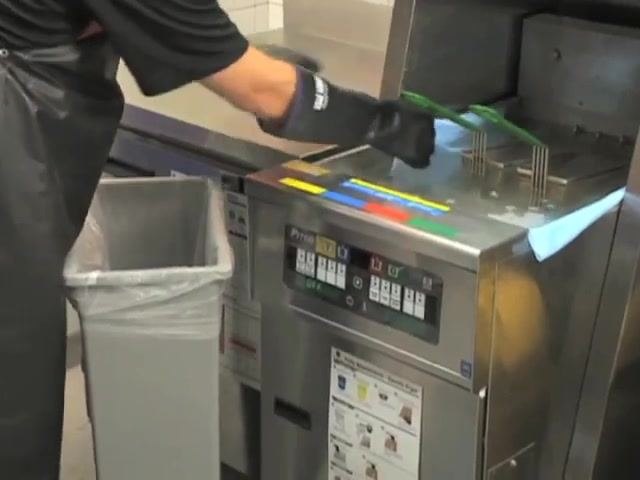
Remove the fryer baskets from the solution, place them in an empty filter pan, and transport them to the sink for thorough rinsing.
Step 13: Scrub the top half and exterior of the vat
Use a green scrub pad and the long-handled brush to scrub the top half of the vat and all exterior surfaces. If necessary, use a plastic scraper to remove any remaining carbon buildup.
Warning: Never use metal scrapers, block scrapers, or spatulas, as these can damage the fryer and contaminate food.
Step 14: Scrub the burners and heating elements
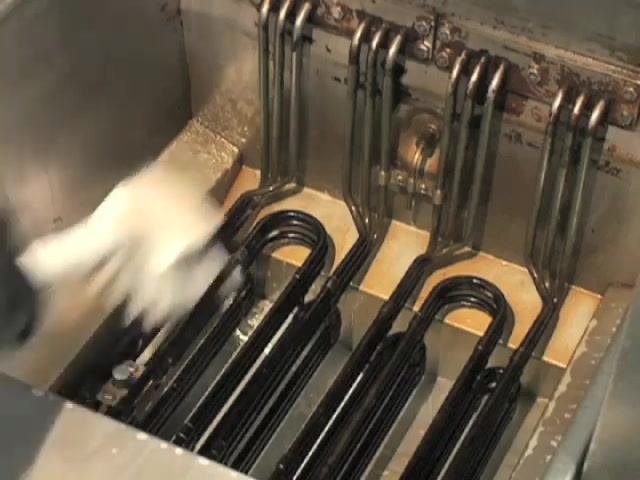
Drain the remaining solution into the red bucket. Scrub the bottom half of the vat, focusing on removing carbon buildup from the burners and heating elements.
Step 15: Rinse the long-handled brush
Rinse the long-handled brush thoroughly with water in the three-compartment sink.
Step 16: Rinse the vat – first wash
Close the fryer drain and pour two gallons of tap water into the vat. Use the brush to wash down all interior surfaces, ensuring removal of chemical residues. Open the drain valve, place the red bucket under the drain line, and drain the water from the fryer into the bucket.
Step 17: Rinse the vat – second wash
Pour two more gallons of tap water into the vat and wash down the side walls to ensure all cleaning residue is removed. Drain the water completely.
Step 18: Dry the vat and wipe down surfaces
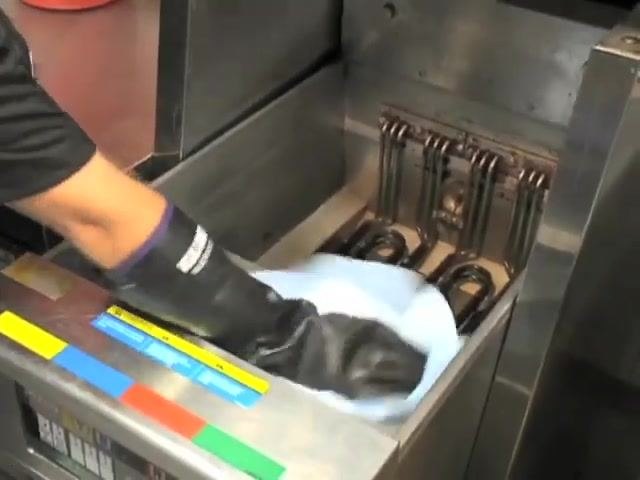
Dry the vat thoroughly using only clean, dry blue towels. Wipe down the outer surfaces of the fryer with a clean blue sanitizer towel.
Step 19: Clean and sanitize tools and sink
Rinse the red bucket and long-handled brush thoroughly to remove any detergent residue, then clean and sanitize the sink after use.
Safety note: Always follow safety protocols, use only the specified tools and PPE, and never reuse disposable towels. Ensure all cleaning chemicals are thoroughly rinsed from the fryer and tools before returning the fryer to service.
Step 20: Flush the drain channel with oil
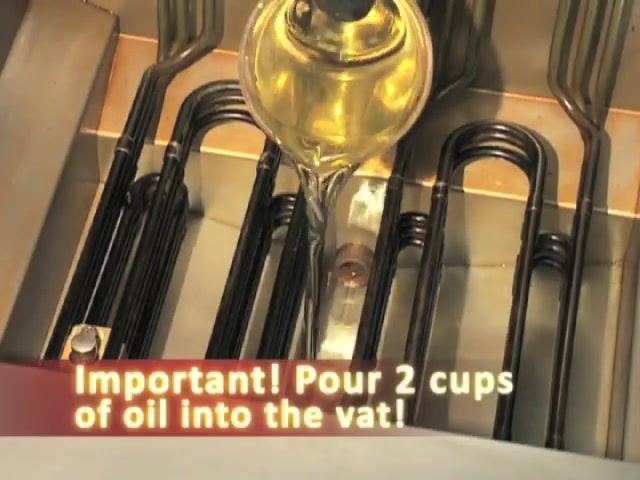
Pour two cups of oil into the fryer vat while the drain valve is open and the red bucket is positioned under the drain line. This flushes any remaining water out of the drain channel and tubes.
Important: Do not skip this step. It prevents water from contaminating the fresh oil and ensures safe fryer operation.
Step 21: Clean the filter pan, tube, and screen
Fill the filter pan with Alconox solution, using either the solution previously drained from the fryer or a newly mixed batch if needed. Clean the filter pan, tube, and screen thoroughly to remove any residual oil or debris.
Final checks and verification
Confirm that all fryer components are clean, dry, and free of detergent residue. Verify that all disposable towels have been discarded and all tools have been rinsed and sanitized. Once these checks are complete, the fryer is ready for safe reassembly and use.
Final notes: - Always follow manufacturer and safety guidelines when cleaning and reassembling the fryer. - Only use Alconox detergent powder as specified for optimal cleaning and food safety. - Properly dispose of all cleaning solutions and used towels according to local regulations.
Generation details: cost, quality tiers
Docsie billed 2,000 credits ($1.40) to analyze this 4-minute video at standard quality. The rewrite, template fill and Word/PDF exports were included. The same video at each quality tier:
| Quality | Frames sampled | Credits | Approx. cost |
|---|---|---|---|
| Draft | every 16-30 s | 1,000 | $0.70 |
| Standard (this guide) | every 8-15 s | 2,000 | $1.40 |
| Detailed | every 4-7 s | 4,000 | $2.80 |
| Ultra | every 1-3 s | 8,000 | $5.60 |
Credits priced at $0.70 per 1,000; plans include a monthly allowance. Enterprise customers on on-premise or bring-your-own-model deployments run this on their own inference and pay no per-video credits.
Generated by Docsie Video-to-Docs on 2026-09-08 from a 3-minute video. Screenshots are frames from the source video and belong to their creator, Alconox, LLC, whose original is embedded above. If you own this video and want the guide removed or credited differently, contact us and we will act within one business day.