
How to Perform a Monthly Fire Extinguisher Inspection
This SOP provides detailed steps to ensure fire extinguishers are properly inspected and maintained according to safety standards. Following these procedures ensures your fire extinguisher remains in proper working condition and complies with safety regulations.
Video: How to Conduct a Monthly Commercial Fire Extinguisher Inspection by Amerex (2023). All credit for the demonstration goes to the creator; watch the original on YouTube. The written guide below was generated from this video by Docsie. Creator? Request a change or removal.
Purpose
This SOP provides detailed steps to ensure fire extinguishers are properly inspected and maintained according to safety standards. Following these procedures ensures your fire extinguisher remains in proper working condition and complies with safety regulations.
Scope
This procedure applies to the periodic inspection, annual maintenance, six-year teardown, and safe discharge/chemical recovery of fire extinguishers. Always refer to the manufacturer's manual for specific recharge and maintenance procedures.
Required Equipment
- Fire extinguisher to be inspected
- Manufacturer's recharging procedure manual
- Closed recovery system for chemical removal (for teardown/discharge steps)
Part 1: Periodic Inspection Steps
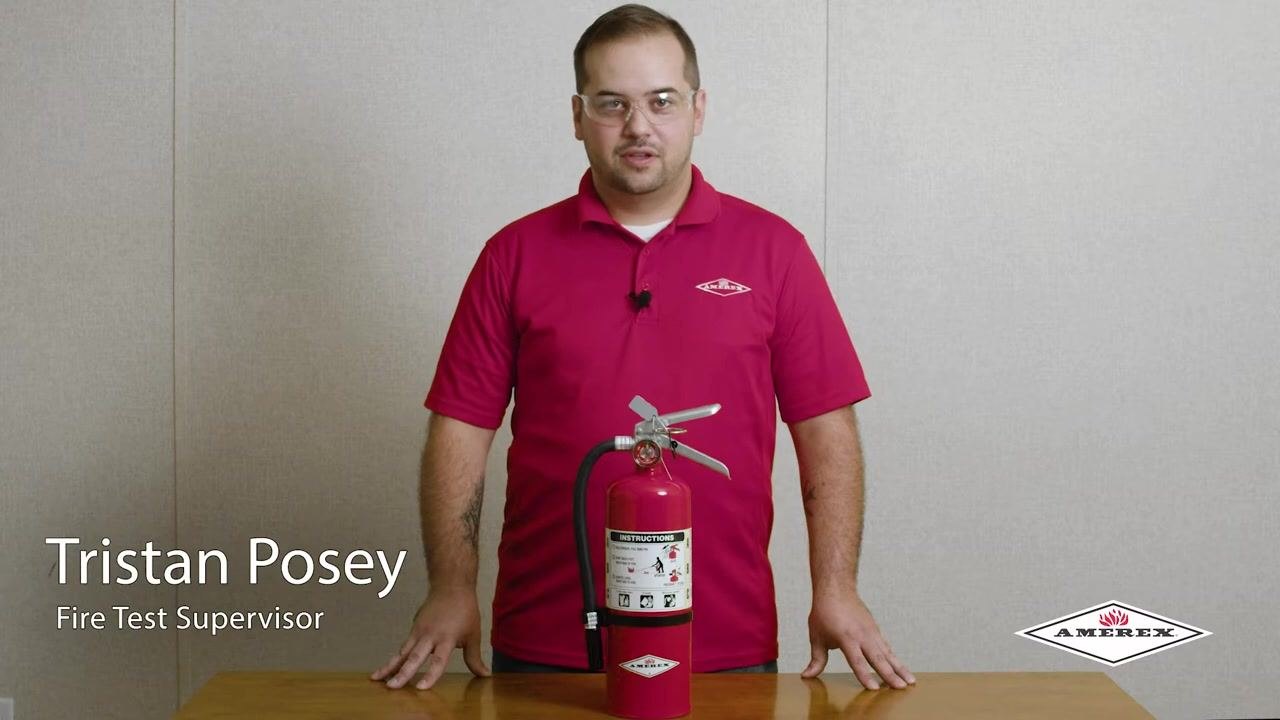
Step 1: Place the extinguisher in a designated area
Ensure the extinguisher is located in its assigned spot and is not blocked by any objects. The extinguisher should be easily accessible at all times.
Step 2: Check the tamper seal
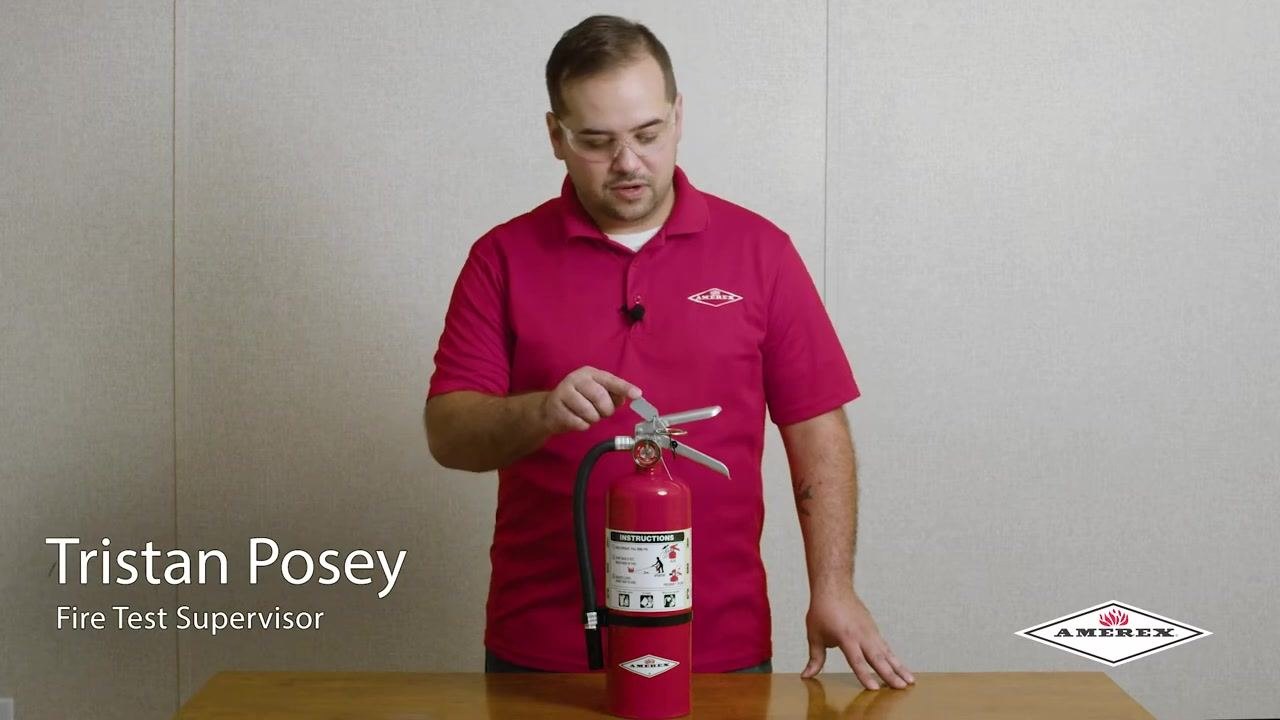
Inspect the tamper seal to confirm it is intact and has not been broken.
Step 3: Verify the pressure gauge
Examine the gauge to ensure it reads within the correct pressure range as indicated on the dial.
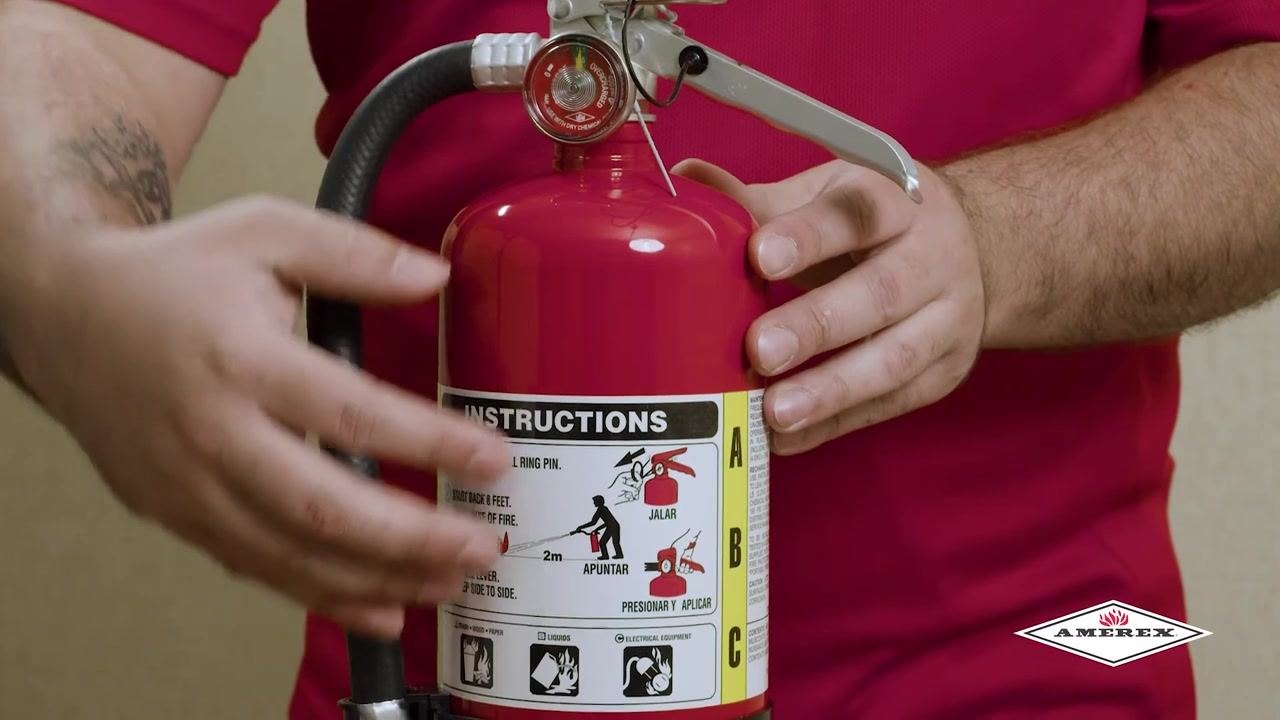
Step 4: Ensure the label is legible
Confirm that the instruction label on the extinguisher is present, correct, and easy to read.
Step 5: Weigh or heft the cylinder
Lift or weigh the extinguisher to verify it has not lost pressure or contents. Compare the weight to the value listed on the label.
Step 6: Inspect for damage or corrosion
Check the cylinder body for any visible signs of damage, dents, or corrosion.
Part 2: Annual Maintenance Steps
Step 1: Check the label for legibility
Make sure the label is still readable and contains all required information.
Step 2: Locate the weight and manufacture date
On the back of the label, find the listed weight of the cylinder and the manufacture date.
Step 3: Hydrostatic testing
Safety note: Every 12 years, ensure the cylinder undergoes hydrostatic testing as required.
Step 4: Test freedom of movement on parts
Squeeze the levers and handles to confirm they move freely. Check that the safety pin is not stuck and can move as intended.
Step 5: Verify the tamper seal again
Confirm the tamper seal is still unbroken.
Step 6: Remove the hose and inspect for corrosion
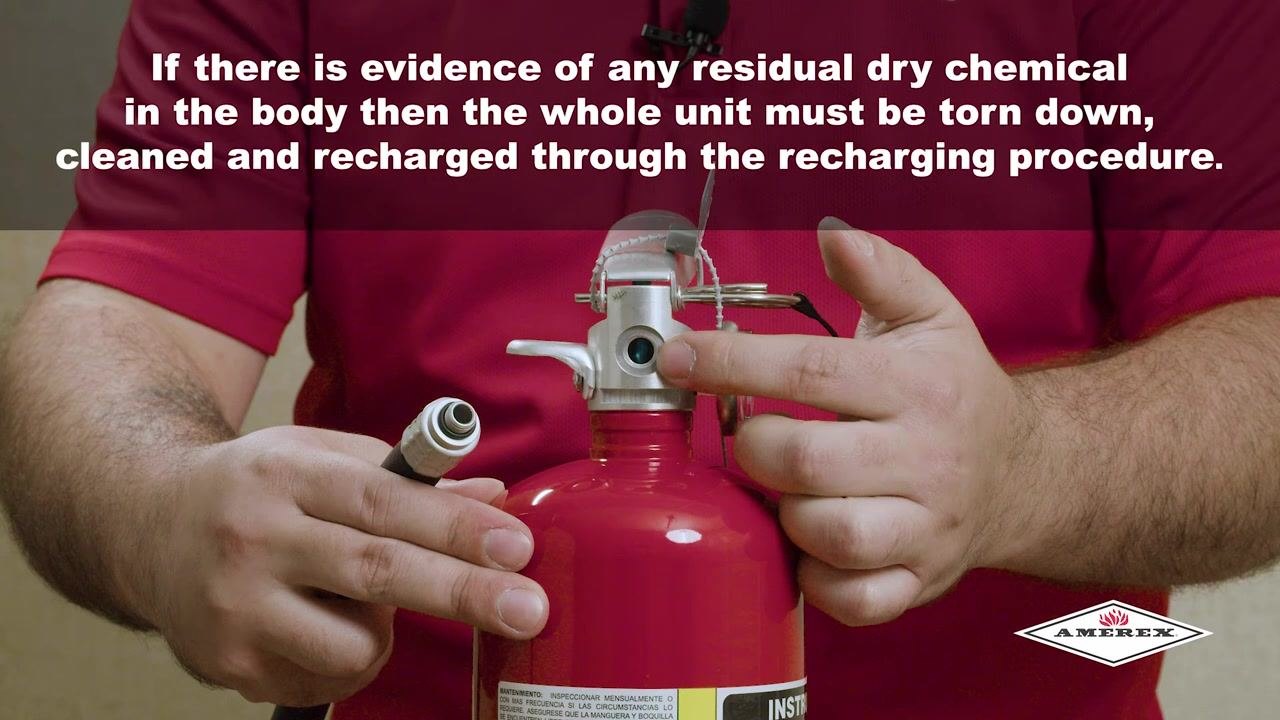
Detach the hose from the valve body. Check for corrosion at the connection point. Look for any dry chemical residue in the valve body, which may indicate previous discharge.
Step 7: Check for residual dry chemical
Safety note: If any dry chemical is found in the valve body, the extinguisher must be fully disassembled, cleaned, and recharged according to the recharging procedure.
Step 8: Inspect the gauge for damage
Ensure the gauge is not bent or damaged. If the gauge is damaged, replace the entire cylinder. If the pressure is low and no leaks are found, follow the recharge procedure as outlined in the manual.
Part 3: Six-Year Teardown
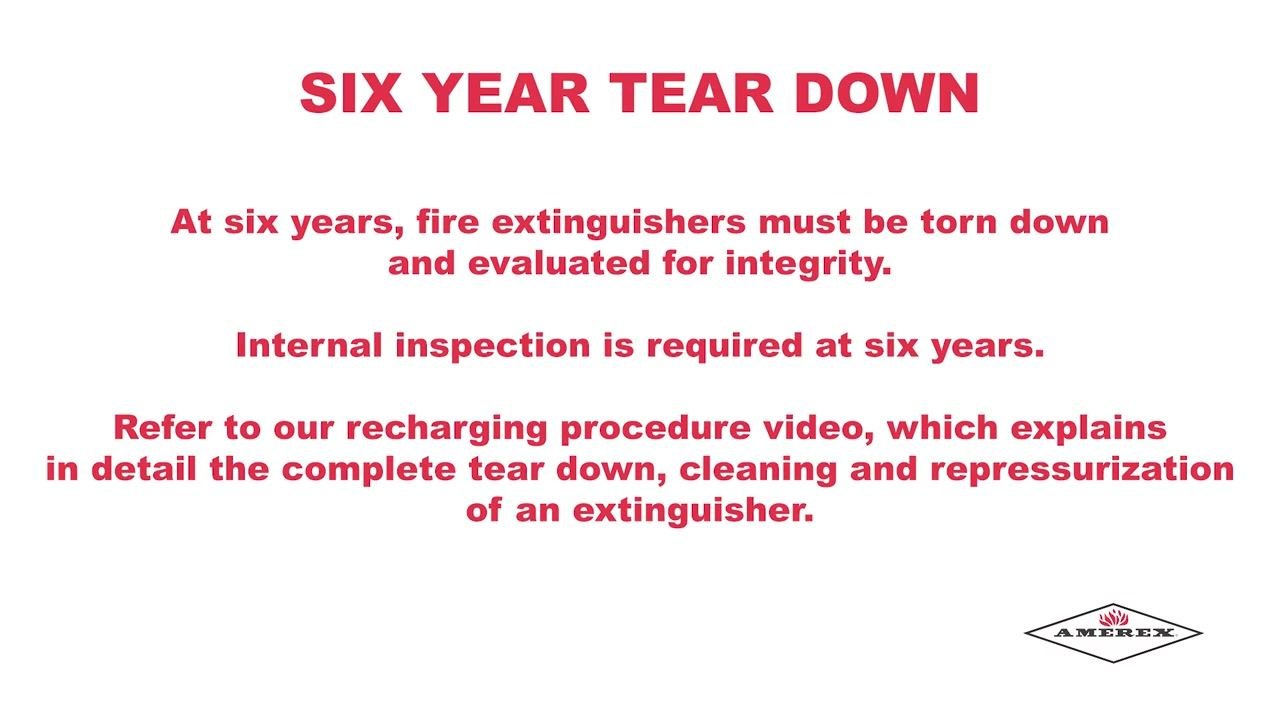
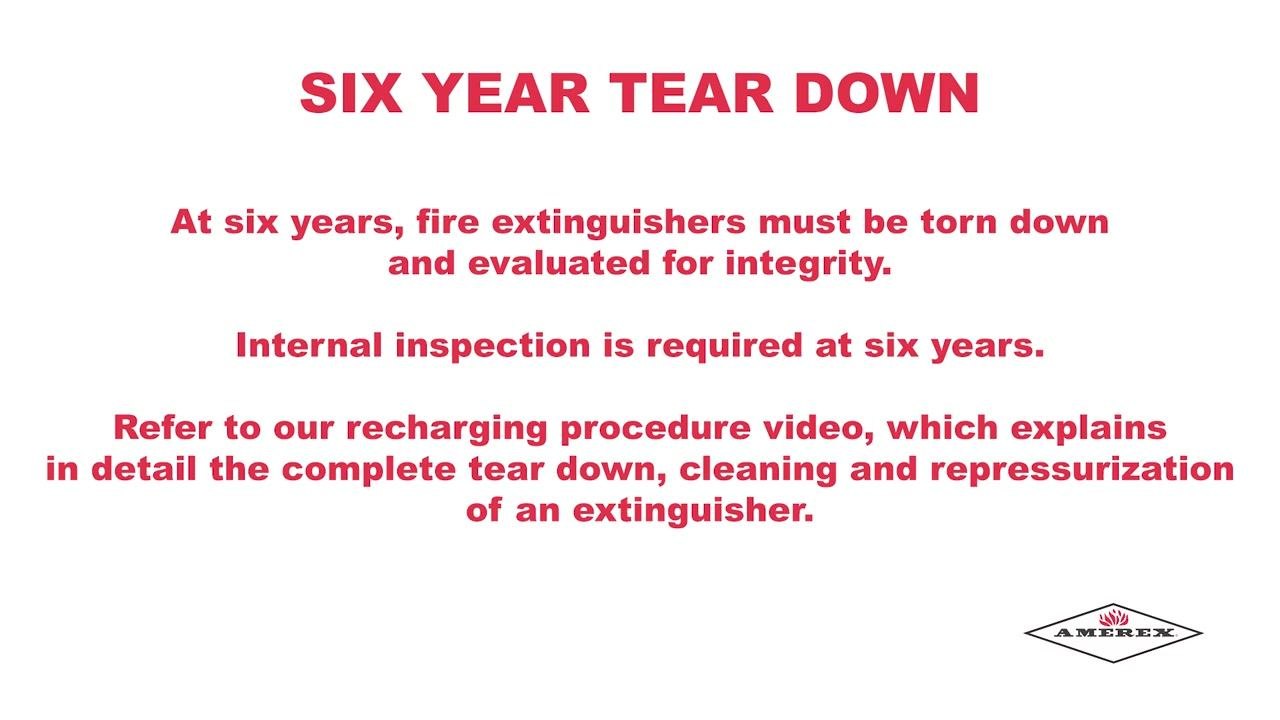
Step 1: Perform a complete teardown every six years
At six years, disassemble the extinguisher completely and evaluate all parts for integrity. Conduct an internal inspection as required. Refer to the manufacturer's recharging procedure for detailed instructions on teardown, cleaning, and repressurization.
Part 4: Safe Discharge and Chemical Recovery
Step 1: Ensure the extinguisher is completely empty and depressurized
Safety note: Before performing any maintenance or teardown, confirm that the extinguisher is fully discharged and there is no residual pressure. This is a critical safety step to prevent accidental discharge or injury.
Step 2: Use a closed recovery system for chemical removal
Several closed recovery systems are commercially available for safely removing and recovering the extinguishing agent. Always use a closed recovery system to prevent the loss of chemical fines (the smallest particles of the extinguishing agent). Loss of these fines can reduce the efficiency of the extinguisher after recharging.
Step 3: Reference additional resources for detailed procedures
For more information on teardown, cleaning, and recharging, refer to the manufacturer's recharging procedure video. Visit the product section at the manufacturer's website for comprehensive guides and support: AMEREX-FIRE.COM
Step 4: Verify all steps are complete before returning the extinguisher to service
Double-check that the extinguisher is reassembled, recharged, and passes all inspection points before placing it back in its designated location.
Additional Information and Support
- All training information, detailed procedures, and product support can be found at the manufacturer's website under the product section.
- Look for the diamond logo as a mark of quality and authenticity.
Verification and Summary
Confirm the following before considering the process complete:
- All periodic inspection points have passed (location, tamper seal, pressure gauge, label, weight, and physical condition).
- Annual maintenance checks have been completed, including hydrostatic testing where applicable (every 12 years), freedom of movement of parts, tamper seal integrity, hose and valve inspection, and gauge condition.
- Six-year teardown has been performed if due, following the manufacturer's recharging procedure.
- The extinguisher has been fully discharged and depressurized before any maintenance or teardown, using a closed recovery system to prevent loss of chemical fines.
- The extinguisher is fully reassembled, recharged, and passes all inspection points before being returned to service.
By following these steps and utilizing the recommended resources, you ensure your fire extinguisher is safely maintained, recharged, and ready for use in compliance with industry standards. Always prioritize safety and refer to manufacturer documentation for specific instructions.
Generation details: cost, quality tiers
Docsie billed 1,500 credits ($1.05) to analyze this 3-minute video at standard quality. The rewrite, template fill and Word/PDF exports were included. The same video at each quality tier:
| Quality | Frames sampled | Credits | Approx. cost |
|---|---|---|---|
| Draft | every 16-30 s | 750 | $0.52 |
| Standard (this guide) | every 8-15 s | 1,500 | $1.05 |
| Detailed | every 4-7 s | 3,000 | $2.10 |
| Ultra | every 1-3 s | 6,000 | $4.20 |
Credits priced at $0.70 per 1,000; plans include a monthly allowance. Enterprise customers on on-premise or bring-your-own-model deployments run this on their own inference and pay no per-video credits.
Generated by Docsie Video-to-Docs on 2026-09-08 from a 2-minute video. Screenshots are frames from the source video and belong to their creator, Amerex, whose original is embedded above. If you own this video and want the guide removed or credited differently, contact us and we will act within one business day.