
How to Flush a Water Heater
Flushing your water heater is a routine maintenance task that removes sediment and rust buildup from the tank. Regular flushing helps prevent corrosion, improves the unit's efficiency, and extends its overall lifespan. This guide walks you through the complete process of how to flush a water heater, from shutting off the supply to safely restoring power once the job is done.
Video: Correct Way to FLUSH WATER HEATER! 2-Minute Tutorial by Handyman Hertz (2024). All credit for the demonstration goes to the creator; watch the original on YouTube. The written guide below was generated from this video by Docsie. Creator? Request a change or removal.
Flushing your water heater is a routine maintenance task that removes sediment and rust buildup from the tank. Regular flushing helps prevent corrosion, improves the unit's efficiency, and extends its overall lifespan. This guide walks you through the complete process of how to flush a water heater, from shutting off the supply to safely restoring power once the job is done.
Purpose
This procedure describes how to flush a water heater to clear out accumulated sediment, and includes guidance on replacing the anode rod as an optional preventive maintenance step.
Scope
This procedure applies to both gas and electric residential water heaters that include a bottom drain valve.
Required equipment
- Garden hose
- Screwdriver (or appropriate tool to operate the drain valve)
- Clear container or bucket (and optionally a white shirt to use as a filter)
- Hose end cap(s), preferably brass
- Impact wrench or socket wrench (only if replacing the anode rod)
- Replacement anode rod (optional)
Step-by-step procedure
Turn off the water supply
Locate the water supply line leading to your water heater and turn off the shut-off valve. If your system does not have a shut-off valve, install one before proceeding.
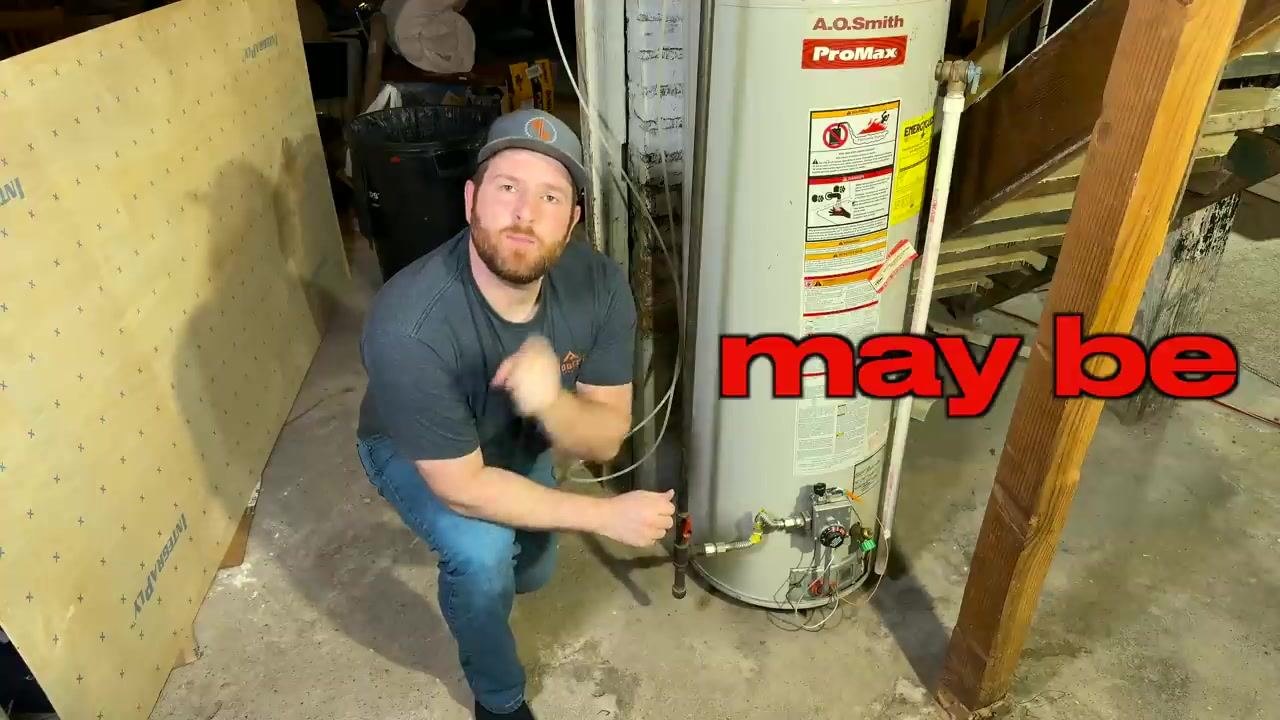
Shut off the gas or electric power
For gas water heaters, turn the gas supply valve to the OFF position. For electric water heaters, turn off the appropriate breaker in your electrical panel to ensure the heater cannot activate while the tank is empty.
Safety note: Always confirm the power source is off before draining the tank to prevent damage to the unit.
Drain the water heater
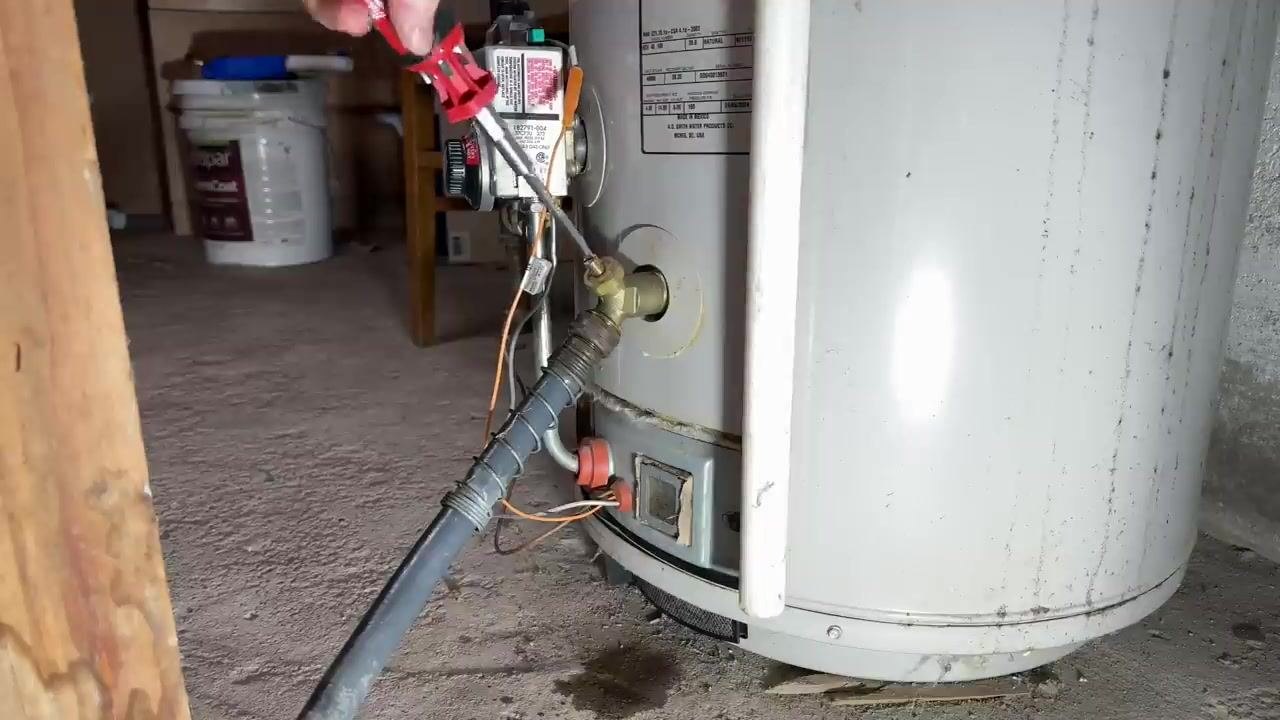
Attach a garden hose to the drain valve at the bottom of the water heater and route the other end to a floor drain or suitable drainage area. Use a screwdriver or appropriate tool to open the drain valve.
Allow air into the system
Open a hot water spigot somewhere in your house. This lets air into the tank, which allows the water to flow out smoothly through the hose.
Monitor the draining water
Collect some of the draining water in a clear container to check for sediment and rust. Alternatively, drape a white shirt over a bucket to act as a filter and catch debris as the water drains.
Flush the tank
Once the tank is empty, open and close the drain valve several times in quick succession. This agitates the sediment at the bottom of the tank and helps flush it out. The water may appear discolored at first due to the loosened sediment.
Continue flushing until the water runs clear
Repeat the rapid open-and-close process until the water runs clear, which indicates that most of the sediment has been removed. Sediment settles at the bottom of the tank and is expelled through the drain valve as you flush.
Close the drain valve and remove the hose
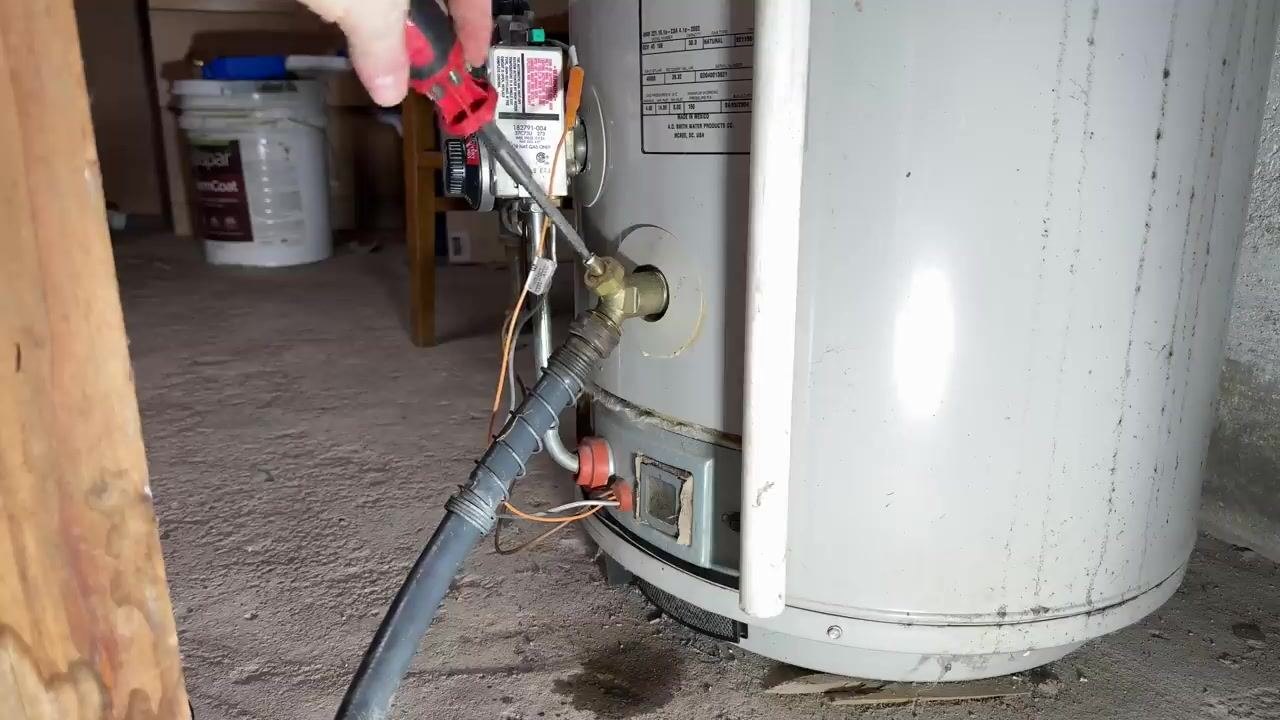
Once the water runs clear and flushing is complete, close the drain valve and disconnect the garden hose.
Cap the drain valve if it continues to leak
If the drain valve leaks after closing, seal it with a hose end cap. Keep a few hose end caps on hand, as they are inexpensive and widely available online.
Tips: - Always confirm the water heater is powered off before draining to prevent damage. - Flushing your water heater regularly helps prevent corrosion, improves efficiency, and extends its lifespan. - Keep hose end caps on hand for quick fixes if the drain valve leaks after maintenance.
Turn the water supply valve back on
Locate the water supply valve you shut off earlier and open it to allow water to flow back into the water heater. Listen for hissing or the sound of air escaping from the open hot water spigot—this indicates trapped air is being pushed out as the tank refills.
Wait for a steady water flow
Watch the open hot water spigot. Once the flow becomes steady with no more air sputtering, close the spigot. This allows the water heater to pressurize properly.
Replace the anode rod before refilling (recommended)
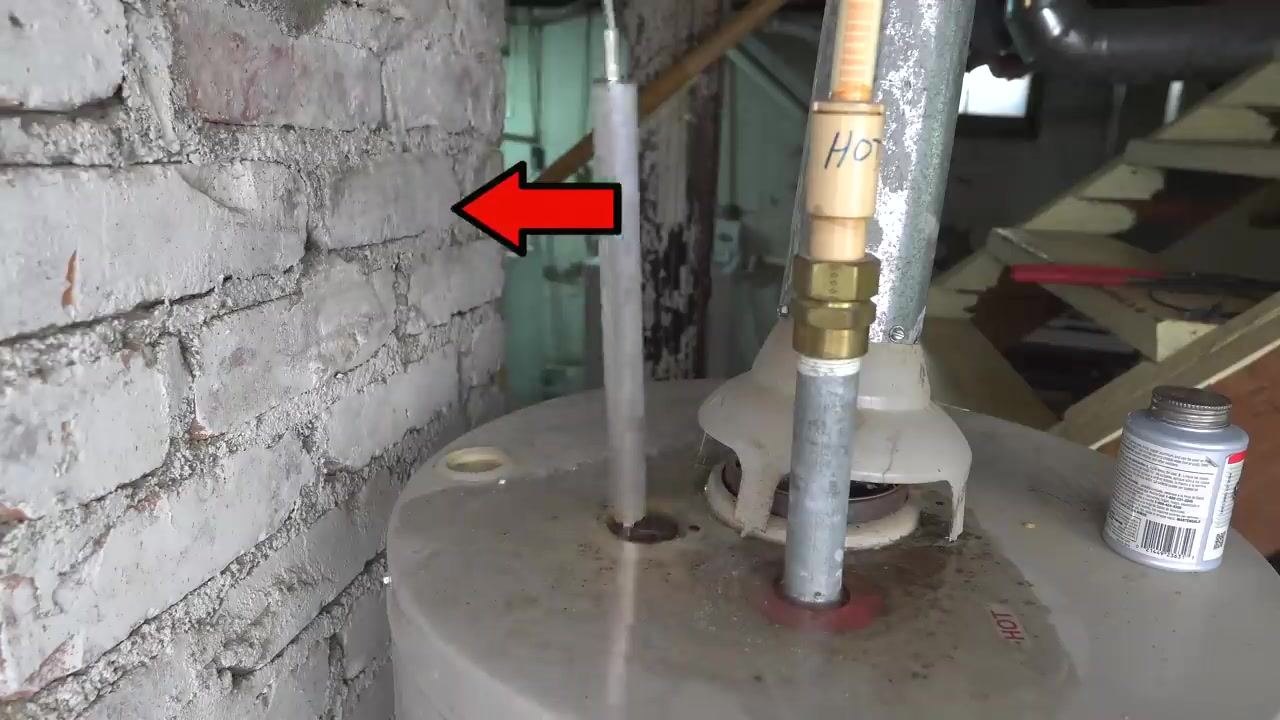
Before restoring water flow, consider replacing the anode rod, which helps prevent tank corrosion. Use an impact wrench or socket wrench to unscrew the old anode rod from the top of the water heater. Remove it, inspect it for wear or corrosion, then install a new anode rod by screwing it into place and tightening securely.
Reference additional resources for anode rod replacement
If you are unsure how to replace the anode rod, consult a dedicated instructional resource for a step-by-step demonstration of that process.
Cap the drain valve if needed
If the drain valve leaks after closing, install a hose end cap to seal it. Hose end caps are inexpensive and can be purchased online; brass caps are a suitable option.
Final tips
- Always confirm the water heater is fully pressurized and free of leaks before restoring power or gas.
- Inspect and replace the anode rod regularly to maximize the lifespan of your water heater.
- Keep hose end caps on hand for quick fixes to leaking drain valves.
- Consult additional instructional resources for detailed guidance on anode rod replacement.
Verification
Before returning the water heater to normal operation, confirm the following:
- The drain valve is fully closed and not leaking (capped if necessary).
- The water supply valve is fully open.
- The hot water spigot shows a steady flow with no air sputtering.
- The anode rod has been inspected and replaced if needed.
- Power (electric) or gas supply has been restored only after confirming the tank is filled and pressurized.
Following these steps completes the process of how to flush a water heater and helps maintain its performance and longevity.
Generation details: cost, quality tiers
Docsie billed 1,500 credits ($1.05) to analyze this 3-minute video at standard quality. The rewrite, template fill and Word/PDF exports were included. The same video at each quality tier:
| Quality | Frames sampled | Credits | Approx. cost |
|---|---|---|---|
| Draft | every 16-30 s | 750 | $0.52 |
| Standard (this guide) | every 8-15 s | 1,500 | $1.05 |
| Detailed | every 4-7 s | 3,000 | $2.10 |
| Ultra | every 1-3 s | 6,000 | $4.20 |
Credits priced at $0.70 per 1,000; plans include a monthly allowance. Enterprise customers on on-premise or bring-your-own-model deployments run this on their own inference and pay no per-video credits.
Generated by Docsie Video-to-Docs on 2026-09-09 from a 2-minute video. Screenshots are frames from the source video and belong to their creator, Handyman Hertz, whose original is embedded above. If you own this video and want the guide removed or credited differently, contact us and we will act within one business day.