
How to Drain a Water Heater
Draining a water heater is a routine maintenance task that removes sediment buildup from the bottom of the tank, improves the unit's efficiency, and extends its lifespan. This procedure is often overlooked, but performing it once a year is highly recommended. This document walks you through how to drain a water heater safely, from shutting off power through refilling the tank after the flush is complete.
Video: How to Drain or Flush a Water Heater for Beginners: A Step-by-Step Guide by Morgan Inspection Services (2024). All credit for the demonstration goes to the creator; watch the original on YouTube. The written guide below was generated from this video by Docsie. Creator? Request a change or removal.
Draining a water heater is a routine maintenance task that removes sediment buildup from the bottom of the tank, improves the unit's efficiency, and extends its lifespan. This procedure is often overlooked, but performing it once a year is highly recommended. This document walks you through how to drain a water heater safely, from shutting off power through refilling the tank after the flush is complete.
Purpose
This SOP describes the complete process for draining a water heater to remove sediment, including safety precautions, the actual drain and flush sequence, troubleshooting sediment blockages, and refilling the tank afterward.
Scope
This procedure applies to both electric and gas water heaters undergoing routine sediment-removal maintenance. It covers the full cycle: powering down, draining, flushing, and safely returning the unit to service.
Required equipment
- A standard garden hose
- A screwdriver or the appropriate tool for your drain valve type
- Access to an outdoor drainage area (such as a driveway or yard) or a floor drain
- A drain pan under the water heater (the unit should already be installed on a platform with a pan beneath it)

Steps
Turn off power to the water heater
Before beginning any work, ensure the power to the water heater is turned off.
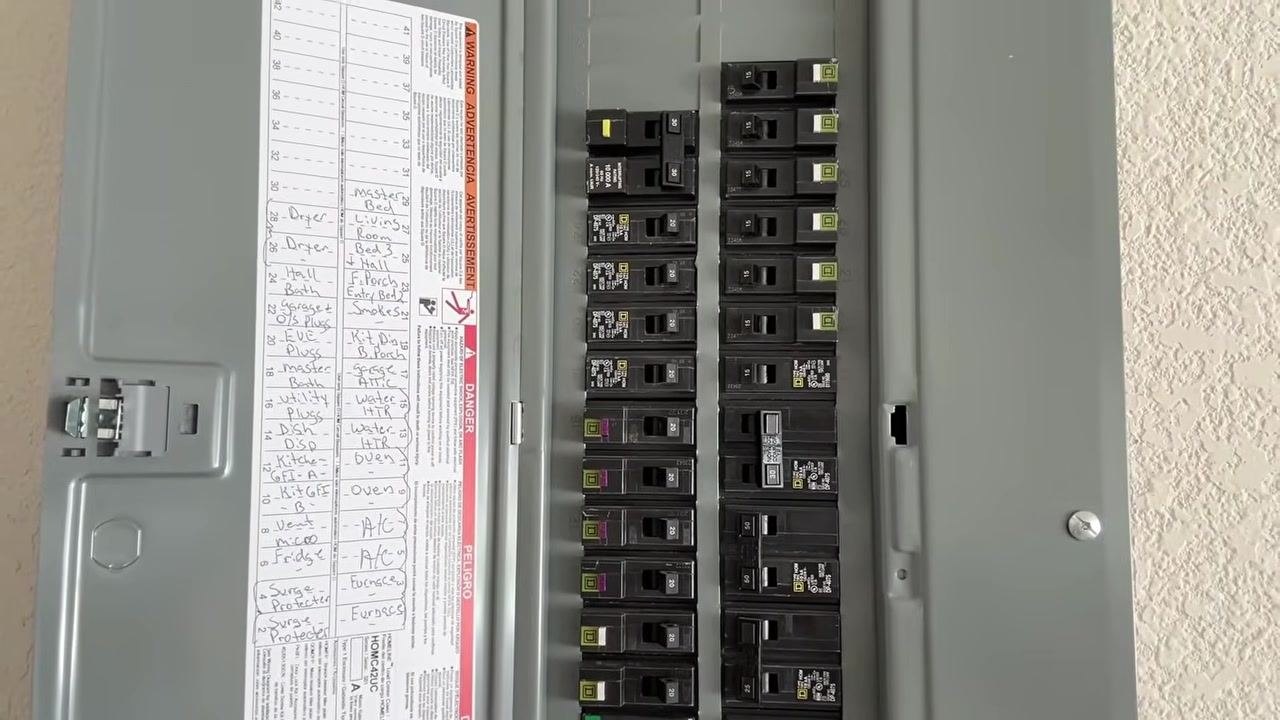
- For electric water heaters, turn off the power at the circuit breaker panel.
- For gas water heaters, turn off the power at the thermostat or the circuit breaker.
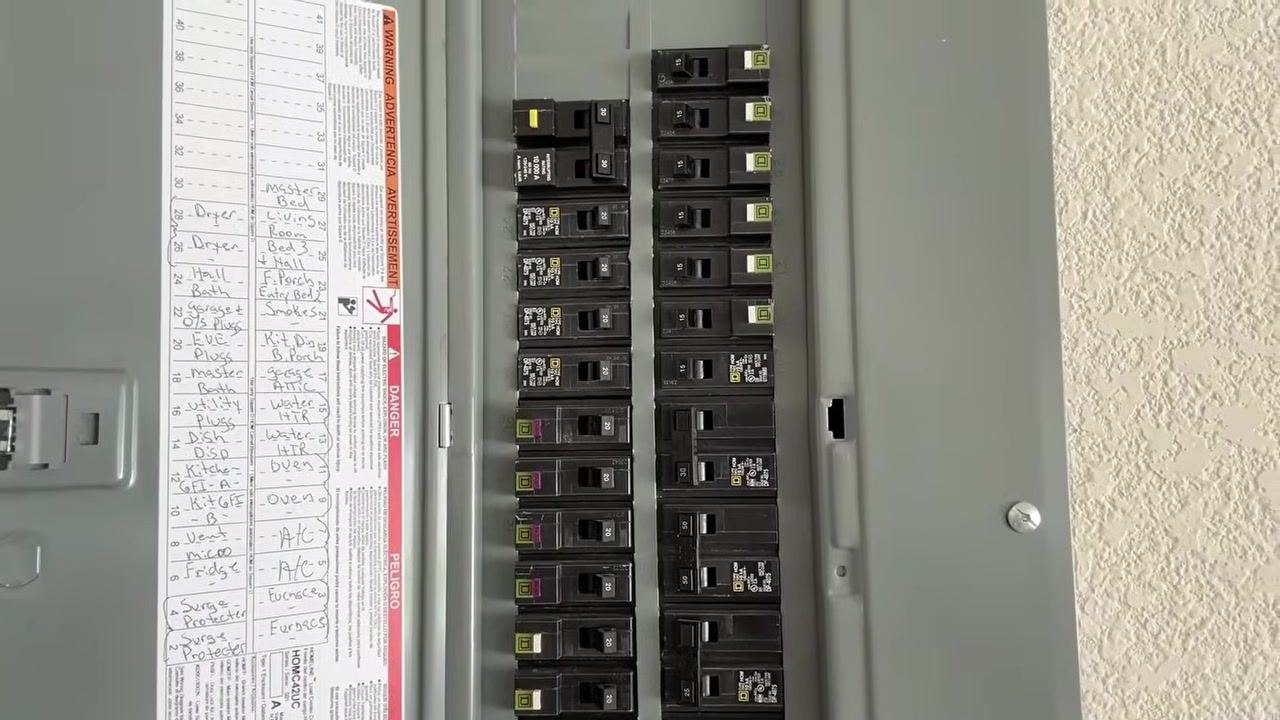
Locate the breaker labeled Water Heater (or similar) in your electrical panel and switch it to the OFF position.
Locate the drain valve
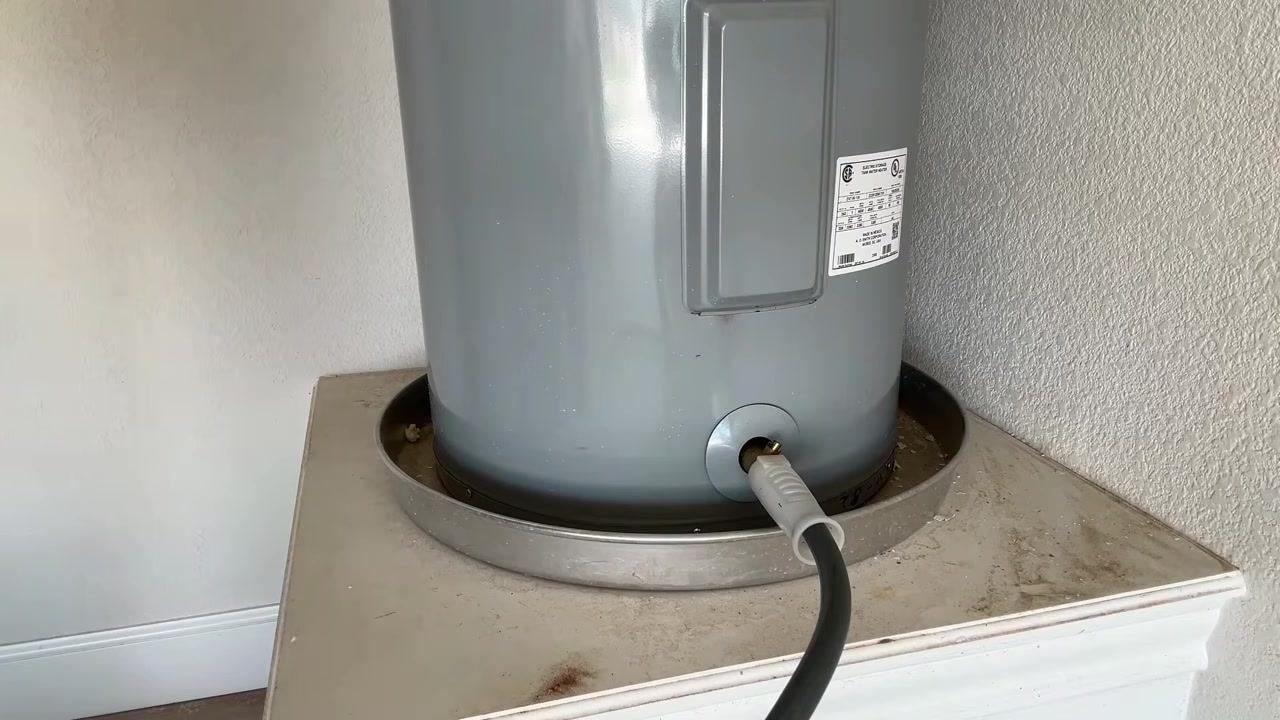
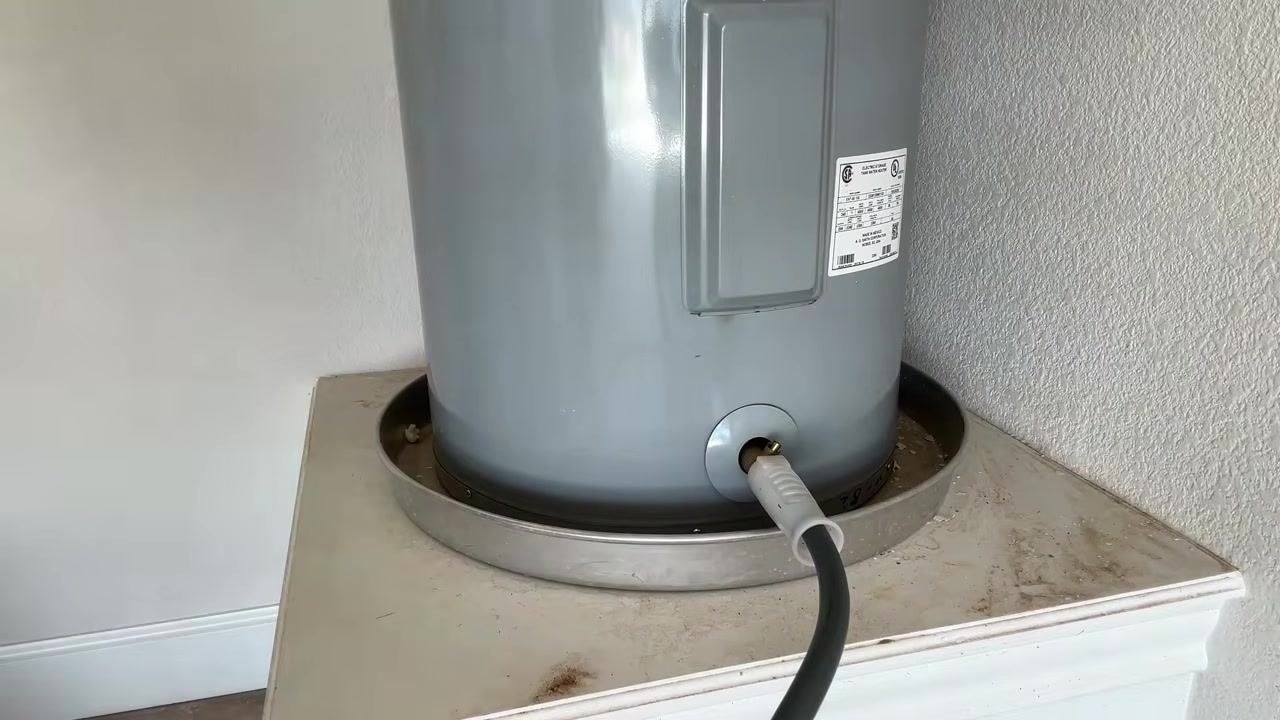
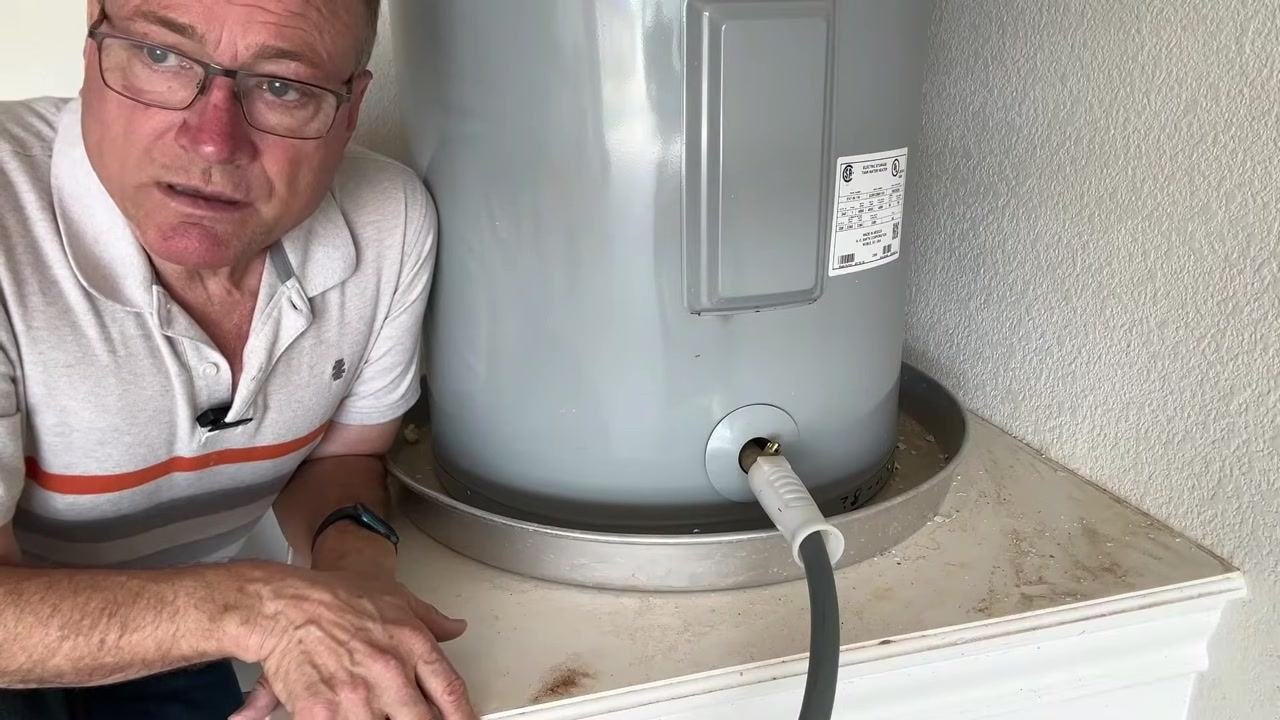
Identify the drain valve at the bottom of the water heater. This is typically a brass spigot near the base of the tank.
Attach a hose to the drain valve
Connect a standard garden hose to the drain valve and make sure the connection is secure to prevent leaks. Run the other end of the hose to a suitable drainage location, such as outside (a driveway or yard) or a floor drain if one is available.
Select a draining method
Choose the draining approach that fits your situation:
- Gravity draining: Shut off the cold water supply and open the drain valve, letting water flow out by gravity. This method is gentle and helps remove sediment from the bottom of the tank.
- Pressure draining: Leave the cold water supply on while opening the drain valve. Water pressure forces water and sediment out more quickly.
- Combined method: Start with gravity draining, briefly turn the water supply on to stir up remaining sediment, then finish with more gravity draining. This combination is often the most effective.
Begin the initial drain
Open the drain valve to start the flow of water through the hose, and monitor the process to confirm water is draining properly and the hose stays secure.
Consider alternating between gravity draining and pressure draining for a more thorough cleaning: after an initial drain, briefly turn the water supply back on to stir up sediment, then drain again by gravity.
Shut off the cold water supply
Locate the cold water supply valve above the water heater and turn it so it sits perpendicular to the pipe, shutting off the supply. This stops new water from entering the tank while it drains.
Prevent vacuum formation
Opening the drain valve on its own can create a vacuum inside the tank, which prevents water from draining efficiently. To let air into the tank and allow smooth draining, do one of the following:
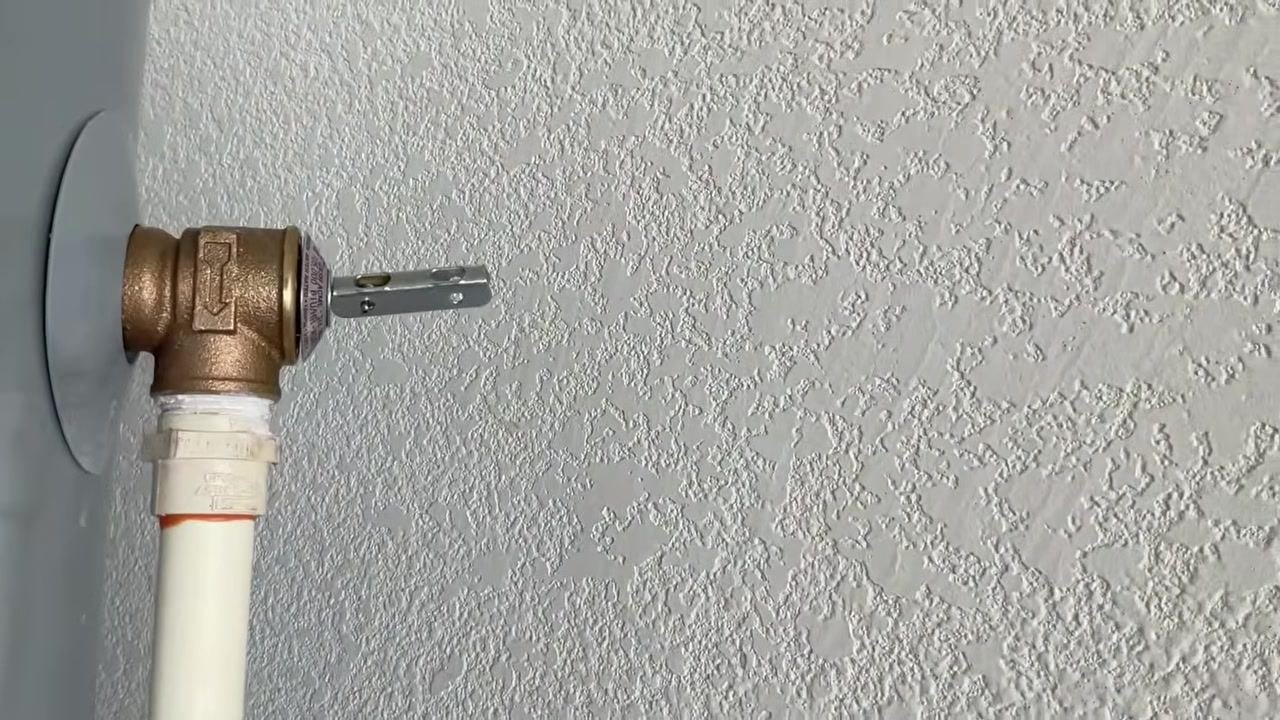
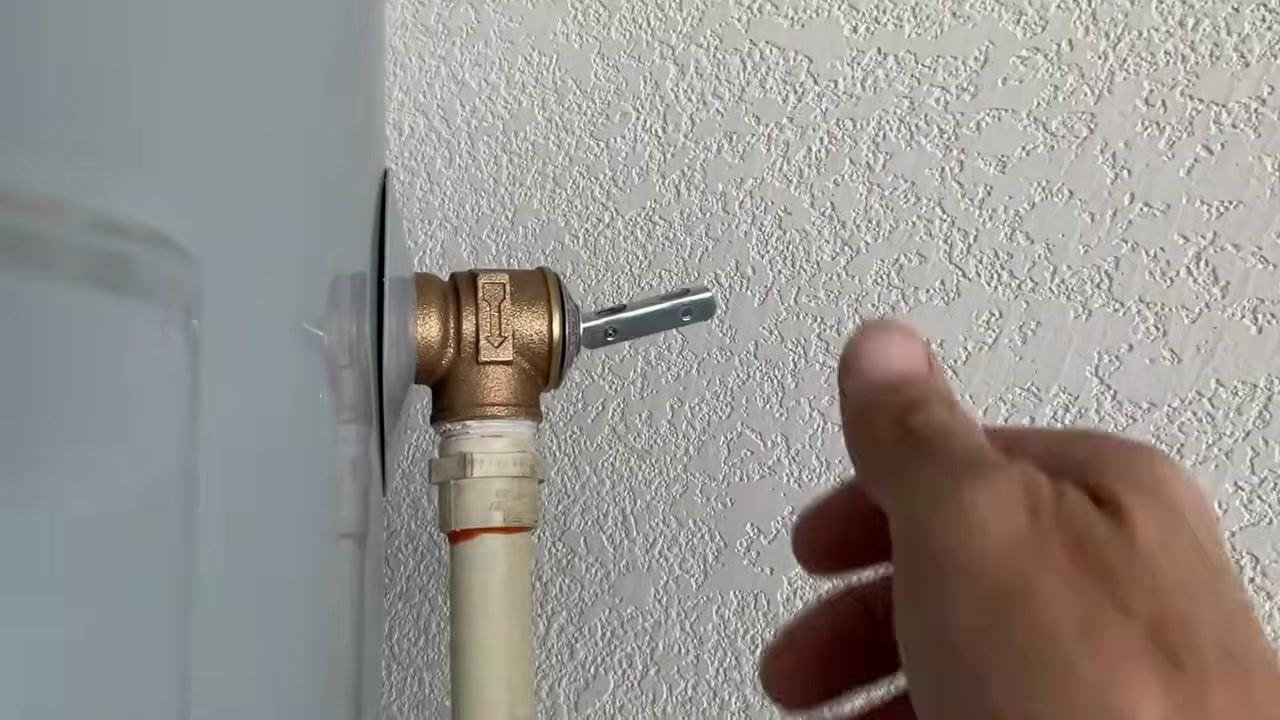
- Open the temperature and pressure relief valve on the water heater. This is typically a brass valve with a lever on the side or top of the tank.
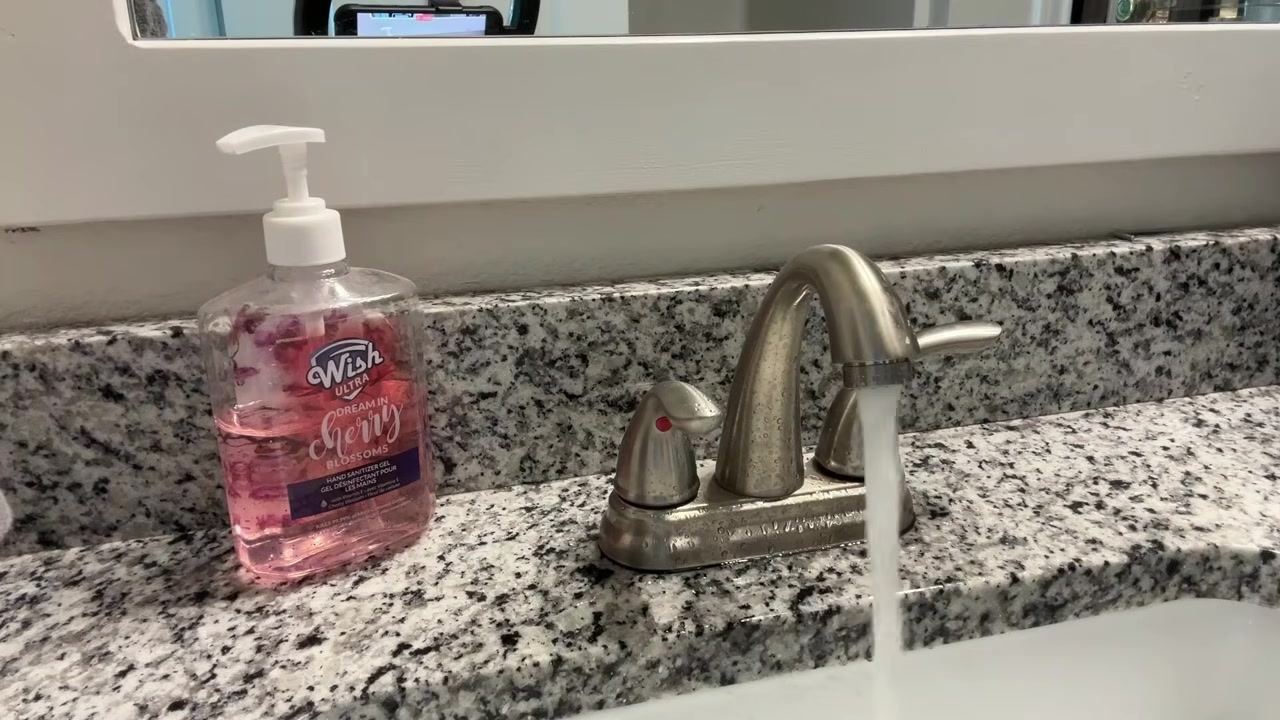
- Alternatively, open a hot water faucet at a nearby sink or tub, which also lets air enter the tank.
Open the drain valve
Use a screwdriver or the appropriate tool to open the drain valve at the bottom of the water heater.
- If it is a ball valve, turn it 90 degrees (a quarter turn).
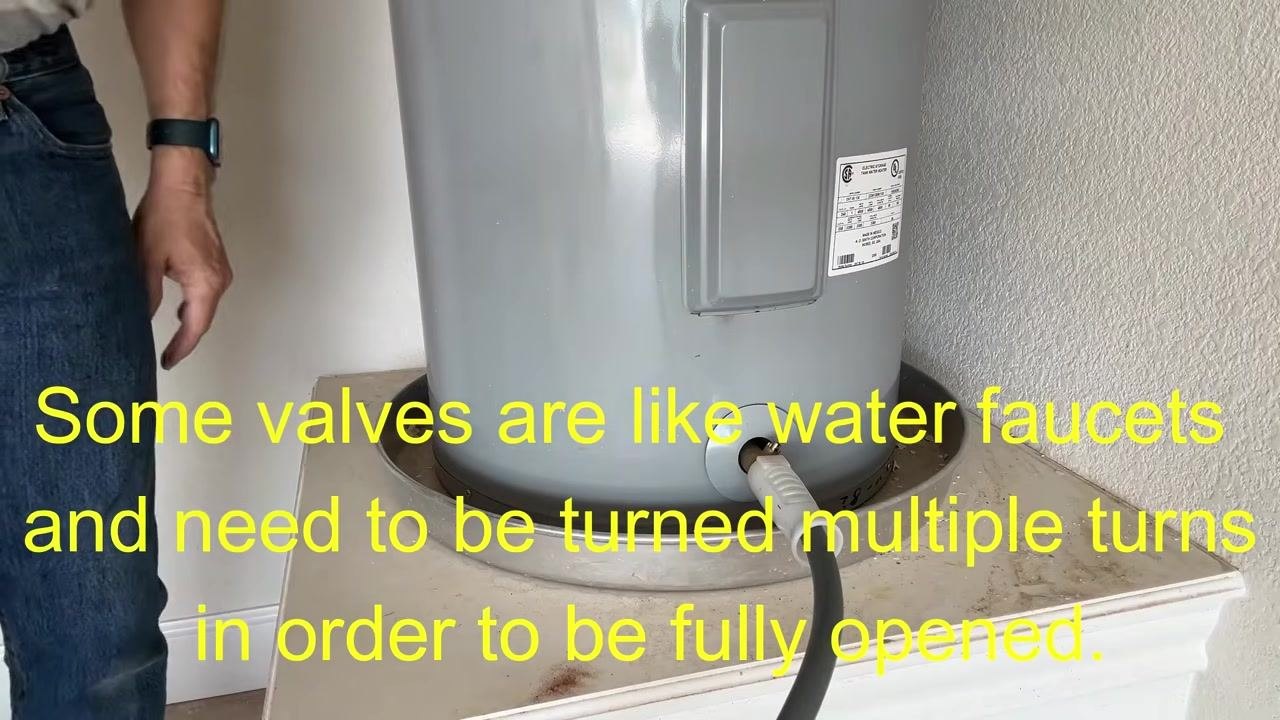
- If it is a faucet-style valve, turn it multiple times, as some valves require several full turns before they are completely open.
Monitor the draining flow
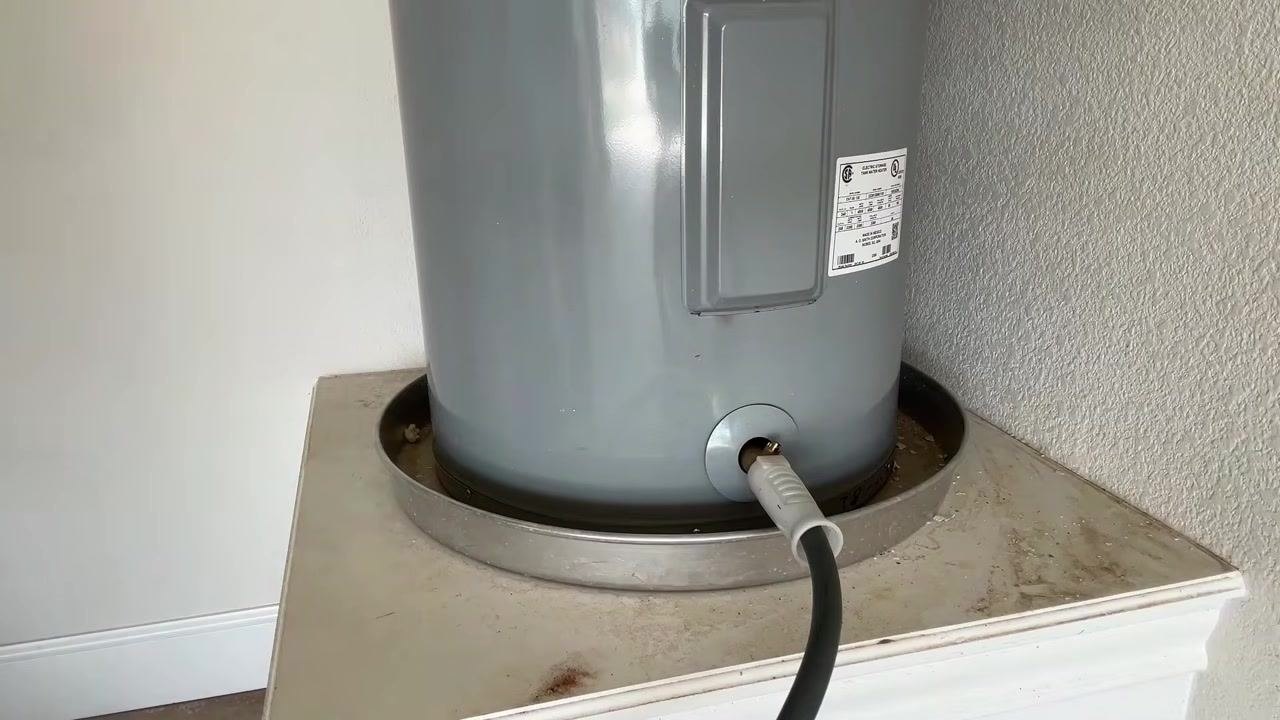
Listen for the sound of air entering the tank and water gurgling out through the hose, and watch the hose to confirm water is flowing freely.
Watch for sediment buildup
If it has been a long time since the last draining, expect significant sediment buildup at the bottom of the tank. Sediment can clog the drain valve and reduce or stop water flow. Slow or absent flow from the hose is a sign of sediment blockage.
Restore flow if draining stops
If the flow from the drain hose slows or stops, sediment is likely clogging the valve. To clear it:
- Before turning the water back on, close the temperature and pressure relief valve if you opened it, and close any hot water faucet you opened for venting. This lets pressure build inside the tank to push out the blockage.
- Briefly turn the cold water supply on for a few seconds to force sediment through the drain valve and restore flow.
- After a few seconds, turn the cold water supply off again and resume draining.
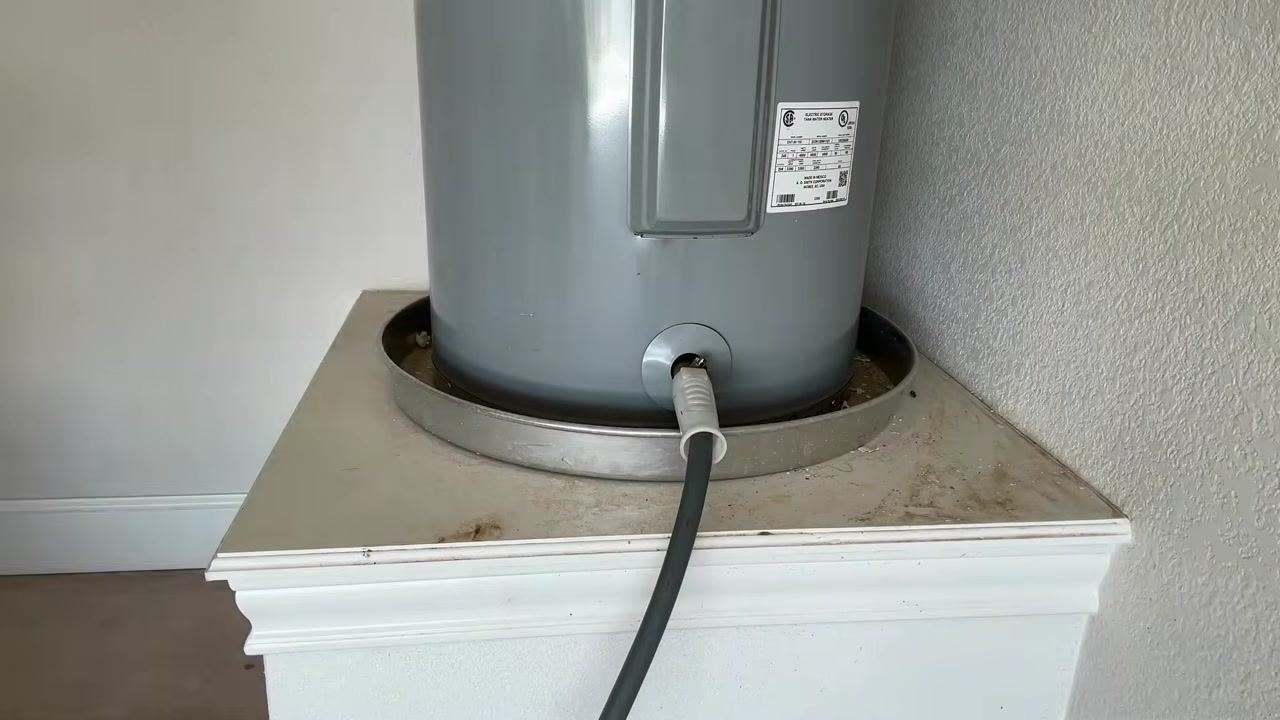
Repeat flushing to remove remaining sediment
Let the tank drain until flow slows or stops again. If sediment is still visible or draining is incomplete, repeat the process: briefly open the cold water supply to stir up and flush sediment, then let the tank drain for another minute or two. Watch the water from the hose for white specks or sediment, and repeat as needed until the water runs clear or most sediment is removed.
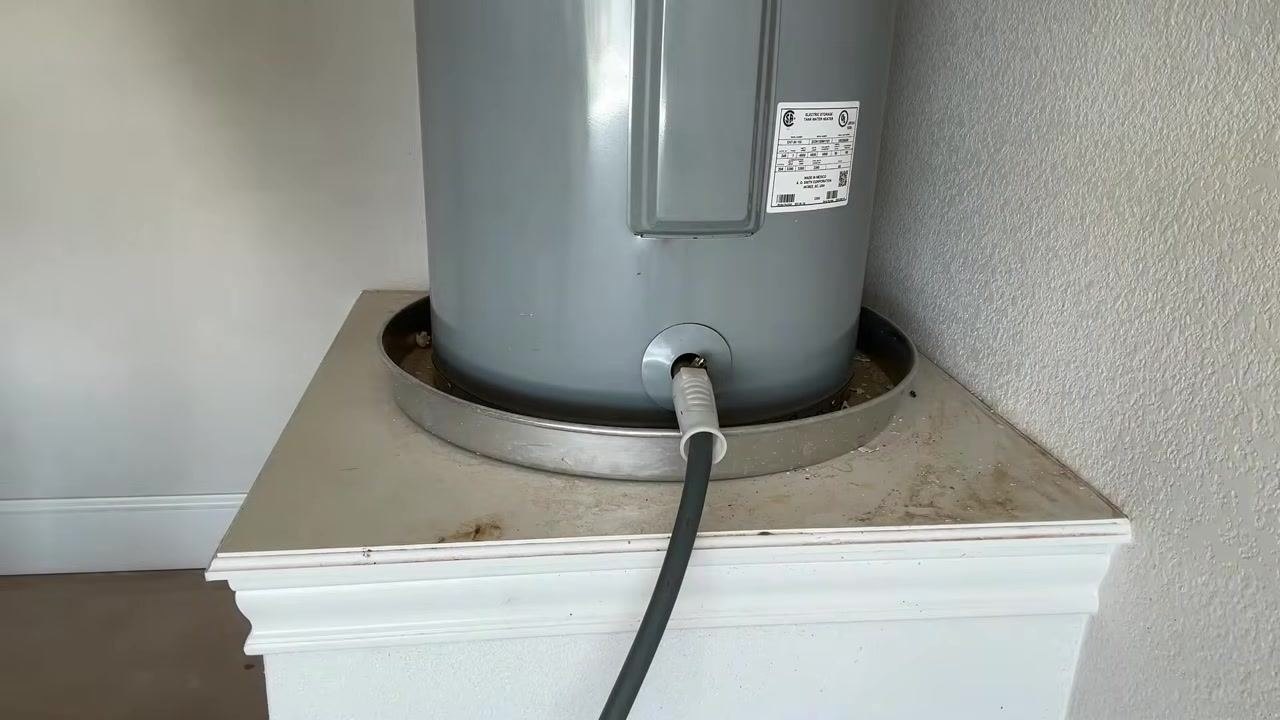
Complete the draining process
Once the water runs mostly clear with little to no visible sediment, let the tank finish draining. This process may take 20 minutes or more depending on tank size and the amount of sediment buildup.
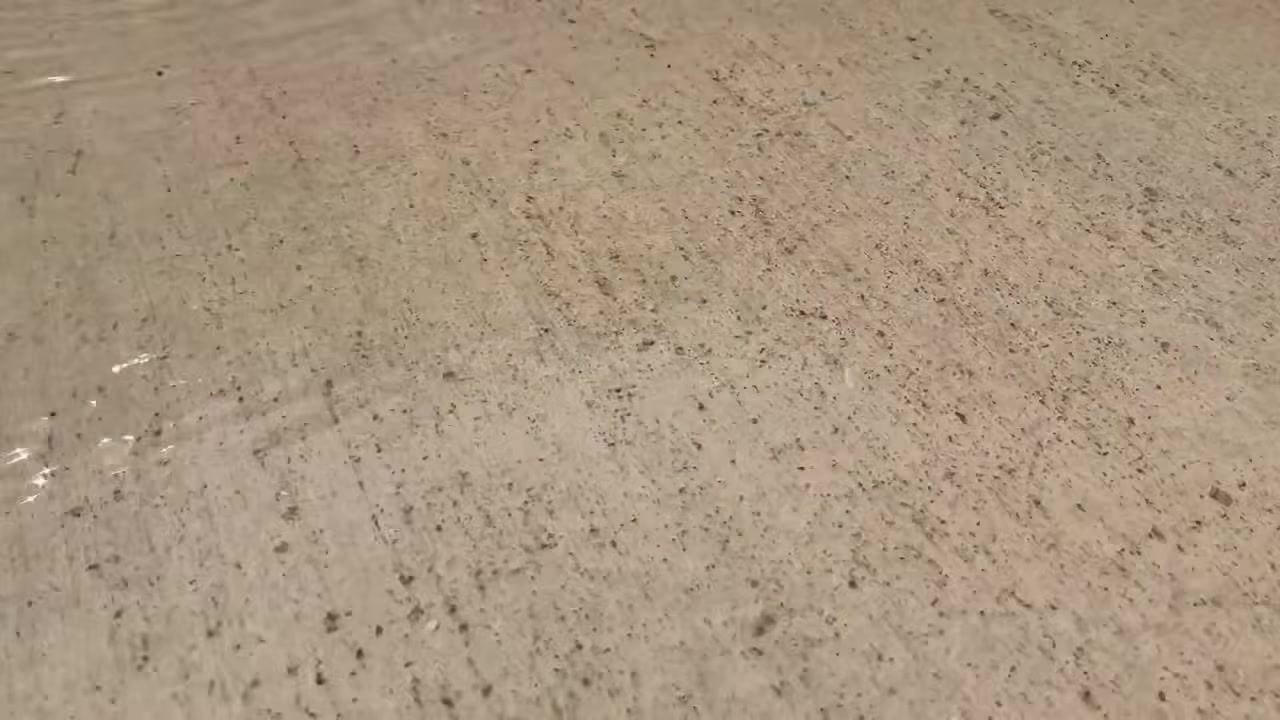
Inspect the sediment discharge
Look at the area where water from the drain hose is being discharged, checking for visible sediment, mineral deposits, or debris in the drained water. Scattered dark specks on the discharge surface indicate sediment particles flushed from the tank.
- If you see a significant amount of sediment, repeat the flushing steps above.
- If only a small amount of fine sediment remains, you can proceed to refilling the water heater.
Confirm the tank has finished draining
Check the hose connected to the drain valve and confirm that water has stopped flowing, which indicates the tank is empty. The water heater should be sitting in its drain pan, elevated on its platform.

Close the drain valve
Locate the brass drain valve on the side of the water heater and turn the valve handle clockwise to close it securely. This prevents any additional water from draining out.
Leave a hot water faucet open
Go to a nearby sink and turn on the hot water faucet. Keeping the faucet open lets air escape from the plumbing system as the tank refills, which prevents airlocks.
Allow the water heater to refill
With the drain valve closed and a faucet open, let the tank fill completely. Wait until water flows steadily from the open faucet, which indicates the tank is full and air has been purged.
Inspect for leaks
Check the drain valve and all visible connections for signs of water leakage, and confirm that the area around the water heater remains dry.
Verification and summary
- Confirm the drain valve is fully closed and the tank has refilled with steady water flow at the faucet.
- Confirm there are no leaks at the drain valve or surrounding connections.
- Confirm the power to the water heater has been restored once the tank is full.
- Perform this draining and flushing procedure about once a year to maintain the water heater's efficiency and longevity.
What's next
Schedule this draining procedure annually to keep sediment from accumulating and to maintain the water heater's efficiency and lifespan. If you notice recurring heavy sediment or persistent blockages during future drains, plan for more frequent maintenance.
Generation details: cost, quality tiers
Docsie billed 3,500 credits ($2.45) to analyze this 7-minute video at standard quality. The rewrite, template fill and Word/PDF exports were included. The same video at each quality tier:
| Quality | Frames sampled | Credits | Approx. cost |
|---|---|---|---|
| Draft | every 16-30 s | 1,750 | $1.22 |
| Standard (this guide) | every 8-15 s | 3,500 | $2.45 |
| Detailed | every 4-7 s | 7,000 | $4.90 |
| Ultra | every 1-3 s | 14,000 | $9.80 |
Credits priced at $0.70 per 1,000; plans include a monthly allowance. Enterprise customers on on-premise or bring-your-own-model deployments run this on their own inference and pay no per-video credits.
Generated by Docsie Video-to-Docs on 2026-09-10 from a 6-minute video. Screenshots are frames from the source video and belong to their creator, Morgan Inspection Services, whose original is embedded above. If you own this video and want the guide removed or credited differently, contact us and we will act within one business day.