
How to Use a Riveting Tool
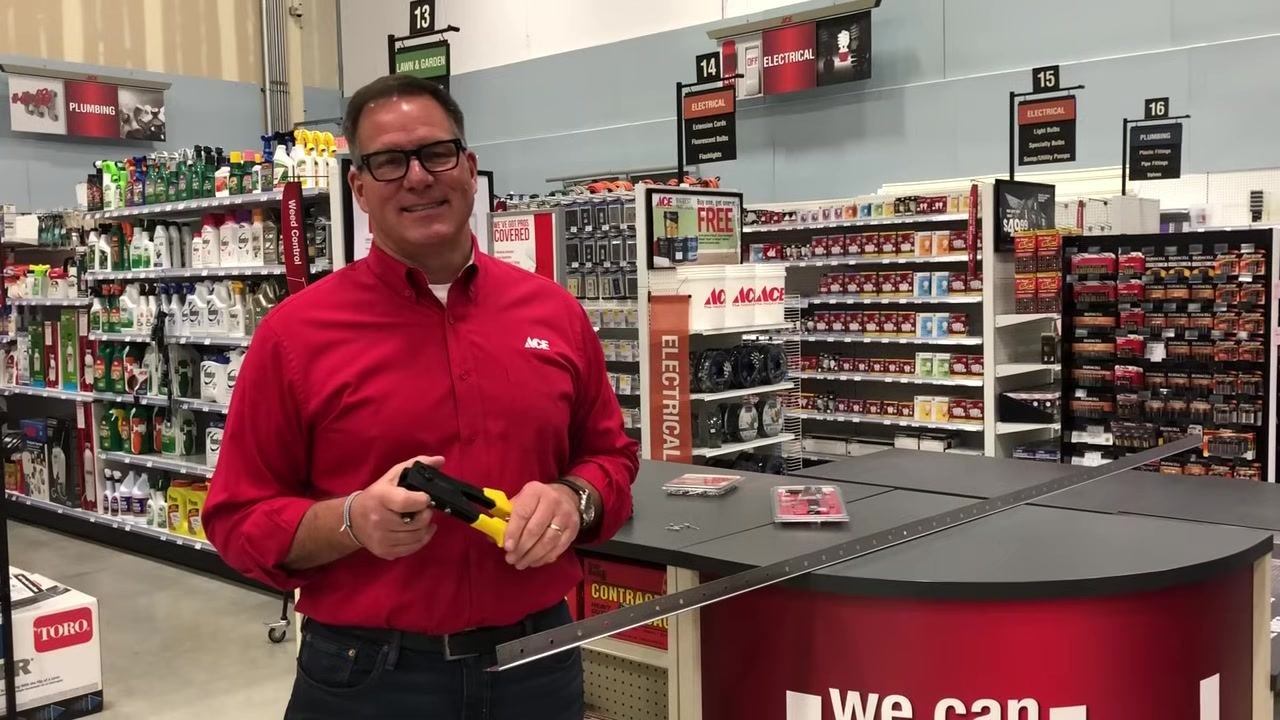
This guide explains how to use a riveting tool—commonly called a rivet gun or riveter—to fasten materials together securely. Rivets serve the same purpose as the hot metal rivets historically used to assemble large steel structures, but this handheld version is designed for everyday projects. Following this procedure will help you identify the correct rivet size, load the tool properly, and complete a clean, professional fastening job.
Video: How To Use A Riveter or Rivet Gun - Ace Hardware by Ace Hardware (2018). All credit for the demonstration goes to the creator; watch the original on YouTube. The written guide below was generated from this video by Docsie. Creator? Request a change or removal.
This guide explains how to use a riveting tool—commonly called a rivet gun or riveter—to fasten materials together securely. Rivets serve the same purpose as the hot metal rivets historically used to assemble large steel structures, but this handheld version is designed for everyday projects. Following this procedure will help you identify the correct rivet size, load the tool properly, and complete a clean, professional fastening job.
Purpose
This SOP describes how to set up and operate a handheld rivet gun, select the correct tip and rivet size for your project, fasten materials together, and inspect the finished result.
Scope
This procedure applies to handheld rivet guns used for fastening materials such as metal corner bead, sheet metal, and similar drywall or construction accessories. It covers tool setup, rivet insertion, fastening, and rivet selection for indoor and outdoor applications.
Required equipment
- Handheld rivet gun with interchangeable tips
- Set of rivet gun tips: 1/8 inch, 5/32 inch, and 3/16 inch
- Small wrench (typically included with the rivet gun) for changing tips
- Rivets matching the tip size in use (steel or aluminum, depending on the application)
- Material to be fastened, with holes pre-drilled to match the rivet size
- An assorted rivet pack (for example, a value pack containing 120 assorted steel and aluminum rivets) for projects requiring multiple sizes
Identify the tool and its purpose
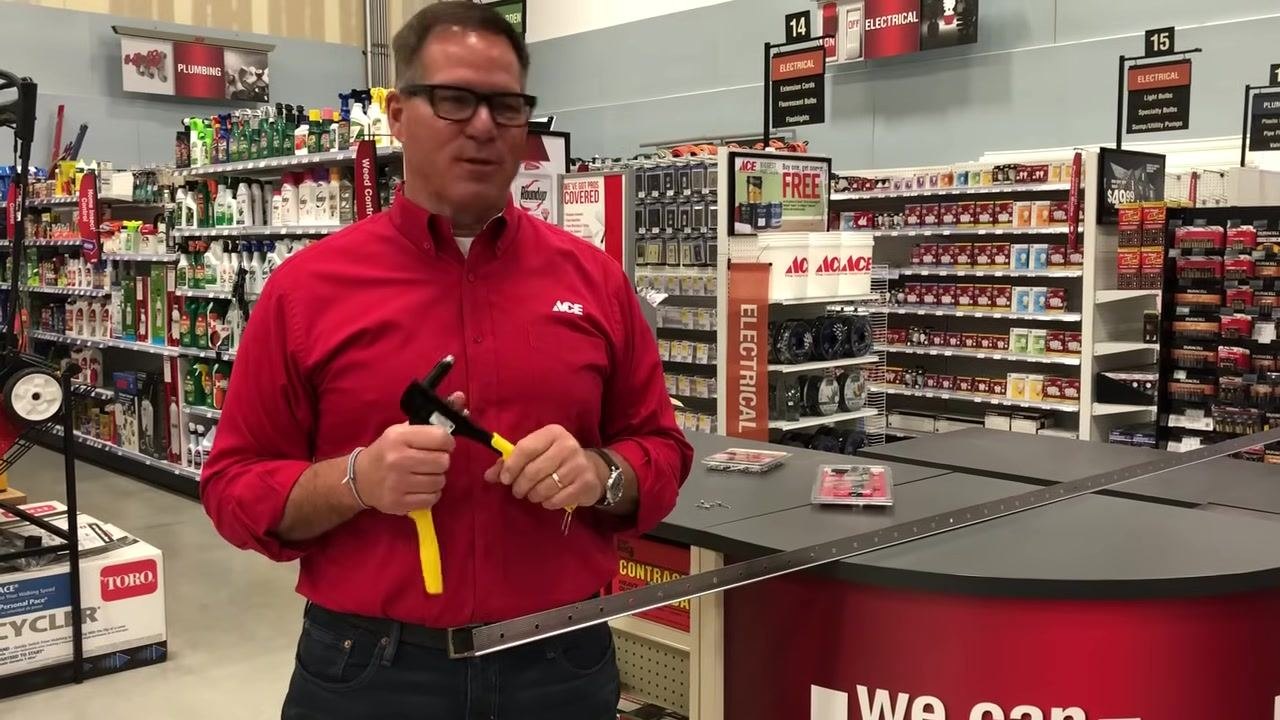
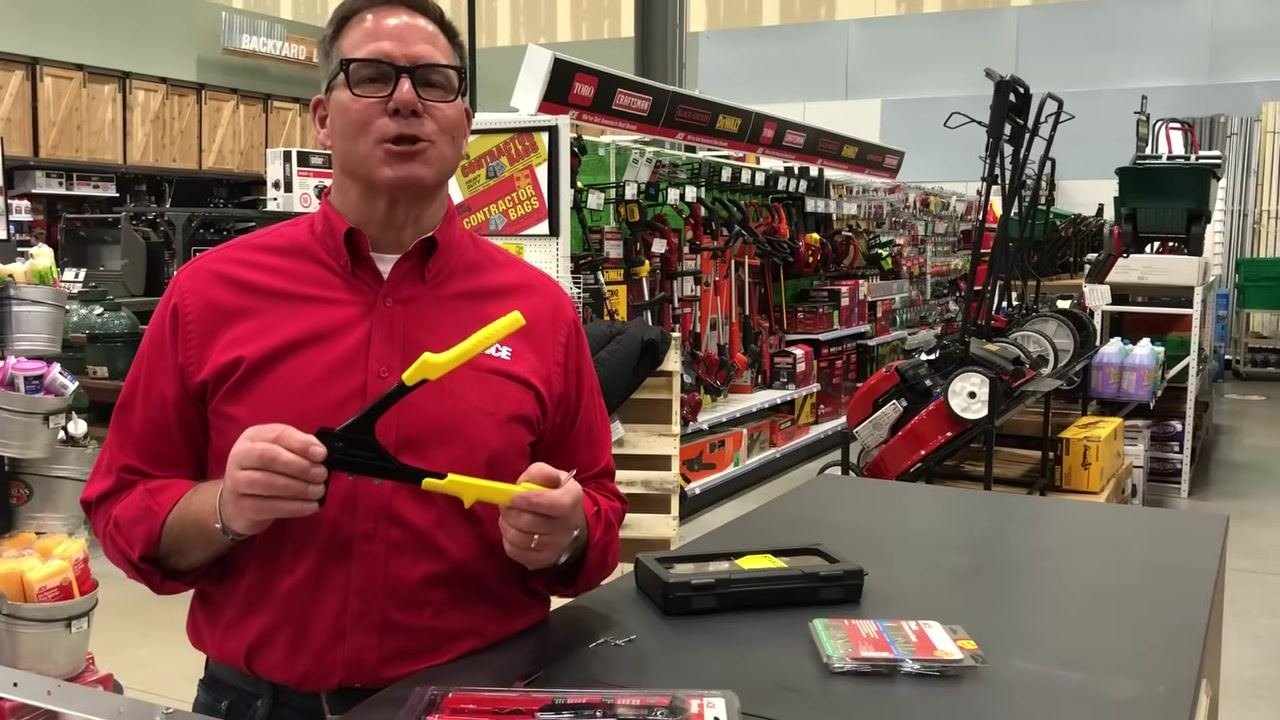
Recognize that a rivet gun is a smaller, handheld version of the riveting tools used in heavy construction. It is designed to fasten materials together for everyday projects rather than large-scale steel assembly.
Review the rivet gun tips
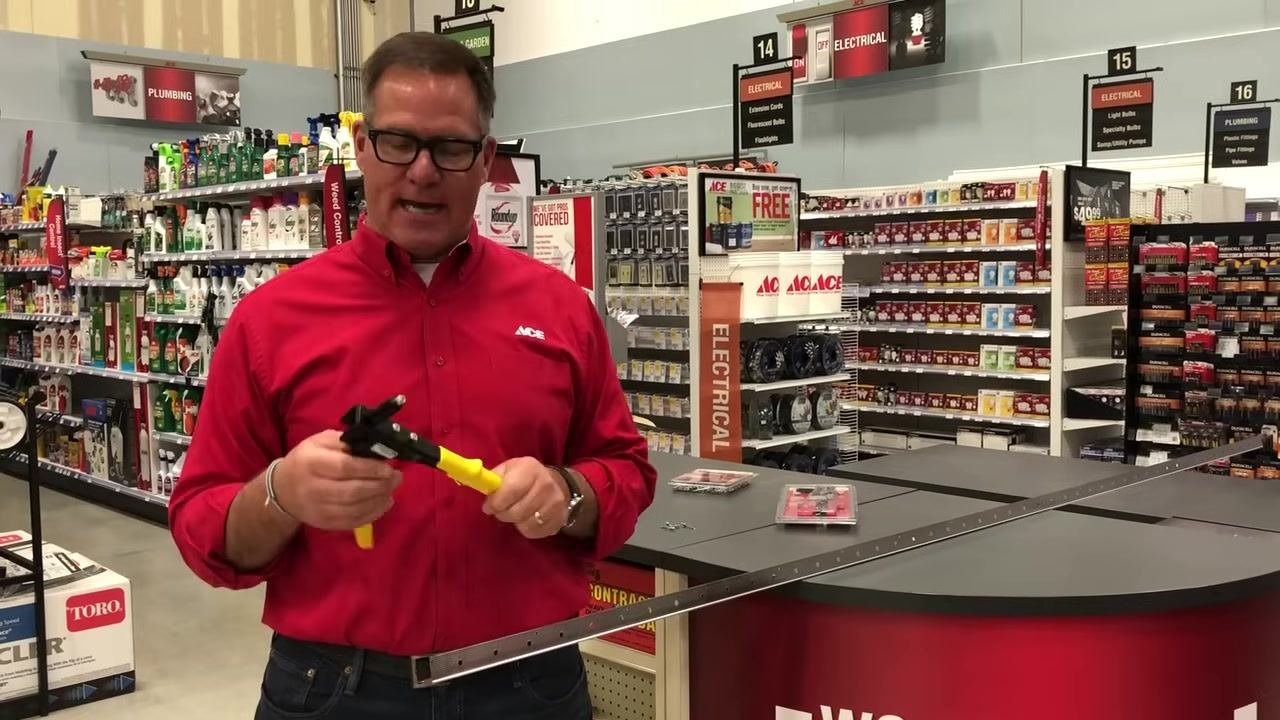
Check the interchangeable tips available for the rivet gun. The three common sizes are 1/8 inch, 5/32 inch, and 3/16 inch, and each is used to accommodate a corresponding rivet size. The tool includes a small wrench specifically for swapping these tips.
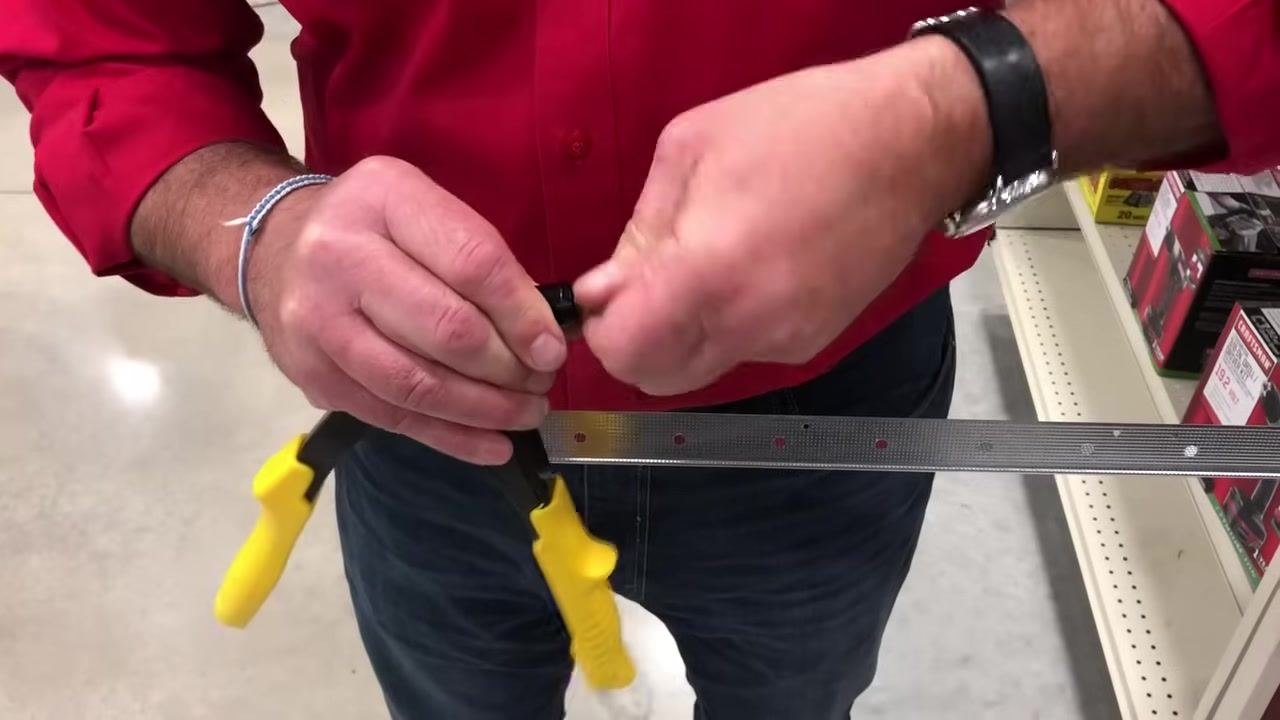
Remove the current tip
Use the included wrench to unscrew the existing tip from the rivet gun.
Safety note: A small spring sits inside the tip assembly. Remove the tip carefully to avoid losing or damaging the spring, and set the tip aside once it is free.
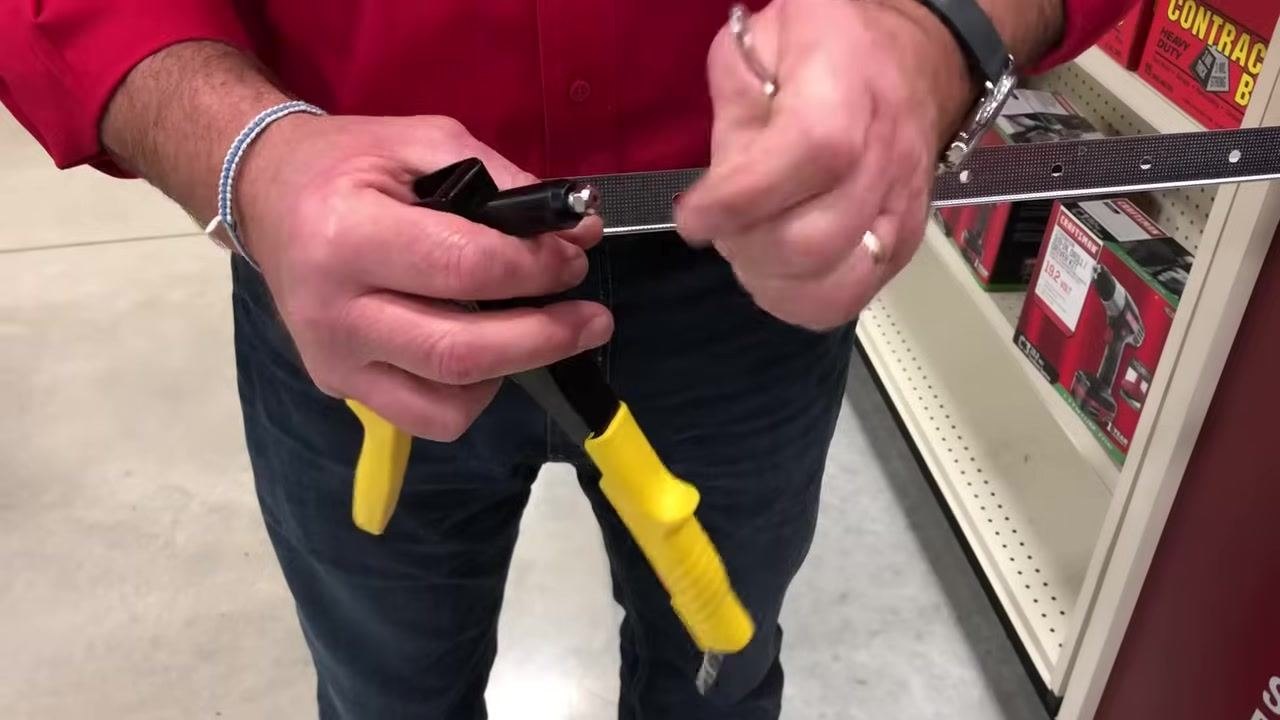
Install the correct tip
Select the tip that matches the size of the rivet you plan to use. Screw the new tip onto the rivet gun, making sure the internal spring stays properly seated, and tighten it securely by hand.
Prepare for riveting
Before using the rivet gun, drill a hole in the materials you intend to fasten. The rivet consists of a shorter piece that passes through this pre-drilled hole during installation.
Select and prepare the material
Choose the material you want to fasten. In this procedure, a metal corner bead—commonly used in drywall installation—is used as an example. Confirm that the material has pre-drilled holes matching the size of your rivet.
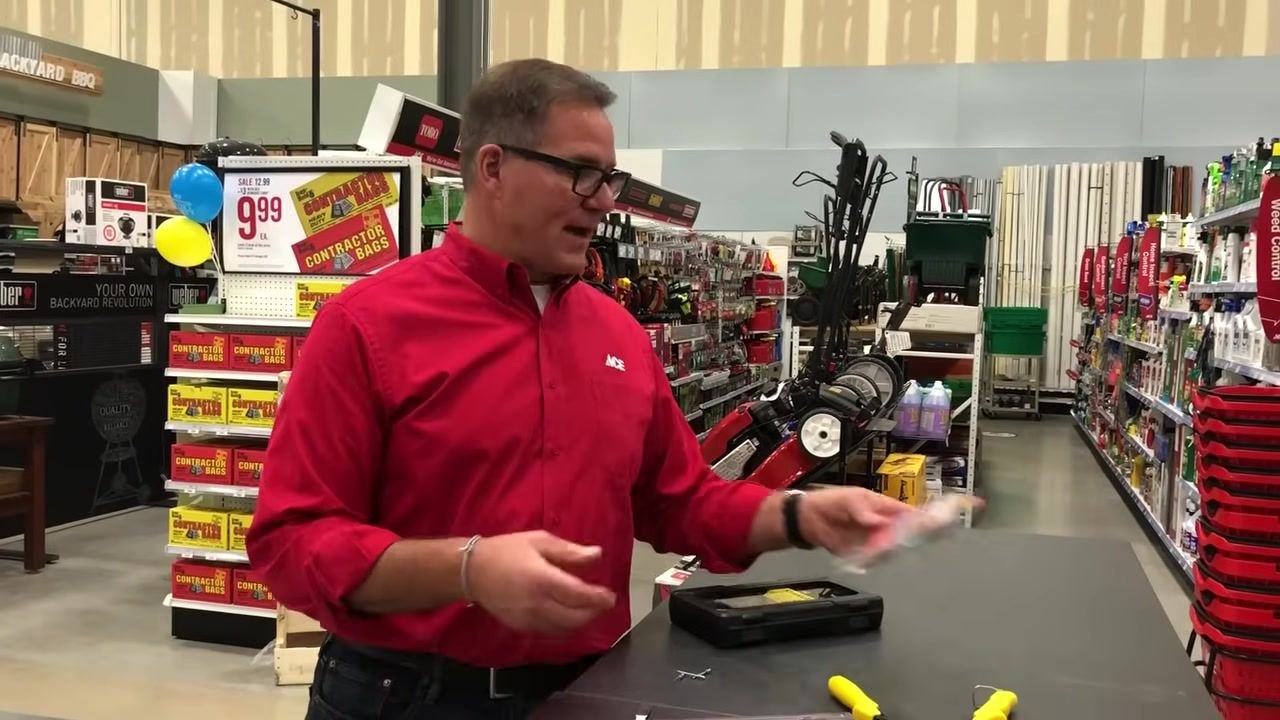
Insert the rivet into the tool
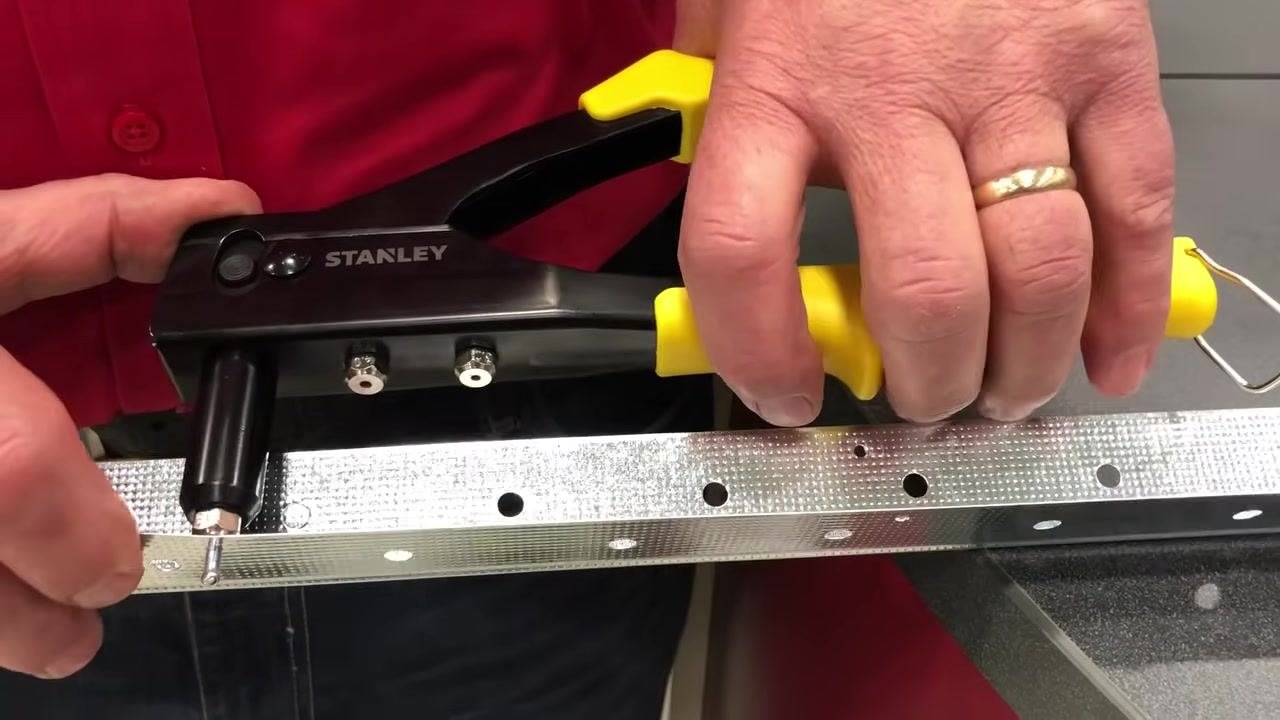
Take the appropriate rivet for your project and insert its long pin (mandrel) fully into the nosepiece of the rivet gun. The rivet should sit securely in place, held by the tool.
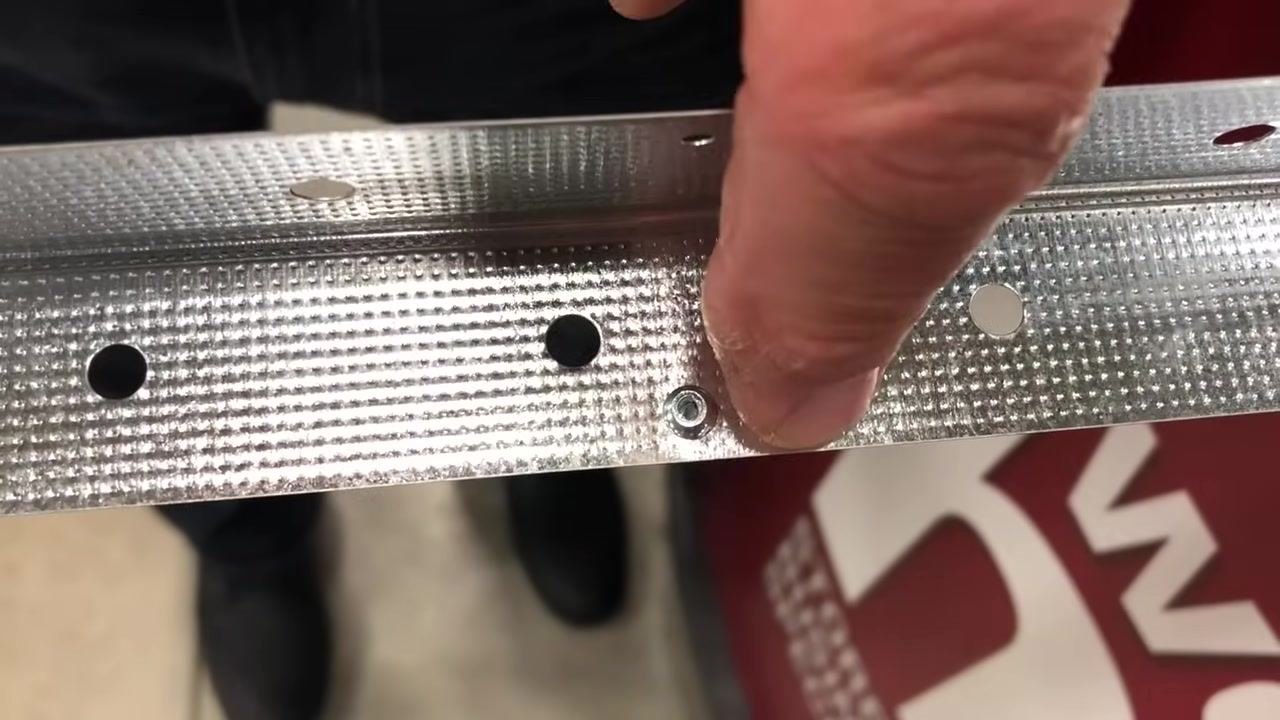
Position the rivet in the material
Align the loaded rivet with the pre-drilled hole in your material, then push it through so that the flange (head) sits flush against the material's surface.
Set the rivet
Squeeze the handles of the rivet gun together. This pulls the mandrel and causes the back of the rivet to expand, clamping the material in place. Continue squeezing and releasing the handles as needed until the rivet compresses fully and secures the material.
Break off the mandrel
Keep squeezing the handles until you hear or feel a snap, which indicates the mandrel has broken off and the rivet is set in place. Release the handles and remove the rivet gun from the material.
Safety note: The mandrel breaks off under tension, so keep your hands positioned away from the tip when the snap occurs.
Inspect the finished rivet
Check the finished side of the rivet—it should appear smooth and sit flush with the material's surface. Then check the back side to confirm the rivet has expanded properly and is holding the material securely.
Choose the right rivets for your project
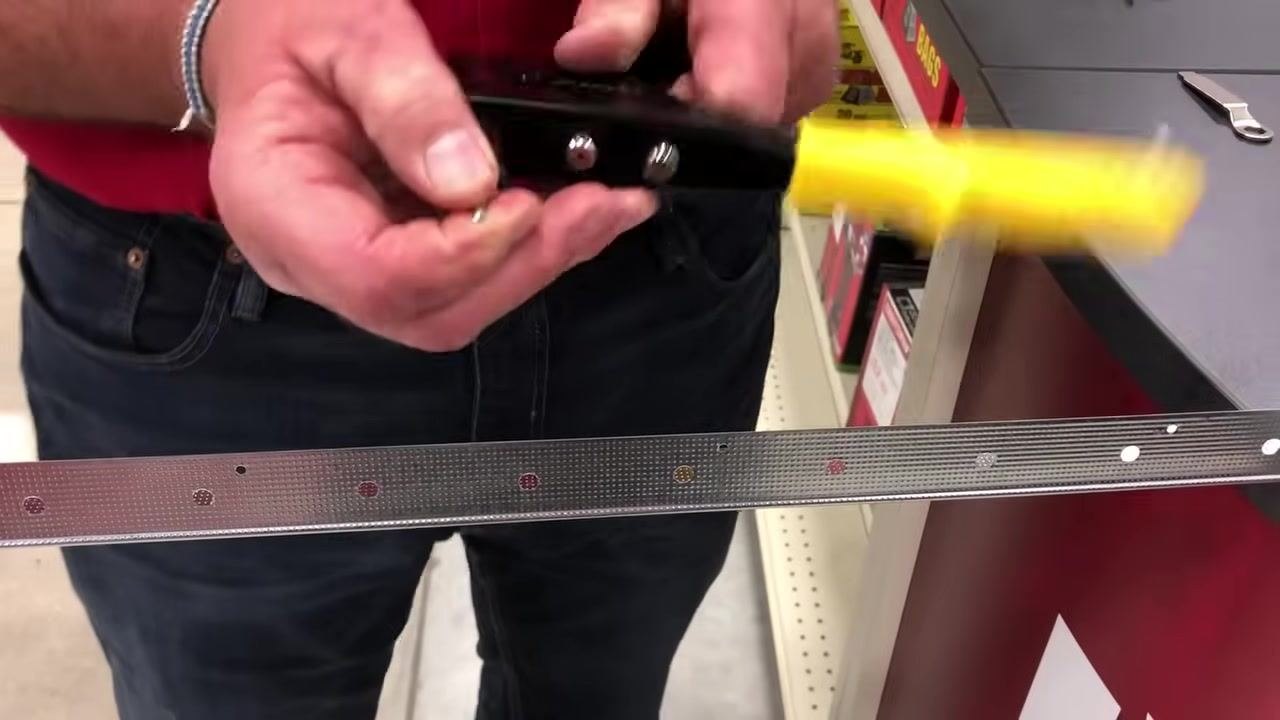
Match the rivet material to your project's environment. For outdoor or aluminum applications—such as fascia, soffits, or siding—use stainless steel or aluminum rivets to prevent corrosion. Assorted rivet packs, such as a 120-piece value pack containing both steel and aluminum rivets in various sizes, cover a range of applications.
Store and organize your rivets
Keep rivets organized in their original packaging or a dedicated organizer so you have the correct size and material readily available for future projects.
Verification and final tips
Confirm that the finished rivet sits flush with the surface, leaving no snags and creating a clean, nearly invisible repair. This flush result indicates the rivet gun was used correctly and the material is securely fastened.
A rivet gun is a specialty tool, but it delivers a strong, permanent, and neat fastening solution for the specific projects that call for it. Match your rivet material and size to the application—steel or aluminum for general use, and stainless steel or aluminum for outdoor or corrosion-prone conditions—to ensure a durable, professional finish.
What's next
With your rivet gun set up and your rivets properly selected, you can move on to your next fastening project, adjusting the tip and rivet size as needed for different materials and thicknesses. Keep your assorted rivet pack and wrench on hand so you're prepared for future repairs.
Generation details: cost, quality tiers
Docsie billed 2,000 credits ($1.40) to analyze this 4-minute video at standard quality. The rewrite, template fill and Word/PDF exports were included. The same video at each quality tier:
| Quality | Frames sampled | Credits | Approx. cost |
|---|---|---|---|
| Draft | every 16-30 s | 1,000 | $0.70 |
| Standard (this guide) | every 8-15 s | 2,000 | $1.40 |
| Detailed | every 4-7 s | 4,000 | $2.80 |
| Ultra | every 1-3 s | 8,000 | $5.60 |
Credits priced at $0.70 per 1,000; plans include a monthly allowance. Enterprise customers on on-premise or bring-your-own-model deployments run this on their own inference and pay no per-video credits.
Generated by Docsie Video-to-Docs on 2026-09-08 from a 3-minute video. Screenshots are frames from the source video and belong to their creator, Ace Hardware, whose original is embedded above. If you own this video and want the guide removed or credited differently, contact us and we will act within one business day.