
How to Use Ratchet Straps
This procedure describes how to correctly set up, tighten, and release a ratchet strap mechanism, how to prevent and resolve common issues caused by excess webbing, and the safety practices required to secure loads properly. Following these steps ensures both secure fastening and safe removal of the strap.
Video: How To Use A Ratchet Strap by Essential Craftsman (2017). All credit for the demonstration goes to the creator; watch the original on YouTube. The written guide below was generated from this video by Docsie. Creator? Request a change or removal.
Purpose
This procedure describes how to correctly set up, tighten, and release a ratchet strap mechanism, how to prevent and resolve common issues caused by excess webbing, and the safety practices required to secure loads properly. Following these steps ensures both secure fastening and safe removal of the strap.
Scope
This procedure applies to anyone using a ratchet strap to secure a load, including loads of any size or application. It covers strap setup, tightening, release, troubleshooting of mechanism binding, and final safety checks before transport.
Required equipment/PPE
- Ratchet strap with functioning ratchet mechanism (handle, windlass, and spring-loaded dog/pawl)
- Load or trailer requiring securement
- Clear workspace with access to both ends of the strap
Set up and tighten the strap
- Detach the strap from the mechanism
- Completely remove the strap from the ratchet mechanism.
- Hold the ratchet mechanism in one hand and the loose end (bitter end) of the strap in the other.
- Confirm the strap is fully separated before proceeding.
-
Identify and close the mechanism
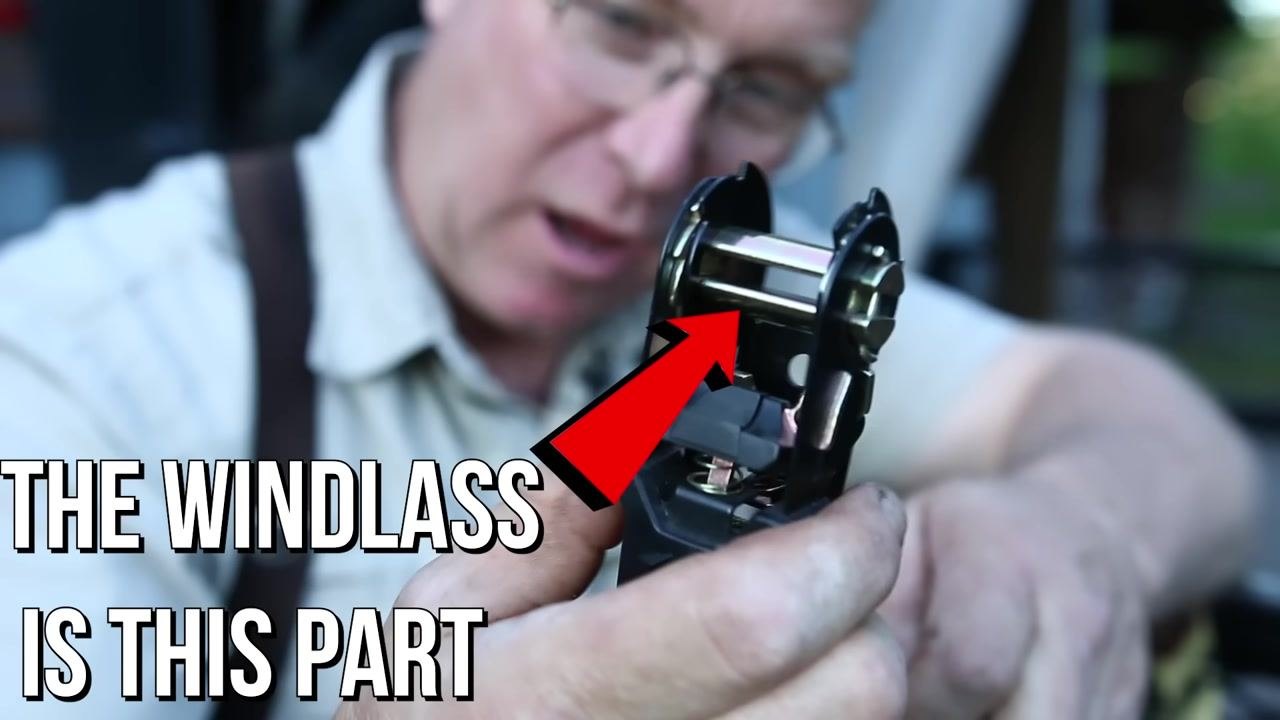
- Locate the windlass, the central rotating bar inside the ratchet.
- Close the ratchet mechanism so the slot through the windlass is in a horizontal position.
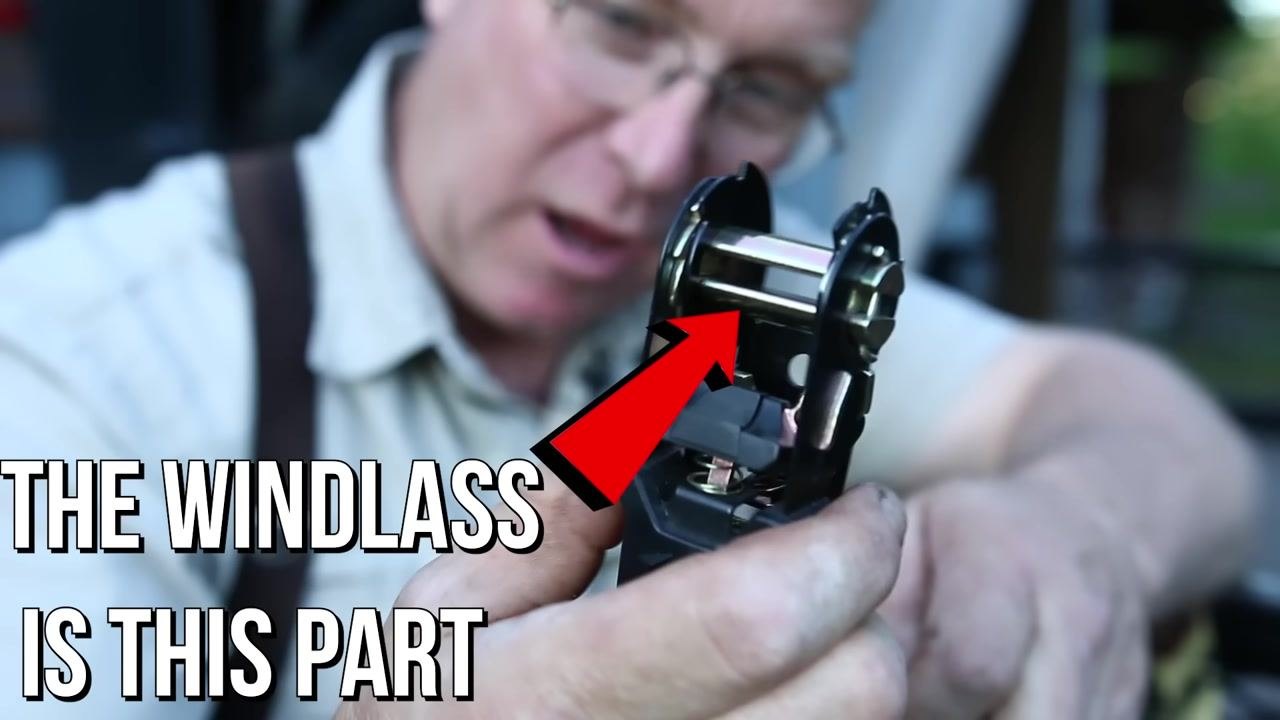
- Note: the windlass is the part indicated by the red arrow in the reference image below.
-
Create a pulley loop with the strap
- Treat the windlass as a small pulley.
- Insert the bitter end of the strap through the slot in the windlass to form a loop around it.
- This setup allows the windlass to function as a pulley for tightening.
-
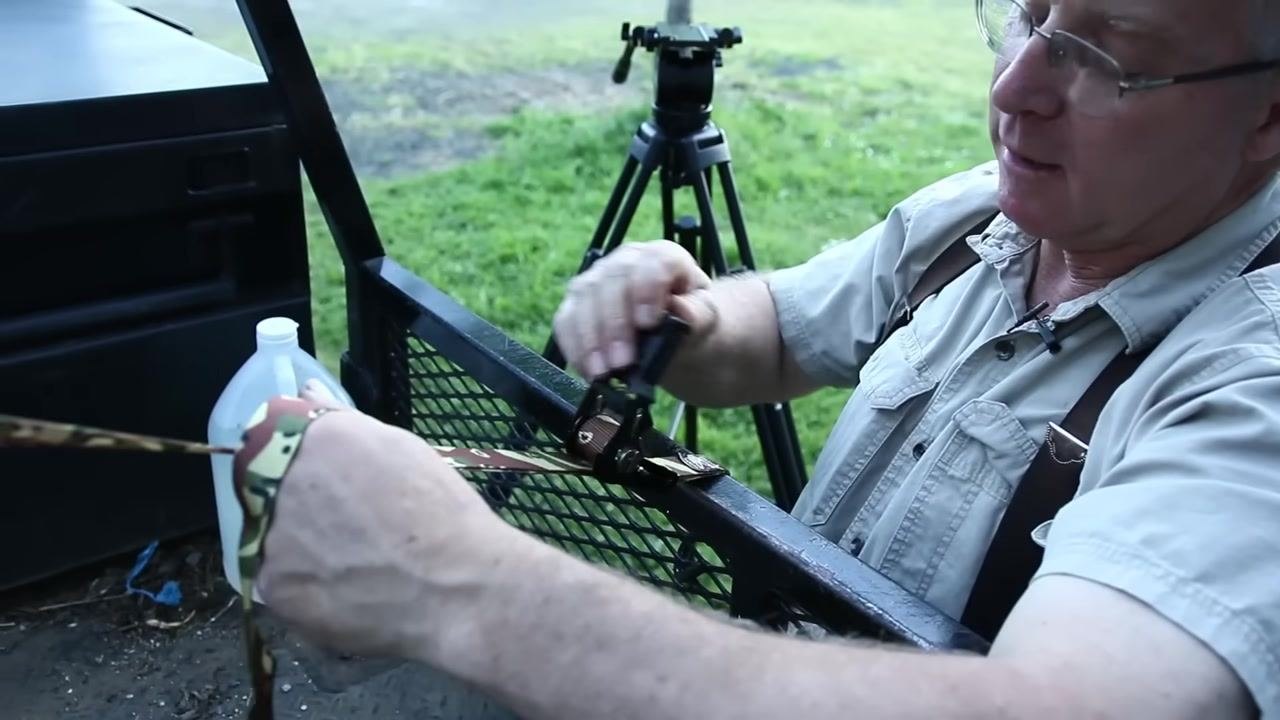
Pull the strap to remove slack
- Pull on the bitter end of the strap to remove as much slack as possible.
- Continue pulling until the strap comes around and meets itself at the edge of the windlass.
- At this stage, you will begin applying significant force to the strap.
-
Confirm the mechanism holds tension
- As you pull, the spring-loaded dog (pawl) inside the ratchet catches and holds the rotation of the windlass, maintaining the load.
- Verify the strap is now tight and secure.
Release the strap
- Inspect the windlass and lever attachment
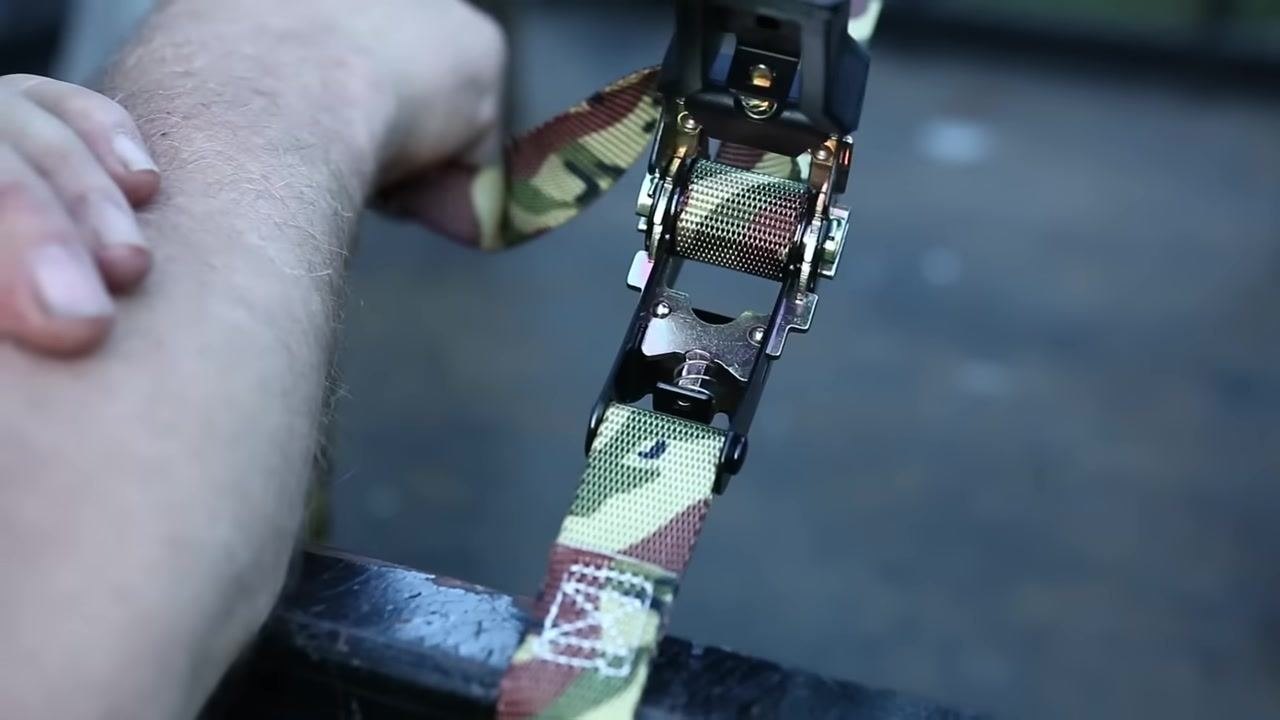
- Examine the outside diameter where the lever attaches to the windlass.
- Note how the width increases at this point, forming an eccentric cam.
- This cam is responsible for disengaging the dog (pawl) when releasing tension.
-
Release the tension
- Pull the ratchet handle straight to release the strap.
- Pulling the handle straight disengages the clutch mechanism and the dog, allowing the windlass to rotate freely and release the strap.
-
Verify the strap is released
- Confirm that pulling the handle straight has fully disengaged the mechanism's grip on the strap.
- The strap should now be loose and easy to remove.
Safety note: Confirm full disengagement of the mechanism before removing the strap to avoid sudden release of tension.
Prevent and resolve common ratchet strap issues
- Tighten and loosen the strap properly
- Tighten the strap by operating the ratchet handle.
- To loosen, pull the small clutch lever and push the handle straight to free the mechanism.
- Push the handle as straight as possible for a smooth release.
-
Avoid excess webbing on the windlass
- Before tightening, pull most of the webbing away from the load to minimize the amount wound onto the windlass.
- Excess winding forms a large wad on the windlass, which can bind the mechanism.
- Always minimize the amount of strap material the ratchet must handle.
-
Recognize the problem of excess webbing
- A large wad of webbing on the windlass can grow larger and eventually bind the clutch, making it difficult or impossible to release the load.
- The mechanism may still function with some excess, but too many wraps will foul the clutch.
-
Check for clutch fouling
- Inspect the ratchet mechanism for excess webbing.
- If the clutch is fouled, you may not be able to release the load.
-
Free a stuck ratchet strap
- If the mechanism is stuck and will not release, press the handle as straight as possible.
- Simultaneously pull and work the strap back and forth to loosen the friction holding the wad of webbing.
- Continue until the strap is freed from the ratchet.
Safety note: Never force a jammed mechanism; work the strap gradually to avoid injury from sudden release.
-
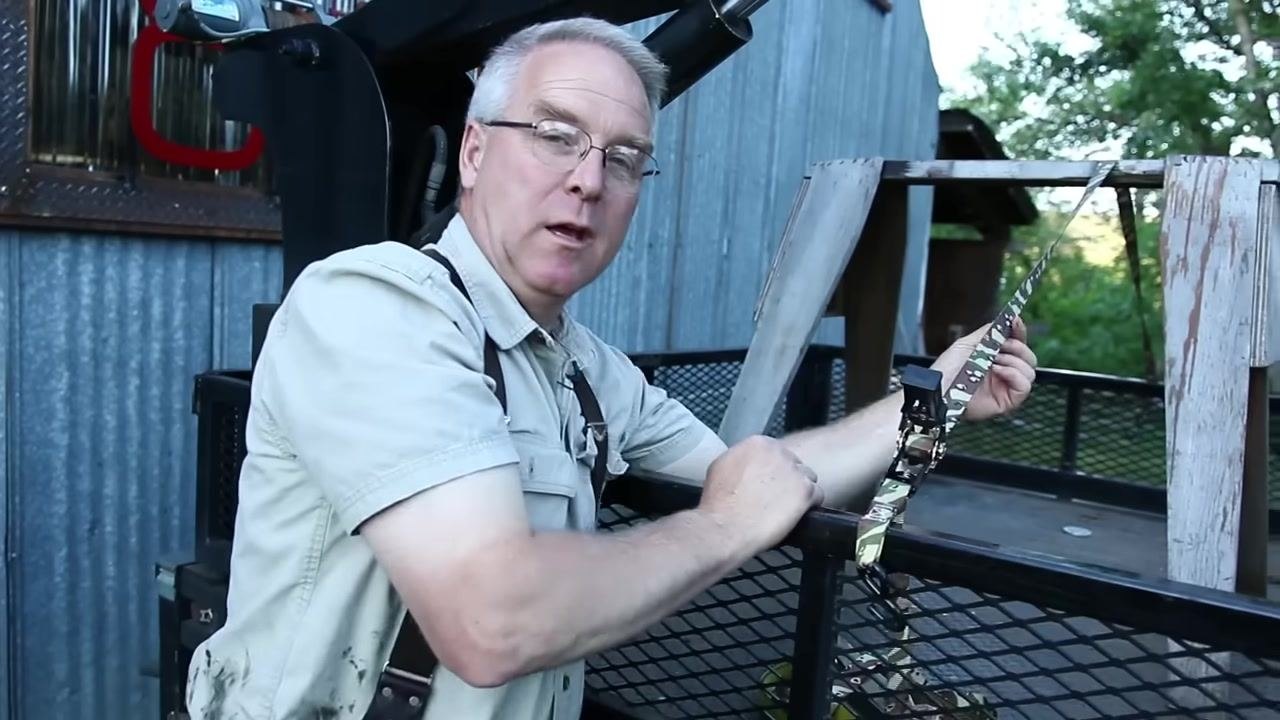
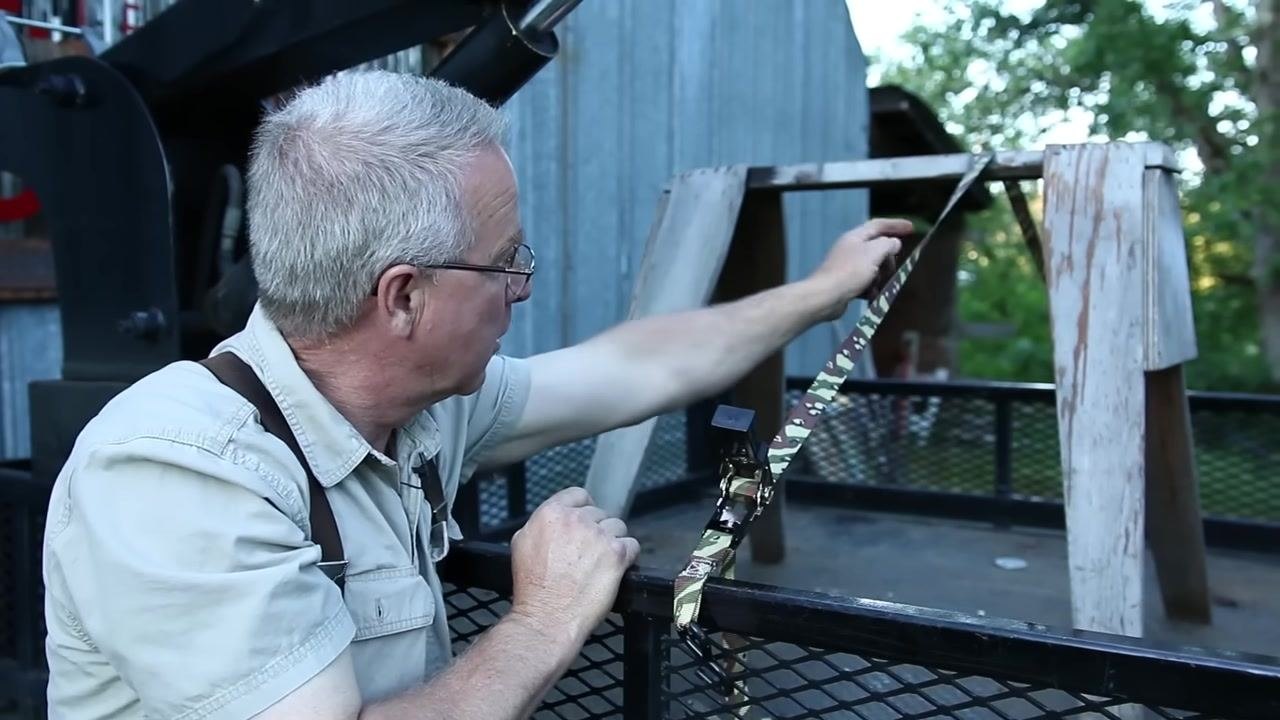
Apply a half rotation to the strap
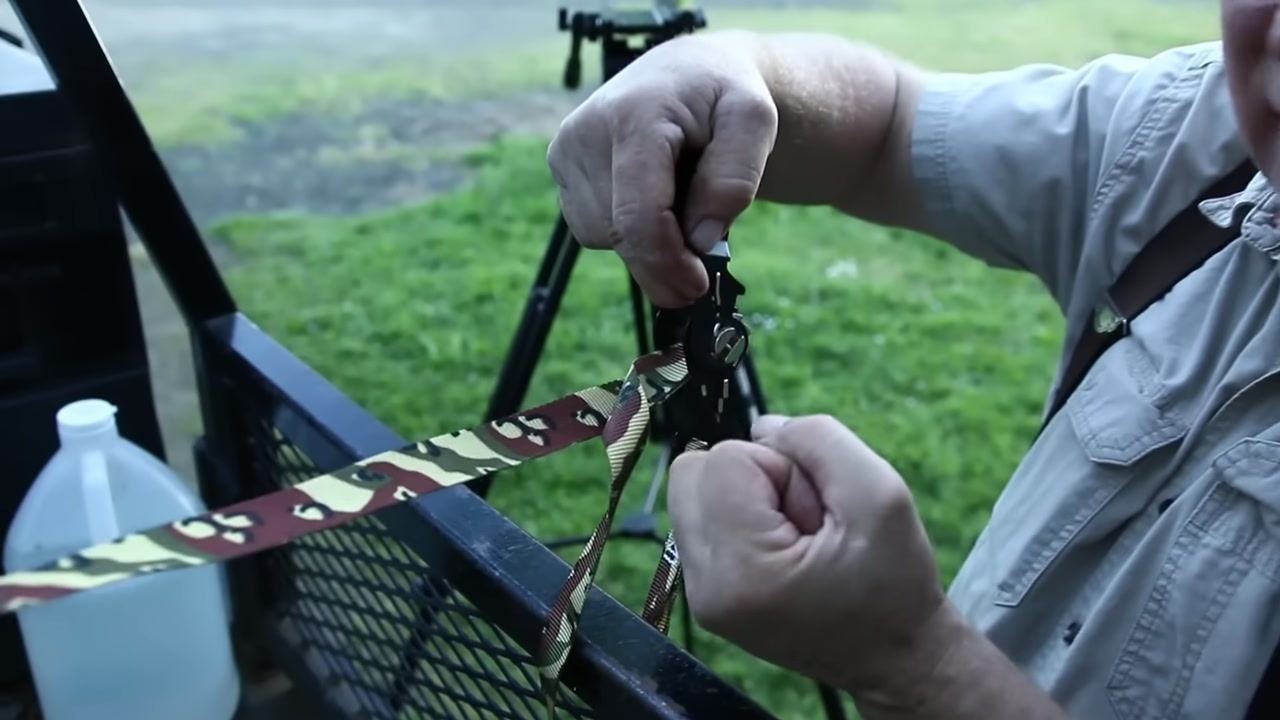
- The strap should have a half rotation (the top side becomes the bottom side) as it passes through the windlass.
- This prevents the strap from vibrating in the wind, which can cause wear points.
-
Confirm the half rotation prevents harmonic vibration
- Ensure the strap retains its half rotation as it passes through the ratchet.
- This setup prevents the strap from creating harmonic vibration in the wind, which can lead to premature wear.
Apply final safety reminders
- Add a half twist to straps spanning open space
- Apply a half twist to every strap that spans open space and may be exposed to wind.
- This twist prevents the strap from vibrating in the wind, which can cause wear and potential failure.
- This practice is standard for all straps, regardless of size or application.
-
Recognize the importance of proper load securing
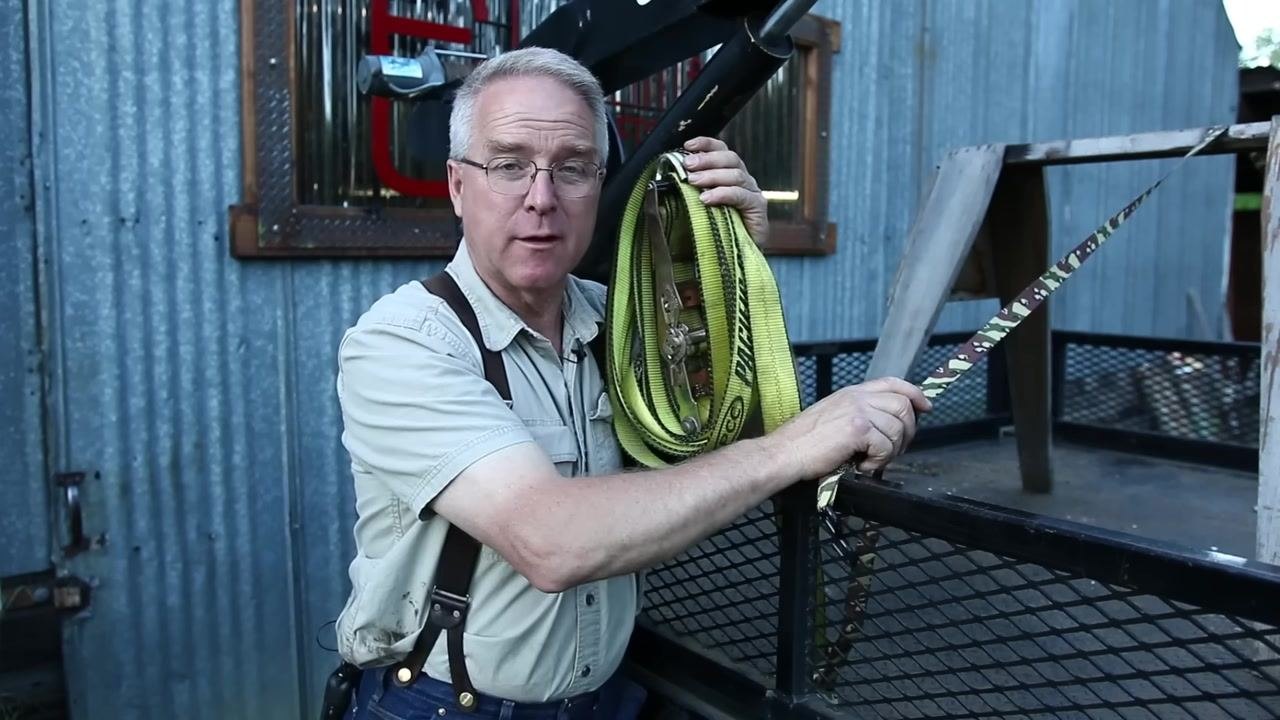
- Tying down a load is a matter of life safety—not just for you, but for everyone on the road.
- Properly secured loads prevent accidents and injuries to people behind you on the freeway and to your passengers.
- Treat every tie-down as a critical safety step.
-
Apply these techniques to any ratchet strap
- Ratchet straps are reliable and effective tools for securing loads of all sizes.
- The mechanism and best practices remain the same regardless of the strap's size or application.
- Use these techniques for any ratchet strap you own.
-
Continue learning about load securing
- Seek out additional resources to expand your knowledge of safe load securing and related topics.
- Stay engaged with educational content to improve your skills and safety awareness.
- Prioritize safety at all times
- Always double-check your straps and load before driving.
- Make safety your top priority for yourself and others.
Verification and summary
Before completing the securing process, confirm the following:
- The strap is fully tightened and the ratchet mechanism is engaged, with the dog holding tension securely.
- No excess webbing is wound onto the windlass that could bind the clutch.
- Every strap spanning open space includes a half twist to prevent wind-induced vibration and wear.
- The ratchet handle releases smoothly and fully disengages the mechanism when pulled straight.
- All straps and loads are double-checked before driving.
By following this procedure, you can confidently operate, release, and maintain a ratchet strap mechanism—preventing common issues such as binding from excess webbing and strap vibration—while protecting yourself and everyone around you.
Generation details: cost, quality tiers
Docsie billed 2,500 credits ($1.75) to analyze this 5-minute video at standard quality. The rewrite, template fill and Word/PDF exports were included. The same video at each quality tier:
| Quality | Frames sampled | Credits | Approx. cost |
|---|---|---|---|
| Draft | every 16-30 s | 1,250 | $0.88 |
| Standard (this guide) | every 8-15 s | 2,500 | $1.75 |
| Detailed | every 4-7 s | 5,000 | $3.50 |
| Ultra | every 1-3 s | 10,000 | $7.00 |
Credits priced at $0.70 per 1,000; plans include a monthly allowance. Enterprise customers on on-premise or bring-your-own-model deployments run this on their own inference and pay no per-video credits.
Generated by Docsie Video-to-Docs on 2026-09-08 from a 4-minute video. Screenshots are frames from the source video and belong to their creator, Essential Craftsman, whose original is embedded above. If you own this video and want the guide removed or credited differently, contact us and we will act within one business day.