
How to Use a Ratchet Tie Down Strap
This guide walks you through how to use a ratchet tie down strap safely and effectively, from identifying its components to threading, tensioning, securing excess webbing, and releasing the strap after transport. Ratchet straps come in a range of sizes, weight capacities, and lengths, but the basic components and setup steps are the same across models, so the instructions below apply to most ratchet tie down straps.
Video: How to Properly Setup & Use a Ratchet Strap by Harbor Freight (2023). All credit for the demonstration goes to the creator; watch the original on YouTube. The written guide below was generated from this video by Docsie. Creator? Request a change or removal.
This guide walks you through how to use a ratchet tie down strap safely and effectively, from identifying its components to threading, tensioning, securing excess webbing, and releasing the strap after transport. Ratchet straps come in a range of sizes, weight capacities, and lengths, but the basic components and setup steps are the same across models, so the instructions below apply to most ratchet tie down straps.
Purpose
This procedure describes the correct method for setting up, tensioning, securing, and releasing a ratchet tie down strap when securing a load, such as items in a truck bed.
Scope
This procedure applies to standard ratchet tie down straps used to secure cargo. It covers component identification, strap preparation, threading and tensioning, managing excess webbing, and safe release of the strap after use.
Required equipment
- Ratchet tie down strap (with ratchet mechanism and connecting hooks)
- Secure anchor points on the vehicle or trailer
- Zip tie (for securing excess webbing)
- Scissors or a cutting tool (for removing the zip tie after transport)
Review ratchet strap options
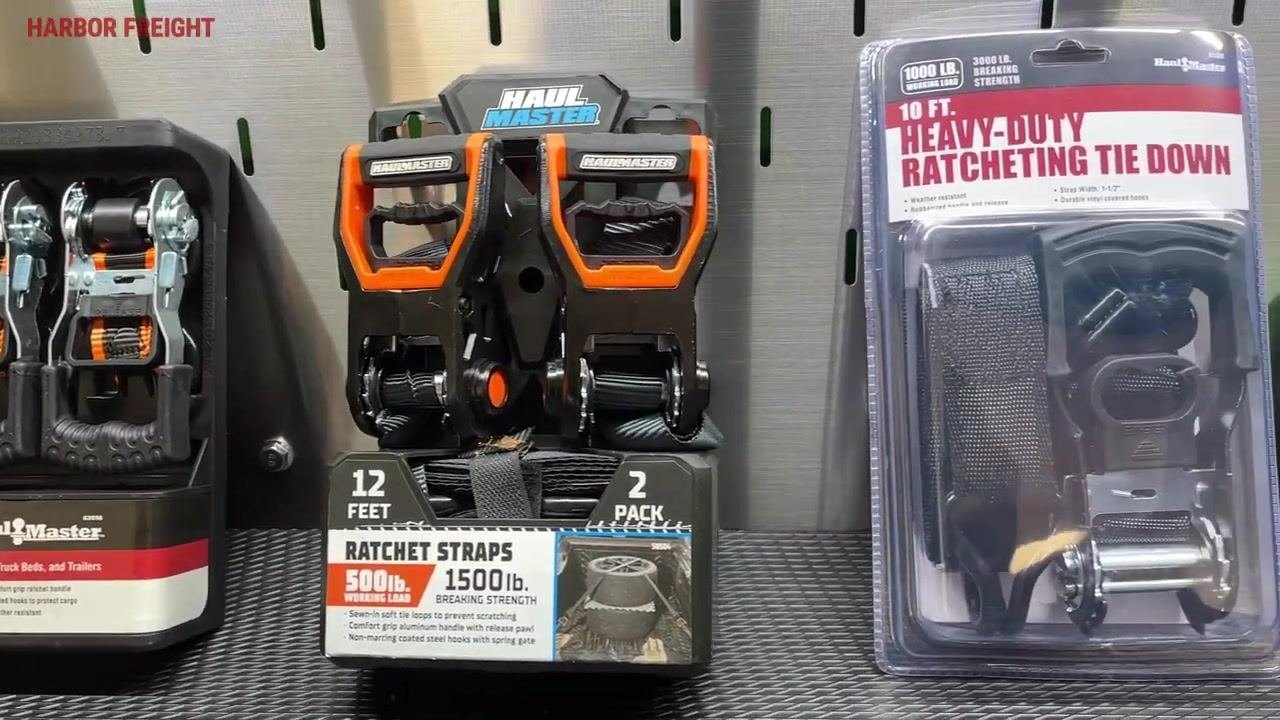
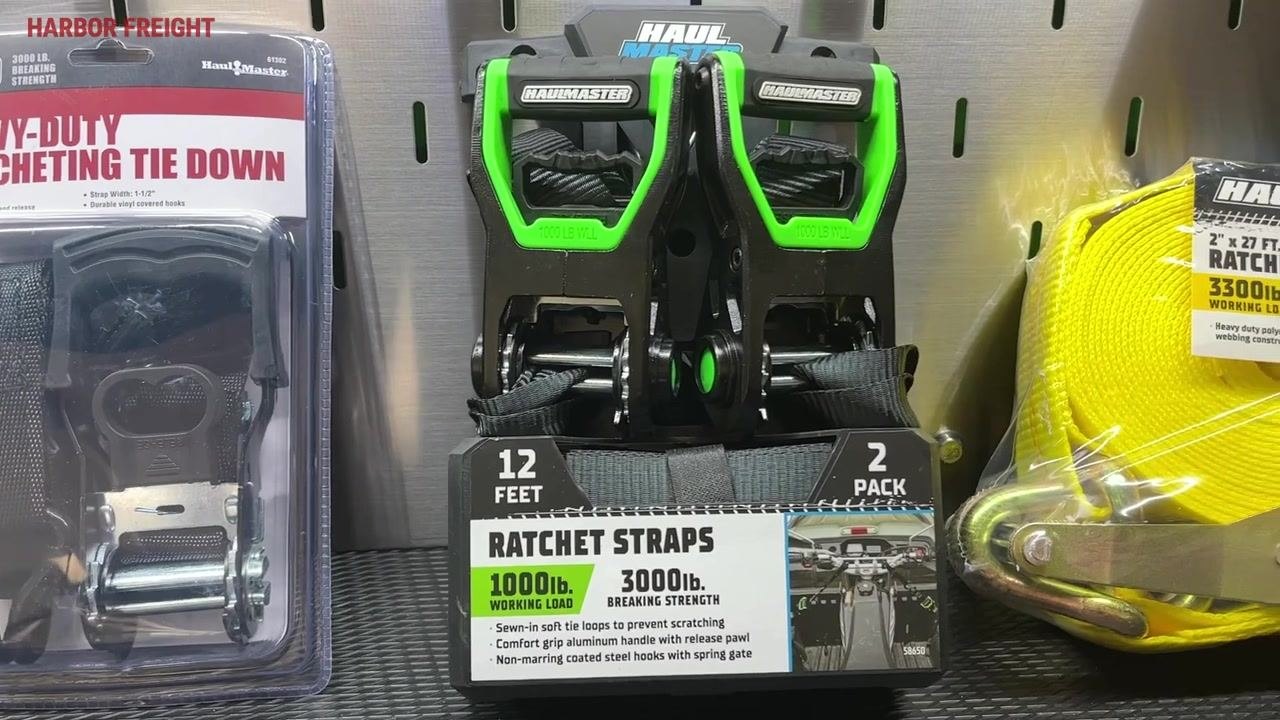
Ratchet straps are sold in various working loads, breaking strengths, and lengths. Common examples include a 500 lb. working load / 1,500 lb. breaking strength strap (12 feet), a 1,000 lb. working load / 3,000 lb. breaking strength strap (10–12 feet), and a heavier-duty 2" x 27' strap rated at 3,300 lb. working load. Select a strap appropriate for your load before beginning.
Identify the two main sections of the strap
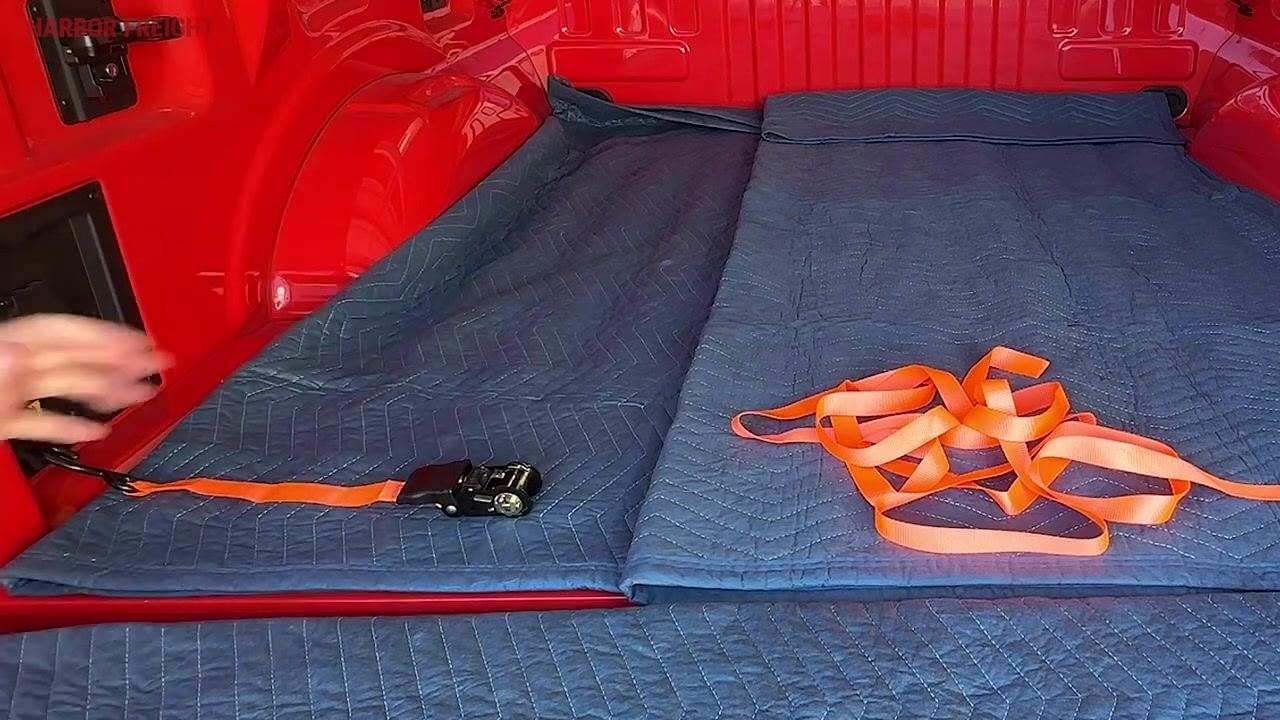
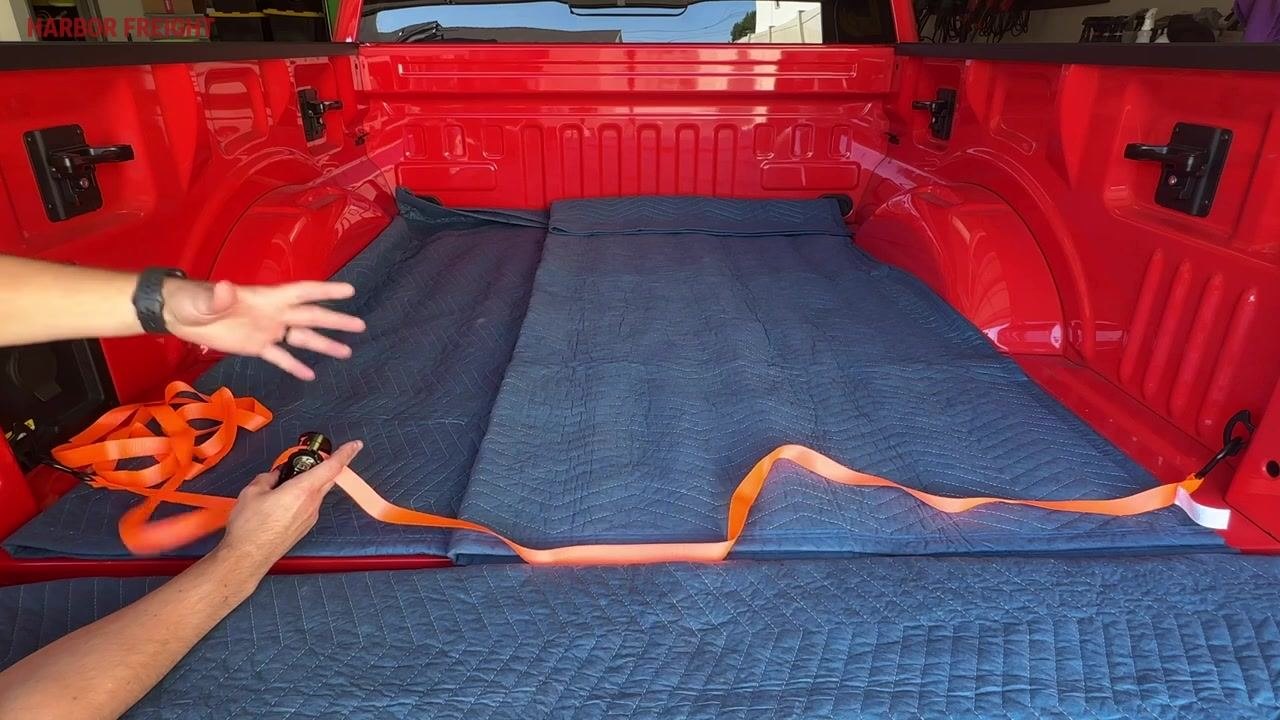
Every ratchet strap has two main sections: the ratchet mechanism section, which includes the ratchet itself and a connector (typically a hook), and the open-ended strap or webbing, which also ends in a hook or connector. Identifying these two sections before use makes setup easier.
Attach both ends to secure anchor points
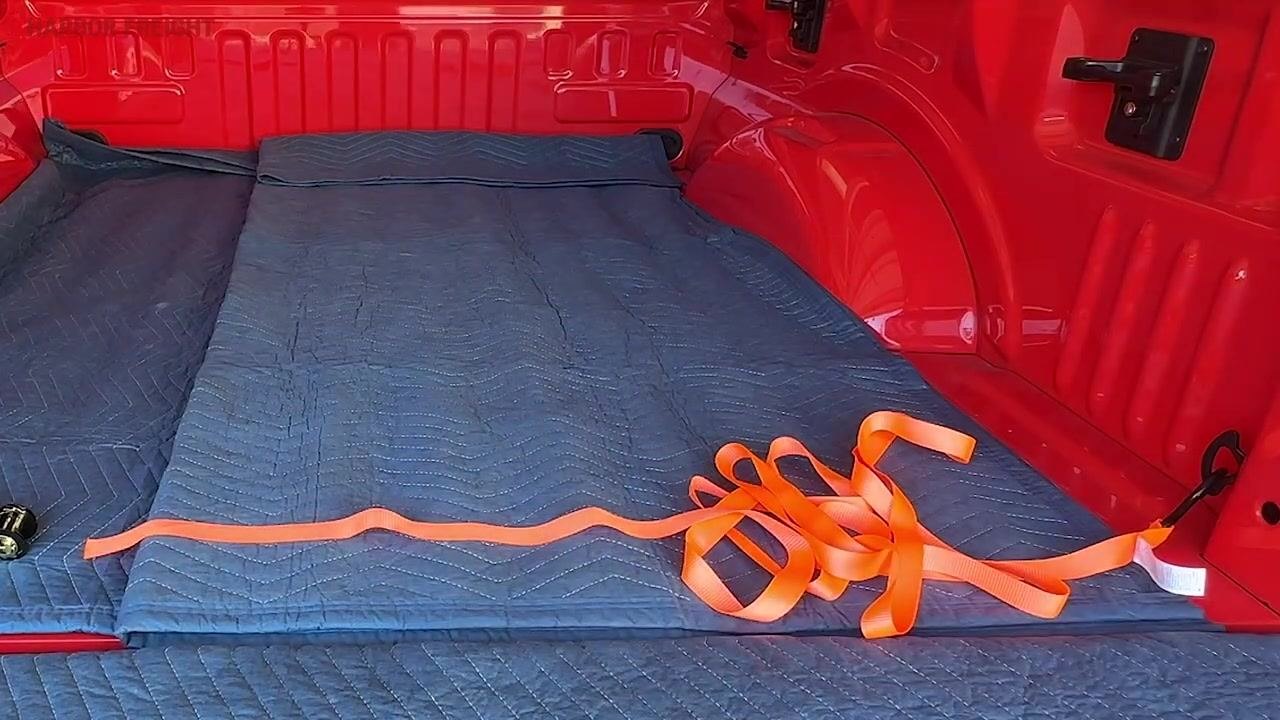
Attach the hook on the ratchet mechanism section to a secure anchor point. Lay out the open-ended strap or webbing and attach its hook or connector to a second secure anchor point.
Untangle the strap before feeding it into the ratchet
Untangle the strap so it feeds cleanly into the ratchet mechanism. This step is necessary for proper operation and should not be skipped.
Hold the strap between your thumb and pointer finger and pull it through to straighten and remove any twists.
Lay the untangled strap down in front of the ratchet so it is ready to be fed through the mechanism.
Learn the key parts of the ratchet mechanism
Before threading the strap, familiarize yourself with the main components of the ratchet mechanism:
- Teeth: the notched wheel that allows the ratchet to hold tension
- Pawls: small levers that engage the teeth to prevent backward movement
- Release mechanism: used to release tension after use
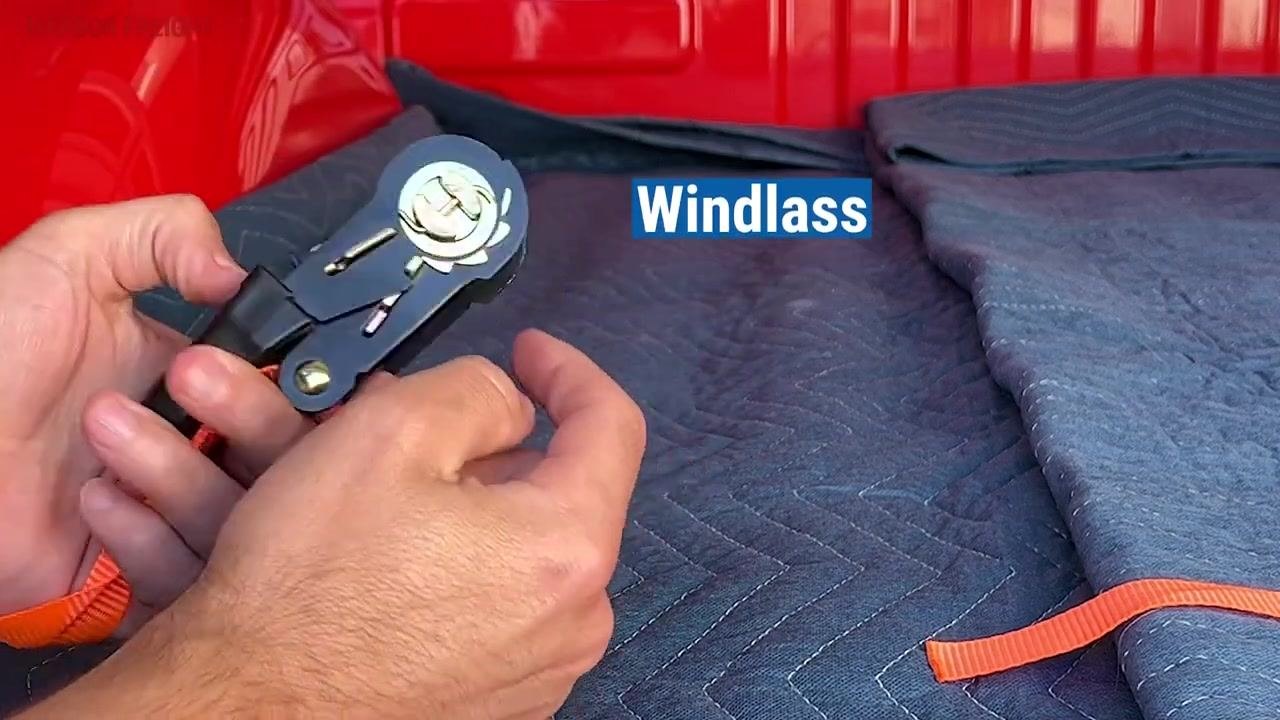
- Windlass: the central rotating drum where the strap winds as you ratchet
The windlass is one of the most important parts of the ratchet, since it is responsible for winding and holding the strap securely.
Position the ratchet for threading
The windlass is the spool inside the ratchet mechanism where the webbing winds and holds securely once tensioned.
Position the ratchet so the opening in the middle of the windlass is parallel, or straight up and down. This alignment makes it easier to feed the strap through.
Thread and pull the strap through the windlass
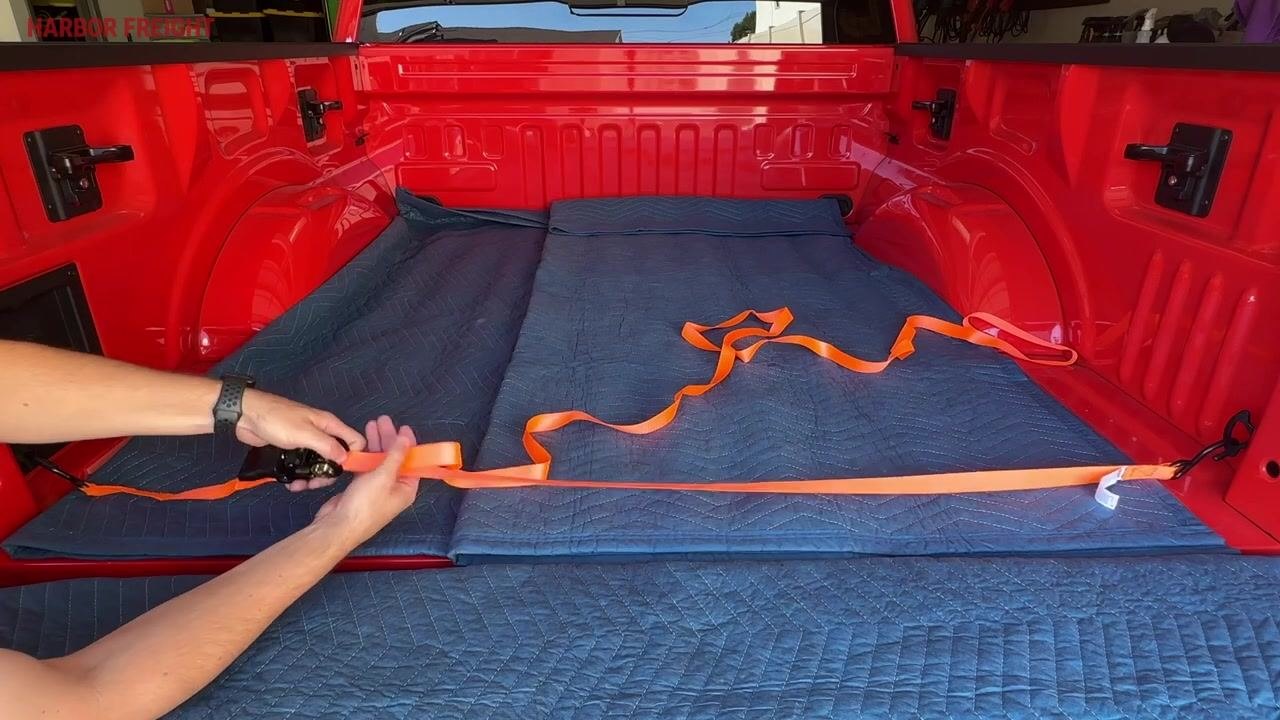
Feed the open end of the strap from the back side of the windlass through to the front, holding the ratchet steady as you do this. Pull the strap all the way through the windlass, keeping the webbing straight and untwisted. This step is critical: do not leave excess slack or bunching in the strap.
Avoid pulling only a small amount of strap through and immediately applying tension, as this can cause too much webbing to build up on the windlass, leading to binding and improper function.
Apply tension with the ratchet handle
Leave a slight amount of slack in the strap after pulling it through. Hold onto the webbing and begin applying tension by cranking the ratchet handle up and down.
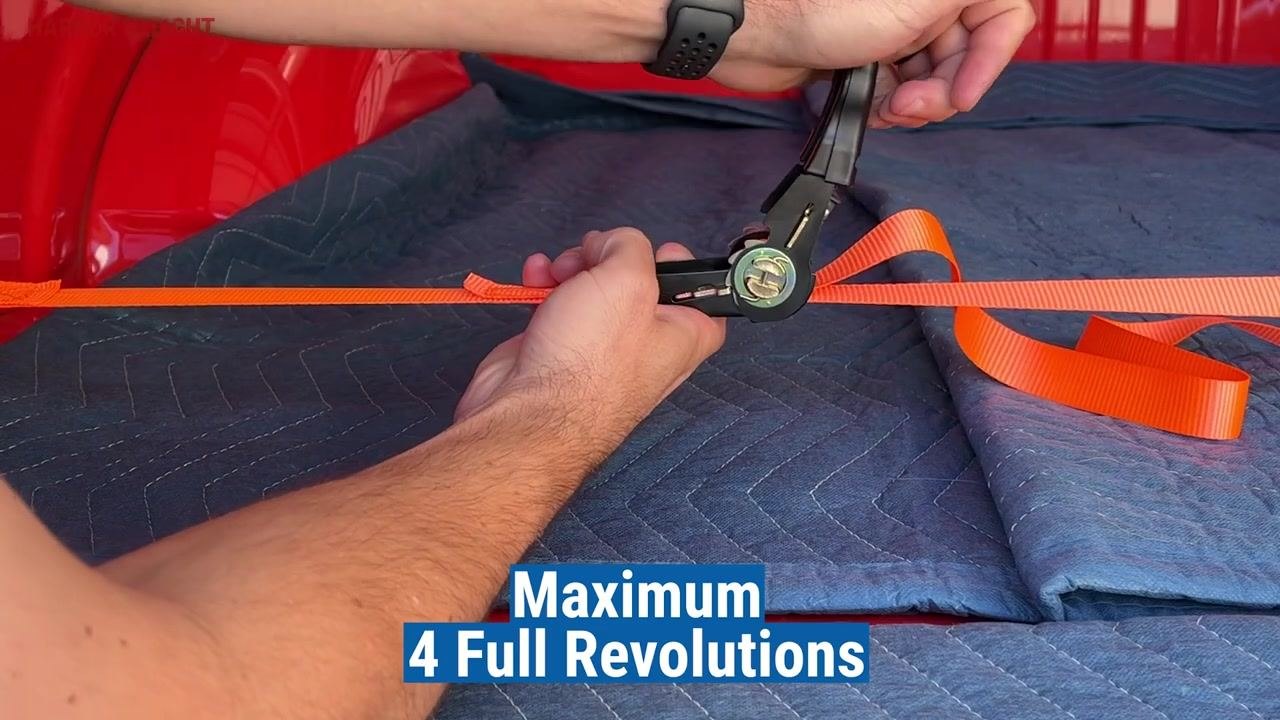
As you crank, the webbing starts to wind around the windlass. It typically takes about three full cranks of the handle to complete one full revolution of the strap around the windlass.
Safety note: Aim for a minimum of one full revolution of webbing around the windlass and no more than four full revolutions. Fewer than one revolution risks insecure tensioning, while more than four revolutions can cause the strap to bind and block the pawl, preventing proper ratchet operation.
Lock the ratchet mechanism
Once the desired tension is achieved and the strap is taut, push the ratchet handle down to its lowest position to lock the mechanism in place. The ratchet strap is now properly tensioned and ready for use.
Manage the loose webbing ("dog ear")
After tensioning, address the loose webbing left over, commonly called a "dog ear." Leaving loose webbing unsecured can create legal and safety issues during transport.
Gather the loose webbing by folding it over itself and winding the extra strap into a neat, compact bundle to keep it orderly and in one place.
Continue winding until all the excess webbing is bundled together. It does not need to be perfect, but it should be tidy and manageable.
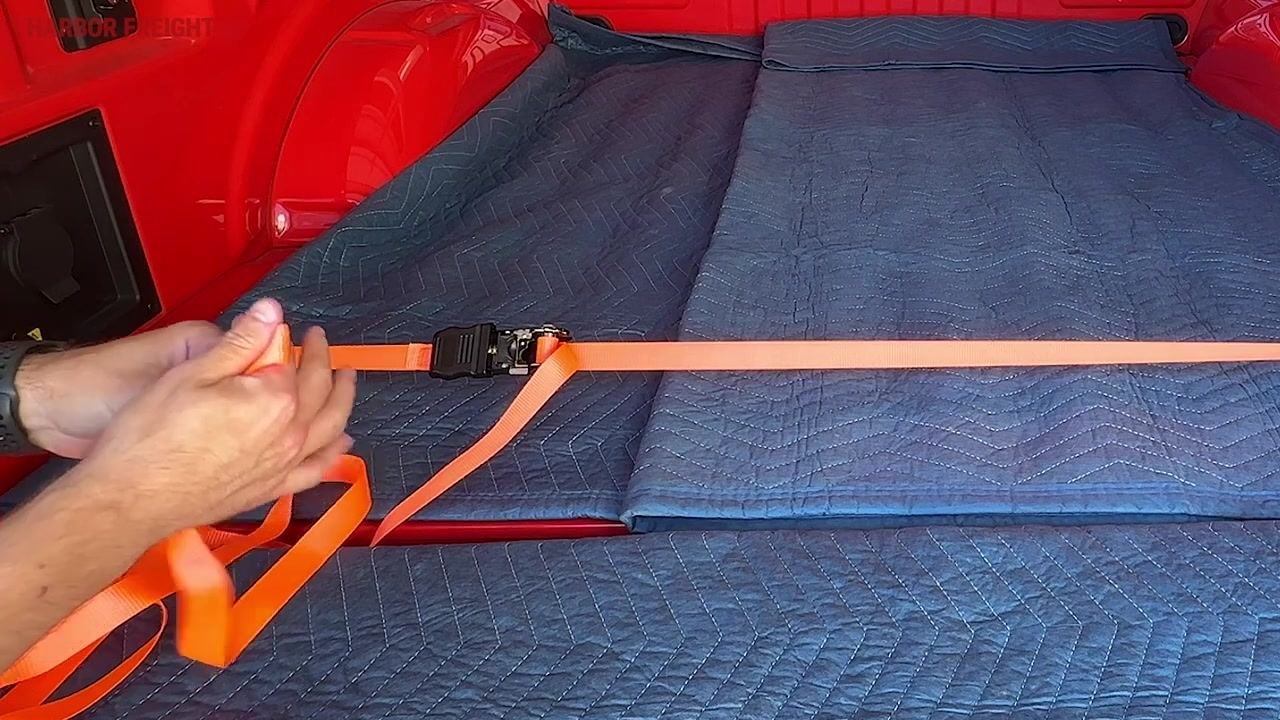
Secure the bundled webbing
Secure the bundled webbing with a zip tie, placing it around the center of the bundle and tightening it to prevent the webbing from unraveling or becoming a hazard during transport.
Note: Zip ties are inexpensive and can be purchased in bulk, such as a 100-pack for a few dollars.
Position the secured bundle so it lies flat and does not interfere with the ratchet mechanism or the load. Confirm the zip tie is tight and the bundle will not come loose.
Once the extra webbing is secured, the load is ready to travel, and the ratchet strap and bundle should remain secure throughout transport.
Release the ratchet mechanism at your destination
Upon arrival, prepare to release the ratchet strap. Note that the strap cannot simply be pulled free due to the tension built up during use.
Locate the release mechanism and lift the ratchet handle upward. You will pass the position used for tensioning and continue lifting until you hear a "pop" sound, indicating the mechanism has released.
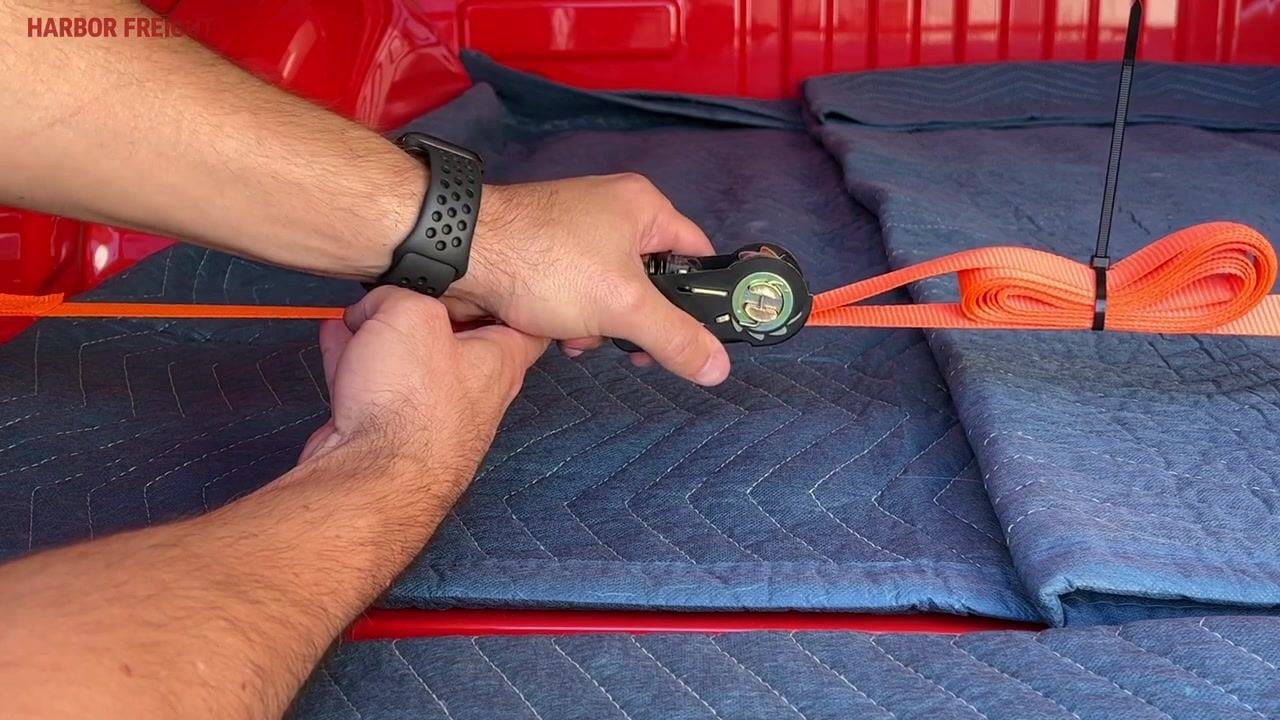
Remove the zip tie and open the ratchet handle
Once released, cut the zip tie securing the bundled webbing using scissors or a suitable cutting tool, then remove the zip tie and set aside the extra webbing.
Flatten the ratchet handle so it is parallel to the base. This fully opens the mechanism and allows the strap to be pulled back through the windlass.
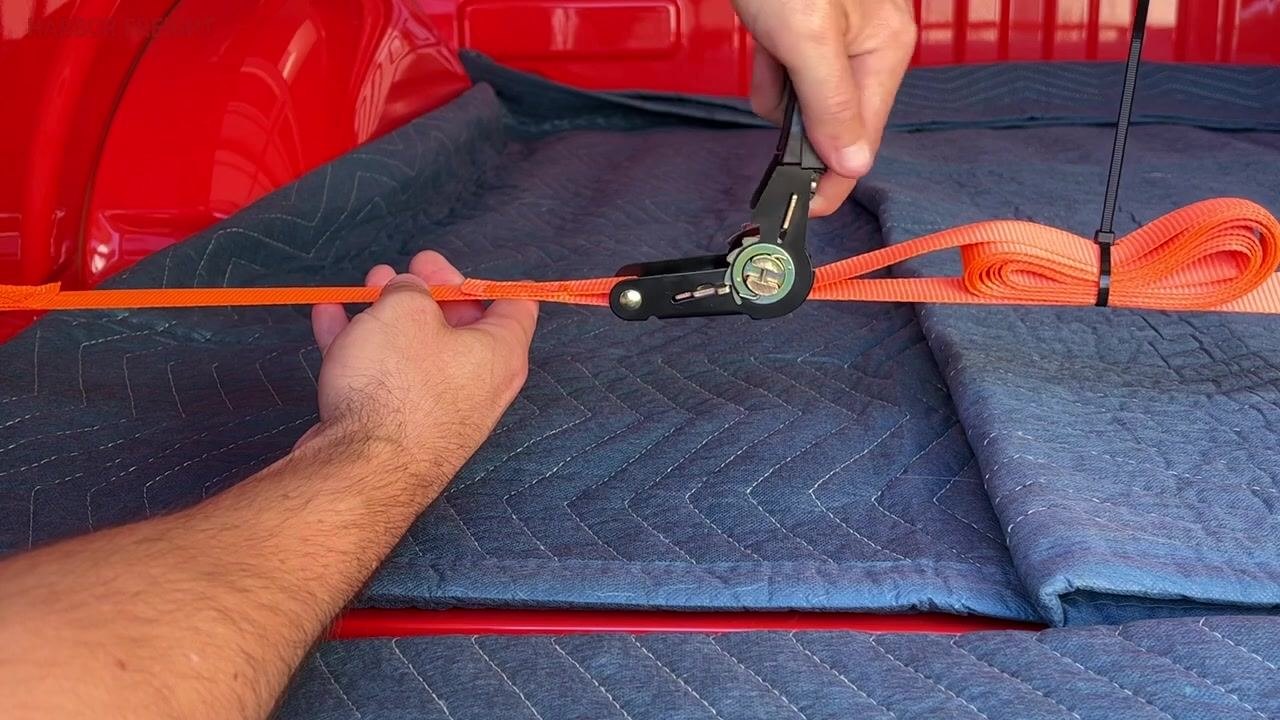
Pull the strap free and remove it
Feed the loose end of the webbing back through the ratchet mechanism, confirming there is no remaining tension on the line as you pull the strap through. Hold the ratchet mechanism steady with one hand and use your other hand to pull the webbing completely free.
Verification: Confirm the strap slides easily and pulls completely free, indicating all tension has been released. Continue pulling until the webbing is fully removed from the ratchet mechanism, then detach the strap from any anchor points or hooks.
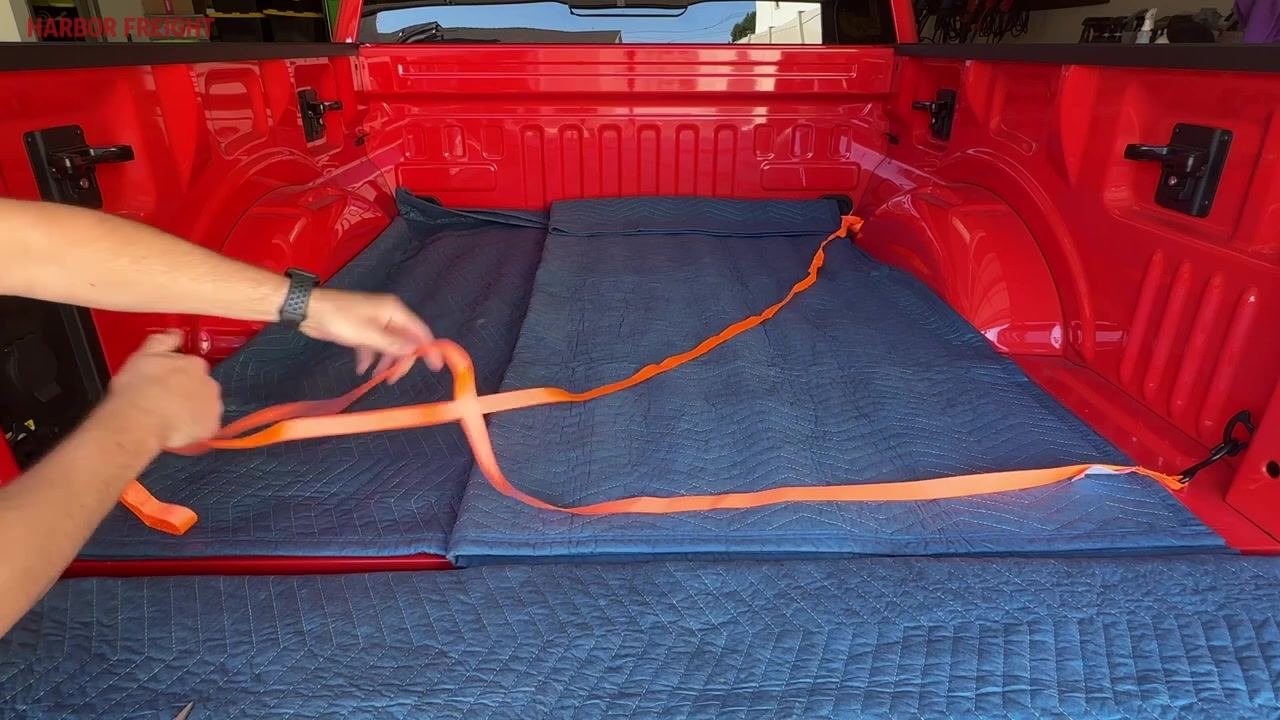
Complete the unloading process
Once the strap is removed and the load is free, remove the strap and store it for future use. Your unloading process is now complete.
Summary
By following this procedure, you can identify a ratchet strap's components, prepare and thread the webbing, apply and lock proper tension, secure excess webbing safely for transport, and release the strap correctly at your destination. Following these steps minimizes the risk of binding, malfunction, or safety hazards during use.
What's next
For additional ratchet straps, accessories, or product support, visit your local Harbor Freight store or their website.
Generation details: cost, quality tiers
Docsie billed 3,000 credits ($2.10) to analyze this 6-minute video at standard quality. The rewrite, template fill and Word/PDF exports were included. The same video at each quality tier:
| Quality | Frames sampled | Credits | Approx. cost |
|---|---|---|---|
| Draft | every 16-30 s | 1,500 | $1.05 |
| Standard (this guide) | every 8-15 s | 3,000 | $2.10 |
| Detailed | every 4-7 s | 6,000 | $4.20 |
| Ultra | every 1-3 s | 12,000 | $8.40 |
Credits priced at $0.70 per 1,000; plans include a monthly allowance. Enterprise customers on on-premise or bring-your-own-model deployments run this on their own inference and pay no per-video credits.
Generated by Docsie Video-to-Docs on 2026-09-10 from a 5-minute video. Screenshots are frames from the source video and belong to their creator, Harbor Freight, whose original is embedded above. If you own this video and want the guide removed or credited differently, contact us and we will act within one business day.