
How to Release Ratchet Strap
This procedure explains how to release a ratchet strap with overwound webbing when it becomes jammed and cannot be unspooled by hand. Following these steps allows you to safely disengage the locking mechanism and free the webbing without damaging the strap.
Video: Unjam a Ratchet Strap by OldSoulMillennial (2023). All credit for the demonstration goes to the creator; watch the original on YouTube. The written guide below was generated from this video by Docsie. Creator? Request a change or removal.
Purpose
This procedure explains how to release a ratchet strap with overwound webbing when it becomes jammed and cannot be unspooled by hand. Following these steps allows you to safely disengage the locking mechanism and free the webbing without damaging the strap.
Scope
This procedure applies to standard ratchet straps where the webbing has been wound too tightly around the spool, causing it to jam. It covers both minor jams that can be cleared by hand and severe jams that require hand tools.
Required equipment
- A jammed ratchet strap
- A clean, flat work surface
- A small flathead screwdriver
- Needle nose pliers
- Channel locks (optional alternative tool)
Step-by-step procedure
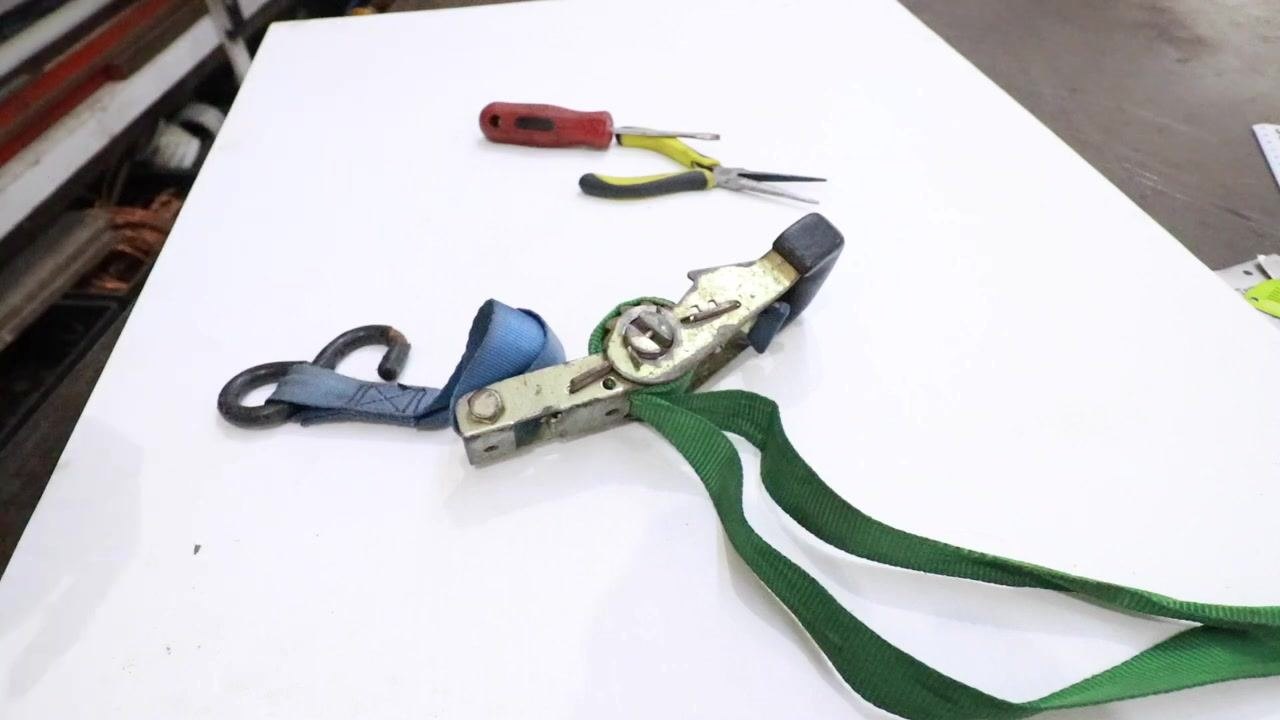
Identify the jammed ratchet strap
Inspect the ratchet strap and confirm that the webbing is jammed and cannot be unspooled by hand. Place the strap on a clean, flat surface for easier handling, and gather your tools: a small flathead screwdriver, needle nose pliers, or channel locks.
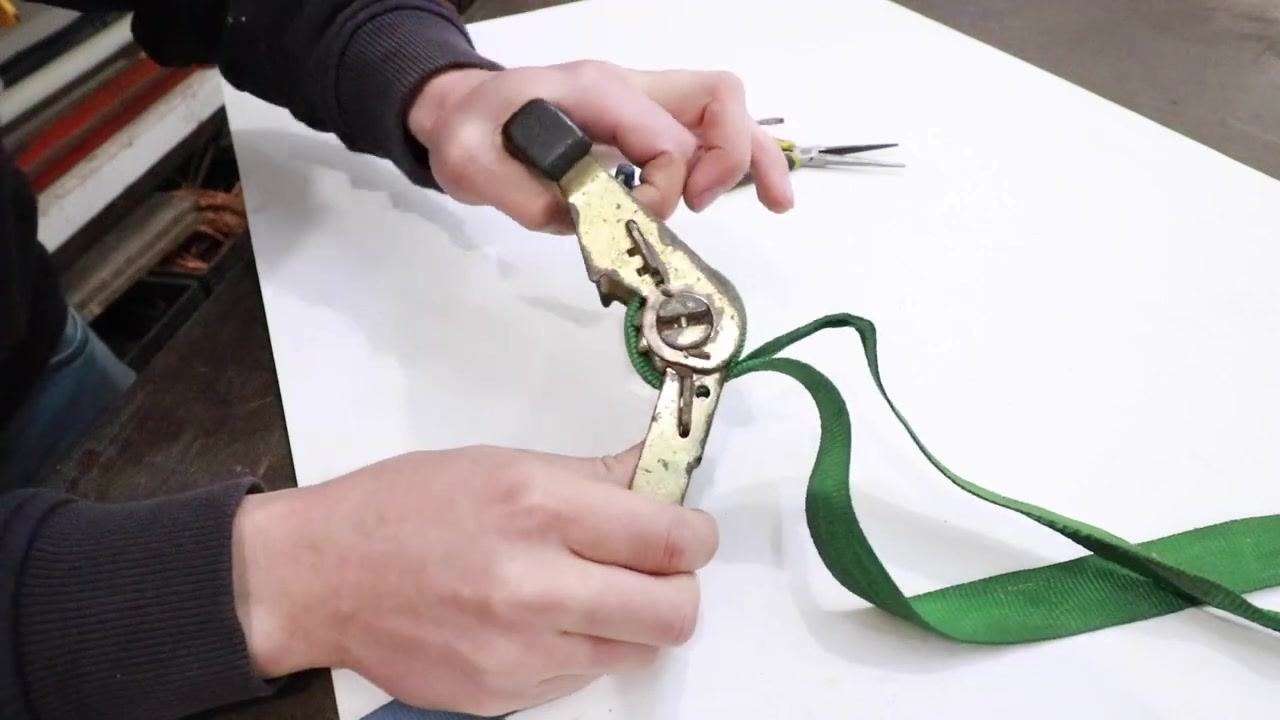
Put the ratchet in the release position
Locate the handle side of the ratchet. Pull up on the spring-loaded release tab with your finger, then straighten the handle completely. This action pushes the cam mechanism and disengages the locking tab from the spool teeth. Make sure the handle is fully straightened so the ratchet sits in the release position.
Observe the cam and locking tab mechanism
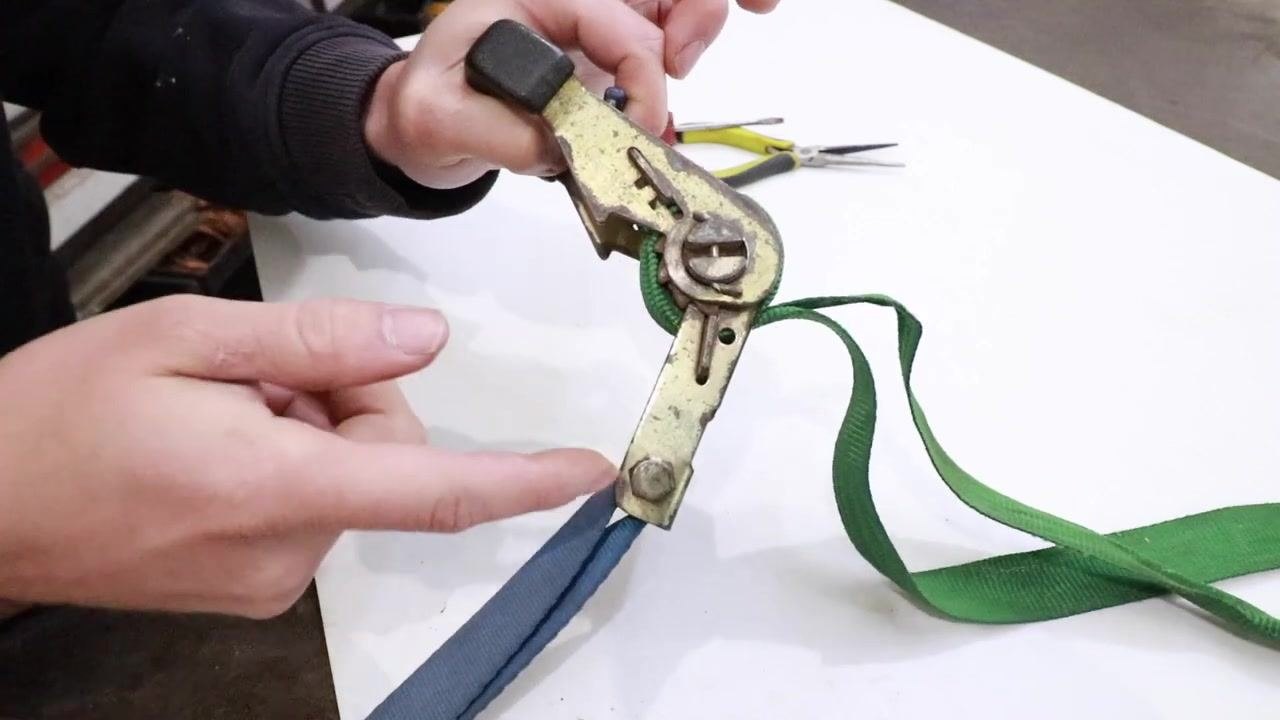
Look at the metal cam attached to the ratcheting side of the handle. Notice that the cam is wider in one area and narrower in another; as you straighten the handle, the cam pushes the locking tab down. Confirm that the locking tab is disengaged from the spool teeth, allowing the spool to rotate freely.
Verify the ratchet is in the unspooled position
Double-check that the handle is fully straightened and the locking tab is disengaged. At this point, the ratchet should rotate freely, although the webbing may still be jammed.
Prepare to unjam the spool
If the webbing remains stuck, select your tool: a small flathead screwdriver, needle nose pliers, or channel locks. Hold the ratchet securely in one hand before proceeding.
Insert the tool into the spool slot
Take the needle nose pliers, or your chosen tool, and insert the tip into the small slot on the center shaft of the spool.
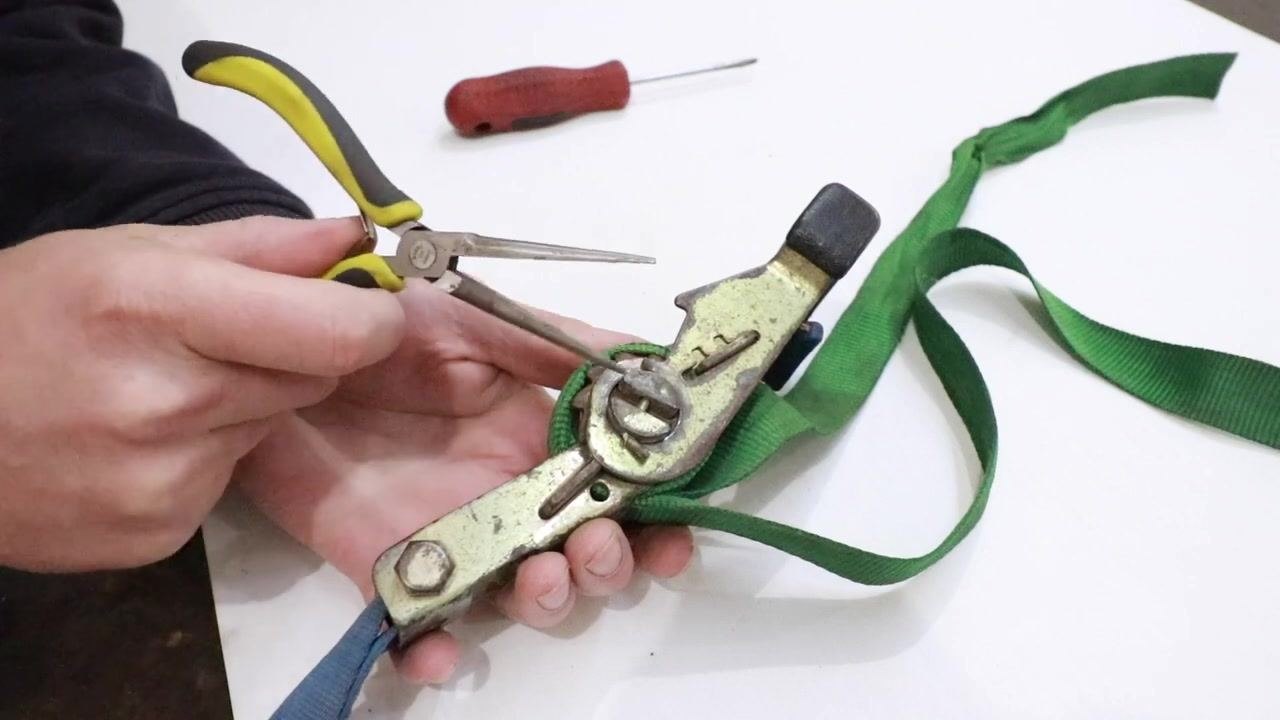
Backwind the spool counterclockwise
Grip the center shaft with the pliers and carefully rotate it counterclockwise to backwind the spool. You should see the spool moving and the webbing loosening slightly. Work carefully to avoid slipping the tool off the shaft.
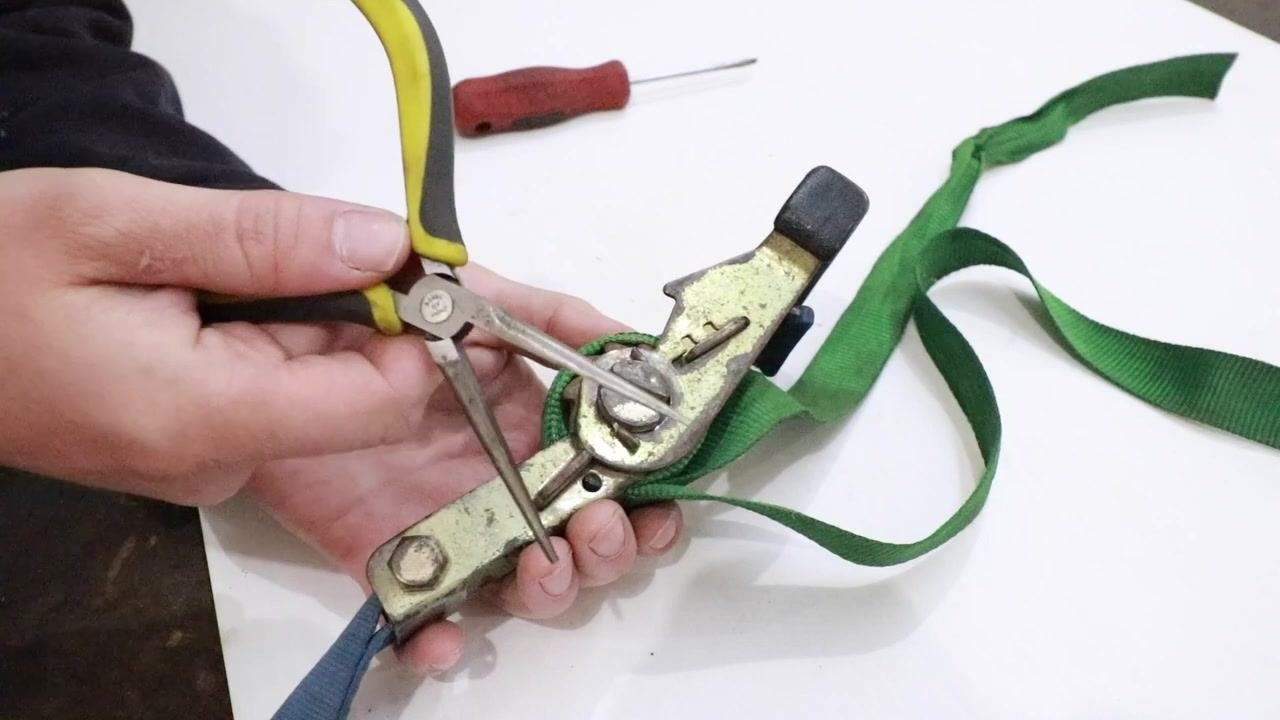
Pull on the webbing to remove slack
While holding the spool in the released position, gently pull on the webbing to remove any slack as it becomes available. Repeat the backwinding and pulling process until the jam clears and the webbing unspools freely.
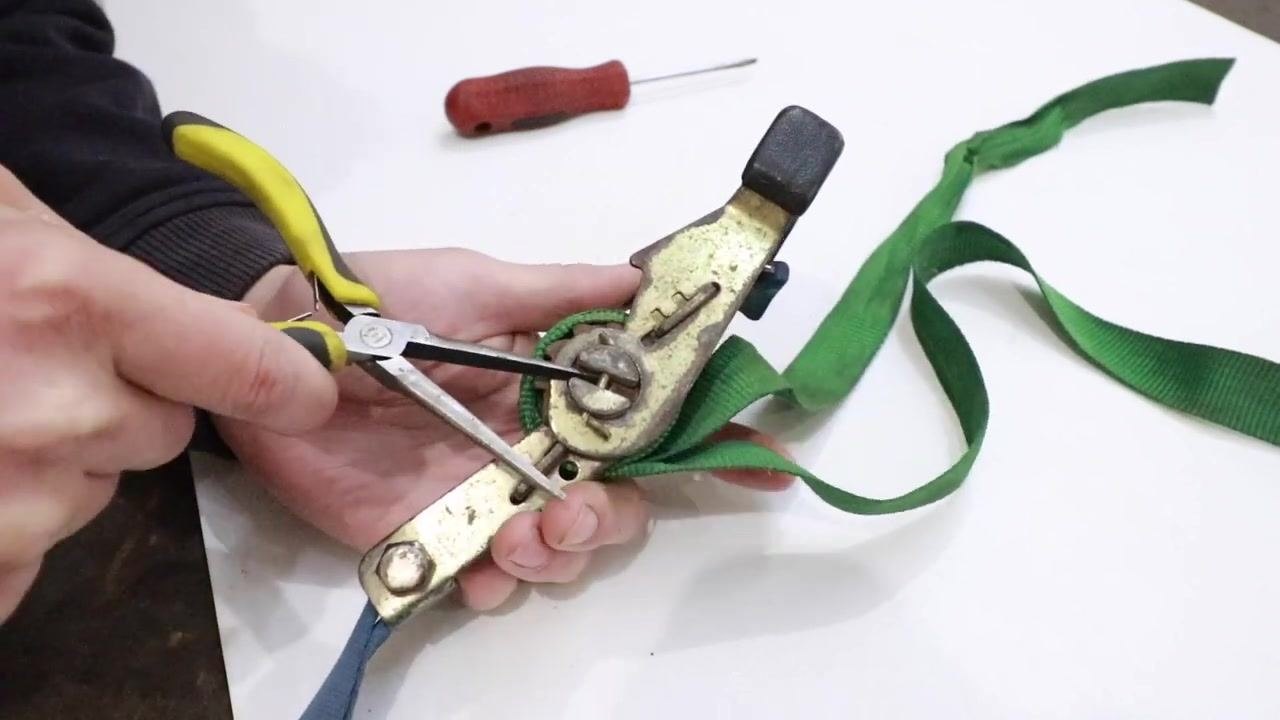
Continue backspinning the spool
Use the needle nose pliers to grip the center shaft again and rotate the spool further counterclockwise, loosening the webbing more. You should notice the tension decreasing and the spool becoming easier to move.
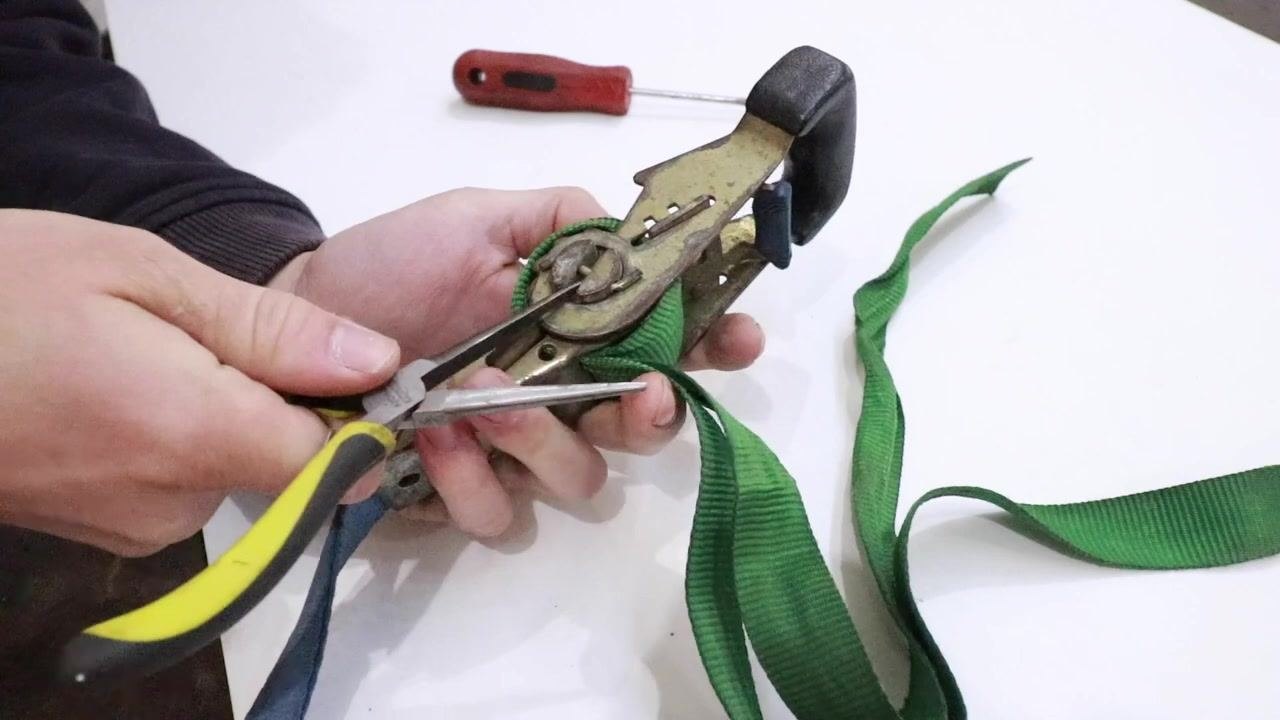
Attempt to pull the webbing out by hand
With the ratchet still in the release position, try pulling the green webbing off the spool using your hands. If the webbing moves, continue pulling to remove as much slack as possible.
Verify the ratchet is still in the release position
Double-check that the ratchet handle remains fully straightened and the locking tab is disengaged. Continue pulling the webbing off the spool by hand if possible.
Demonstrate a severe jam (optional)
If you want to practice the release procedure, you can intentionally create a severe jam. Crank the handle to wind the webbing tightly onto the spool until it is as bound up as possible.
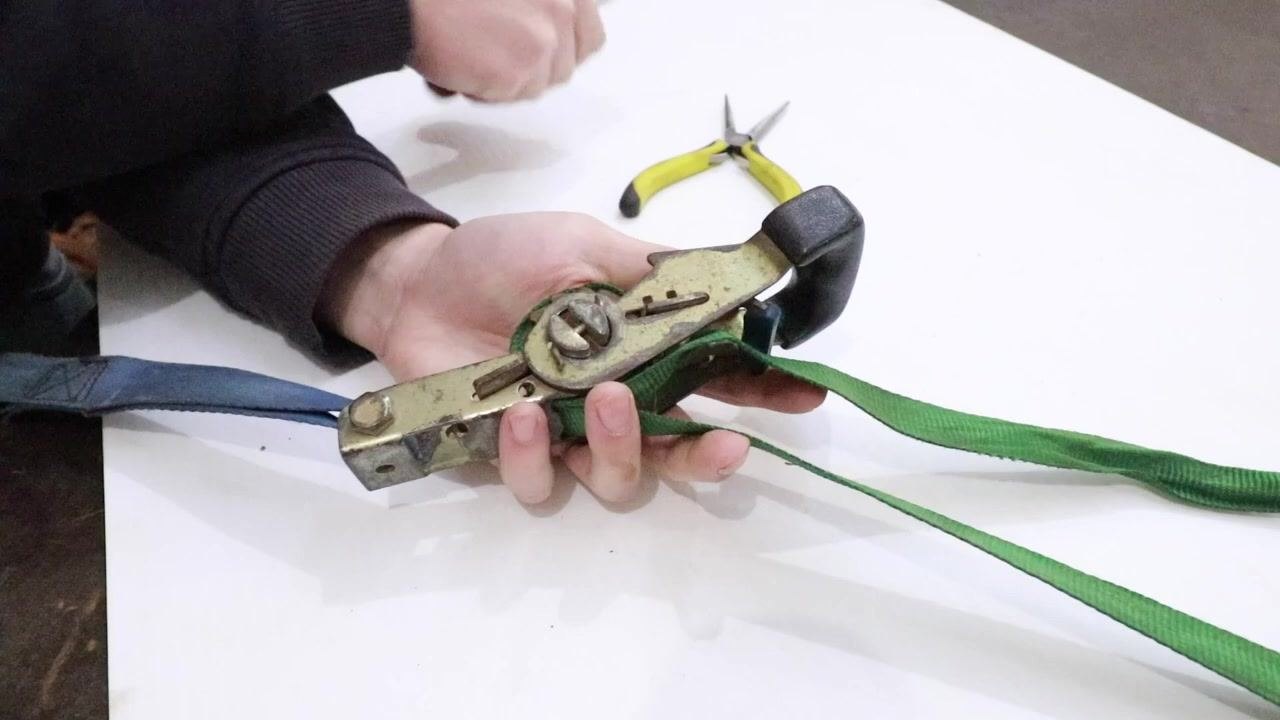
Position the screwdriver for a severe jam
Straighten the ratchet handle back to the release position, and select a small flathead screwdriver as your tool.
Insert the screwdriver into the spool slot
Insert the screwdriver tip into the slot on the center shaft of the spool, ready to rotate it.
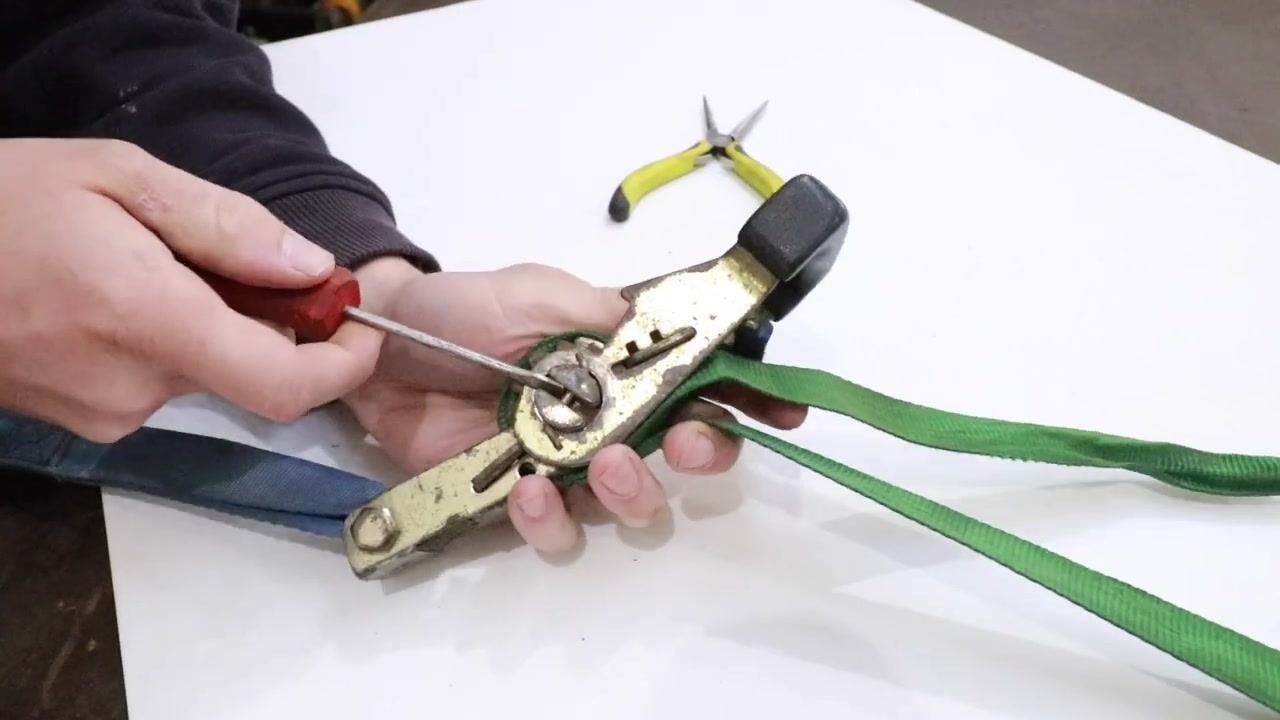
Backspin the spool using the screwdriver
Rotate the screwdriver counterclockwise to backspin the spool and loosen the jammed webbing. Apply force as needed; you may need to turn the spool about a half turn to release the tension.
Pull the webbing free
With the ratchet still in the release position, pull on the green webbing to remove it from the spool. If needed, alternate between backspinning the spool and pulling the webbing until it comes completely free.
Verification
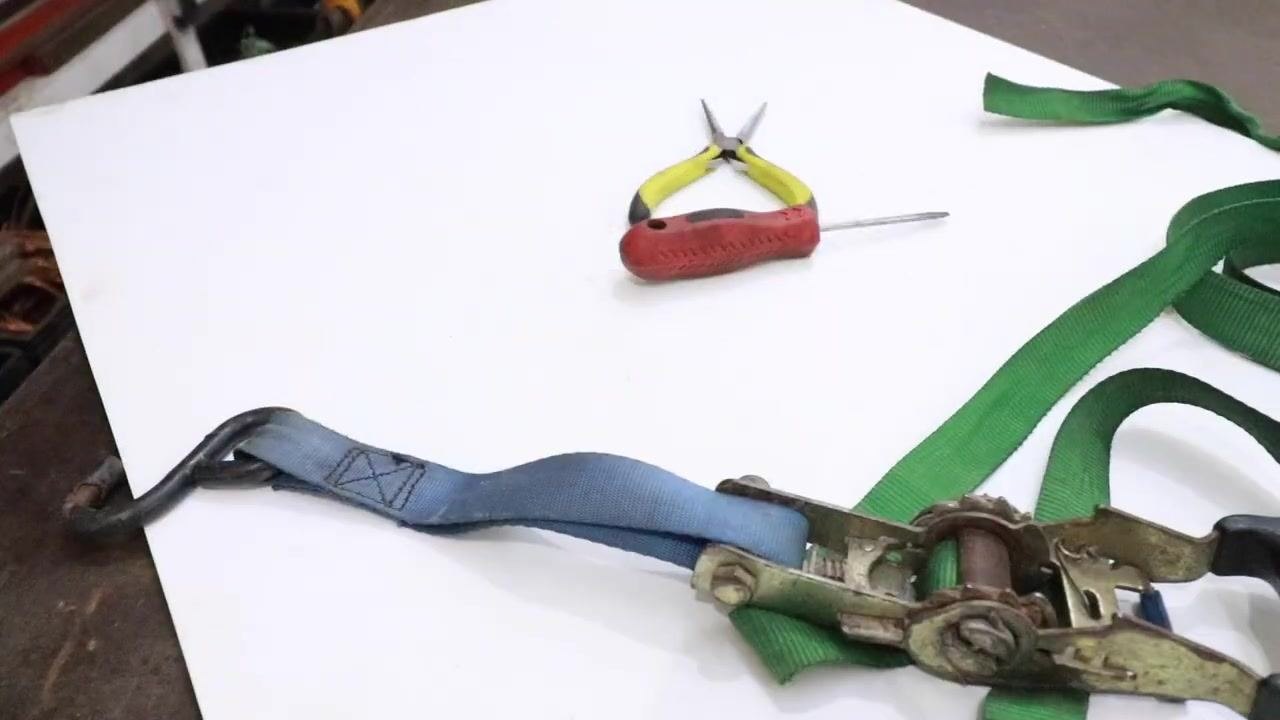
Lay the ratchet strap flat on the table and confirm the webbing is fully released and the ratchet mechanism moves normally. Set your tools aside and inspect the strap for any damage before putting it back into service.
Summary
By following this procedure, you can safely release a jammed ratchet strap with overwound webbing using either needle nose pliers or a flathead screwdriver. Always confirm the ratchet is in the release position before applying force to the spool, and alternate between backspinning and pulling the webbing as needed. Inspect the strap for damage before reuse.
Generation details: cost, quality tiers
Docsie billed 2,000 credits ($1.40) to analyze this 4-minute video at standard quality. The rewrite, template fill and Word/PDF exports were included. The same video at each quality tier:
| Quality | Frames sampled | Credits | Approx. cost |
|---|---|---|---|
| Draft | every 16-30 s | 1,000 | $0.70 |
| Standard (this guide) | every 8-15 s | 2,000 | $1.40 |
| Detailed | every 4-7 s | 4,000 | $2.80 |
| Ultra | every 1-3 s | 8,000 | $5.60 |
Credits priced at $0.70 per 1,000; plans include a monthly allowance. Enterprise customers on on-premise or bring-your-own-model deployments run this on their own inference and pay no per-video credits.
Generated by Docsie Video-to-Docs on 2026-09-10 from a 3-minute video. Screenshots are frames from the source video and belong to their creator, OldSoulMillennial, whose original is embedded above. If you own this video and want the guide removed or credited differently, contact us and we will act within one business day.