
How to Receive Inventory in a Warehouse
This guide explains how to receive inventory in a warehouse using the L&R Warehouse RF scanning process, from pre-arrival data entry through scanning, put-away, and system confirmation. It covers the roles of supervisory, clerical, and receiving staff, with primary focus on the receiver's tasks using the RF scanner.
Video: L&R Warehouse Training Video - Receiving by lrdist (2013). All credit for the demonstration goes to the creator; watch the original on YouTube. The written guide below was generated from this video by Docsie. Creator? Request a change or removal.
This guide explains how to receive inventory in a warehouse using the L&R Warehouse RF scanning process, from pre-arrival data entry through scanning, put-away, and system confirmation. It covers the roles of supervisory, clerical, and receiving staff, with primary focus on the receiver's tasks using the RF scanner.

Purpose
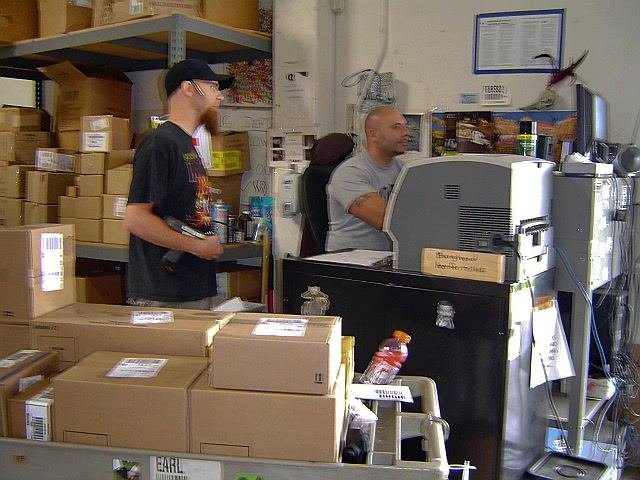
The purpose of this workflow is to accurately receive inbound product at the warehouse dock and move it into its primary or reserve storage bin while keeping the inventory system updated at every step. The process combines physical handling of product with electronic data entry so that warehouse operations run efficiently. It relies on three roles working together: supervisory staff, clerical staff, and receiving staff who operate the RF scanner. The expected control outcome is that every received item is scanned, quantified, assigned a location, and confirmed by a supervisor before the receiving transaction is considered complete.

Dock preparation
Before product arrives, supervisory and clerical staff enter delivery information into the Prelude system. This pre-receiving entry includes:
- Purchase Order (PO) number
- Delivery date
- Other relevant product delivery details
Product arrives at the dock by truck and is staged for unloading and scanning.
The source material does not detail staging lane layout, required PPE, equipment checks, appointment scheduling, or dock door setup; these would be documented separately as facility-specific dock procedures.
Shipment verification
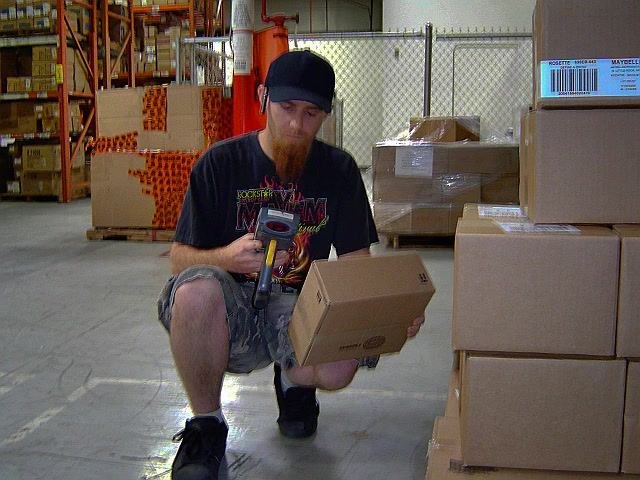
Once product is on the dock, the receiver identifies the shipment by its PO number, which is usually found on the pallet's shipping label.
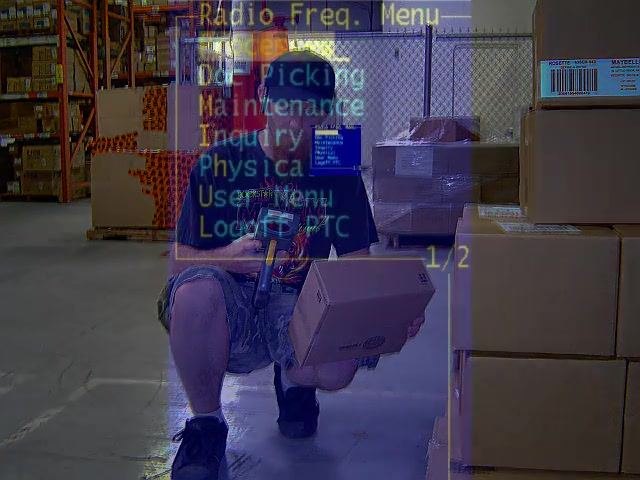
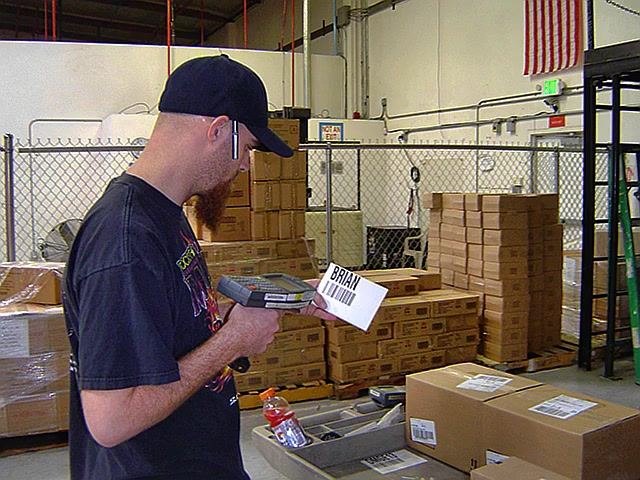
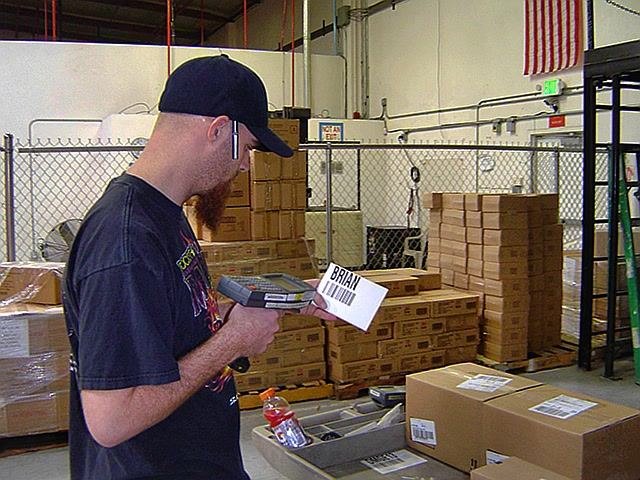
- Power on the RF scanner and log in. After login, the Radio Frequency (RF) menu appears.
- On the RF menu, select Processes.
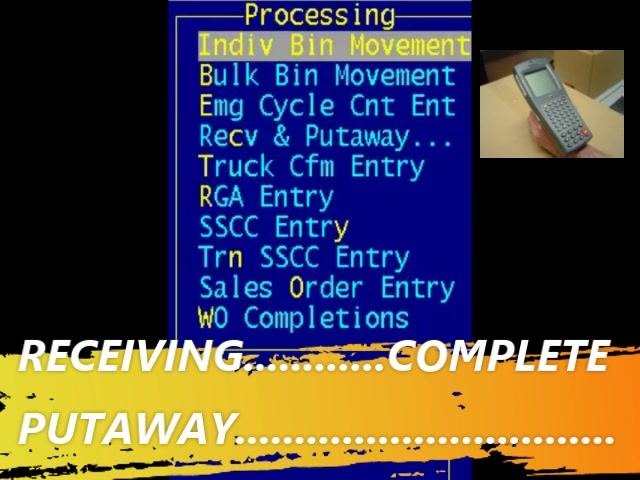
- On the Processing menu, select Receive and Put Away, then choose Stock Receipts.
- Enter the order's PO number (for example, PO # 326237) and press Enter to proceed.
The source material does not describe verifying a Bill of Lading (BOL), Advance Shipping Notice (ASN), trailer seal number, or trailer condition; these checks would be added as facility-specific verification steps if required.
Unload procedure
Follow these numbered steps to scan, receive, and put away each item after shipment verification is complete.
-
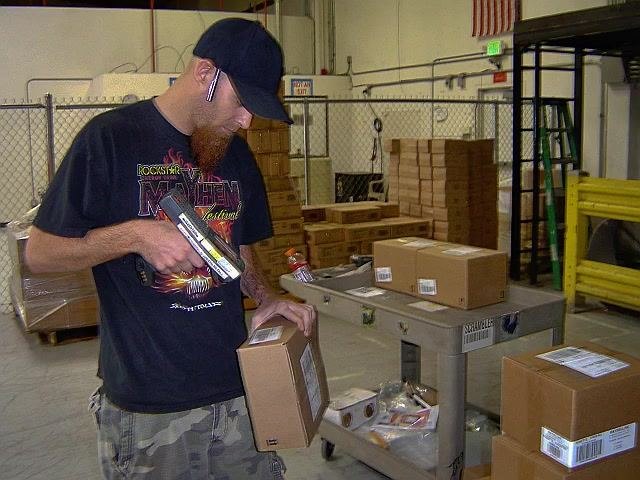
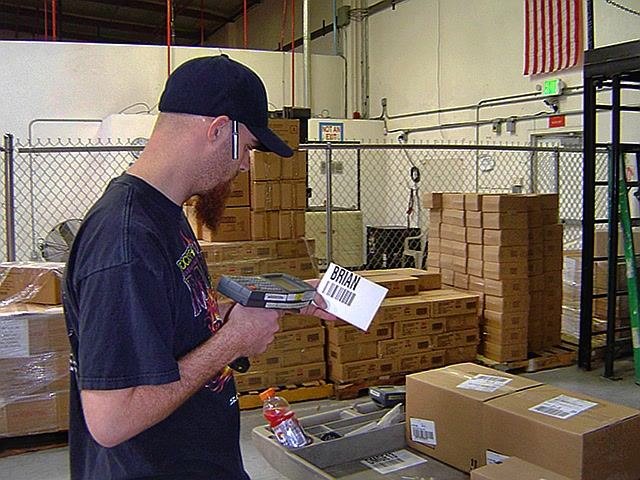
Scan the first item. Aim the RF scanner at the barcode on the product packaging. The scanner displays the product information, including its primary location code (for example, Product Number MSSGS12120, Description SUPERSTAY GLS STA IN BRY HEAVEN, Primary Location 041145). Confirm you are in the correct warehouse area with the correct product.
-
Enter the quantity received. Use the scanner keypad to key in the exact quantity (for example, Qty Rec'd = 72), then press Enter. The cursor moves to the Bin field.
-
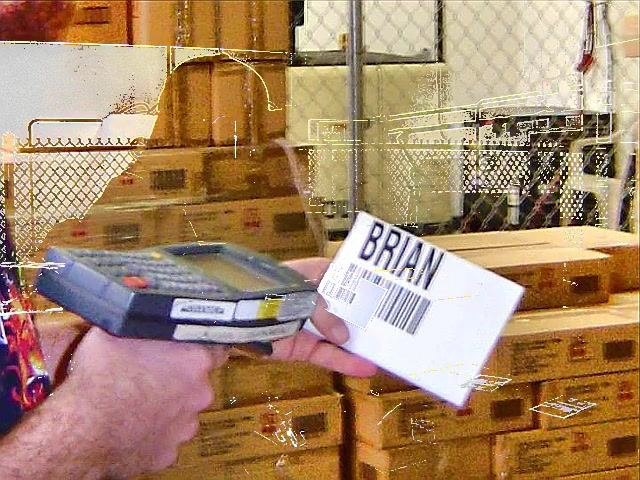
Scan your nameplate if prompted. If the Bin field shows DOCK, the product is not yet assigned to a warehouse location. Scan your personal nameplate barcode so the system electronically attaches the product to you as its current location.
-
Confirm and repeat. Verify that your name, the PO number, product number, and quantity all display correctly, then press Enter. Repeat these scanning steps for every additional item received.
-
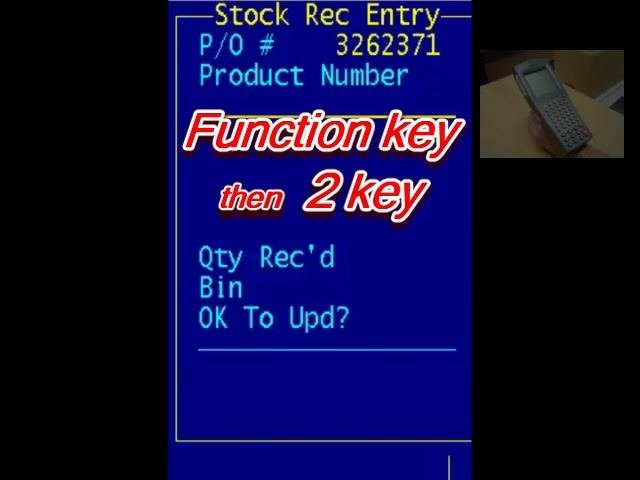
Save your entries. Once all items are electronically received, press the Function key, then the 2 key, to save the entries and finalize the receiving data in the system.
-
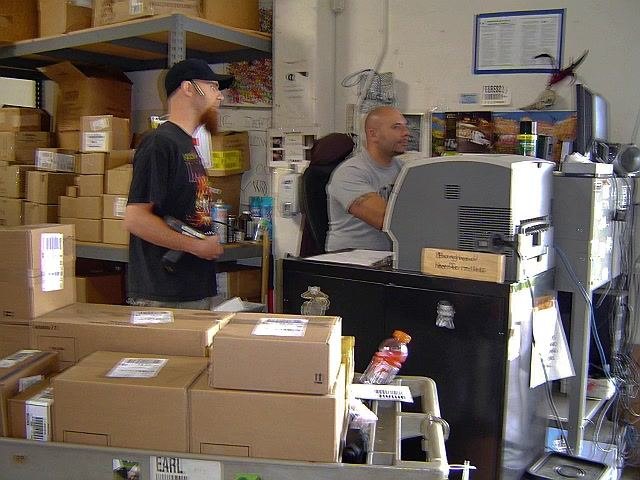
Return to the menu and notify your supervisor. Press Clear to return to the Processing menu, then inform your supervisor that receiving is complete so the process can be finalized in the system.
-
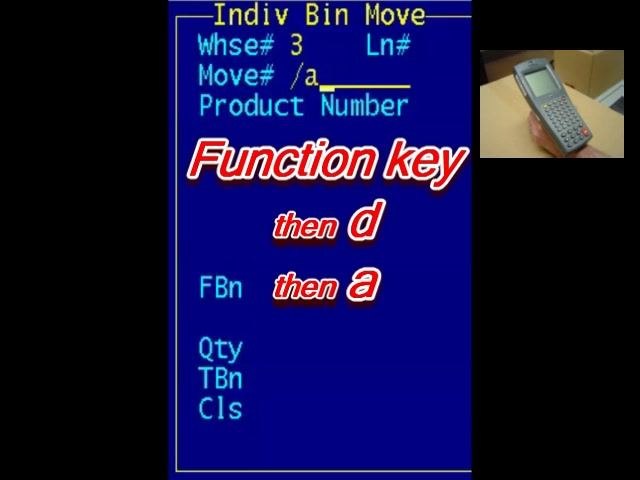
Begin put-away. From the Processing menu, select Indiv Bin Movement and press Enter.
-
Open the bin inquiry. With the cursor on New, press Function, then D, then A, then Enter to reach the Bin Product On-Hand Inquiry screen.
-
Scan the product to put away. The screen shows the primary bin location, available quantity, and related details (for example, Product# MSSGS12120, Primary Bin 041145, Available 10). Scroll to review additional bin locations if needed.
-
Go to the destination bin. Move to the product's primary or picking bin location if it needs refilling, or select a reserve location if it does not.
-
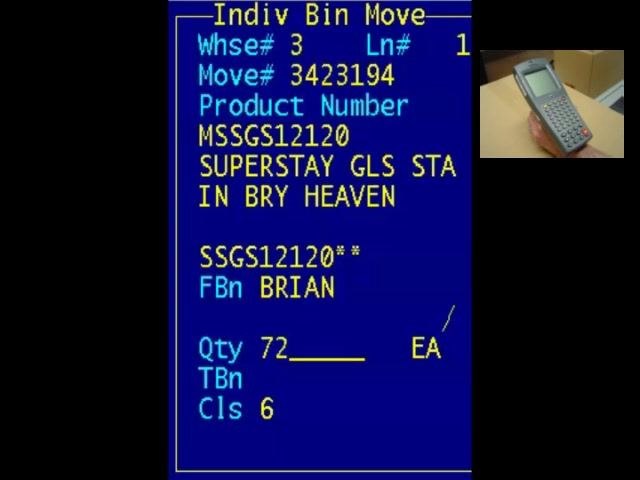
Start the move transaction. Press Clear twice to return to the Individual Bin Movement menu, then press Enter. The system generates a move number and prompts you to scan the product again.
-
Confirm the from-bin. Scan the product barcode to confirm the item being moved. The cursor moves to the FBN (From Bin) field; scan your nameplate barcode, since the product's current location is you as the receiver.
-
Enter the quantity to move and confirm the to-bin. Key in the exact quantity (for example, 72), press Enter, and the cursor moves to the TBN (To Bin) field.
-
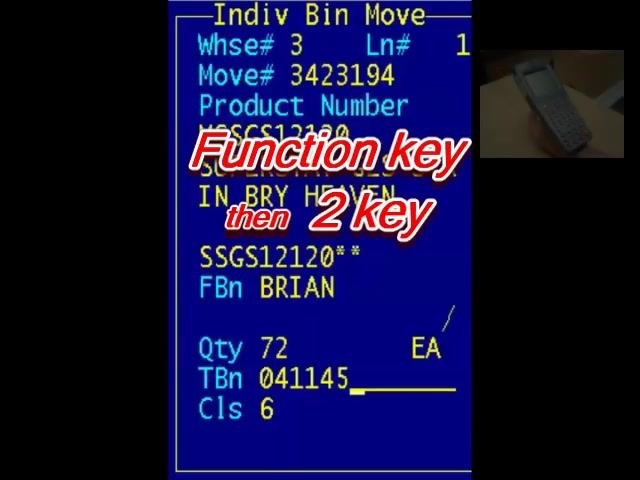
Scan the destination location. Scan the code for the primary location or the reserve location, depending on where the product is going, then place the product in the corresponding box or bin.
-
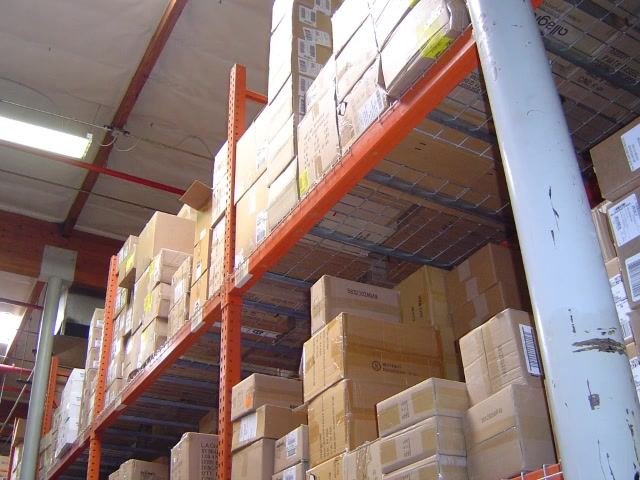
Physically place the product. Move to the correct shelf or bin indicated by the scanned code and place the product securely inside it.
-
Reset the scanner for the next item. Press Function, then 2, to return to a blank bin location screen and repeat this put-away sequence for each remaining item.
Discrepancies
The source material does not cover handling overages, shortages, damaged product, wrong PO numbers, or temperature failures; these situations would need documented escalation steps. It does provide guidance for two related situations:
-
Canceling or ending a move: On the blank bin location screen, press Function, then d, then e, to exit or reset the current move operation.
-
When unsure about a step: Speak with the receiving supervisor for guidance before proceeding.
Always double-check entries such as PO number, product number, quantity, and assigned name for accuracy before saving.
System updates
The system is updated at multiple points to keep inventory records accurate:
- Supervisory and clerical staff enter PO number, delivery date, and delivery details into the Prelude system before product arrives.
- The RF scanner records each scanned product, quantity received, and bin or nameplate assignment during receiving.
-
Pressing Function, then 2, saves the receiving entries and finalizes them in the system.
-
A supervisor updates the system after receiving is reported complete; only after this update is the receiving process officially finished.
- During put-away, the system generates a move number and records the From Bin (FBN) and To Bin (TBN) fields as the product moves from the receiver's nameplate location to its storage bin.
Safety
The source material does not detail forklift operation, pedestrian right-of-way, dock lock procedures, spill response, or load stability precautions; these topics would need to be documented separately as site safety requirements. It does emphasize the importance of accuracy and diligence when placing product, reinforcing that careful, correct work directly supports safe and reliable warehouse operations.
What's next
After completing receiving and put-away for all items, confirm with your supervisor that the receiving transaction has been finalized in the system. If you encounter a discrepancy or an unfamiliar screen prompt, consult your supervisor before continuing, since documented discrepancy and safety procedures beyond what is described here should be added to reflect your facility's specific requirements.
Generation details: cost, quality tiers, downloads
Docsie billed 3,500 credits ($2.45) to analyze this 7-minute video at standard quality. The rewrite, template fill and Word/PDF exports were included. The same video at each quality tier:
| Quality | Frames sampled | Credits | Approx. cost |
|---|---|---|---|
| Draft | every 16-30 s | 1,750 | $1.22 |
| Standard (this guide) | every 8-15 s | 3,500 | $2.45 |
| Detailed | every 4-7 s | 7,000 | $4.90 |
| Ultra | every 1-3 s | 14,000 | $9.80 |
Credits priced at $0.70 per 1,000; plans include a monthly allowance. Enterprise customers on on-premise or bring-your-own-model deployments run this on their own inference and pay no per-video credits.
Generated by Docsie Video-to-Docs on 2026-09-10 from a 6-minute video. It was generated straight into Docsie's Inbound Receiving SOP template, so every section of that template is filled from the video. Screenshots are frames from the source video and belong to their creator, lrdist, whose original is embedded above. If you own this video and want the guide removed or credited differently, contact us and we will act within one business day.