
How to Export Data From Salesforce
Salesforce offers two ways to export your data: through Reports or through the Data Export feature in Setup. This guide walks you through how to export data from Salesforce using either method, so you can choose the approach that best fits your needs—whether you want a quick, formatted report or a scheduled bulk export of your organization's records.
Video: How to Export Data From Salesforce Tutorial [2025 Full Guide] by Learn With Liam (2025). All credit for the demonstration goes to the creator; watch the original on YouTube. The written guide below was generated from this video by Docsie. Creator? Request a change or removal.
Salesforce offers two ways to export your data: through Reports or through the Data Export feature in Setup. This guide walks you through how to export data from Salesforce using either method, so you can choose the approach that best fits your needs—whether you want a quick, formatted report or a scheduled bulk export of your organization's records.
Prerequisites
- Access to a Salesforce account with permissions to view and export reports or organization data.
- A report already created, or the ability to run one, if using the Reports export method.
Method 1: Exporting using Reports
Step 1: Open the Salesforce Home dashboard
Open Salesforce and make sure you're on the Home dashboard. Here you'll see widgets such as "My Leads," "My Opportunities," "My Contacts," and "Recent Records." The left sidebar provides navigation options including Home, Contacts, Accounts, Sales, Service, Commerce, Generative Canvas, and Your Account.
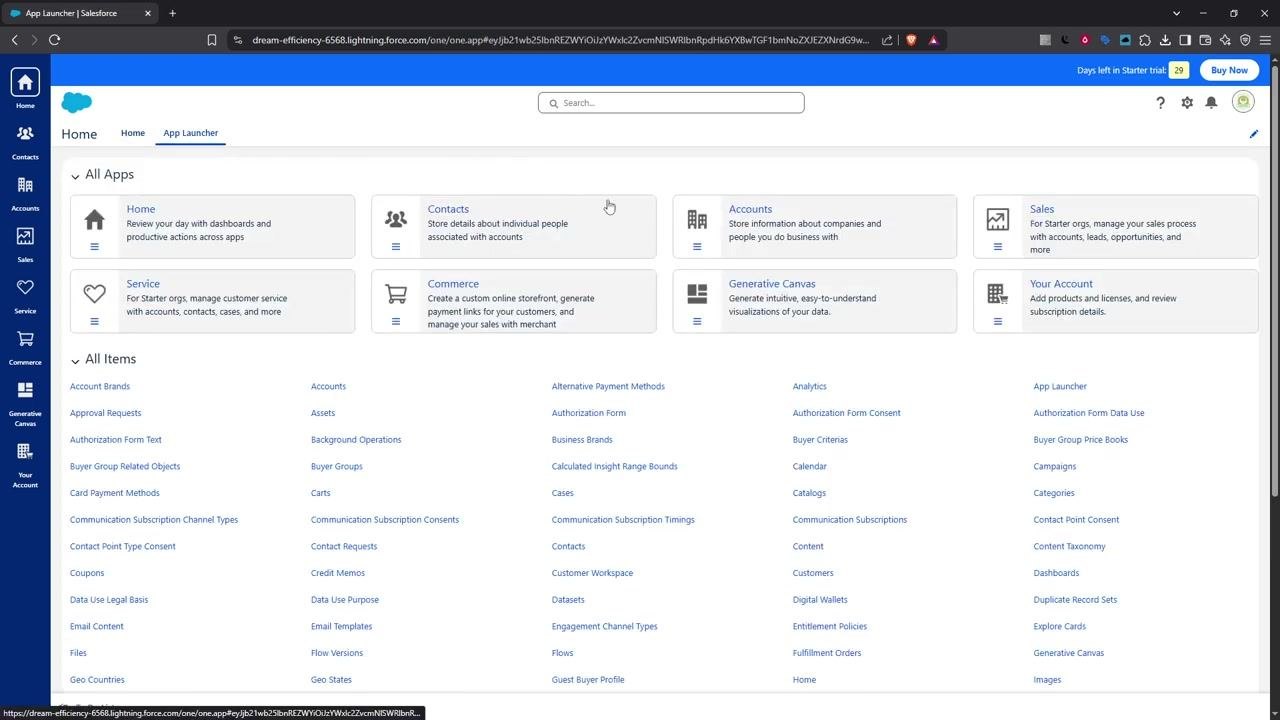
Step 2: Open the App Launcher
Click the App Launcher icon in the top-left corner of the screen. This opens a menu where you can access all available apps and items.
Step 3: Search for and select Reports
In the App Launcher, type "reports" into the search bar at the top. A list of matching apps and items appears below the search bar—select Reports from this list.
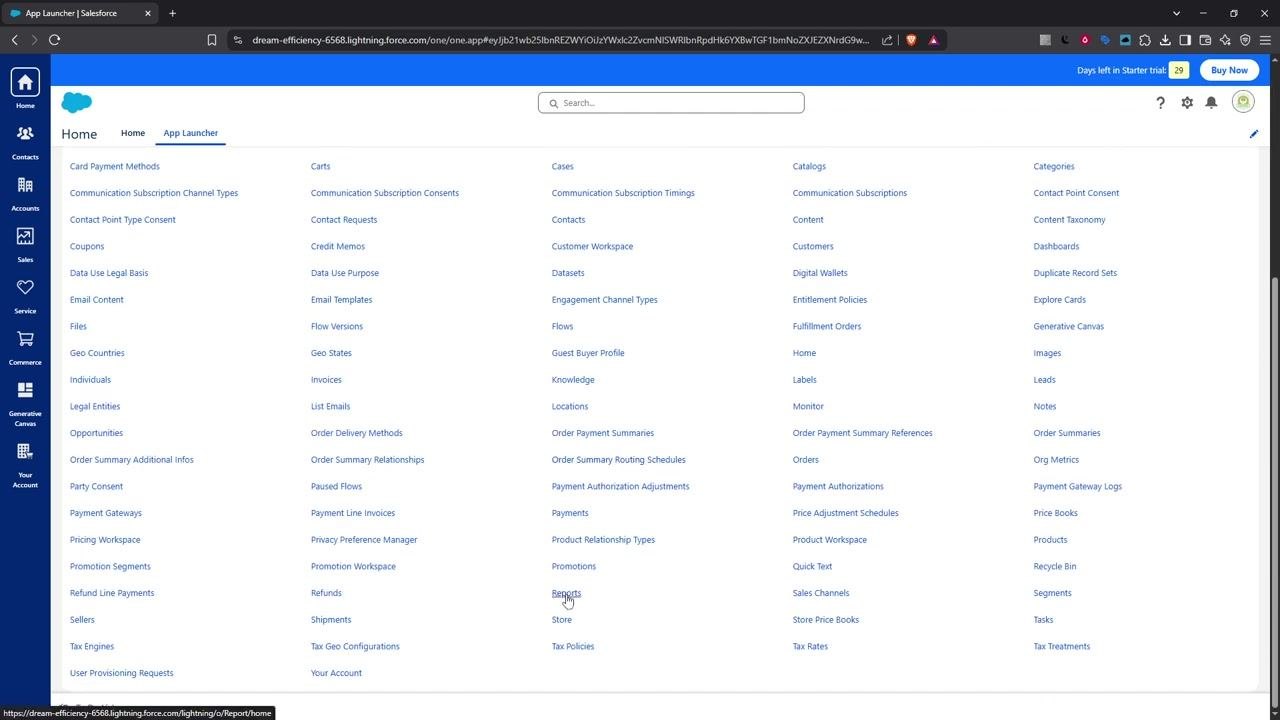
Step 4: Choose the report you want to export
On the Reports page, select an existing report, or create and run a new one that you want to export. The page lists recent reports with columns for Report Name, Description, Folder, Created By, Created On, and Subscribed. Example reports include "All Contacts," "Open Cases for Accounts I Own," "New Accounts Report," and "All Opportunities." Click on the report you want (for example, "New Accounts Report").
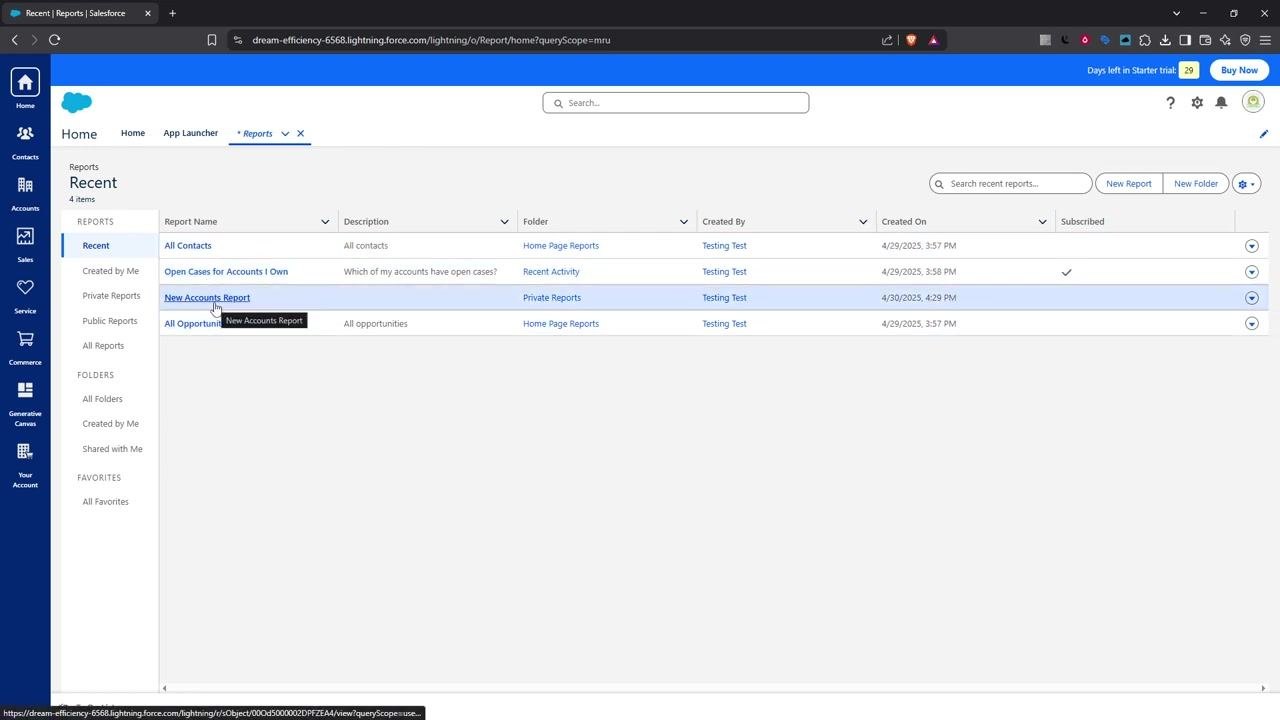
Step 5: Open the export menu
Once your report is open, locate the More Actions dropdown menu (represented by three dots) next to the Edit button on the report's toolbar. Click it and select Export from the list of options, which also includes Save As, Save, Subscribe, Delete, Add to Campaign, and Add to Dashboard.
Step 6: Choose your export format and file type
In the Export dialog, choose how you want the report exported:
- Formatted Report – exports the report with headers, groupings, and filter settings for a visually structured output.
- Details Only – exports only the detail rows as raw data, ideal for further calculations or uploading to other systems.
Next, select the file type:
- Excel Format (.xlsx)
- Comma Delimited (.csv) – often preferred for its simplicity and compatibility with data processing software.
Use the dropdown menu to select your preferred format.
Step 7: Download and save the file
Click the Export button to begin downloading your report. When prompted by your browser or operating system, choose a location to save the file and click Save. The save dialog displays the default file name and file type.
Method 2: Exporting using the Data Export feature
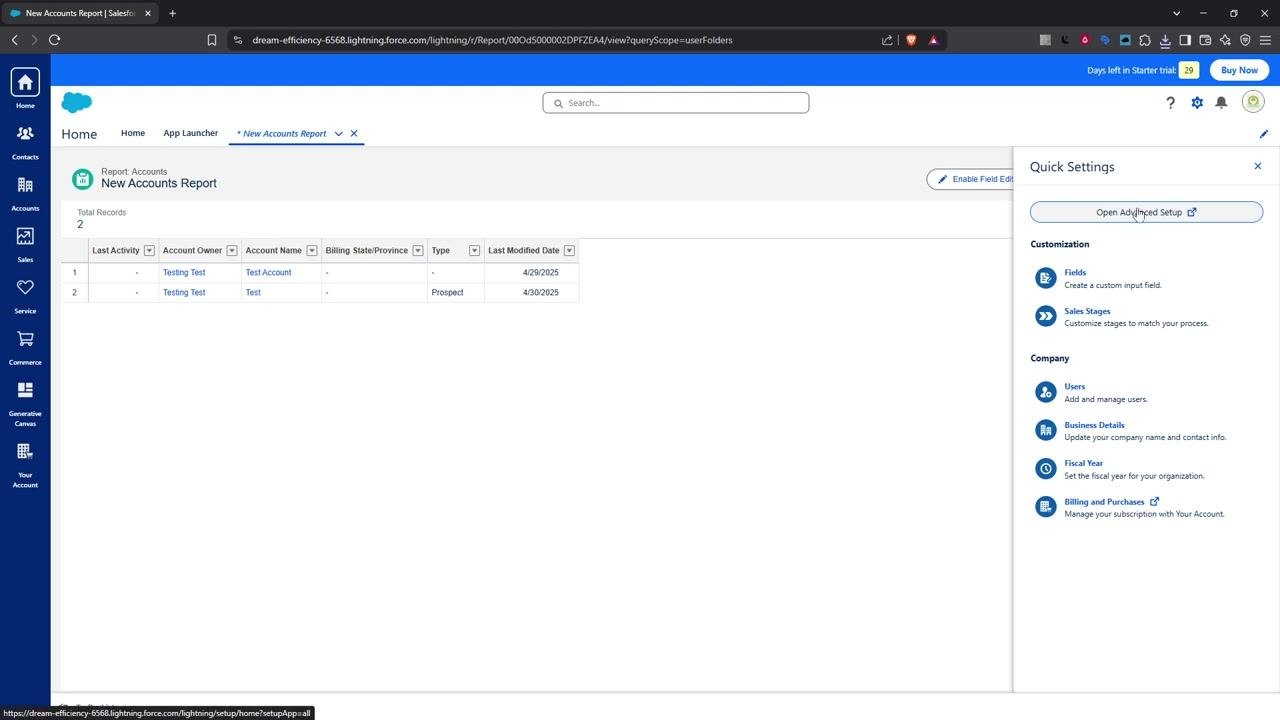
Step 1: Open Setup
Click the Gear icon in the upper-right corner of the dashboard, then select Setup from the dropdown menu.
Step 2: Find the Data Export option
In the Setup area, use the Quick Find box in the left sidebar and type "data export". Select Data Export under the Data menu to proceed with exporting your organization's data.
Step 3: Choose an export method
With the Data Export tool open, choose how you want to export your data:
- Click Export Now to download your data immediately.
- Click Schedule Export to plan the export for a later date and time—useful for running exports during non-peak hours or on a recurring basis.
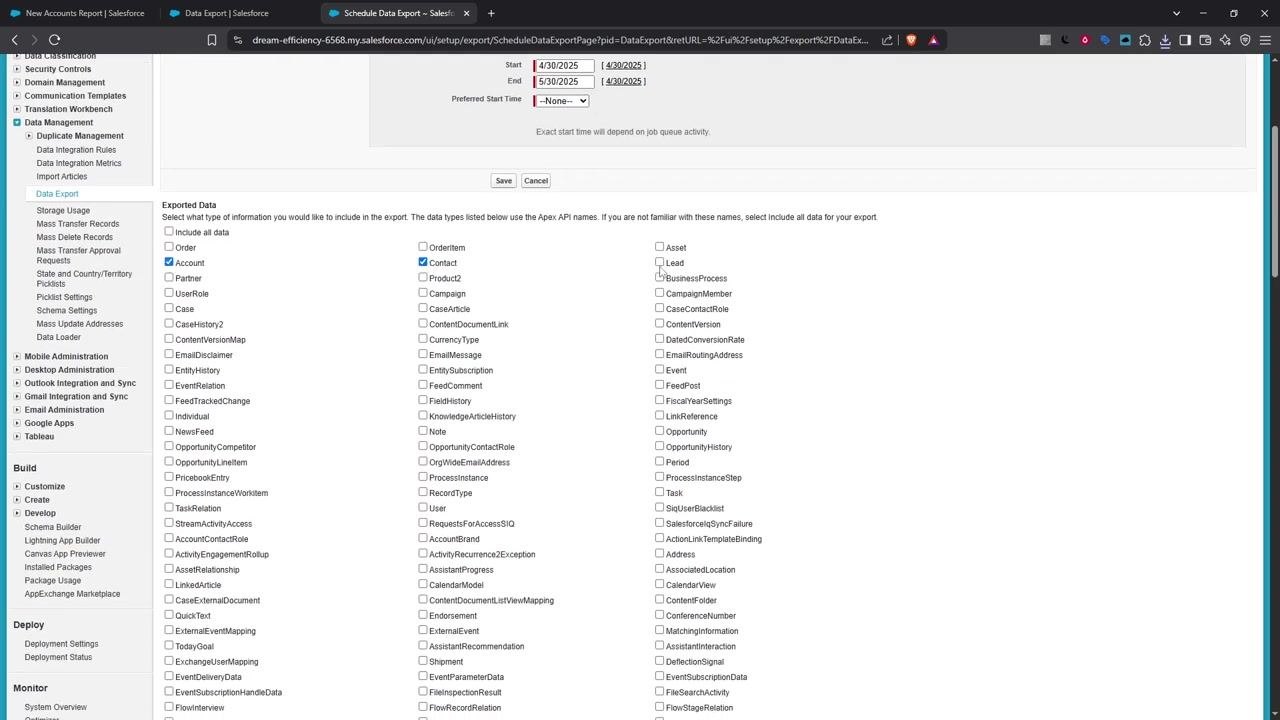
Step 4: Set your export parameters (if scheduling)
If you chose to schedule your export, configure the following:
- Frequency (for example, on a specific day of every month).
- Start and End dates for the export schedule.
- An optional Preferred Start Time.
- Export File Encoding (for example, ISO-8859-1 General US & Western European, or ISO-LATIN-1).
- Whether to include images, documents, attachments, Salesforce Files, and CRM Content, using the available checkboxes.
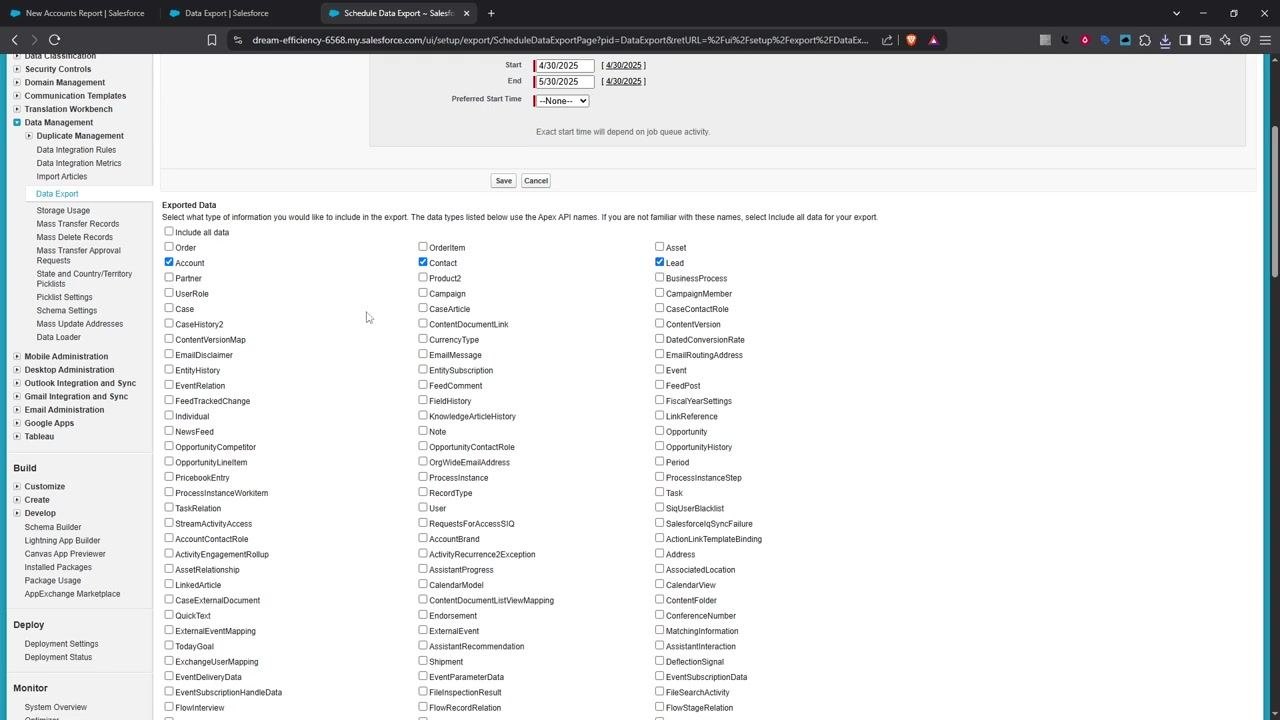
Step 5: Select the objects to export
In the Exported Data section, check the boxes for each Salesforce object you want to include, such as Account, Contact, Lead, or others relevant to your needs. Alternatively, select Include all data to export everything.
Step 6: Start the export
Once your selections are complete, click Start Export (or Save if you're scheduling the export). Salesforce begins packaging your data—this may take some time depending on the size and complexity of your data.
Step 7: Download your exported files
Salesforce will notify you by email with a link to download your export files once the process is complete. Export files remain available for download from the Monthly Export Service page for 48 hours before they're deleted.
Summary
You now know how to export data from Salesforce using two different methods. Use the Reports export method for a quick, formatted or raw export of a specific report, choosing between Excel and CSV file types. Use the Data Export feature when you need to export broader sets of organizational data—either immediately or on a recurring schedule—covering objects like Accounts, Contacts, and Leads, along with related files and attachments. Salesforce will notify you by email once your export is ready for download.
Generation details: cost, quality tiers
Docsie billed 1,500 credits ($1.05) to analyze this 3-minute video at standard quality. The rewrite, template fill and Word/PDF exports were included. The same video at each quality tier:
| Quality | Frames sampled | Credits | Approx. cost |
|---|---|---|---|
| Draft | every 16-30 s | 750 | $0.52 |
| Standard (this guide) | every 8-15 s | 1,500 | $1.05 |
| Detailed | every 4-7 s | 3,000 | $2.10 |
| Ultra | every 1-3 s | 6,000 | $4.20 |
Credits priced at $0.70 per 1,000; plans include a monthly allowance. Enterprise customers on on-premise or bring-your-own-model deployments run this on their own inference and pay no per-video credits.
Generated by Docsie Video-to-Docs on 2026-09-08 from a 2-minute video. Screenshots are frames from the source video and belong to their creator, Learn With Liam, whose original is embedded above. If you own this video and want the guide removed or credited differently, contact us and we will act within one business day.