
How to Add Salesforce to Outlook
Learning how to add Salesforce to Outlook lets your sales reps work from a single, connected workspace instead of switching between two applications. This guide walks through the benefits of the Outlook integration and Salesforce Inbox, the system requirements you need to check first, the setup steps in Salesforce Setup, how to customize the application pane for different user roles, and best practices for rolling the integration out to your team.
Video: Outlook Integration and Salesforce Inbox | Sales Cloud by Salesforce Support (2024). All credit for the demonstration goes to the creator; watch the original on YouTube. The written guide below was generated from this video by Docsie. Creator? Request a change or removal.
Learning how to add Salesforce to Outlook lets your sales reps work from a single, connected workspace instead of switching between two applications. This guide walks through the benefits of the Outlook integration and Salesforce Inbox, the system requirements you need to check first, the setup steps in Salesforce Setup, how to customize the application pane for different user roles, and best practices for rolling the integration out to your team.
Why add Salesforce to Outlook
The Outlook integration gives sales reps who use both Outlook and Salesforce a seamless, connected experience. Reps can view matching contacts, leads, accounts, and other Salesforce records directly inside Outlook, log emails from Outlook straight into Salesforce, and create new related records without leaving their inbox.
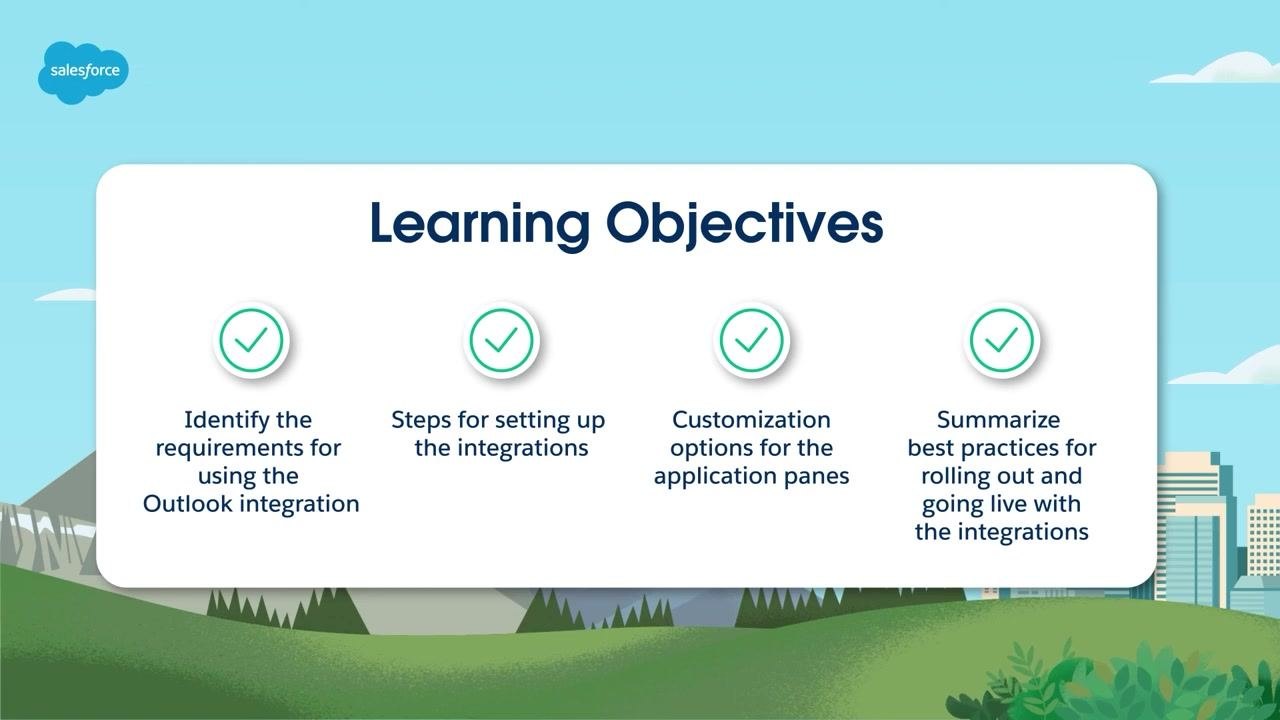
By the end of this guide, you will be able to:
- Identify the requirements for using the Outlook integration
- Understand the steps for setting up the integration
- Explore customization options for the application pane
- Apply best practices for rolling out and going live with the integration
Once connected, sales reps get a fully integrated workflow between Salesforce and Outlook, with direct access to contacts, accounts, and opportunities, plus the ability to log emails and view related records without leaving Outlook.
Matching contacts, leads, accounts, and other Salesforce records appear in the Outlook sidebar, with relevant details surfaced for the sender of the selected email along with related opportunities.
From the same pane, reps can log emails directly into Salesforce and create new related records without switching applications.
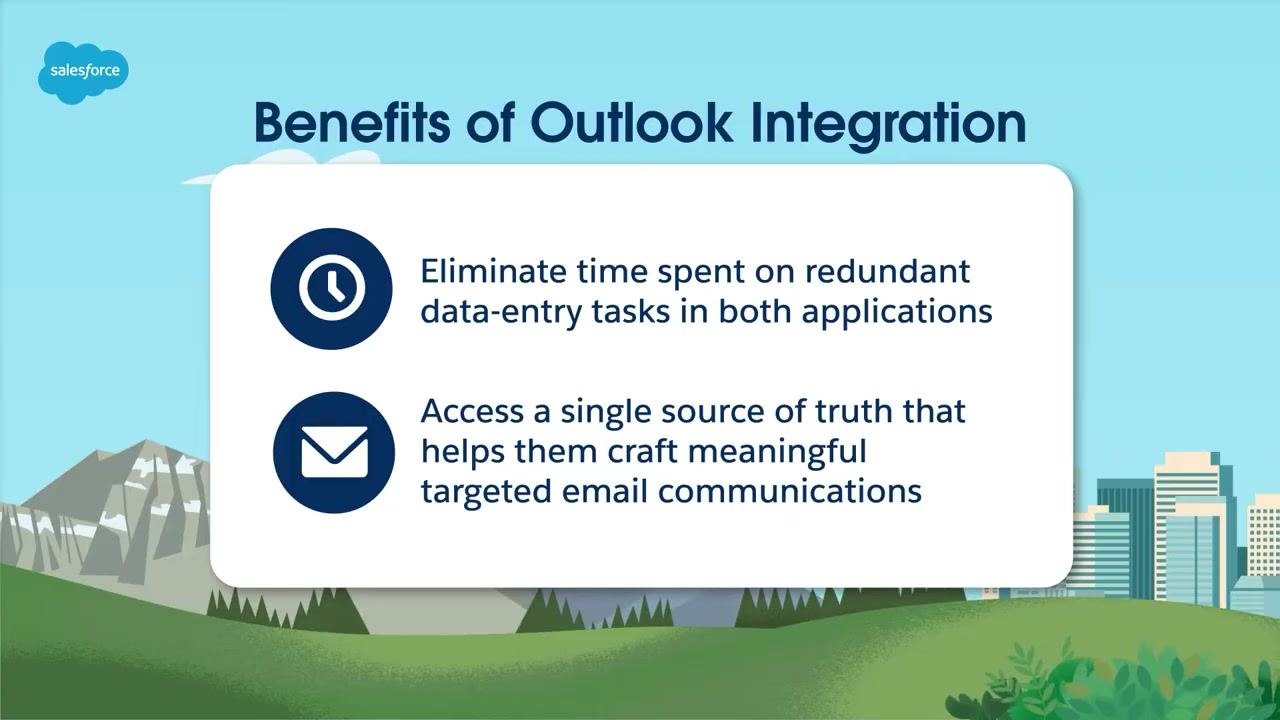
This eliminates redundant data-entry tasks in both applications and gives reps a single source of truth for crafting meaningful, targeted communications with prospects and customers.
The combined result is greater efficiency and productivity for every sales rep who uses both tools.
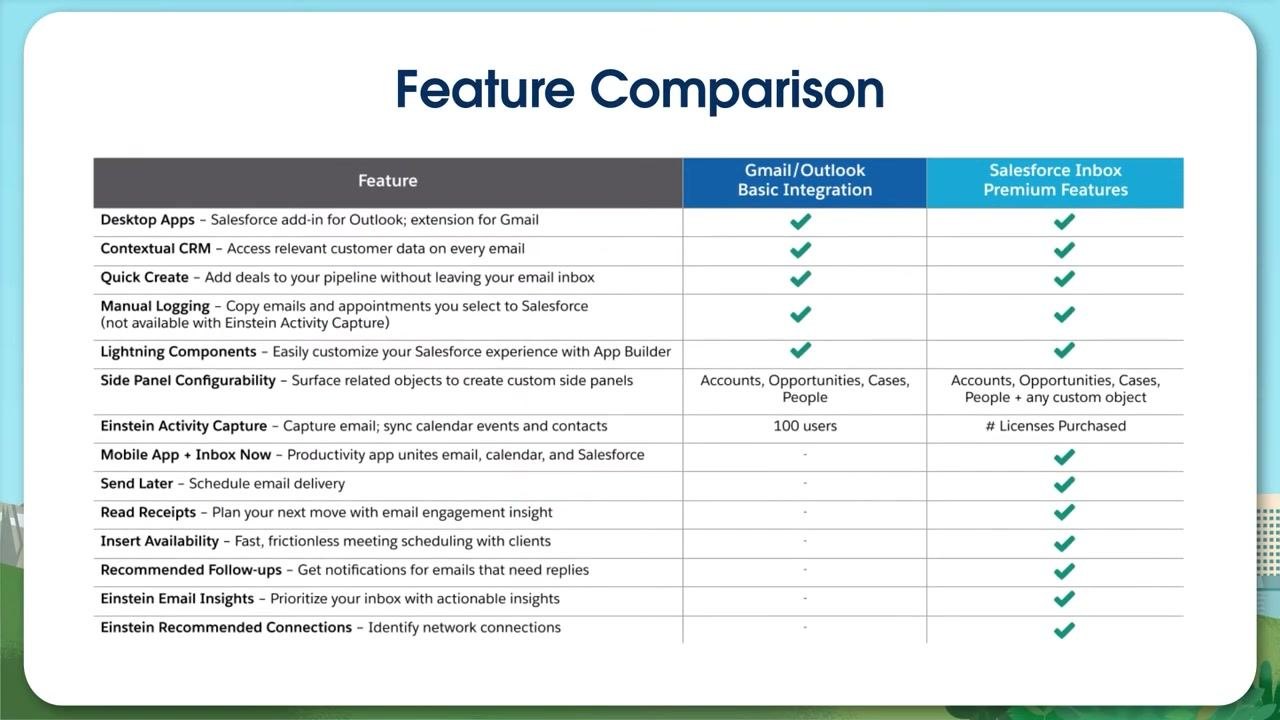
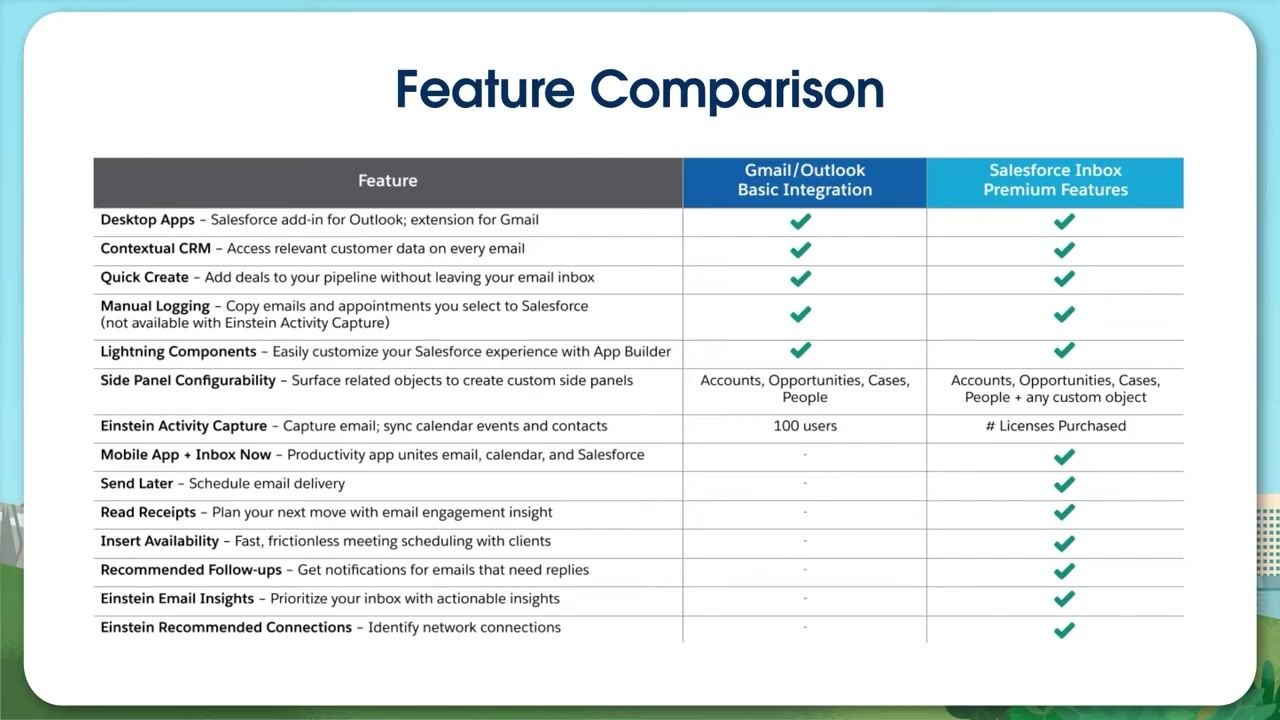
Before you set up the integration, it's worth comparing what's included in the standard Outlook integration versus Salesforce Inbox Premium Features. Desktop apps, contextual CRM, quick create, manual logging, and Lightning components are available in both. Side panel configurability supports Accounts, Opportunities, Cases, and People in the basic integration, while Salesforce Inbox extends this to any custom object. Einstein Activity Capture supports up to 100 users in the basic integration, versus as many users as you have licenses for with Salesforce Inbox. Features such as the mobile app, Inbox Now, Send Later, Read Receipts, Insert Availability, Recommended Follow-ups, Einstein Email Insights, and Einstein Recommended Connections are only available with Salesforce Inbox Premium Features.
Prerequisites: System requirements
Before you add Salesforce to Outlook, confirm that your email server, email client, and browser meet the supported configurations. The Outlook integration and Salesforce Inbox save significant time, but they depend on specific system configurations.
An email server is the system that stores and delivers your email and calendar-event data.
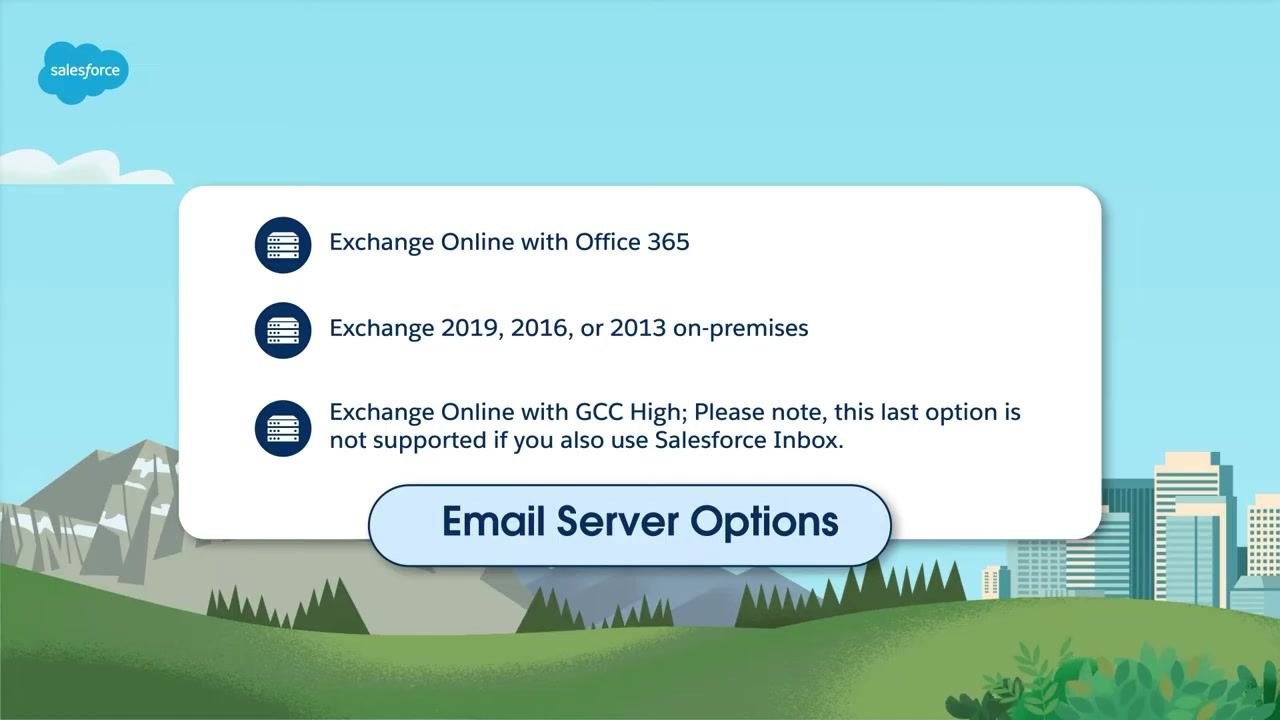
The Outlook integration supports the following email servers:
- Exchange Online with Office 365
- Exchange 2019, 2016, or 2013 on-premises
- Exchange Online with GCC High (not supported if you also use Salesforce Inbox)
An email client is the application that lets users read and write emails and calendar events.
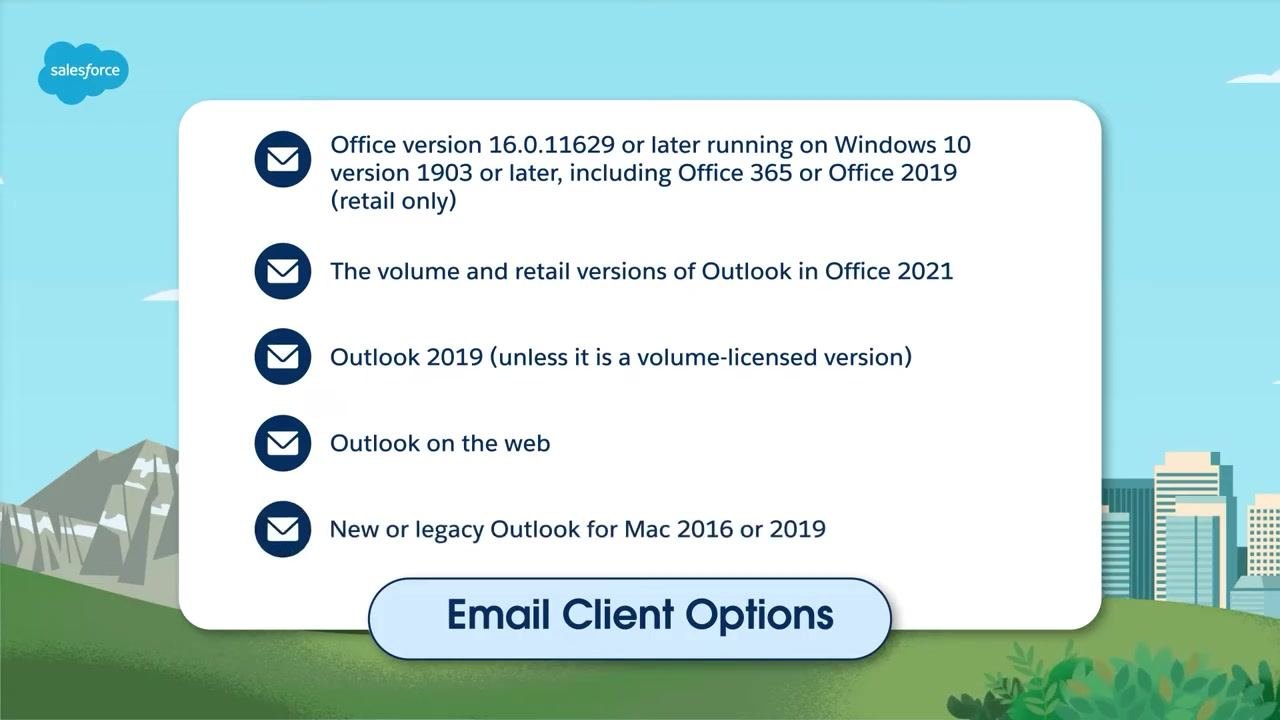
The Outlook integration supports the following desktop and web email clients:
- Office version 16.0.11629 or later running on Windows 10 version 1903 or later, including Office 365 or Office 2019 (retail only)
- The volume and retail versions of Outlook in Office 2021
- Outlook 2019, unless it is a volume-licensed version
- Outlook on the web
- New or legacy Outlook for Mac 2016 or 2019
If your reps access Outlook on the web, make sure they use one of the following browsers:
- The most recent stable version of Google Chrome
- Mozilla Firefox
- Microsoft Edge (Windows only)
- Apple Safari
Verifying these requirements ensures a smooth setup and optimal performance once you enable the integration.
Setting up the Outlook integration and Salesforce Inbox
Follow these steps in Salesforce Setup to enable the Outlook integration and, if included in your package, Salesforce Inbox.
Step 1: Open Salesforce Setup
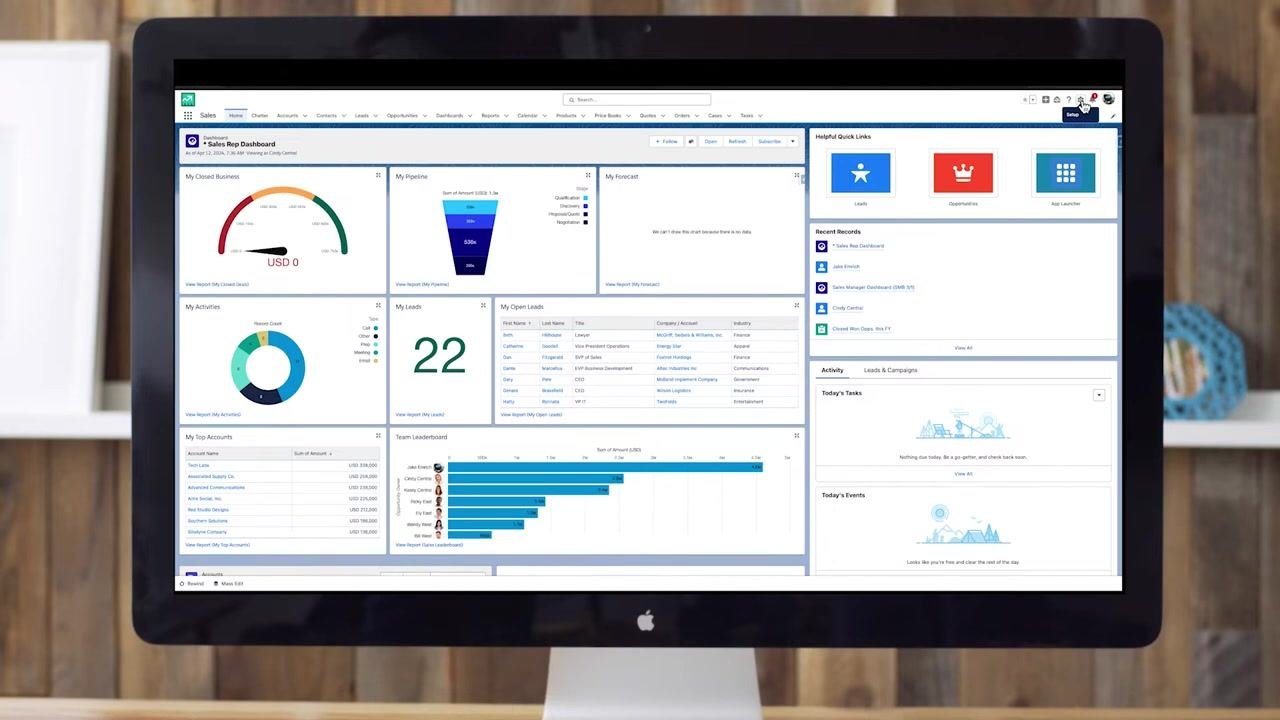
Log in to Salesforce with your administrator credentials and click the Setup gear icon in the upper right corner of the Salesforce dashboard.
Step 2: Find Outlook Integration and Sync
In the Quick Find search box at the top left of Setup, type Outlook, then select Outlook Integration and Sync from the results.
Step 3: Enable the Outlook integration
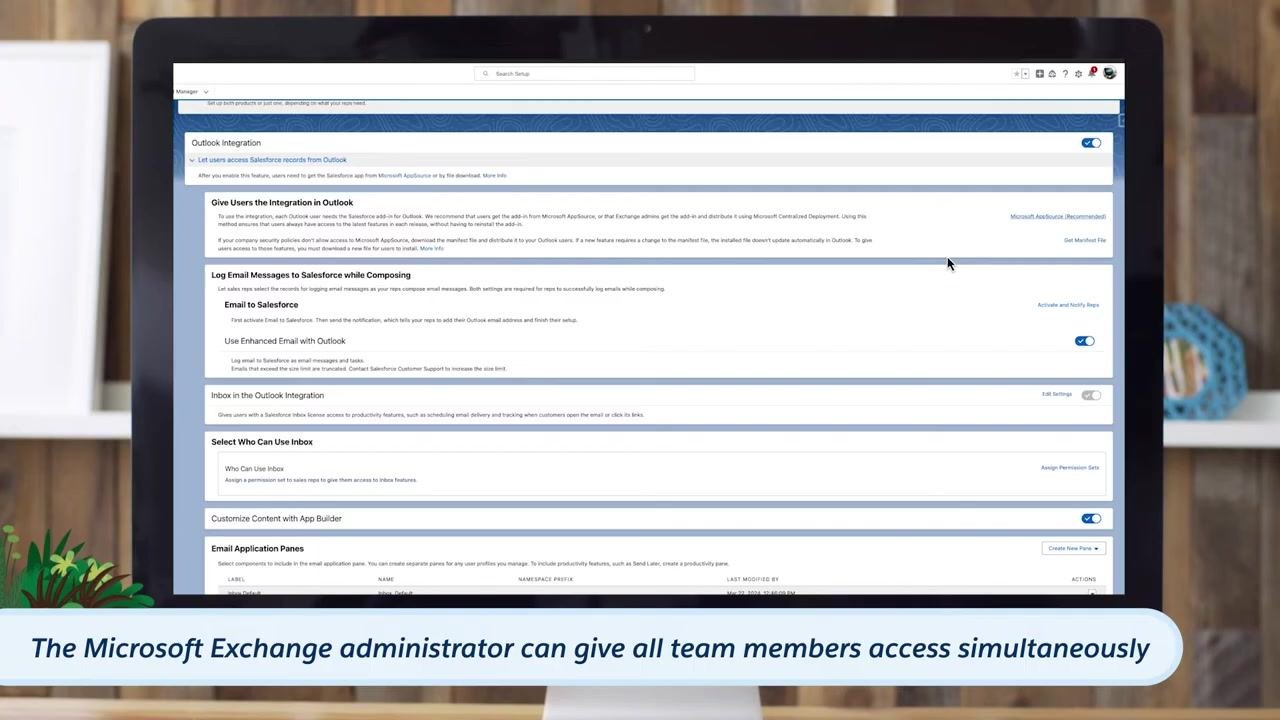
In the Outlook Integration section, toggle on Let users access Salesforce records from Outlook, then expand the section to reveal the additional setup options.
Step 4: Add allowed domains for Outlook on the web
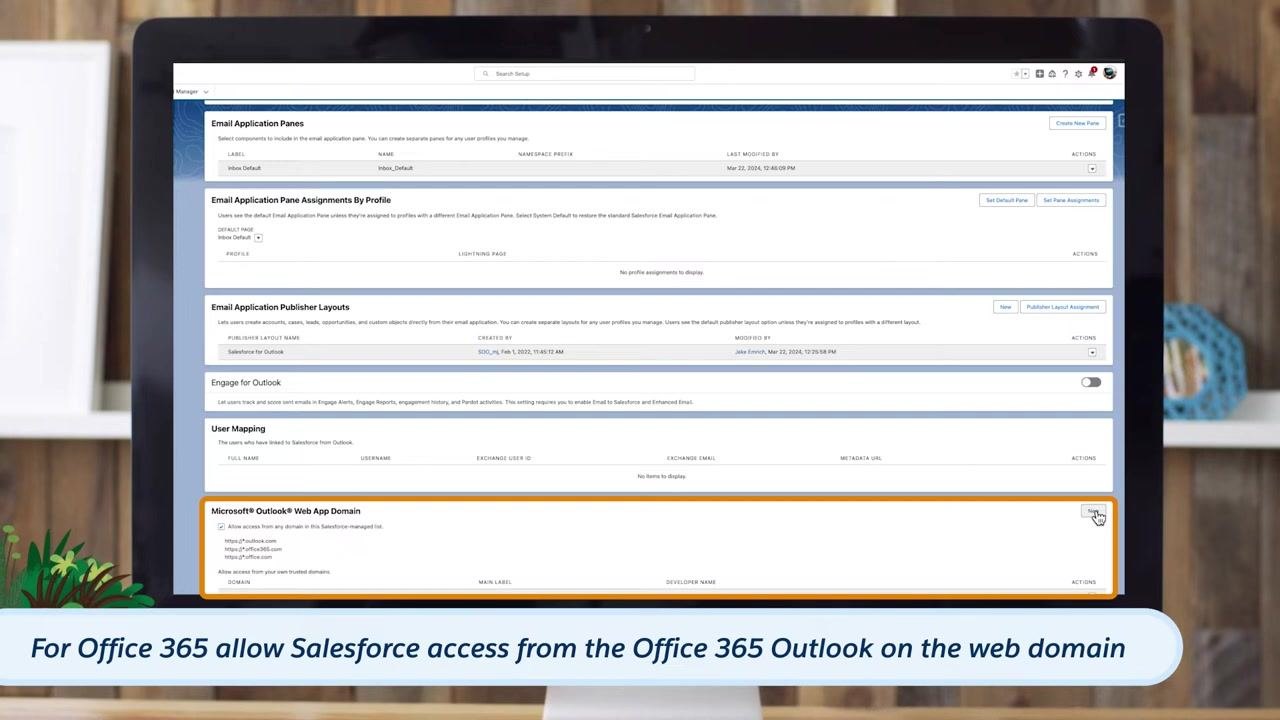
If your reps use Outlook on the web, scroll to the Microsoft Outlook Web App Domain section and add the domains you want to allow access to Salesforce. For Office 365, allow access from the Office 365 Outlook on the web domain; if you use custom Outlook for the web domains, add those as well.
Step 5: Open Salesforce Inbox settings
If your package includes Salesforce Inbox, scroll to the Inbox in the Outlook Integration section and click Edit Settings to open the Salesforce Inbox setup page.
Step 6: Make Inbox available to users
On the Salesforce Inbox setup page, enable Make Inbox available to Users, then enable any additional Inbox features you need, such as Einstein Activity Capture or Email Tracking.
Step 7: Assign permission sets
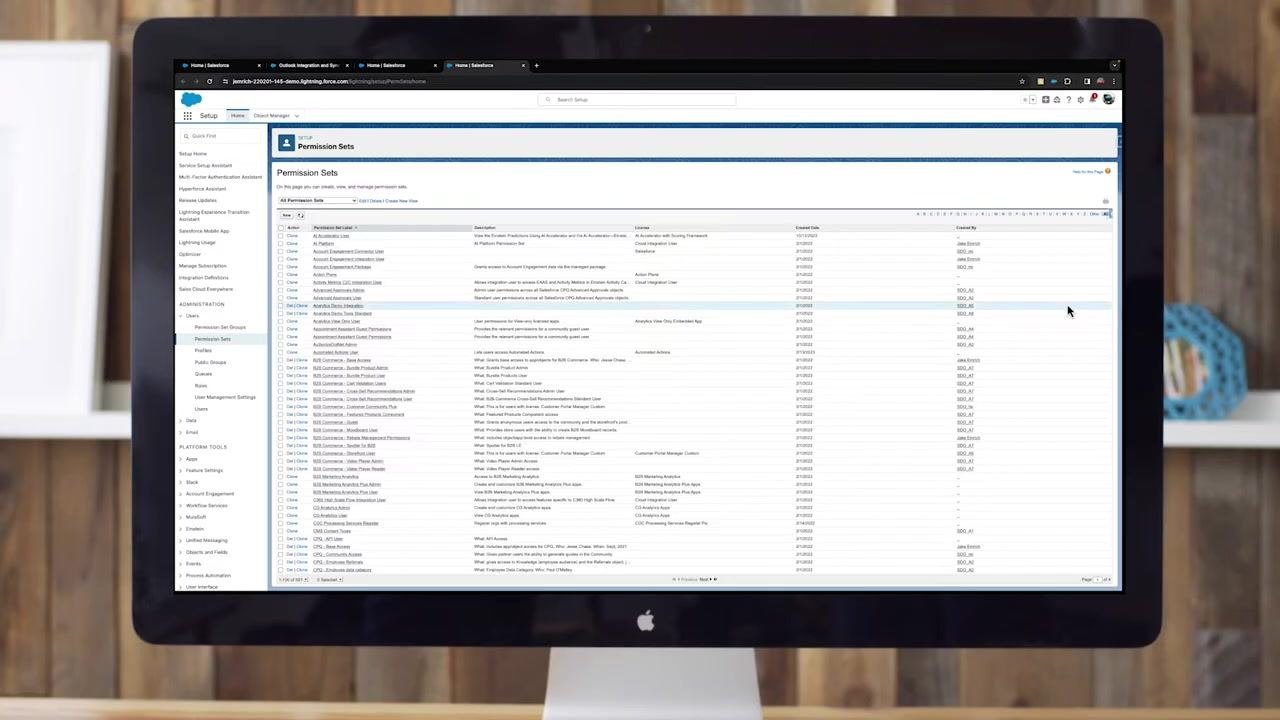
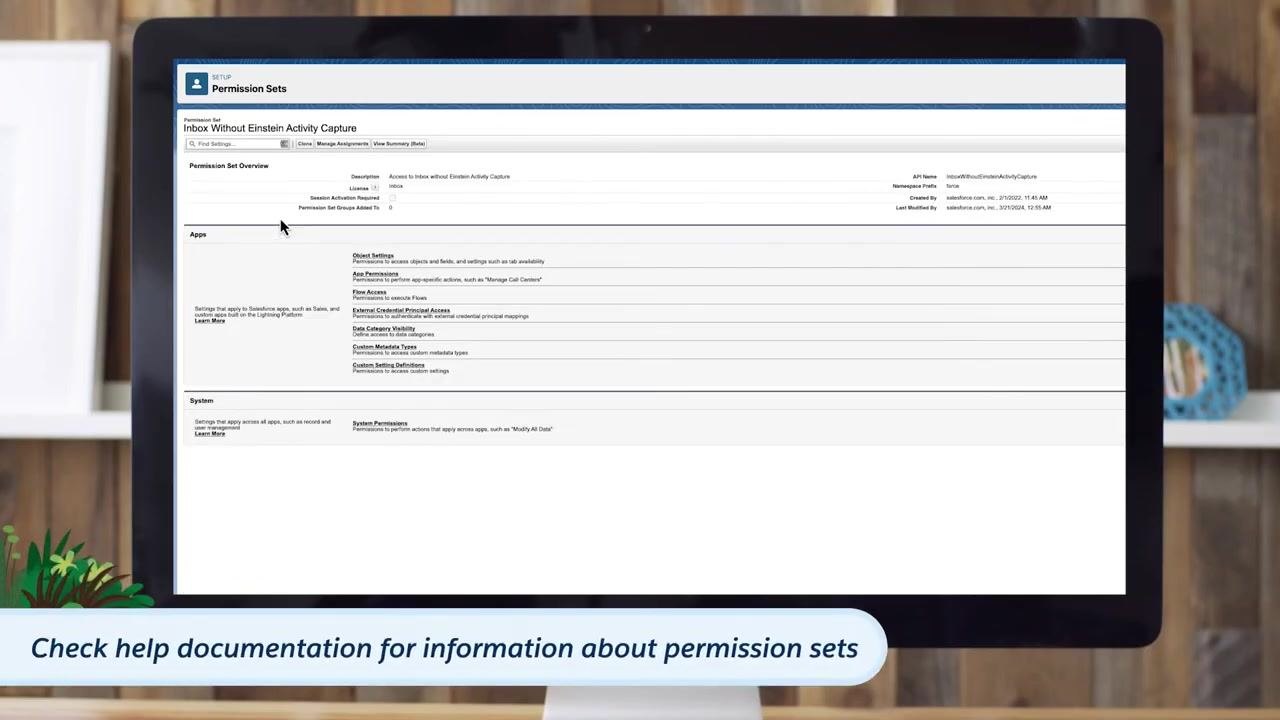
In the Who Can Use Inbox section, click Assign Permission Sets. Review the available permission sets that include Inbox features, referring to Salesforce help documentation to choose the one that best fits your organization, then click Manage Assignments and Add to assign it to the appropriate sales reps.
Assigning permission sets and connecting Salesforce to Outlook
Once the integration is enabled, assign the permission set to your users and get the Salesforce add-in installed in Outlook.
Step 1: Review the permission set overview
Open the Permission Sets section in Salesforce Setup and select Inbox Without Einstein Activity Capture. Review the overview, which shows the description ("Access to Inbox without Einstein Activity Capture"), whether session activation is required, and the permission breakdown under Apps and System, including Client Settings, App Permissions, Flow Access, External Credential Principal Access, Data Category Visibility, Custom Metadata Types, Custom Setting Definitions, and System Permissions. For more detail, refer to the Salesforce help documentation.
Step 2: Select users to assign the permission set
Click to manage assignments for the selected permission set. On the Select Users to Assign screen, review the list of available users, each shown with Full Name, Email, Username, Profile, Active status, and User Type. Select the checkbox next to the user or users you want to assign, then click Next or Assign to proceed.
Step 3: Get the Salesforce add-in download link
In the Outlook Integration settings in Salesforce Setup, locate Give Users the Integration in Outlook. Click Microsoft AppSource (Recommended) to access the add-in, or use Get Manifest File if your organization requires it.
Step 4: Install the add-in across your organization
Your Microsoft Exchange administrator can install the Salesforce add-in for all users at once using centralized deployment, giving every team member access to Salesforce features in Outlook at the same time.
Step 5: Find Salesforce in Outlook
After installation, users will see the Salesforce cloud icon in their Outlook ribbon, or within the email body if they use Outlook on the web.
Step 6: Consult the implementation guide for full details
For a complete breakdown of the integration process, refer to the Outlook Integration Implementation Guide for Salesforce, Summer '24 edition, which includes step-by-step instructions and best practices for setup and deployment.
Step 7: Choose the fields shown in Outlook
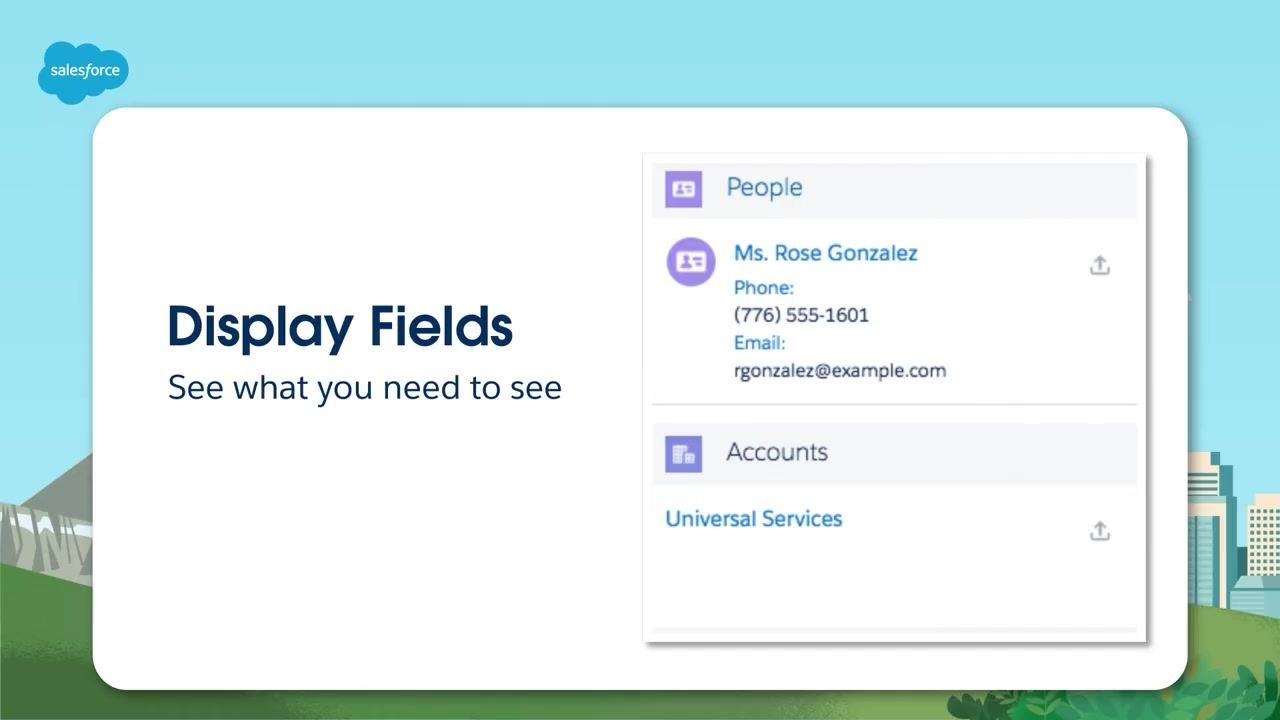
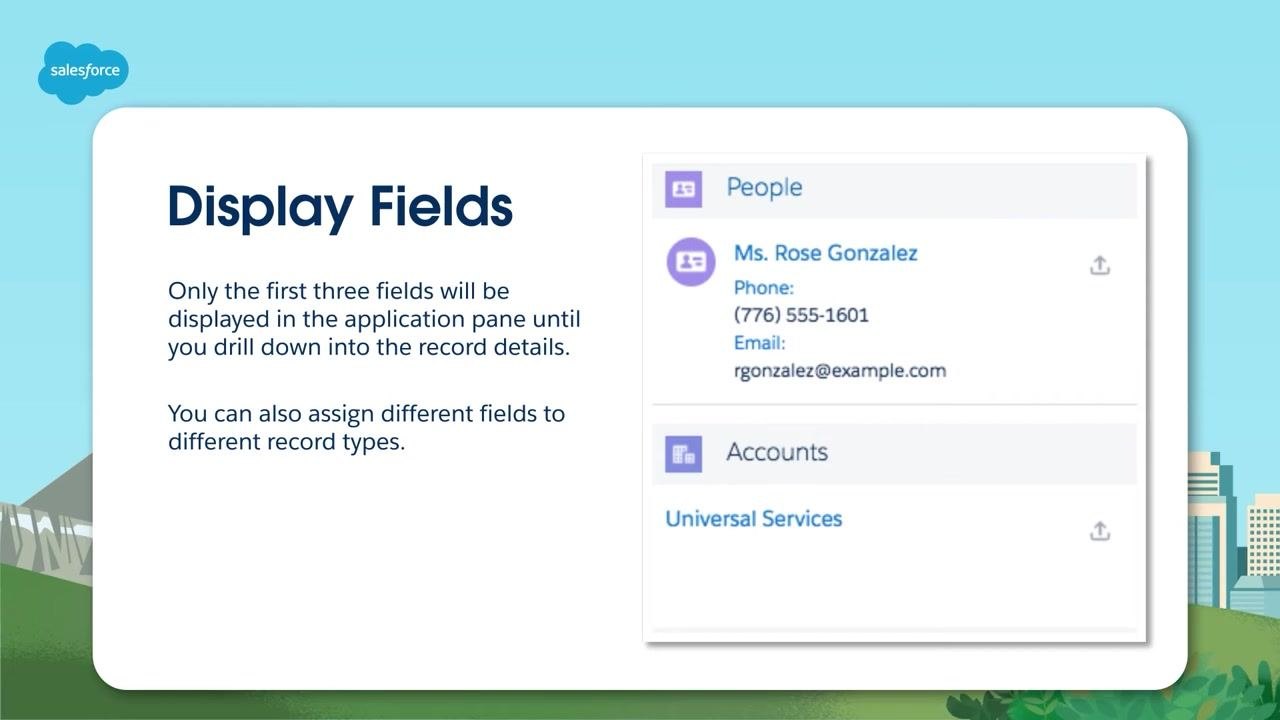
Customize which Salesforce fields appear in Outlook to match your end users' needs. For example, a People entry might show Name, Phone, and Email (such as Ms. Rose Gonzalez, (776) 555-1601, rgonzalez@example.com), while an Accounts entry shows the Account Name (such as Universal Services).
Customizing the application pane and using productivity features
Once Salesforce is connected to Outlook, you can fine-tune what reps see and give them tools to work faster.
Step 1: Set the display fields
Only the first three fields you configure appear in the application pane until a user drills into the record details. For example, a contact might show Name (Ms. Rose Gonzalez), Phone ((776) 555-1601), and Email (rgonzalez@example.com), while an account shows the Account Name (Universal Services). These fields let users see essential information without leaving their email.
Step 2: Assign different fields to different record types
You can also assign different sets of fields to different record types in the application pane, all managed through Salesforce Setup, so each record type shows the information most relevant to it.
Step 3: Create records with Global Actions
Click the Create button in the application pane to open the Global Actions menu, which lets reps create new records directly from Outlook, including New Event, New Task, New Contact, New Opportunity, New Case, and New Lead.
Step 4: Tailor the layout to user roles
Adjust the application pane layout based on user roles so each rep sees the most relevant sections. For example, a Sales User layout prioritizes People and Opportunities, while a Support User layout shows People, Cases, and Opportunities, with Cases prioritized.
Step 5: Insert availability to schedule meetings
Use Insert Availability when composing an email to offer meeting time options. Select or create a meeting, set the duration, location, and description, add attendees, and then choose available time slots from your calendar to include in the email so recipients can immediately book a time.
Step 6: Use built-in Inbox productivity tools
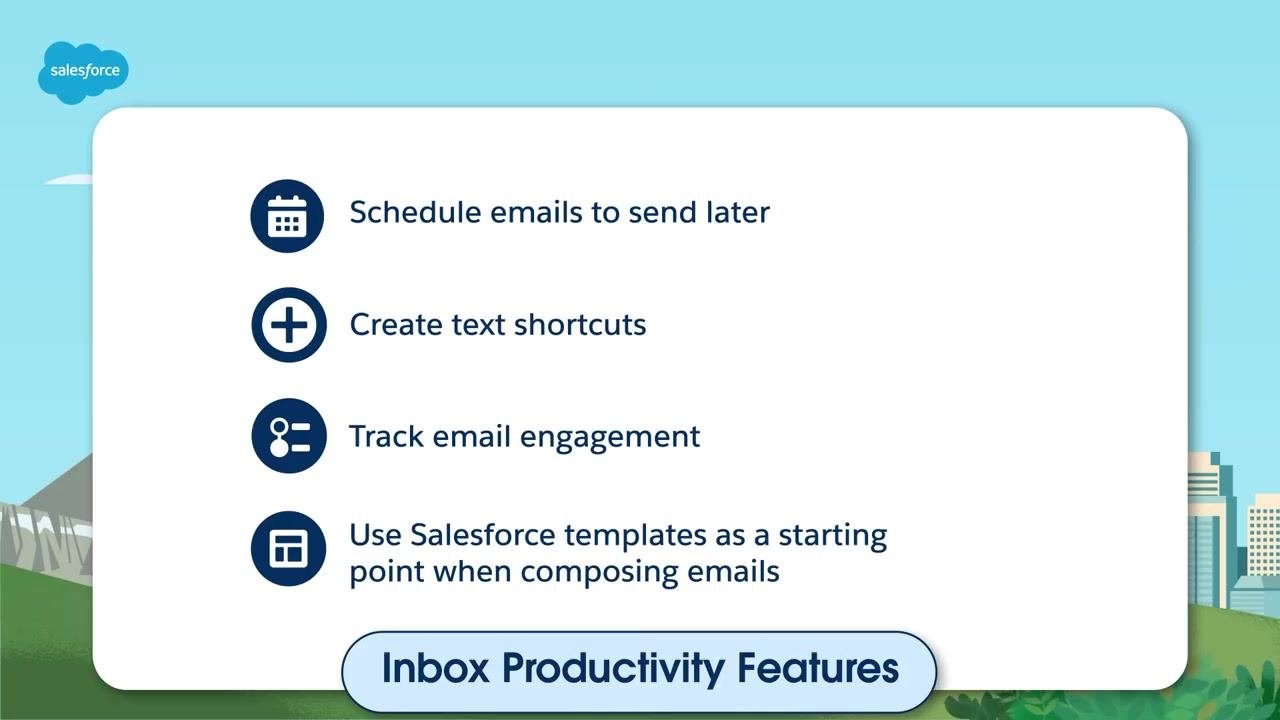
Take advantage of additional productivity features, including scheduling emails to send later, creating text shortcuts for frequently used phrases, tracking email engagement to see when recipients open your messages, and using Salesforce templates as a starting point when composing emails.
Best practices for rolling out the integration
Once setup and customization are complete, follow these practices to roll out the Outlook integration and Salesforce Inbox smoothly across your organization.
Step 1: Test with a pilot group
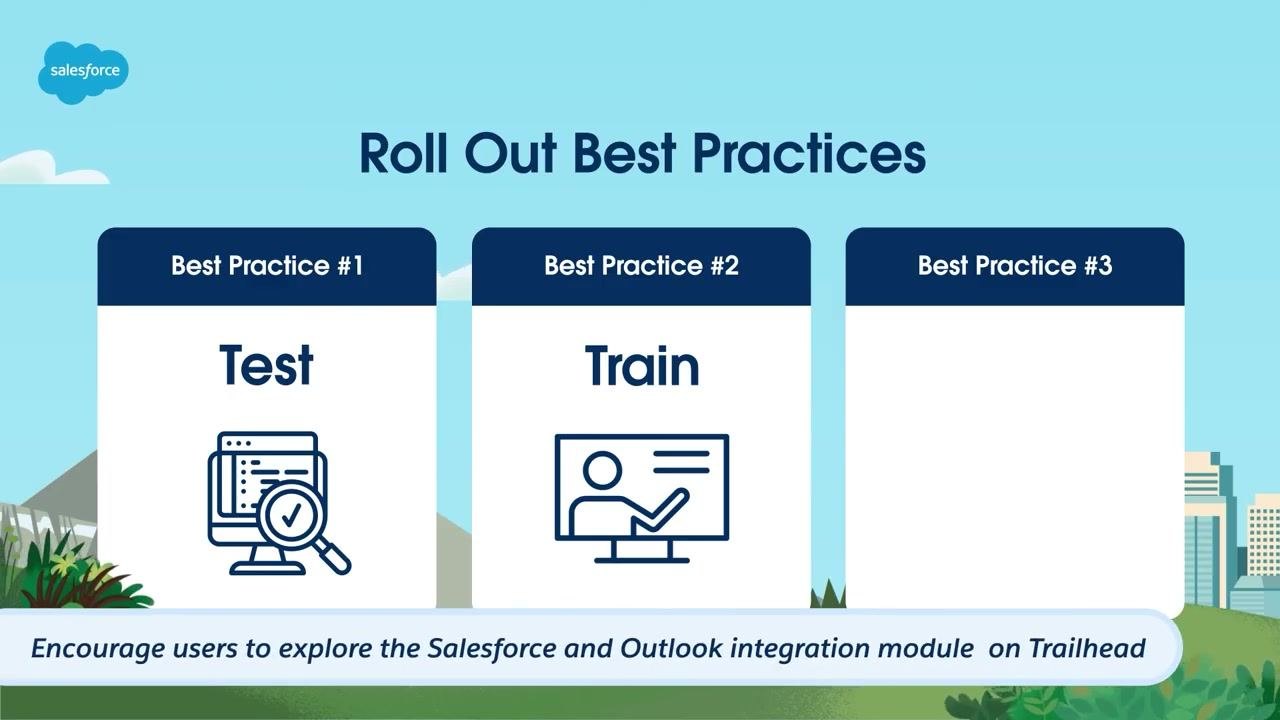
Identify a pilot group made up of Salesforce power users, team leads, and executive sponsors, and conduct thorough testing with them to confirm the integration meets your organization's needs and to gather feedback.
Step 2: Create a feedback channel
Consider setting up a Slack channel dedicated to sharing user feedback and driving adoption, where you can collect findings, answer questions, and build a community around the integration.
Step 3: Train hands-on
Run hands-on training sessions in the pilot users' own environments so they become comfortable with the integration. Encourage them to explore the Salesforce and Outlook integration module on Trailhead, and consider gamifying training with company swag or public recognition in Slack for active users.
Step 4: Keep communication open
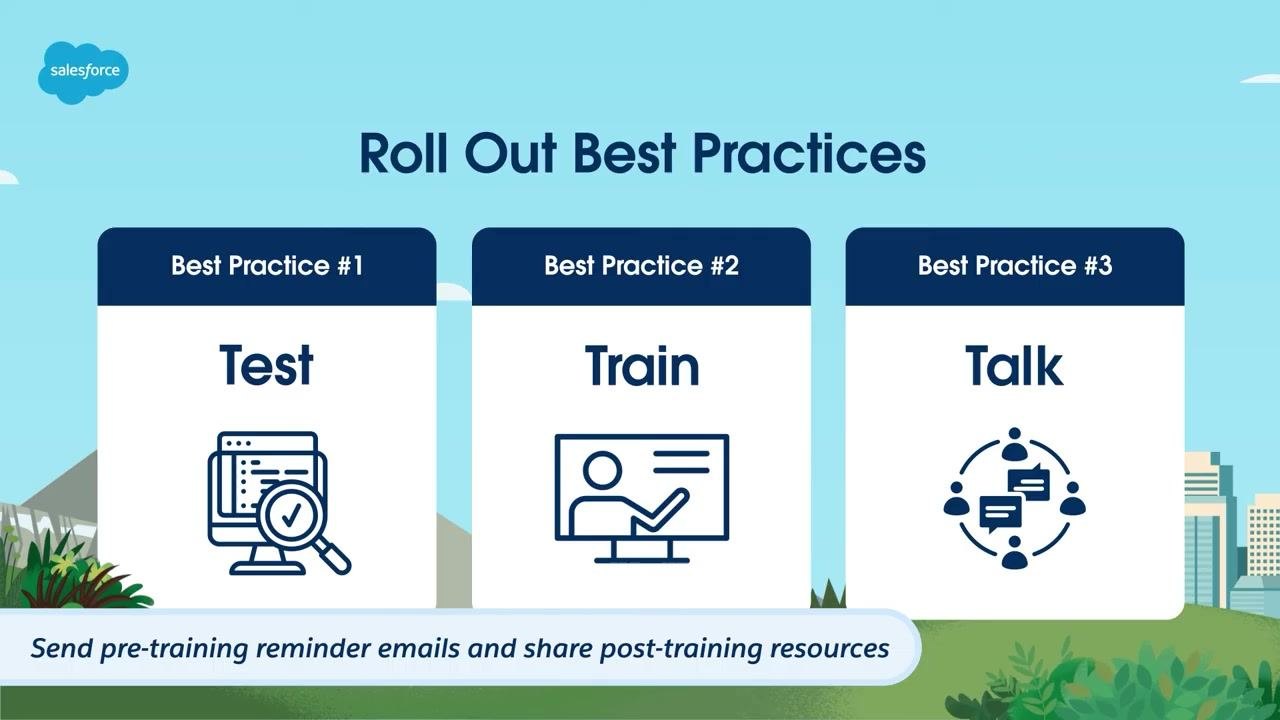
Send pre-training reminder emails and share post-training resources to keep communication flowing, reinforcing what users learned and addressing ongoing questions.
What's next
With the Outlook integration and Salesforce Inbox set up, customized, and rolled out, confirm you've covered each learning objective: identifying the requirements, understanding the setup steps, exploring customization options for the application pane, and applying best practices for rollout.
For more information, visit help.salesforce.com or consult Salesforce documentation and support channels.
Salesforce Customer Success resources remain available throughout your integration journey, including additional guides, community forums, and support options as you continue using the Outlook integration and Salesforce Inbox.
Generation details: cost, quality tiers
Docsie billed 5,000 credits ($3.50) to analyze this 10-minute video at standard quality. The rewrite, template fill and Word/PDF exports were included. The same video at each quality tier:
| Quality | Frames sampled | Credits | Approx. cost |
|---|---|---|---|
| Draft | every 16-30 s | 2,500 | $1.75 |
| Standard (this guide) | every 8-15 s | 5,000 | $3.50 |
| Detailed | every 4-7 s | 10,000 | $7.00 |
| Ultra | every 1-3 s | 20,000 | $14.00 |
Credits priced at $0.70 per 1,000; plans include a monthly allowance. Enterprise customers on on-premise or bring-your-own-model deployments run this on their own inference and pay no per-video credits.
Generated by Docsie Video-to-Docs on 2026-09-08 from a 9-minute video. Screenshots are frames from the source video and belong to their creator, Salesforce Support, whose original is embedded above. If you own this video and want the guide removed or credited differently, contact us and we will act within one business day.